How good does this Braided Chocolate Chip Bread look? This soft, light brioche-style dough is gently infused with vanilla and generously studded with chocolate chips throughout every strand. It’s buttery, fluffy, and just the right amount of sweet, making it perfect for sharing straight from the oven.
Serve it warm while it’s still soft and pillowy, and smear it with my whipped vanilla butter for an extra indulgent finish.
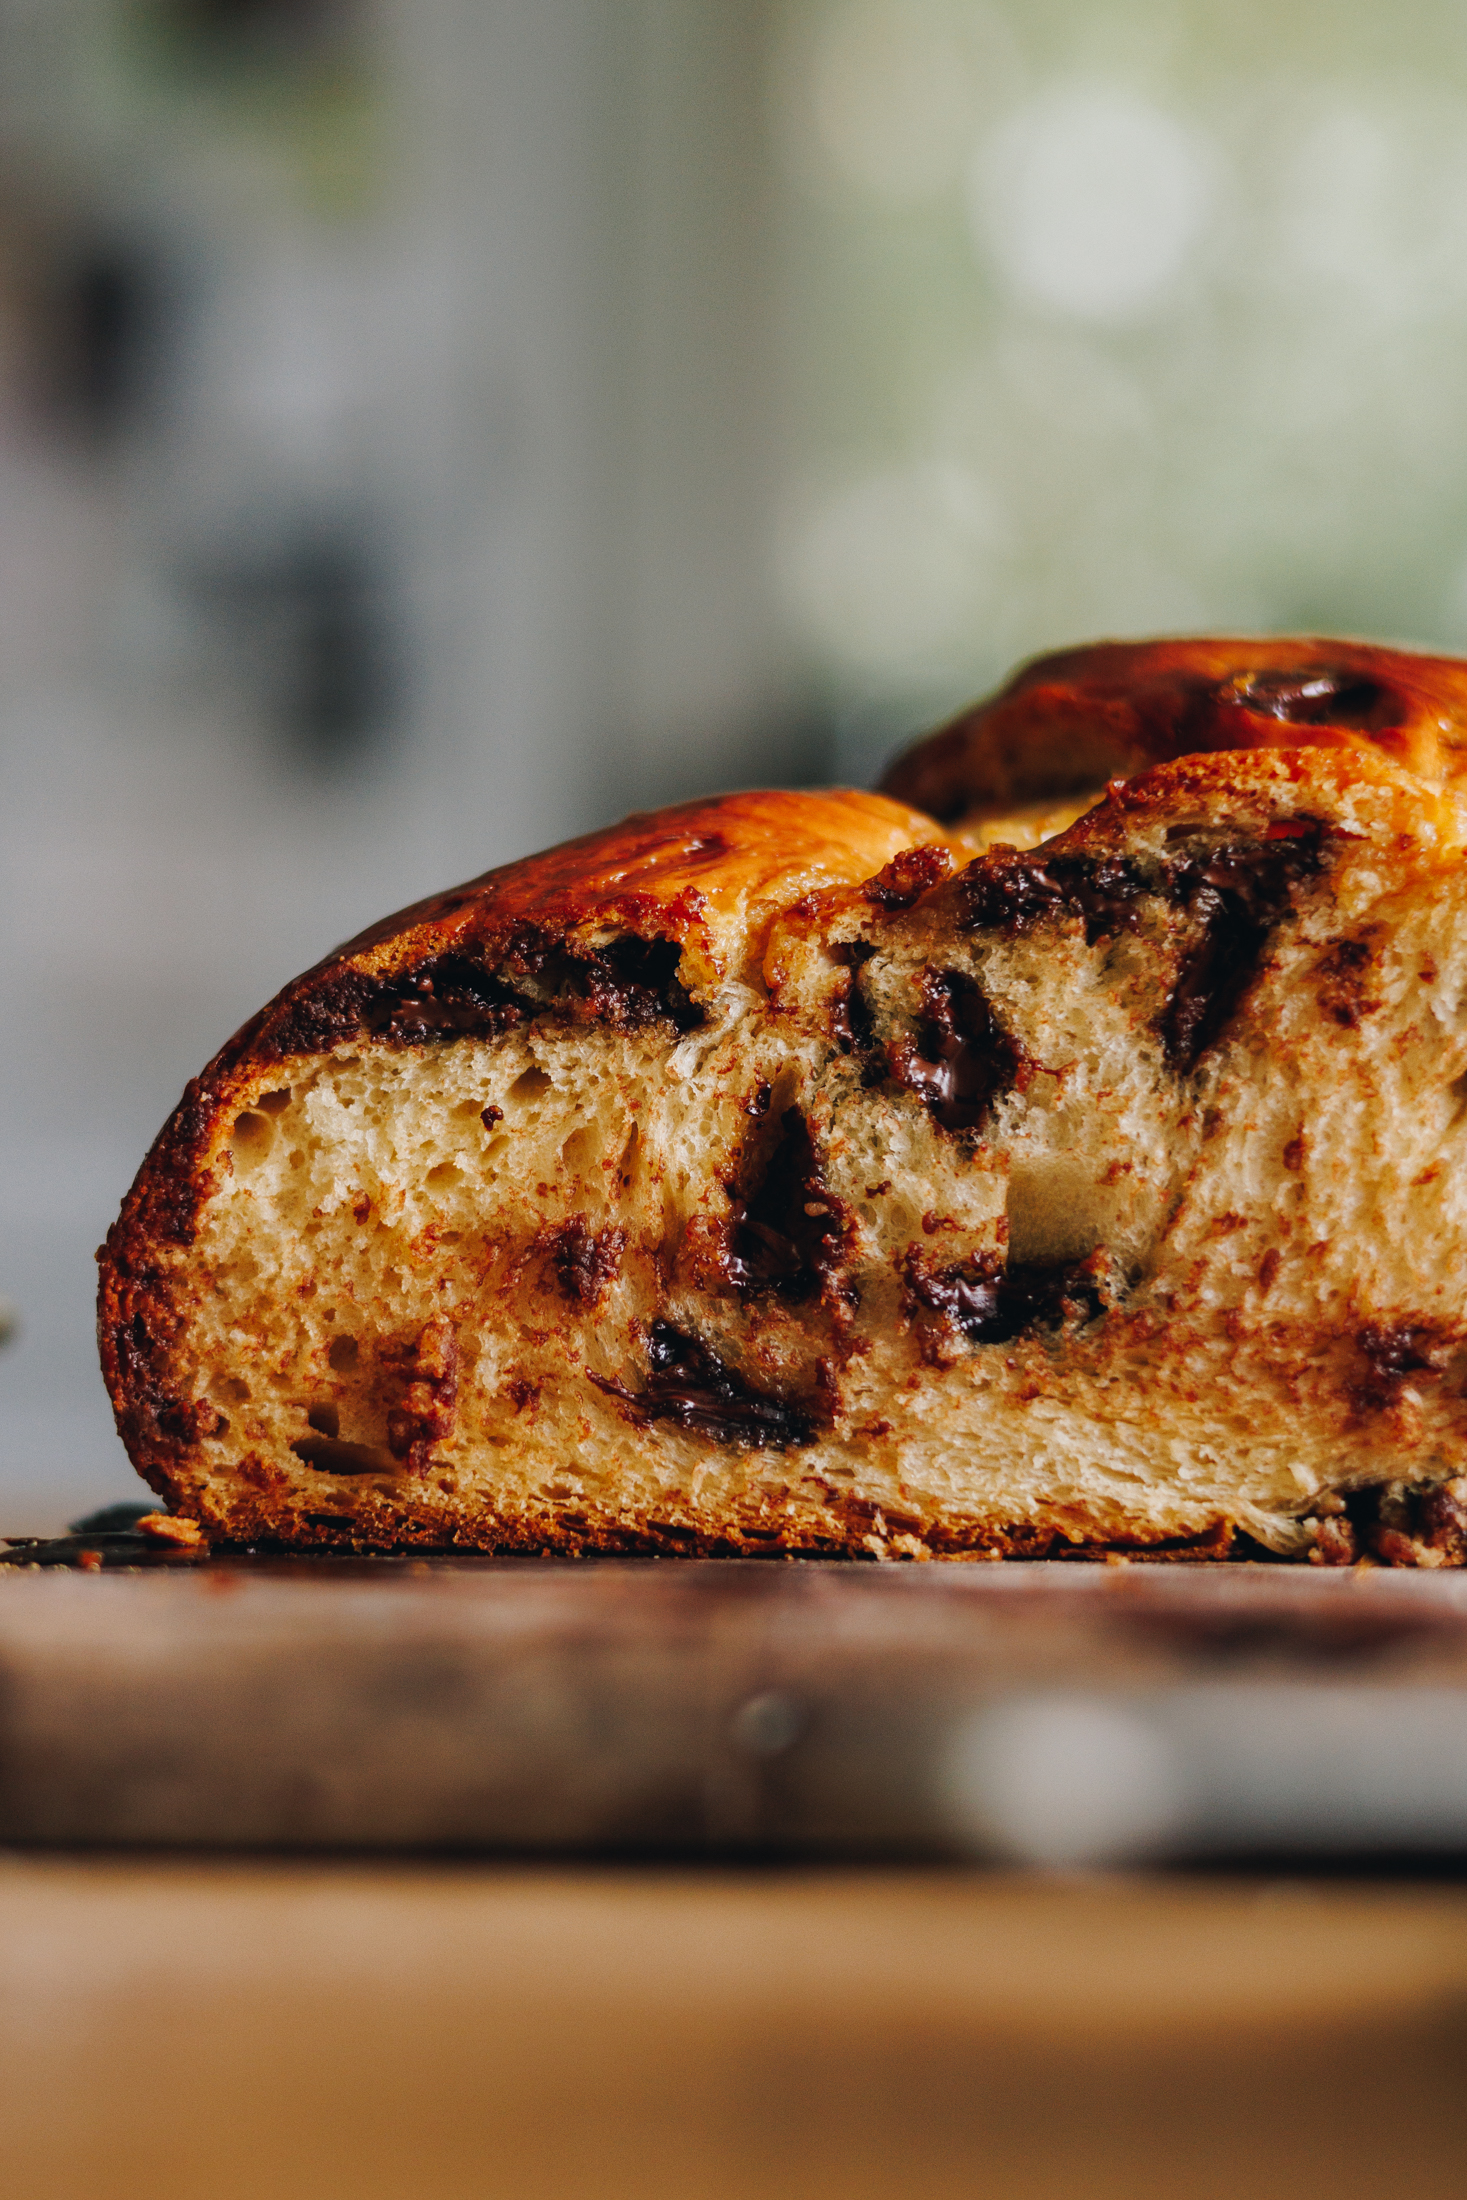
Why you will love this Braided Chocolate Chip Bread:
When I was a young girl, one of my favourite things my Mum would make was braided bread. To me, there was something magical about how she could turn a simple loaf of bread into something so beautiful.
This braided chocolate chip bread is an ode to my awesome Māmā, who was the epitome of creativity and made baking feel like something truly special.
Some more parāoa (bread) recipes:
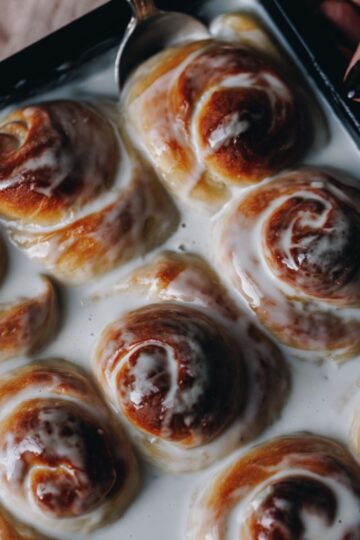
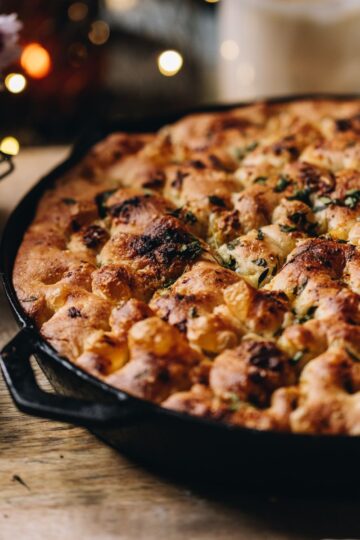
Try my Savoury Braided Brioche Bread—it uses the same base dough as this recipe and is packed with flavour.
If you’re in the mood for something sweet and soft, my Samoan Coconut Buns (Pani Popo) are a beautiful, pillowy option.
Or take things in a different direction and turn your braided bread into Avocado and Halloumi Sandwiches for a delicious upgrade.
Videography and photography by Sarah Henderson.
Ingredients:
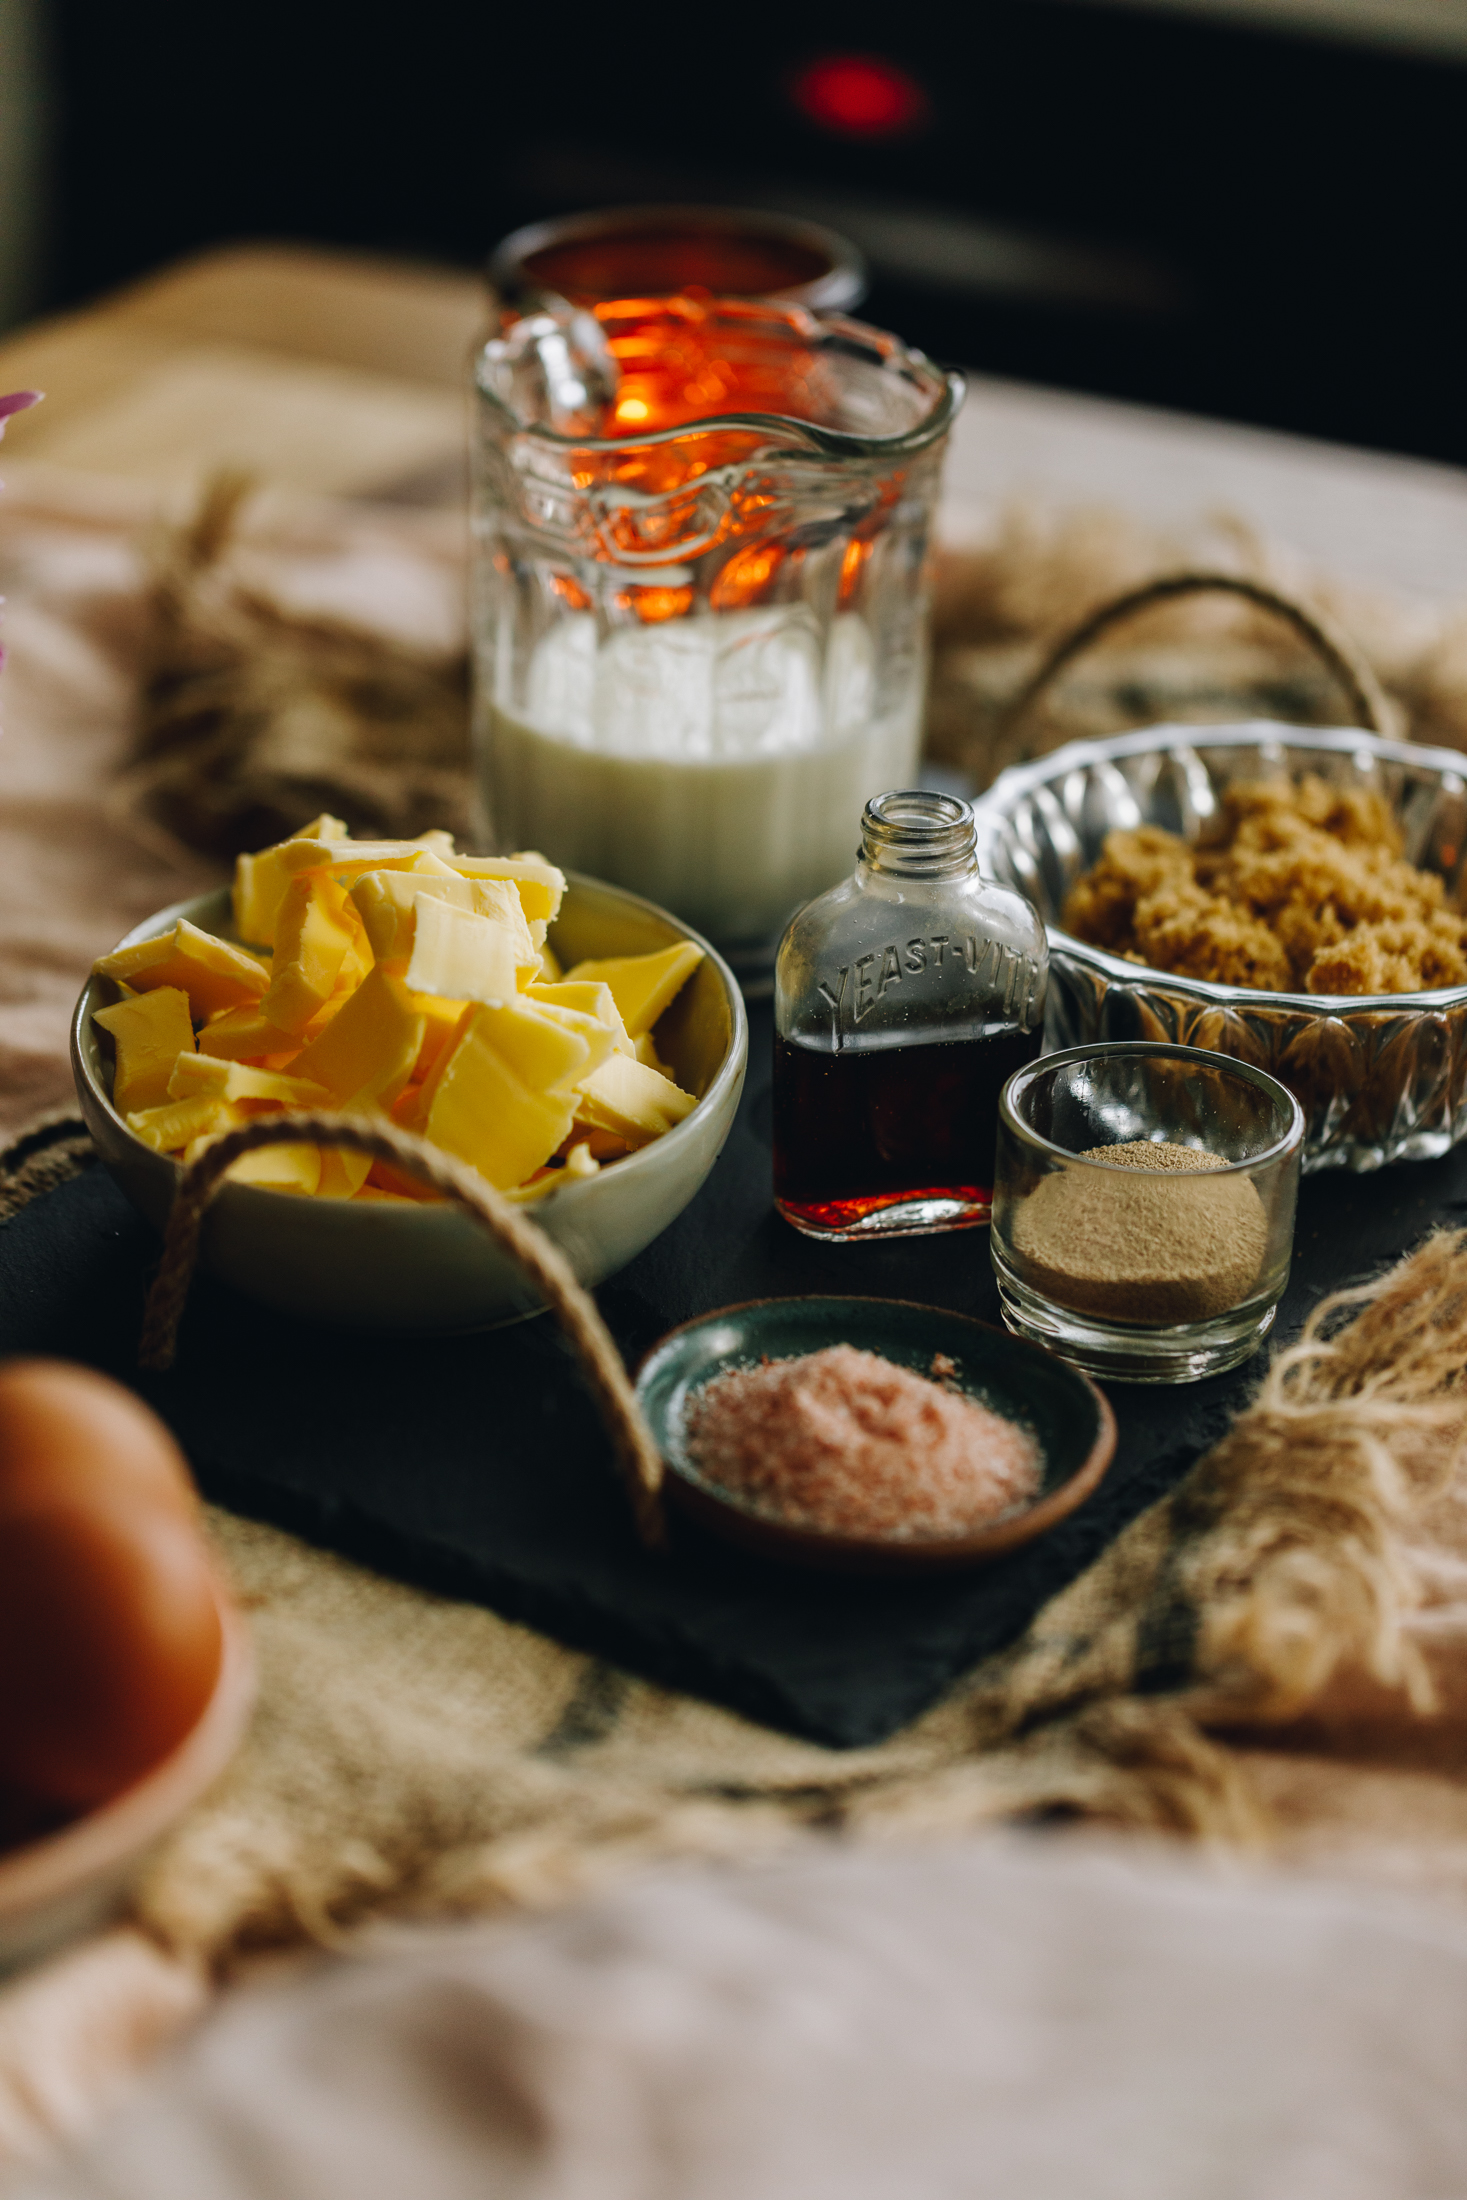
- Milk: Use full fat or trim milk in this tohutao (recipe).
- Sugar: Use huka hāura (brown sugar), huka mā (white sugar), marahihi māpere (maple syrup) or mīere (honey) in the dough.
- Instant yeast: Use īhi horo (instant yeast) in this recipe for efficient rising. If you are using Surebake or bread makers yeast, double the amount.
- Egg: Adding an egg gives a lovely richness to the dough.
- High grade flour: Always use puehu parāoa kounga (high grade flour) in bread recipes for the fluffiest result.
- Salt: I use Himalayan salt here, if you are using iodised table salt, half this amount.
- Butter: Use salted or unsalted butter.
- Chocolate chips: Feel free to use chocolate chips or drops. I prefer drops as they are a bit bigger and give a more dramatic effect when it is baked in to the bread.
How to make this braided bread:
Note: The full recipe card with the full list of ingredients, instructions and step by step video are found at the bottom of this page.
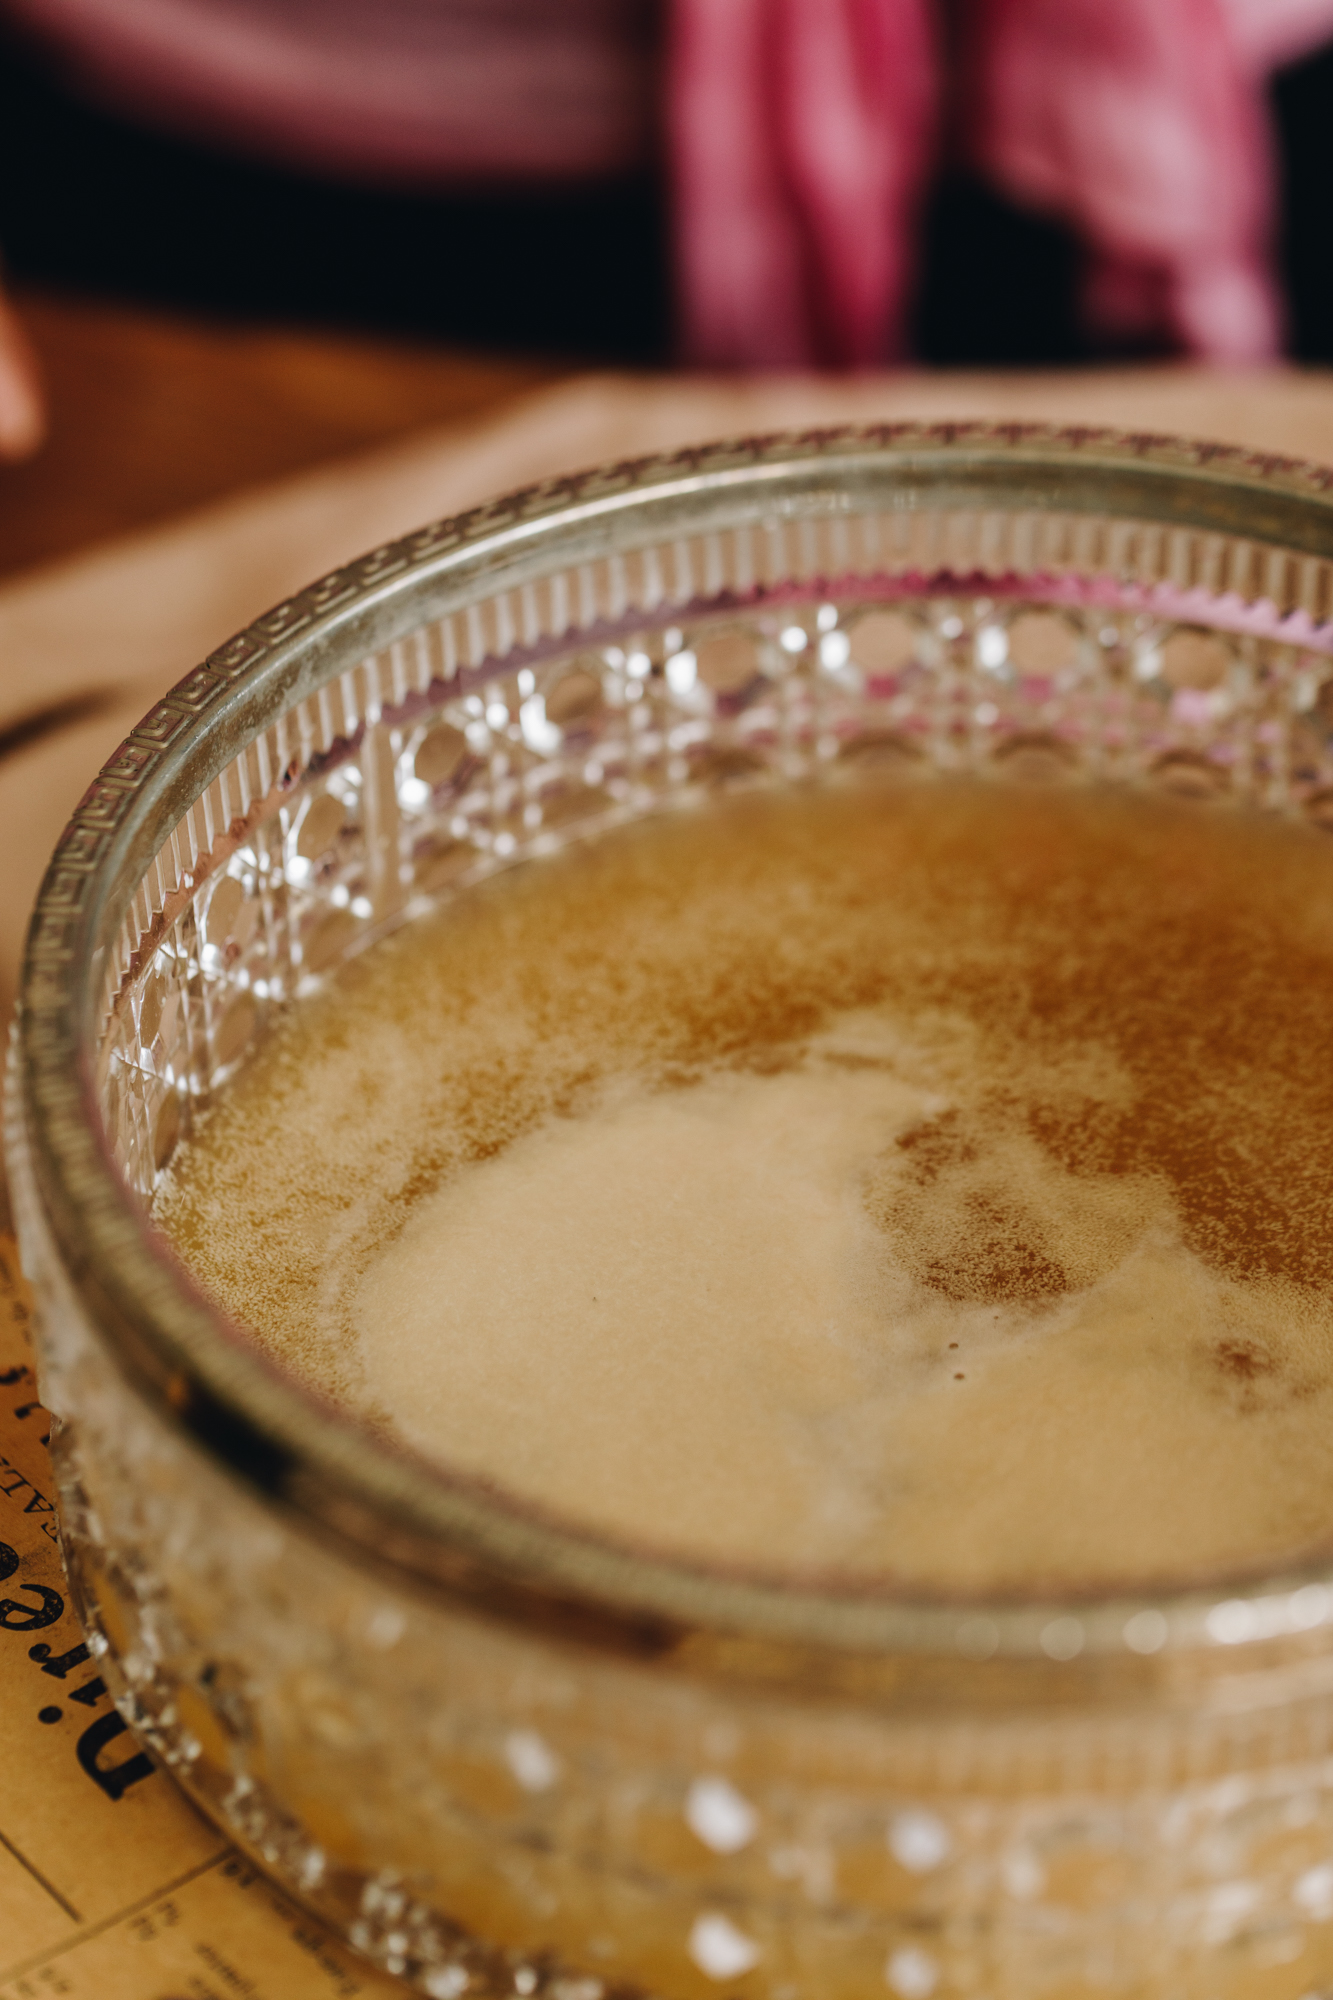
1. Activate the Yeast:
Add the wai wera (hot water), miraka (milk) and huka hāura (brown sugar) in to a large bowl.
Stir it all together until the sugar is dissolved.
Stir in the īhi tere (instant yeast) and allow it to activate for five minutes until foamy.
The īhi (yeast) has activated when it has floated to the top.
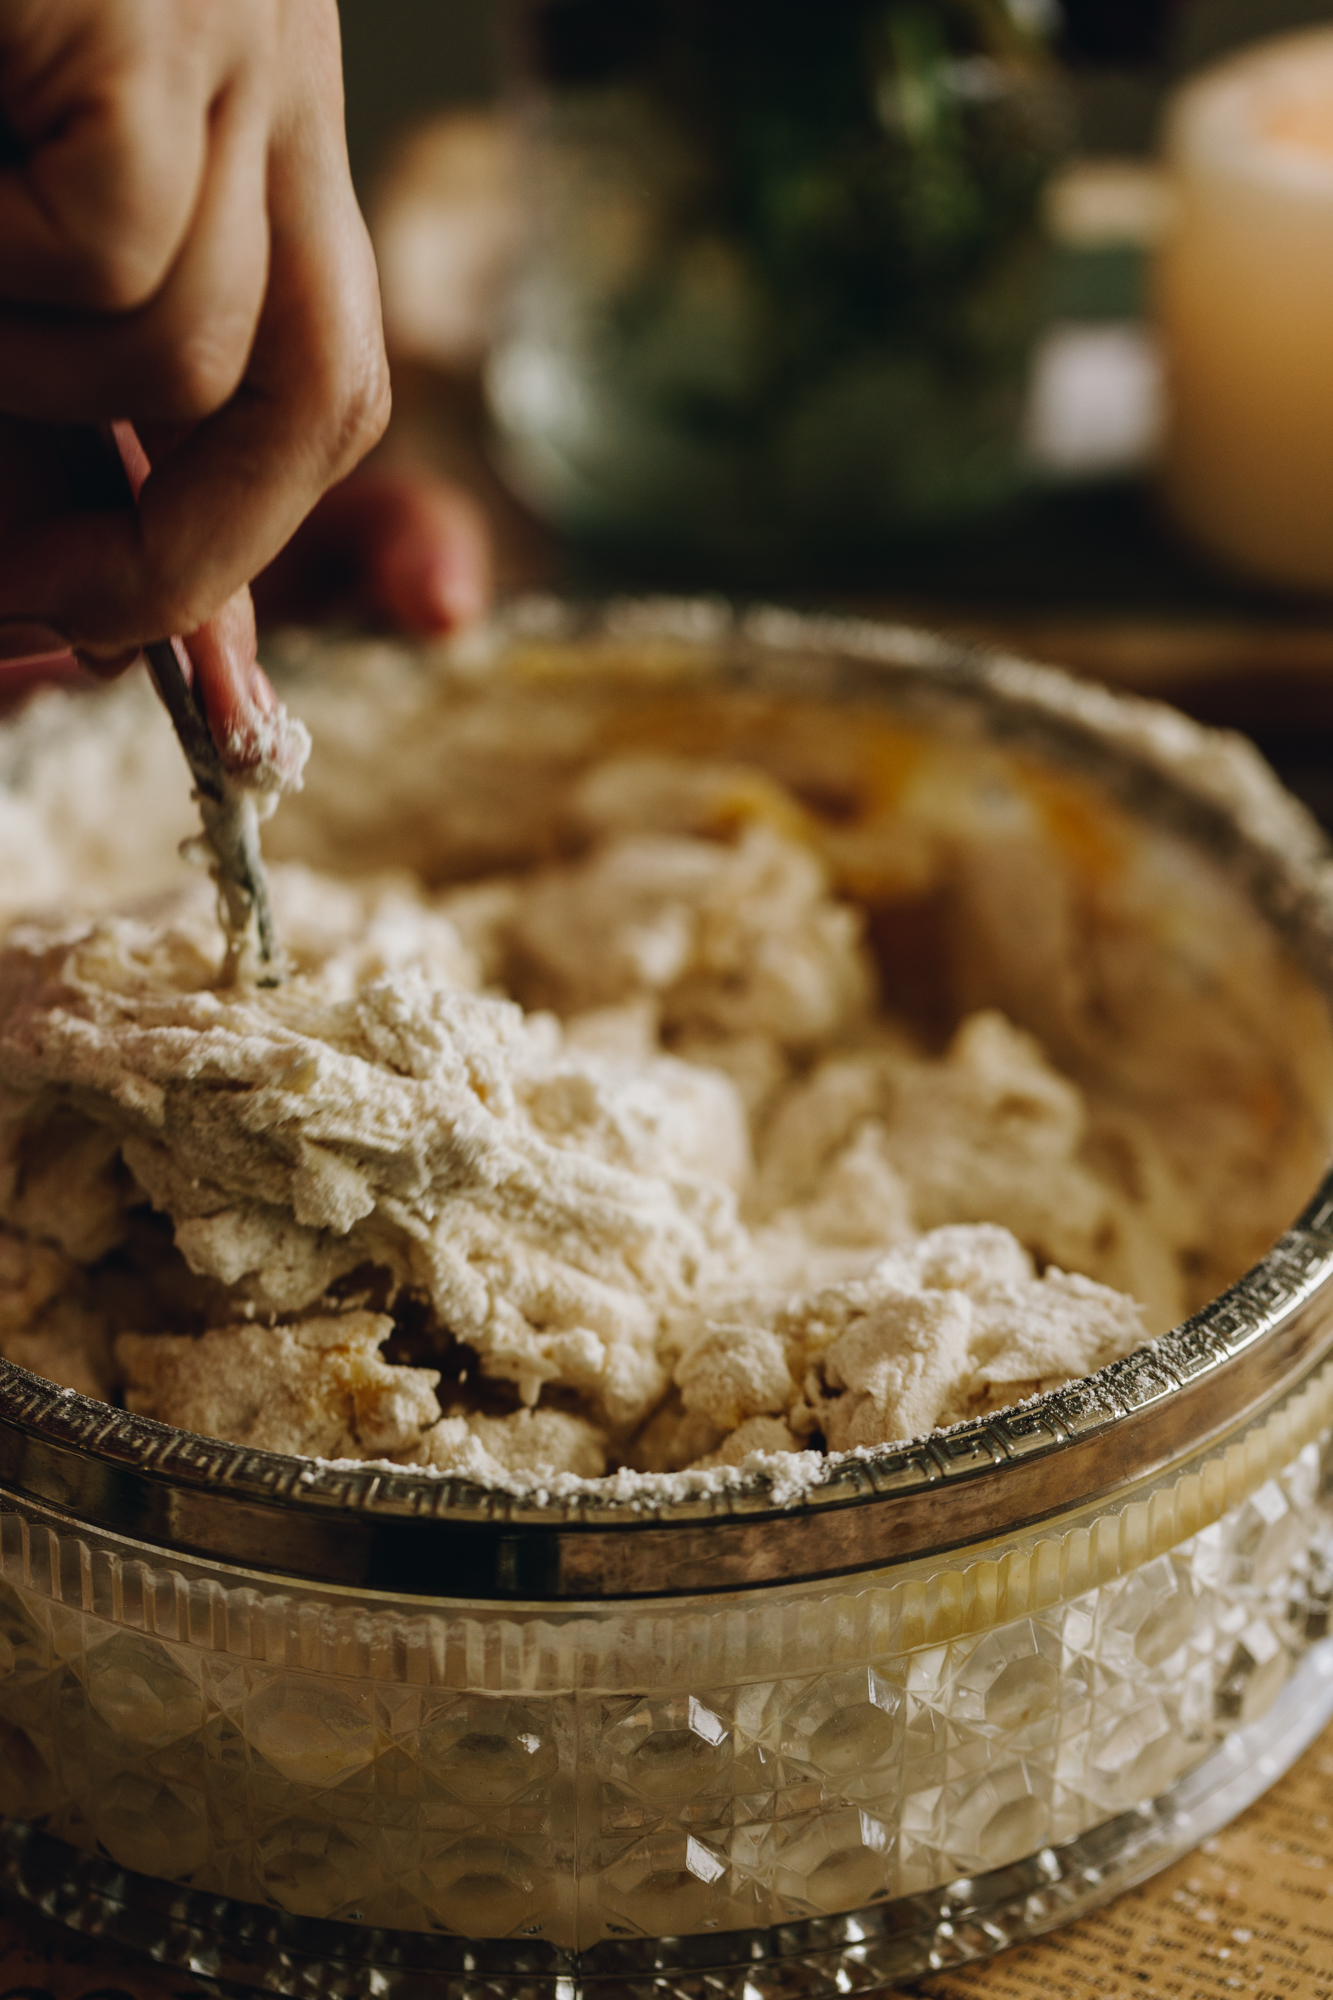
2. Add in the Remaining Ingredients:
Add the hēki (eggs), puehu parāoa (flour) and tote (salt) in to the yeast mixture.
Using a bread and butter knife, mix it all together until a dough forms.
Once the dough is roughly incorporated, it is time to knead the dough.
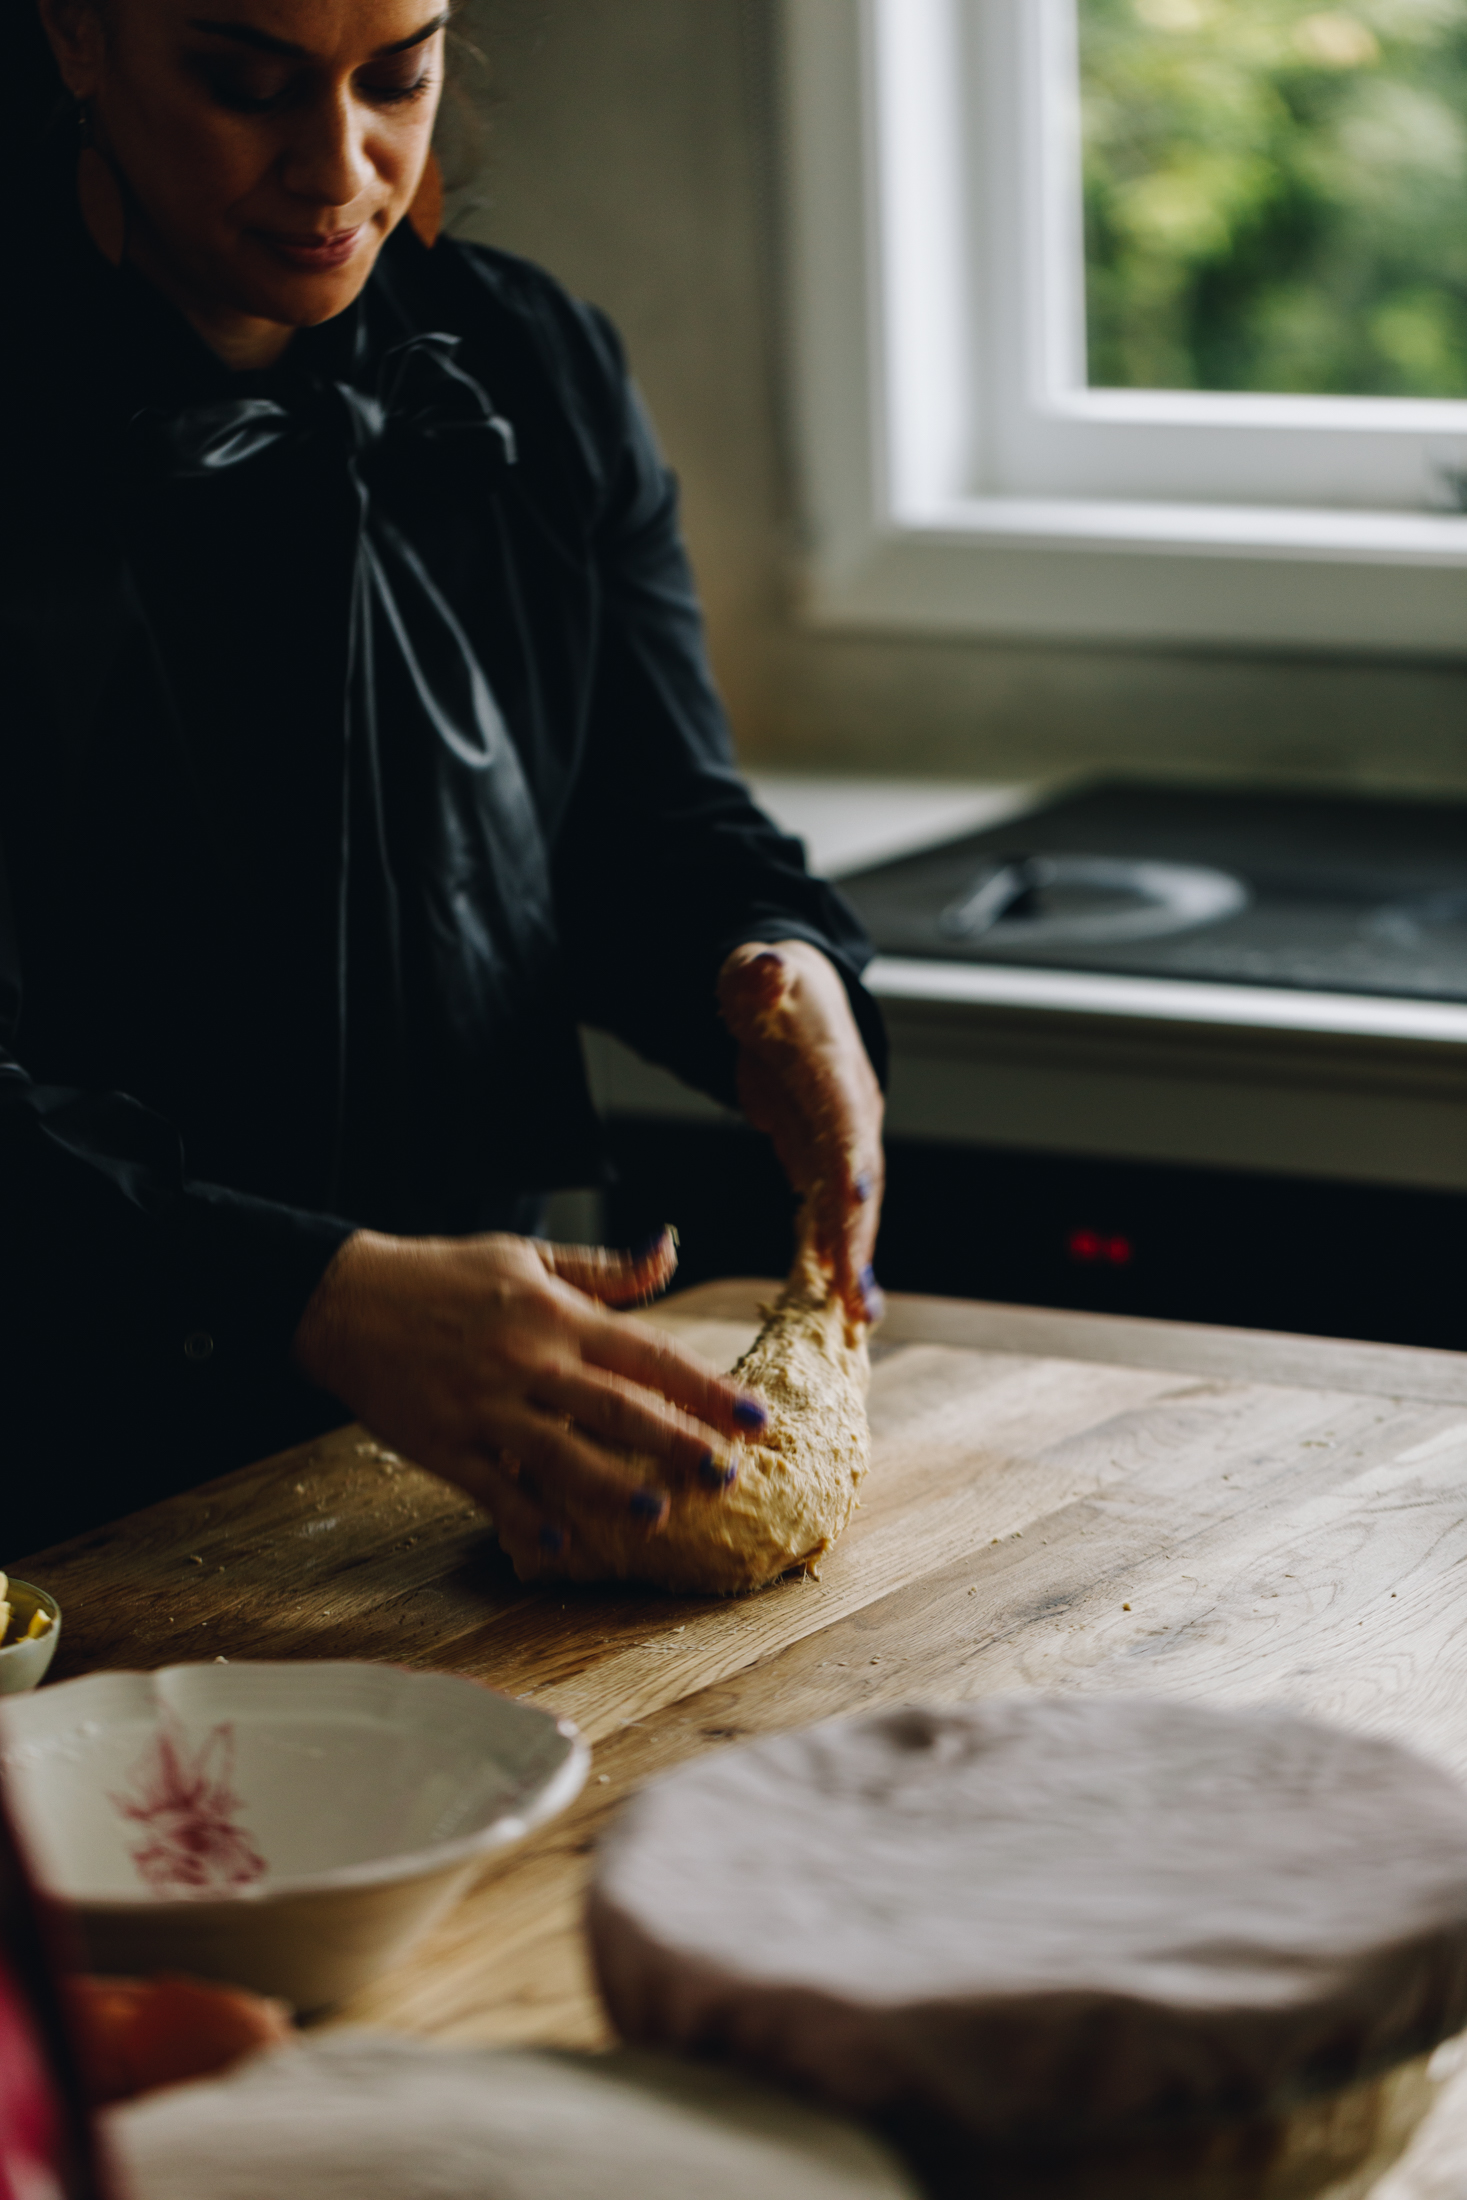
3. Knead the Dough:
If you are using a mixer, place the dough in the mixing bowl. Using a dough hook, knead for 9 – 10 minutes on low - medium speed.
If you are kneading by hand, add the dough to a lightly floured bench or table. Knead the dough with the palms of your hands (not with your fingers), for 10 - 12 minutes.
Kneading Tip:
Whether you are hand or machine kneading this dough it is quite sticky but try not to add extra flour just trust the process.
Remember, a slightly sticky dough is better than a stiff dough.
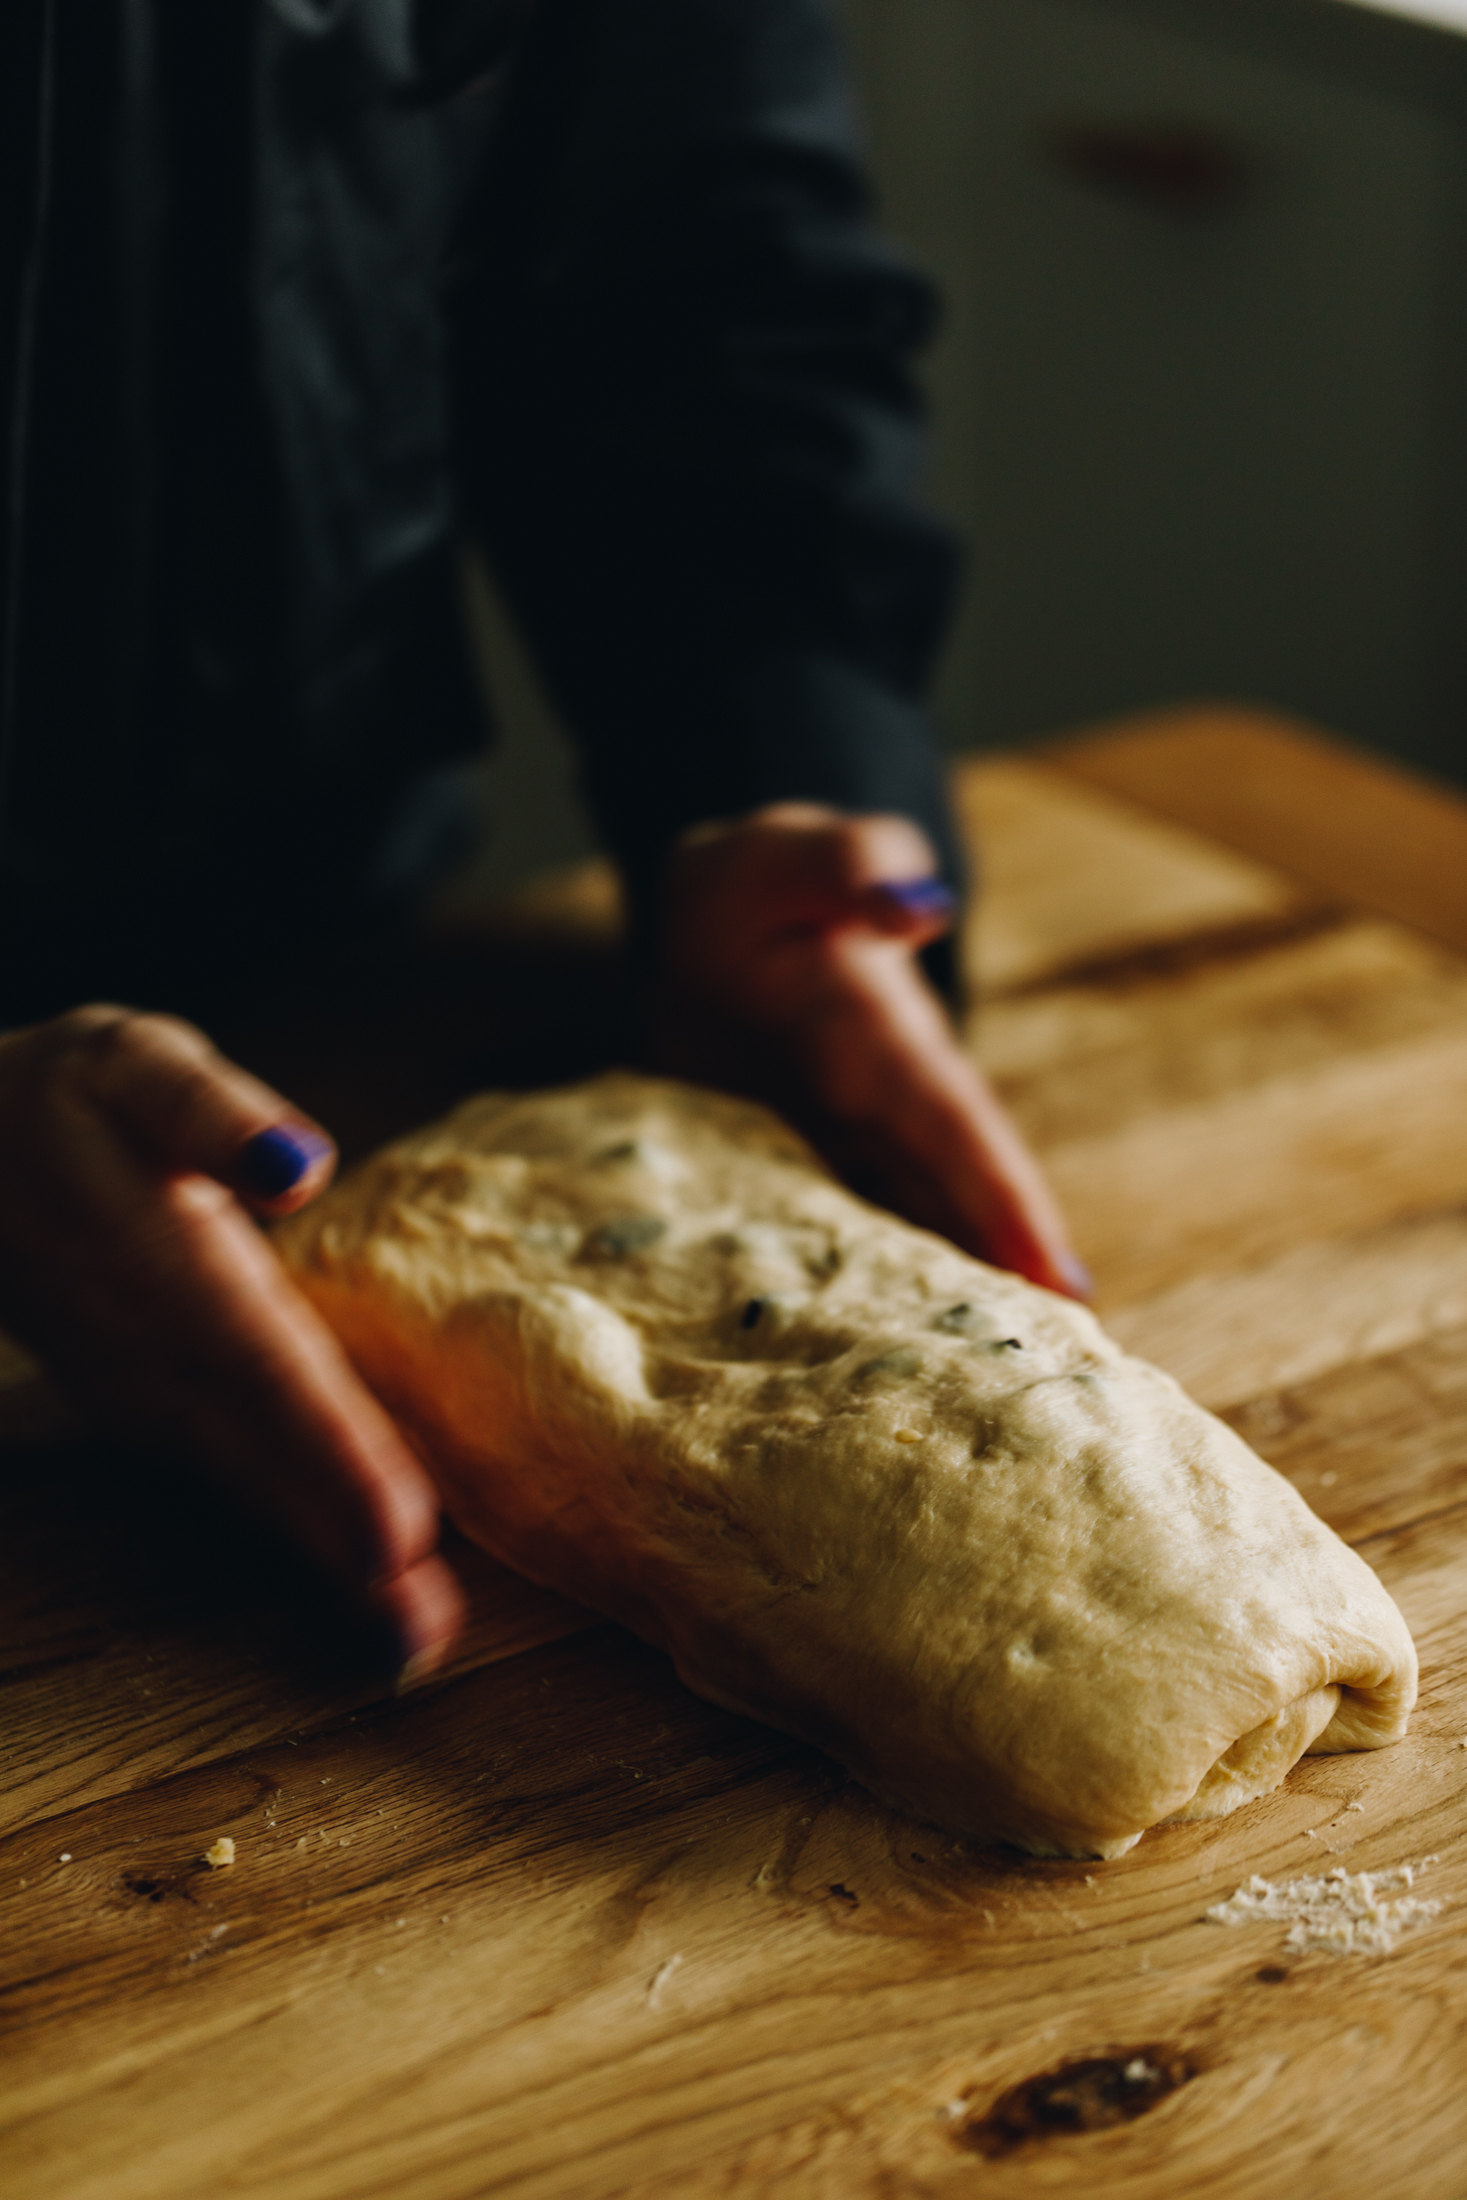
4. Add the Chocolate Chips:
Once the dough is lovely and stretchy, stretch it on to the bench and sprinkle over the titipi tiakarete (chocolate chips/drops).
Fold in the corners and gently knead them in until they are evenly distributed.
5. First Rise:
Mould the pokenga (dough) in to a ball and add it in to a clean bowl.
Cover with a tea towel or bowl cover.
Leave it on the bench for 1 ½ - 2 hours or until it has doubled in size.
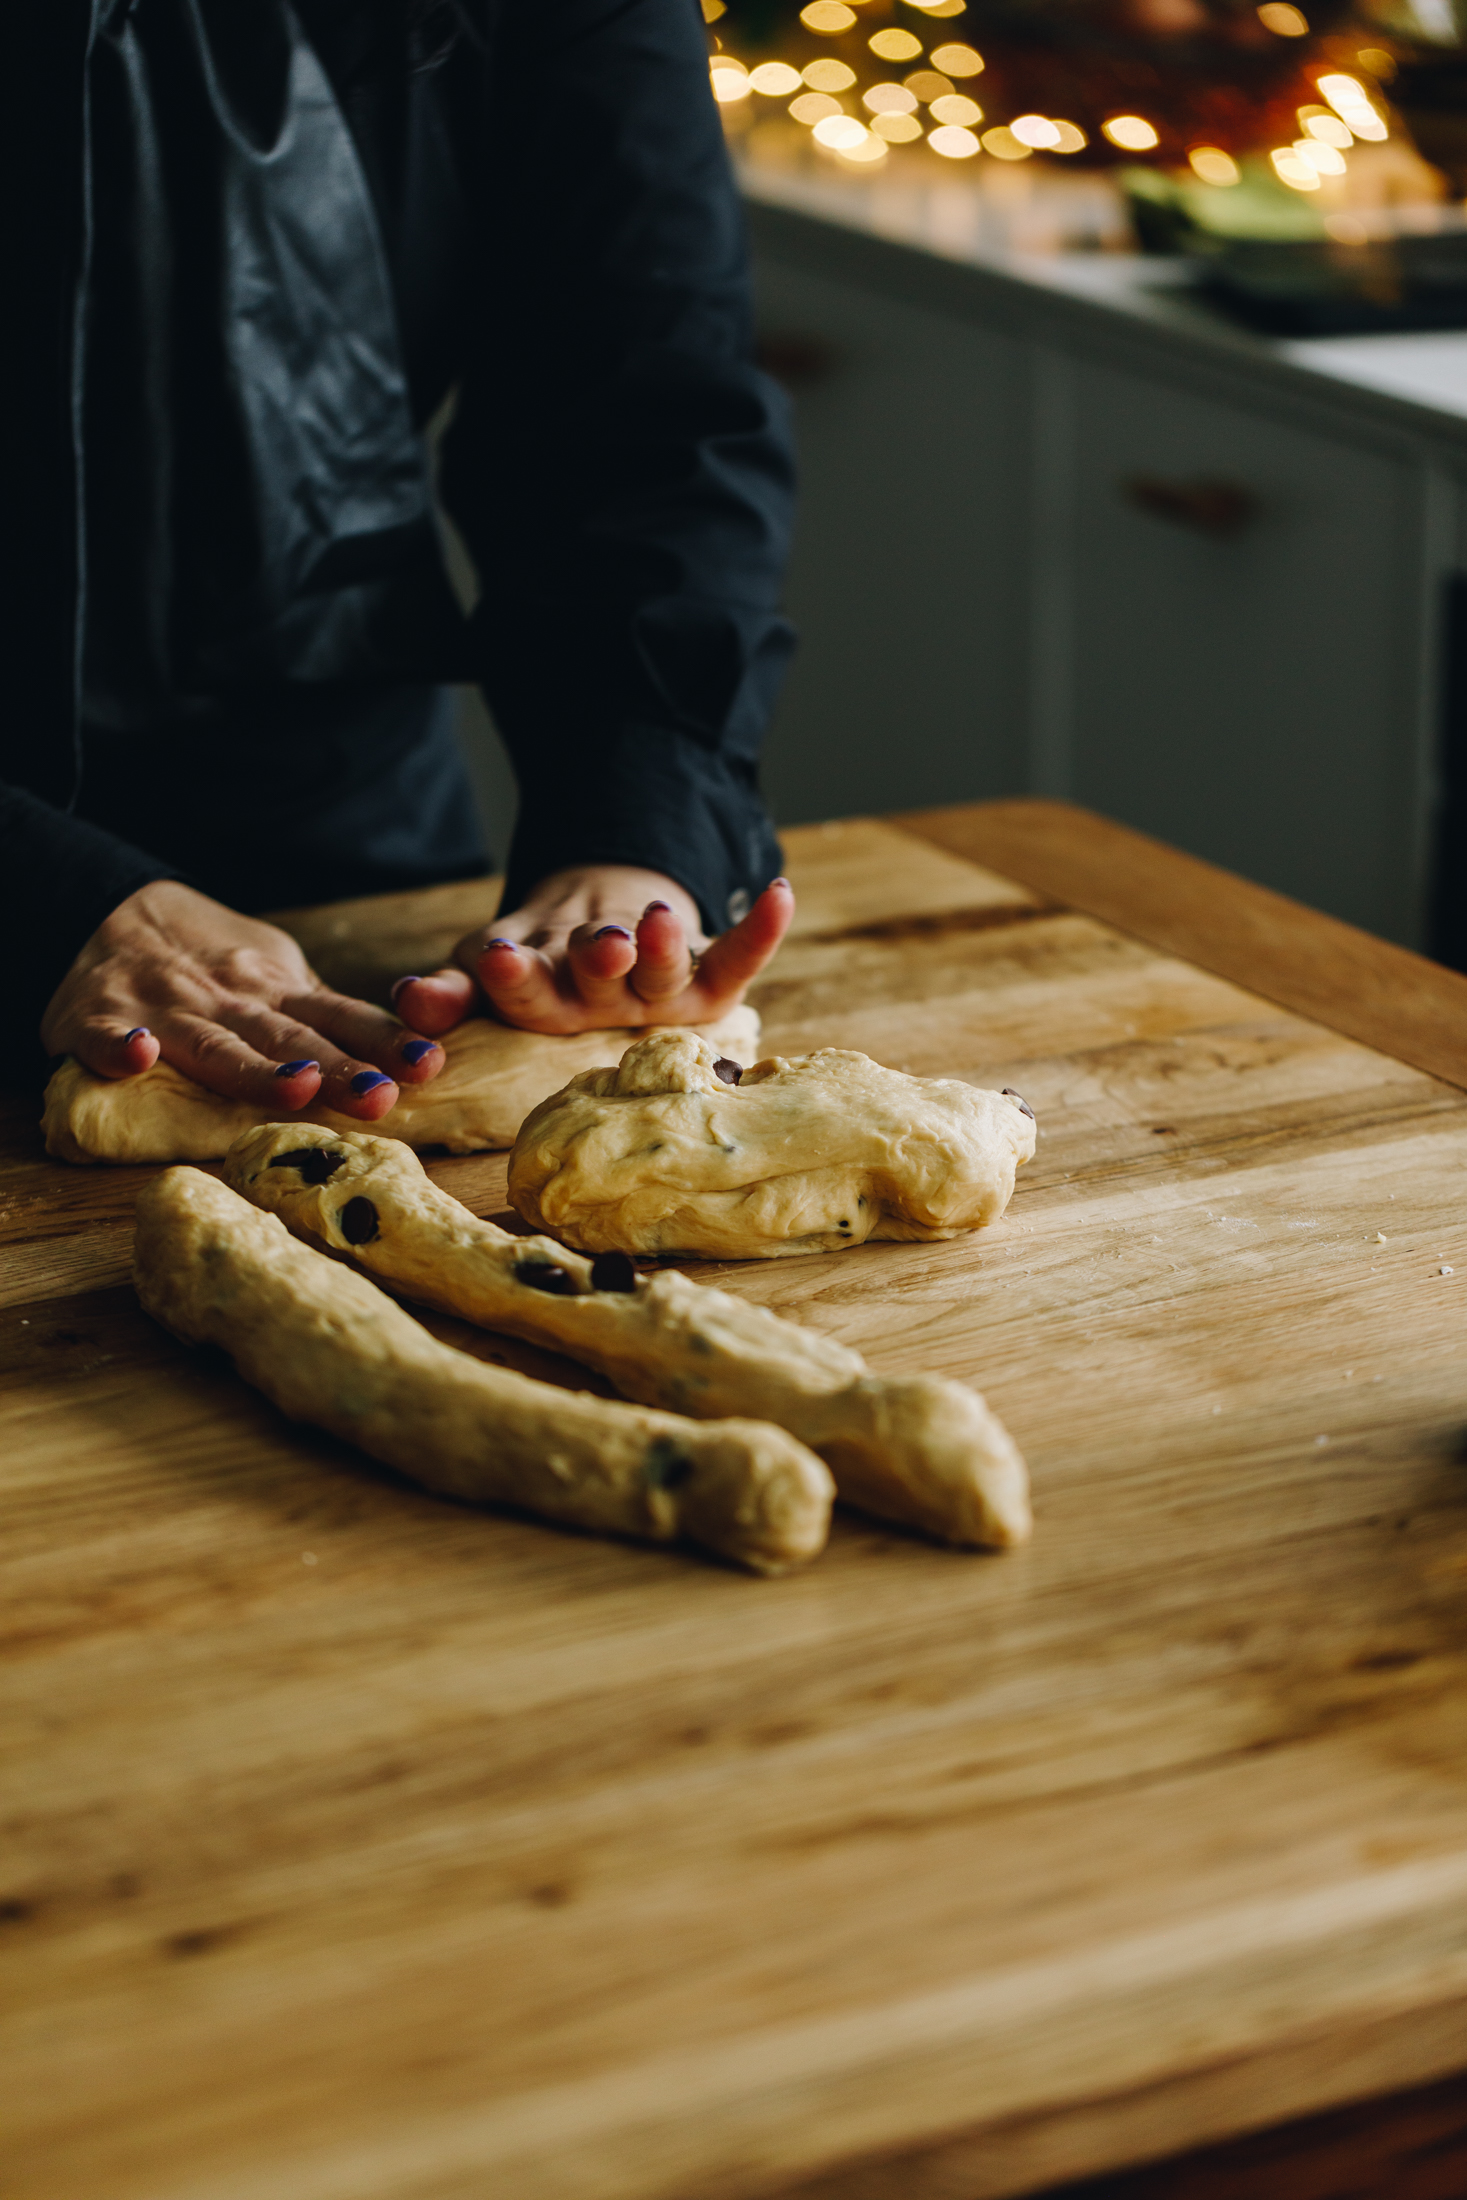
6. Instructions for a Four Strand Braid:
Note: If you want to do a three plait, the instructions are in the recipe below.
Once the dough has risen, cut the dough into four equal portions.
I weigh mine for accuracy but you can just eye ball it if you want to.
Roll each portion into a 30 cm rope.
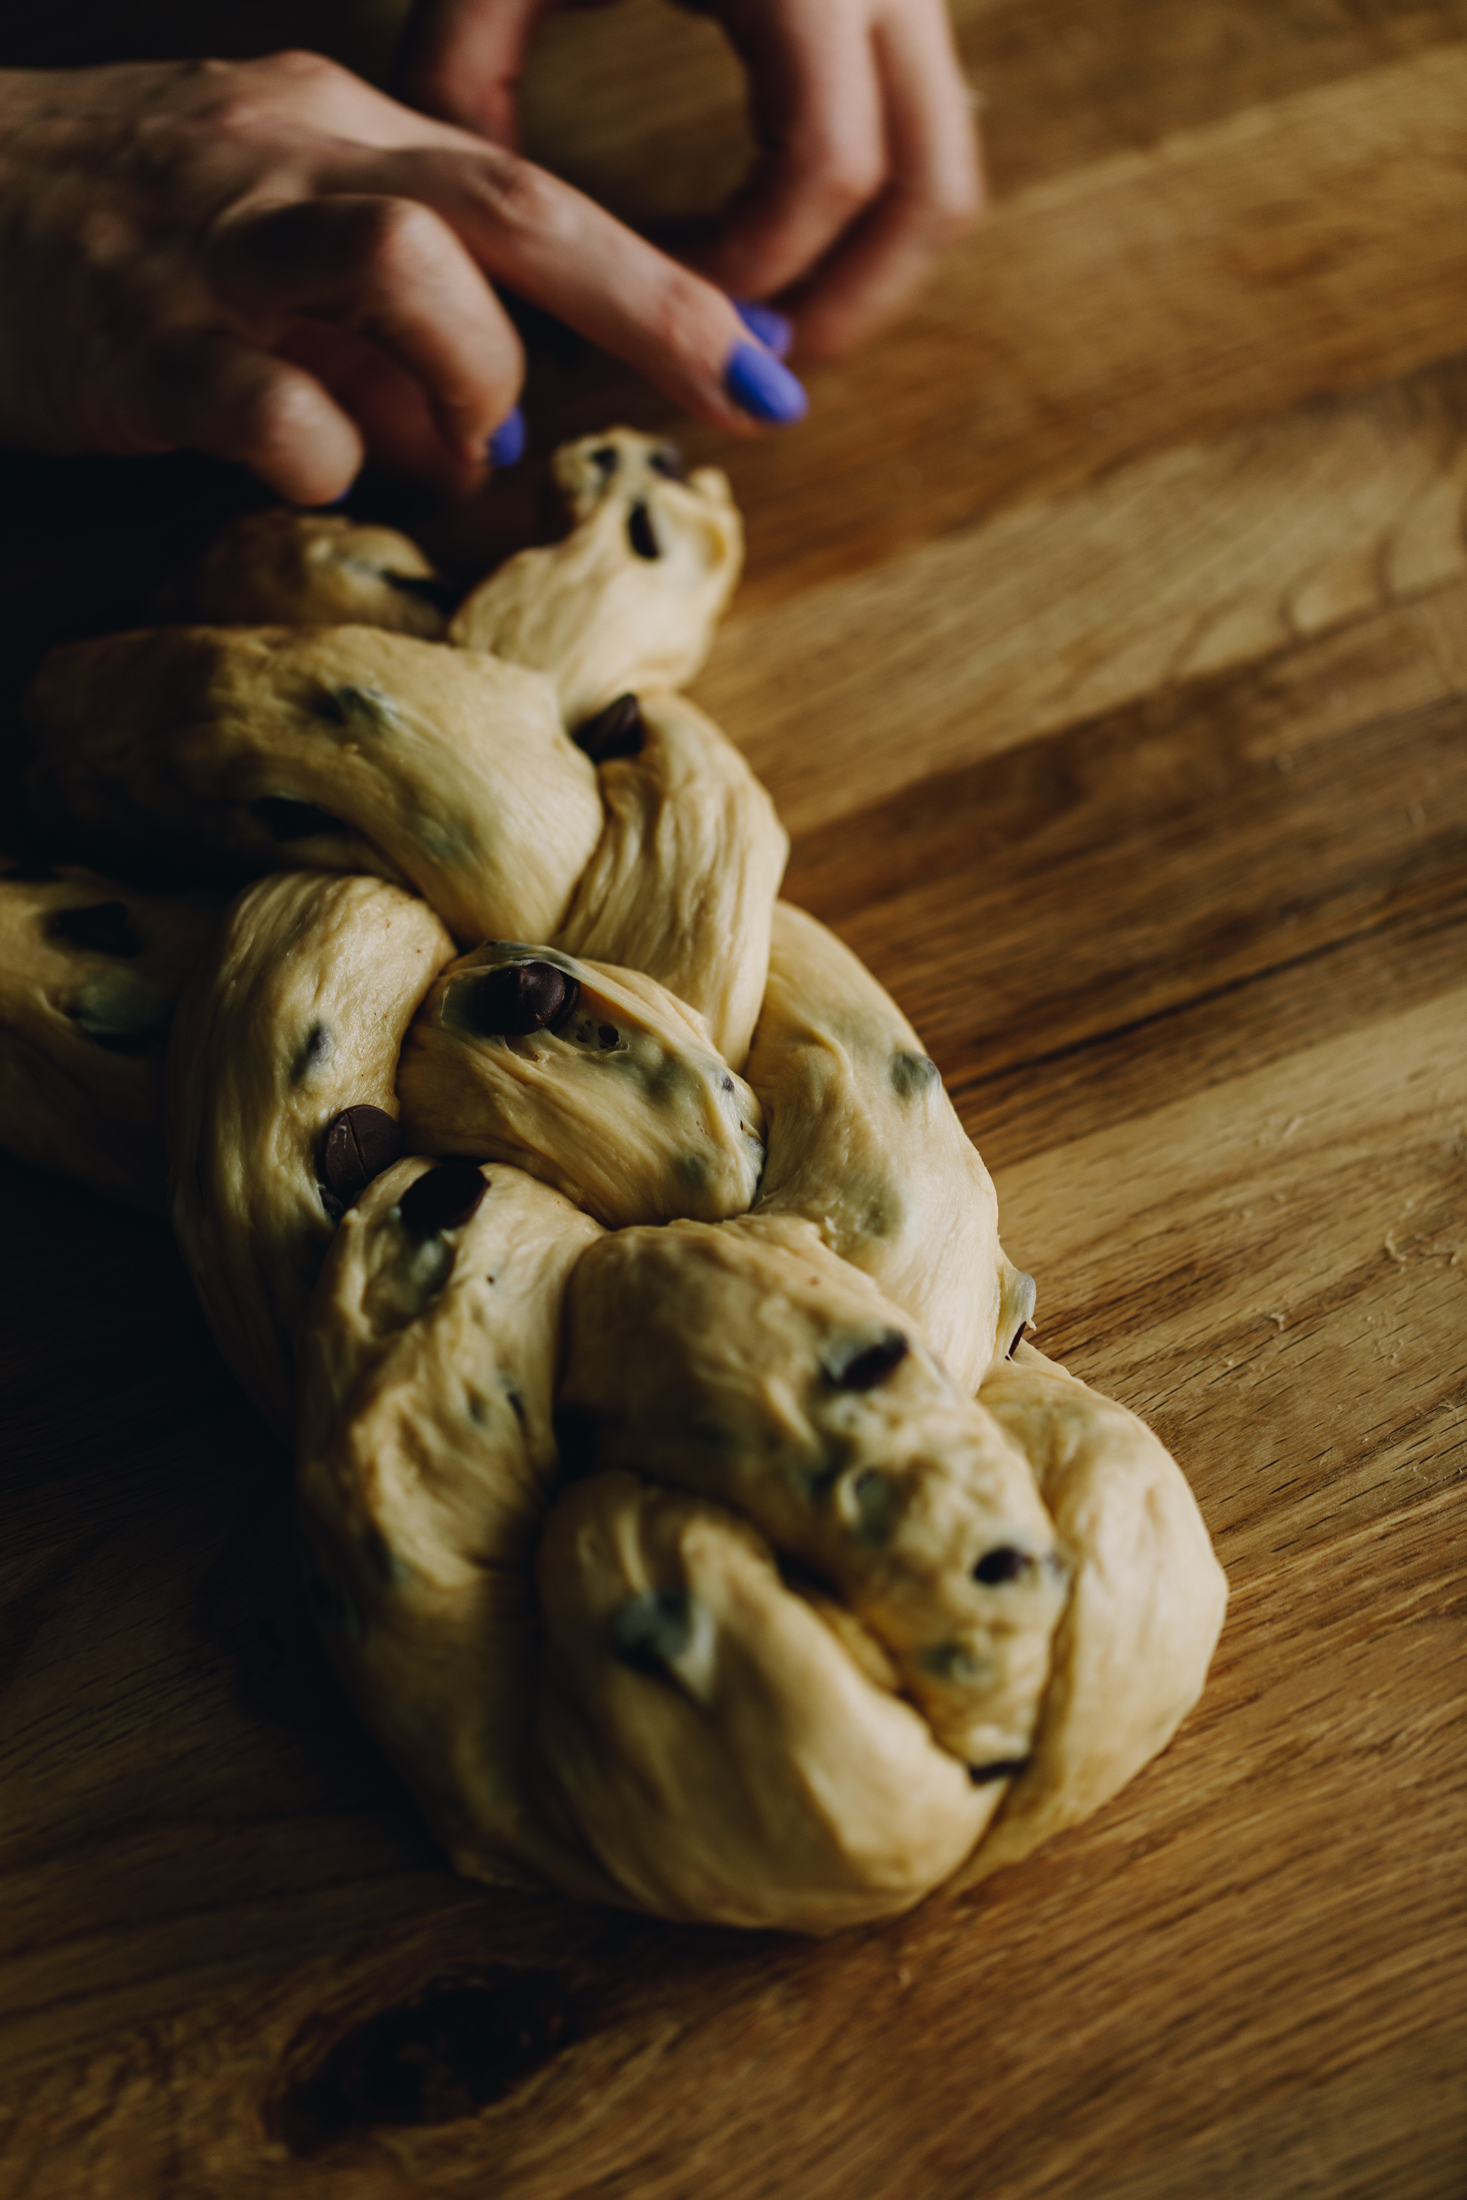
7. Create the Four Strand Braid:
Arrange the the pieces side by side. Pinch the four ends together at the top.
Take the fourth strand (on the right) and weave it over and under the other strands until it lands on the other side.
Repeat this process until all the dough is braided, always taking the strand from the right hand side and weaving it under and over all the other pieces.
Tuck both of the ends in so you have a nice shape and place it on to a well oiled 30 cm x 40 cm tray.
8. Second Rise:
Regardless of what braid you made, cover the tray with a tea towel and rise it for 50-60 minutes.
9. Preheat the Oven:
10 minutes before the bread has finished rising, preheat the oven to preheat the oven to 180 °C bake setting or 170 °C fan bake setting.
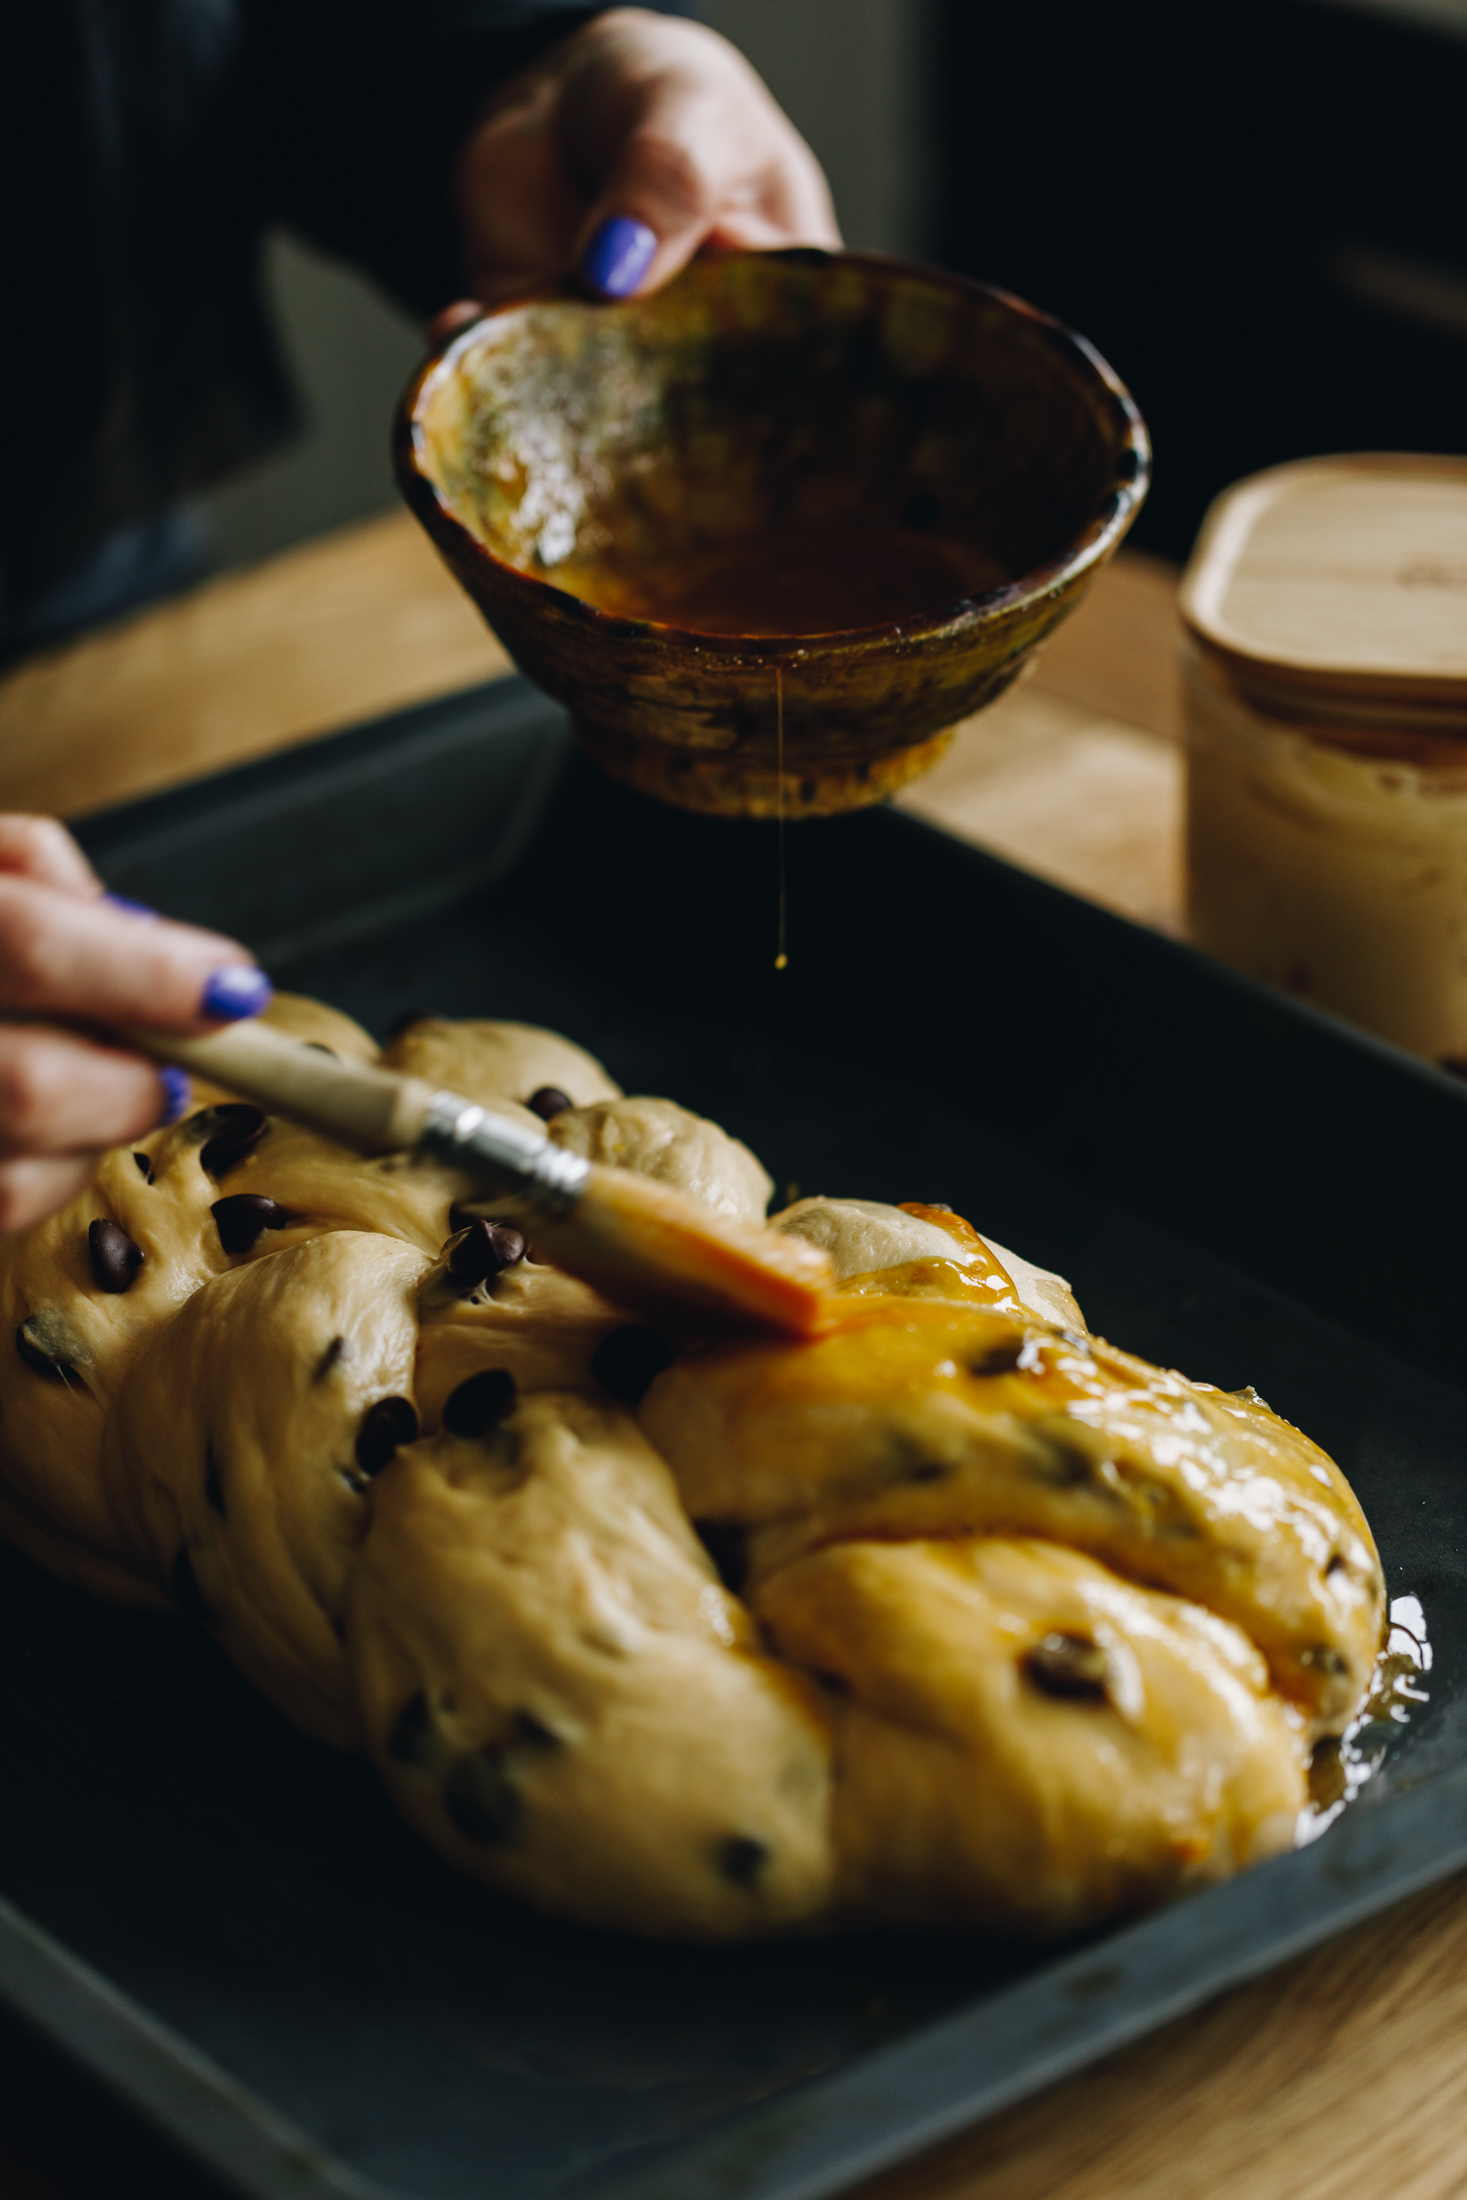
10. Glaze the Bread:
Add the hēki (egg) or the miraka (milk) and huka hāura (brown sugar) in to a small bowl and whisk it until smooth.
Then baste it all over the parāoa (bread) with a pastry brush. This helps the bread become golden when baking.
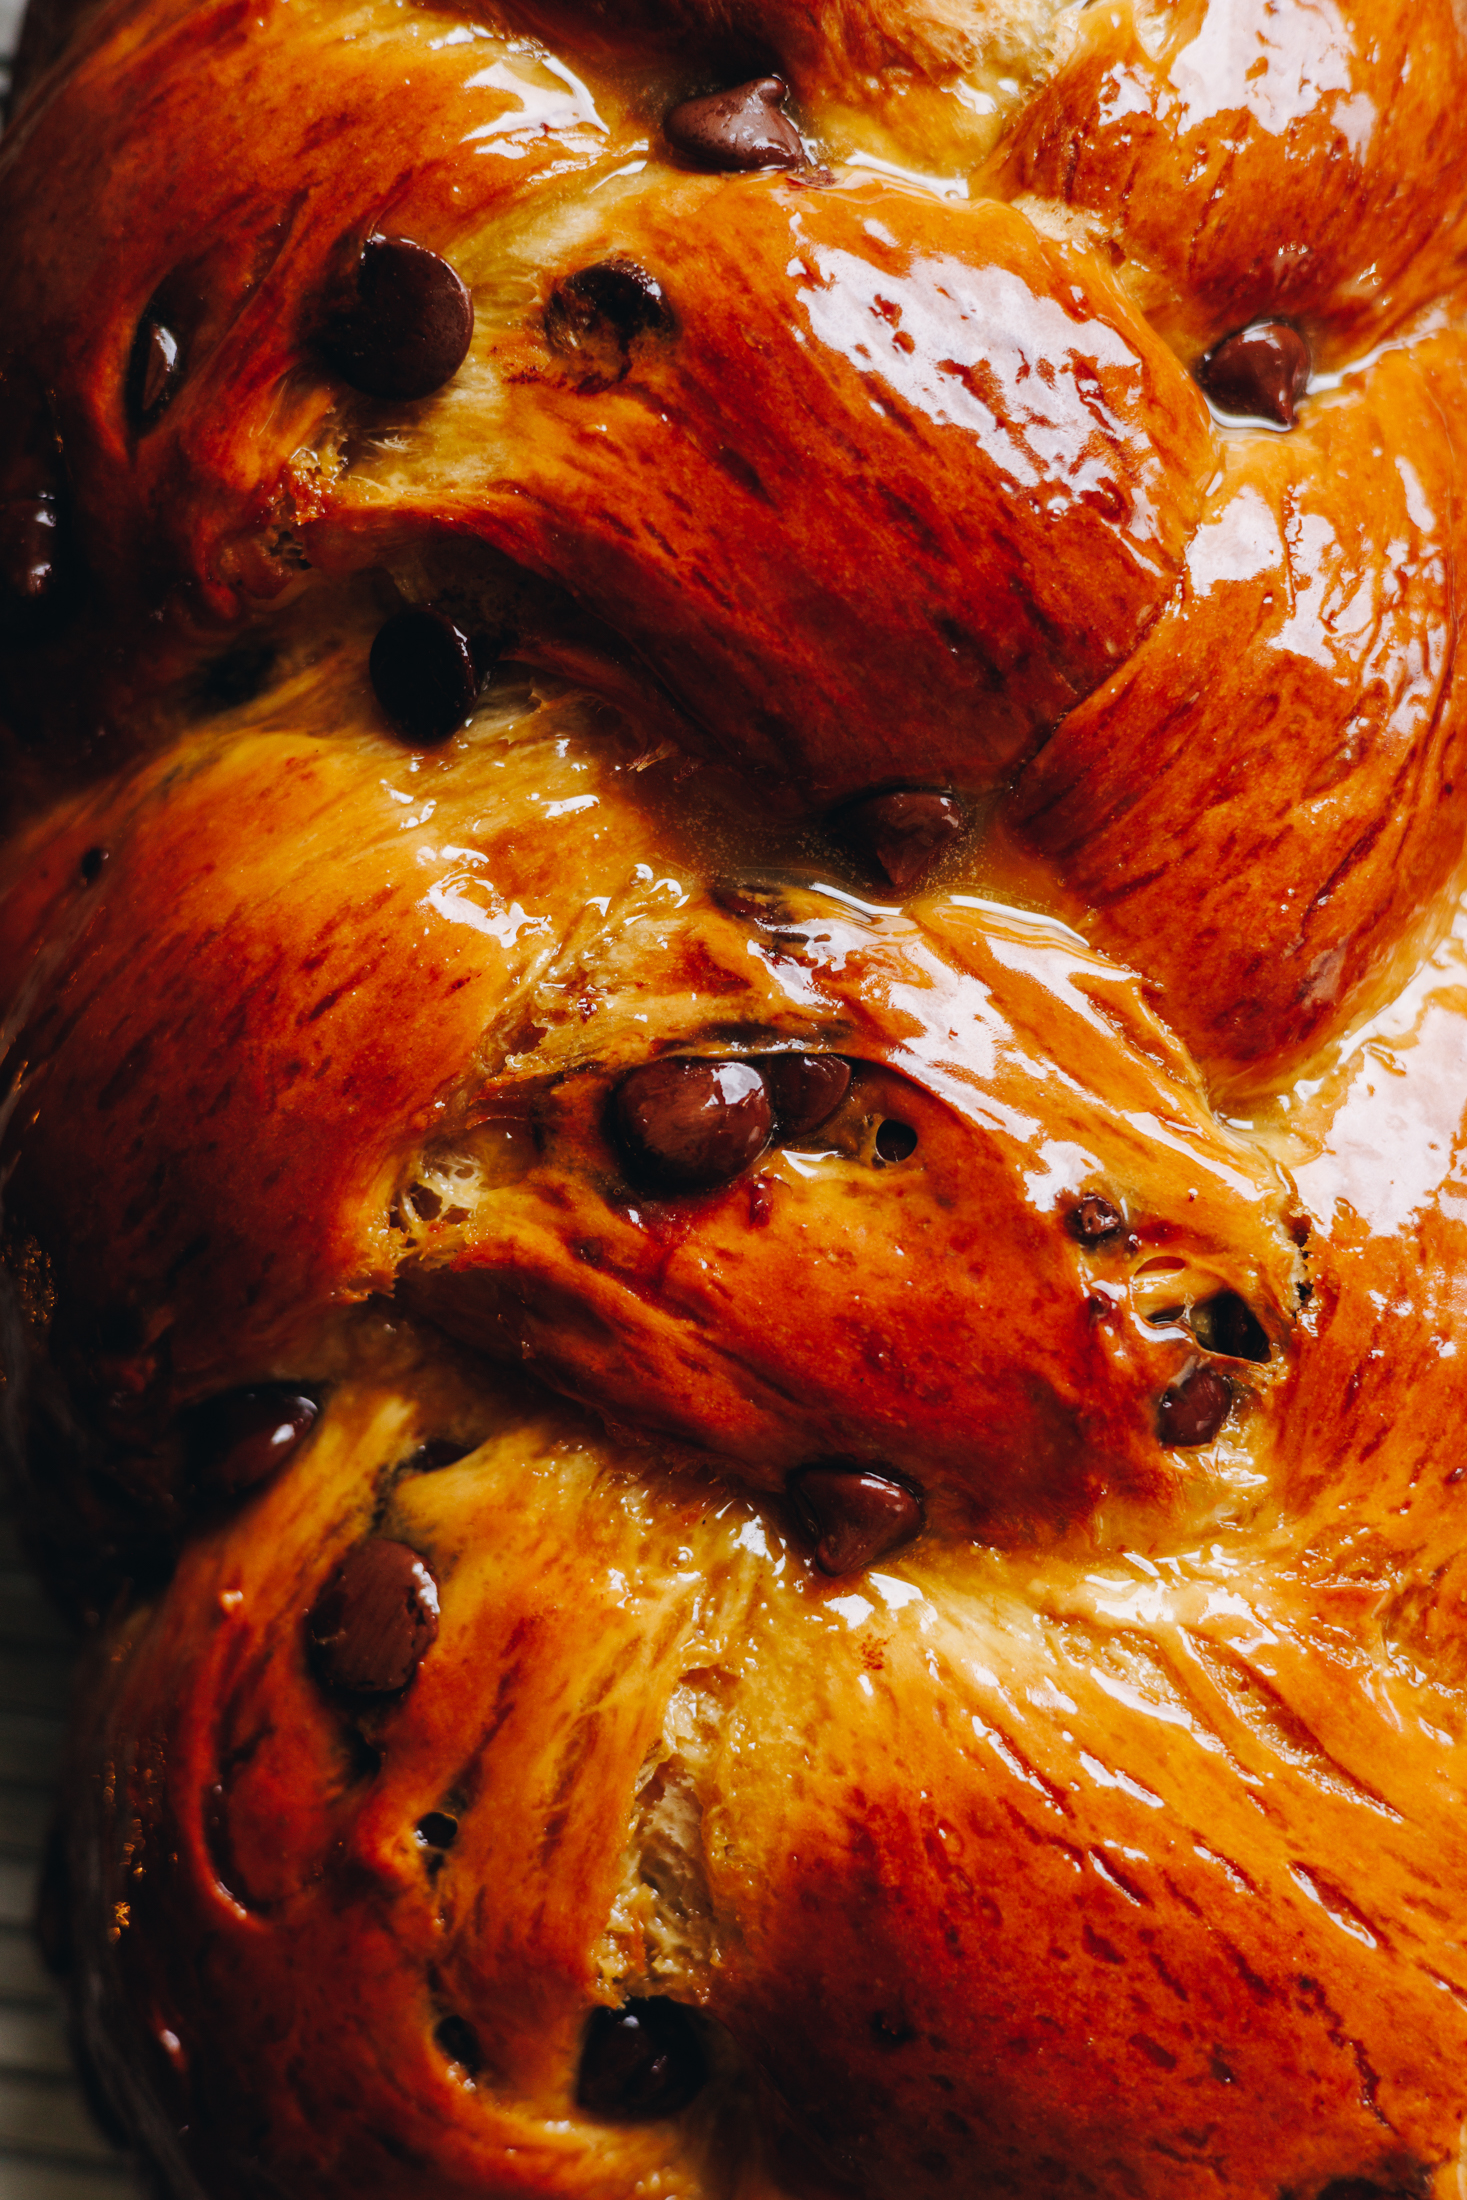
11. Bake the Bread:
Place the parāoa (bread) in the oven and bake for 10 minutes at 180 °C bake setting or 170 °C fan bake setting.
Then, turn the oven down to 160 °C bake setting or 150 °C fan bake setting and bake for a further 35 minutes.
12. Make the Final Glaze:
Just before the parāoa (bread) has baked, melt the pata (butter) and marahihi māpere (maple syrup or honey) in a pot or in the microwave.
13. Glaze the Bread again:
Remove the delicious parāoa (bread) from the oven and brush on the mōhinuhinu (glaze).
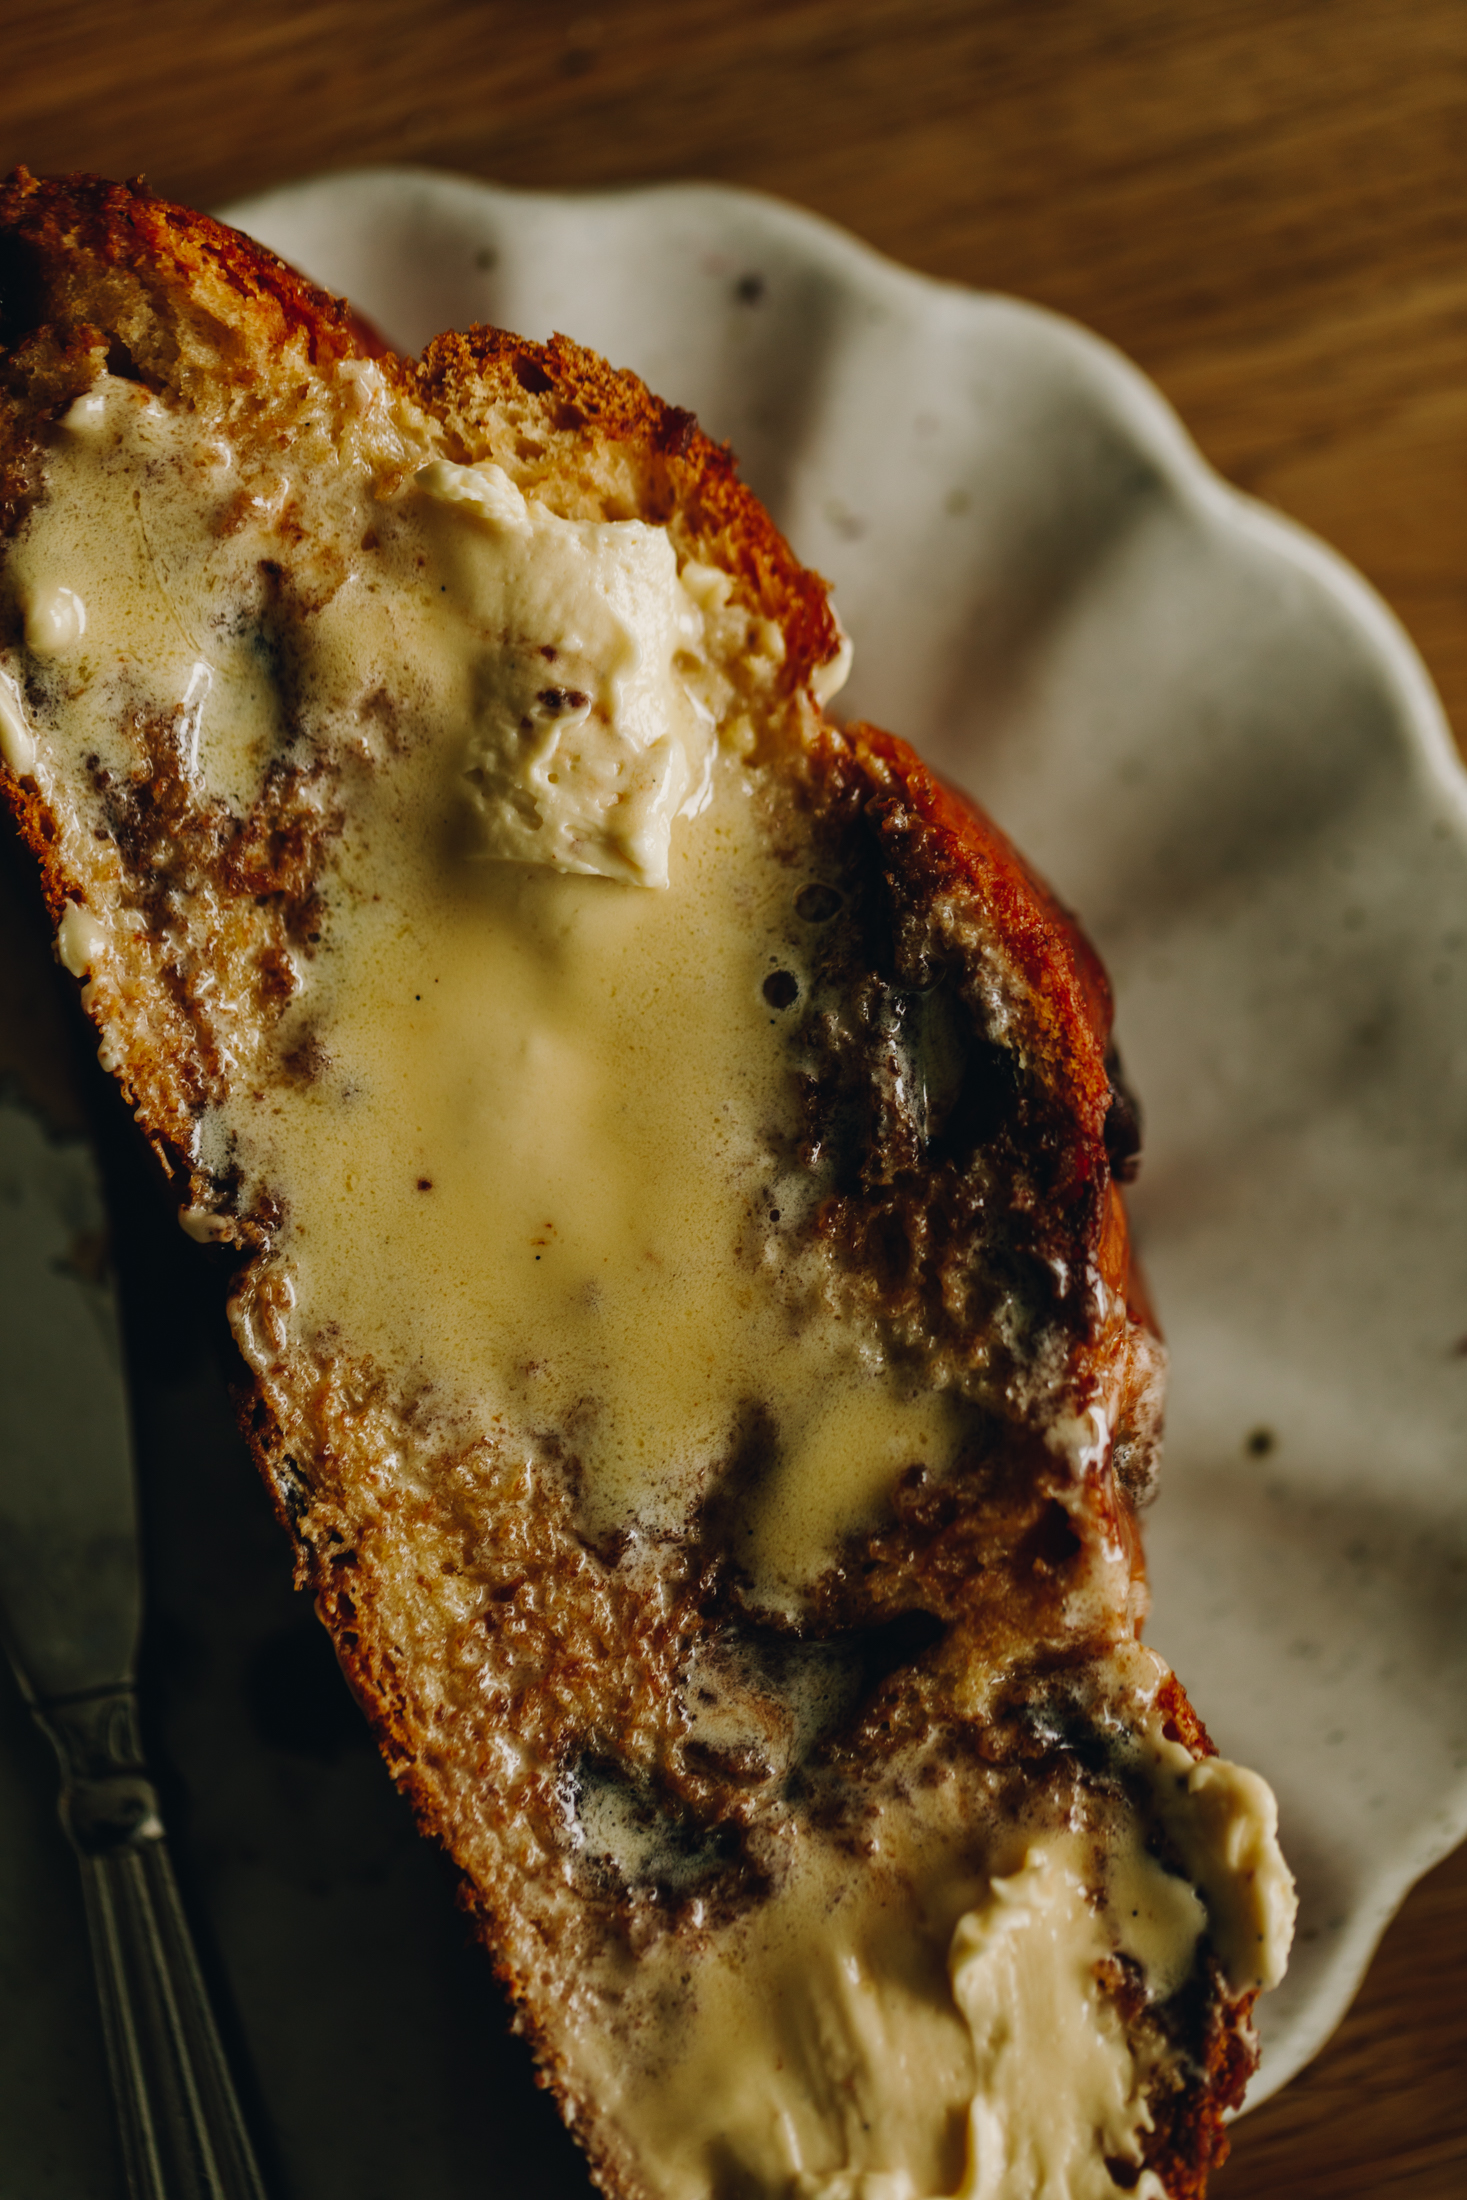
14. Serve the Bread:
Allow the parāoa (bread) to cool for five minutes before slicing it.
Serve it warm with my fresh with my whipped vanilla butter.
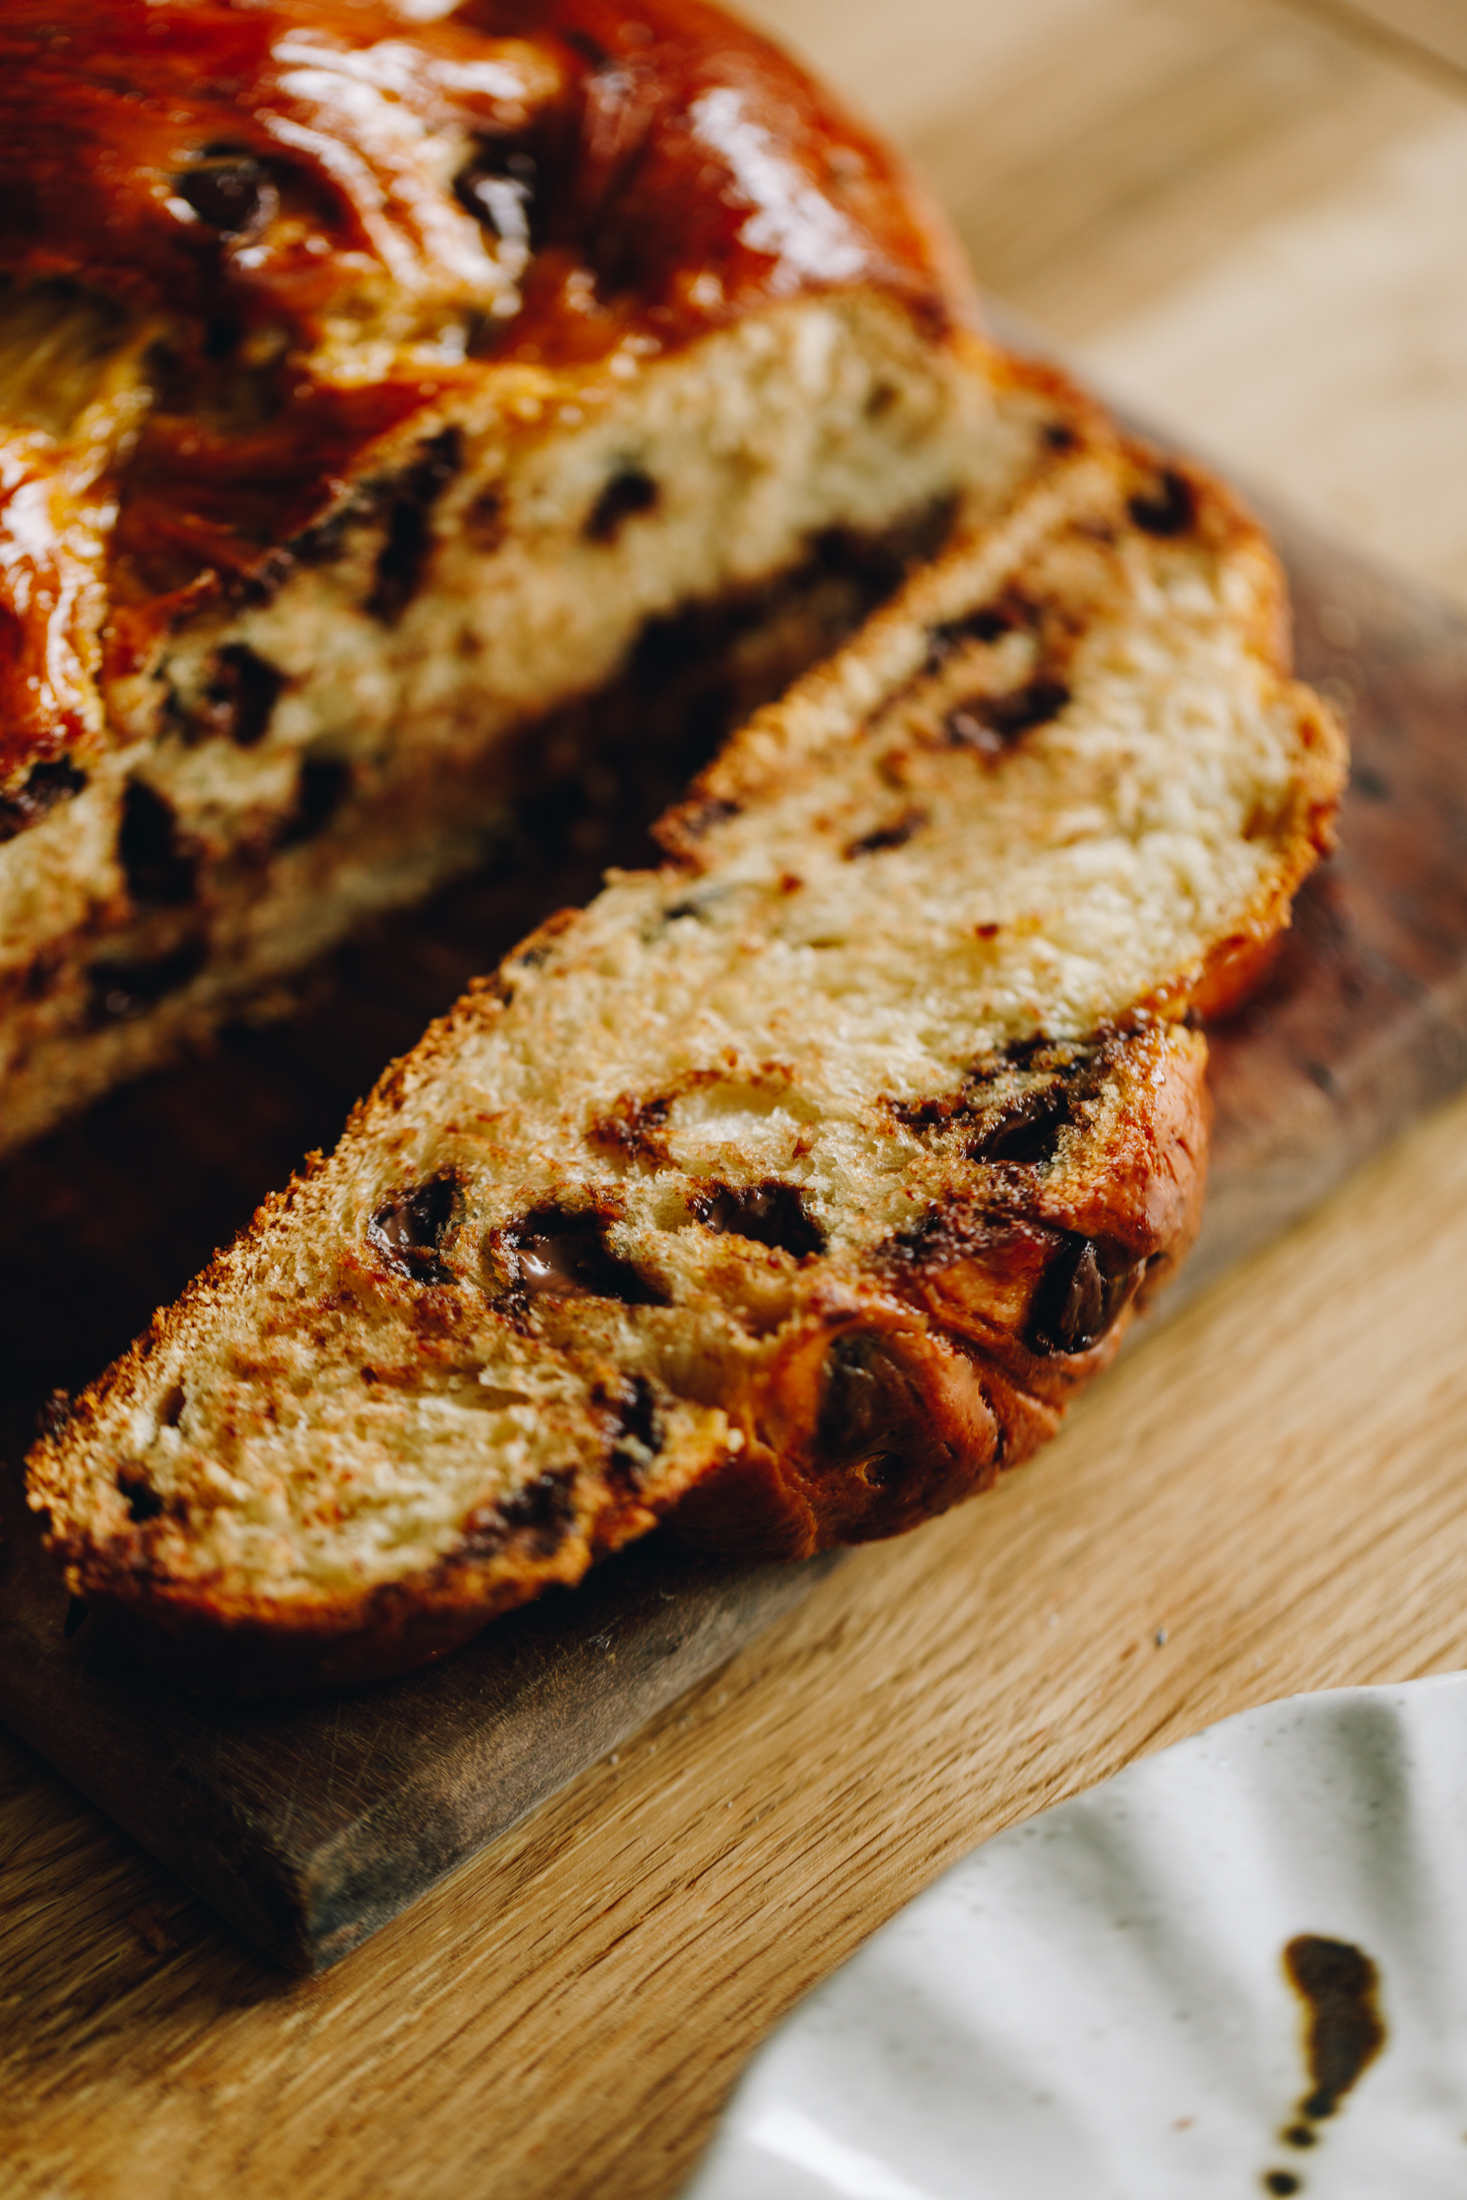
Store the Braided Chocolate Chip Bread:
This loaf will be at its best on the day but will also make great toast the next day.
In general, I keep homemade bread in a plastic bag for a day on the bench.
Beyond that I slice it and store it in the freezer and remove a piece at a time for toasting.
I know you loved this recipe so check out these
Parāoa (Bread) Recipes
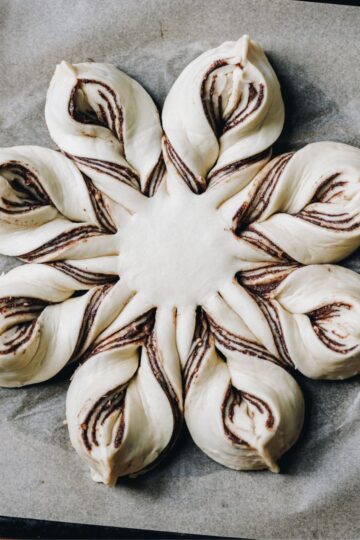
Slow down your day and enjoy the beautiful process of making bread from scratch.


DID YOU ENJOY THIS RECIPE?
It would be so awesome if you could please leave a review/comment by clicking the “leave a comment” section at the top of the page.
I love seeing you all make my creations, so send a whakaahua (photo) or kiriata (video) to my Instagram and show me what you made. Let me know if you have any pātai (questions) too, I would love to help.
Braided Brioche Chocolate Chip Bread - Parāoa Tōpuku Me Ngā Titipi Tiakarete
Ingredients
The Dough - Te Pokenga
- ⅔ C (165 ml) wai wera (hot water, from the tap)
- ½ C (125 ml) miraka (milk)
- ½ C (100 g) huka hāura (brown sugar or caster sugar)
- 1 ¼ tablespoon (10g) īhi tere (instant yeast)
- 2 hēki iti (small eggs, size 6)
- 1 tablespoon wanira (vanilla)
- 4 ¼ C (635 g) puehu parāoa kounga (high grade flour)
- 2 teaspoon tote (salt, fine)
- 70 g pata kūteretere (softened butter, cut into small pieces)
- 1 C (200 g) titipi tiakarete (chocolate chips or drops, I prefer drops as they are a bit bigger)
The Glaze - Te Mōhinuhinu
- 1 tablespoon huka hāura (brown sugar)
- 1 hēki (egg)
The Final Glaze - Te Mōhinuhinu Whakamutunga
- 30 g pata (butter)
- 2 tbsp marahihi māpere (maple syrup, honey will also work here)
Instructions
Activate the Yeast:
- Add the wai wera (hot water), miraka (milk) and huka hāura (brown sugar) in to a large bowl. Stir it all together until the sugar is dissolved.
- Stir in the īhi tere (instant yeast) and allow it to activate for five minutes until foamy. The īhi (yeast) has activated when it has floated to the top.
Add in the Remaining Ingredients:
- Add the hēki (eggs), puehu parāoa (flour) and tote (salt) in to the yeast mixture. Using a bread and butter knife, mix it all together until a dough forms.
- Once the dough is roughly incorporated, it is time to knead the dough.
Knead the Dough:
- If you are using a mixer, place the dough in the mixing bowl. Using a dough hook, knead for 9 – 10 minutes on low - medium speed.
- If you are kneading by hand, add the dough to a lightly floured bench or table. Knead the dough with the palms of your hands (not with your fingers), for 10 - 12 minutes.
Kneading Tip:
- Whether you are hand or machine kneading this dough it is quite sticky but try not to add extra flour just trust the process.
- Remember, a slightly sticky dough is better than a stiff dough.
Add the Chocolate Chips:
- Once the dough is lovely and stretchy, stretch it on to the bench and sprinkle over the titipi tiakarete (chocolate chips/drops). Fold in the corners and gently knead them in until they are evenly distributed.
First Rise:
- Mould the pokenga (dough) in to a ball and add it in to a clean bowl. Cover with a tea towel or bowl cover.
- Leave it on the bench for 1 ½ - 2 hours or until it has doubled in size.
Instructions for a Three Strand Plait:
- Once it has risen, tip the pokenga (dough) on to the table and cut it in to three equal portions.
- Then roll each piece in to a 35 cm rope and arrange the pieces side by side. Pinch the three ends together at the top.
- Take the strand from the left and place it over the middle strand. Take the strand from the right and place it over the middle strand.
- Repeat this process until all the dough is braided.
- Tuck both of the ends in so you have a nice shape and place it on to a well oiled 30 cm x 40 cm tray.Skip to the 'Second Rise' step.
Instructions for a Four Strand Braid:
- Once the dough has risen, cut the dough into four equal portions. I weigh mine for accuracy but you can just eye ball it if you want to.
- Roll each portion into a 30 cm rope.
Create the Four Strand Braid:
- Arrange the the pieces side by side. Pinch the four ends together at the top.
- Take the fourth strand (on the right) and weave it over and under the other strands until it lands on the other side.
- Repeat this process until all the dough is braided, always taking the strand from the right hand side and weaving it under and over all the other pieces.
- Tuck both of the ends in so you have a nice shape and place it on to a well oiled 30 cm x 40 cm tray.
Second Rise:
- Regardless of what braid you made, cover the tray with a tea towel and rise it for 50-60 minutes.
Preheat the Oven:
- 10 minutes before the bread has finished rising, 180 °C bake setting or 170 °C fan bake setting.
Glaze the Bread:
- Add the hēki (egg) or the miraka (milk) and huka hāura (brown sugar) in to a small bowl and whisk it until smooth.
- Then baste it all over the parāoa (bread) with a pastry brush. This helps the bread become golden when baking.
Bake the Bread:
- Place the parāoa (bread) in the oven and bake for 10 minutes at 180 °C bake setting or 170 °C fan bake setting.
- Then, turn the oven down to 160 °C bake setting or 150 °C fan bake setting and bake for a further 35 minutes.
Make the Final Glaze:
- Just before the parāoa (bread) has baked, melt the pata (butter) and marahihi māpere (maple syrup or honey) in a pot or in the microwave.
Glaze the Bread again:
- Remove the delicious parāoa (bread) from the oven and brush on the mōhinuhinu (glaze).
Serve the Bread:
- Allow the parāoa (bread) to cool for five minutes before slicing it. Serve it warm with my fresh with my whipped vanilla butter.
Store the Braided Chocolate Chip Bread:
- This loaf will be at its best on the day but will also make great toast the next day.
- In general, I keep homemade bread in a plastic bag for a day on the bench.
- Beyond that I slice it and store it in the freezer and remove a piece at a time for toasting.
Video
Expert Tips for the Best braided chocolate chip bread:
Make Sure the Yeast Is Fully Activated;
Always give the yeast enough time to activate before adding the dry ingredients. You'll know it’s ready when it floats to the top and becomes slightly foamy. This ensures your bread rises beautifully.
Stick to the Recommended Kneading Times:
Follow the kneading times as written—the gluten needs proper time to develop for the best texture. For extra guidance, see our How to Knead Dough post.
Embrace the Stickiness:
Whether kneading by hand or with a machine, this dough is naturally sticky. Resist the urge to add extra flour; a slightly sticky dough will give you a softer, lighter bread than a stiff one.
Use Your Palms, Not Fingers:
When hand kneading, use the palms of your hands instead of your fingers. This technique may feel messier, but it helps work the dough properly without overworking it.
Don’t Stress About the Four-Plait:
If a four-plait feels intimidating, don’t worry. You can easily make this bread with a three-plait—simple instructions are included in the recipe.
RECIPE VARIATIONS:
This bread is easy to customise with different flavours and add-ins to suit your taste.
CHOCOLATE OPTIONS:
Swap dark chocolate chips for milk or white chocolate, or use a mix for extra richness. There are no rules here, just add whatever tiakarete (chocolate) makes you happy!
FLAVOUR ADD-INS:
Try adding kiri ārani (orange zest) of one orange, a teaspoon of hinamona (cinnamon), or half a cup of chopped nuts for a subtle twist.
SWEETNESS LEVEL:
You can reduce the amount of chocolate slightly if you prefer a more delicate sweetness.
Storage Tips:
This delicious loaf is always going to be at its peak when it is fresh from the oven. However, if you have leftovers, keep your braided chocolate chip bread fresh by storing it correctly.
STORING AT ROOM TEMPERATURE:
Store in an airtight container for 2–3 days. It’s best enjoyed fresh but will still keep well for a short time.
FREEZING:
If you want to freeze it, slice it in to pieces and place in a plastic bag. Freeze it like for that for up to 2 months.
Frequently Answered Questions:
The dough is meant to be soft and slightly sticky and as you knead the dough it will become less sticky. Avoid adding extra flour as it can make the bread dense.
No — the braid is for presentation only. You can shape it into a simple loaf if preferred.
The bread is ready when golden brown and sounds hollow when tapped underneath, or reaches 88–93°C internally.


Jamie Nicholl
This recipe was seemed illegal to be able to make at home. Such a detailed recipe and easy enough to make for any baker level, giving an outstanding result. Thank you for creating such amazing recipes to make at home. This loaf will feed my neighbourhood and would make a beautiful gift 💚
Naomi Toilalo WhānauKai
Wow Jamie - that is so beautiful to read and thank you for this incredible feedback.
I love that you share your baking too - that is so special.
Ngā mihi, Naomi