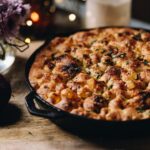
This fluffy no-knead focaccia bread is an absolute banger. Infused with garlic, honey, thyme, and lemon, it’s soft, airy, and packed with flavour in every bite. Made with simple ingredients and minimal effort, this beginner-friendly Italian-style bread requires no kneading at all—just time and a little patience with the dough.
Be at one with the dough and create e te whānau (family)!
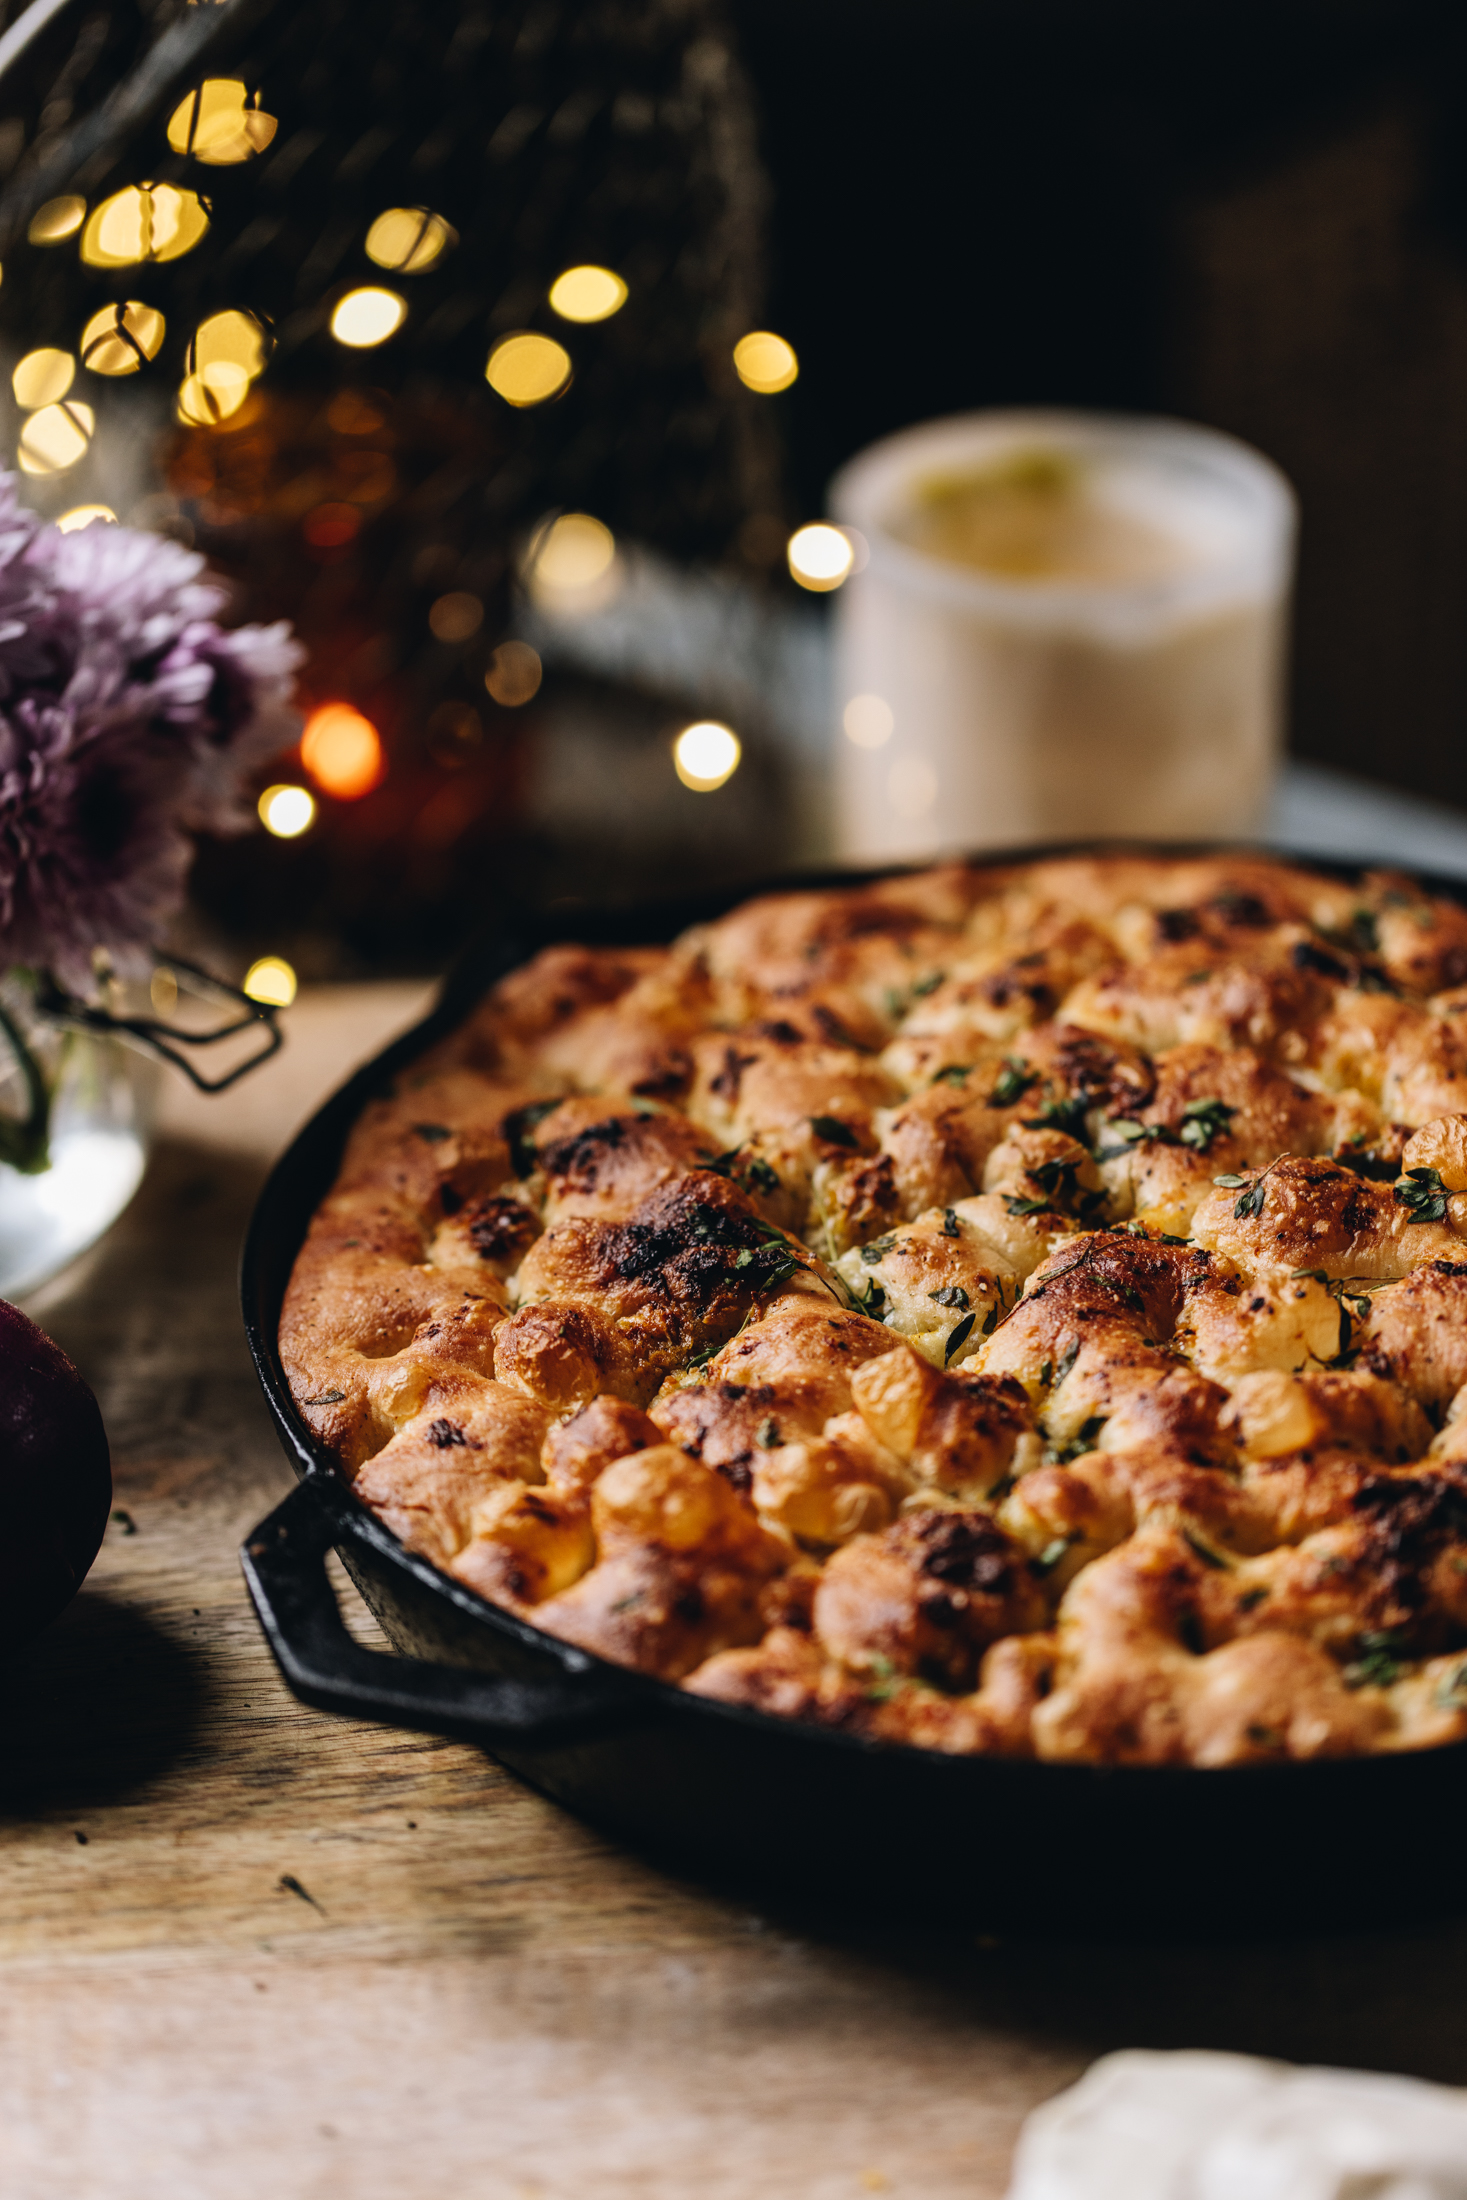
Why you will love this no-knead Focaccia Bread:
This no-knead focaccia bread is a true whānau (family) favourite. Soft, fluffy, and full of flavour, it’s made using a simple stretch and fold method that develops the dough without any traditional kneading. It’s incredibly versatile—perfect with olive oil and herbs or piled high with your favourite toppings.
Looking for a different way to use it? Try my Creamy Salmon Focaccia Sandwich for a delicious twist.
More no-knead bread recipes:
Feeling like fresh buns but don’t want to knead? These No-knead Bread Buns are perfect, or try the cheesy twist with my Cheesy No-knead Bread Buns.
If you’re after something a little more nourishing, my No-knead Seeded Oat Bread Loaf is packed with goodness and flavour.
Which one will you try next?
Videography and photography by Sarah Henderson.
Ingredients:
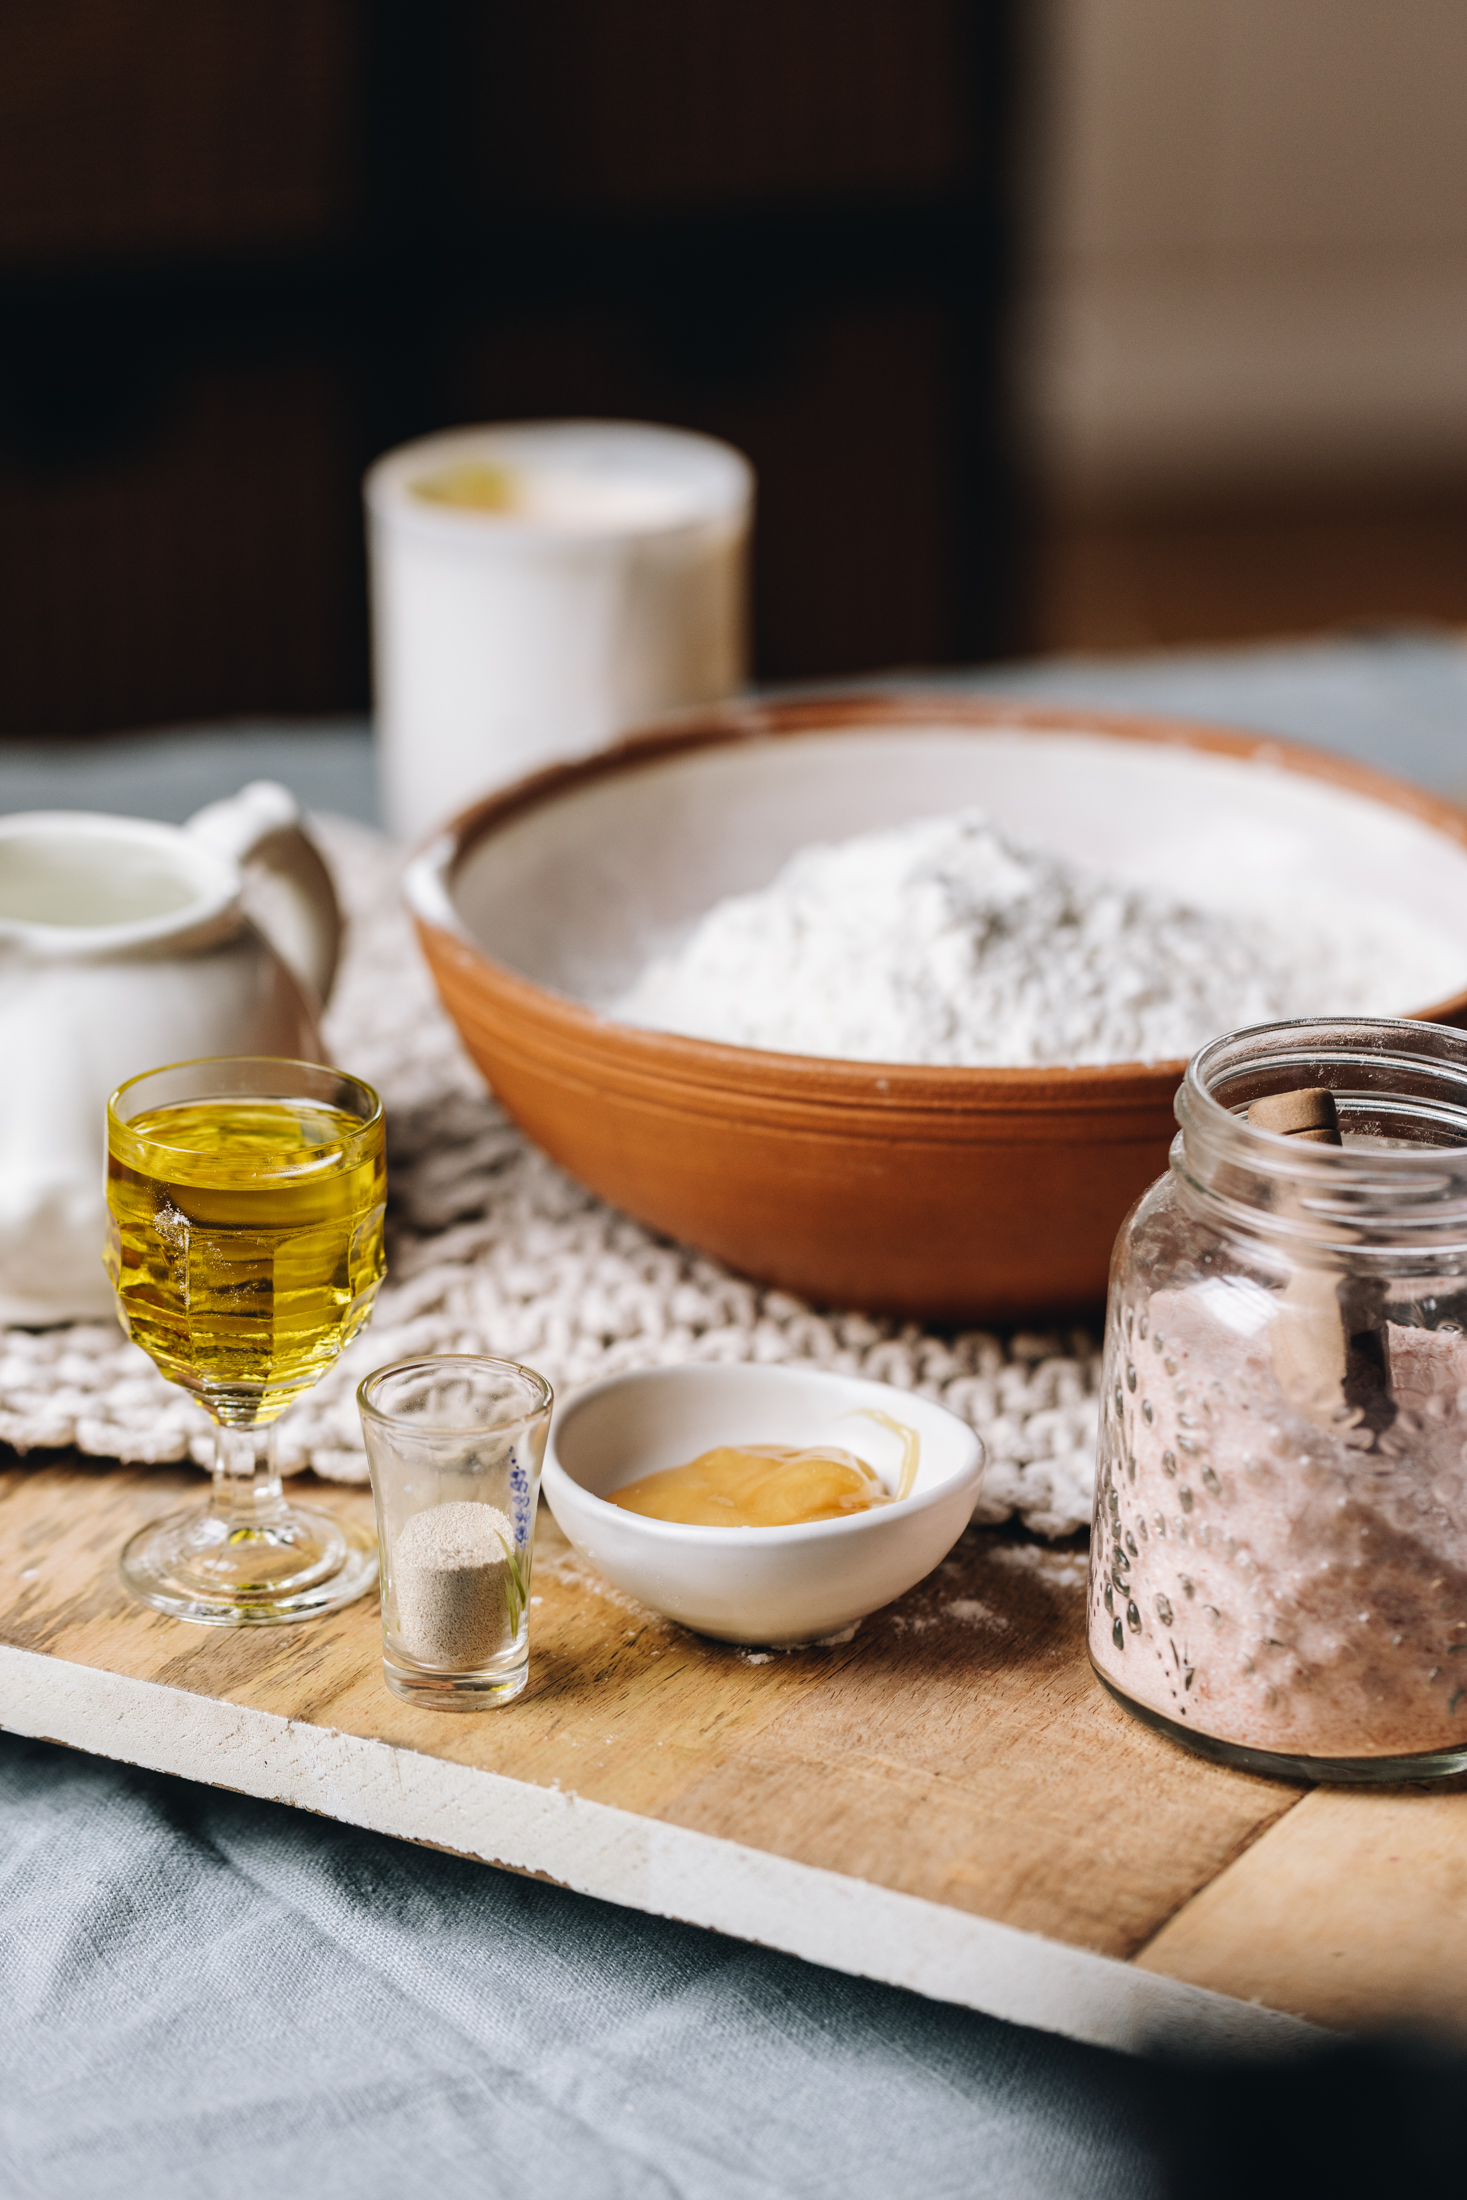
- Honey: I love mīere (honey) in this dough but it can be swapped with huka hāura (brown sugar), huka mā (white sugar) or marahihi māpere (maple syrup).
- Instant yeast: Use īhi horo (instant yeast) in this recipe for efficient rising.
- High grade flour: Always use puehu parāoa kounga (high grade flour) in bread recipes for the fluffiest result.
- Oil: I like to use olive oil in this parāoa (bread) but use what you have.
HOW TO MAKE THIS delicious focaccia:
Note: The full recipe card with the full list of ingredients, instructions and step by step video are found at the bottom of this page.
1. Prepare the Cast Iron Pan or Oven Tray:
Oil a 23 cm cast iron pan or a 25 cm x 30 cm tray with 2 tablespoon of noni (oil).
Rub it all over so every part of this pan or tray is covered.
2. Activate the Yeast:
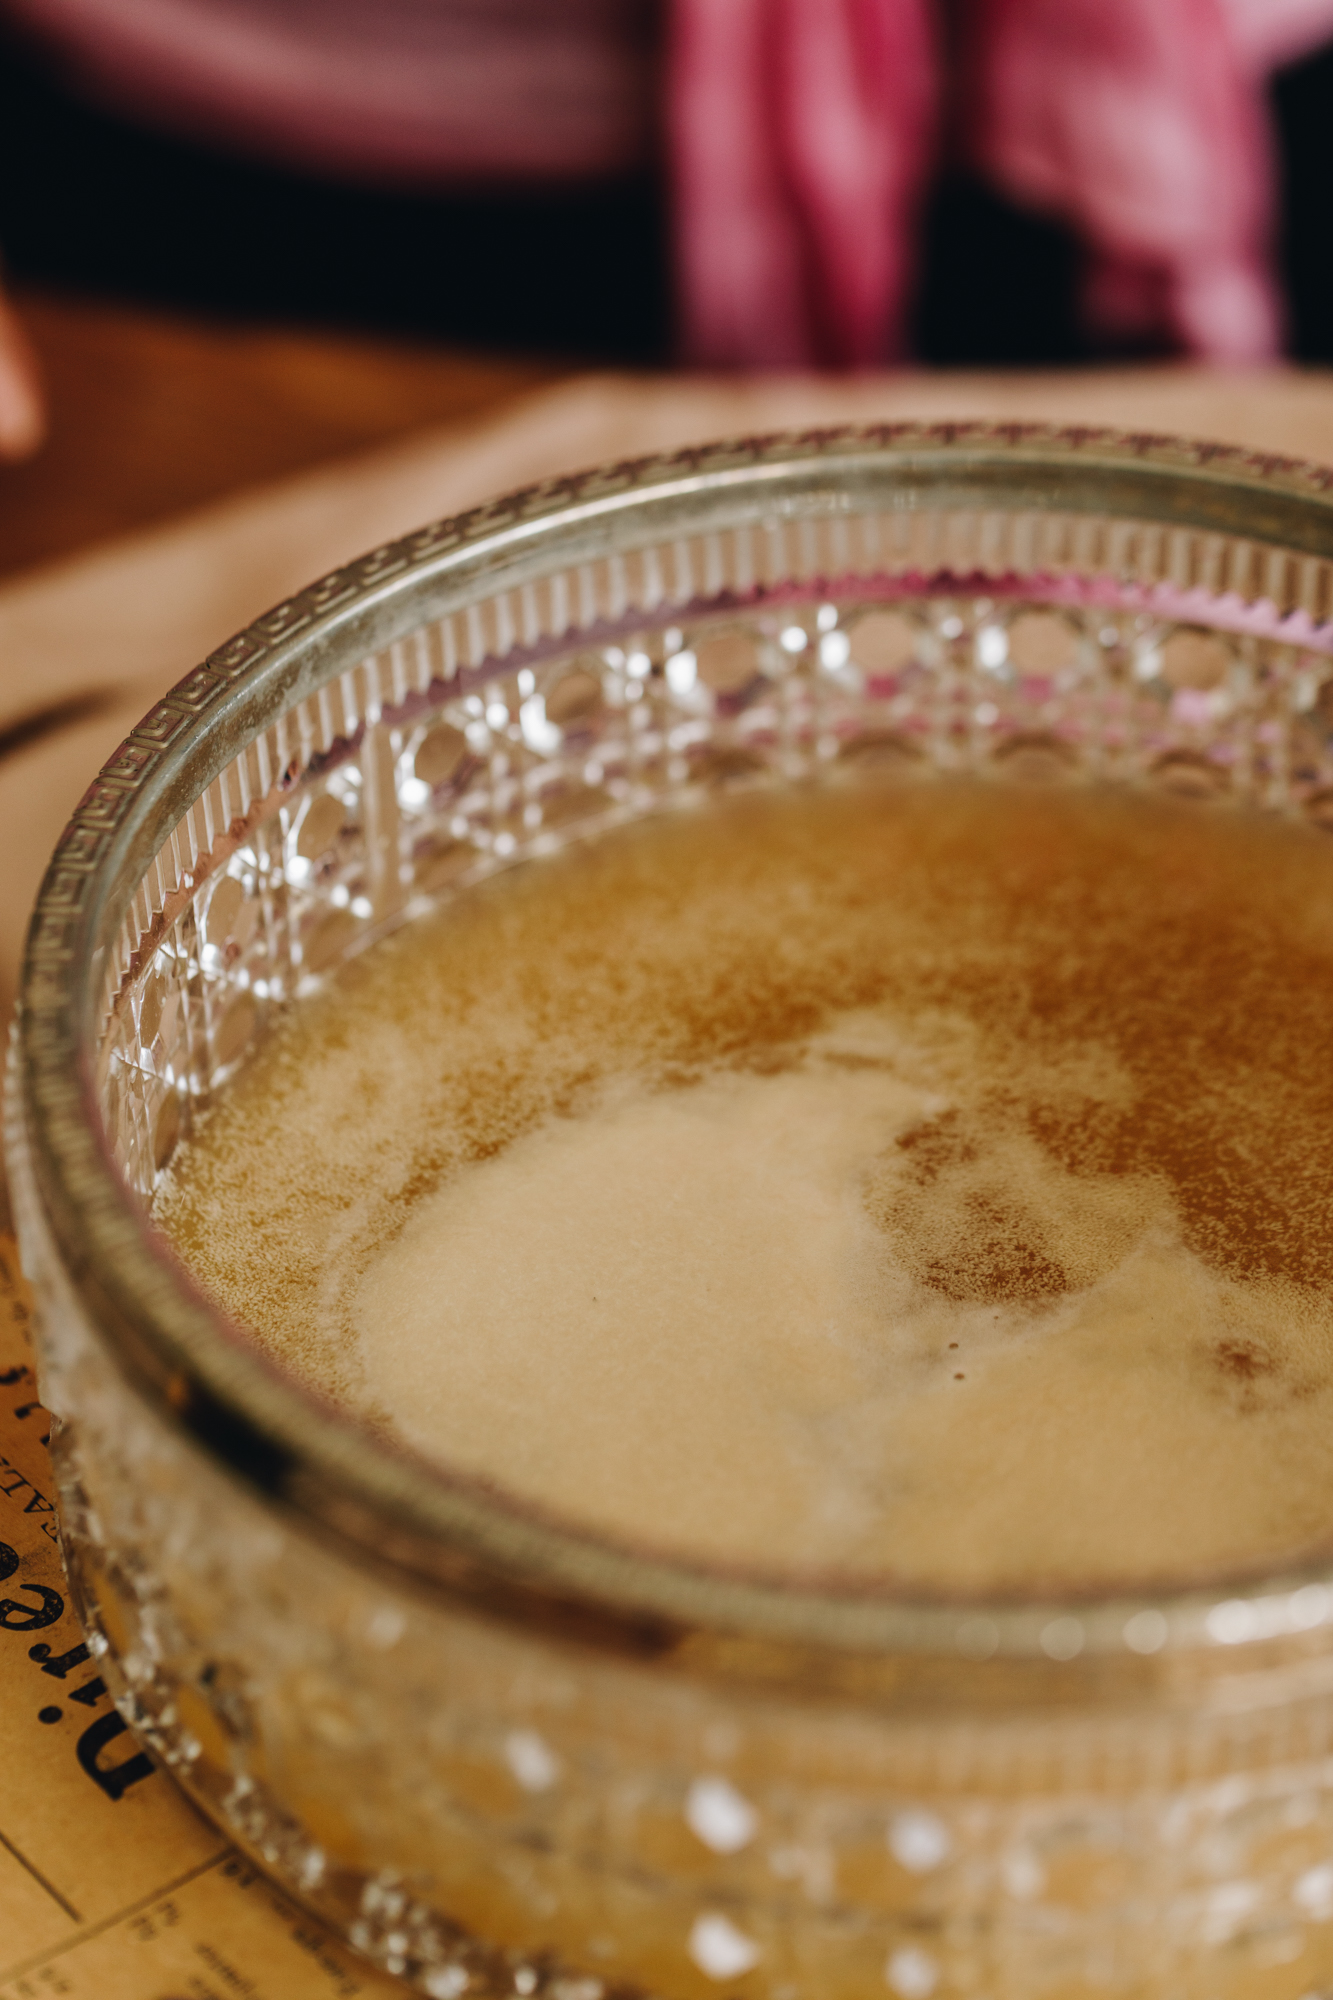
Add the wai aromahana (lukewarm water) and mīere (honey) in a to a large bowl. Stir it until the honey has dissolved.
Sprinkle over the īhi tere (instant yeast), stir and then leave it for 5 mins to activate.
The īhi (yeast) has activated when it has floated to the top.
3. Add the remaining Ingredients:
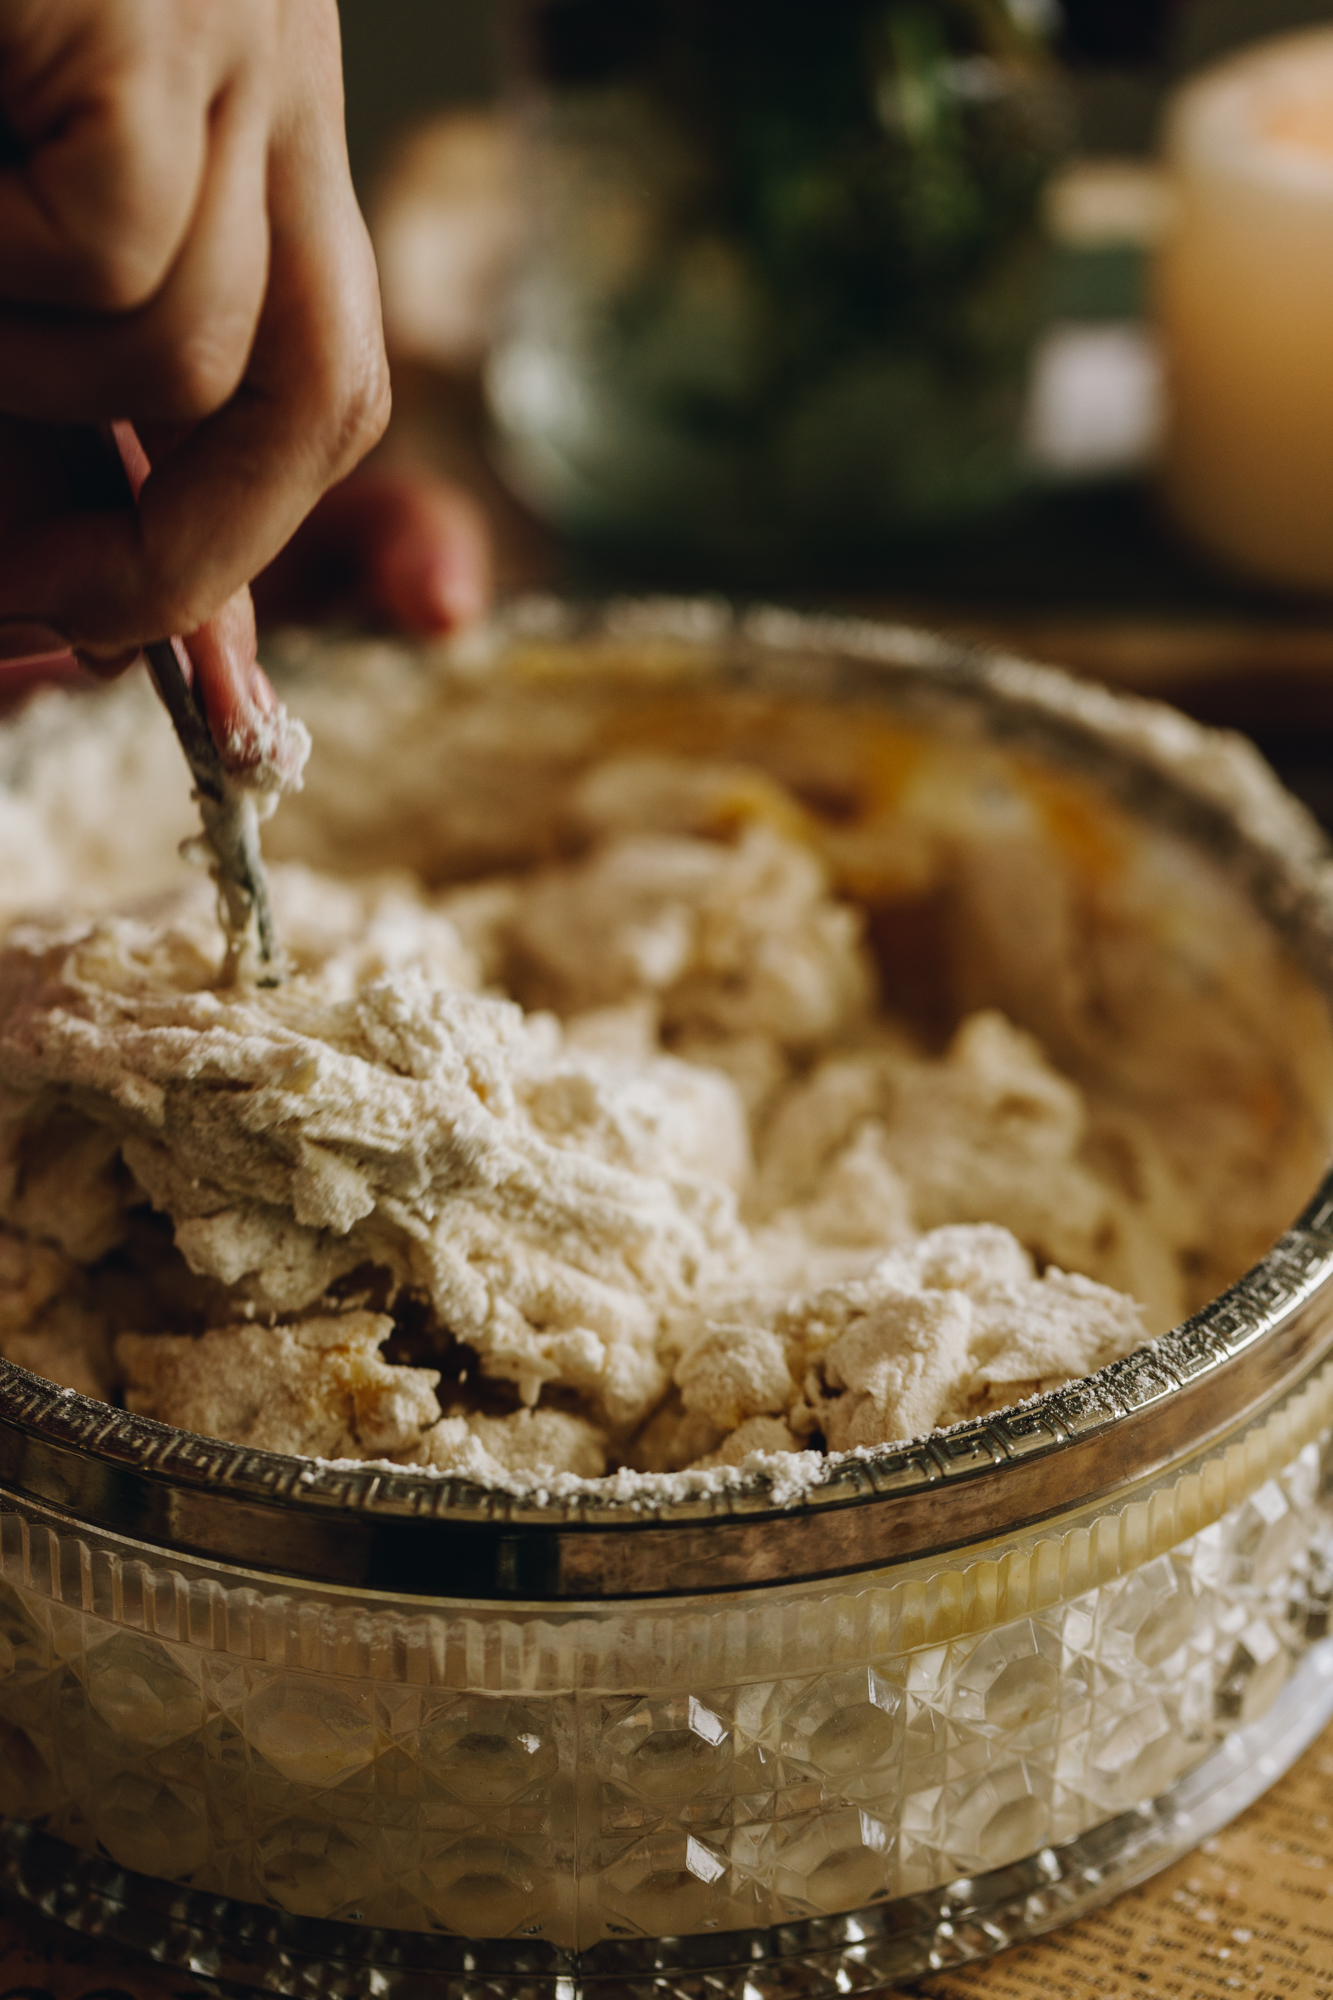
Add in the rest of the ingredients.
Stir with a knife for 1 minute until the ingredients are all combined. It will look sticky but just trust the process.
4. First Rise:
Cover with a tea towel or bowl cover and leave for 15 - 20 minutes so the dough begins to rise.
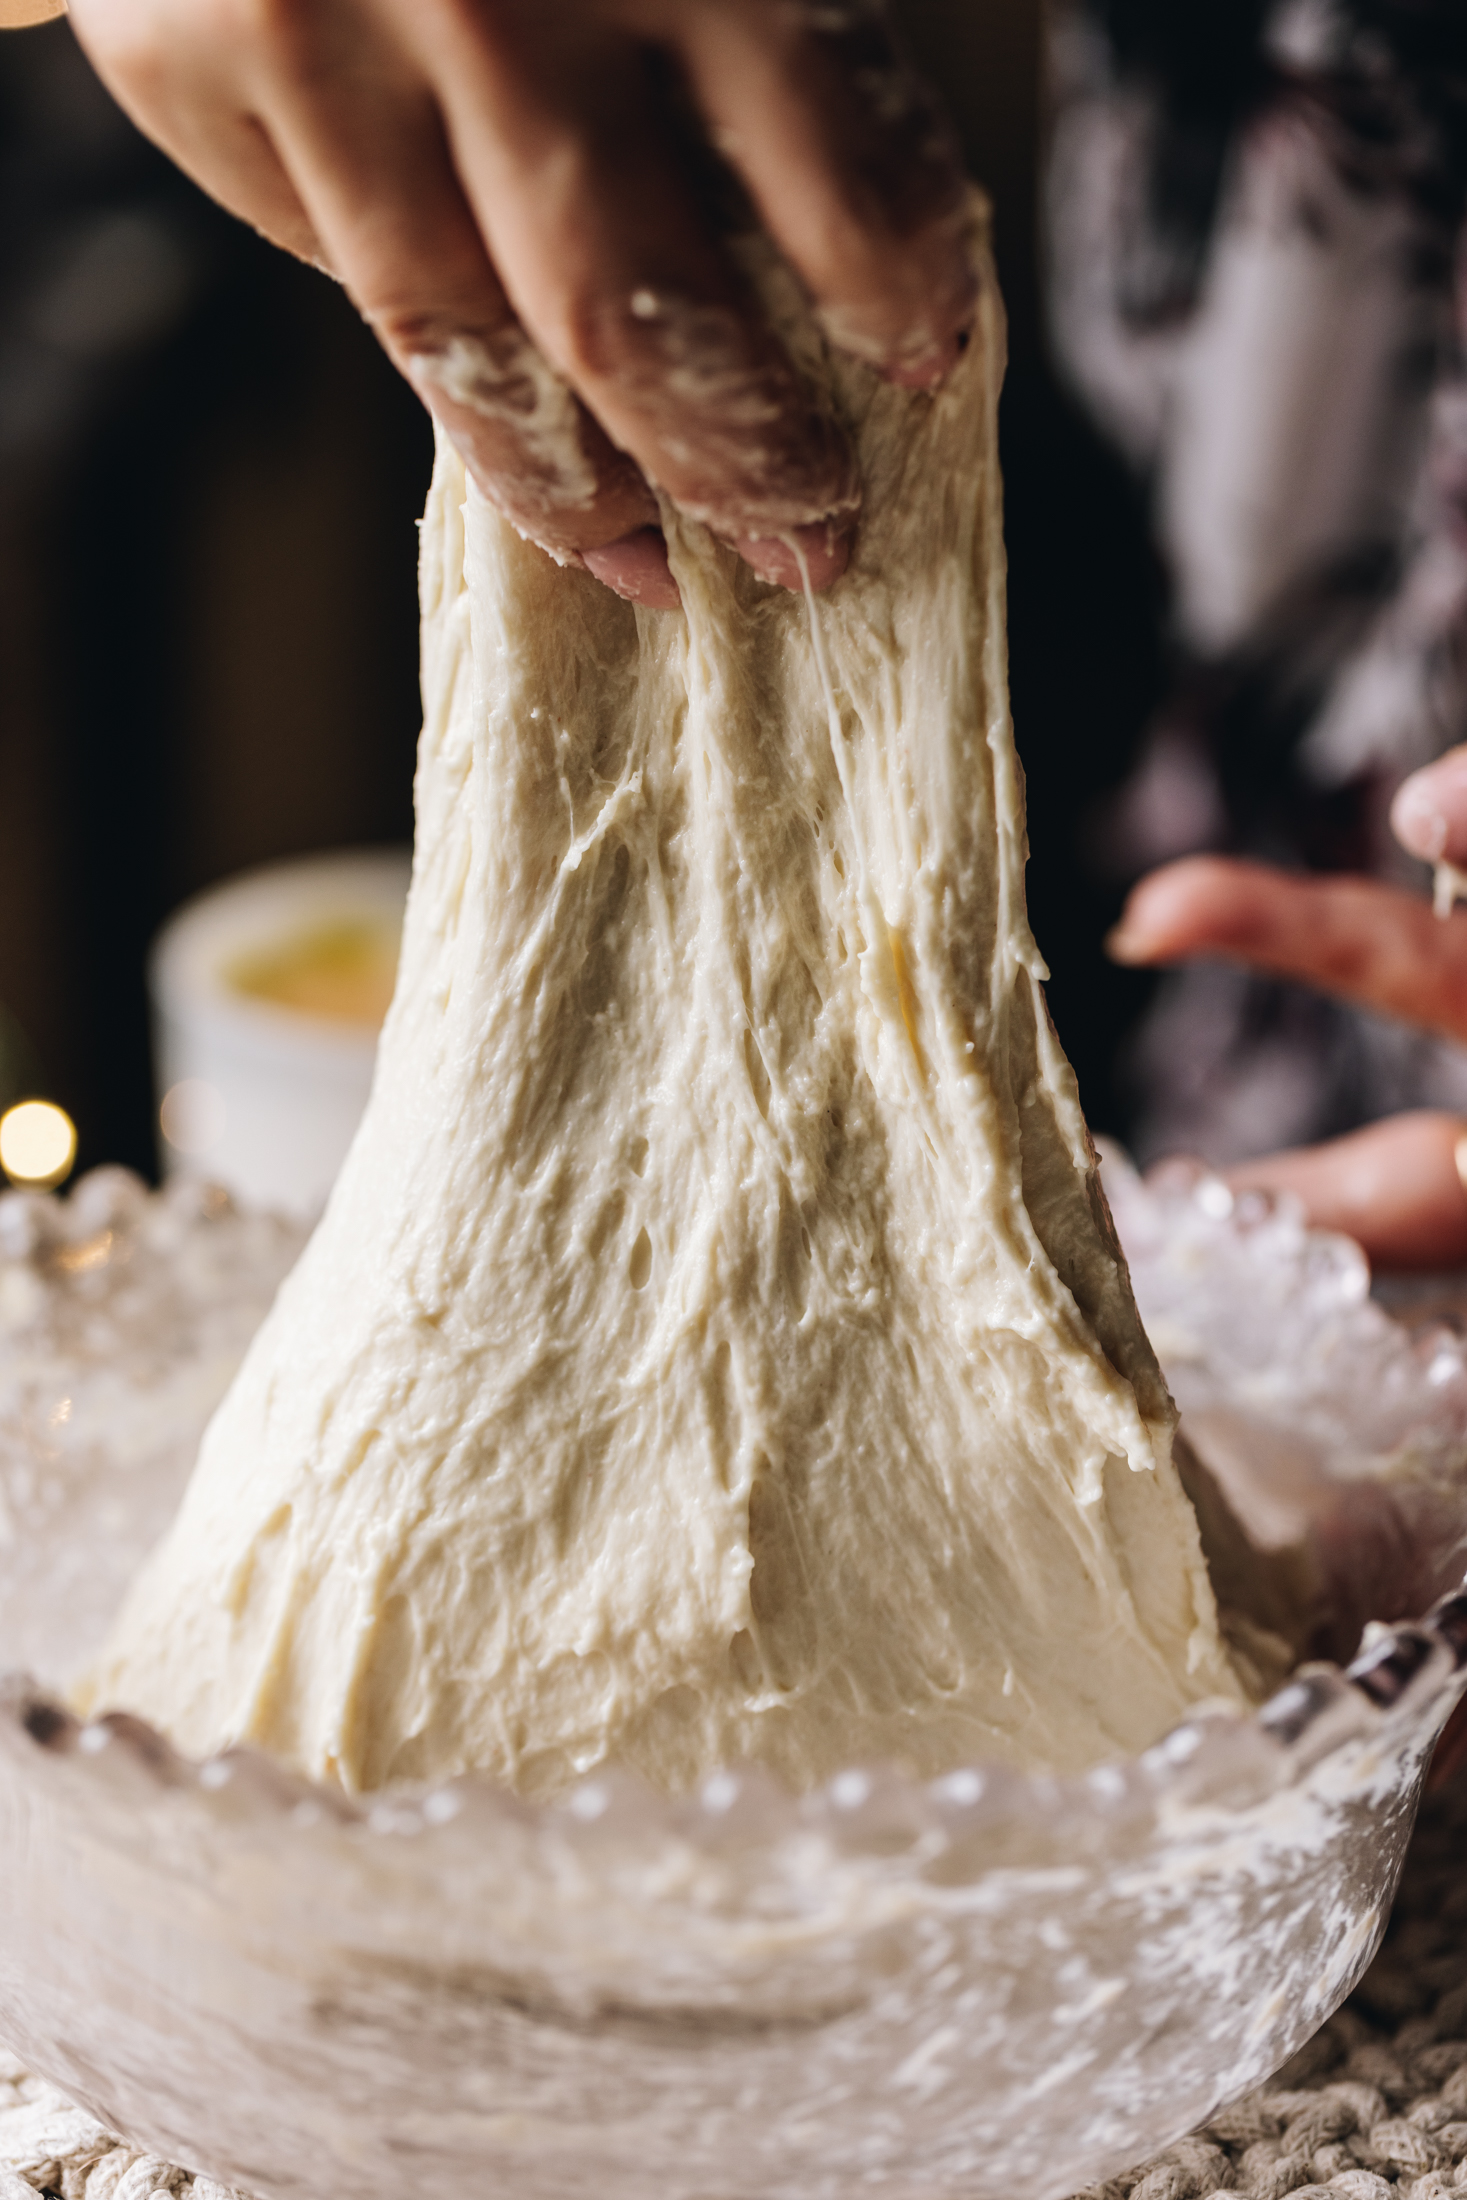
5. First Stretch and Fold:
It is time to stretch and fold the dough. Take a handful of the dough from down the side of the bowl, pull the dough up as high as it can go and place it in the centre of the bowl. ¼ turn the bowl and repeat the process.
Every time you place the dough in the centre of the bowl and quarter turn the dough, is one count.
Stretch and fold 12-15 times. It should only take a minute to do.
6. Second Rise:
Cover the dough and leave for 15 - 20 minutes.
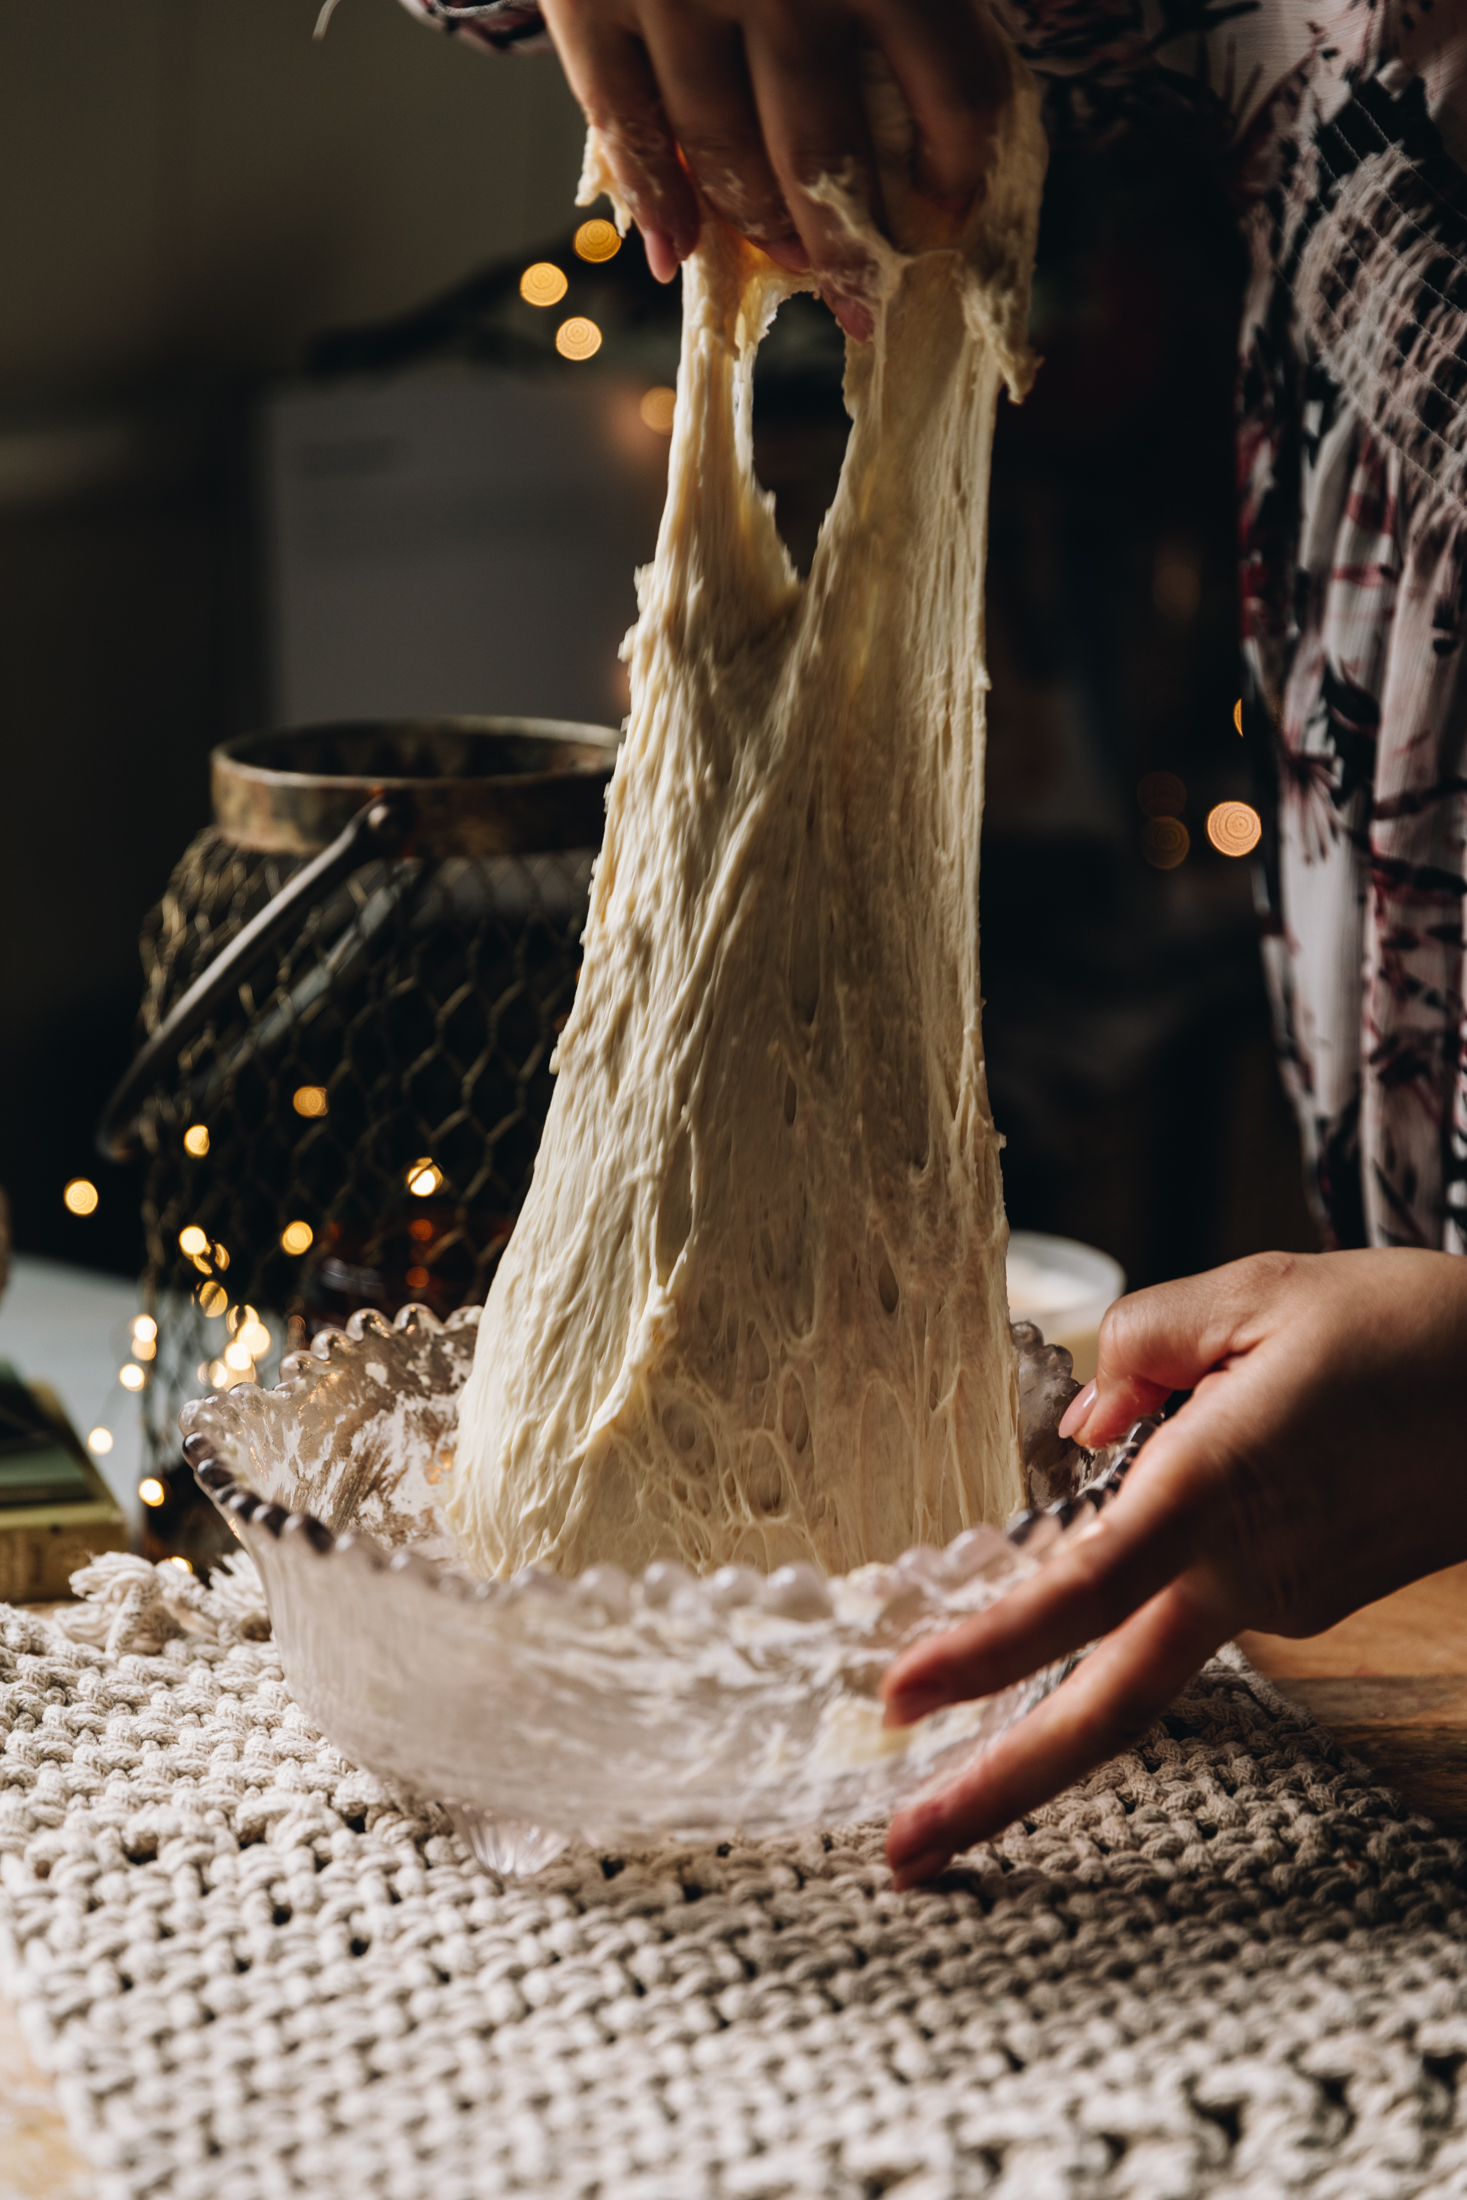
7. Second Stretch and Fold:
Repeat the stretch and folding process for the second time, completing 12 - 15 stretch and folds.
8. Third Rise:
Cover the dough and leave for 15 - 20 minutes.
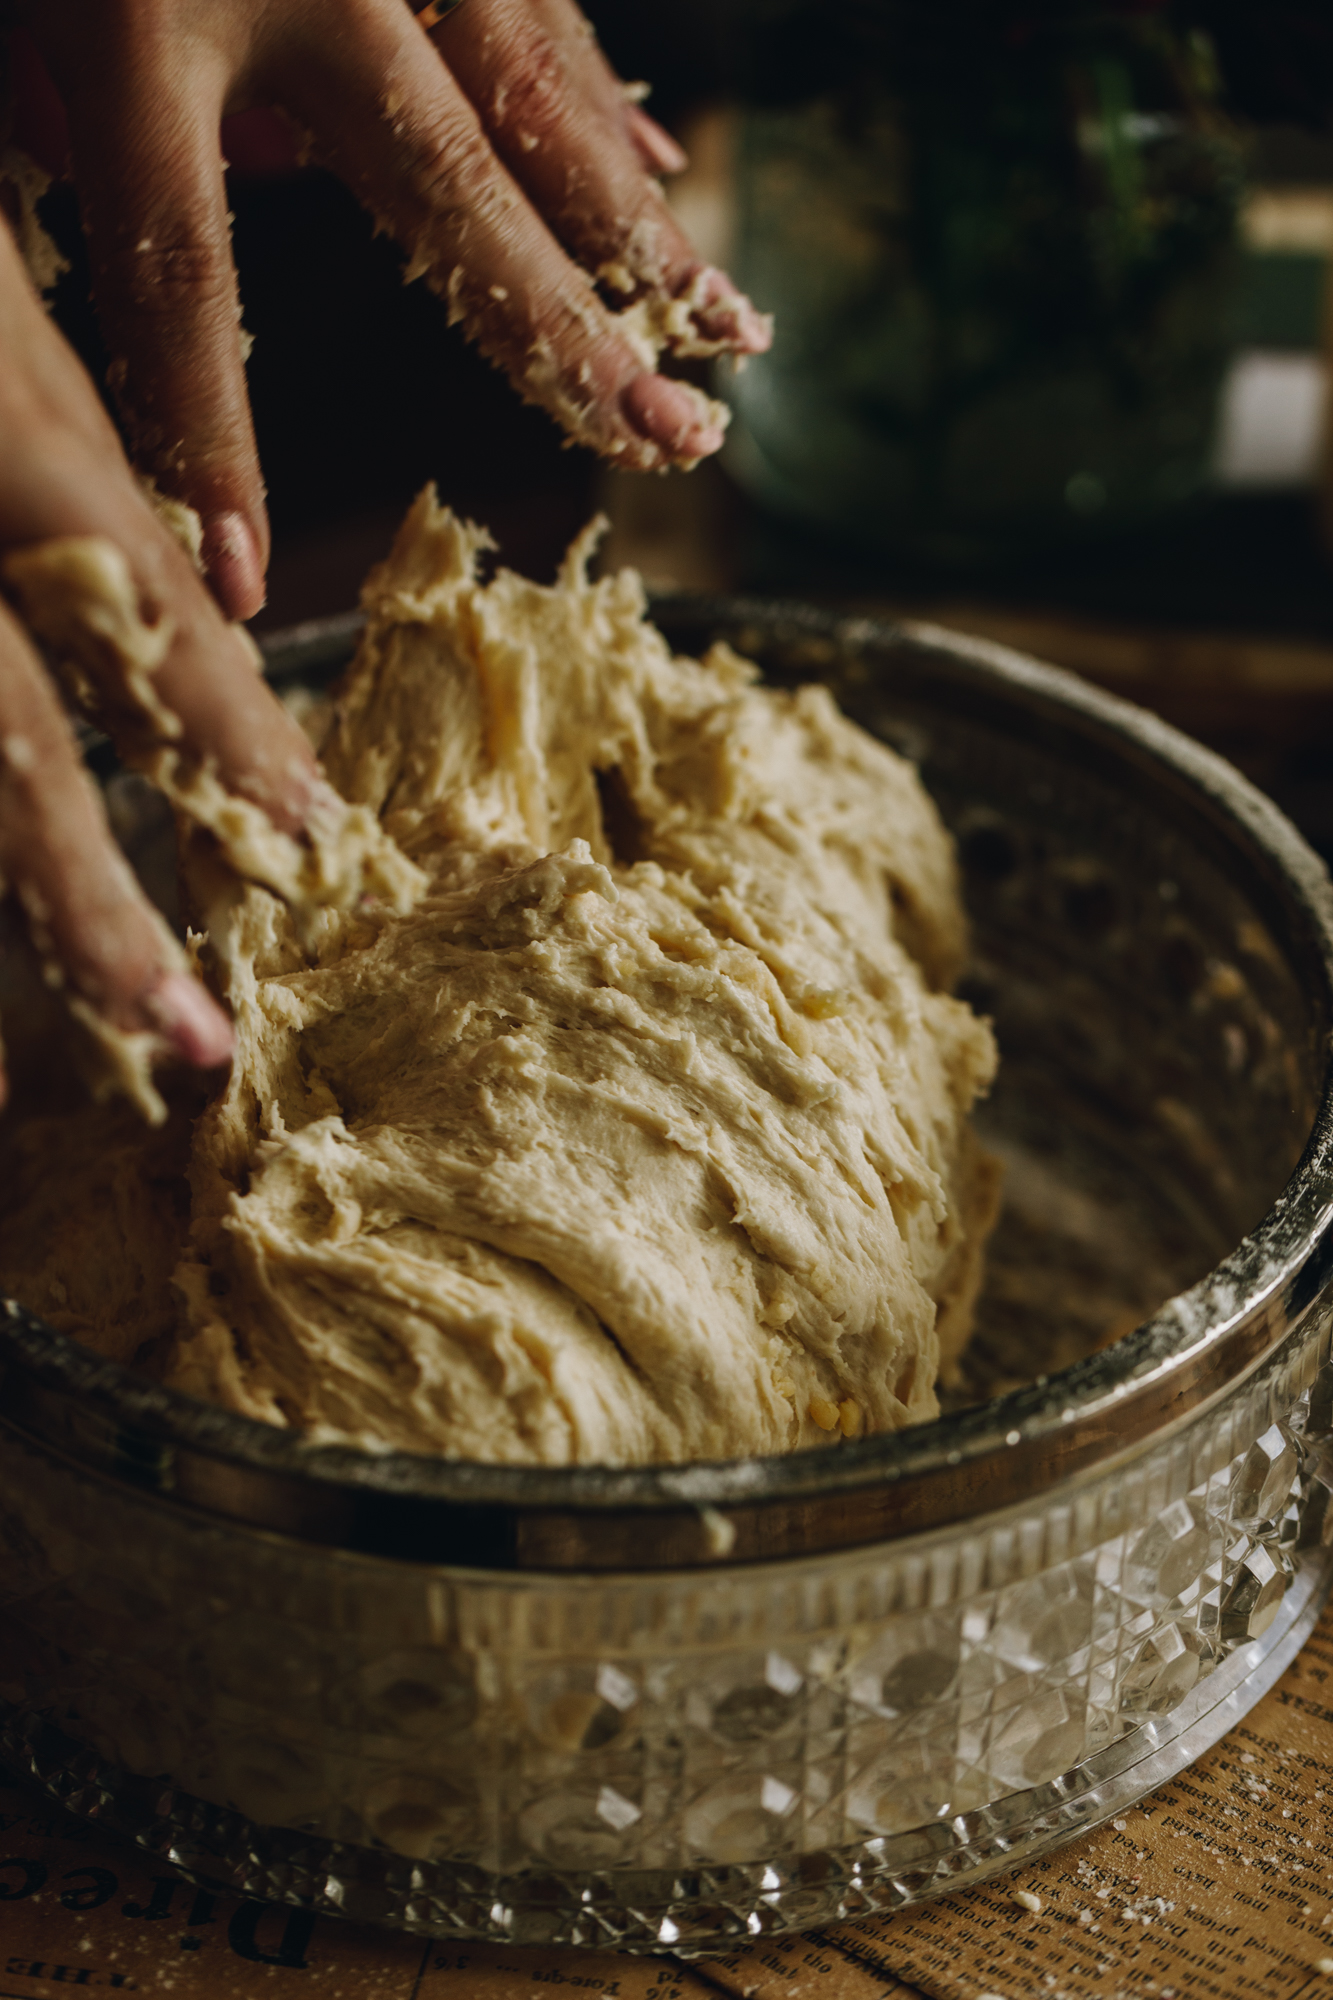
9. Third and Final Stretch and Fold:
Stretch and fold 12 - 15 times in the bowl a third and final time.
10. Transfer to the Dough:
Gently add the dough into the oiled pan and stretch it out, I do this by gently rubbing my hands underneath the dough to gently tease it out. Refer to the video for clarity.
11. Fourth and Final Rise:
Cover and rise for 45 minutes to 1 hour.
Before the time is up, prepare your toppings.
Note: Focaccia doesn't have to have toppings, you can keep it plain and drizzle with a bit of noni (oil) and tote (salt). The options are endless - choose what you love!
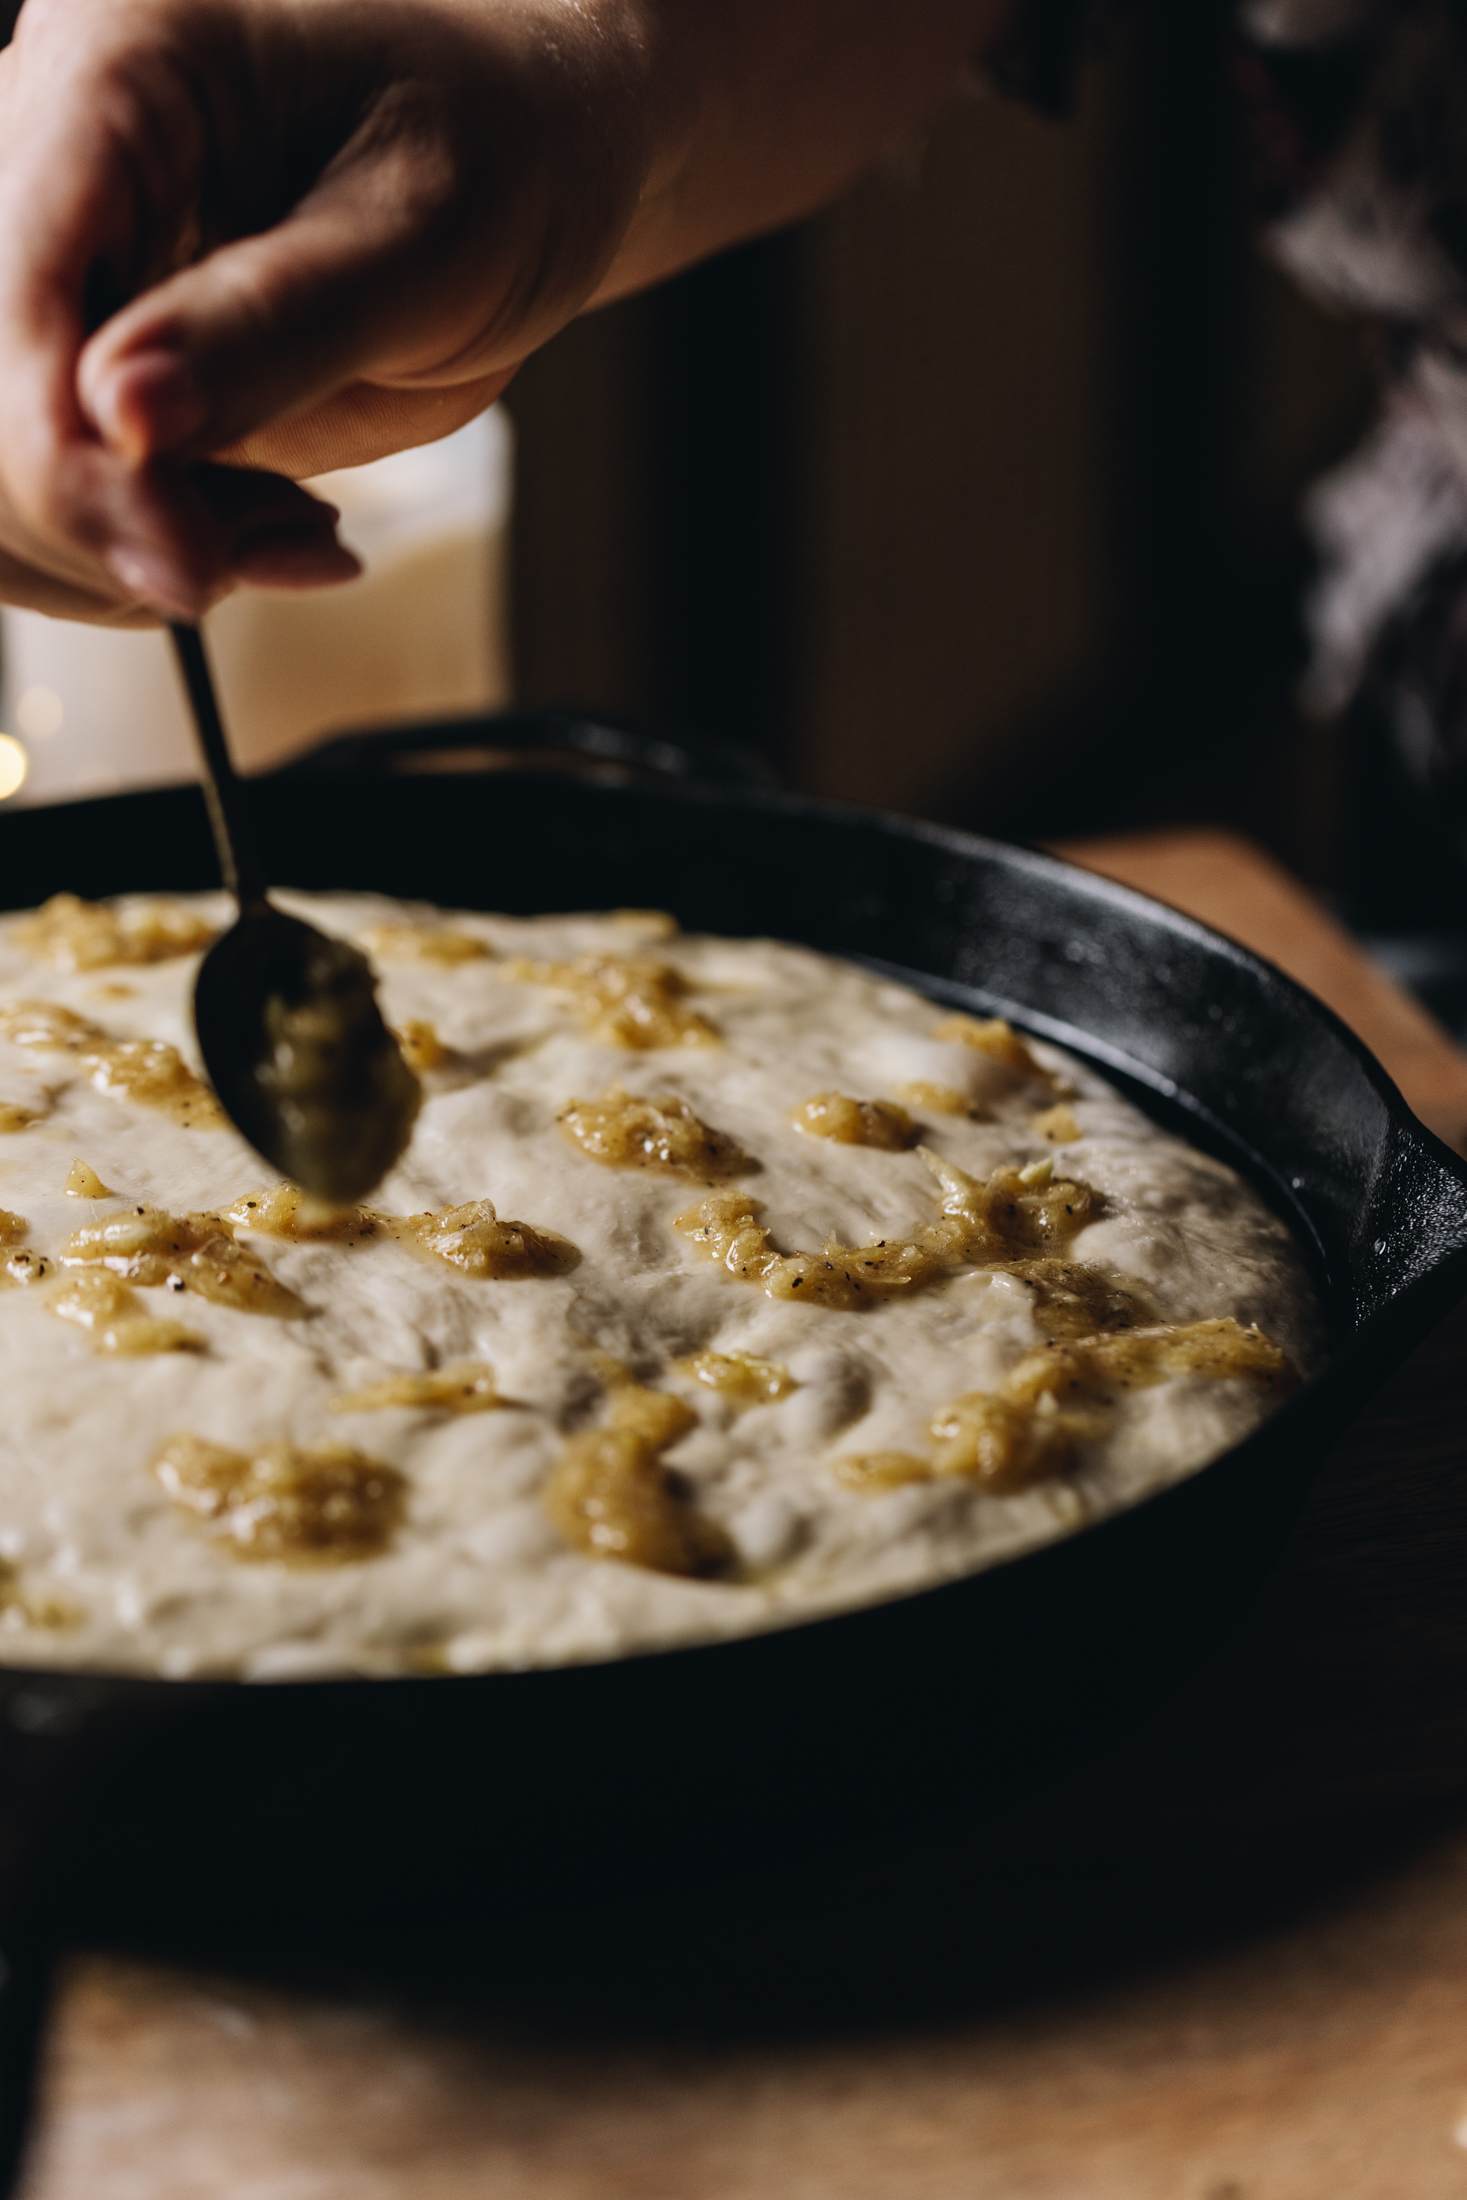
12. Prepare the Toppings:
Add the kāriki (garlic), mīere (honey), tote (salt), pepa (pepper) and kiri rēmana (lemon zest) in to a mortar and pestle. Smoosh it all together until a paste forms
If you don't have a mortar and pestle you can just cut everything finely on to a chopping board.
13. Preheat the Oven:
Preheat the oven to 220 °C.
14. Add the Toppings to the Dough:
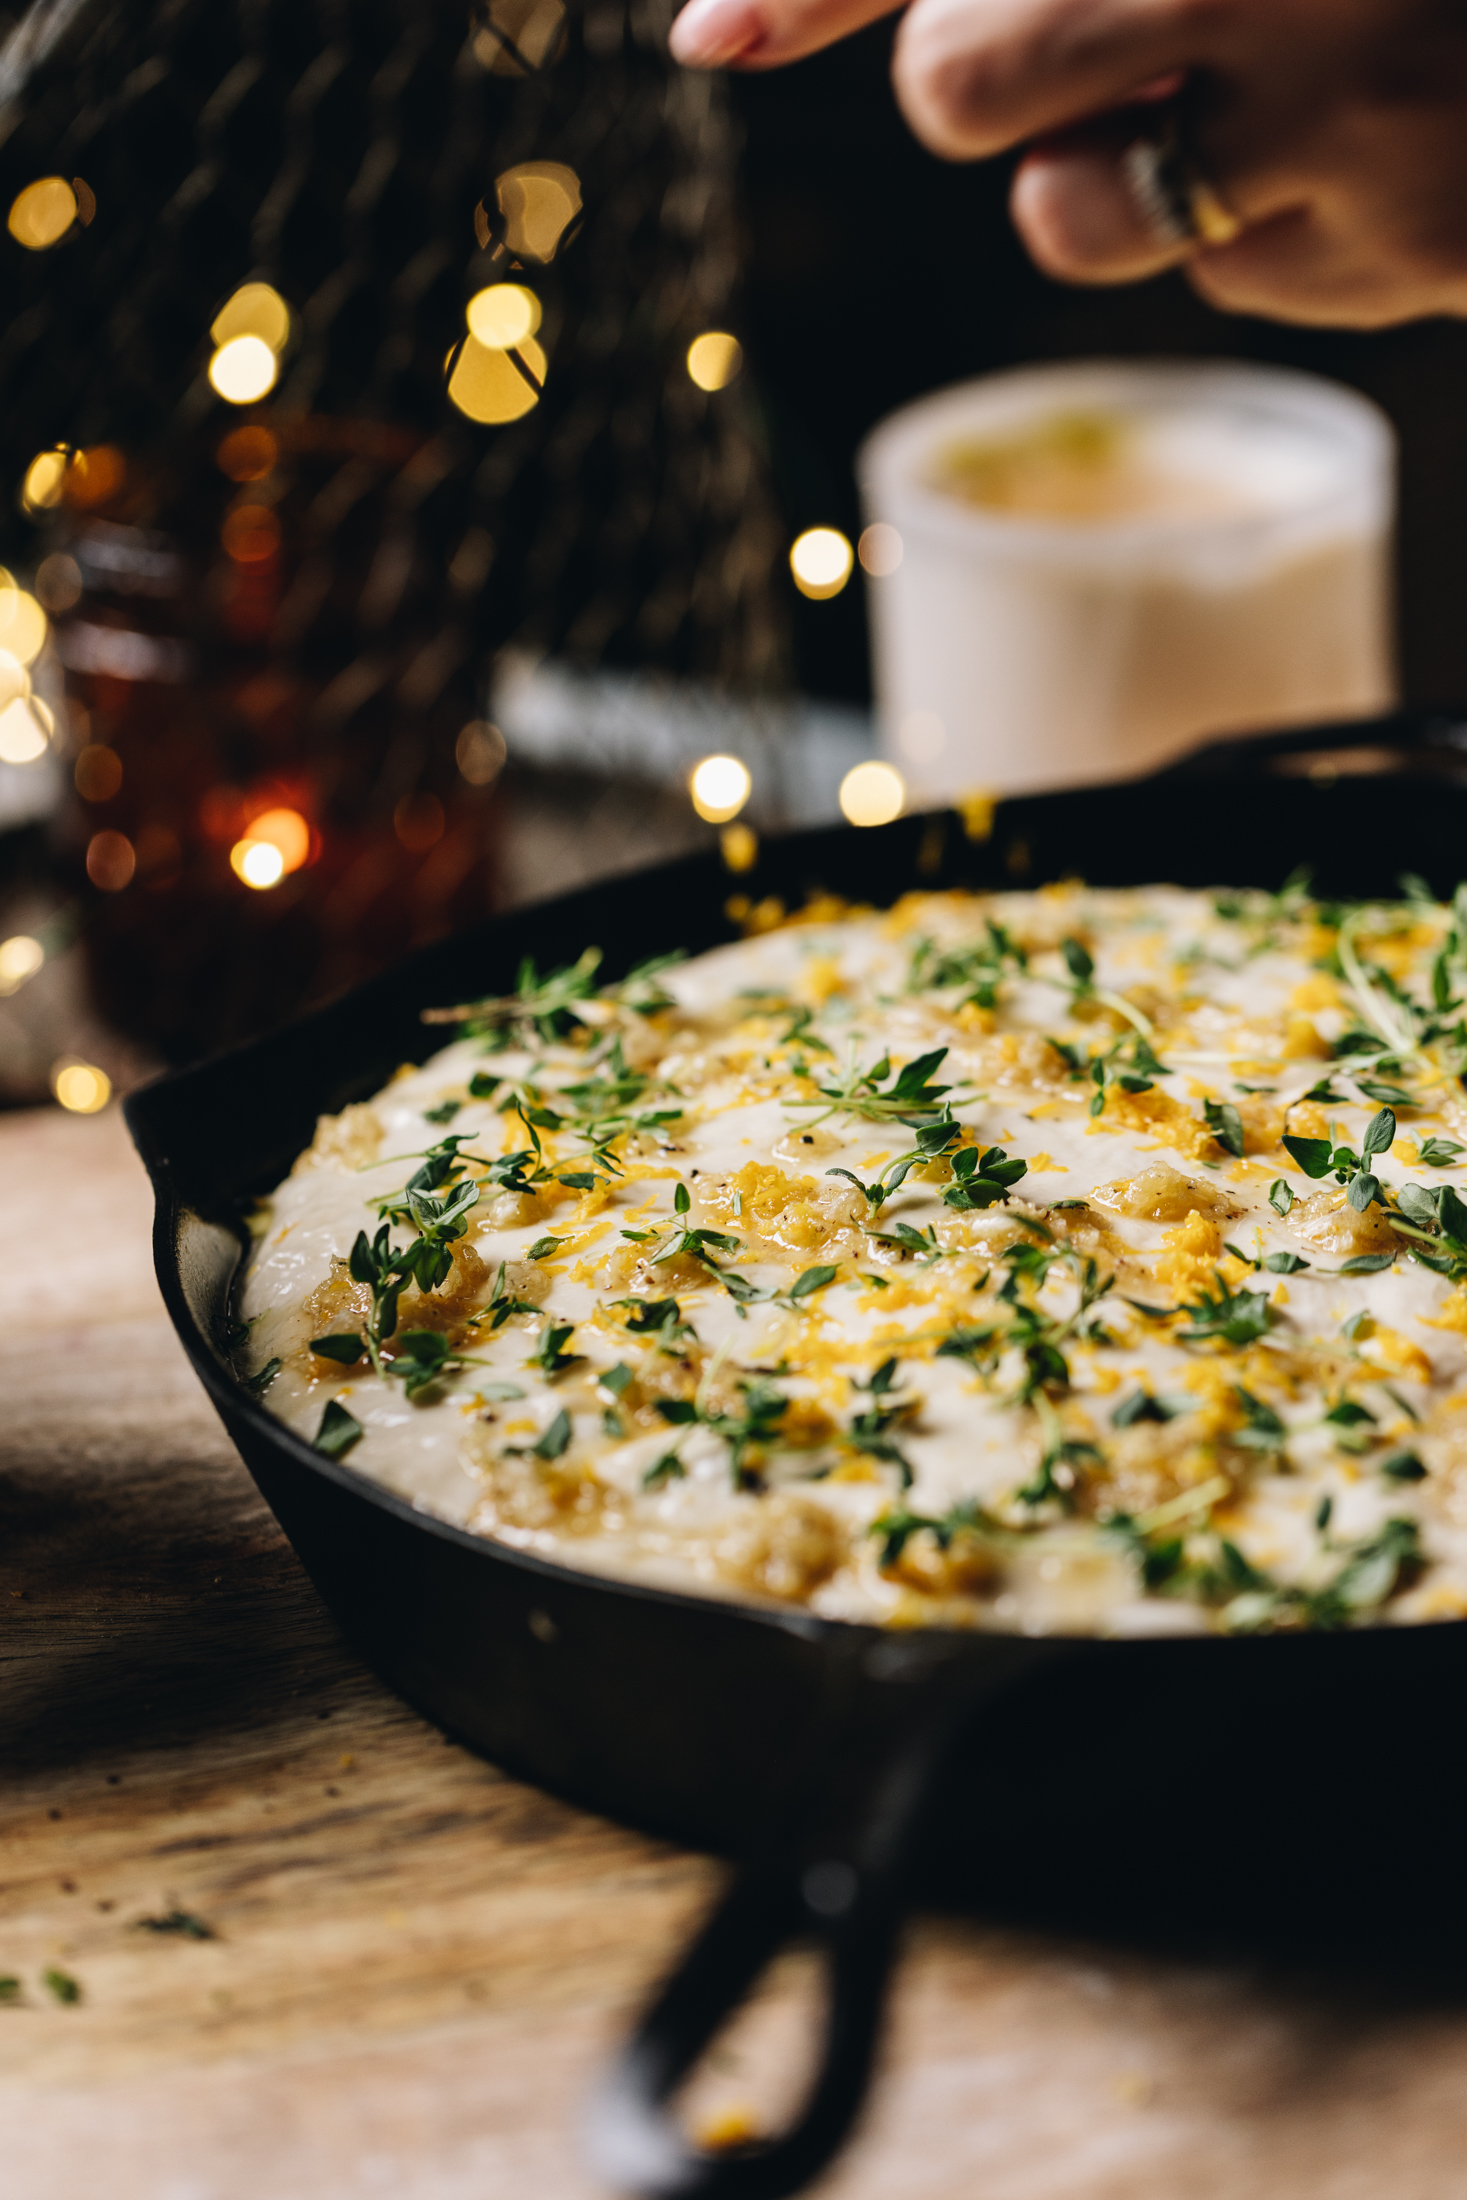
When the dough has risen, add the delicious garlic paste all over the dough.
Pull the fresh tāima (thyme) from its sprigs and add evenly all over the dough.
Drizzle over the noni ōriwa (olive oil).
15. Dimple the Dough:
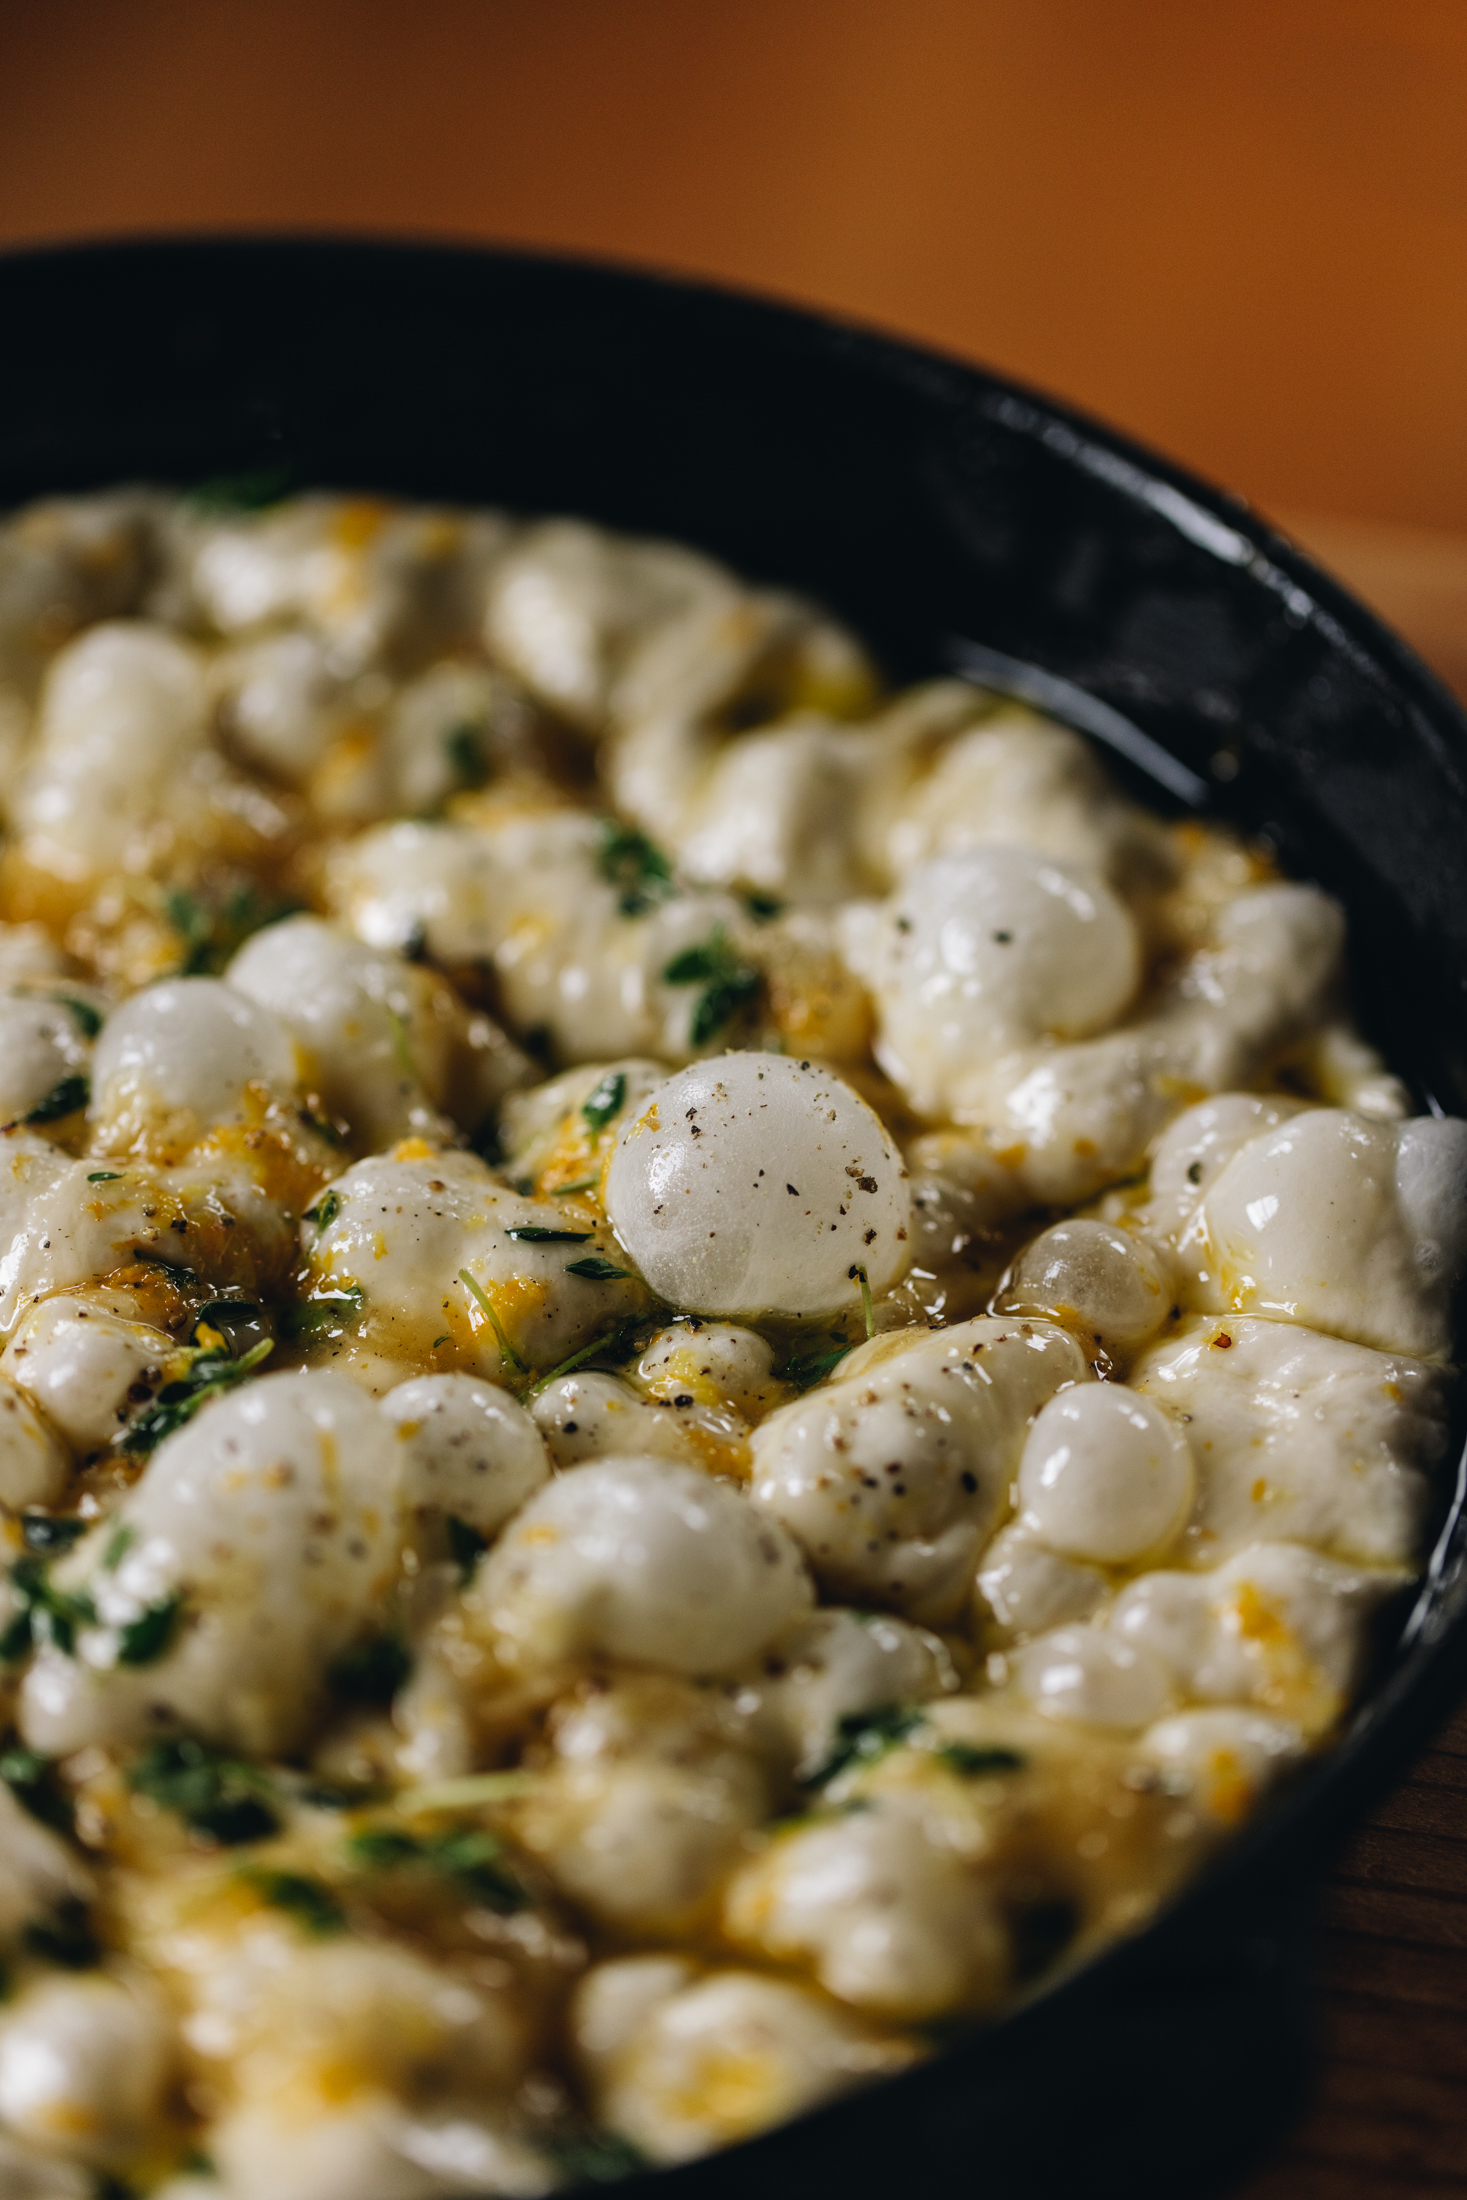
Once the toppings are added, press your fingers deeply into the dough, pressing the flavour right to the bottom.
Leave for 5 - 10 minutes.
16. Bake the No-knead Focaccia Bread
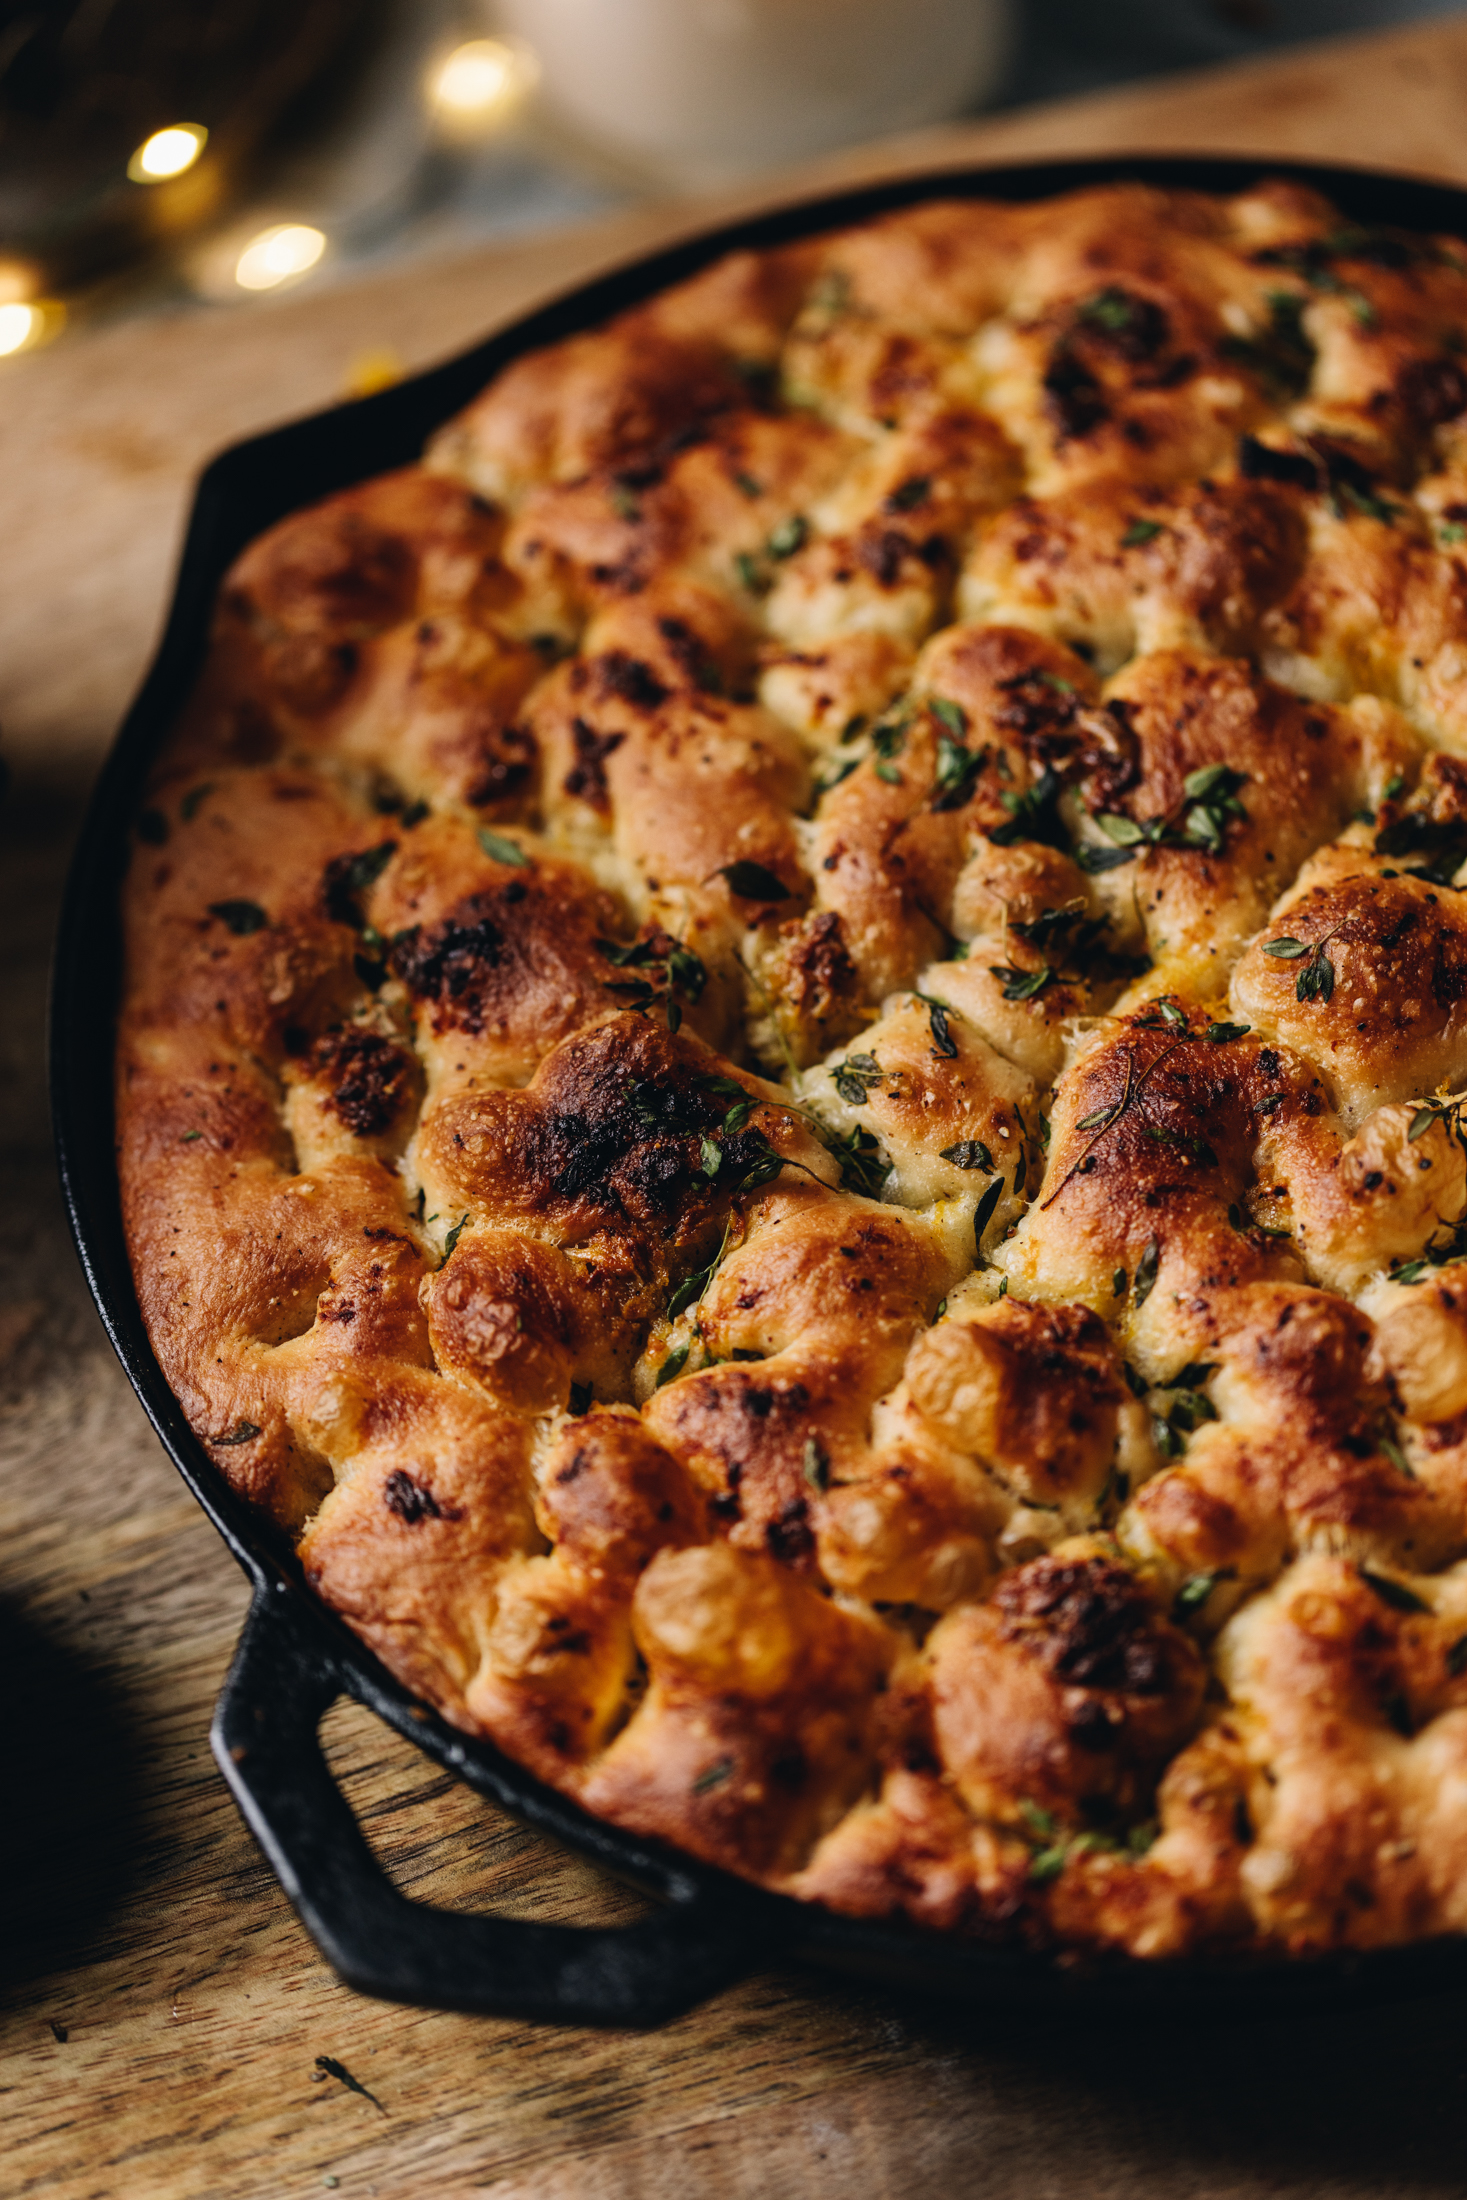
Slide in the delicious parāoa (bread) and bake for 5 minutes at 220 °C.
Then turn it down to 170 °C, bake for 25 more minutes.
Slide it out of the pan while still hot and eat warm.
This is perfect to go alongside any meal.
Storing the Focaccia Bread:
This parāoa (bread) will be at its best on the day but will also make great toast or epic toasties the next day.
I keep homemade bread in a plastic bag for a day on the bench. Beyond that I slice it and store it in the freezer and remove a piece at a time for toasting.
Take a look at these
Parāoa (Bread) Recipes
Let the fragrance of fresh bread fill your whare (house).

DID YOU ENJOY THIS RECIPE?
It would be so awesome if you could please leave a review/comment by clicking the “leave a comment” section at the top of the page.
I love seeing you all make my creations, so send a whakaahua (photo) or kiriata (video) to my Instagram and show me what you made. Let me know if you have any pātai (questions) too, I would love to help.
No-knead Focaccia - Parāoa Pokapoka Kore-Poke
Equipment
- 1 x 23 cm Cast Iron Pan (Option 1)
- 1 x 25 cm x 30 cm tray (Option 2)
Ingredients
Cast Iron Pan or Oven Tray Preparation
- 2 tablespoon noni (oil).
The Dough - Te Pokenga
- 1 ½ C (375 ml) wai aromahana (lukewarm water)
- 1 ½ tablespoon mīere (honey, this can be swapped for maple syrup or sugar)
- 2 teaspoon (6 g) īhi tere (instant yeast)
- 3 C (450 g) puehu parāoa kounga (high grade flour)
- 1 teaspoon tote (salt, fine)
- 3 tablespoon (45 ml) noni (oil)
The Condiments - Ngā Kīnaki
- 4 kāriki (garlic cloves)
- 2 teaspoon mīere (honey or maple syrup)
- Tote me te pepa (salt and pepper)
- Kiri rēmana pīrahirahi (finely grated lemon zest, of two lemons)
- 15 g tāima (thyme)
- 2 tablespoon noni (oil)
Instructions
Prepare the Cast Iron Pan or Oven Tray:
- Oil a 23 cm cast iron pan or a 25 cm x 30 cm tray with 2 tablespoon of noni (oil). Rub it all over so every part of this pan or tray is covered.
Activate the Yeast:
- Add the wai aromahana (lukewarm water) and mīere (honey) in a to a large bowl. Stir it until the honey has dissolved.
- Sprinkle over the īhi tere (instant yeast), stir, leave for 5 mins to activate. The īhi (yeast) has activated when it has floated to the top.
Add the remaining Ingredients:
- Add in the rest of the ingredients. Stir with a knife for 1 minute until the ingredients are all combined. It will look sticky but just trust the process.
First Rise:
- Cover with a tea towel or bowl cover and leave for 15 - 20 minutes.
First Stretch and Fold:
- It is time to stretch and fold the dough. Take a handful of the dough from down the side of the bowl, pull the dough up as high as it can go and place it in the centre of the bowl. ¼ turn the bowl and repeat the process.
- Every time you place the dough in the centre of the bowl and quarter turn the dough, is one count. Stretch and fold 12-15 times. It should take a minute to do.
Second Rise:
- Cover the dough and leave for 15 - 20 minutes.
Second Stretch and Fold:
- Repeat the stretch and folding process for the second time, completing 12 - 15 stretch and folds.
Third Rise:
- Cover the dough and leave for 15 - 20 minutes.
Third and Final Stretch and Fold:
- Stretch and fold 12 - 15 times in the bowl a third and final time.
Transfer to the Dough:
- Add the dough into the oiled pan and gently stretch it out, I do this by rubbing my hands underneath the dough to gently tease it out. Refer to the video for clarity.
Fourth and Final Rise:
- Cover and rise for 45 minutes to 1 hour.
- Before the time is up, prepare your toppings. Note: Focaccia doesn't have to have toppings, you can keep it plain and drizzle with a bit of noni (oil) and tote (salt). The options are endless - choose what you love!
Prepare the Toppings:
- Add the kāriki (garlic), mīere (honey), tote (salt), pepa (pepper) and kiri rēmana (lemon zest) in to a mortar and pestle. Smoosh it all together until a paste forms. If you don't have a mortar and pestle you can just cut everything finely on to a chopping board.
Preheat the Oven:
- Preheat the oven to 220 °C.
Add the Toppings to the Dough:
- When the dough has risen, add the delicious paste all over the dough.
- Pull the fresh tāima (thyme) from its sprigs and add evenly all over the dough. Drizzle over the noni ōriwa (olive oil).
Dimple the Dough:
- Once the toppings are added, press your fingers deeply into the dough, pressing the flavour right to the bottom. Leave for 5 - 10 minutes.
Bake the No-knead Focaccia Bread:
- Slide in the delicious parāoa (bread) and bake for 5 minutes at 220 °C.Then turn it down to 170 °C, bake for 25 more minutes.
- Slide it out of the pan while still hot and eat warm. This is perfect to go alongside any meal.
Storing the Focaccia Bread:
- This parāoa (bread) will be at its best on the day but will also make great toast or epic toasties the next day.
- I keep homemade bread in a plastic bag for a day on the bench. Beyond that I slice it and store it in the freezer and remove a piece at a time for toasting.
Video
Expert Tips for the best No-knead Focaccia Bread:
Let the yeast activate fully:
Always give the īhi (yeast) enough time to activate before adding the dry ingredients. It should float to the top and become slightly foamy when ready.
Use the stretch and fold technique:
This recipe uses a stretch and fold method (similar to sourdough) to develop gluten without removing the dough from the bowl. It may look simple, but it’s very effective so watch the video to see it in action.
Trust the wet dough
This pokenga (dough) is quite wet, as seen in the whakaahua (photos), but trust the process. It behaves like sourdough and should not be stiff. Avoid adding extra puehu parāoa (flour), as this will change the final texture.
Keep the dough in a warm, stable environment:
Keep the rising dough away from direct sunlight or hot spots. Remember, īhi (yeast) is alive and sensitive to heat—gentle, consistent warmth is best during rising.
Choose the right baking dish:
This parāoa (bread) bakes well in a 27 cm cast iron pan, but a 25 cm x 20 cm baking tray also works if needed.
Handle the dough gently:
When transferring the dough, handle it as little as possible so you don’t lose the air created during stretch and folds. This helps keep the focaccia light and airy.
Variations:
Classic herb focaccia:
Keep it simple with olive oil, flaky salt, and fresh herbs like rohimere (rosemary) or tāima (thyme) for a traditional Italian-style focaccia.
Cheesy focaccia:
Sprinkle grated tīhi (cheese) over the top before baking for a golden, savoury crust.
Olive and sea salt focaccia:
Add sliced olives and extra flaky sea salt for a salty, Mediterranean-style loaf.
Storage Tips:
Serve fresh:
This focaccia is at its absolute best fresh from the oven while it is soft and airy with a crisp crust.
Storing at room temperature:
Leftovers can be stored at room temperature in a sealed container or bag for up to 1 day, but it is best refreshed before serving.
Warming Tip:
To bring it back to life, warm it in the oven or toast it lightly to restore the crust and softness.
Freezing:
For longer storage, slice and freeze, then reheat directly from frozen for the best texture.
Frequently Asked Questions:
This usually happens if the dough hasn’t risen long enough or if too much flour has been added. This dough is super sticky but don't add any extra flour and trust me, the dough will work. Focaccia also needs time to develop air bubbles so follow the guide and if the dough is not rising very quickly, extend the rise time by 15 minutes or so.
With this recipe there is no kneading - woo hoo! Instead, we use a sourdough technique called stretch and folding. The dough remains in the bowl the whole time and is stretched high in the air and folded back in to the bowl to create and a great gluten pull.
I love this honey, garlic and thyme combinations. However, there are so Manu flavours to explore, including rosemary, sea salt, olives, garlic, or cherry tomatoes. Get creative and have a play with your favourites.
Engari mō tēna (no way), feel free to use a small baking tray instead, around 20 cm x 25 cm in size. It works just as well.
Nyree
The best recipe I’ve seen and I’ve been looking for one since I tasted a homemade loaf in NZ on a recent trip. It looks beautiful and your video - you’re such a Queen 🙌🫶🏽
Naomi Toilalo WhānauKai
Kia ora Nyree, thank you so much for your beautiful words! I am so glad to hear that and I hope that it tastes just like you hoped!
Angela
Has became our family recipe, we have been sharing with friends and family, kids bus driver 🫣and they absolutely love this focaccia bread.
Thank you 😊 absolutely beautiful
Naomi Toilalo WhānauKai
Wow Angela, I couldn't ask for better feedback than that. I am so blown away by words - thank you!
Renee
Beautiful recipe! My first time trying to make foccacia. Well guided recipe and turned out yum will definitely be making again!
Nga mihi e hoa!
Naomi Toilalo WhānauKai
That is fantastic to hear Renee, how good is focaccia aye. Keep up the awesome baking!
Jody Humphrey
made this tonight to go with a soup I've been slow cooking all day...delish!
Naomi Toilalo WhānauKai
How awesome e hoa!!!! That sounds like the most delicious combination!!! 💗💗
Bex
Kua puta a Pito! The BEST focaccia ever. Super versatile too (try it with a cinnamon scroll-esque topping and thank me later!). Reka as!
Naomi Toilalo WhānauKai
E mihi ana ki a koe Bex! Ha ha - Kua puta a pito (I love this saying so much)!
Melissa Rauner
The first time I’ve made this bread & I think I’m hooked. Super easy recipe & the video is so helpful. Nothing beats this fresh out of the oven slathered with butter
Naomi Toilalo WhānauKai
Yes, so glad you are hooked! How special is it to serve up fresh bread from the oven. It is always good aye!
Megan
So easy to make & so delicious! Have made it many times & always works. Nga Mihi nui!
Naomi Toilalo WhānauKai
Woop woop - another five star review for my one of my favourite recipes. So awesome to hear that it is a regular recipe of yours now too.
Jacinda
So easy to make by following the videos & super delicious. Gives the wow factor with little fuss. Ngā mihi Whanaukai
Naomi Toilalo WhānauKai
Kia ora Jacinda, glad that the videos are a help. That little bit of extra work seems to help which is awesome. Thanks for this awesome review.
Marlana Maru
Tēnei!!! 🔥🔥🔥 Thiiiis is such a good recipe. Easy as. Tino reka. E mihi nui ana ki a koe, e hoa.
Naomi Toilalo WhānauKai
Woo hoo - Kia ora e hoa! Yes, this focaccia is so good aye. So glad you enjoy it.
Magdalene Paul
This is our go to focaccia recipe! Even made it into our family cookbook!
Naomi Toilalo WhānauKai
What an honour to hear that this recipe made it in to your whānau recipe book. That is awesome!