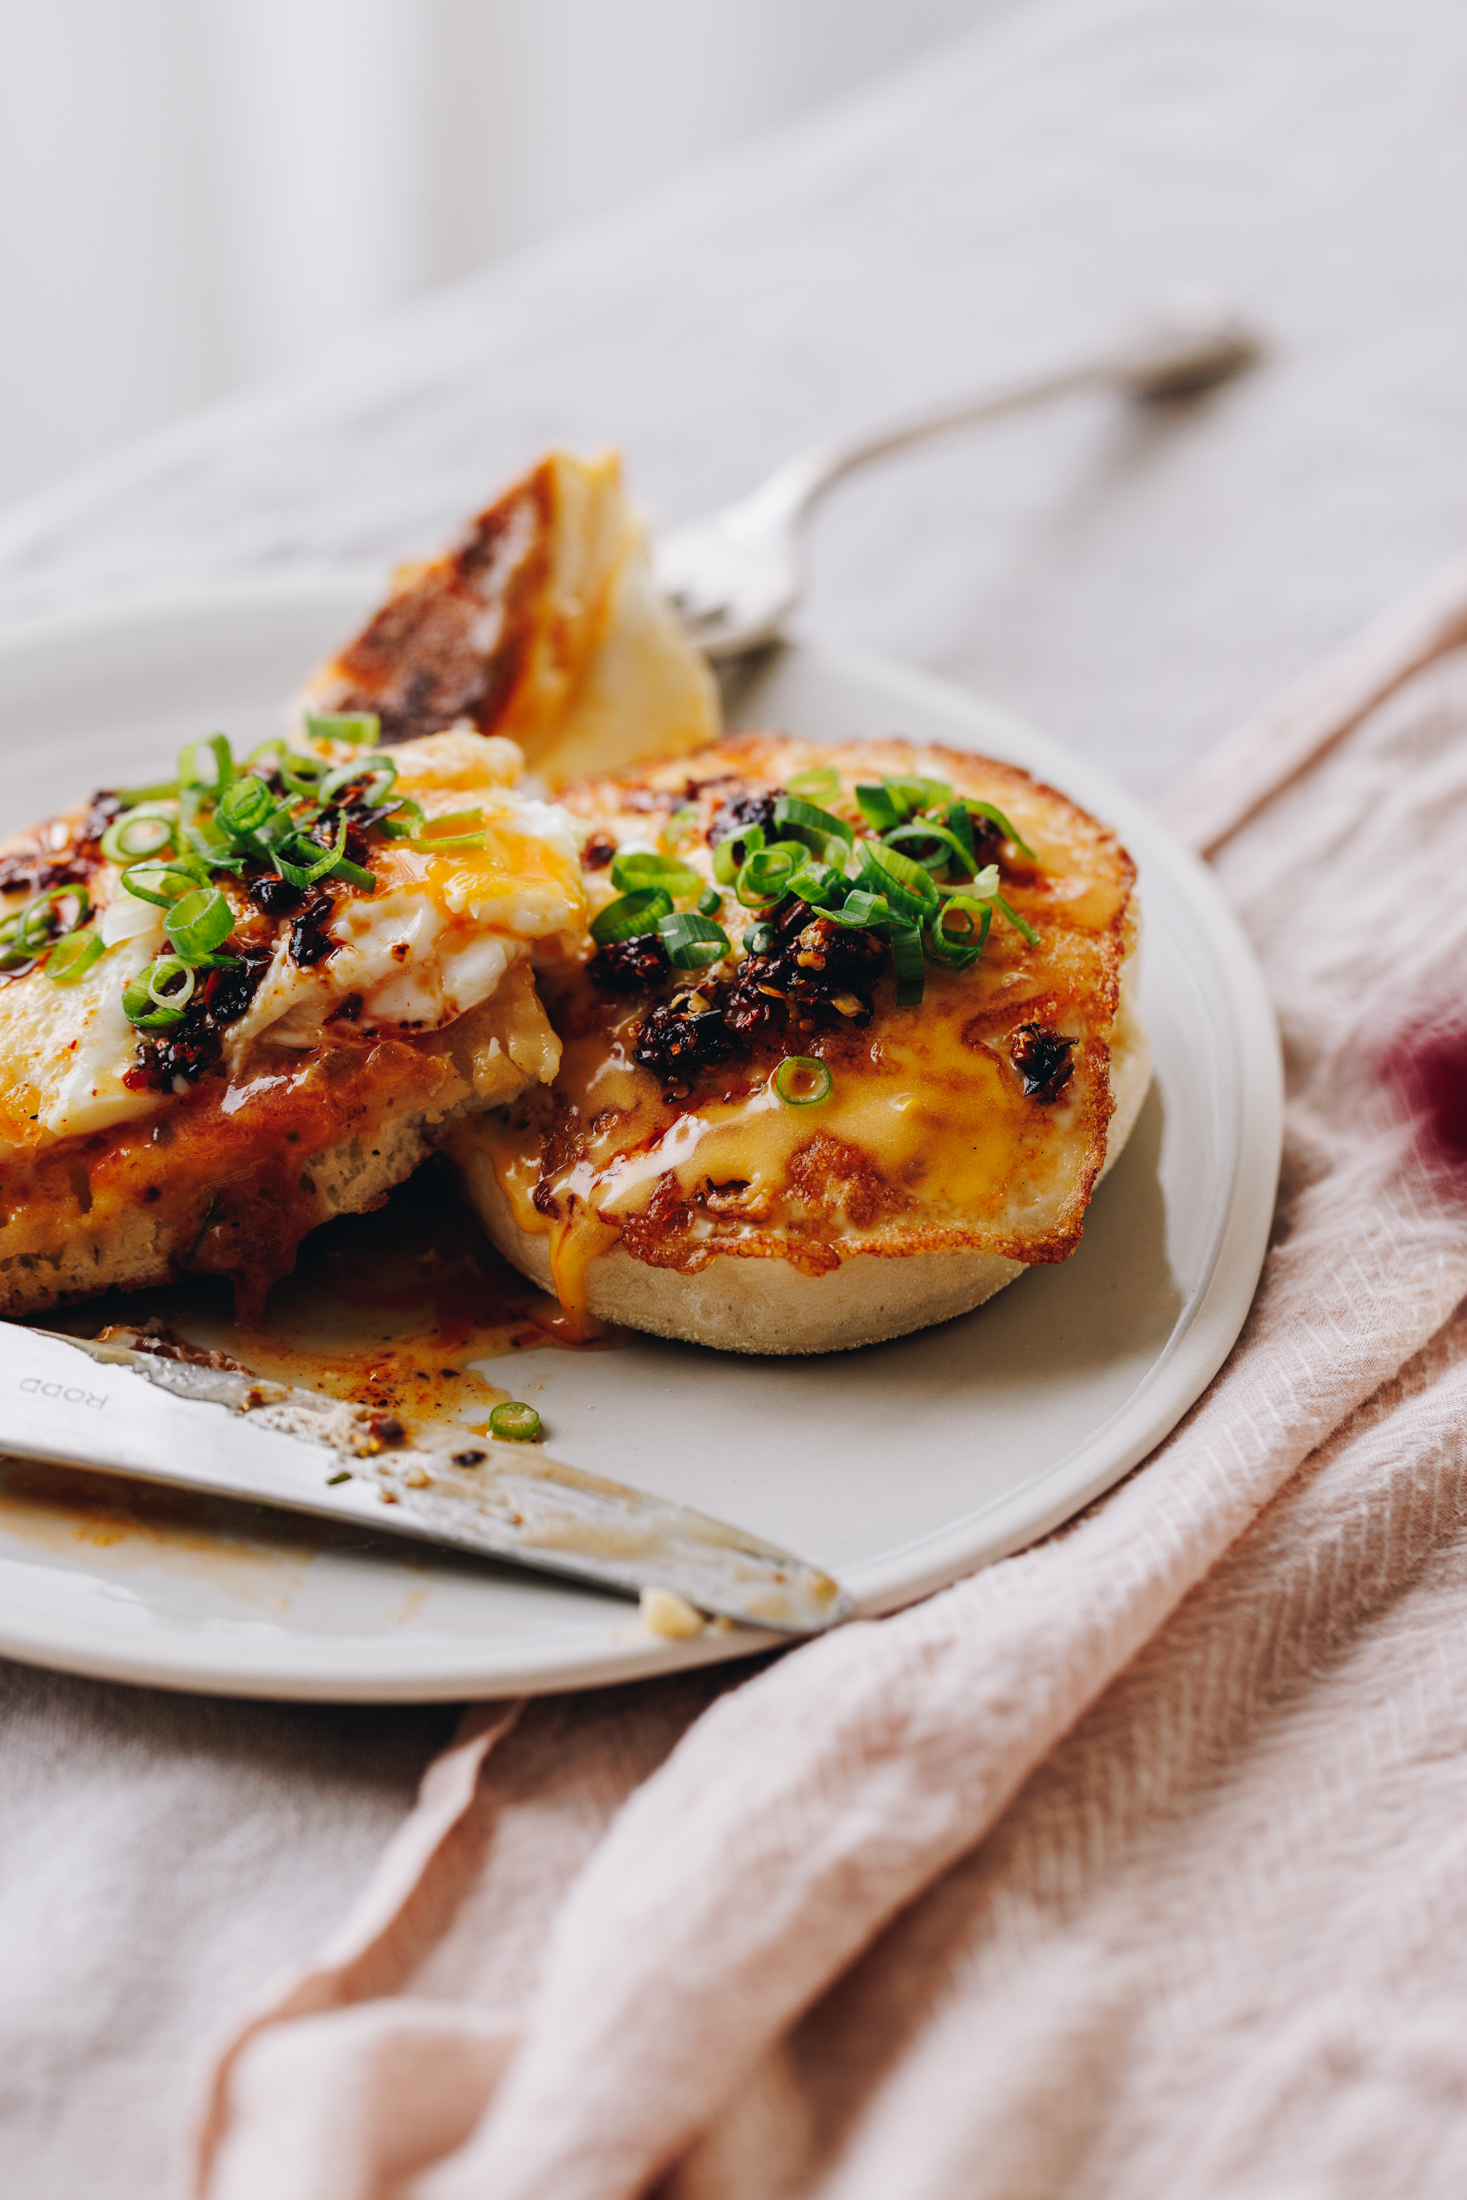
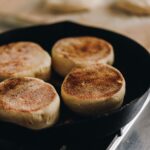
These homemade muffin splits are a Kiwi-style take on classic English muffins, cooked in a pan for a soft, fluffy centre and golden crust.
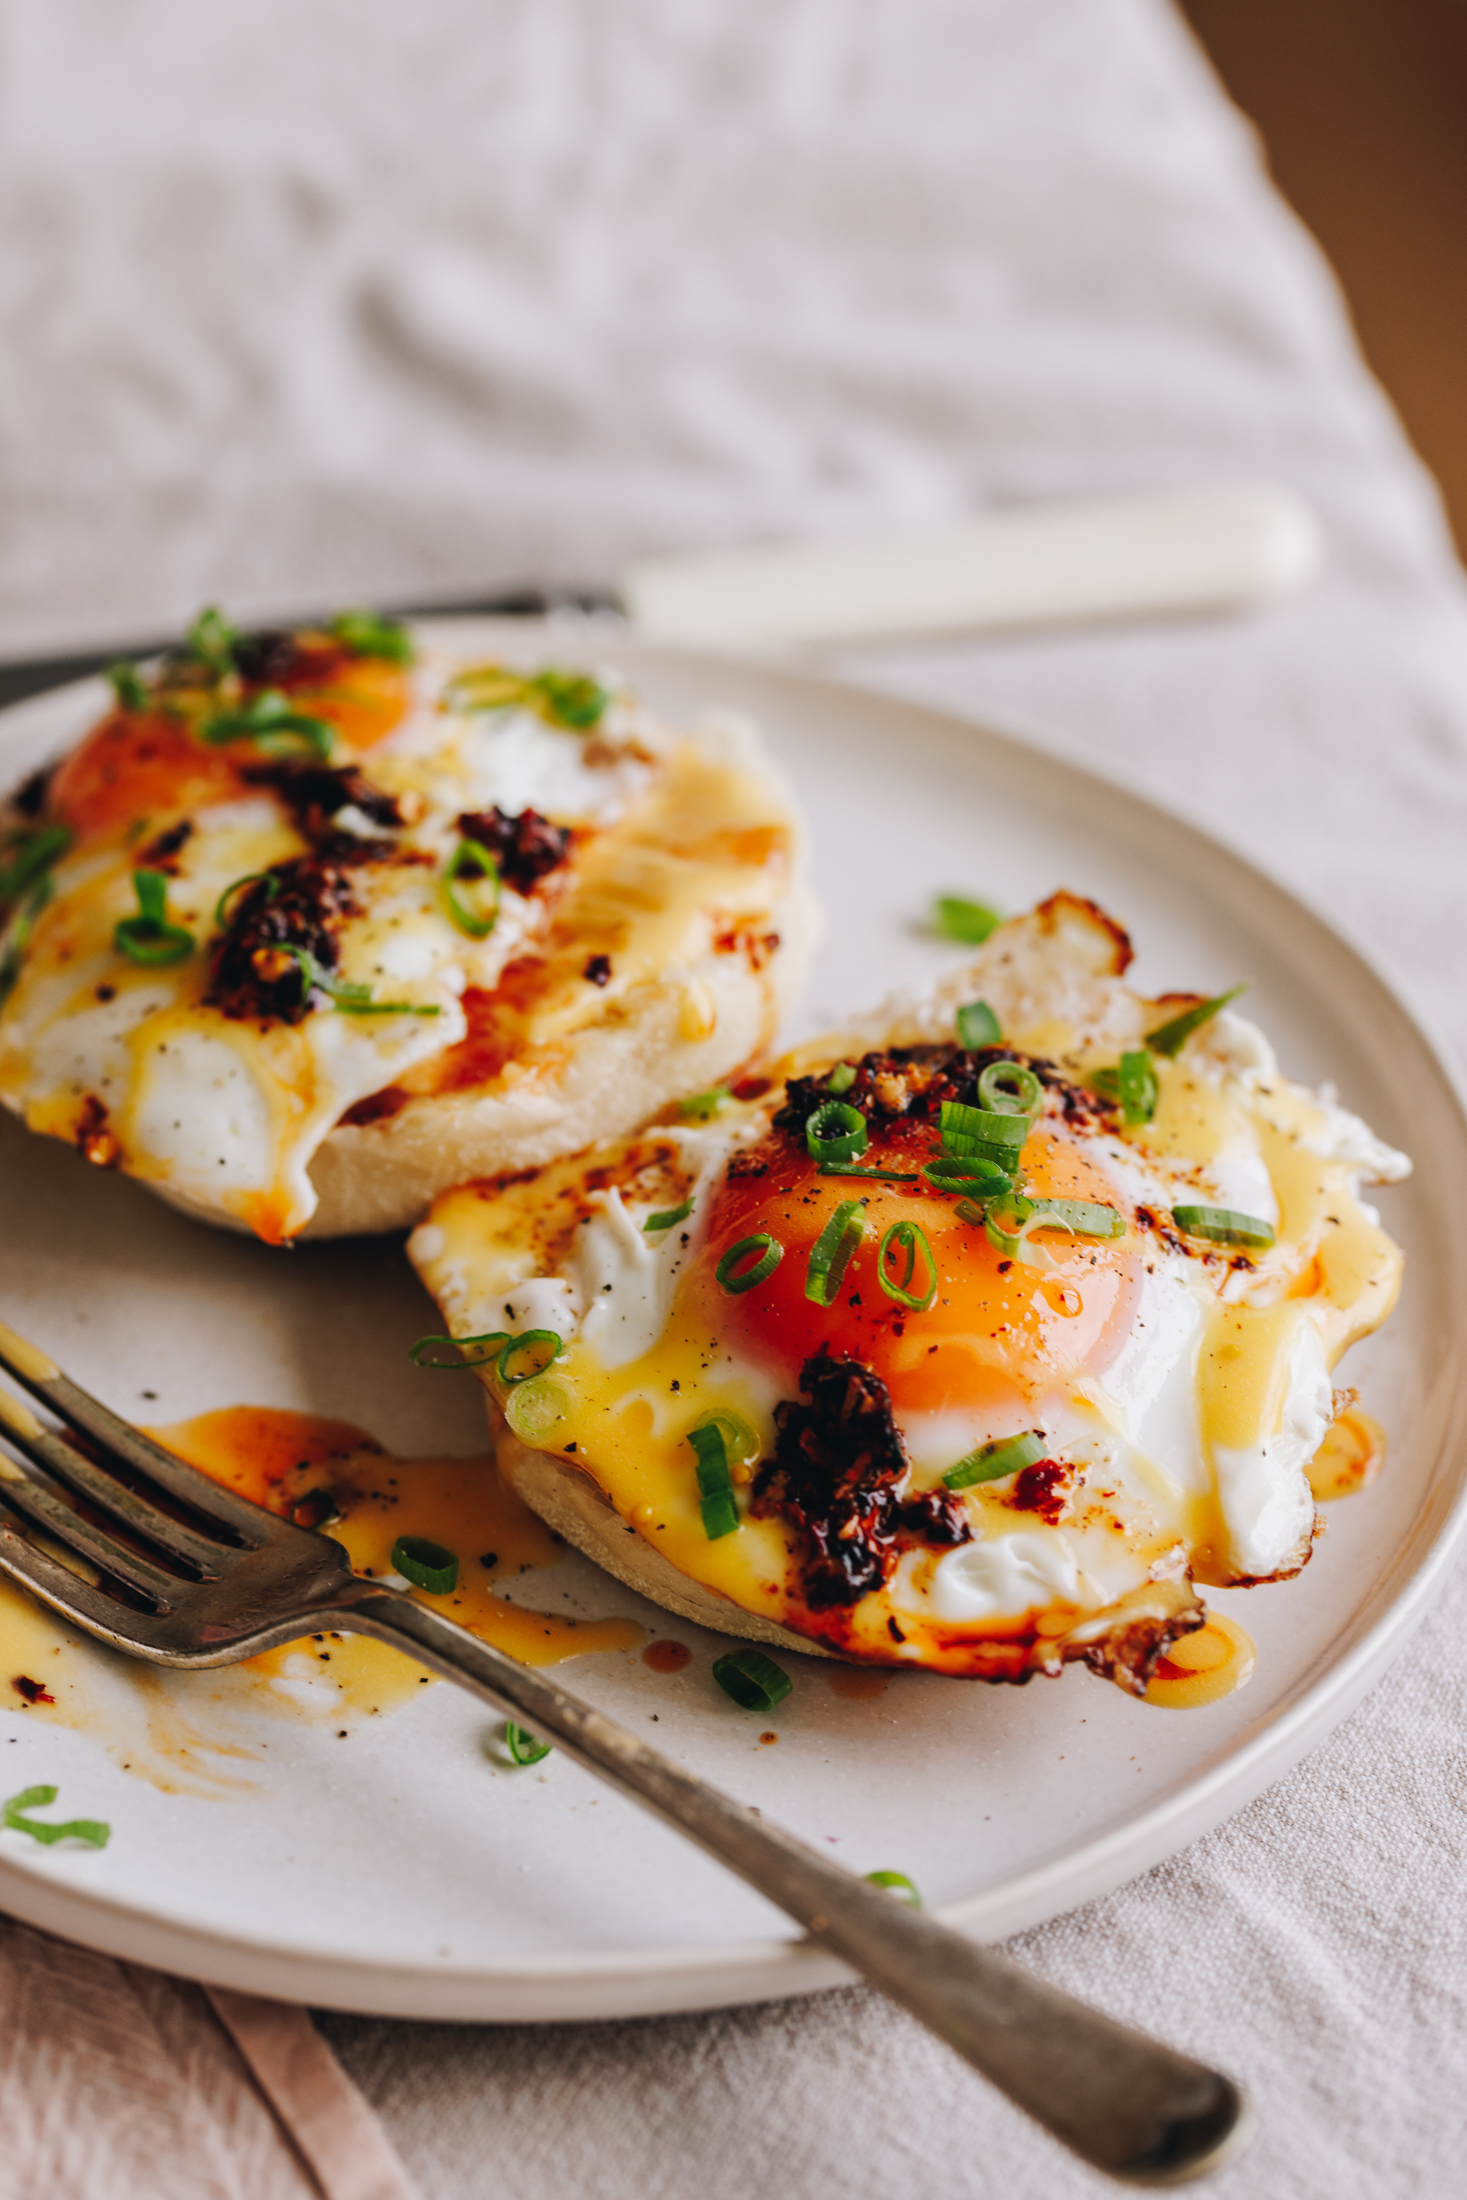
Perfect for a special breakfast or weekend brunch, these Homemade Muffin Splits are easy to make with just a few simple ingredients. Serve them warm with poached eggs and homemade hollandaise sauce, or enjoy with pata (butter), tiamu (jam), or kirīmi tāwhiuwhiu (whipped cream).
Why you will love these homemade muffins splits:
This recipe was first created for Otaika Valley Free-Range Eggs and it is so divine. There is nothing better than a slow parakuihi (breakfast) where these muffin splits are on the table — whether that’s a full brunch spread with poached eggs and hollandaise, or a simple morning with butter and jam.
It’s the kind of recipe that brings people together, even when the ingredients are simple. And if I’m honest… they disappear pretty quickly once they’re warm. 🍳
More bread recipes:
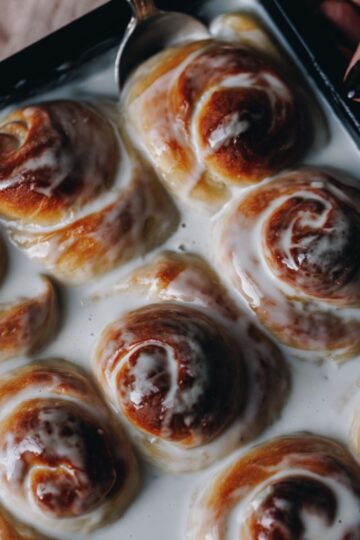
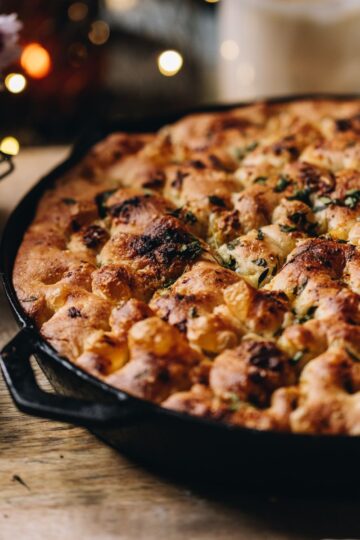
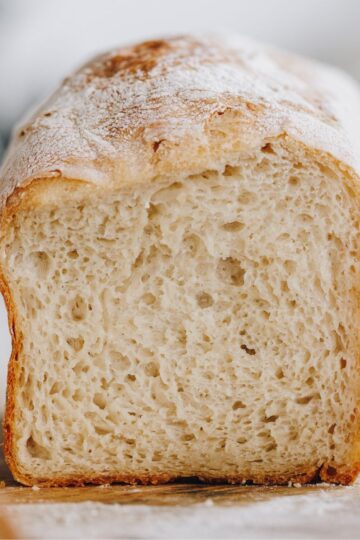
My Roasted Garlic Knots have been a favourite with you all and in our whānau too. My No-knead Bread Buns or No-knead Focaccia Bread are also wonderful recipes to add to your repertoire. So which one will you try today? I can't wait to hear about it.
Photography and videography by Sarah Henderson.
Helpful Ingredient Tips for the Best Results:
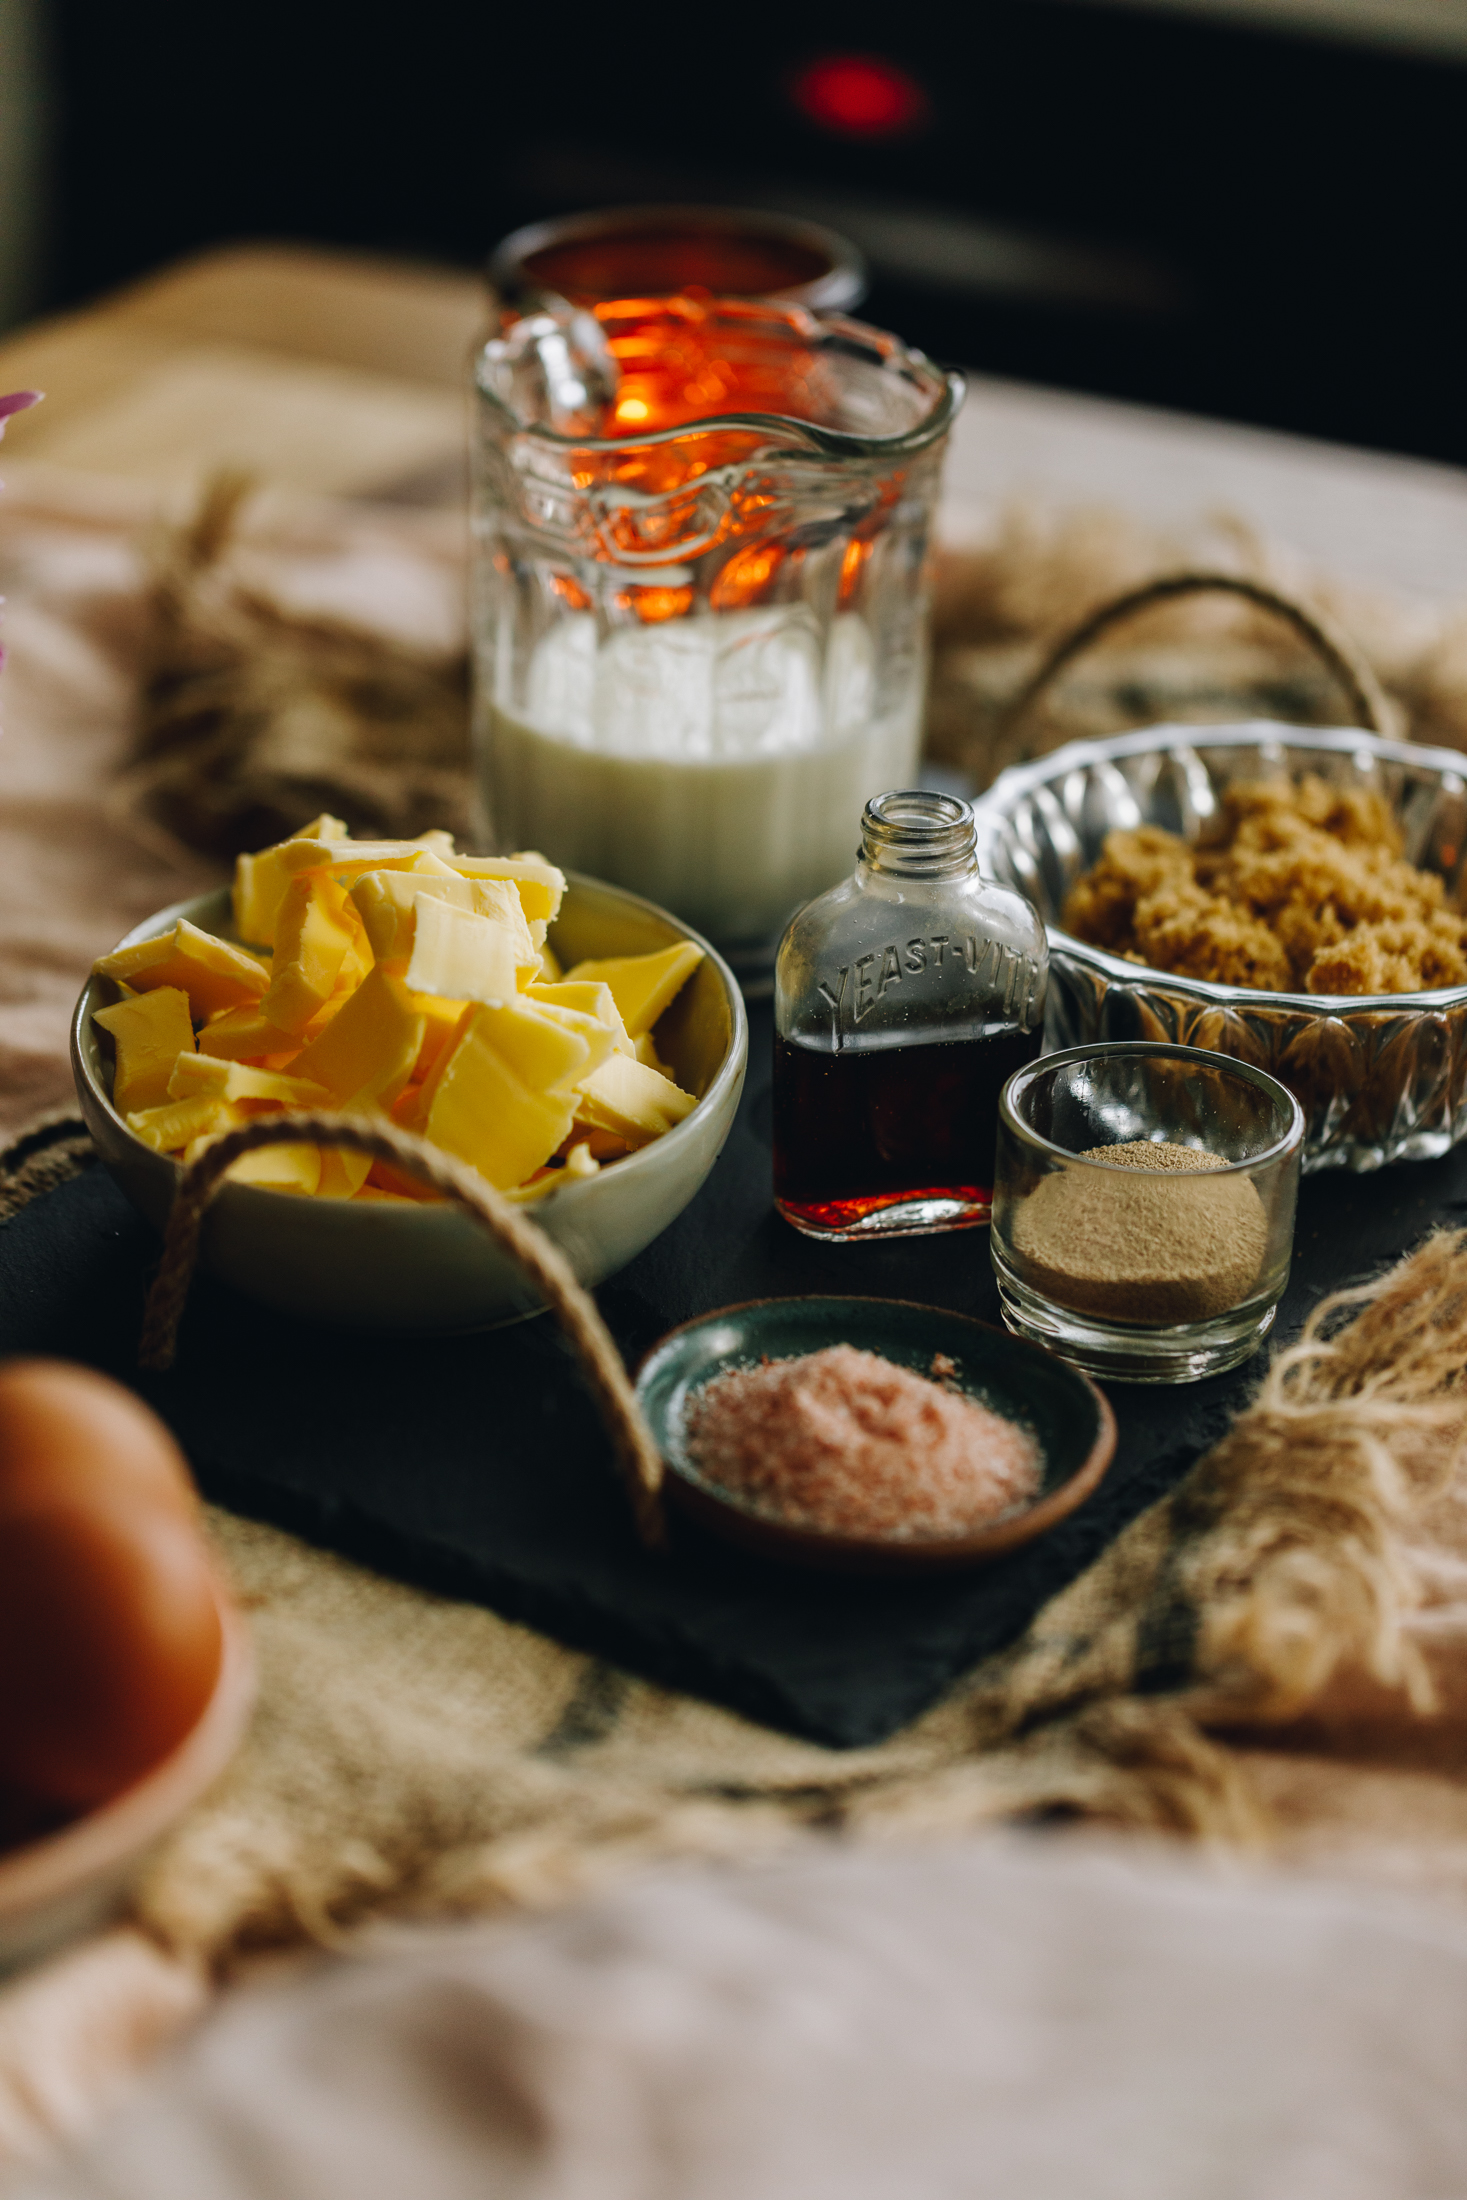
- Milk: I use full fat milk in this recipe but swap it for the same amount of cold water if need be.
- Brown sugar: Use huka hāura (brown sugar), huka mā (white sugar), marahihi māpere (maple syrup) or mīere (honey) in the dough.
- Instant yeast: Use īhi horo (instant yeast) in this recipe for efficient rising. If you are using Surebake or breadmakers yeast, double the amount.
- High grade flour: Always use puehu parāoa kounga (high grade flour) in bread recipes for the fluffiest result.
- Salt: I use Himalayan salt in my baking because it gives a subtle flavour. If you are using iodised table salt, half the quantity.
- Butter: I always use salted butter in my baking but unsalted is fine too. Replace the pata (butter) with 3 tablespoon of noni (oil).
STEP BY STEP INSTRUCTIONS FOR homemade muffin splits:
Note: The full recipe card with the full list of ingredients, instructions and step by step video are found at the bottom of this page.
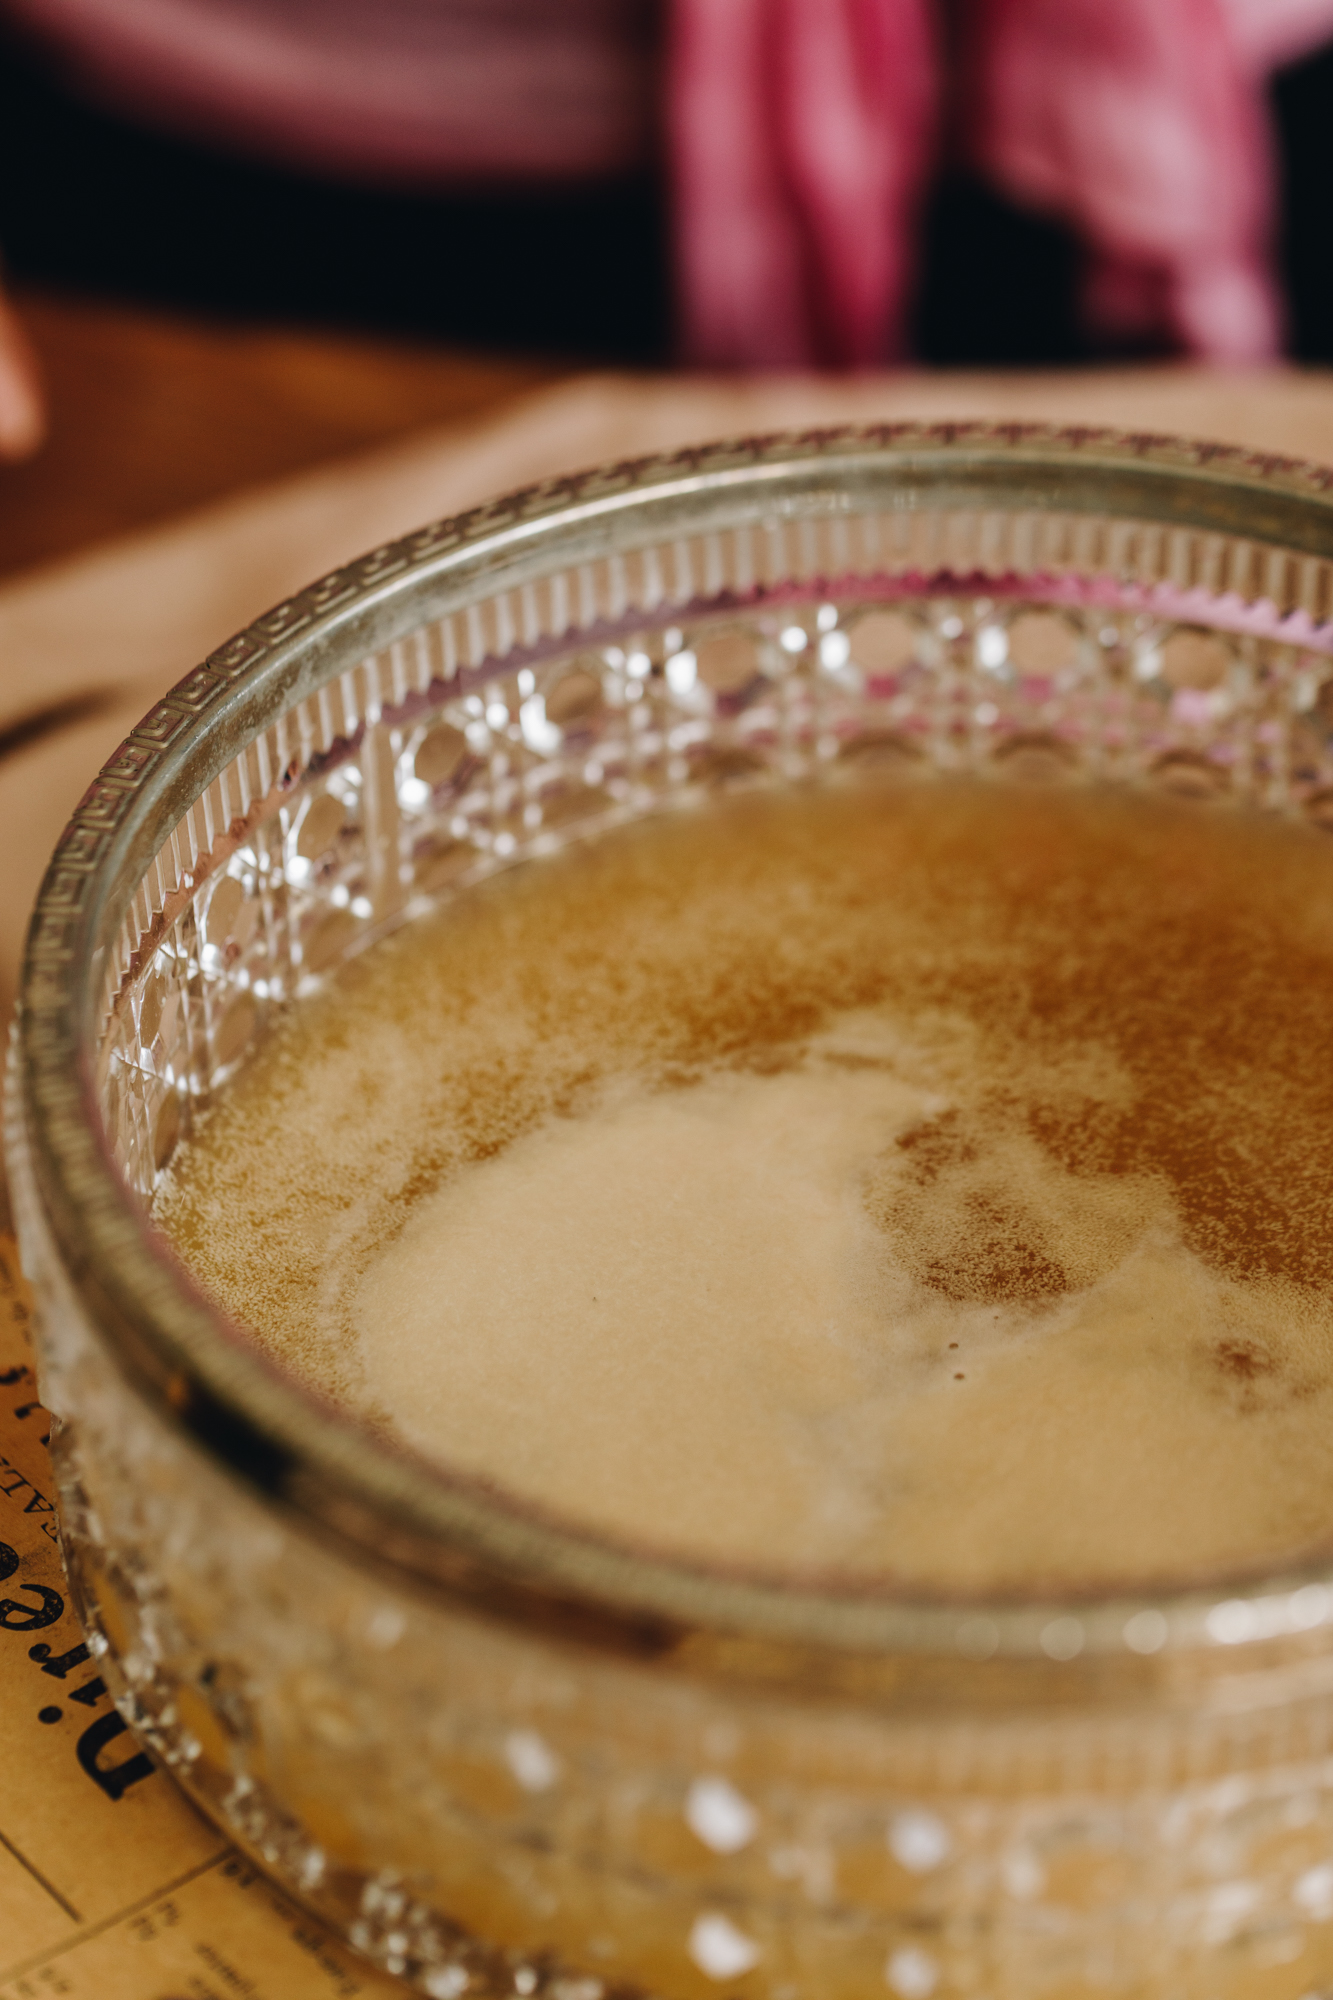
1. Activate the Yeast:
Add the wai mahana (warm water), miraka (milk) or wai makariri (cold water) and huka (sugar) in to a large bowl.
Whakaranuhia (stir to combine).
Once the huka (sugar) is dissolved, add the īhi (yeast) and then stir it again.
If you are using instant yeast, leave it for 5 minutes until the yeast has floated to the top.
If you are using surebake yeast, leave for 10 minutes until the yeast has floated to the top and is slightly foamy.
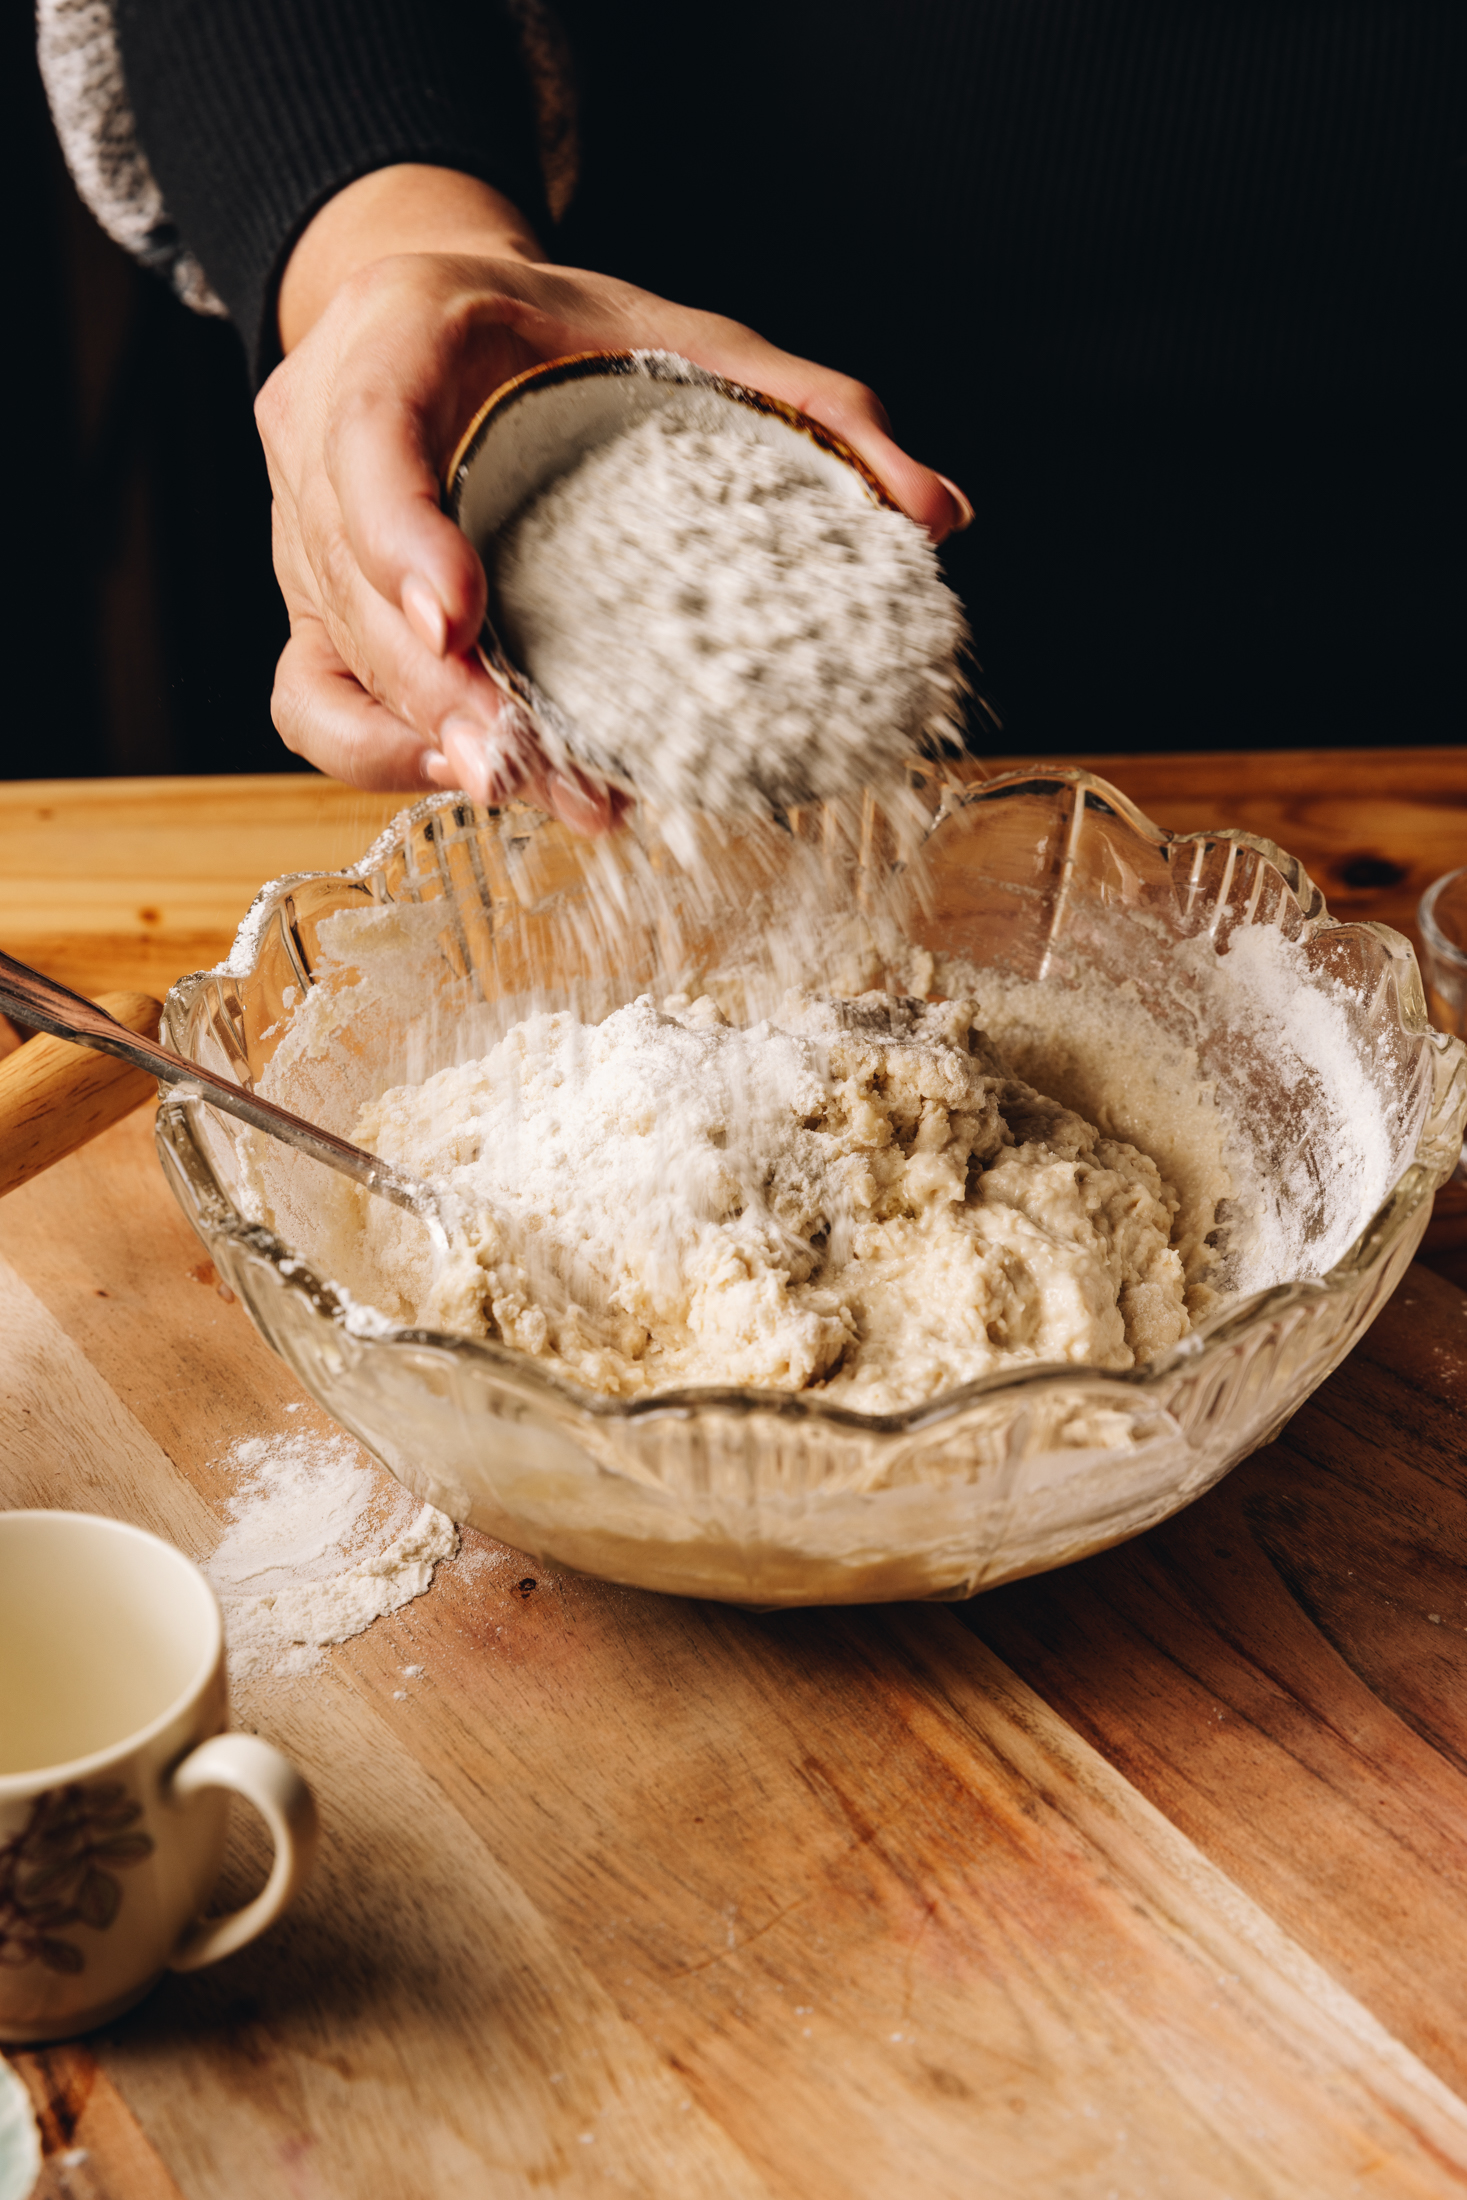
2. Add the Remaining Ingredients:
Add the puehu parāoa (flour), tote (salt) and the pata kūteretere (softened butter) or noni (oil).
Using a bread and butter knife, mix it all together until a dough forms.
Once the dough is roughly incorporated, poia te pokenga (knead the dough).
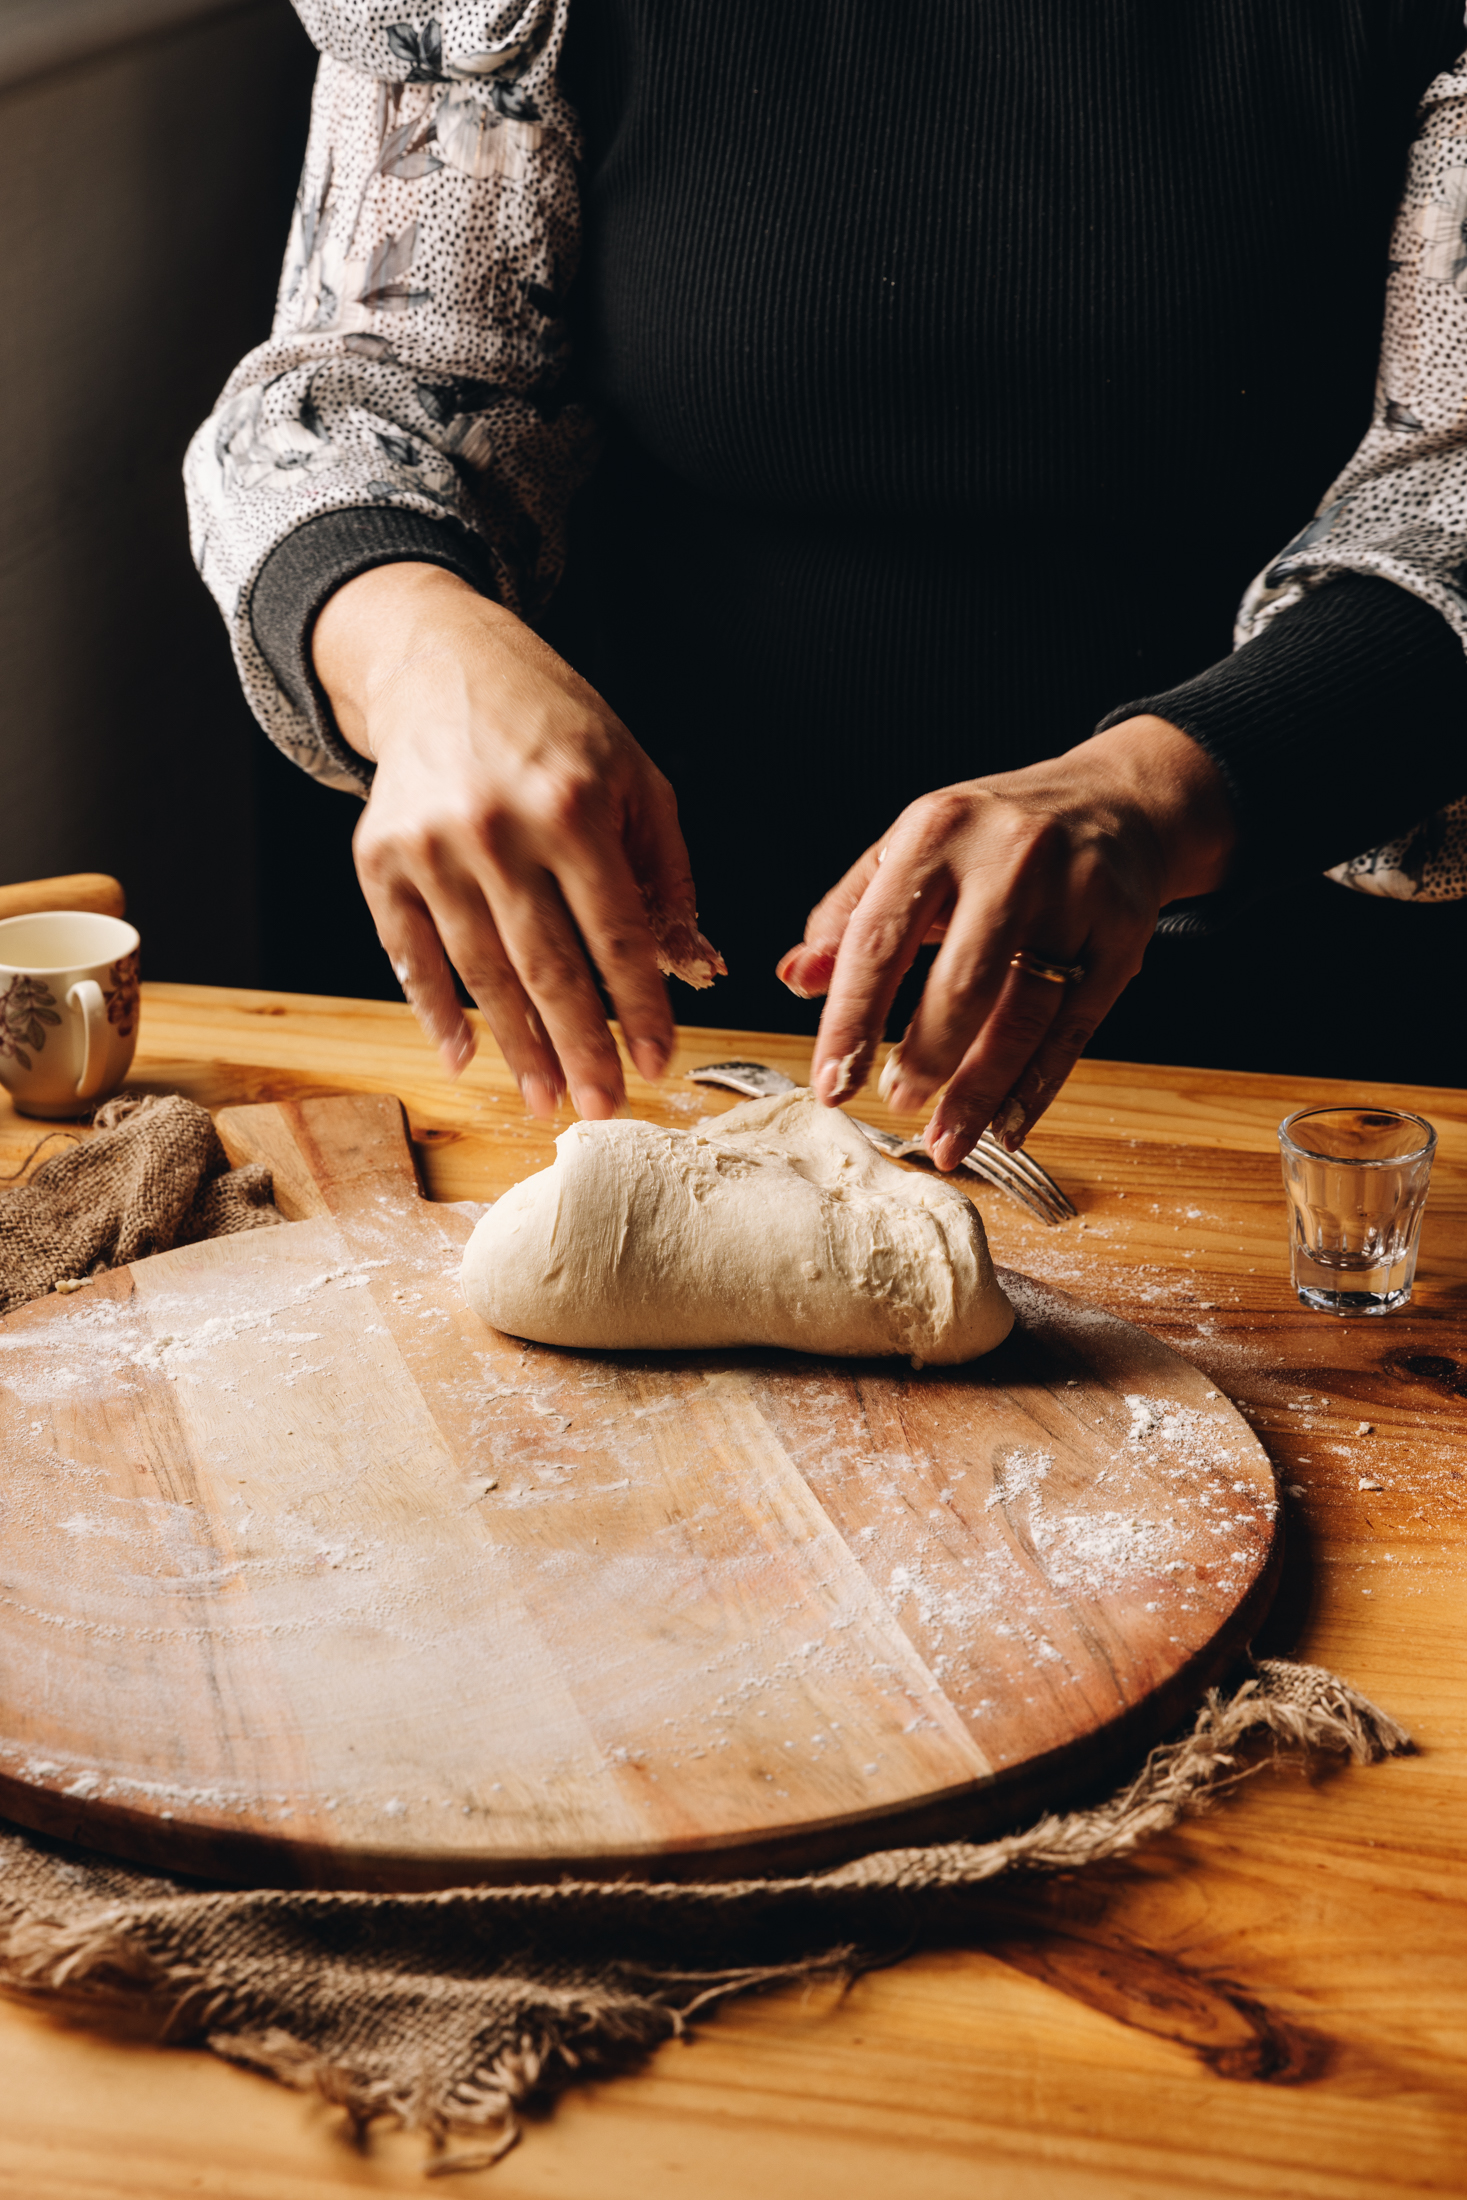
3. Knead the Dough:
If you are using a mixer, place the dough in the mixing bowl. Using a dough hook, knead for 8 – 9 minutes on low-medium speed.
If you are kneading by hand, add the dough to a lightly floured bench or table. Knead the dough with the palms of your hands (not with your fingers), for 10 – 12 minutes.
4. First Rise:
Once the dough is lovely and stretchy (see the video for reference), mould in to a ball and add it in to a clean bowl.
Cover with a tea towel or bowl cover.
Rise for 1 ¼ – 1 ½ hours, the dough should double in size.
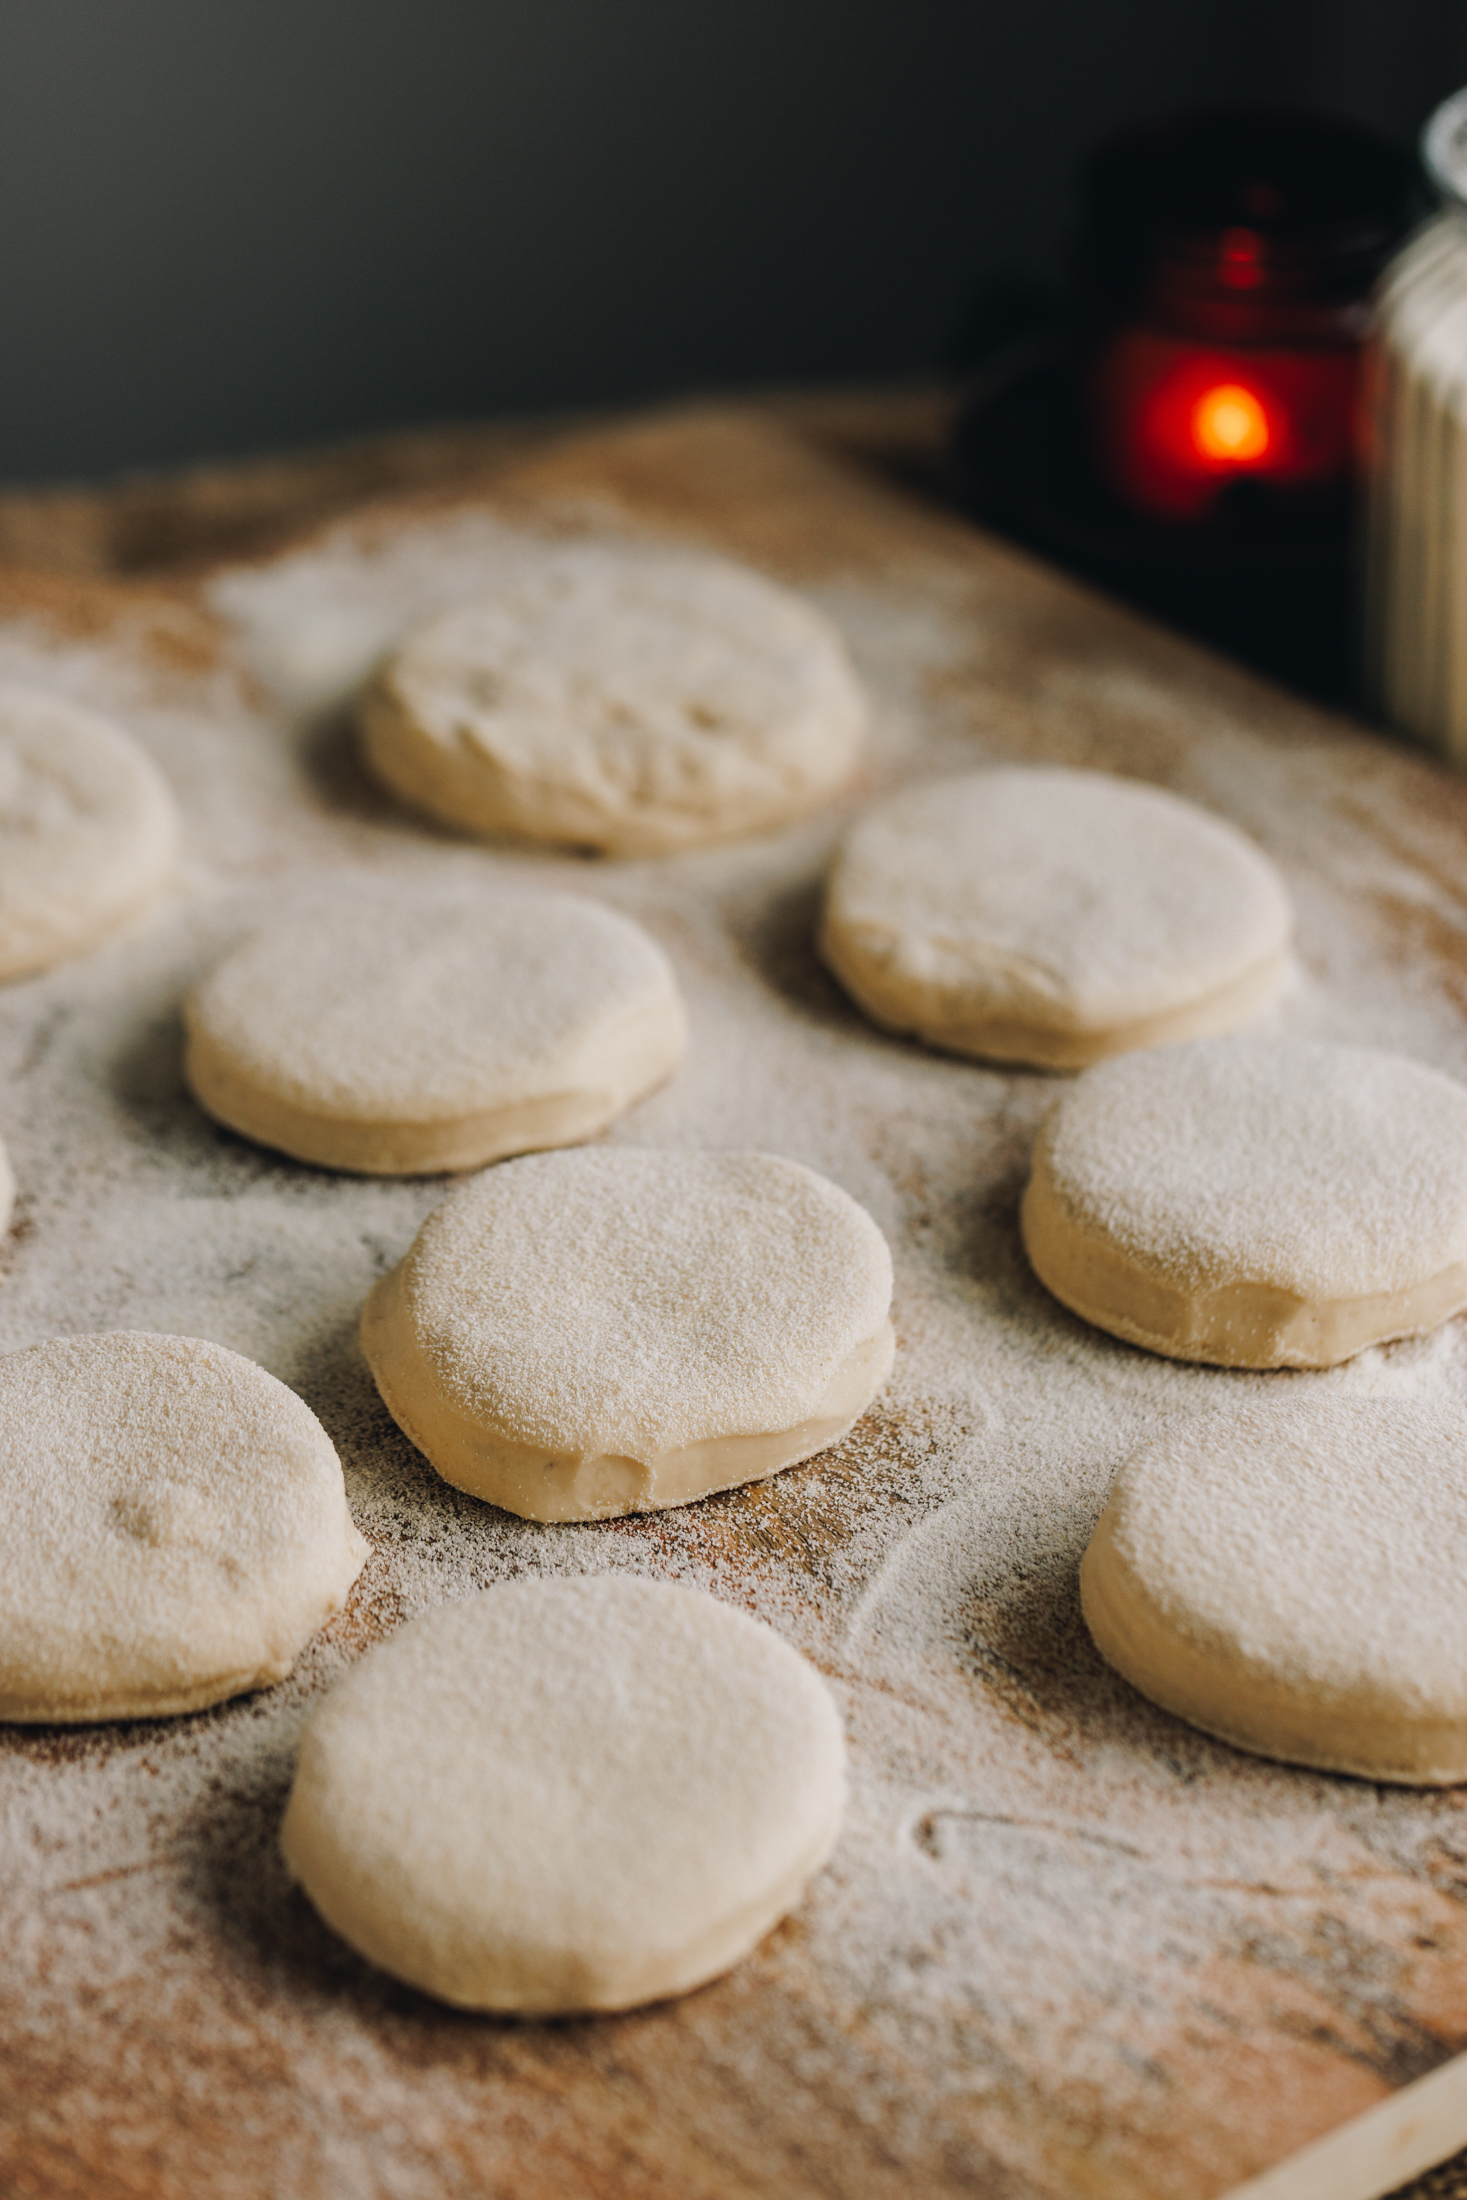
5. Roll out the Risen Dough:
Sprinkle a handful of semolina on to the bench and gently roll the risen dough to 2 -3 cm cm thick.
Cut out 8 x 7 - 9 cm circles. Gently pinch the scraps of dough together to make the last two - four muffins.
6. Second Rise:
Cover the cut out pieces of dough with a large tea towel and rise again for 45 minutes.
7. Preheat the Pan and the oven:
Five minutes before the rising time is done, heat one or two cast iron pans (or heavy based pots) over medium heat.
Preheat the oven to 140 °C bake setting or 130 °C fan bake setting.
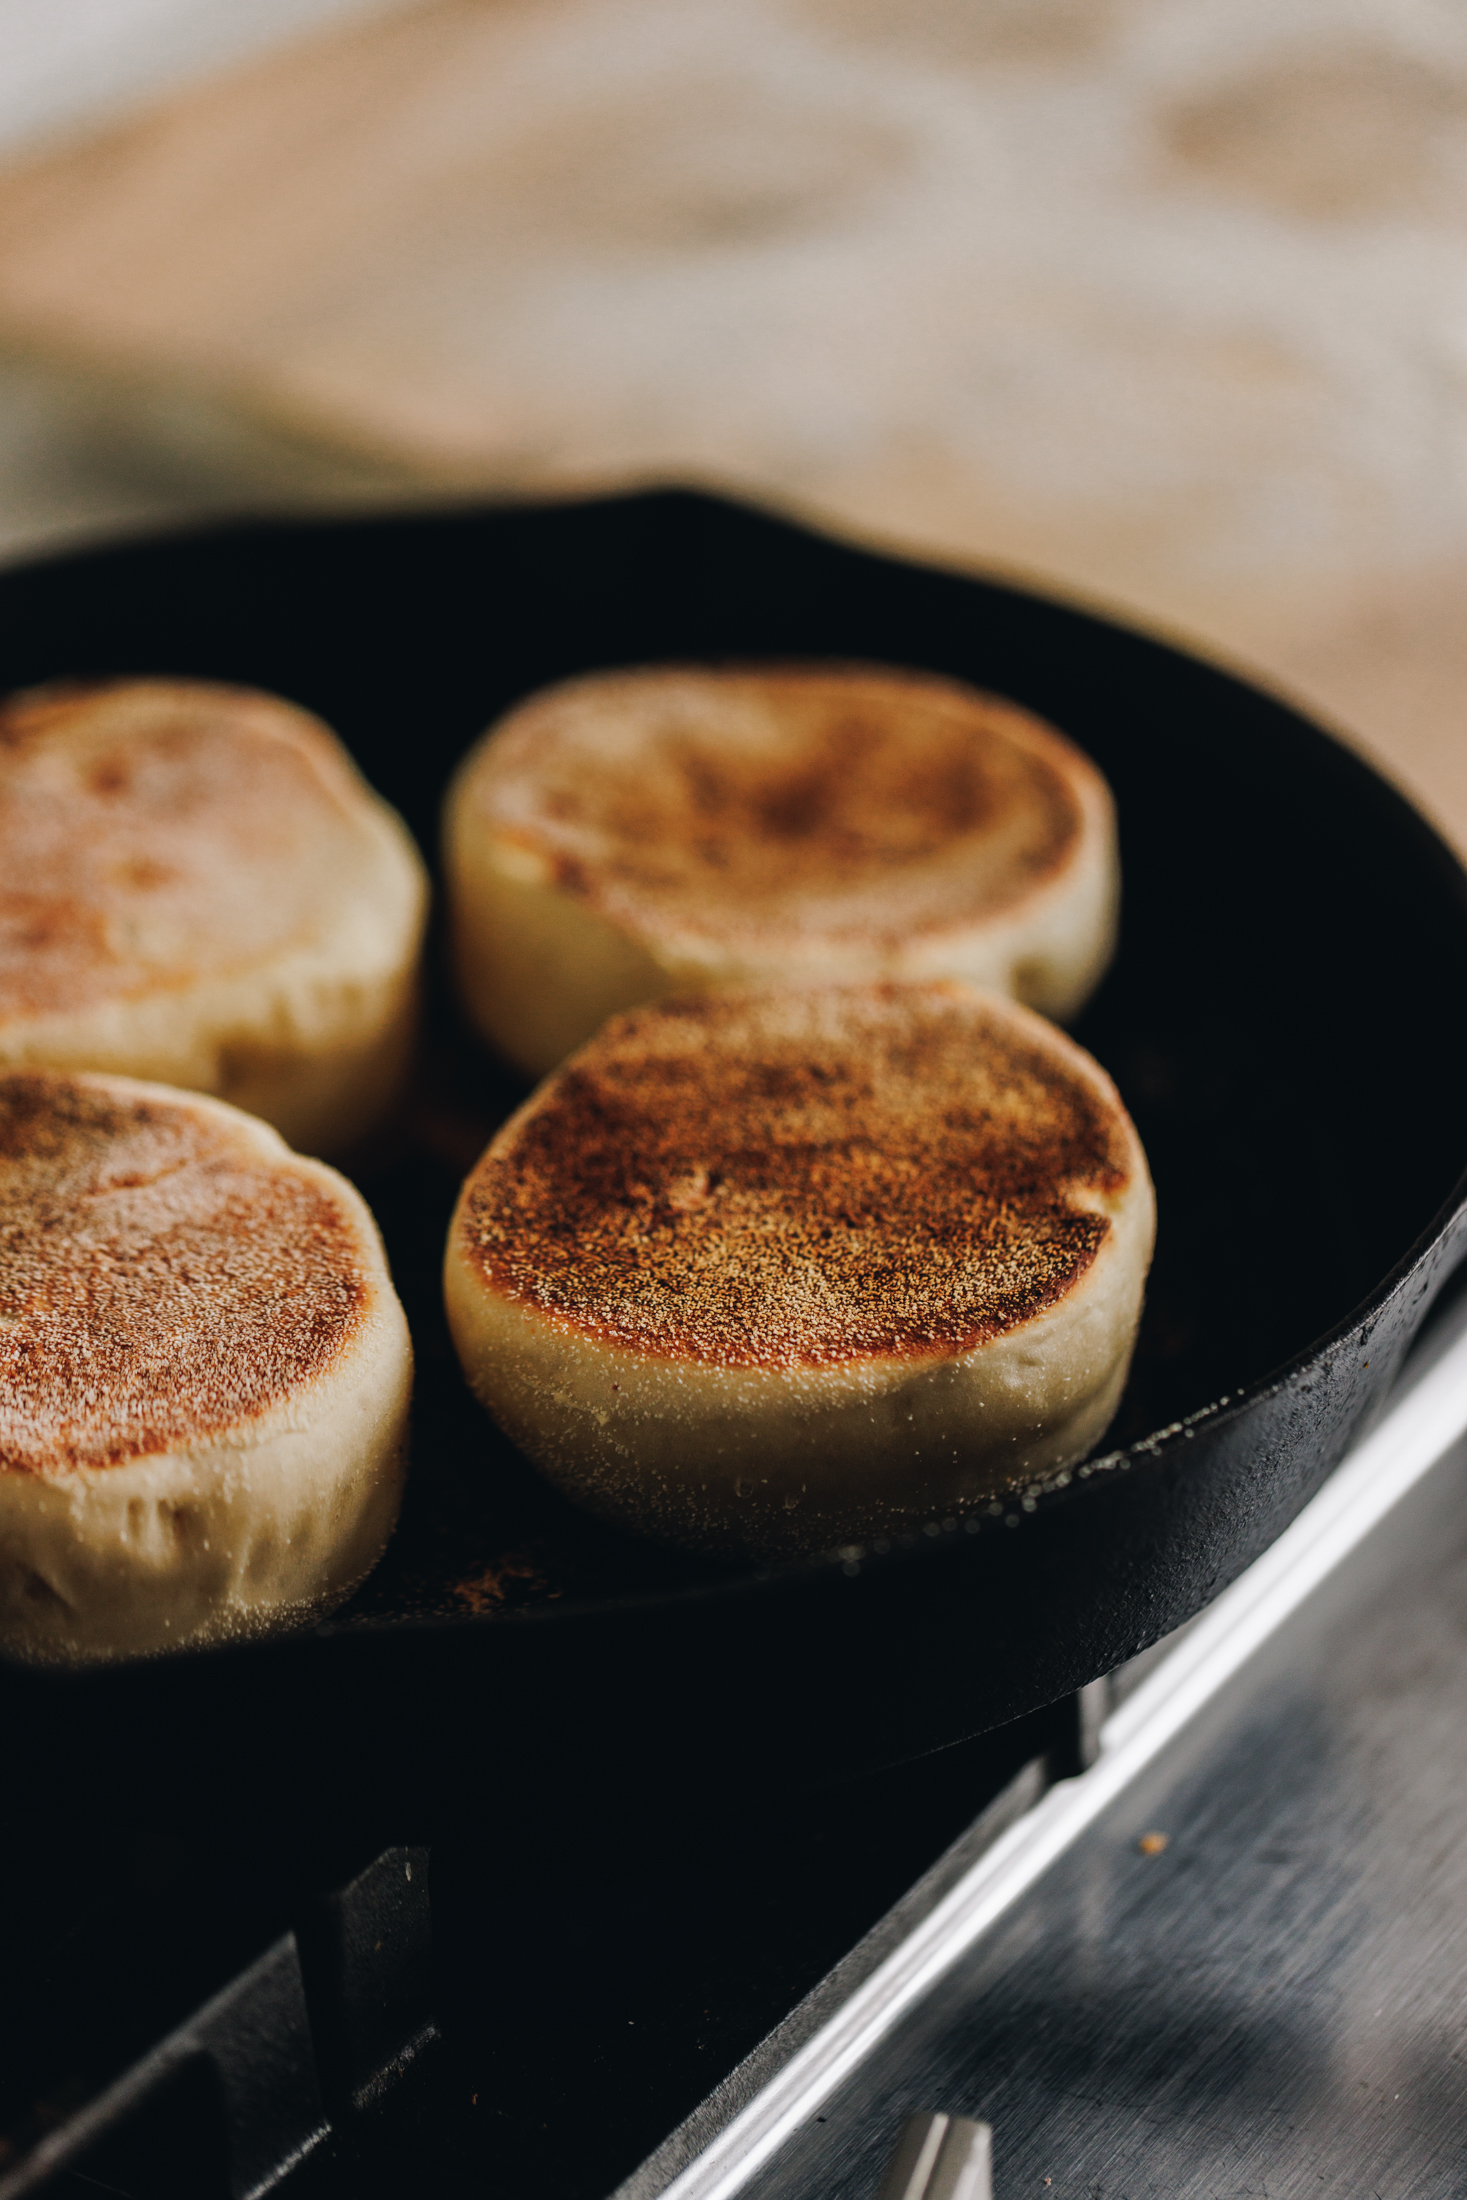
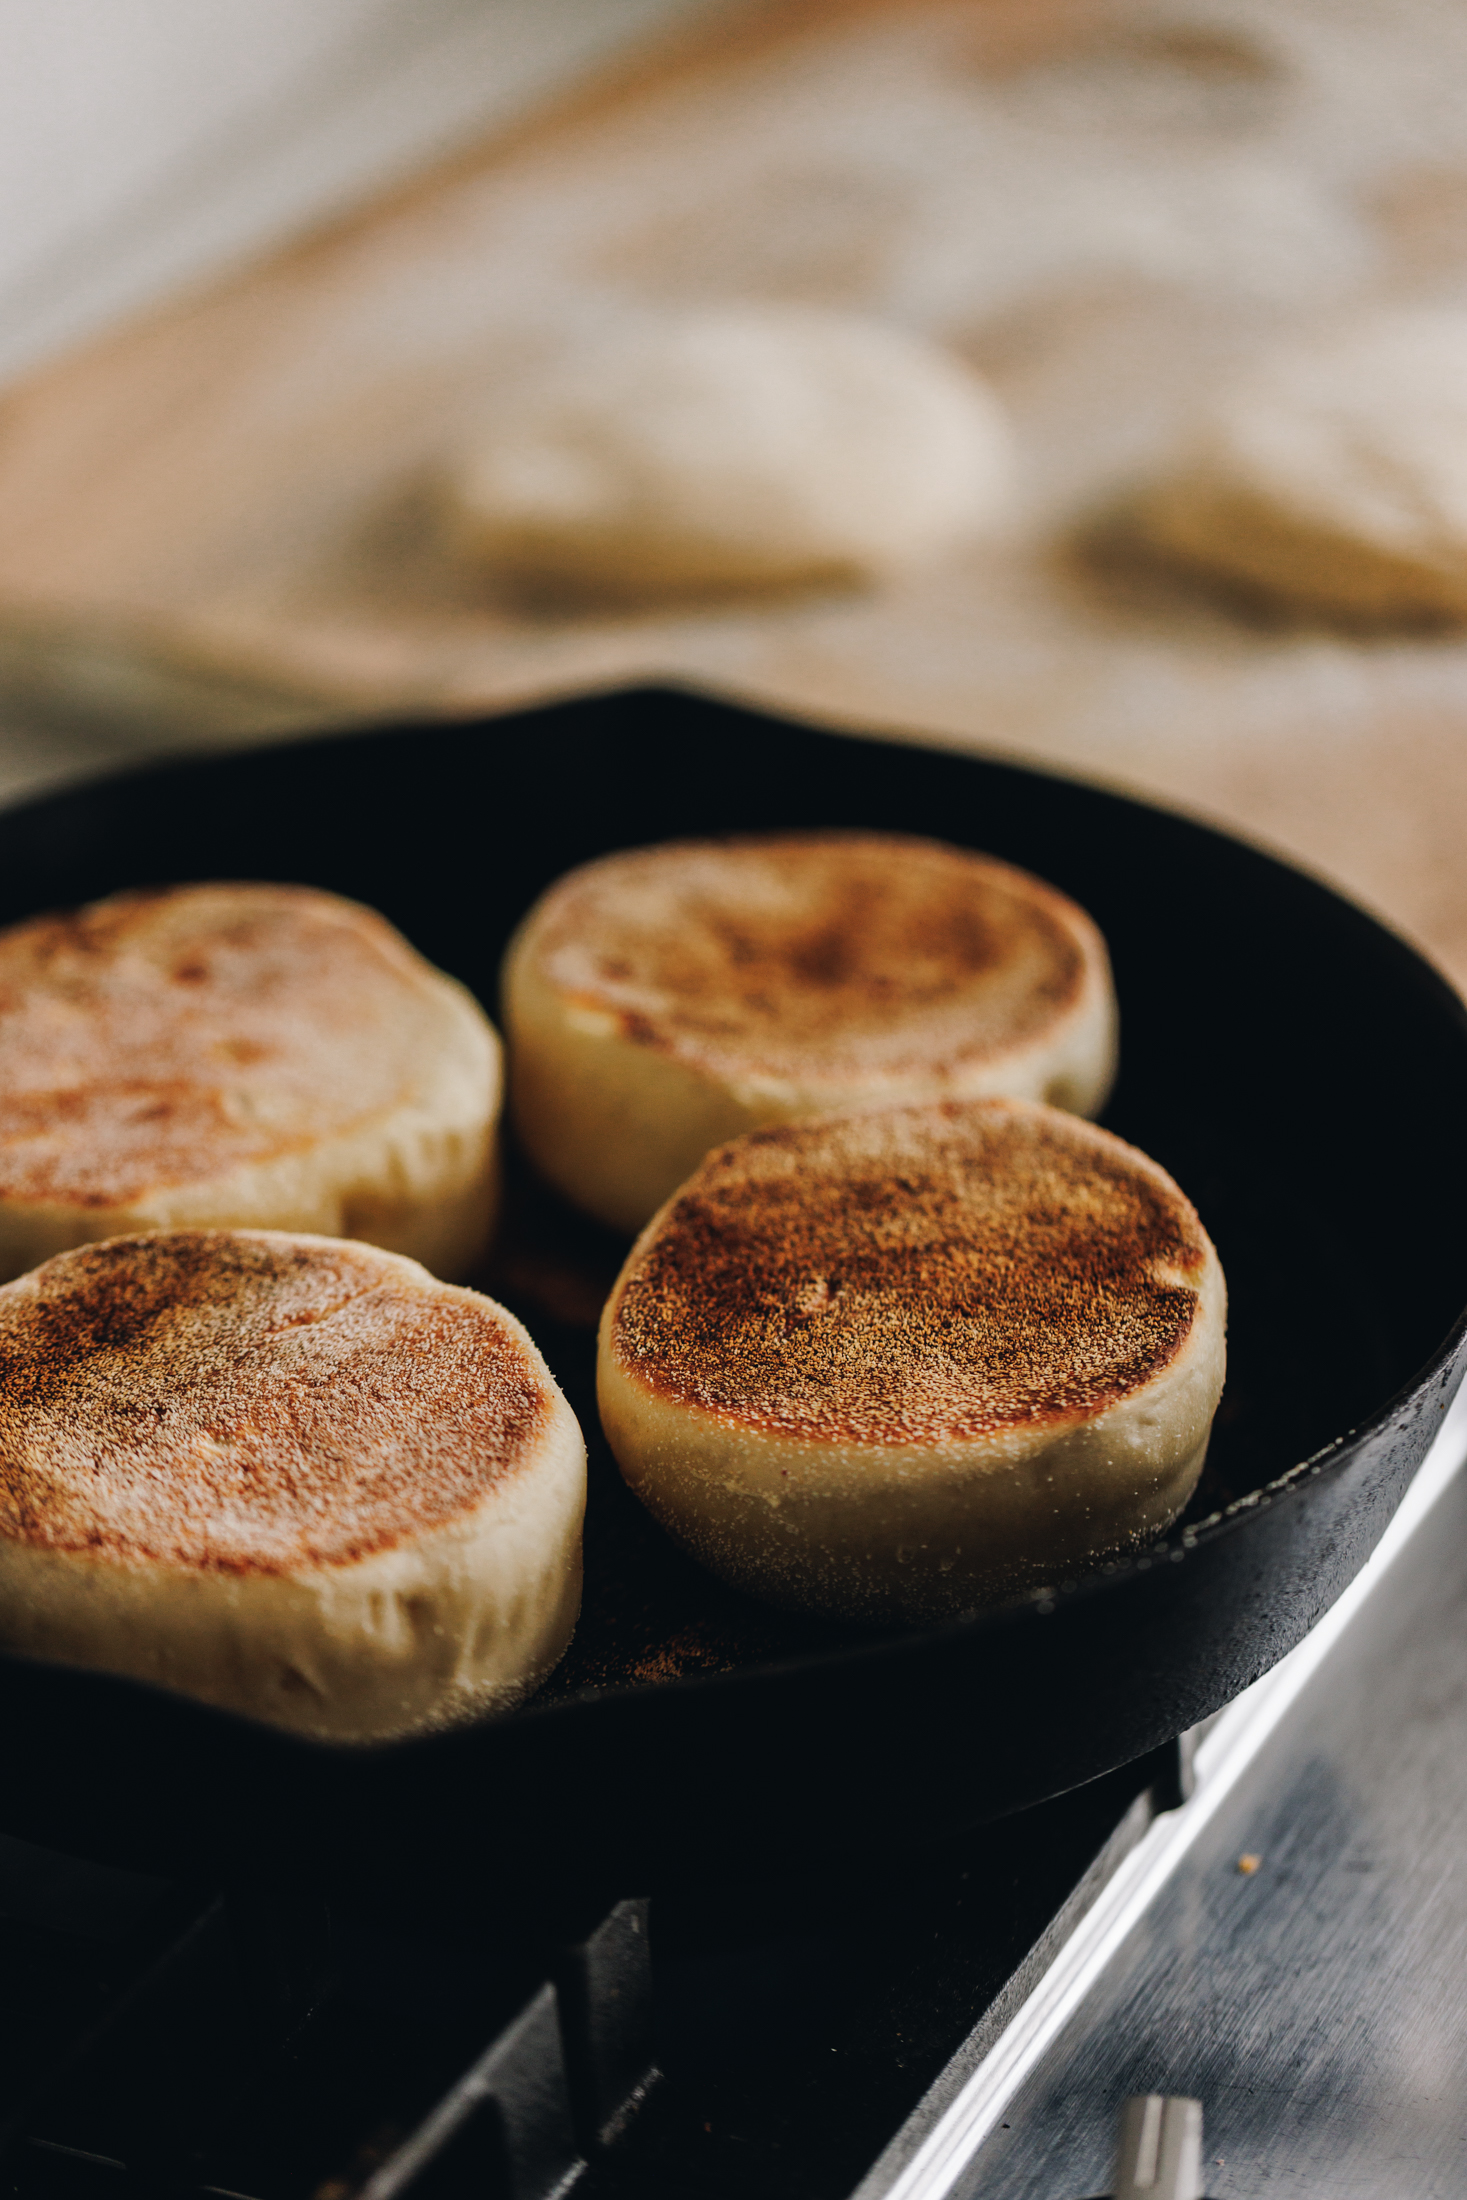
8. Cook the Homemade Muffin Splits:
Gently add 4 of the risen muffins in a pan at a time and cook for 6 minutes on one side. No oil is needed. Don't touch them too much when they are cooking on the first side because they may deflate a little. Just set the timer and let them cook.
After 6 - 7 minutes of cooking, flip them over gently with a fork. If they are browning too fast at any stage, reduce the heat or remove the pan from the heat temporarily.
Once a batch is cooked, add them to a tray and then place them in the oven to keep them warm. Repeat the cooking process until all of them are cooked.
Split one of the mawhene (muffins) open. If it is still slightly uncooked in the centre, return them all to the oven to cook for another 8 - 10 minutes. This will depend on how thick yours are, the thicker the are the more likely they are to need a moment in the oven.
11. Serve the Homemade Muffin Splits:
Cut the muffins in half and either toast them or keep them as they are.
As an idea, spread each muffin with my homemade hollandaise sauce, kīnaki tōmato (tomato chutney), hēki parai (fried eggs), noni hirikakā (chilli oil), a drizzle of extra hollandaise and puna riki (spring onions).
Store the Homemade Muffin Splits:
These are at their best eaten immediately or cut open and toasted the next day.
I keep my homemade bread in a plastic bag for a day or so on the bench.
Beyond that I slice them open and store it in the freezer and toast them when needed.
If you loved this
Parāoa (Bread) Recipe
There is so much more where that came from.


DID YOU ENJOY THIS RECIPE?
It would be so awesome if you could please leave a review/comment by clicking the “leave a comment” section at the top of the page.
I love seeing you all make my creations, so send a whakaahua (photo) or kiriata (video) to my Instagram and show me what you made. Let me know if you have any pātai (questions) too, I would love to help.
Homemade Muffin Spilts - Mawhene Ingarangi
Ingredients
The Dough - Te Pokenga
- ¾ C + 1 tablespoon (200 ml) wai mahana (warm water, from the tap)
- ⅓ C (80 ml) miraka (milk). This can be swapped for the same amount of cold water.
- 1 ½ tablespoon huka hāura (brown sugar)
- 2 ½ teaspoon (8 g) īhi horo (instant yeast). This can be swapped for 4 teaspoon (16 g) Surebake yeast.
- 3 ¼ C (485 g) puehu parāoa kounga (high grade flour)
- 1 ½ tsp tote (salt, fine). I use Himalayan salt here, if you are using iodised table salt, half this amount.
- 45 g pata kūteretere (softened butter). This can be swapped for 45 g (3 tbsp) of neutral oil.
- Semolina for dusting (it gives a lovely crispy crust)
Instructions
Activate the Yeast:
- Add the wai mahana (warm water), miraka (milk) or wai makariri (cold water) and huka (sugar) in to a large bowl. Whakaranuhia (stir to combine).
- Once the huka (sugar) is dissolved, add the īhi (yeast) and then stir it again.
- If you are using instant yeast, leave it for 5 minutes until the yeast has floated to the top. If you are using surebake yeast, leave for 10 minutes until the yeast has floated to the top and is slightly foamy.
Add the Remaining Ingredients:
- Add the puehu parāoa (flour), tote (salt) and the pata kūteretere (softened butter) or noni (oil).
- Using a bread and butter knife, mix it all together until a dough forms. Once the dough is roughly incorporated, poia te pokenga (knead the dough).
Knead the Dough:
- If you are using a mixer, place the dough in the mixing bowl. Using a dough hook, knead for 8 – 9 minutes on low-medium speed.
- If you are kneading by hand, add the dough to a lightly floured bench or table. Knead the dough with the palms of your hands (not with your fingers), for 10 – 12 minutes.
Kneading Tip:
- Try not to add any extra flour when you are kneading. If it is super sticky, only add a tablespoons of flour at a time (up to 3 tbsp) and continue kneading.Remember, a slightly sticky dough is better than a stiff dough.
First Rise:
- Once the dough is lovely and stretchy (see the video for reference), mould in to a ball and add it in to a clean bowl. Cover with a tea towel or bowl cover.
- Rise for 1 ¼ – 1 ½ hours, the dough should double in size.
Roll out the Risen Dough:
- Sprinkle a handful of semolina on to the bench and gently roll the risen dough to 2 - 3 cm cm thick.
- Cut out 8 x 7 - 9 cm circles.
- Gently pinch the scraps of dough together to make the last two - four muffins.Make sure these are the last ones to cook because these need a bit more time to rise after being handled so much.
- Generously sprinkle more semolina on top of each mawhene (muffin).
Second Rise:
- Cover the cut out pieces of dough with a large tea towel and rise again for 45 minutes.
- Five minutes before the rising time is done, heat the pan and the oven.
Preheat the Pan and the oven:
- Preheat the oven to 140 °C bake setting or 130 °C fan bake setting.
- Heat one or two cast iron pans (or heavy based pots) over medium heat.
Cook the Homemade Muffin Splits:
- Gently add 4 of the risen muffins in a pan at a time and cook for 6 minutes on one side. No oil is needed. Don't touch them too much when they are cooking on the first side because they may deflate a little. Just set the timer and let them cook.
- After 6 - 7 minutes of cooking, flip them over gently with a fork. If they are browning too fast at any stage, reduce the heat or remove the pan from the heat temporarily.
- Once a batch is cooked, add them to a tray and then place them in the oven to keep them warm.
- Repeat the cooking process until all of them are cooked.
- Split one of the mawhene (muffins) open. If it is still slightly uncooked in the centre, return them all to the oven to cook for another 8 - 10 minutes. This will depend on how thick yours are, the thicker the are the more likely they are to need a moment in the oven.
Serve the Homemade Muffin Splits:
- Cut the muffins in half and either toast them or keep them as they are.
- As an idea, spread each muffin with my homemade hollandaise sauce, kīnaki tōmato (tomato chutney), hēki parai (fried eggs), noni hirikakā (chilli oil), a drizzle of extra hollandaise and puna riki (spring onions).
Store the Homemade Muffin Splits:
- These are at their best eaten immediately or cut open and toasted the next day.
- I keep my homemade bread in a plastic bag for a day or so on the bench. Beyond that I slice them open and store it in the freezer and toast them when needed.
Video
EXPERT ADVICE:
Adjusting the number of muffin splits made:
If you want to increase or decrease the amount of muffins you make, go to the recipe card and click the number next to “servings”. The recipe will automatically adjust the ingredients for your desired amount.
Activating the yeast properly:
Always give the yeast enough time to activate before adding the dry ingredients. You’ll know it’s ready when the yeast floats to the top and the mixture is slightly foamy.
Kneading the dough correctly:
Stick to the kneading times listed in the recipe. If you need a refresher, check out the How to Knead Dough post. When kneading by hand, use the palms of your hands rather than your fingers. This helps develop the dough evenly while reducing stickiness and improving texture.
Choosing the right pan:
I prefer cooking these muffin splits in a cast iron pan or a heavy-based pan because they distribute heat more evenly. If you don’t have one, that’s fine — just keep a close eye on them, cook them a little less on the stove, and finish with a few extra minutes in the oven if needed.
Don’t disturb the first side while cooking:
Don’t touch the muffin splits while they are cooking on the first side, as they may deflate slightly. Set a timer and allow them to cook for the full six minutes before flipping. After that, you can turn them more regularly until fully cooked.
Storage:
Store leftover muffin splits in an airtight container at room temperature for up to 2–3 days. If you want them to last longer, slice them, store in a plastic bag and freeze for up to 2 months.
To reheat, simply toast them or warm them in a dry pan until heated through. If frozen, you can toast them straight from the freezer.
Variations:
These muffin splits are easy to adapt depending on what you’re after.
For a sweeter version, you can add a little extra sugar to the dough and serve with jam, honey, or whipped butter.
For a savoury twist, try adding a handful of finely diced herbs like rohimere (rosemary) or tāima (thyme) to the dough, or top with cheese before the final cooking stage.
You can also make them larger or smaller depending on how you want to serve them — perfect for breakfast sliders or Eggs Benedict-style stacks.
Frequently Asked Questions:
Muffin splits are a pan-cooked bread that are also called English muffins. They have a soft, fluffy centre and a lightly golden crust. They’re often split open and toasted before serving.
This is usually caused by under-proofing or not allowing enough time for the yeast to fully activate. In this first stage when the yeast is activating, the yeast should float to the top and look foamy before carrying on with the next step. Make sure the dough doubles in size before cooking as well.
For the best texture and muffin split style - yes, I absolutely recommend cooking them in a pan on the stove top.
They’re best served warm with butter, eggs, bacon, cheese, or hollandaise. They also work well as a base for breakfast sandwiches.

Leave a Review