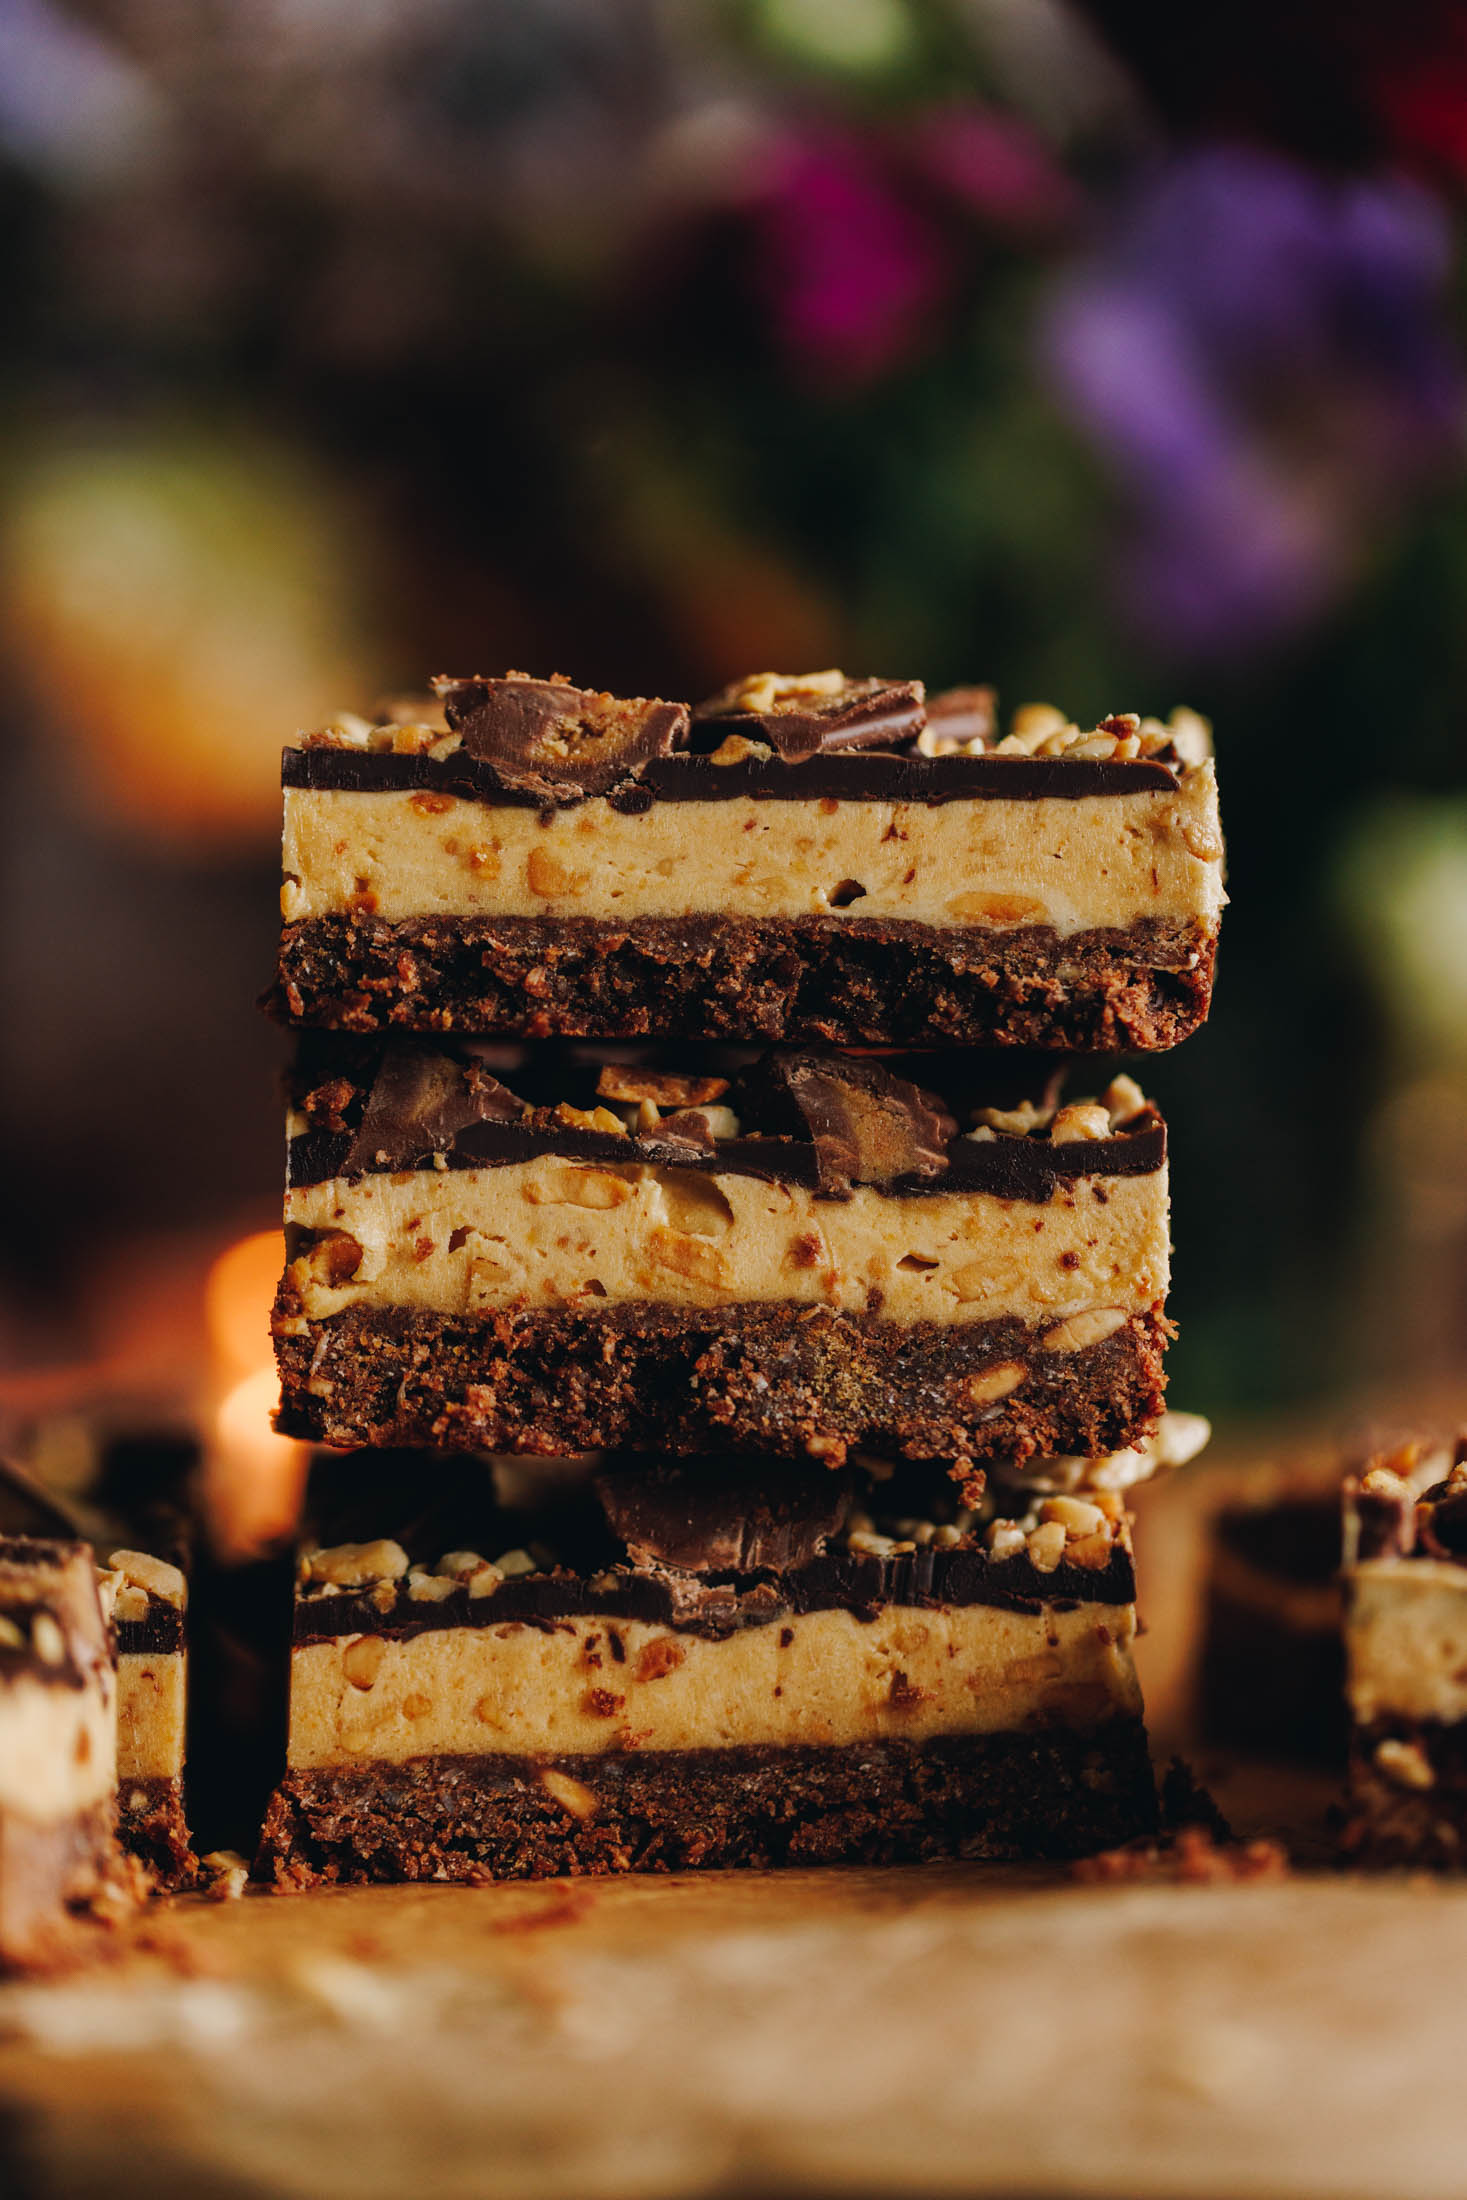
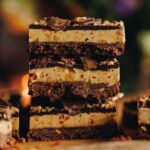
This delightful slice is my play on the traditional Weet-bix slice that we know and love in Aotearoa (New Zealand). It has a light chocolate Weetbix Slice base, a creamy peanut butter filling and a chocolate topping with chopped nuts. It is the perfect combination of sweet and salty in one hit. Enjoy!
I created this Peanut Butter Weetbix Slice for Pic's Peanut Butter for Te Wiki o Te Reo Māori (Māori Language Week), 2025. Pic's have been sharing their Māori translated pata pīnati kakukaku (crunchy peanut butter) jar for the past 7 years. This has been their way to support the preservation of Te Reo Māori and so it was an honour to create this recipe for them. So many of you have already made and it makes me so happy so let's get to it!
Are you a Peanut Butter fan like I am?
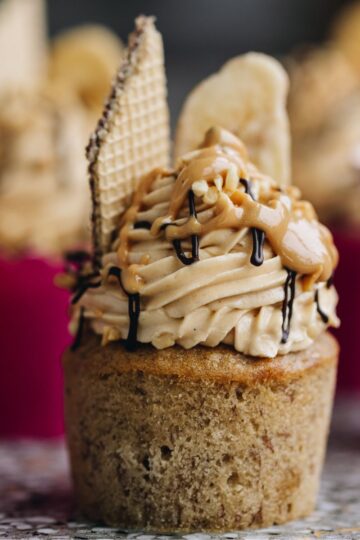
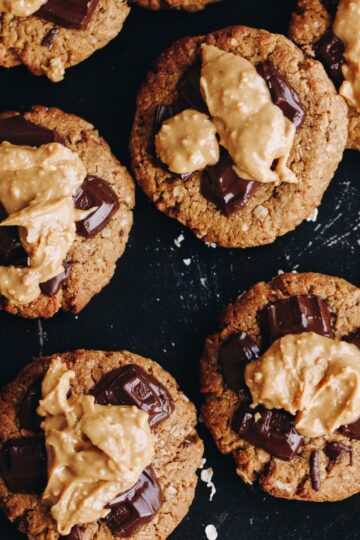
Welcome to the club. Try my Banana Cupcakes with Peanut Butter Buttercream, they are perfect for parties or school lunches. Want a pihikete (biscuit) instead? Then my Ultimate Peanut Butter Cookies are perfect. For something a little healthier, try my Wheat-free Breakfast Cookies. And for my all time favourite, check out my Vanilla, Chocolate and Peanut Butter Poke Cake.
Videography and photography by Sarah Henderson.
Peanut Butter Weetbix Slice Ingredient Tips:
- Weetbix: Use any brand at all. Plain Weetbix or the gluten-free version will work well too.
- Flour: Due to the small amount of flour, plain, high grade or gluten-free can be used here.
- Dark chocolate: I prefer dark chocolate in this recipe due to the depth of flavour but use what you have and love to eat. Milk chocolate will yield a lighter chocolate flavour though.
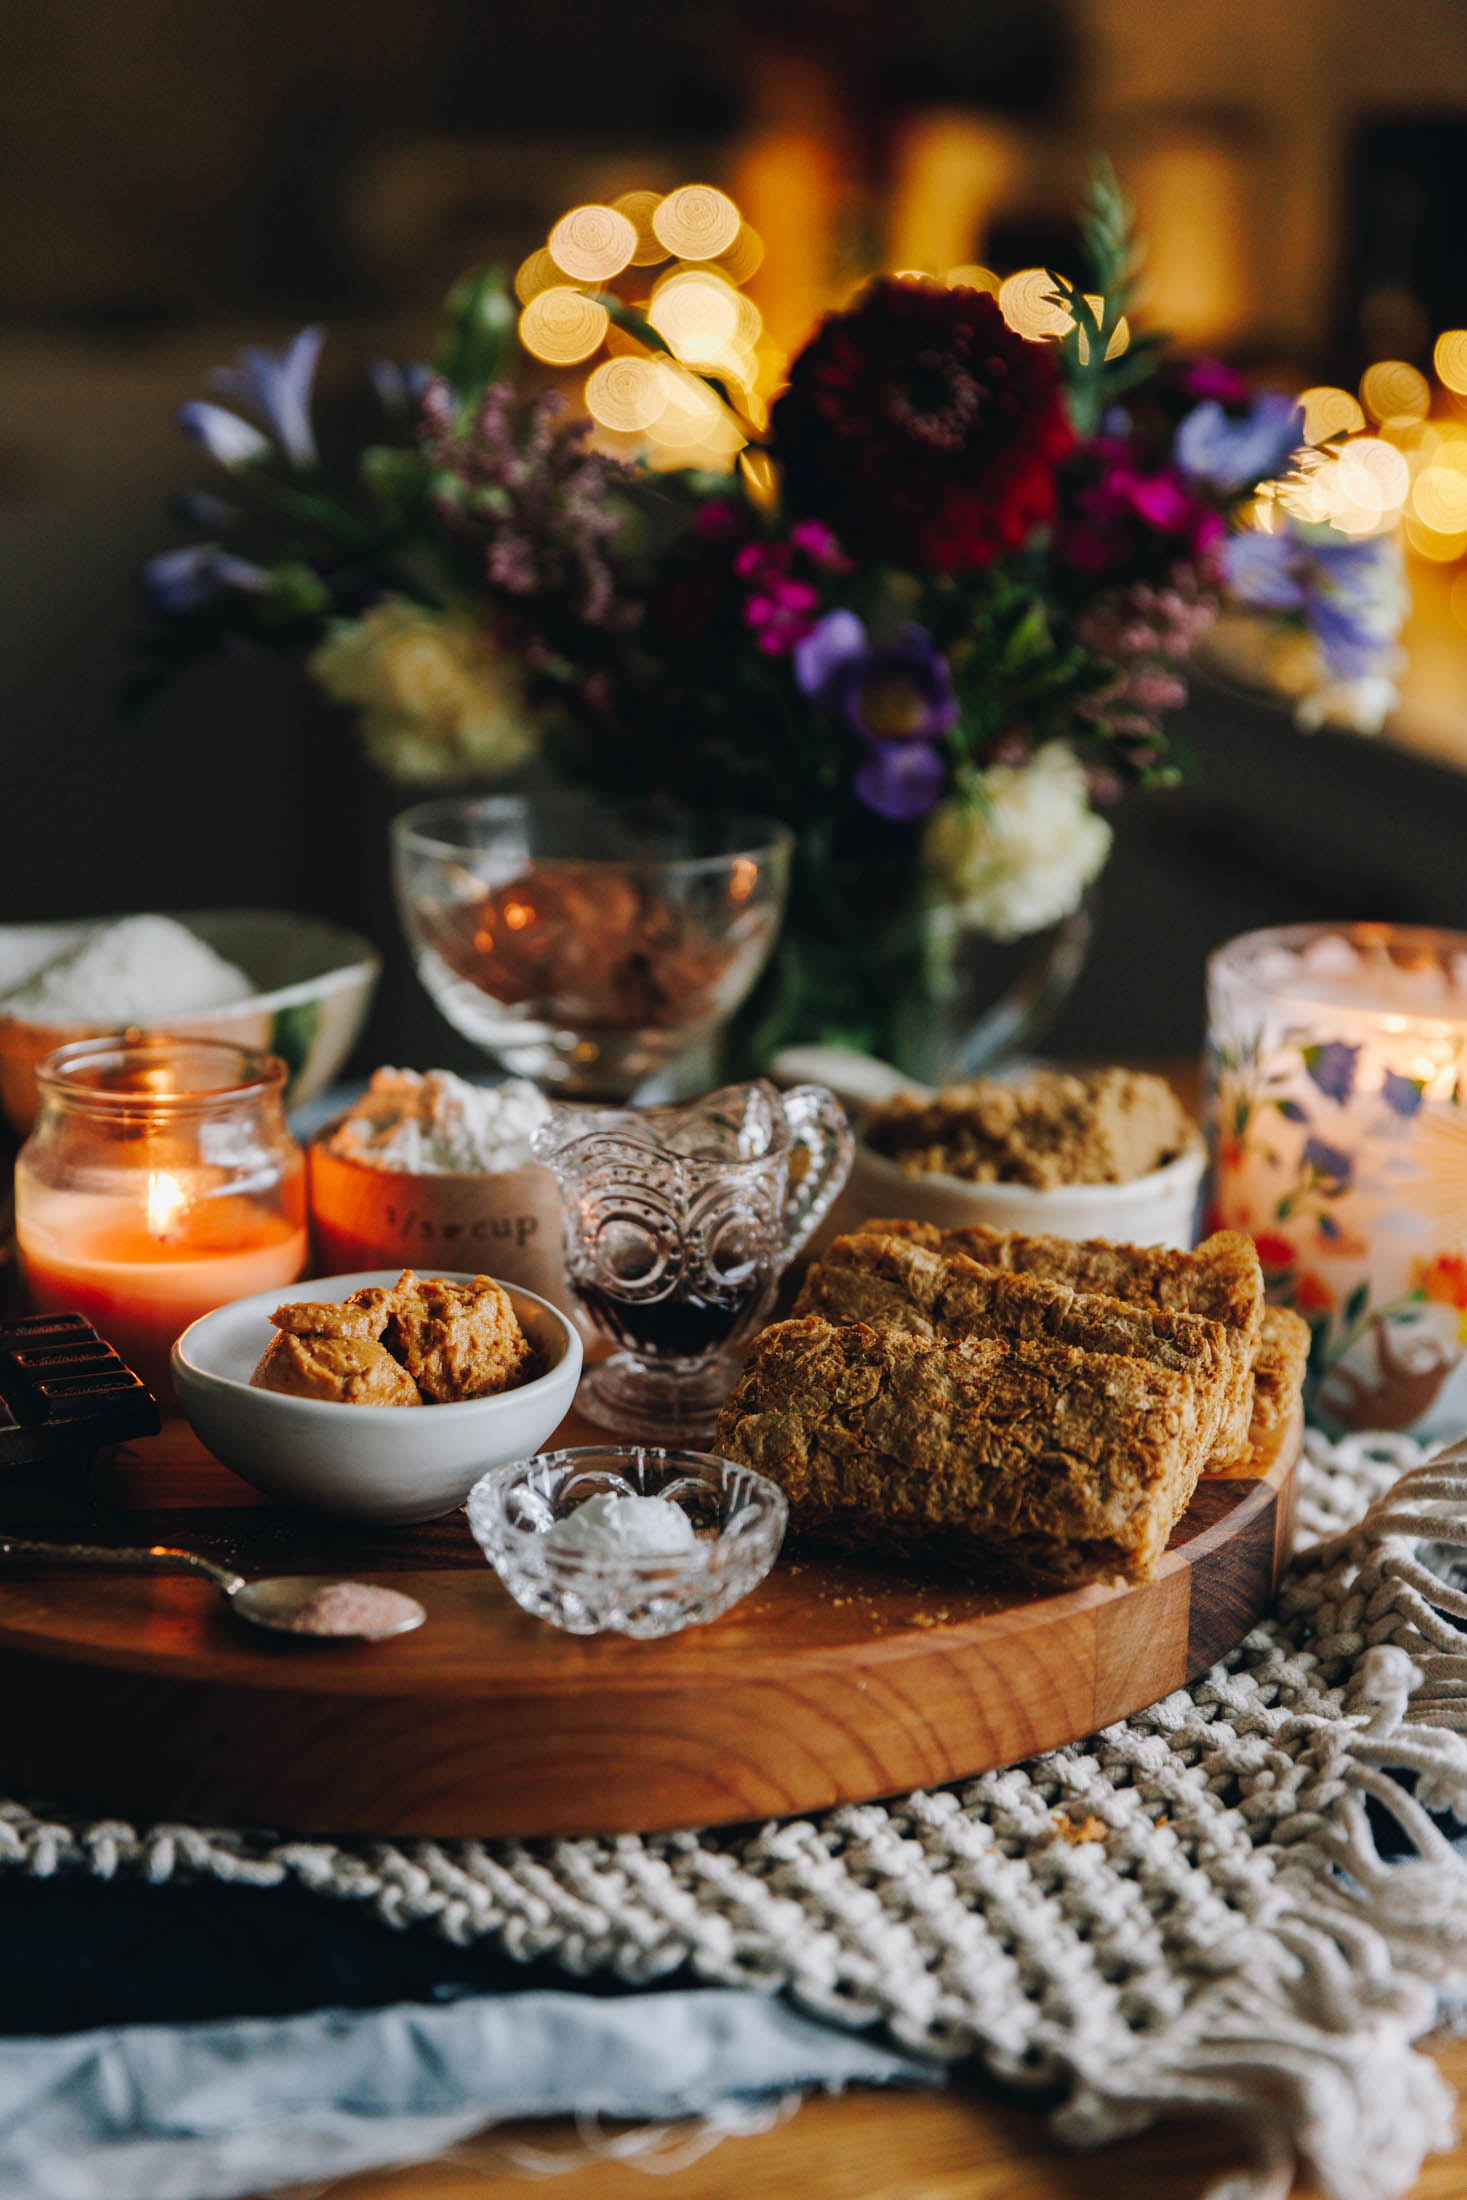
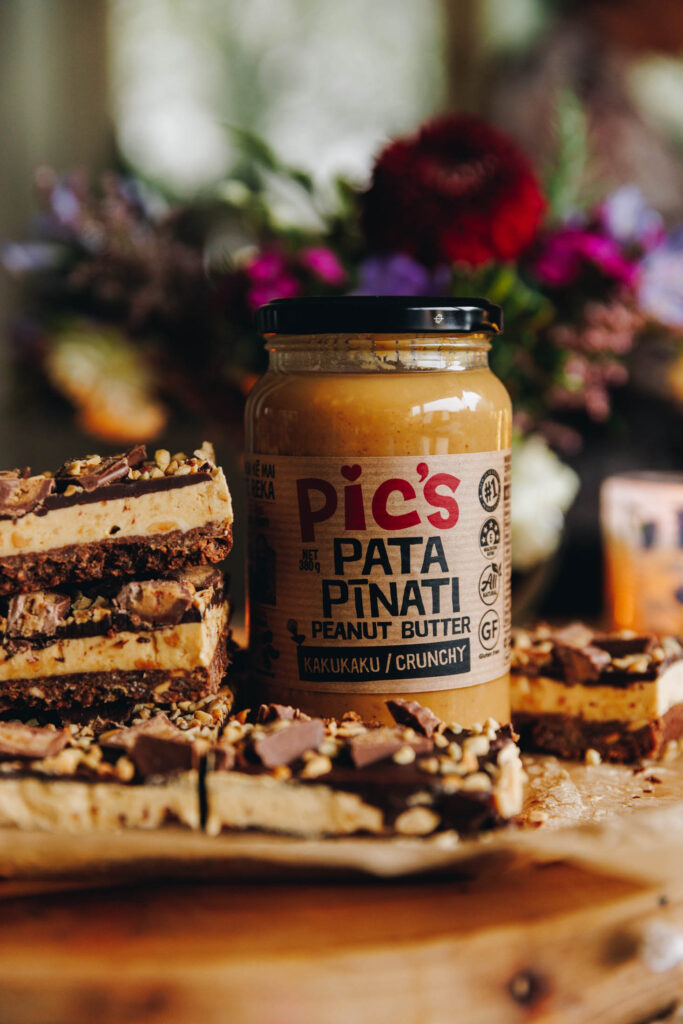
- Peanut butter: You can use crunchy or smooth peanut butter because the final outcome will only be slightly different. I always use a good quality version like Pic's as the ingredients are minimal and the flavour is supreme.
Expert tips:
Once the base is baked, remove it from the oven and leave it in the tin to cool for 25 minutes. This is an important step as the buttercream will melt in to the base if it is not cool enough.
Make sure the peanut butter or your preferred spread is just slightly soft but not runny or hot when you add it in to the buttercream. This will result a light and fluffy buttercream that will stay that way once it is set.
Step by Step Instructions for the Peanut Butter Weetbix Slice:
Note: The full recipe card with the full list of ingredients, instructions and step by step video are found at the bottom of this page.

1. Preheat the oven:
Pre-heat the oven to 170 °C degrees.
Line a 20 cm square tin with baking paper.
2. Combine the dry ingredients for the base:
Crush the wīti pīki (weet-bix) in to a medium sized bowl until fine. Add the puehu parāoa (flour), kokonati (coconut) and pēkana paura (baking powder) then, kaurorihia (stir it).
Leave to the side.
3. Melt the chocolate ingredients for the base:
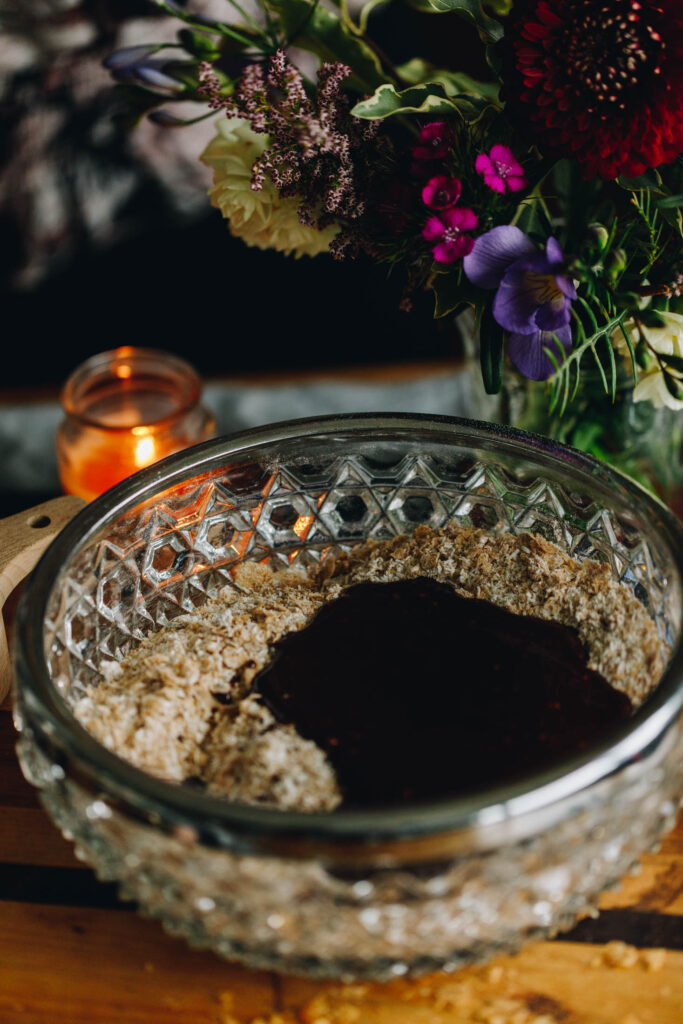
Add the pata (butter) and chopped tiakarete (chocolate) in to a small pot. Melt it over low heat. Once it is melted, add in the pata pīnati kakukaku (crunchy peanut butter), wanira (vanilla) and huka hāura (sugar). Stir for another minute on low and remove from the heat.
4. Combine the base ingredients:
Pour the chocolate mixture in to the dry ingredients. Whakaranuhia – mix to combine.
5. Bake the Weetbix Slice:
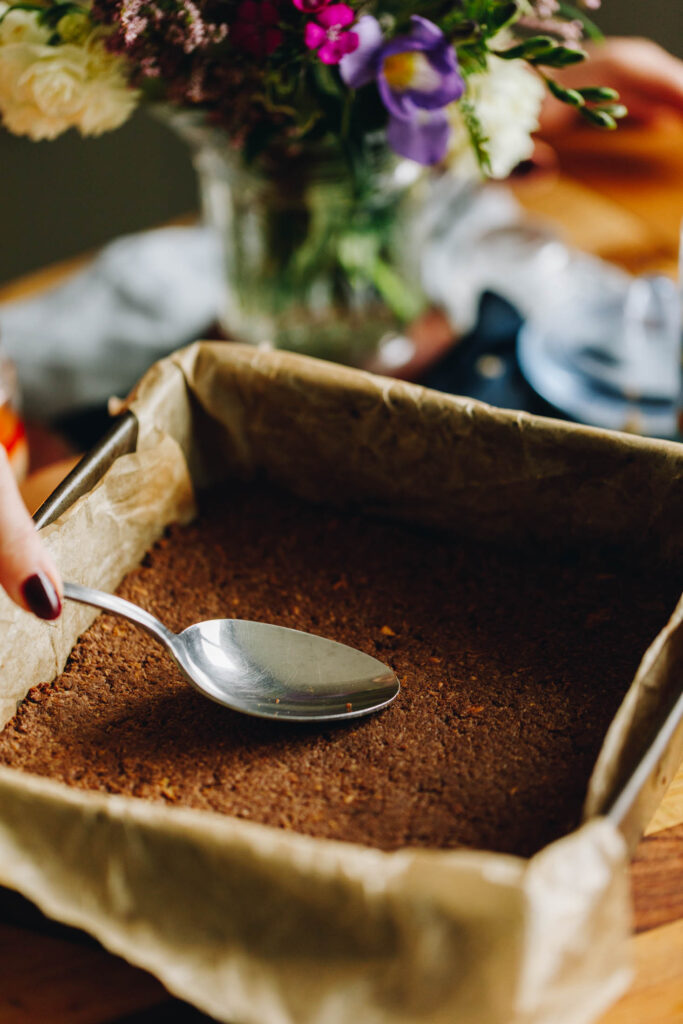
With your hands or the back of a spoon, press the base mixture firmly in to the prepared tin until it is flat.
Bake for 15 minutes.
Once baked, remove it from the oven and leave it in the tin to cool for 25 minutes. This is an important step as the buttercream will melt in to the base if it is not cool enough.
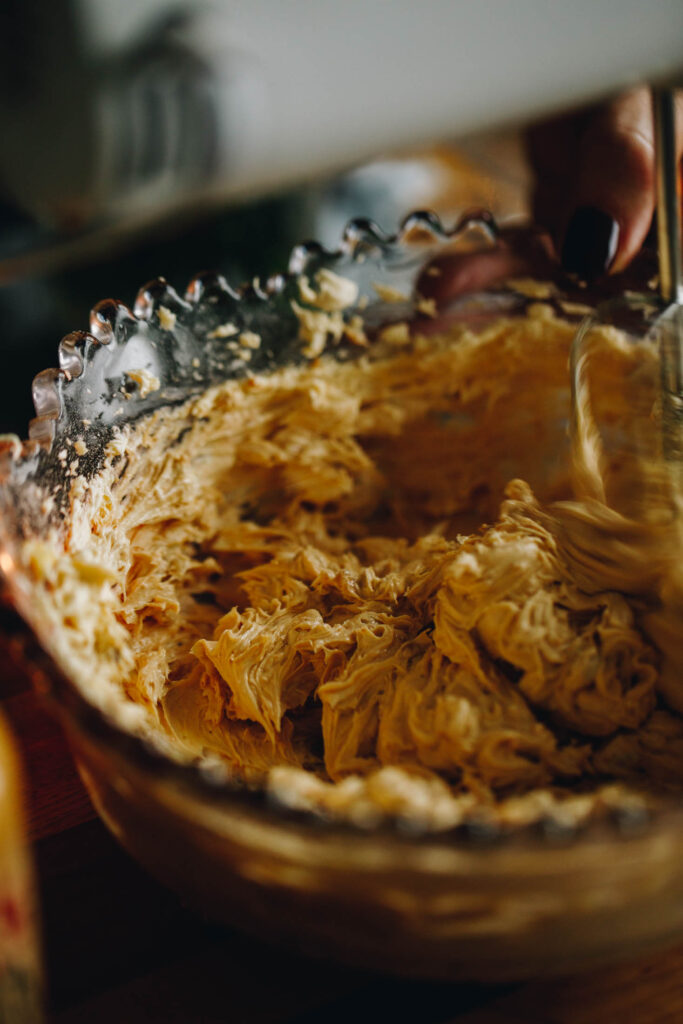
6. Make the Peanut Butter Buttercream:
Add the pata kūteretere (softened butter), puehu huka (icing sugar) and wanira (vanilla) in to a medium bowl. Whip on high for 4 – 5 minutes until light and fluffy in colour and texture.
Add the pata pīnati kakukaku (crunchy peanut butter) and whip for another 30 seconds.
Spread it on to the cooled base.
Whakamātaohia – refrigerate for 15 minutes.
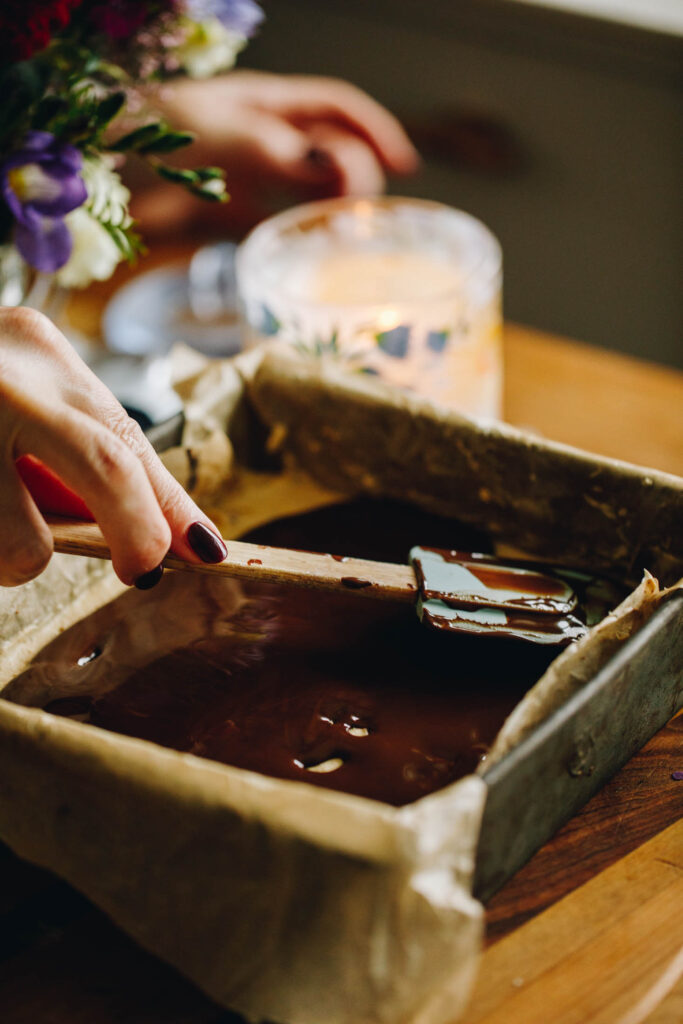
7. Make the Chocolate Layer:
Chop the tiakarete parauri (dark chocolate) in to small pieces. Add the chopped tiakarete (chocolate) and noni (oil) in to a small pot. Gently melt it together over low heat until it is smooth.
Remove from the heat and cool for 5 minutes.
Spread it on to the chilled peanut butter layer, give the tray a little shake so the tiakarete (chocolate) is even.
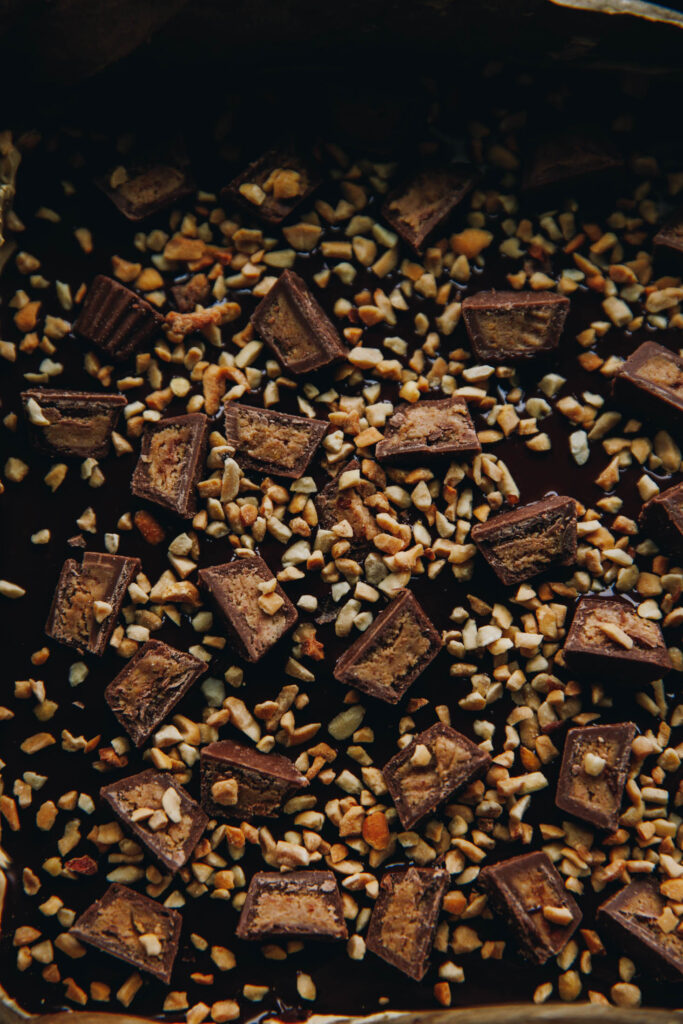
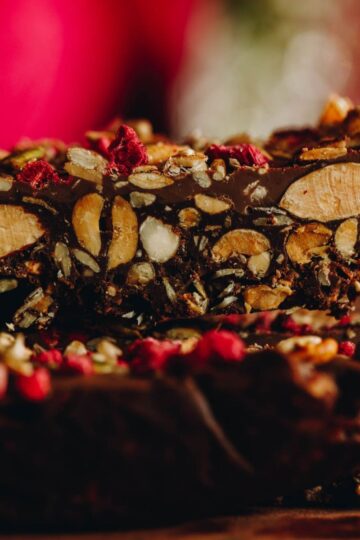
8. Decorate the Peanut Butter Weetbix Slice (optional):
Keep the tiakarete (chocolate) plain or decorate with mini peanut butter cups and chopped peanuts as above. You can also top it with whatever you on hand, sprinkles, a touch of coconut or freeze-dried fruit would all work well here.
9. Final chill:
Whakamātaohia (refrigerate) for 20 - 30 minutes or until the tiakarete (chocolate) is set. Slice and enjoy with a nice hot drink.
Storing the Peanut Butter Weetbix Slice:
Keep this slice in the refrigerator, in a sealed container and it will keep for up to 7 days.
If you are travelling this slice e.g for school lunches, keep the slice in the fridge just before venturing it outdoors. If it is particularly hot, freeze the slice for an hour before hand and it will retain its beautiful appearance.
Try more
Peanut Butter Recipes
Celebrating the beauty of pata pīnati (peanut butter).

DID YOU ENJOY THIS RECIPE?
It would be so awesome if you could please leave a review/comment by clicking the “leave a comment” section at the top of the page.
I love seeing you all make my creations, so send a whakaahua (photo) or kiriata (video) to my Instagram and show me what you made. Let me know if you have any pātai (questions) too, I would love to help.
Peanut Butter Weet-bix Slice - Keke Witipiki me te Pata Pīnati
Ingredients
Weetbix Layer - Paparanga Witipiki
- 4 witipiki (weetbix). Use plan or gluten-free.
- ⅓ C (50 g) puehu parāoa noa (plain flour). This can be swapped with high grade or gluten-free flour.
- ⅔ C (55 g) kokonati pūtī (desiccated coconut)
- ½ tsp pēkana paura (baking powder)
- 65 g pata (butter)
- He kini tote (a pinch of salt)
- 70 g tiakarete parauri (dark chocolate, chopped)
- 2 tbsp pata pīnati pakepakē (crunchy peanut butter)
- 1 tsp wanira (vanilla)
- ½ C (100 g) huka hāura (brown sugar)
The Crunchy Peanut Butter Layer - Te Paparanga Pīnati Kakukaku
- 120 g pata kūteretere (softened butter)
- ½ C (40 g) puehu huka (icing sugar)
- 1 tsp wanira (vanilla)
- ½ C (135 g) pata pīnati kakukaku (crunchy peanut butter, room temperature)
The Chocolate Layer - Te Paparanga Tiakarete
- 100 g tiakarete parauri (dark chocolate, 50%)
- 1 ½ tablespoon (22 ml) noni (oil, neutral flavoured)
The Decorations - Ngā Whakarākei (All Optional)
- 100 g Mini peanut butter cups
- ¼ C (35 g) nati kua tapahia (chopped nuts)
Instructions
Pre-heat the oven:
- Pre-heat the oven to 170 °C degrees. Line a 20 cm square tin with baking paper.
Combine the Dry Ingredients for the Base:
- Crush the wīti pīki (weet-bix) in to a medium sized bowl until fine.Add the puehu parāoa (flour), kokonati (coconut) and pēkana paura (baking powder). Kaurorihia - stir it. Leave to the side.
Melt the Chocolate Ingredients for the Base:
- Add the pata (butter) and chopped tiakarete (chocolate) in to a small pot. Melt it over low heat.Once melted, add in the pata pīnati kakukaku (crunchy peanut butter), wanira (vanilla) and huka hāura (sugar). Stir for another minute on low and remove from the heat.
Combine the Base Ingredients:
- Pour the chocolate mixture in to the dry ingredients. Whakaranuhia - mix to combine.
Bake the Slice
- With your hands or the back of a spoon, press the base mixture firmly in to the prepared tin.
- Bake for 15 minutes. Once baked, remove from the oven, leave it in the tin and cool for 25 minutes. This is an important step as the buttercream will melt in to the base if it is not cool enough.
Make the Peanut Butter Buttercream:
- Add the pata kūteretere (softened butter), puehu huka (icing sugar) and wanira (vanilla) in to a medium bowl. Whip on high for 4 - 5 minutes until light and fluffy.
- Add the pata pīnati kakukaku (crunchy peanut butter) and whip for another 30 seconds.
- Spread it on to the cooled base. Whakamātaohia - refrigerate for 15 minutes.
Make the Chocolate Layer:
- Chop the tiakarete parauri (dark chocolate) in to small pieces.Add the chopped tiakarete (chocolate) and noni (oil) in to a small pot. Gently melt it together over low heat.
- Remove from the heat and cool for 5 minutes.
- Spread it on to the chilled peanut butter layer, give the tray a little shake so the tiakarete (chocolate) is even.
Decorate the slice (optional):
- Keep the tiakarete (chocolate) plain or decorate with mini peanut butter cups and chopped peanuts.
Final chill:
- Whakamātaohia (refrigerate) for 20 - 30 minutes or until the tiakarete (chocolate) is set. Slice and enjoy with a nice hot drink.
Storage instructions:
- Keep this slice in the refrigerator, in a sealed container and it will keep for up to 7 days. If you are travelling this slice e.g for school lunches, keep the slice in the fridge just before venturing the slice outdoors. If it is particularly hot, freeze the slice for an hour before hand and it will retain its beautiful appearance.

Emily Rapana
I read fully through and totally enjoyed from start to end. The pace for learning is clear and fun (which you can add in but the true bonus is learning Te Reo. Congratulations e hine. Just an edit note: in the notes there is a word missing. It reads; 'so before you it' place your hand........ This is the best recipe site, full, clear, professional and so you. Congrats.
Naomi Toilalo WhānauKai
Tēnā rawa atu koe Emily,
Thank you so much for your beautiful words and your feedback. This is so encouraging and I am so grateful to have wonderful people like yourself who are standing in my corner. E mihi ana.
Katrina
This is super delicious and very moreish 🙂
Naomi Toilalo WhānauKai
Woo hoo - thank you, that is so awesome to hear. I love it too
Carlz
OMG!!!!!
Kia ora, I am SO grateful for these recipes.
This one is a banger (so is the brandy snap recipe)
Kia ora kare, arohatinonui x
Naomi Toilalo WhānauKai
Woo hoo - so glad you love this recipe, it is so much fun aye. Ngā mihi nui ki a koe e hoa.
Stacey
I've made this three times now, it's tasty, chewy and never lasts long in our house.
Naomi Toilalo WhānauKai
Thank you Stacey, that is so awesome to hear. I love that your whānau loves it too. This goes quickly in our whare too. Naomi
Donna
I love this recipe,with a twist.
Added peanut butter yumm
Naomi Toilalo WhānauKai
Yess, in my mind that is exactly what the weetbix slice needed aye, a little bit of attitude.
SO glad you like it Donna!