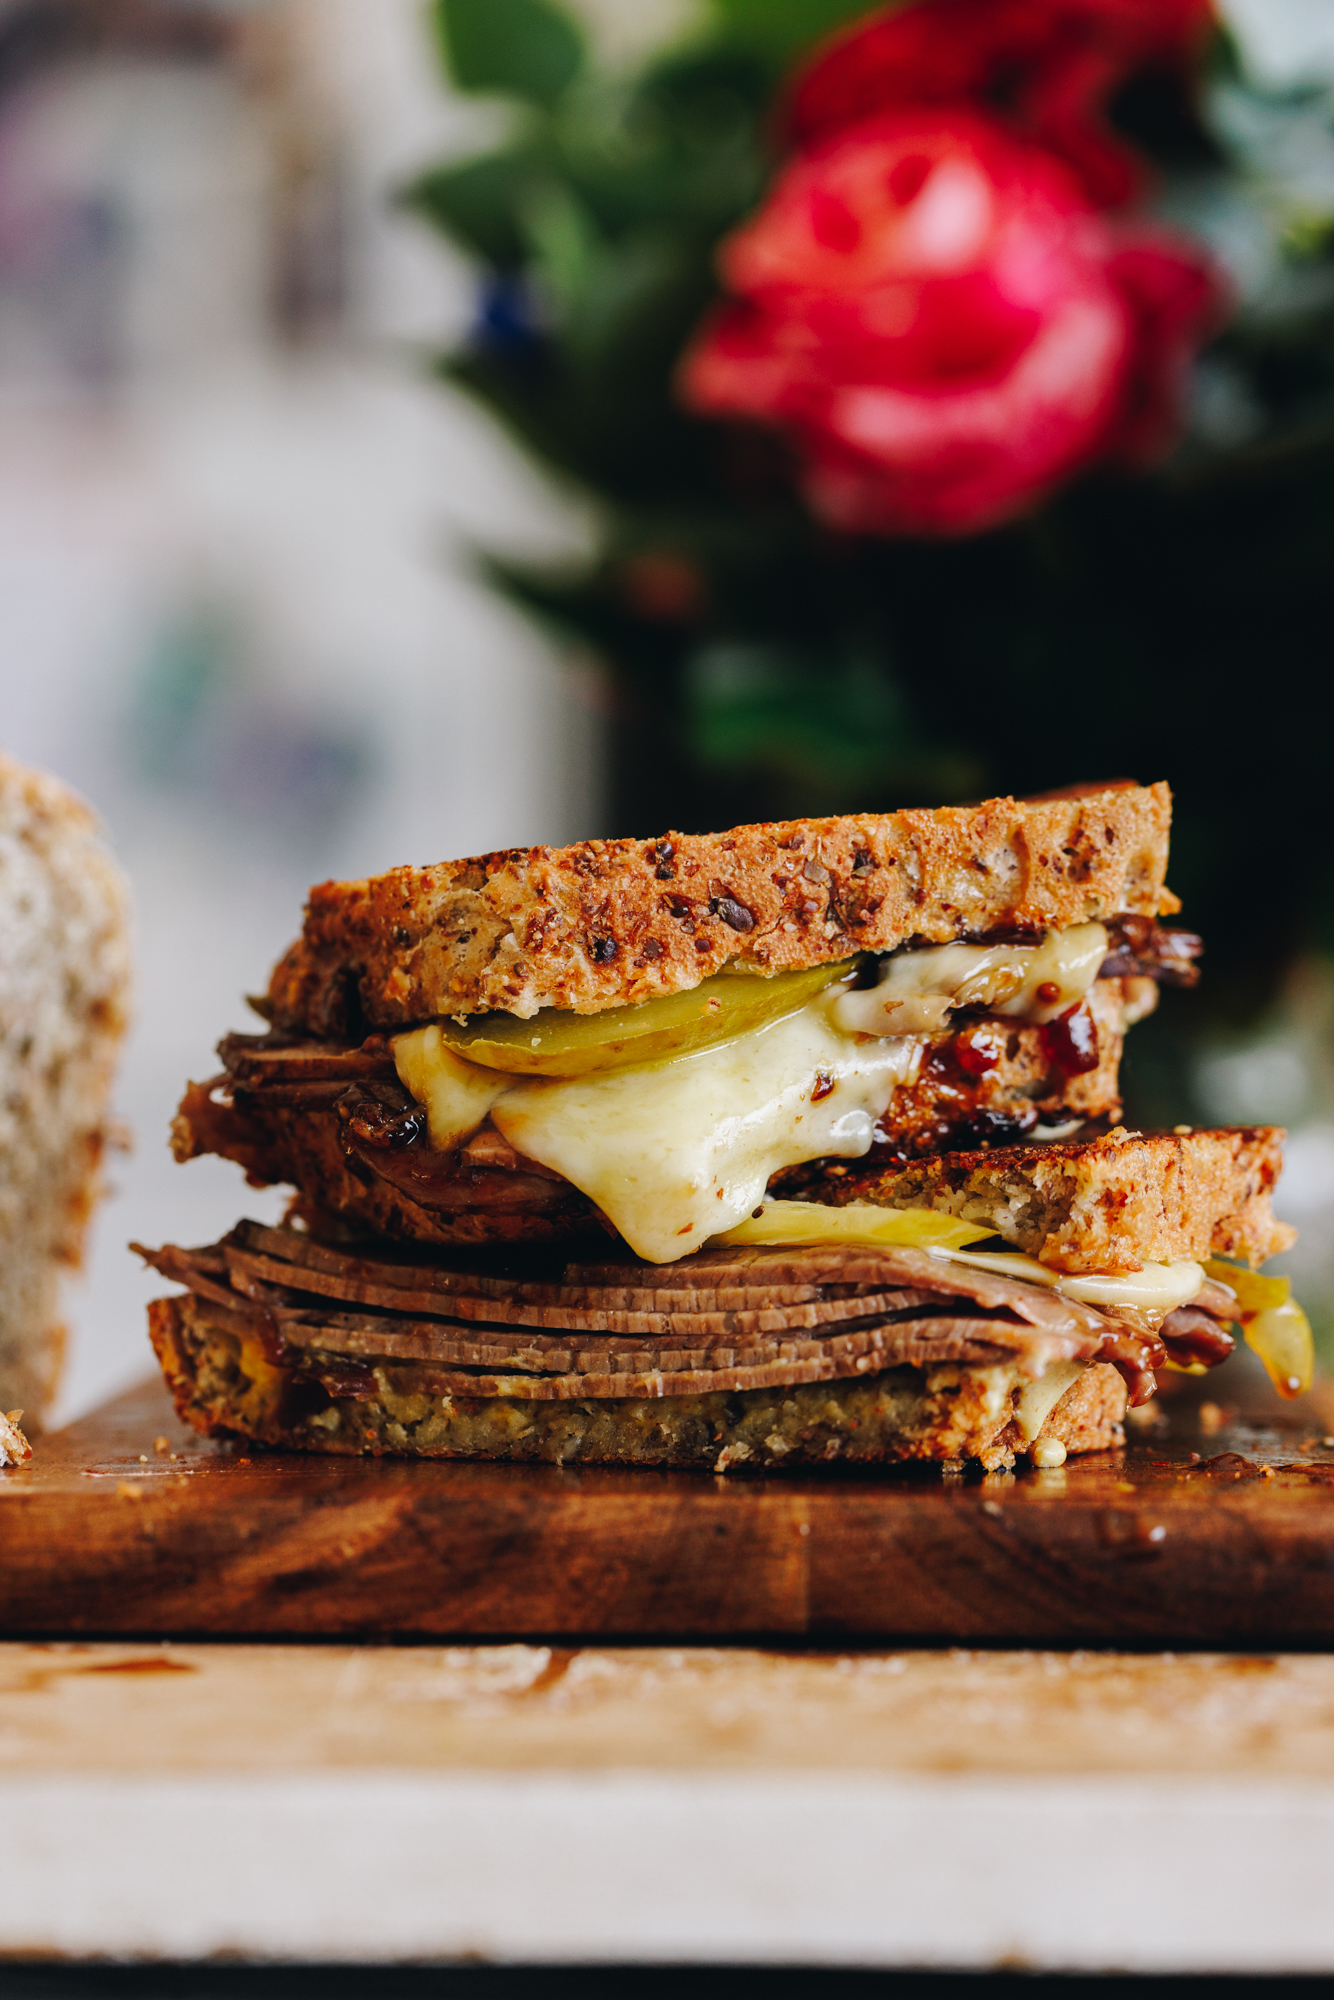
This No-knead Seeded Oat Bread Loaf is full of nutrients and is naturally dairy-free. Eat it fresh for the most epic hanawiti (sandwiches), slice and stuff it for the ultimate toasties or freeze slices for the best toast in town. This recipe needs no fancy equipment, just use an oko (bowl) and ringaringa (hands) so let's bake some bread.
One thing that seems outrageous to me at the moment is the price of parāoa (bread). In particular, a seeded bread that goes with hēki kua whāranutia (scrambled eggs) or rahopūru (avocado). Those loaves can be so expensive at a price point of around $8! How crazy. Make this loaf for a fraction of the cost and let me know if you think the homemade version is better.
Want to do a kneaded version of this recipe?
Kāore he raru - not a problem! If you want to make this loaf with a stand mixer or hand mixer, use this recipe: Kneaded Seeded Oat Bread Loaf. While you are there, take a look at my Cottage Cheese Bread or Rustic No-knead Bread Loaf.
Videography and photography by Sarah Henderson.
NO-KNEAD SEEDED OAT BREAD INGREDIENT TIPS:
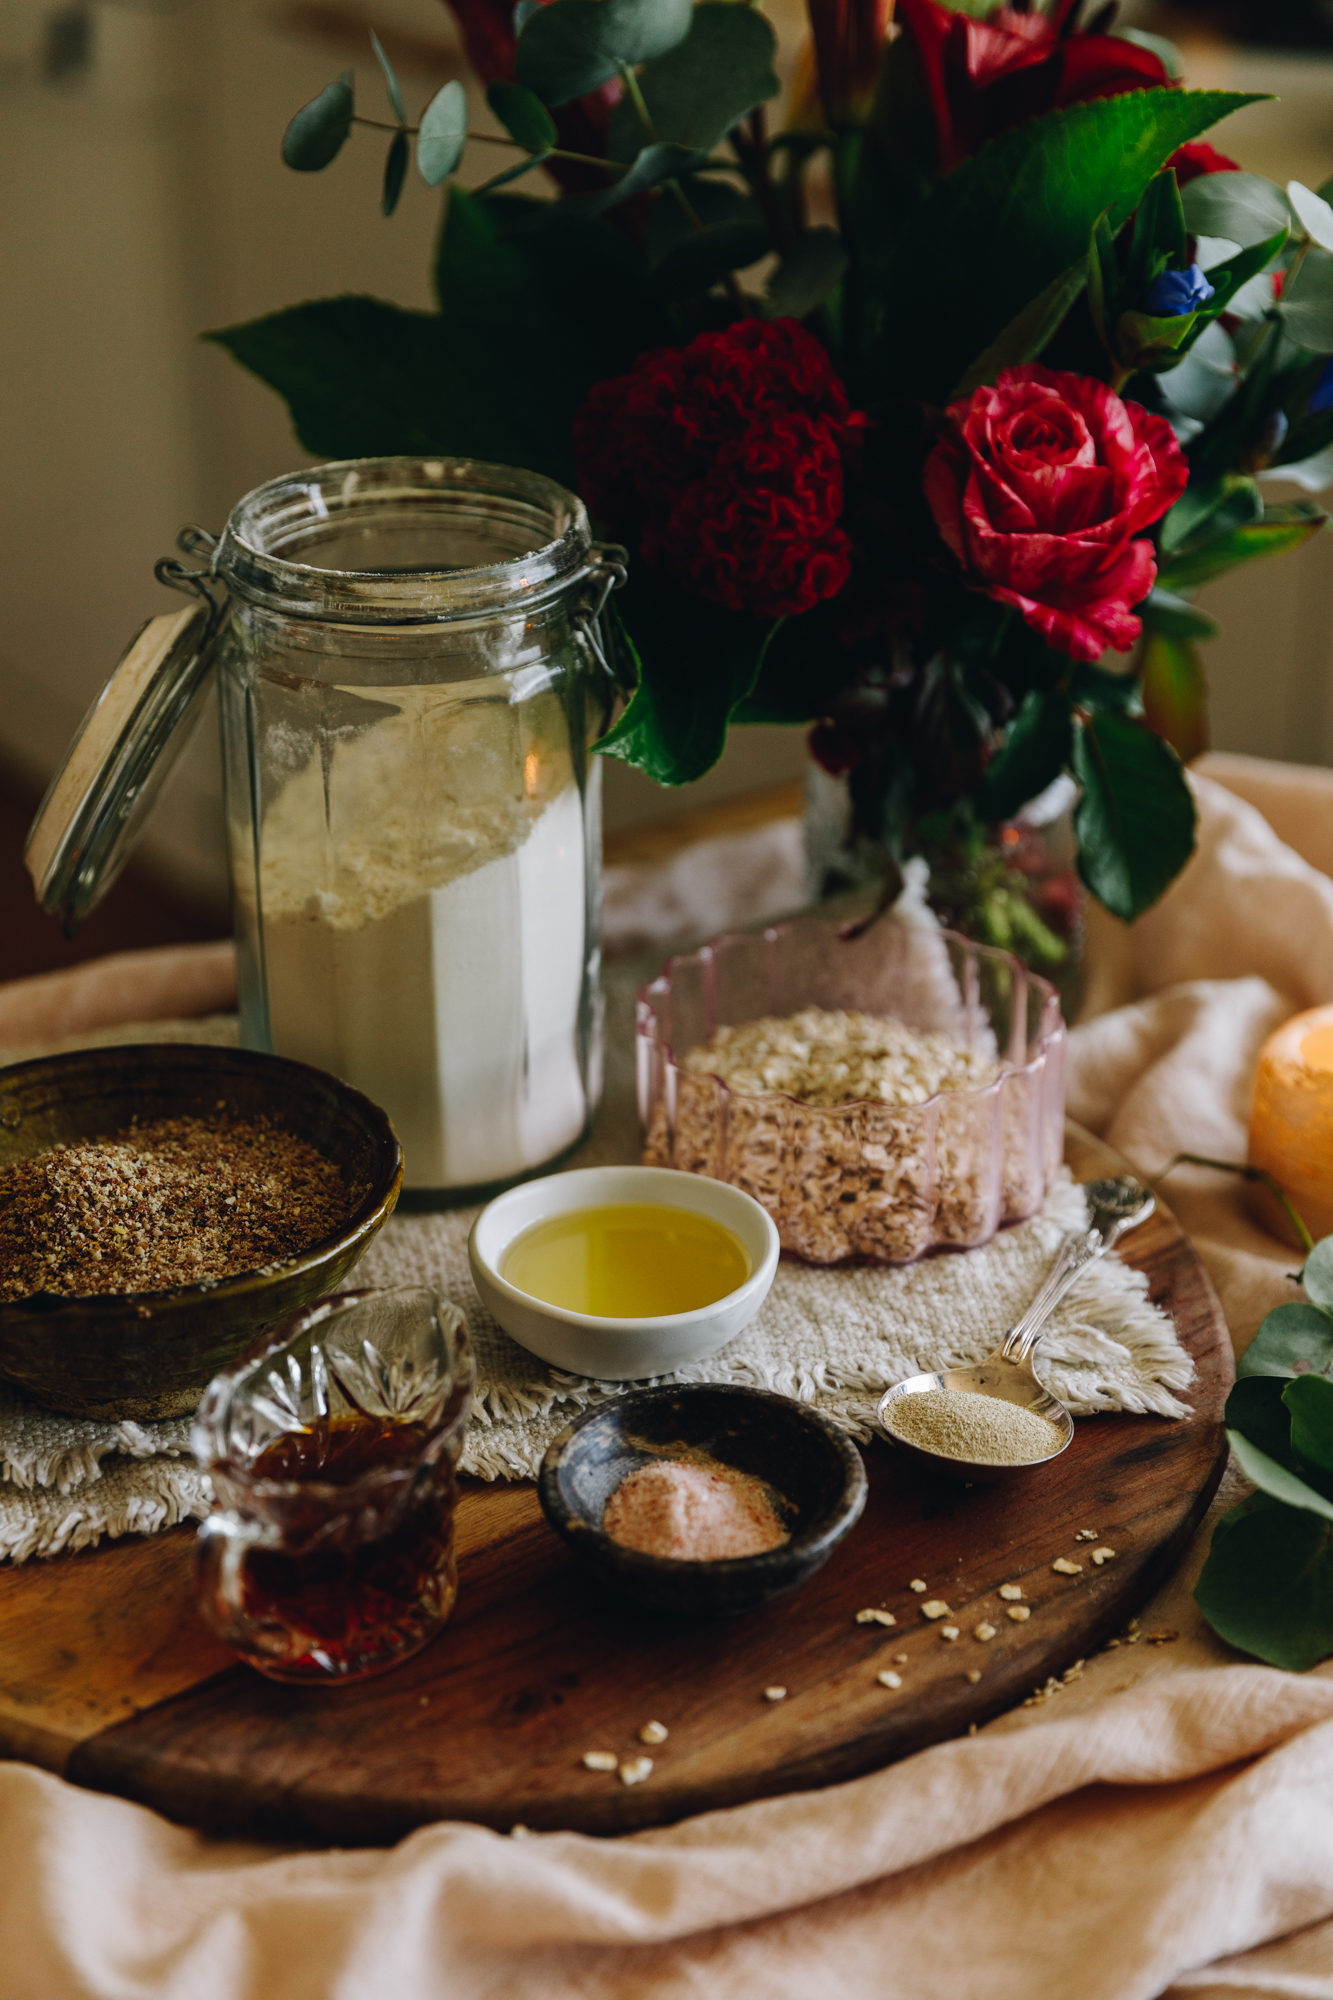
- Instant yeast: Use īhi horo (instant yeast) in this recipe for efficient rising. If you are using Surebake or breadmakers yeast, double the amount.
- Sugar: Use huka hāura (brown sugar), huka mā (white sugar), marahihi māpere (maple syrup) or mīere (honey) in the dough.
- High grade flour: Always use puehu parāoa kounga (high grade flour) in bread recipes for the fluffiest result.
- Oats: Oats can be quite a heavy ingredient in parāoa (bread) and therefore I recommend using rolled oats instead of wholegrain.
- LSA with Chia Seeds: This mix is so delicious and is already ground in to a wonderful texture for my whānau (family) so my kids don't pull them out. However, feel free to make up your own ratio of seeds of any texture.
- Salt: I use Himalayan salt in my baking which gives a subtle flavour. If you are using iodised table salt, half the quantity.
- Oil: I love noni ōriwa (olive oil) in the bread but use whatever you have.
Expert Tips:
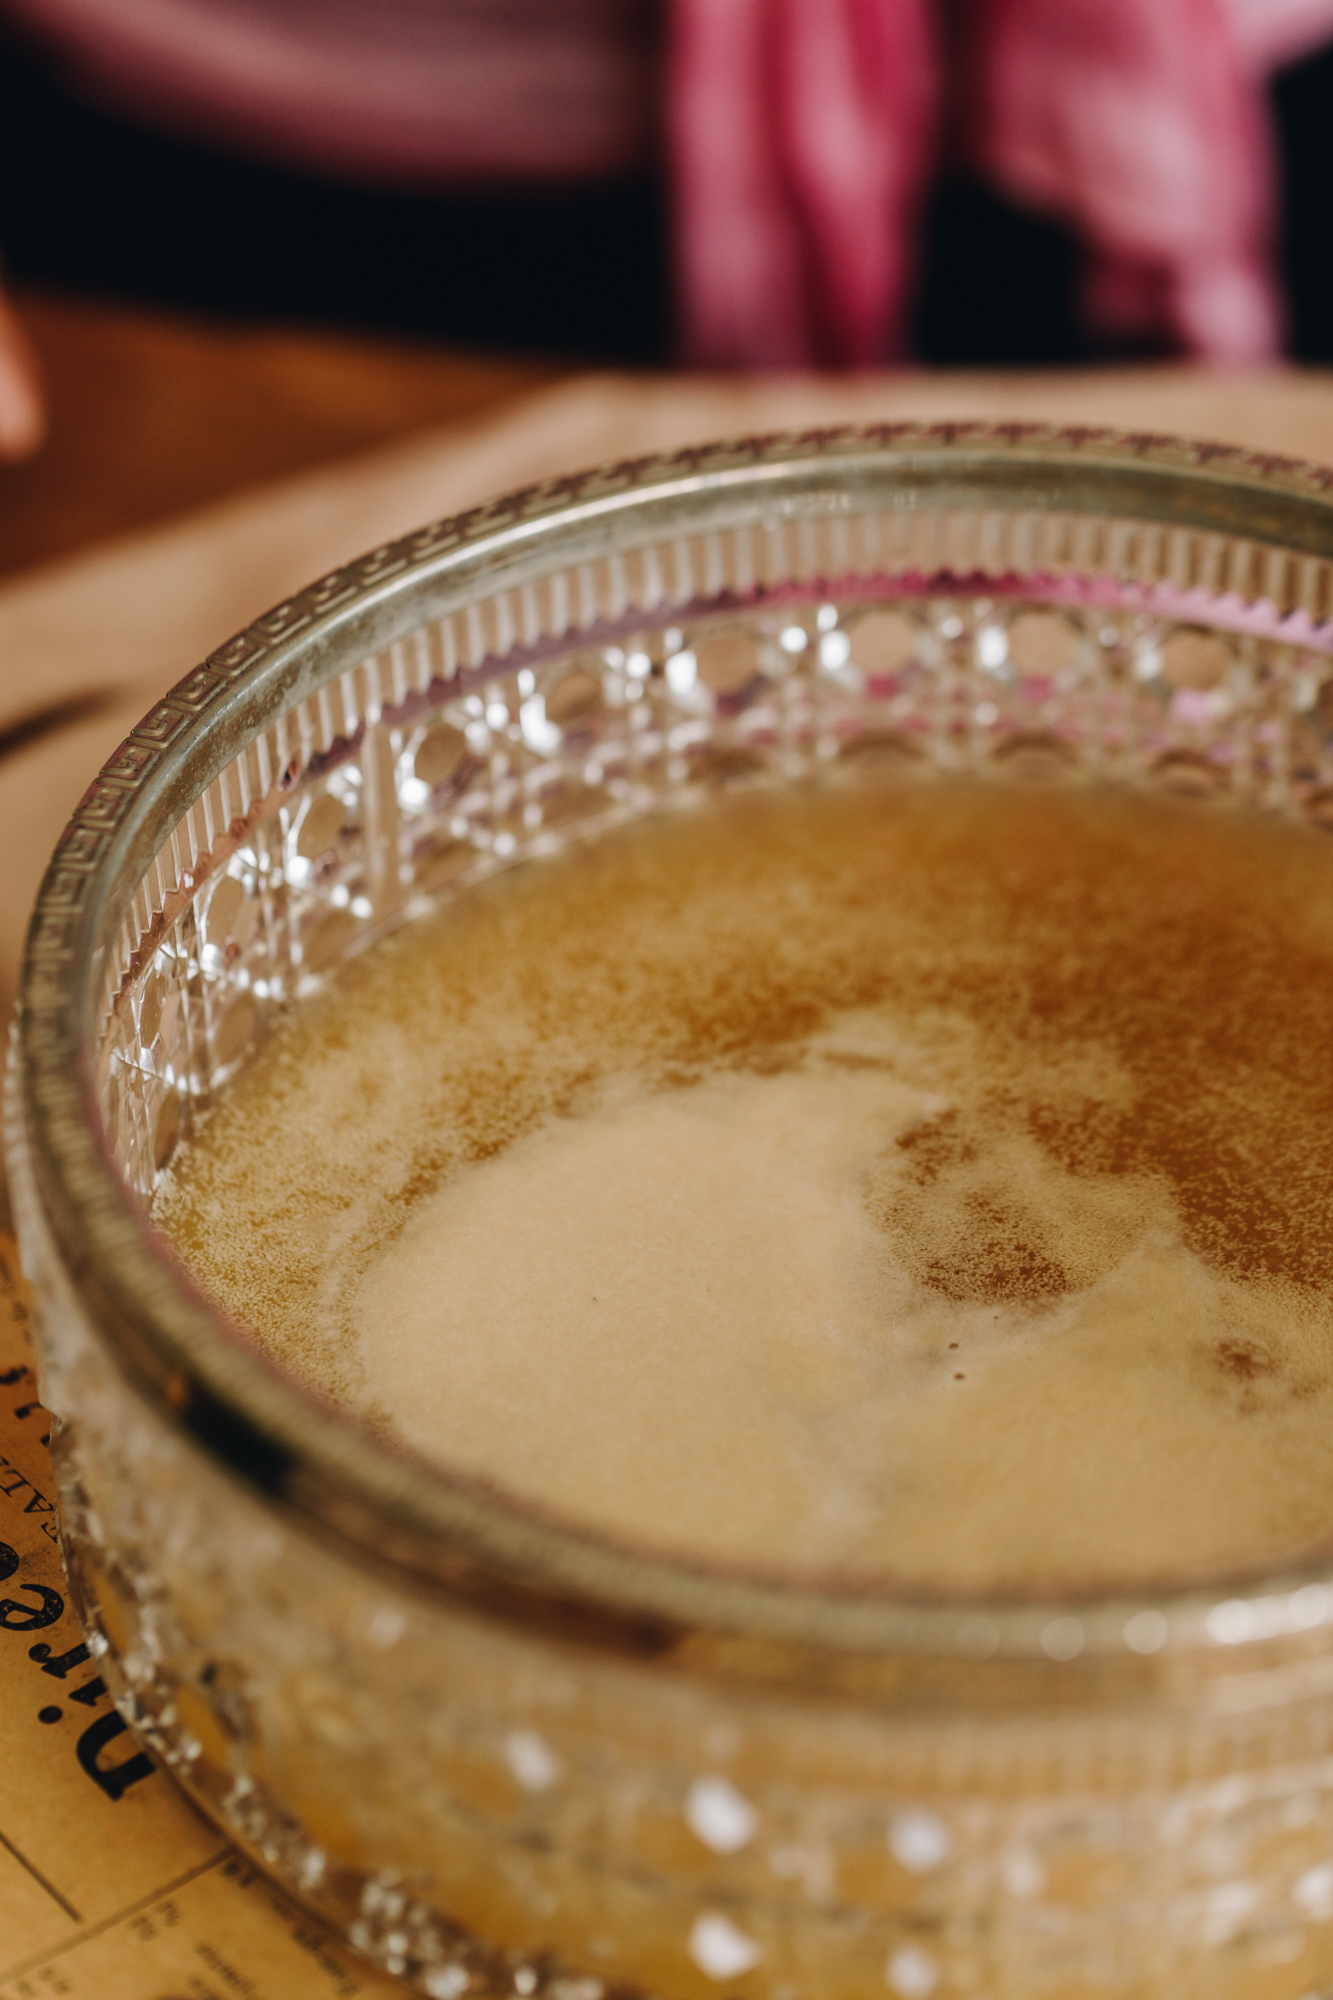
Always give the yeast enough time to activate before adding the dry ingredients. The yeast will float to the top and it will be slightly foamy when it is ready.
I use a stretch and fold technique for this recipe that is used when making sourdough. This allows us to activate the gluten in the flour without actually removing the dough out of the bowl. Take a moment to watch the video to see the technique in real time. It is much simpler than you think.
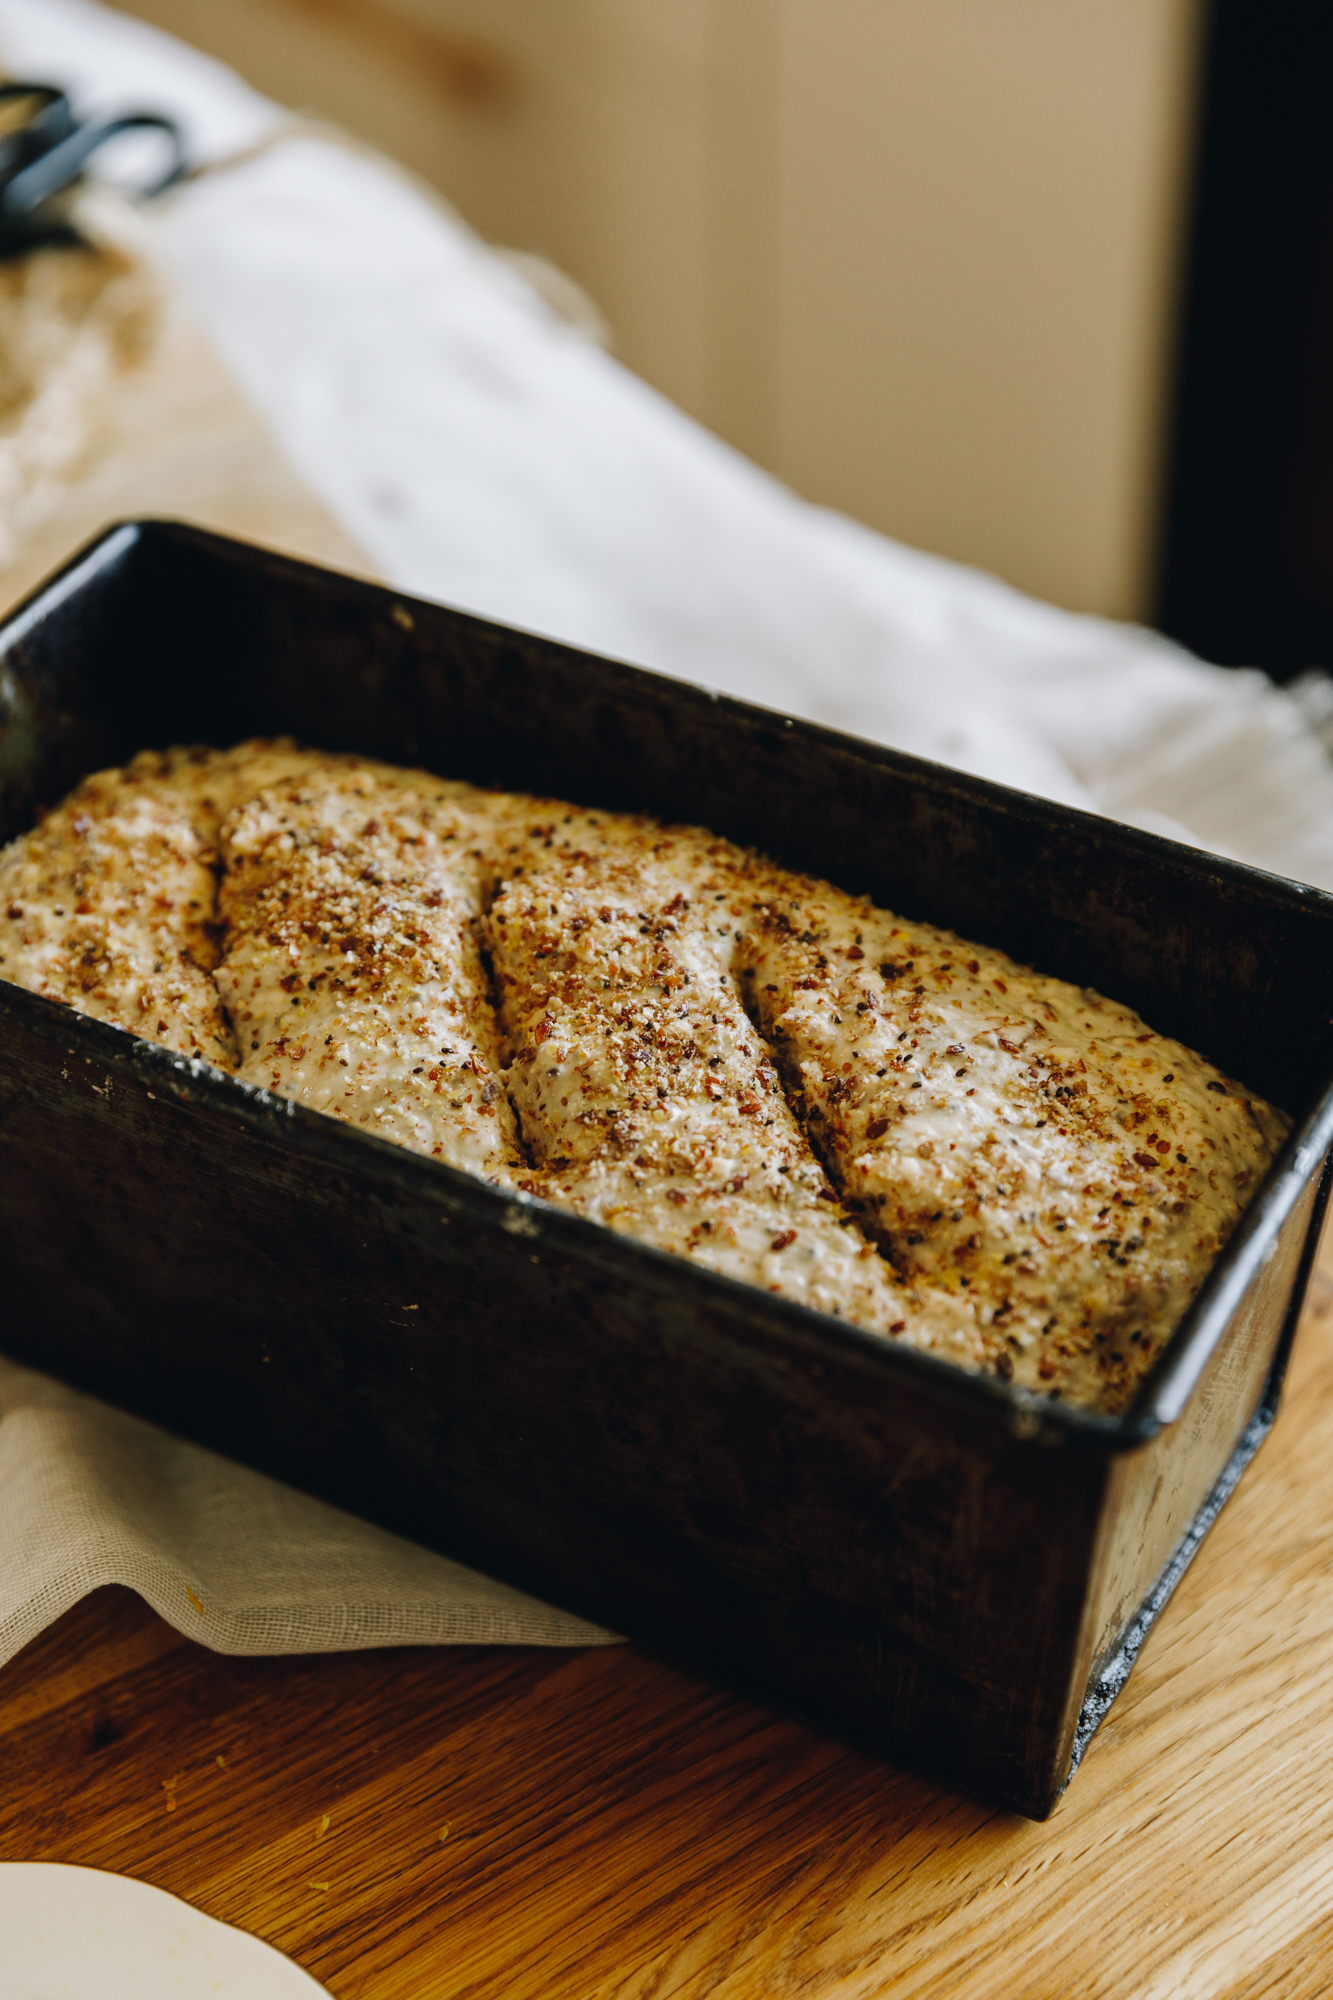
This pokenga (dough) is quite wet as you can see in the whakaahua (photo's) but just roll with it and trust the process. Again this is similar to the type of dough you would find when making sourdough. Try not to add extra puehu parāoa (flour) as you go because this will alter the final product.
Keep the rising dough away from hot spots and direct sunlight or heat. Remember that īhi (yeast) is alive and is super sensitive to heat during the rising process. The only time we want the heat is when we are baking it.
The final rise of the dough will vary in time. The main thing is that the dough has doubled in size. In the colder months - the dough will most likely need 45 minutes. In the warmer months - it will only need around 30 minutes.
STEP BY STEP INSTRUCTIONS FOR THE NO-KNEAD SEEDED OAT BREAD:
Note: The full recipe card with the full list of ingredients, instructions and step by step video are found at the bottom of this page.
1. Prepare the Loaf Tin:
Grease your bread tin with neutral oil.
Mine is 22cm long x 11cm wide and 10cm high but a smaller loaf tin will work.
2. Activate the Yeast:
Add the wai aromahana (lukewarm water) and whatever sweetener you are using to a large bowl. Stir it until the sweetener is dissolved.
Add the īhi horo (instant yeast), stir it in and activate the īhi (yeast) for five minutes.
The yeast is activated with it has floated to the top.
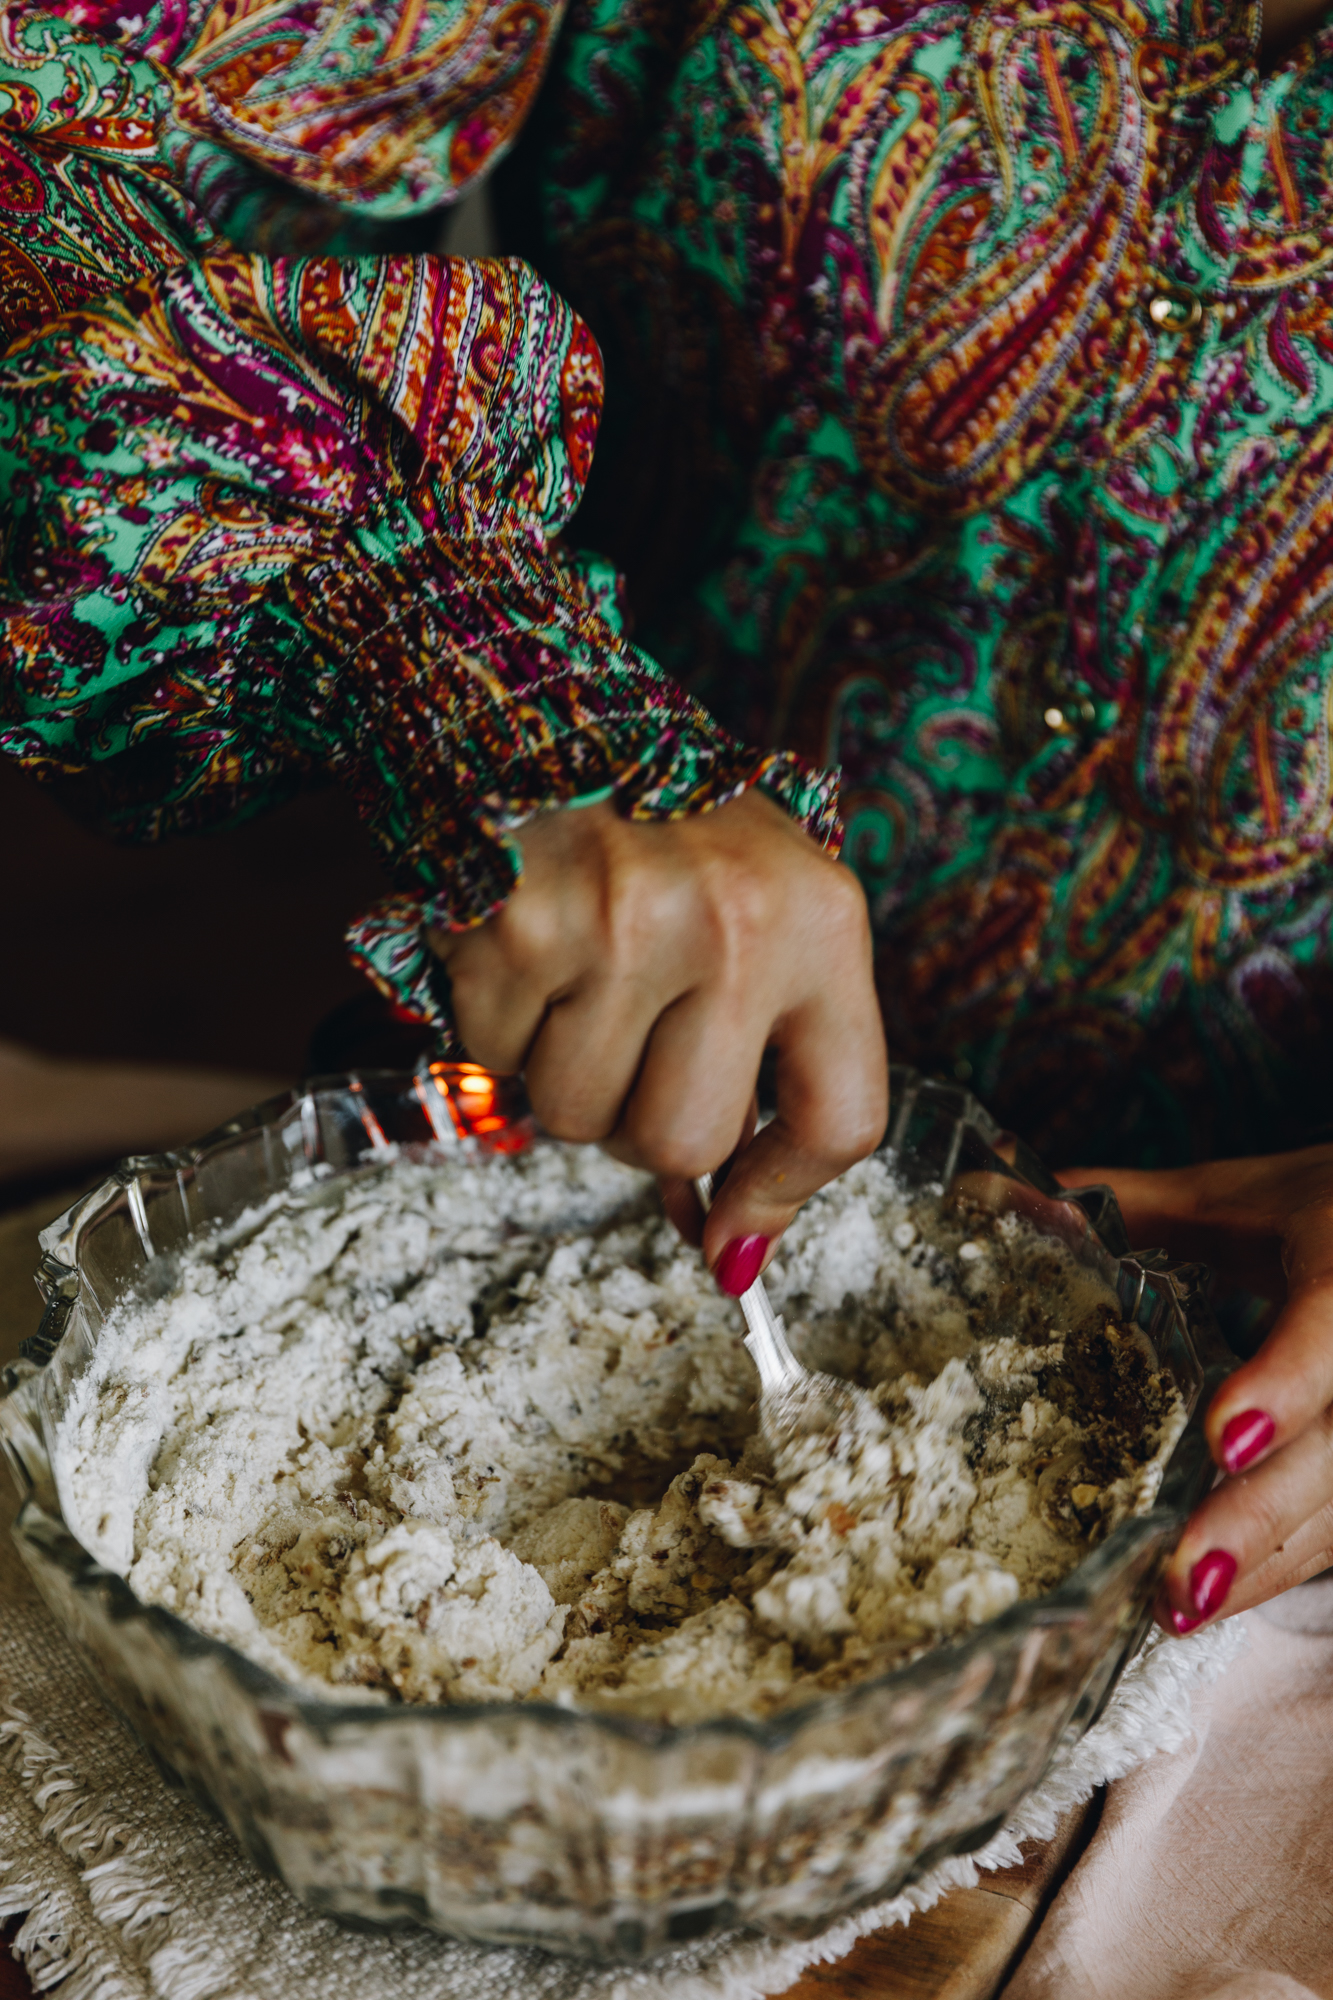
3. Add the Dry Ingredients:
Add the puehu parāoa kounga (high grade flour), ōti (rolled oats), lsa and chia seed mixture, tote (salt) and noni ōriwa (olive oil).
Using a bread and butter knife, stir the ingredients together for a minute until it is all combined.
4. First Stretch and Fold:
Once all the ingredients are combined it is time to stretch and fold the dough - see the video for reference.
Note: This dough is quite wet but just roll with it and trust the process.

4. First Stretch and Fold:
With wet hands, take a handful of dough from the side of the bowl, pull it high in the air and then place it in to the centre of the bowl. Turn the bowl a quarter turn and repeat that process. Every time you place the dough in to the centre it is one count.
Stretch and fold 40 times in total. It should only take a minute or so.
5. First Rise:
Rise for 45 minutes.
Cover with a bowl cover or tea towel and leave it in a cool place on the bench or in a cupboard.
Keep the dough away from the direct sunlight.

6. Second Stretch and Fold
When the dough has risen for 45 minutes, repeat the stretch and fold process.
Stretch and fold 40 times in total.
It should only take a minute or so.
7. Second Rise:
Cover with a bowl cover or a tea towel.
Rise for another 45 minutes.
8. Shape the Dough:
Once the dough has risen, remove from the bowl and place on a very lightly floured bench. Don't handle the dough too much here.
Fold the four corners of the dough in to the centre. Then fold it in to a log shape, pulling it towards you to create tension. Lower it in to your oiled tin with the seam of the dough facing down.
9. Third Rise:
Cover with a bowl cover or a tea towel and rise 30 minutes - 45 minutes. The main thing to look for here is for the dough to have doubled in size.
In the colder months - the dough will most likely need 45 minutes. In the warmer months - the dough will only need around 30 minutes.
10. Preheat the Oven:
As it rises, preheat the oven to 180 °C bake setting or 170 °C fan bake setting.
11. Bake the Parāoa (Bread):
Score (slice) the top of the parāoa (bread) in a couple of places with a sharp knife or scissors. This helps the loaf rise in a uniform way as it bakes.
Slide it in to the oven and bake for 45 minutes.
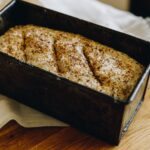
12. Cool the Loaf:
Remove the hot loaf from the oven and allow to cool in the tin for 5 minutes. Run a knife around the edge of the parāoa (bread) and tip it on to a cooling rack for a further 5 minutes or so before slicing in to it.
Storing the Bread
This loaf will be at its best on the day but will also make great toast or epic toasties the next day.
In general, I keep homemade bread in a plastic bag for a day on the bench. Beyond that I slice it and store it in the freezer and remove a piece at a time for toasting.
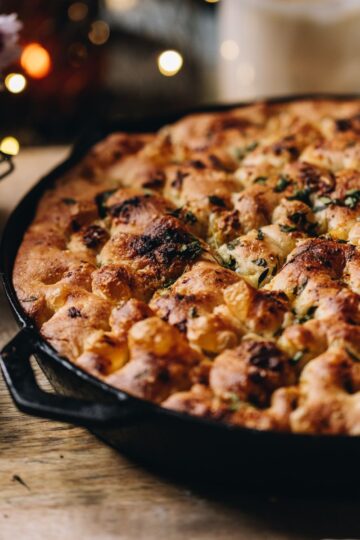
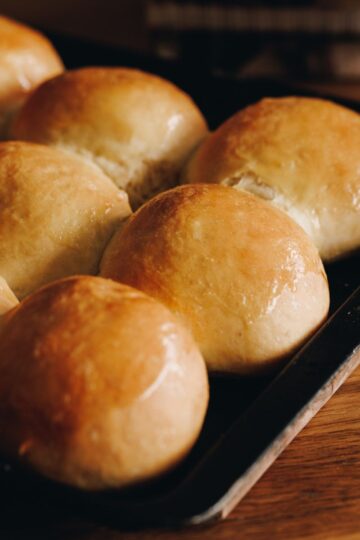
Delight your senses and tastebuds with these
Parāoa (bread) Recipes
Simple ingredients transformed into glorious creations.


DID YOU ENJOY THIS RECIPE?
It would be so awesome if you could please leave a review/comment by clicking the “leave a comment” section at the top of the page.
I love seeing you all make my creations, so send a whakaahua (photo) or kiriata (video) to my Instagram and show me what you made. Let me know if you have any pātai (questions) too, I would love to help.
No-knead Seed and Oat Bread Loaf - Rohi Parāoa Poke-kore Ōti me ngā Kākano
Equipment
- 1 x Bread Loaf Tin
Ingredients
The Dough - Te Pokenga
- 1 ½ C (375 ml) wai aromahana (lukewarm water)
- 2 ½ tablespoon (35 g) marahihi māpere (maple syrup, honey or sugar will also work here)
- 2 ½ teaspoon (8 g) īhi horo (instant yeast)
- 2 ½ C (375 g) puehu parāoa kounga (high grade flour)
- ¾ C (75 g) ōti (oats, I used rolled oats)
- ¾ C (80 g) lsa with chia seeds (I buy a pre-ground mix but you can combine ½ C lsa and ¼ C chia seeds to create your own). LSA is a mix of ground linseeds, sunflower seeds and almonds.
- 2 teaspoon (10 g) tote (salt, fine). I use Himalayan salt here, if you are using iodised table salt, half this amount.
- 2 tablespoon (30 ml) noni ōriwa (olive oil)
Instructions
Prepare the Loaf Tin:
- Grease your bread tin with neutral oil. Mine is 22cm long x 11cm wide and 10cm high but a smaller loaf tin will work.
Activate the Yeast:
- Add the wai aromahana (lukewarm water) and whatever sweetener you are using to a large bowl. Stir it until the sweetener is dissolved.
- Add the īhi horo (instant yeast), stir it in and activate the īhi (yeast) for five minutes. The yeast is activated with it has floated to the top.
Add the Dry Ingredients:
- Add the puehu parāoa kounga (high grade flour), ōti (rolled oats), lsa and chia seed mixture, tote (salt) and noni ōriwa (olive oil). Using a bread and butter knife, stir the ingredients together for a minute until it is all combined.
First Stretch and Fold:
- Once all the ingredients are combined it is time to stretch and fold the dough - see the video for reference. Note: This dough is quite wet but just roll with it and trust the process.
- With wet hands, take a handful of dough from the side of the bowl, pull it high in the air and then place it in to the centre of the bowl. Turn the bowl a quarter turn and repeat that process. Every time you place the dough in to the centre it is one count.
- Stretch and fold 40 times in total. It should only take a minute or so.
First Rise:
- Cover with a bowl cover or tea towel and leave it in a cool place on the bench or in a cupboard. Keep the dough away from the direct sunlight.
- Rise for 45 minutes.
Second Stretch and Fold
- When the dough has risen for 45 minutes, repeat the stretch and fold process.
- Stretch and fold 40 times in total. It should only take a minute or so.
Second Rise:
- Cover with a bowl cover or a tea towel. Rise for another 45 minutes.
Shape the Dough:
- Once the dough has risen, remove from the bowl and place on a very lightly floured bench. Don't handle the dough too much here.
- Fold the four corners of the dough in to the centre. Then fold it in to a log shape, pulling it towards you to create tension. Lower it in to your oiled tin with the seam of the dough facing down.
Third Rise:
- Cover with a bowl cover or a tea towel and rise 30 minutes - 45 minutes. The main thing to look for here is for the dough to have doubled in size. In the colder months - the dough will most likely need 45 minutes. In the warmer months - the dough will only need around 30 minutes.
Preheat the Oven:
- As it rises, preheat the oven to 180 °C bake setting or 170 °C fan bake setting.
Bake the Parāoa (Bread):
- Score (slice) the top of the parāoa (bread) in a couple of places with a sharp knife or scissors. This helps the loaf rise in a uniform way as it bakes.
- Slide it in to the oven and bake for 45 minutes.
Cool the Loaf:
- Remove the hot loaf from the oven and allow to cool in the tin for 5 minutes. Run a knife around the edge of the parāoa (bread) and tip it on to a cooling rack for a further 5 minutes or so before slicing in to it.
Storing the Bread
- This loaf will be at its best on the day but will also make great toast or epic toasties the next day.
- In general, I keep homemade bread in a plastic bag for a day on the bench. Beyond that I slice it and store it in the freezer and remove a piece at a time for toasting.


Lydia Farley
Just made this today, so yummy! Tastes like freshly baked homemade vogels.
Super easy recipe, thanks heaps 😍
Naomi Toilalo WhānauKai
Yessssss - that is what I was giving for! Couldn't think of a better way to explain it! Thank you so much Lydia for this awesome feedback! Ngā mihi nui!
Eilish
Our favourite bread! After mastering my sourdough I really wanted to find a bread recipe that I could whip up without the mental load of the starter. This one is delicious! quick! easy! tasty! We go through a lot of bread. I make 3-4 loaves of this a week - can’t get enough!!
Naomi Toilalo WhānauKai
Wow Eilish - this is such incredible feedback to hear about this loaf. How awesome is it to be able to whip up your own bread and know exactly what is in it too. So glad to hear that you enjoy this recipe so much. Ngā mihi, Naomi