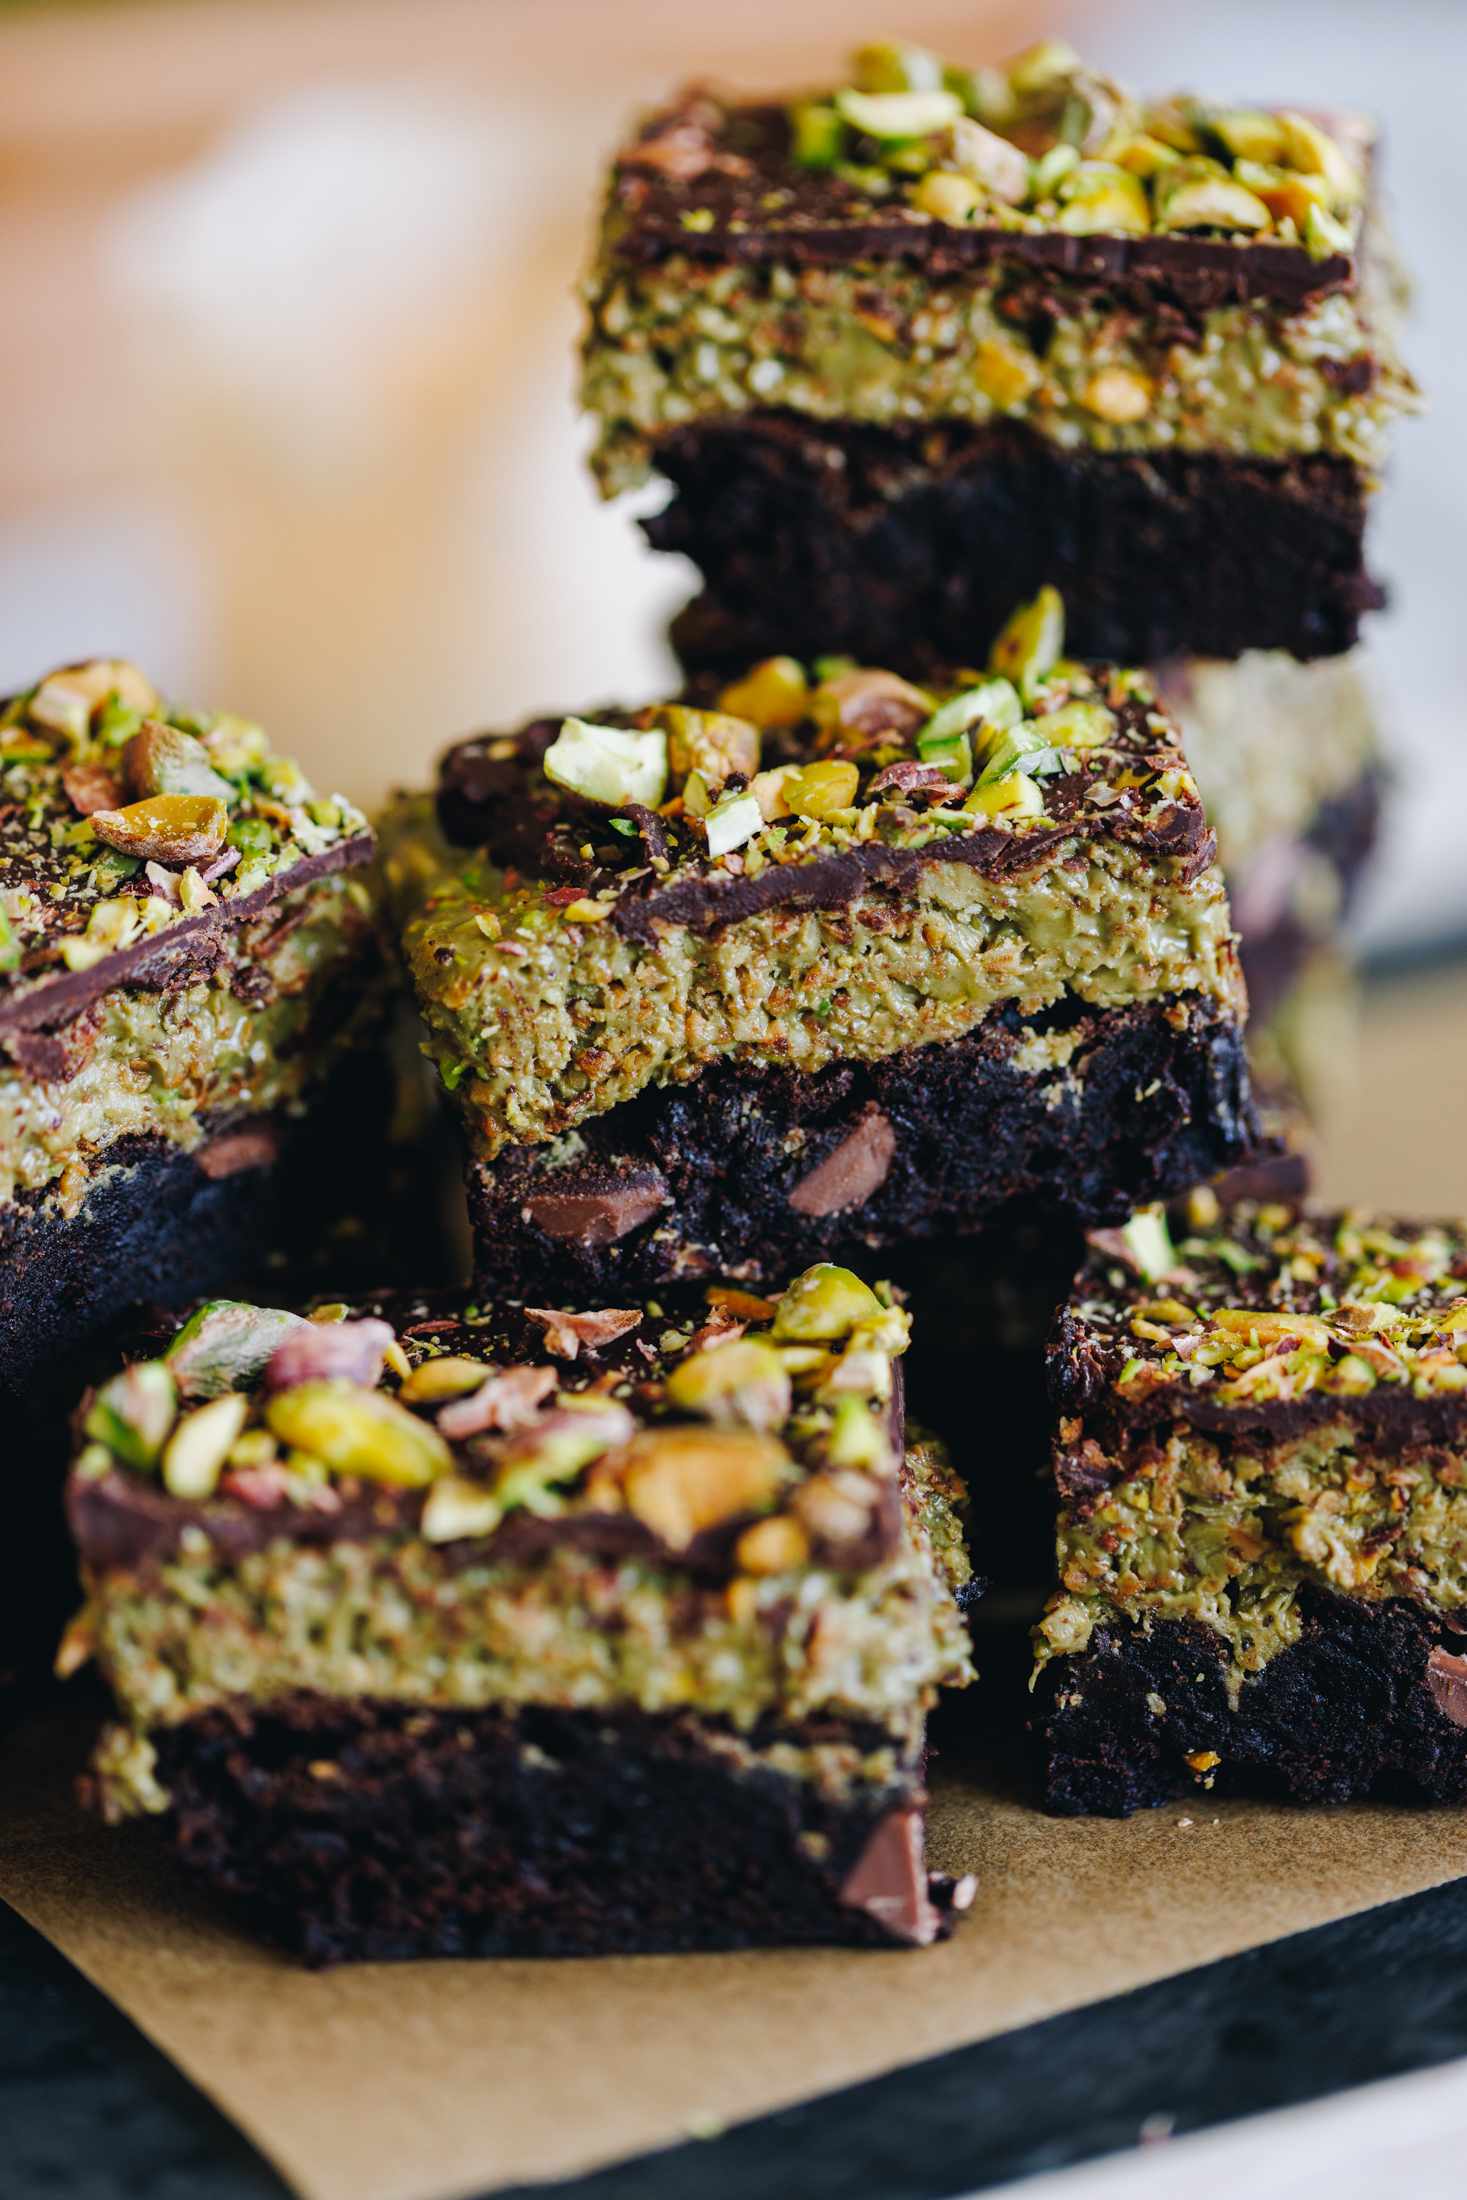
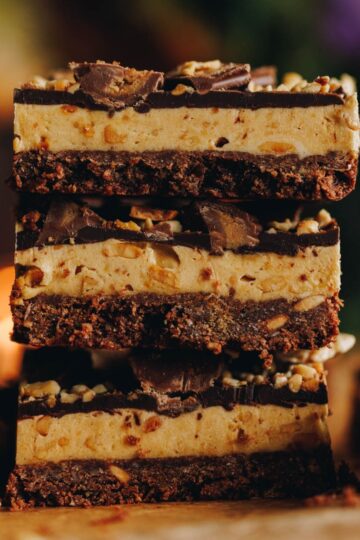
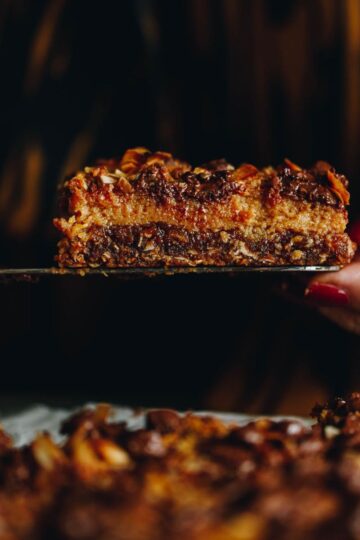
These moreish Dubai chocolate brownies are an absolute delight to eat! They start with a layer of rich, fudgy brownie, topped with a simple but delicious pistachio cream made with toasted shredded coconut instead of kataifi pastry, making them easy to recreate with ingredients you can find at your local supermarket. Finished with a smooth chocolate layer and roasted pistachios, these brownies are an irresistible twist on the viral Dubai chocolate trend.
Why You'll Love This Recipe
My older two daughters first introduced me to the idea of a Dubai chocolate brownie made with toasted shredded coconut instead of the traditional kataifi pastry. Once I tried their version, I knew I had to create my own! The toasted kokonati (coconut) adds such a delicious, nutty flavour and a lovely crunch that complements the creamy pihitāhio (pistachios) perfectly. Layered with rich, fudgy brownie and smooth chocolate, these Dubai chocolate brownies are something truly special.
They're perfect for sharing with family and friends, making a wonderful treat for special occasions, celebrations or whenever you're craving something a little indulgent. I just know you'll love them as much as I do!
This recipe was made and given away as part of The Giving Series - generously funded by Te Māngai Pāho and Pams. ❤️
More Delicious Slices and Brownies to Try
If layered slices and delicious sweet treats are your favourite things to make, then be sure to check out these recipes!
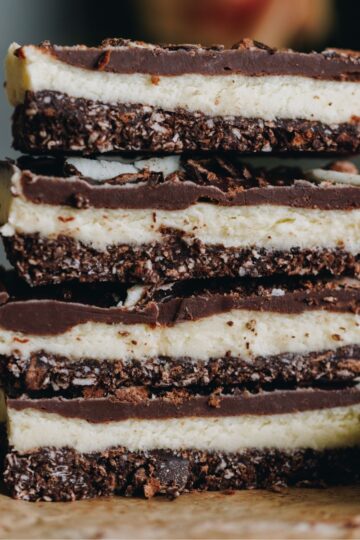
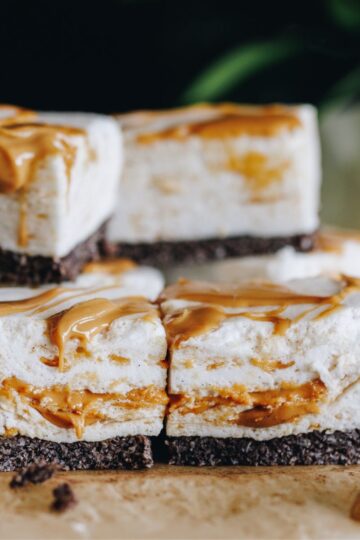
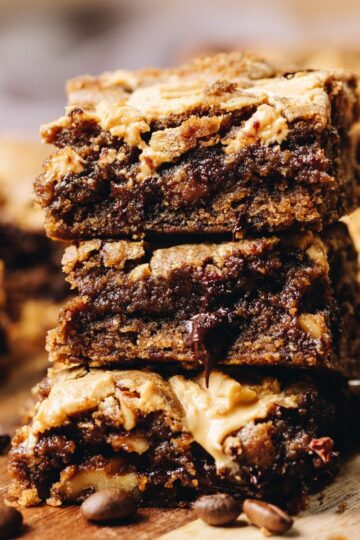
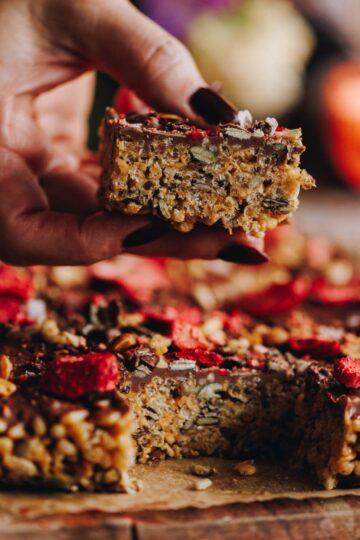
For a pata pīnati (peanut butter) hit, try my Peanut Butter Weetbix Slice – it's so good! My Chocolate Raspberry Brownie with Marshmallow is another family favourite, and my Oaty Caramel Slice is an absolute winner. There's something here for everyone!
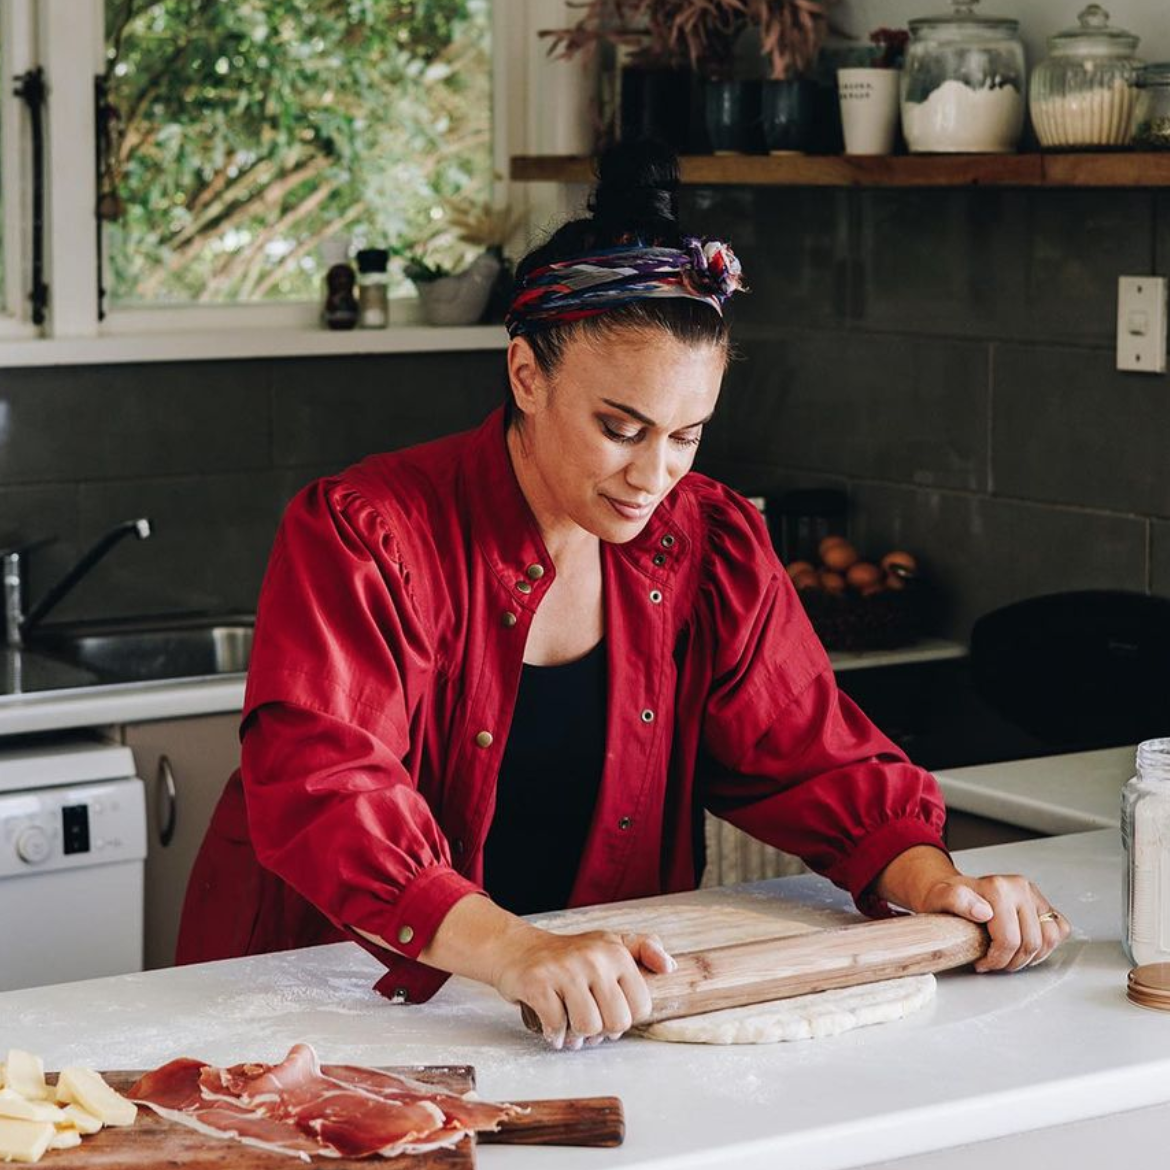
Videography and photography by Sarah Henderson.
Ingredient Tips for the Dubai Chocolate Brownie:
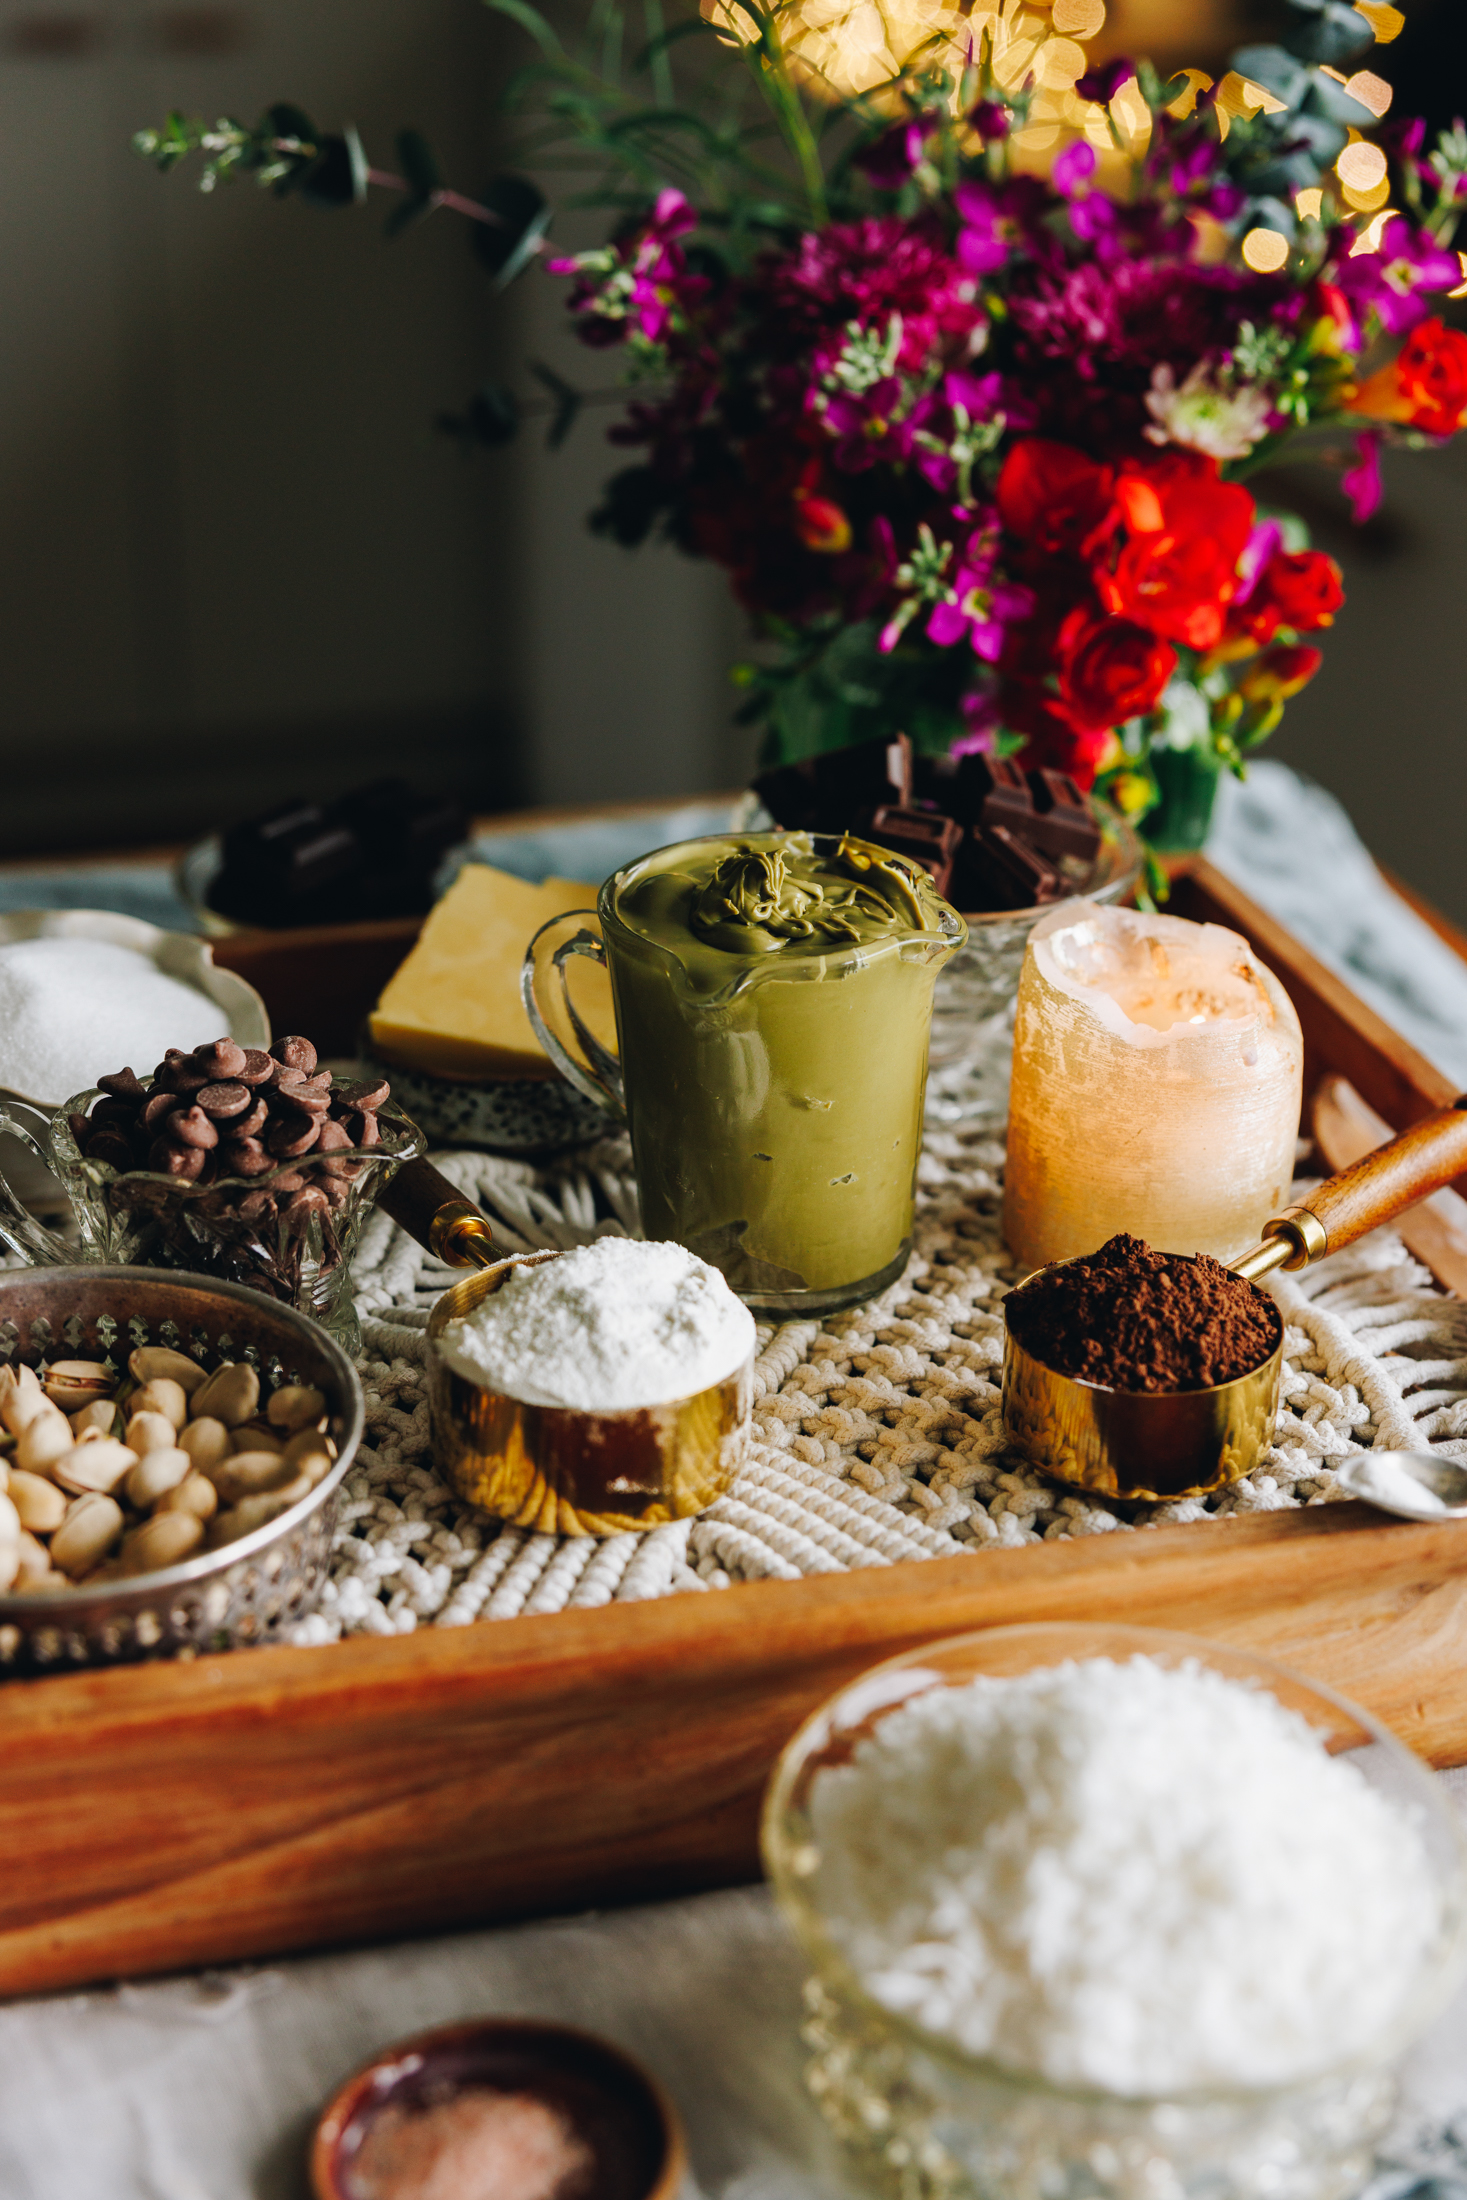
- Pistachio paste: I use Pisti Spreadable Pistachio Cream as it is a big jar and is super afforadable compared to some of the pistachio pastes out there. Use what you can find though and let me know if you find a good one.
- Shredded Coconut: I prefer kokonati ngakungaku (shredded coconut) for the filling as it mimics the traditional pastry filling really well.
- Chocolate drops/chips: I fold titipi tiakarete (chocolate chips or drops) through the brownie batter, this is optional though and can be omitted.
HOW TO MAKE THE DUBAI BROWNIES:
Note: The full recipe card with the full list of ingredients, instructions and step by step video are found at the bottom of this page.
1. Preheat the Oven:
Preheat the oven to 165 °C bake or 155 °C fan bake.
Grease a 20 cm tin with high sides with butter. Line with baking paper, making sure there is a large over hang.
2. Melt the Chocolate and Butter:
Chop the first measure of tiakarete parauri (dark chocolate) in to small pieces.
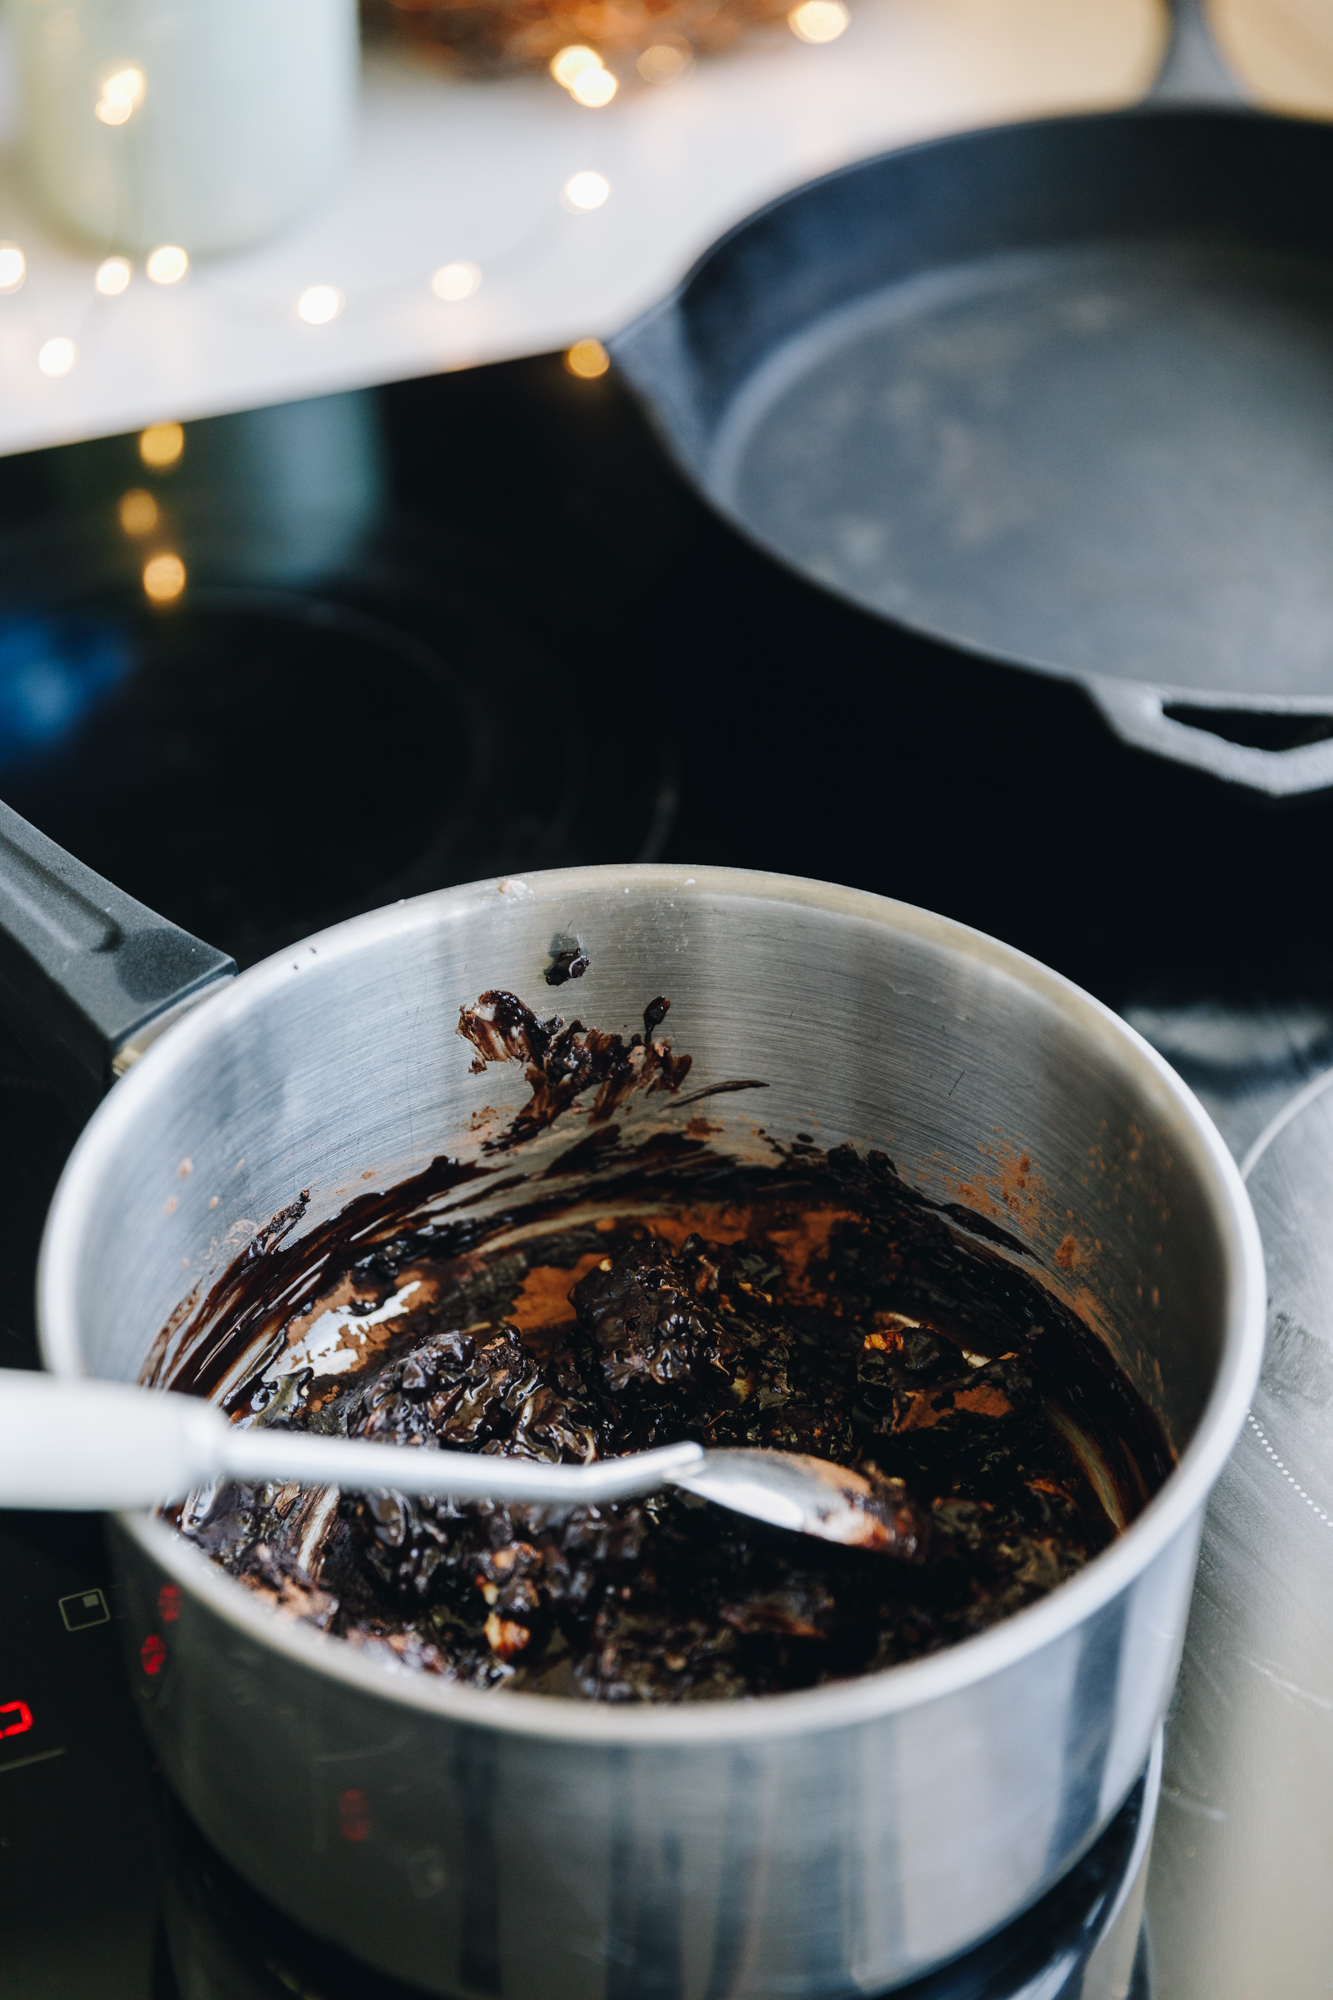
Add the chopped tiakarete parauri (dark chocolate), pata (butter), kōkō (cocoa) and tote (salt) in to a small pot.
Gently melt it over low heat, stirring as you go.
Once it is melted, remove it from the heat and set aside to cool to room temperature.
3. Whip the Eggs and Sugar:
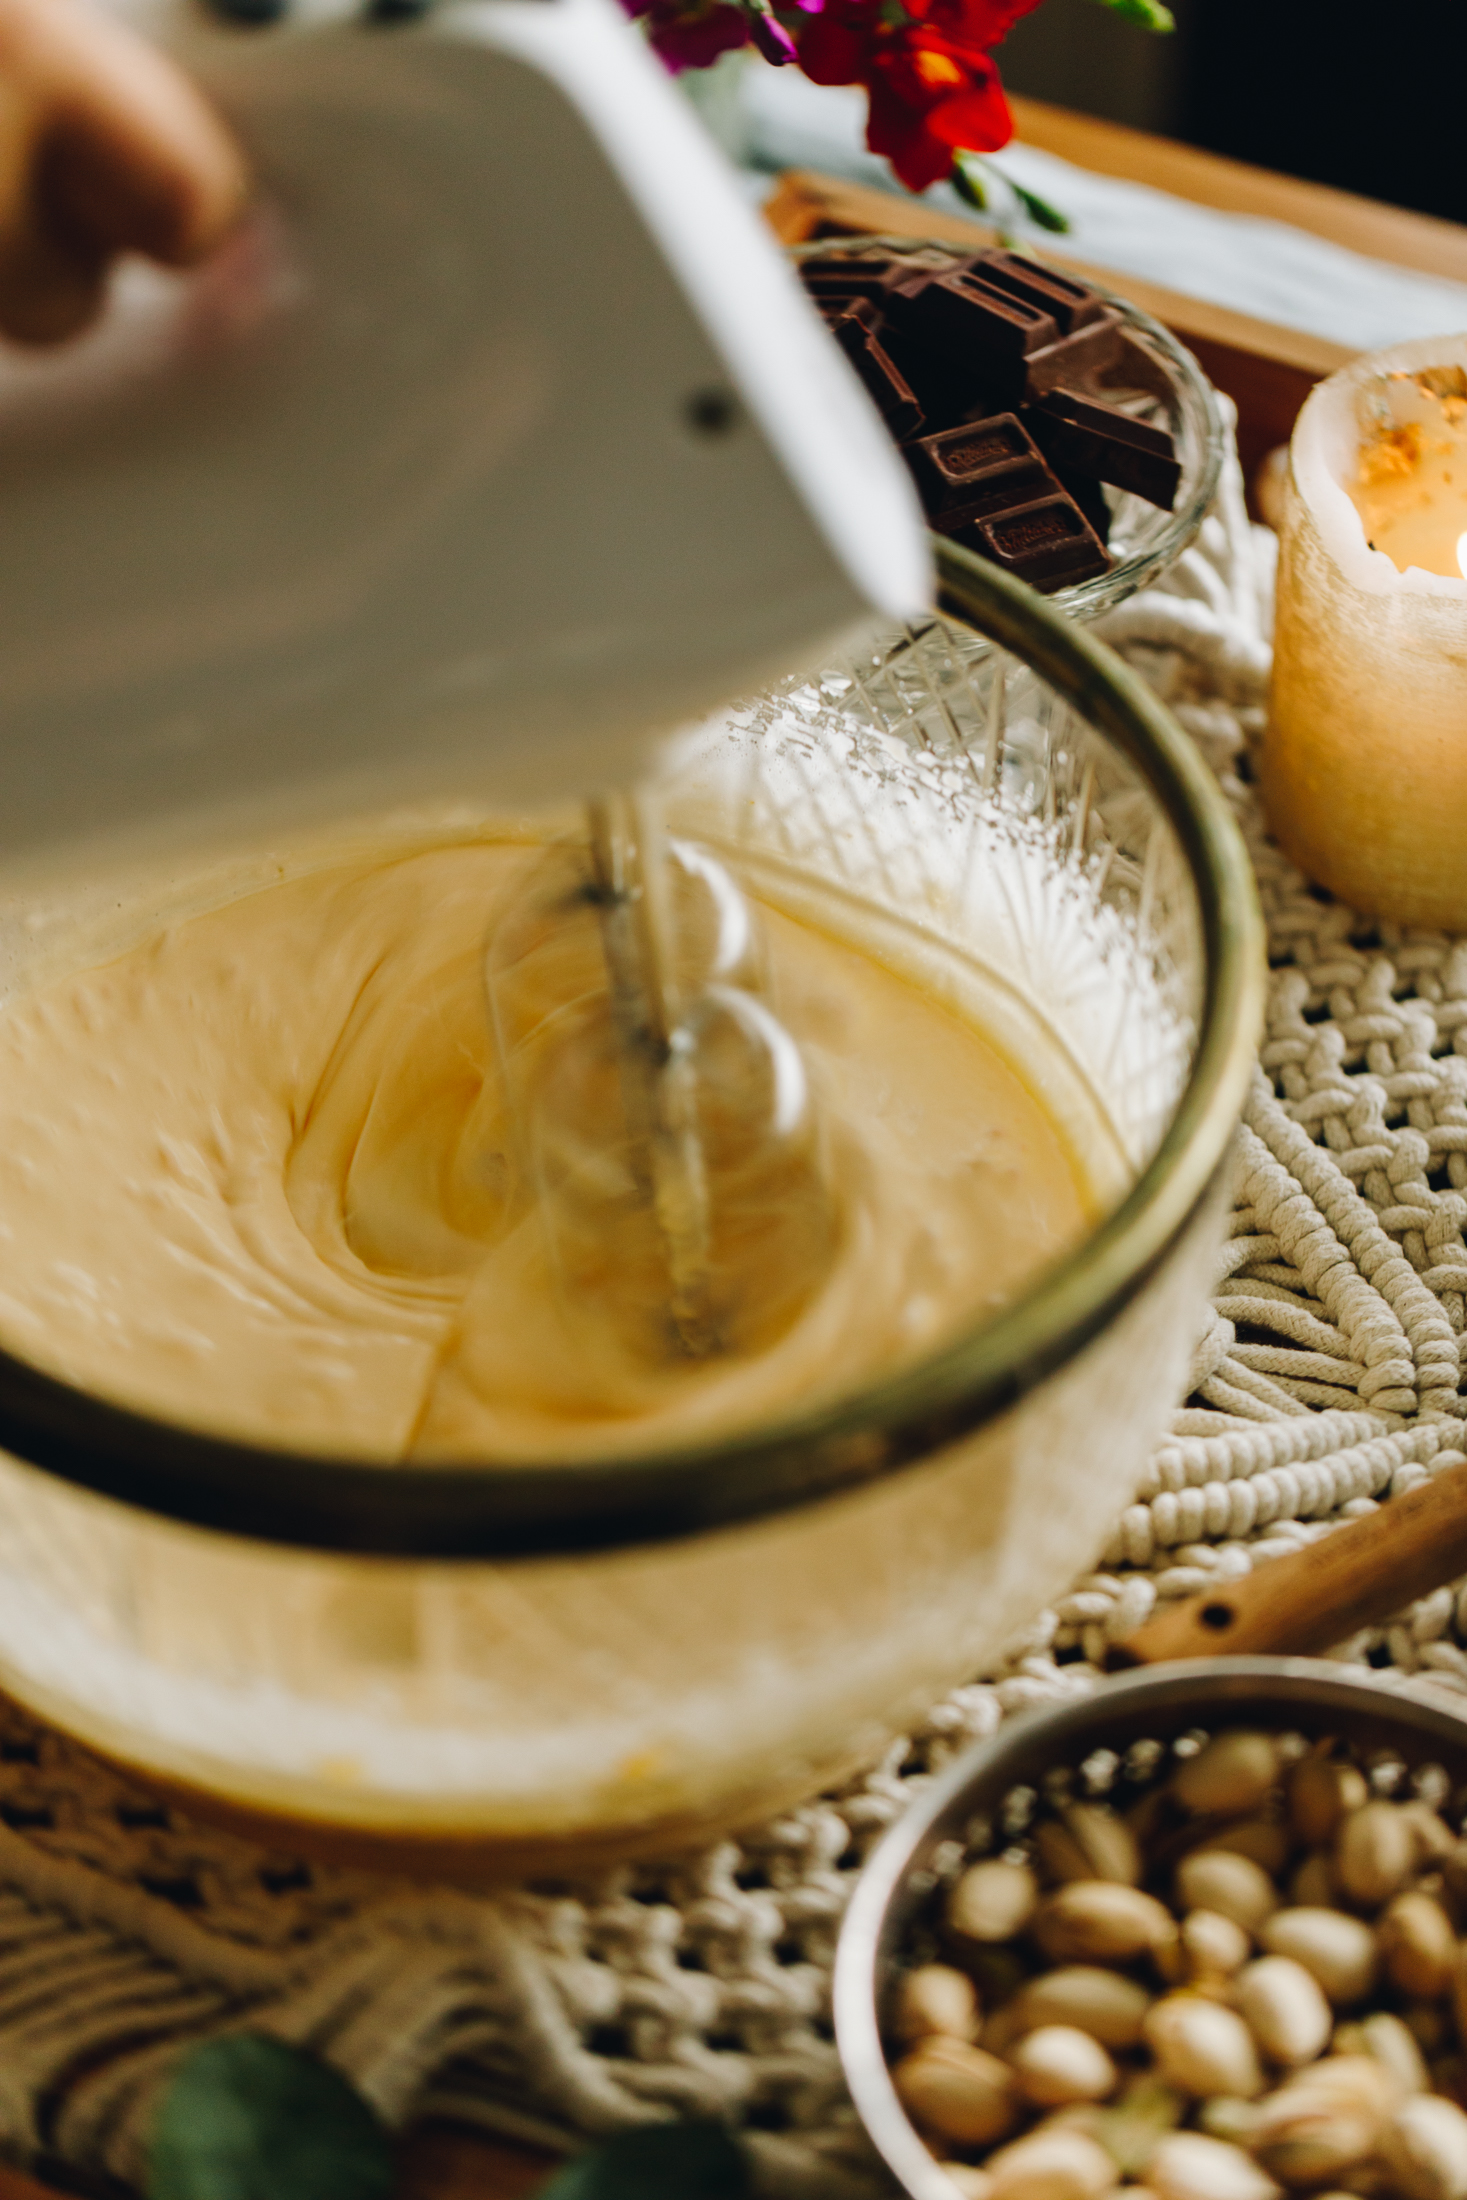
Add the hēki (eggs), huka one (caster sugar) and wanira (vanilla) into a large bowl.
Whip on high for 3 minutes until the hēki (eggs) are light and fluffy in colour and texture.
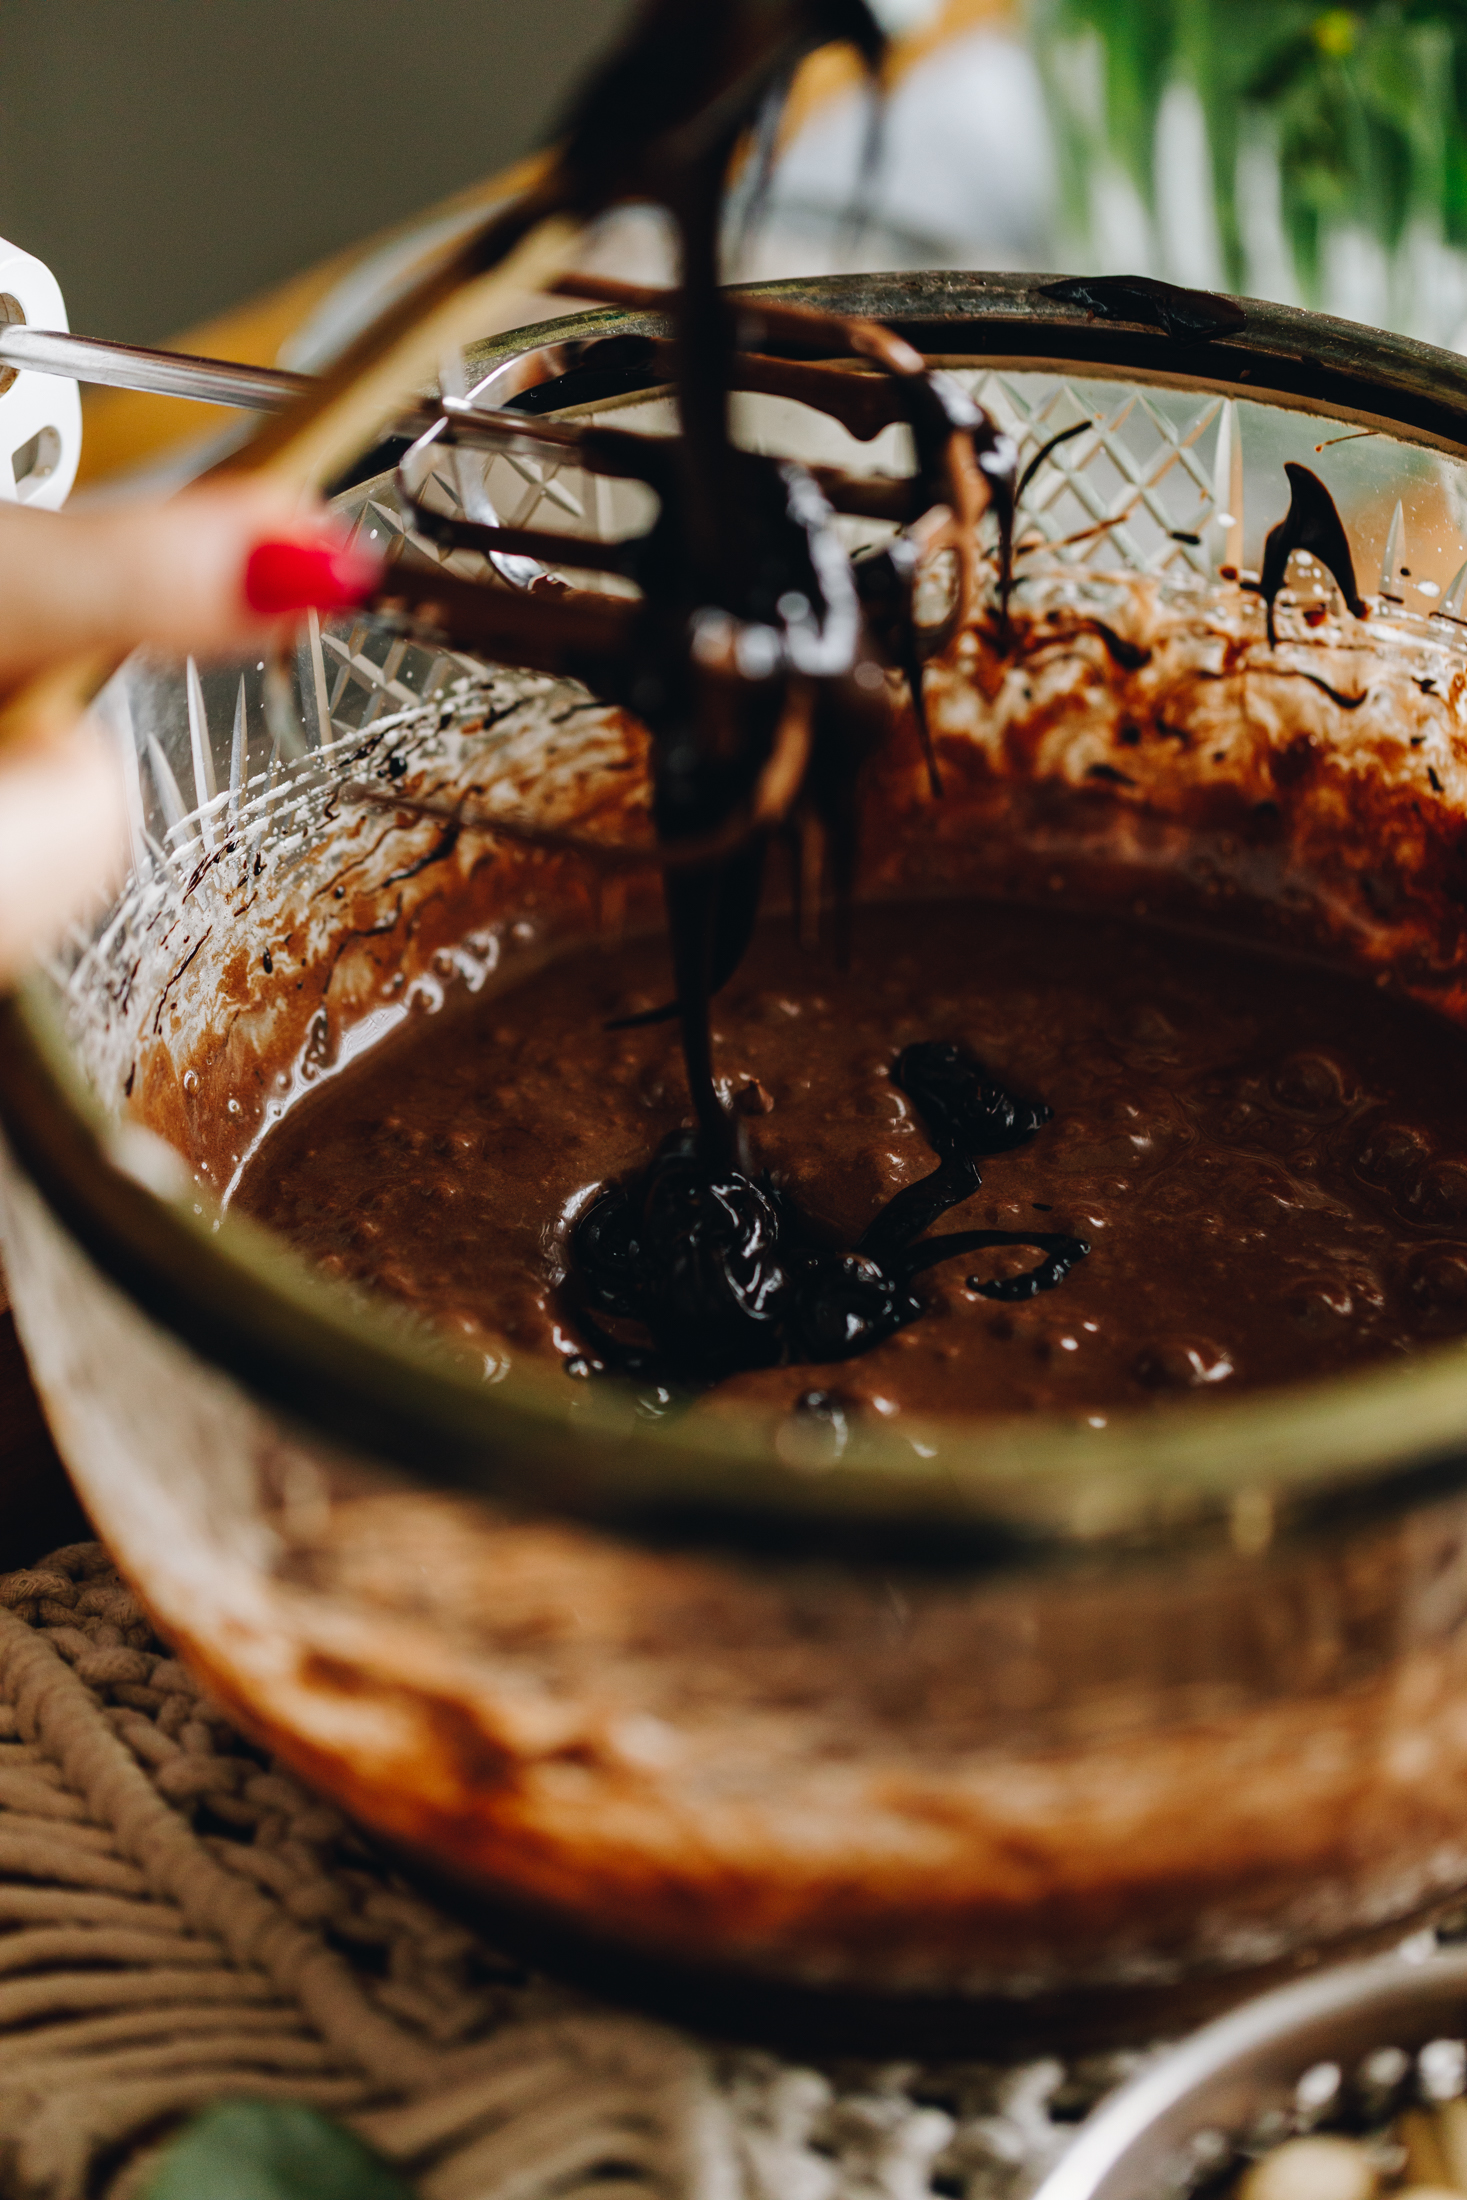
4. Pour in the Chocolate Mixture:
Slowly drizzle in the slightly cooled ranunga tiakarete (chocolate mixture), a little bit at a time as you whip for another minute.
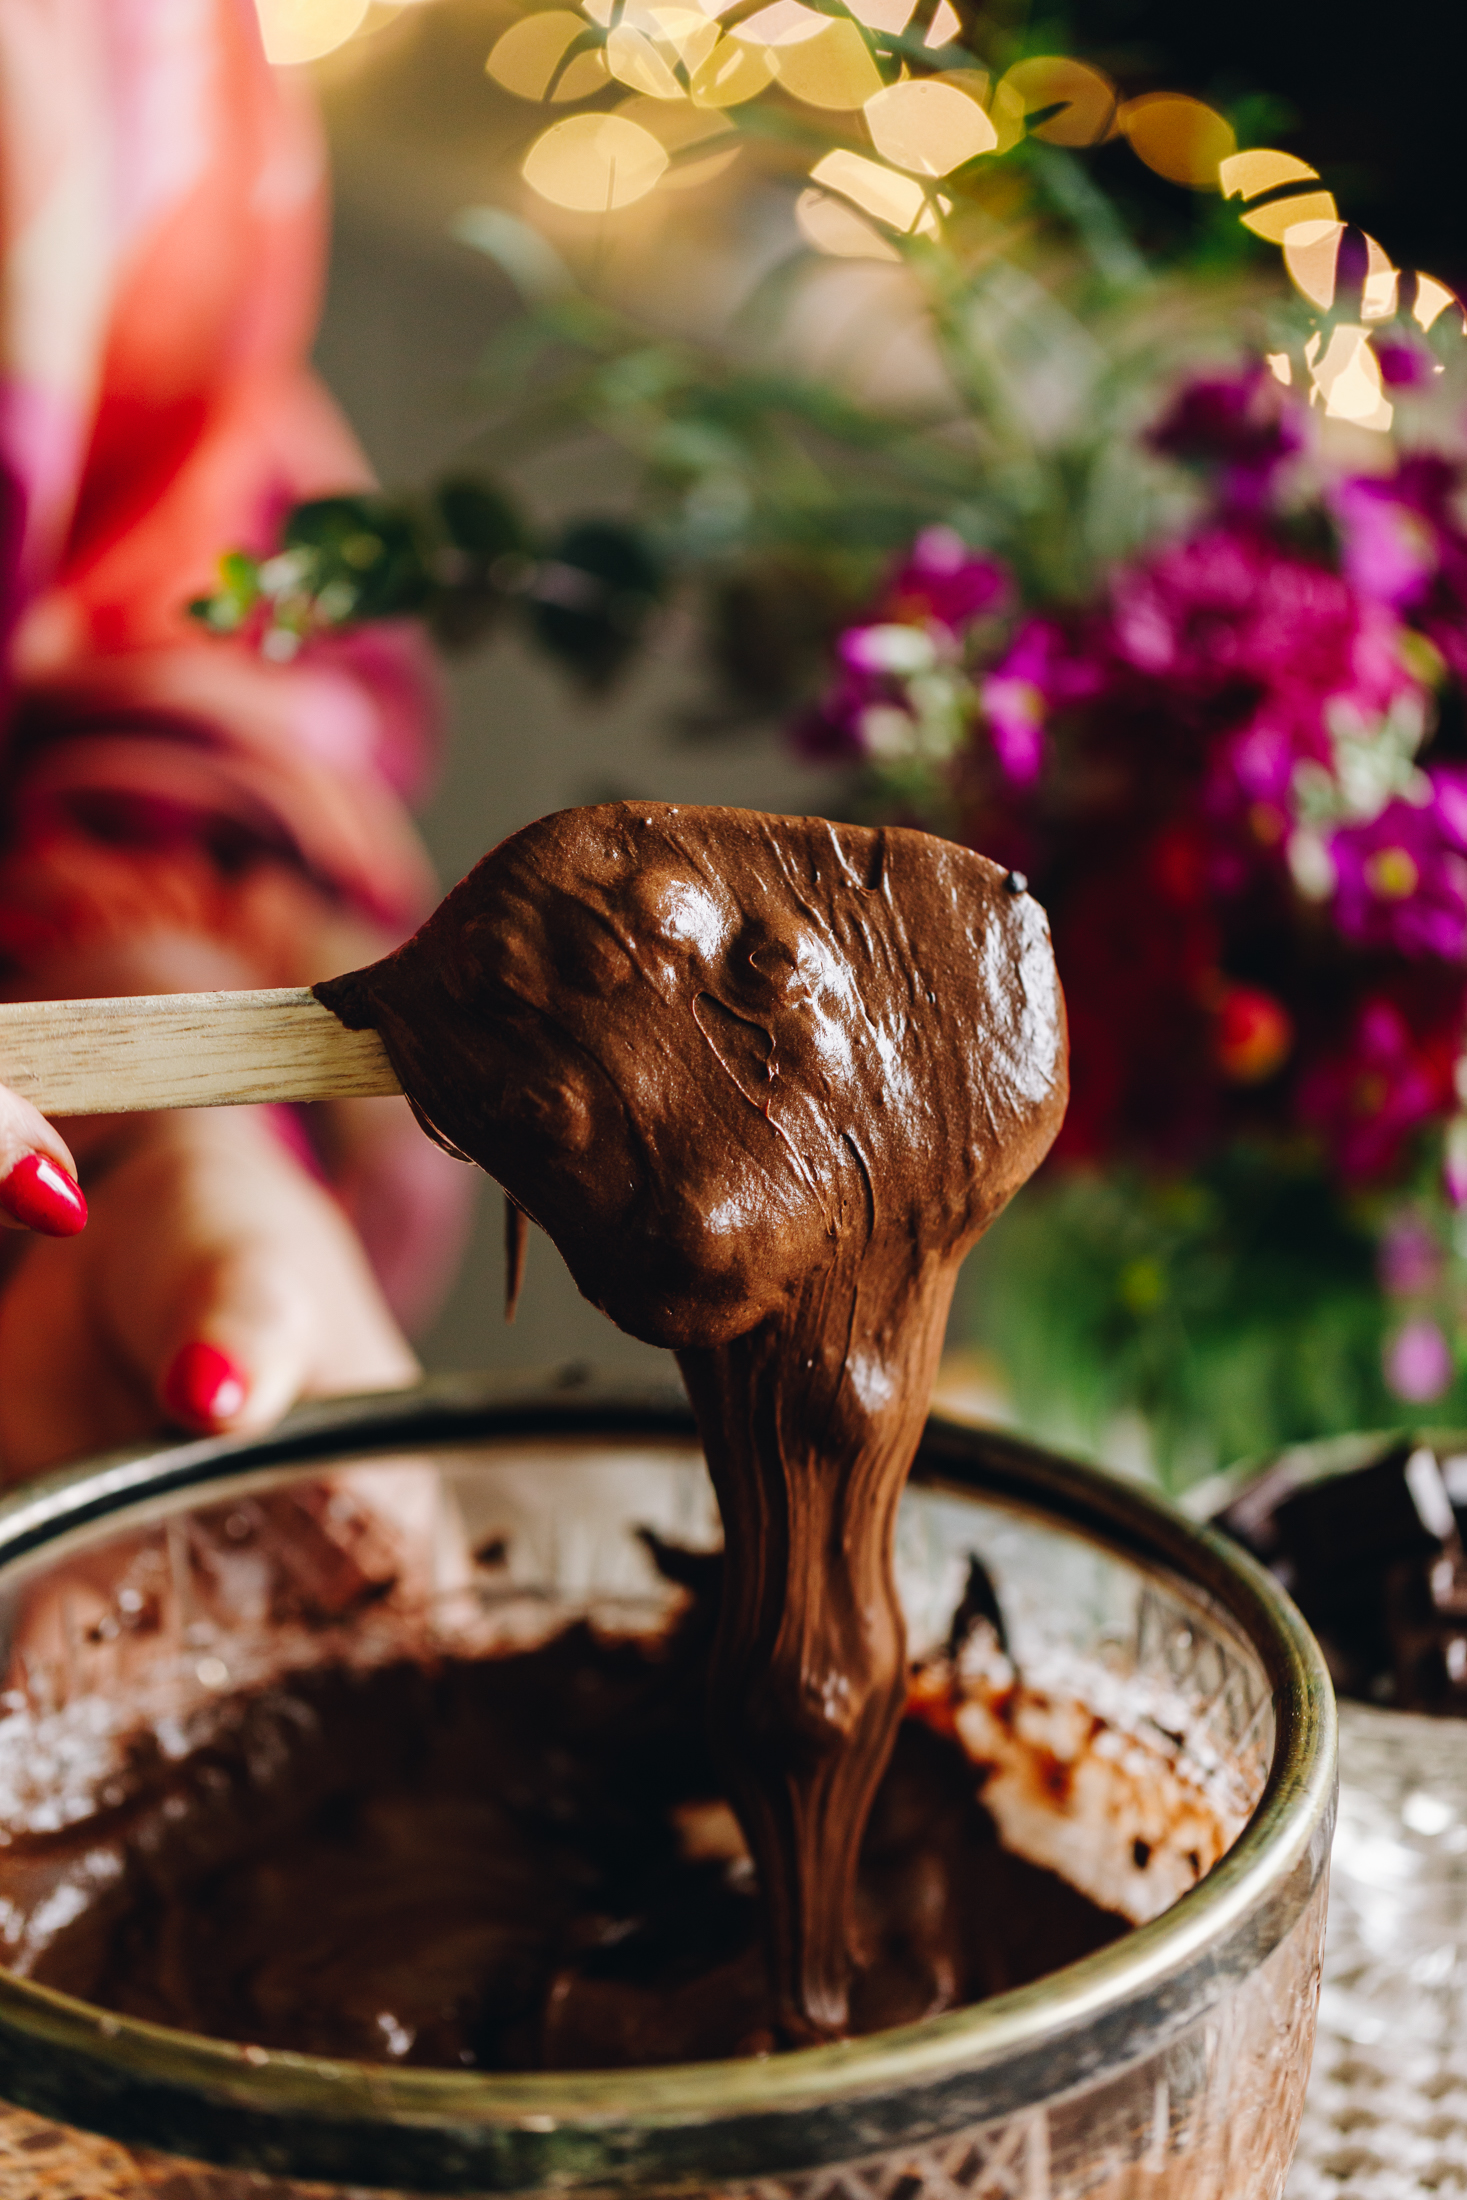
5. Add the Dry Ingredients:
Sift in the puehu parāoa (flour), pēkana paura (baking powder) and titipi tiakarete (chocolate chips).
Whētuihia (fold it together), until just combined.
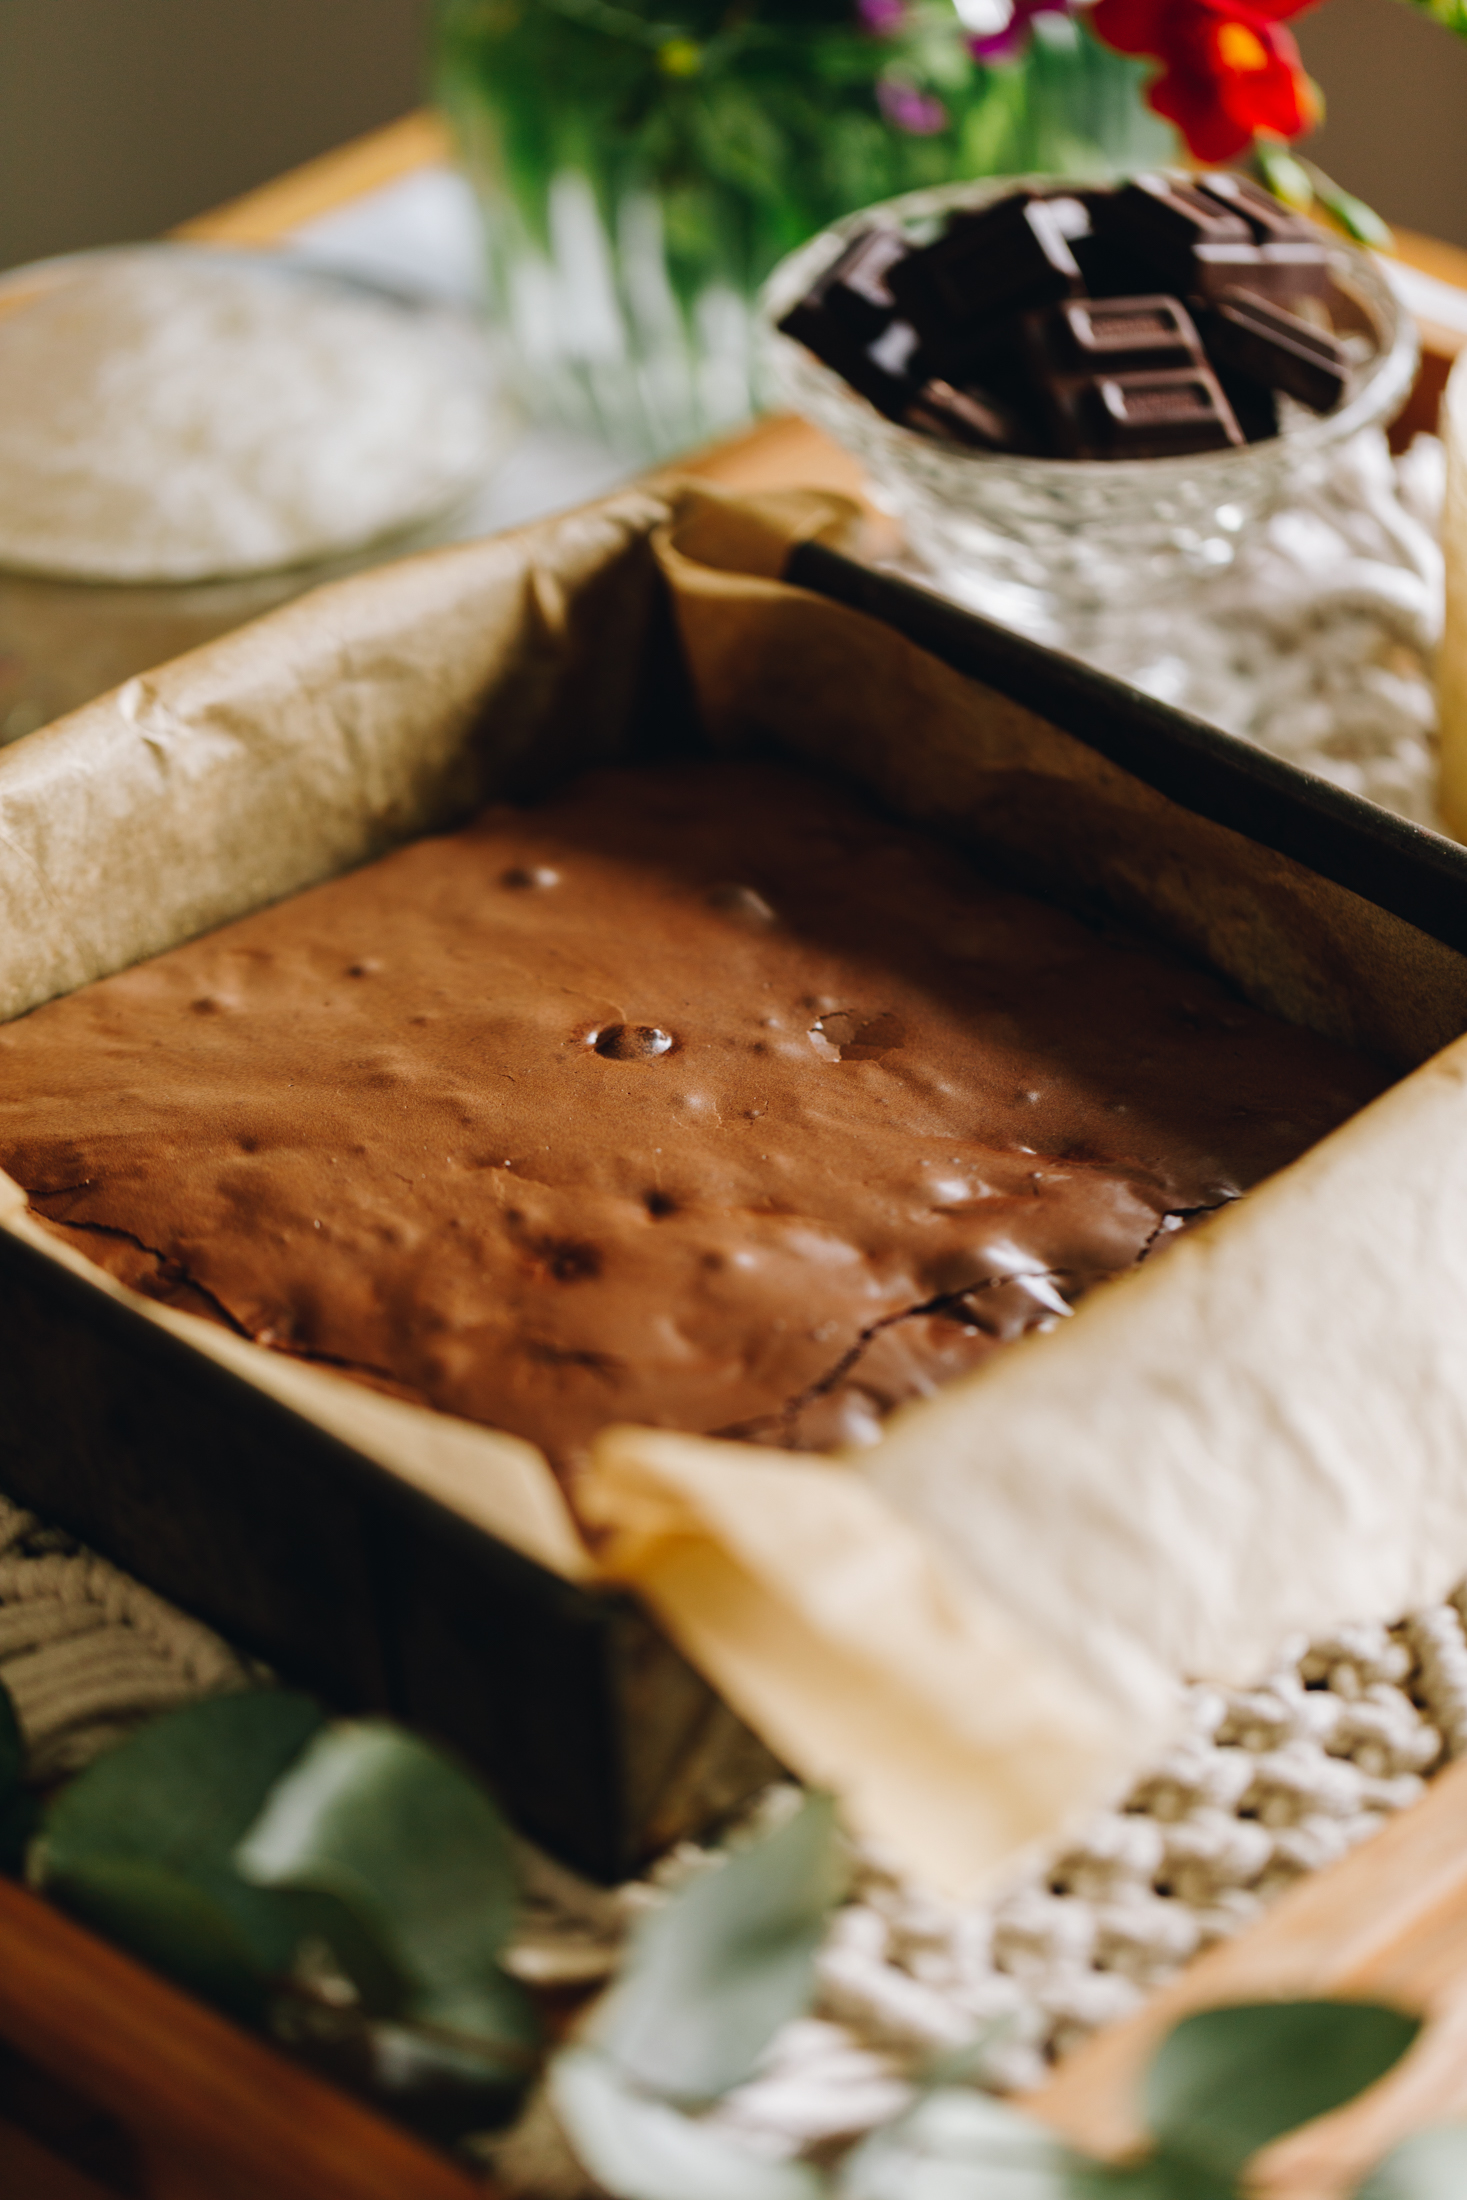
6. Bake the Brownie:
Pour the brownie mix in to the prepared tin.
Bake for 30 minutes and leave aside to cool for 30 minutes.
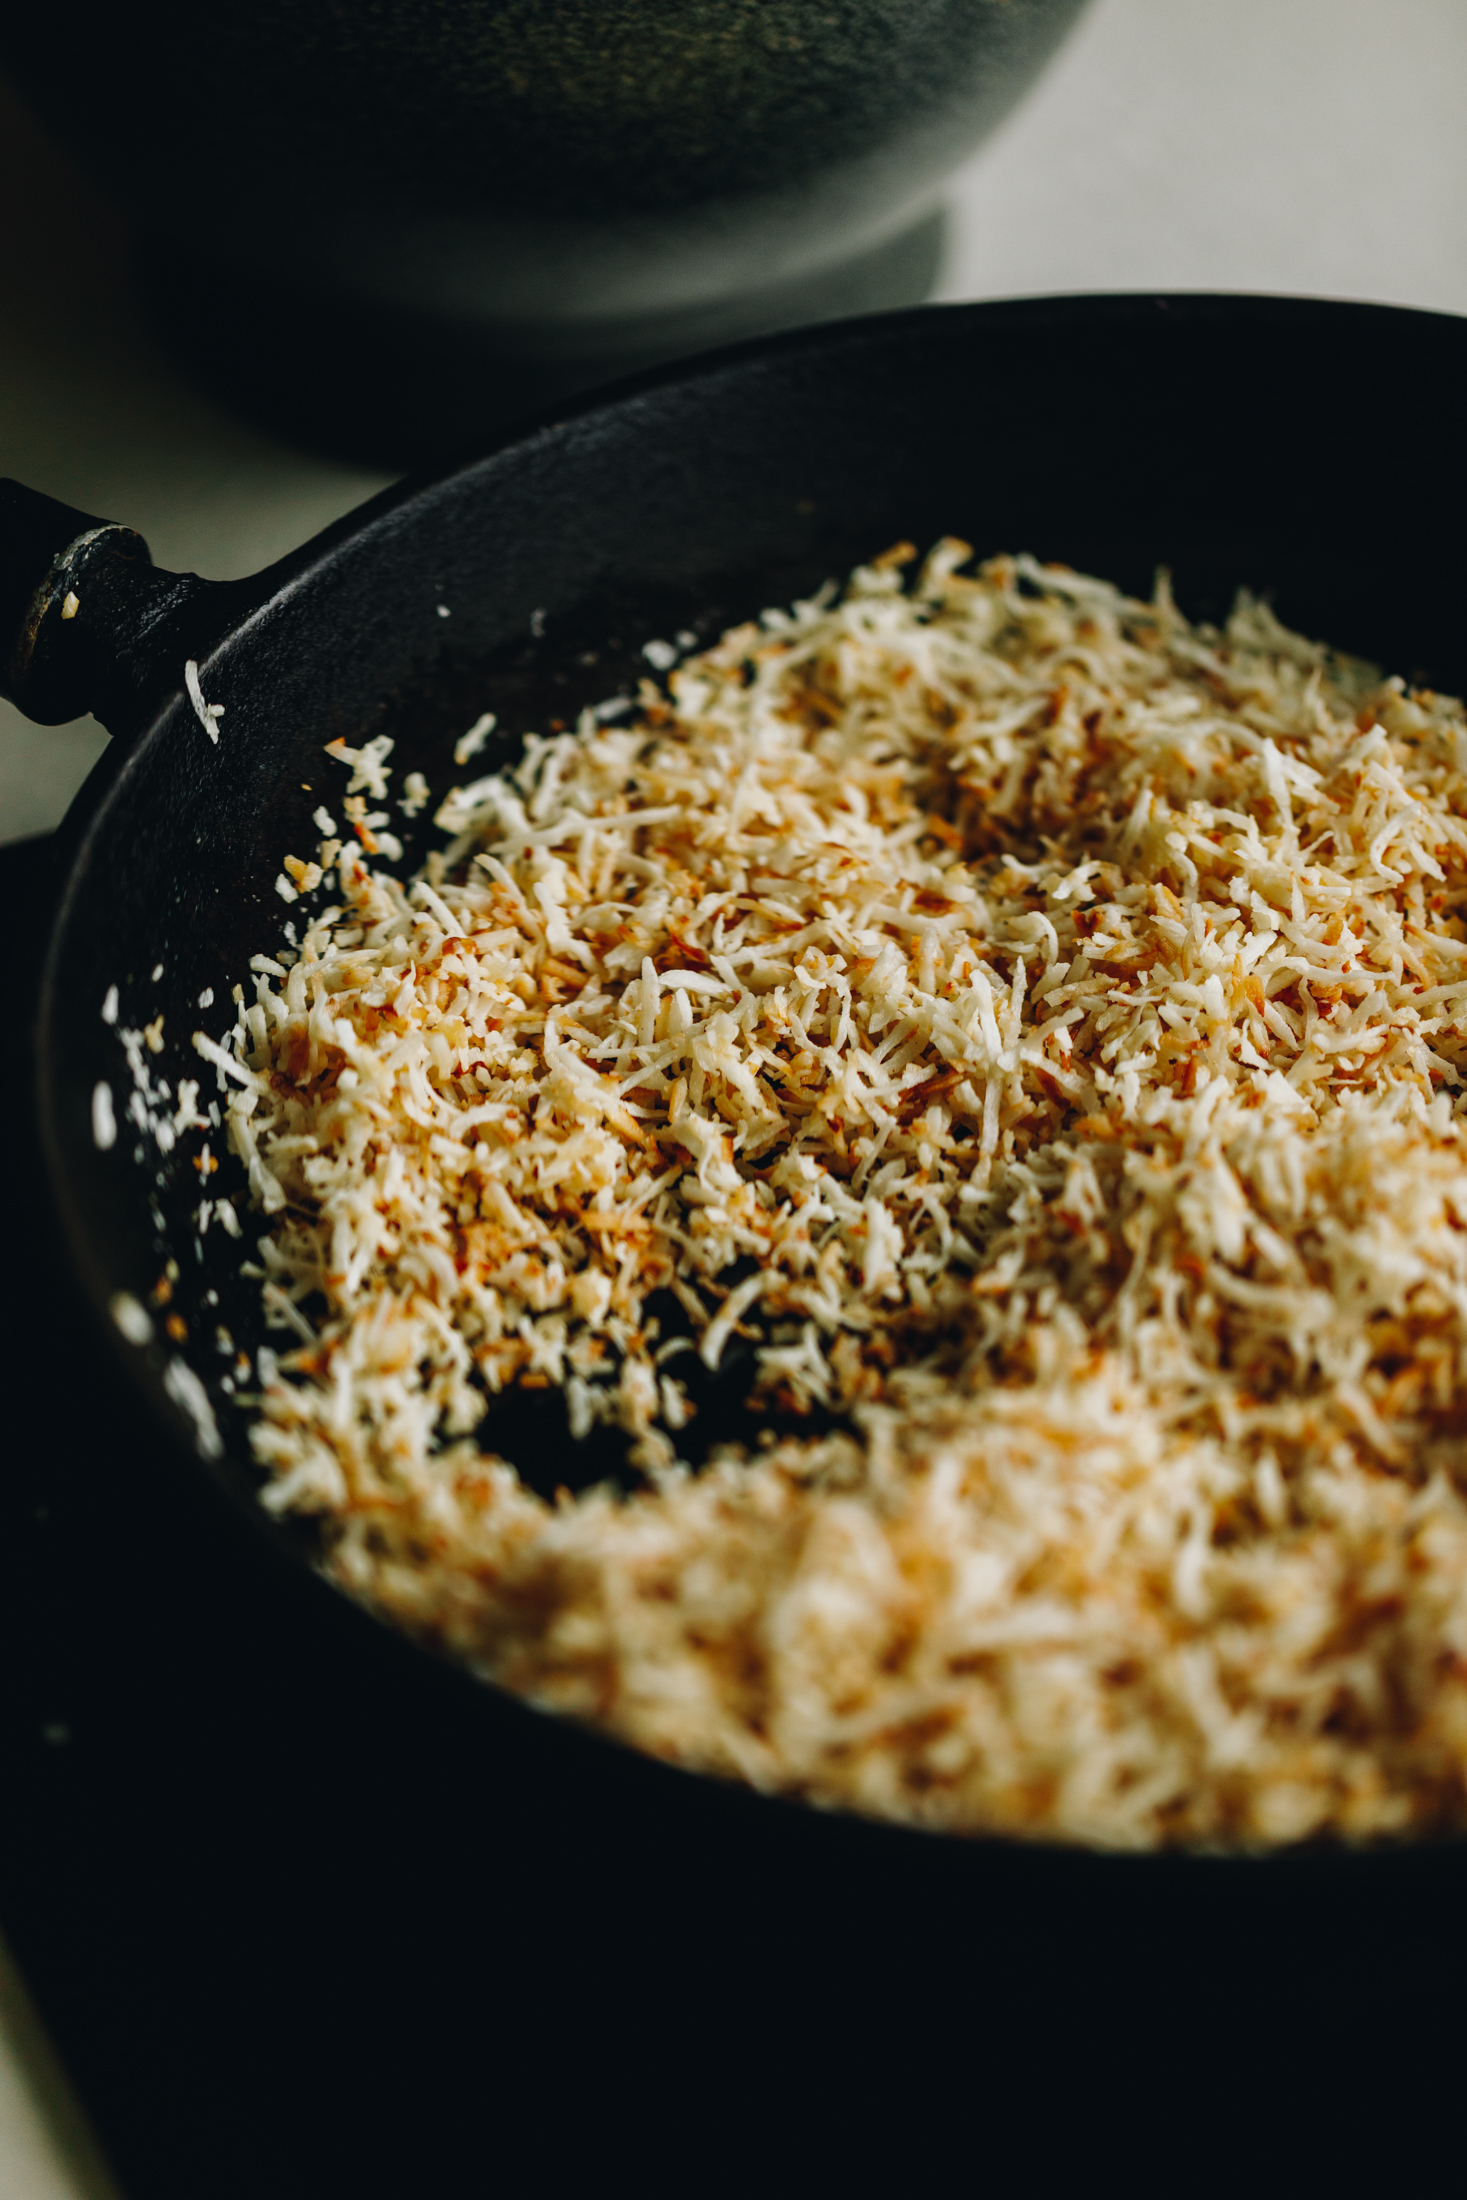
7. Toast the Coconut:
Add the pata (butter) and kokonati ngakungaku (shredded coconut) to a frying pan.
Add it to the stove over medium heat and toast the coconut until it is all deeply golden and toasty. Stir occasionally so it doesn't burn.
Remove from the heat and cool for 5 minutes.
8. Prepare the Pistachios:
Remove all of the pihitāhio (pistachios) from the shells.
Chop half of them into fine pieces and the other half into rough chunks.
Add the fine pieces of pihitāhio (pistachios) into the kokonati (coconut).
Leave the rest aside for the topping.
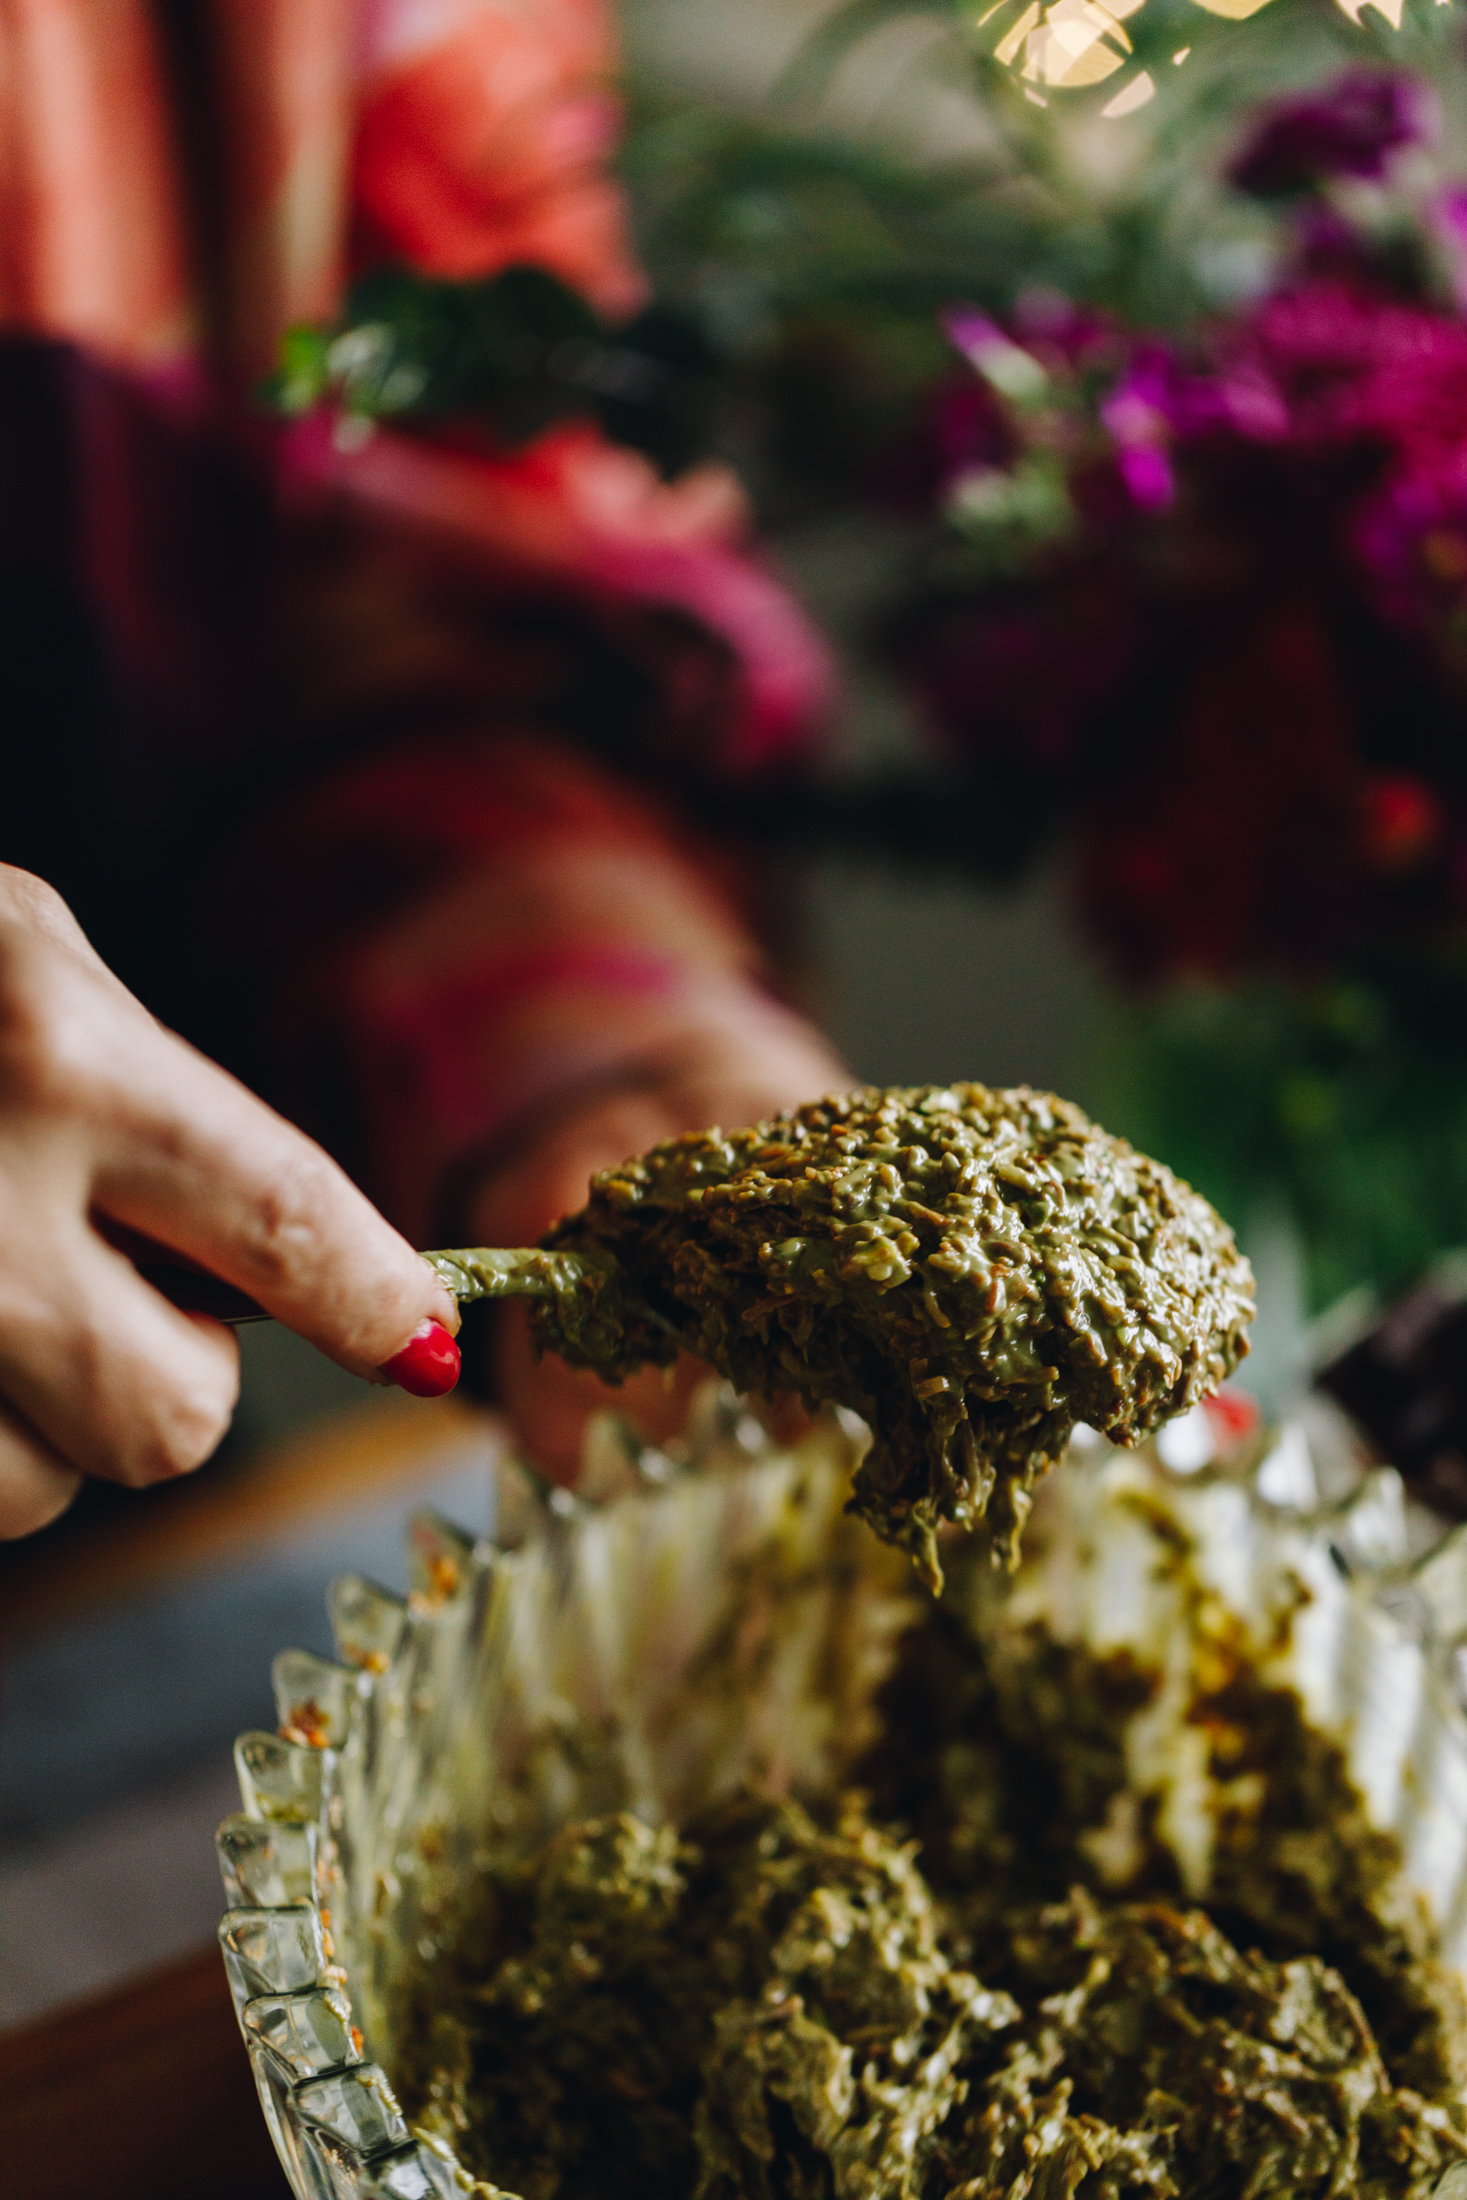
9. Mix the Pistachio Mixture:
Add all of the pē pihitāhio (pistachio paste) into the coconut mixture.
Whakaranuhia (mix to combine).
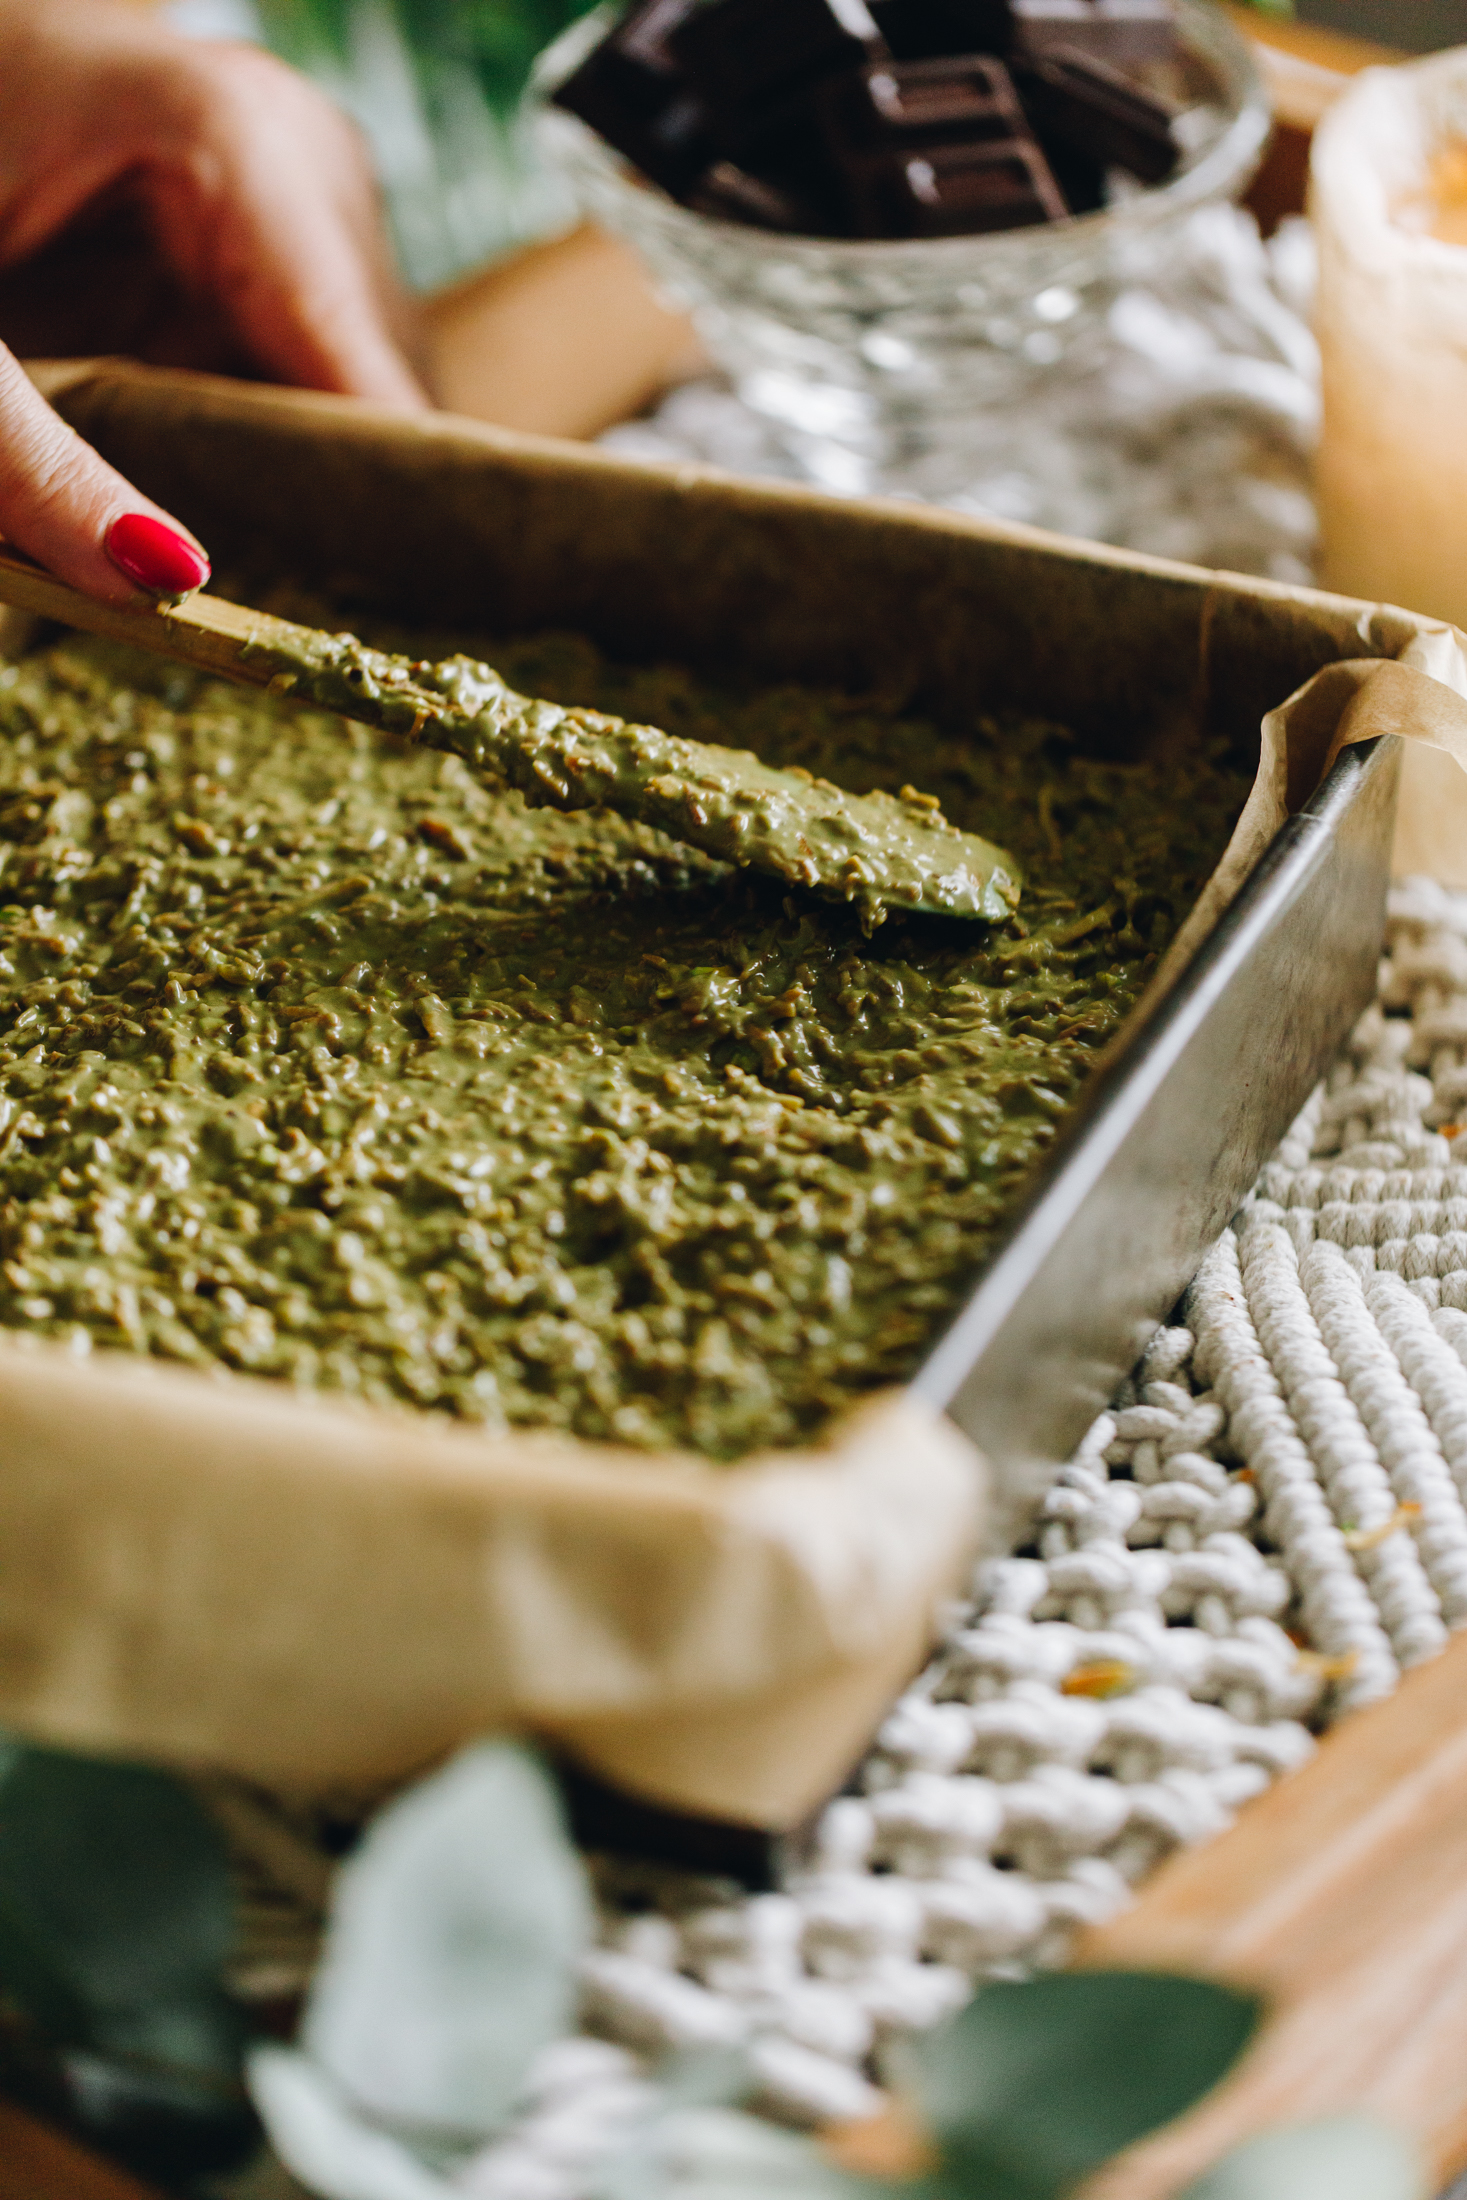
10. Add the Pistachio Mixture to the Brownie:
Spread the ranunga pihitāhio (pistachio mixture) onto the cooled brownie.
Refrigerate briefly as you prepare the chocolate layer.
11. Make the Chocolate Layer:
Pour around 4 cm of water in to the bottom of a medium pot. Bring it to a simmer over a low heat.
Chop the tiakarete parauri (dark chocolate) in to rough chunks. Add the tiakarete parauri (dark chocolate) and kirīmi (cream) in to a heat-proof bowl. Place the bowl on top of the pot of simmering water. Make sure the bottom of the bowl is not touching the water.
12. Add the Chocolate to the Slice:
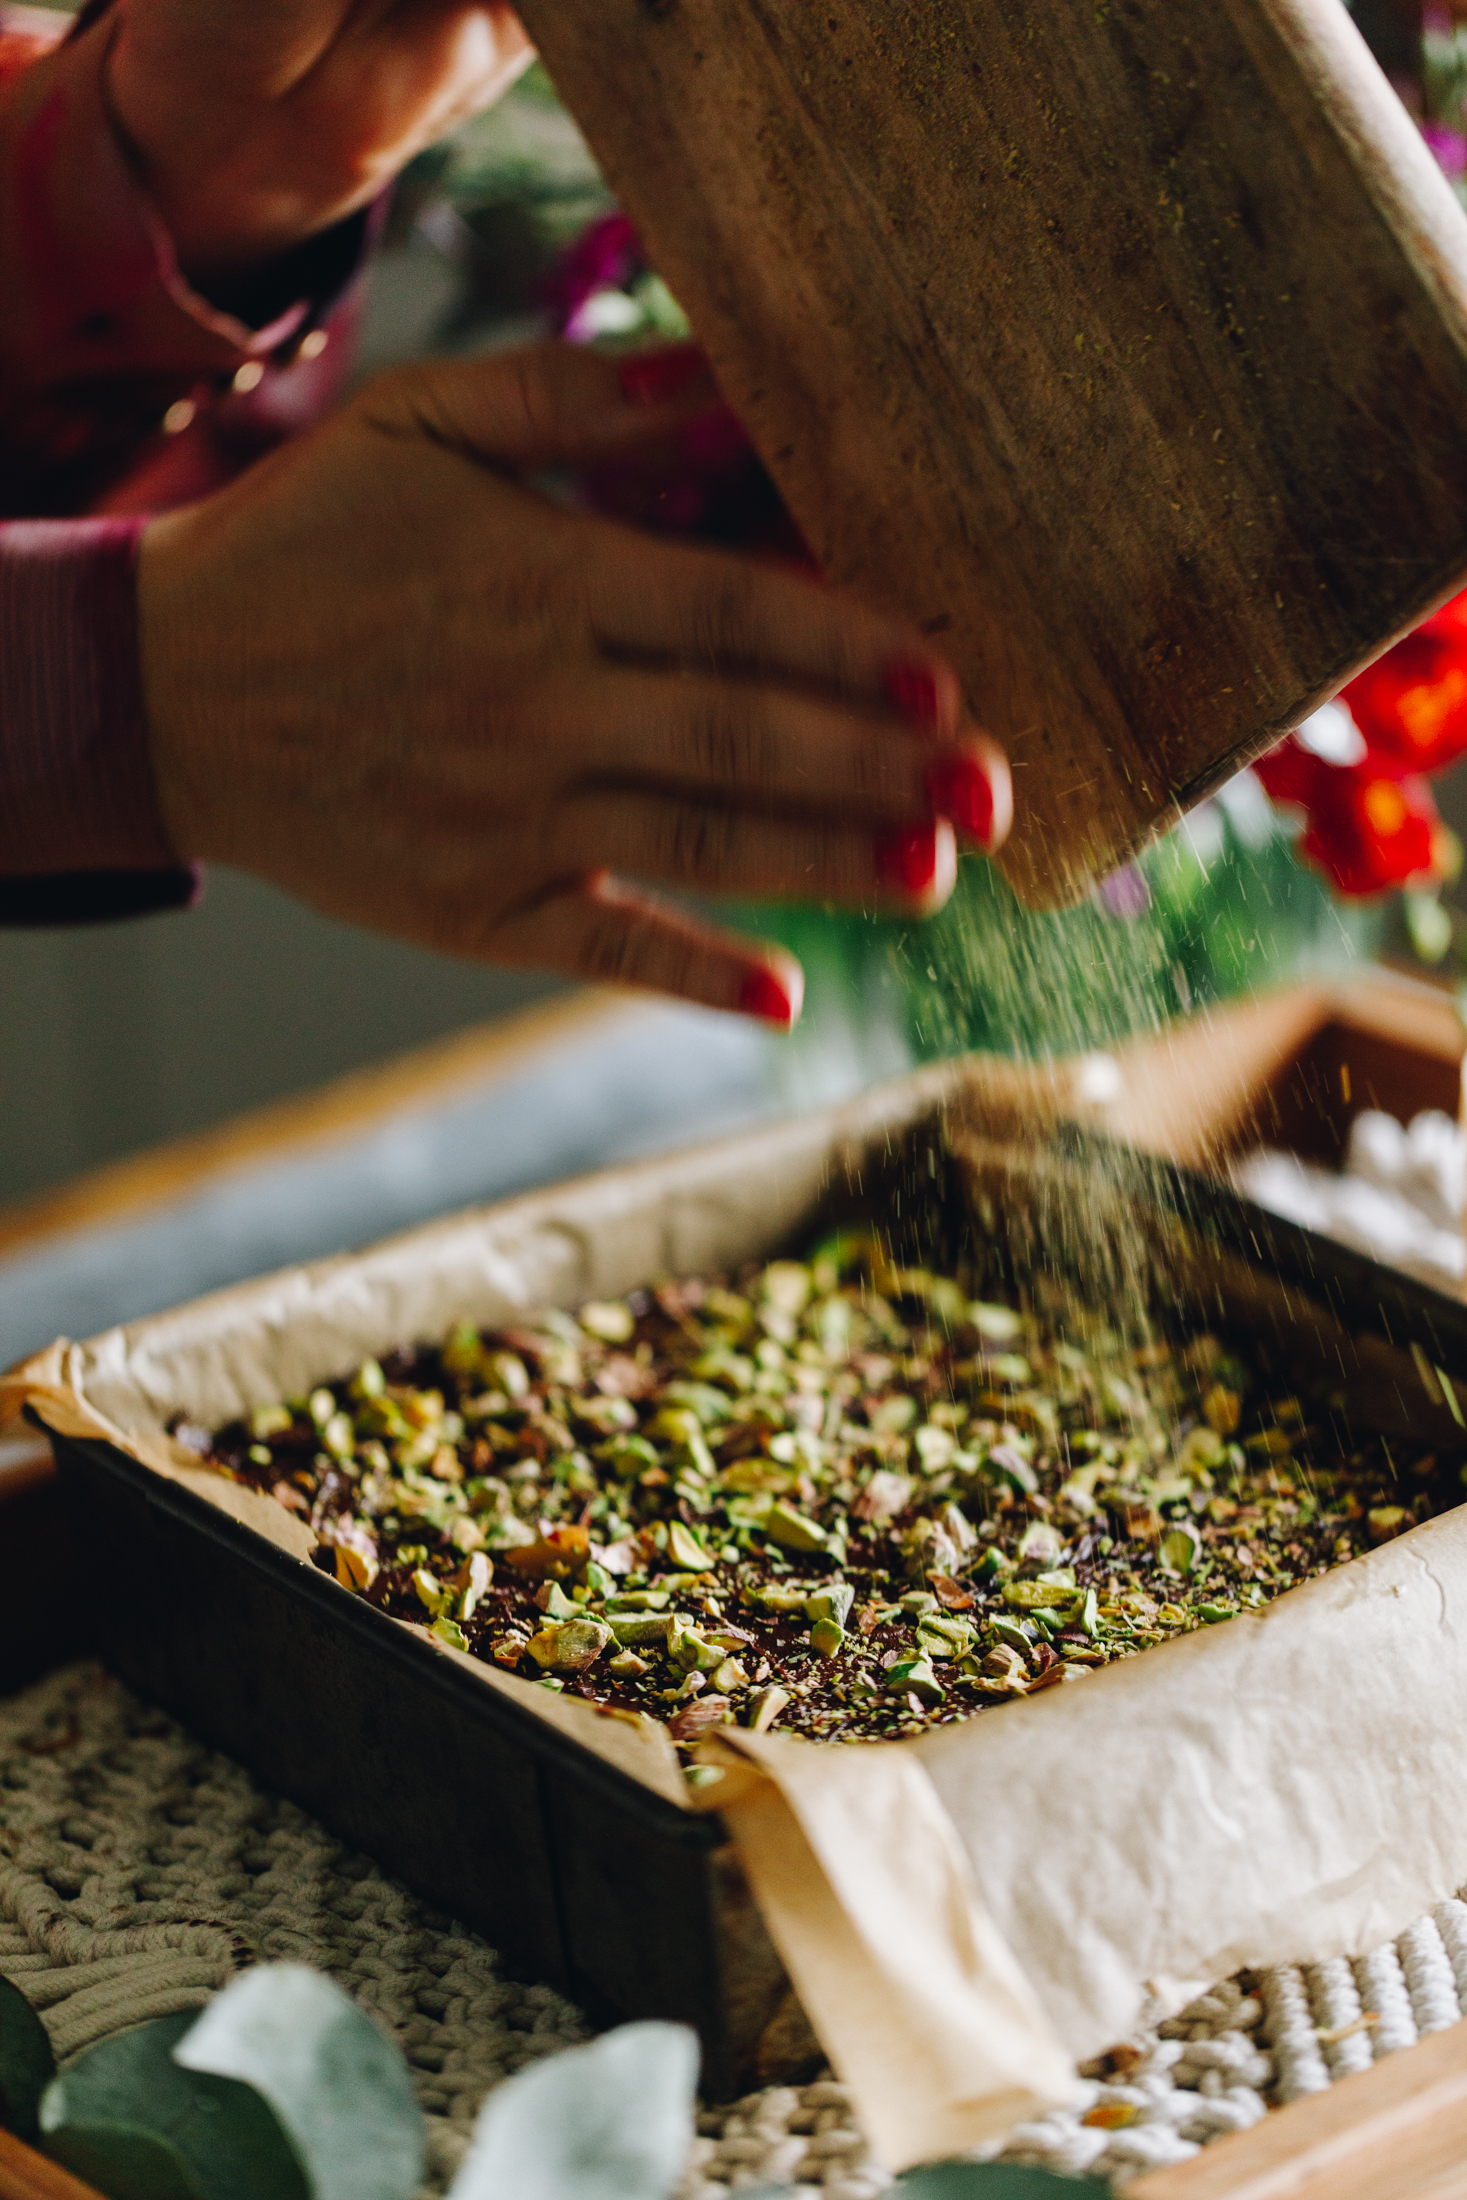
Melt all of the ingredients together, stirring occasionally. Remove from the heat and pour over the pistachio layer. Smooth it out gently as the pistachio layer will still be unset.
Once the tiakarete (chocolate) is even sprinkle over the reserved, chopped pihitāhio (pistachios).
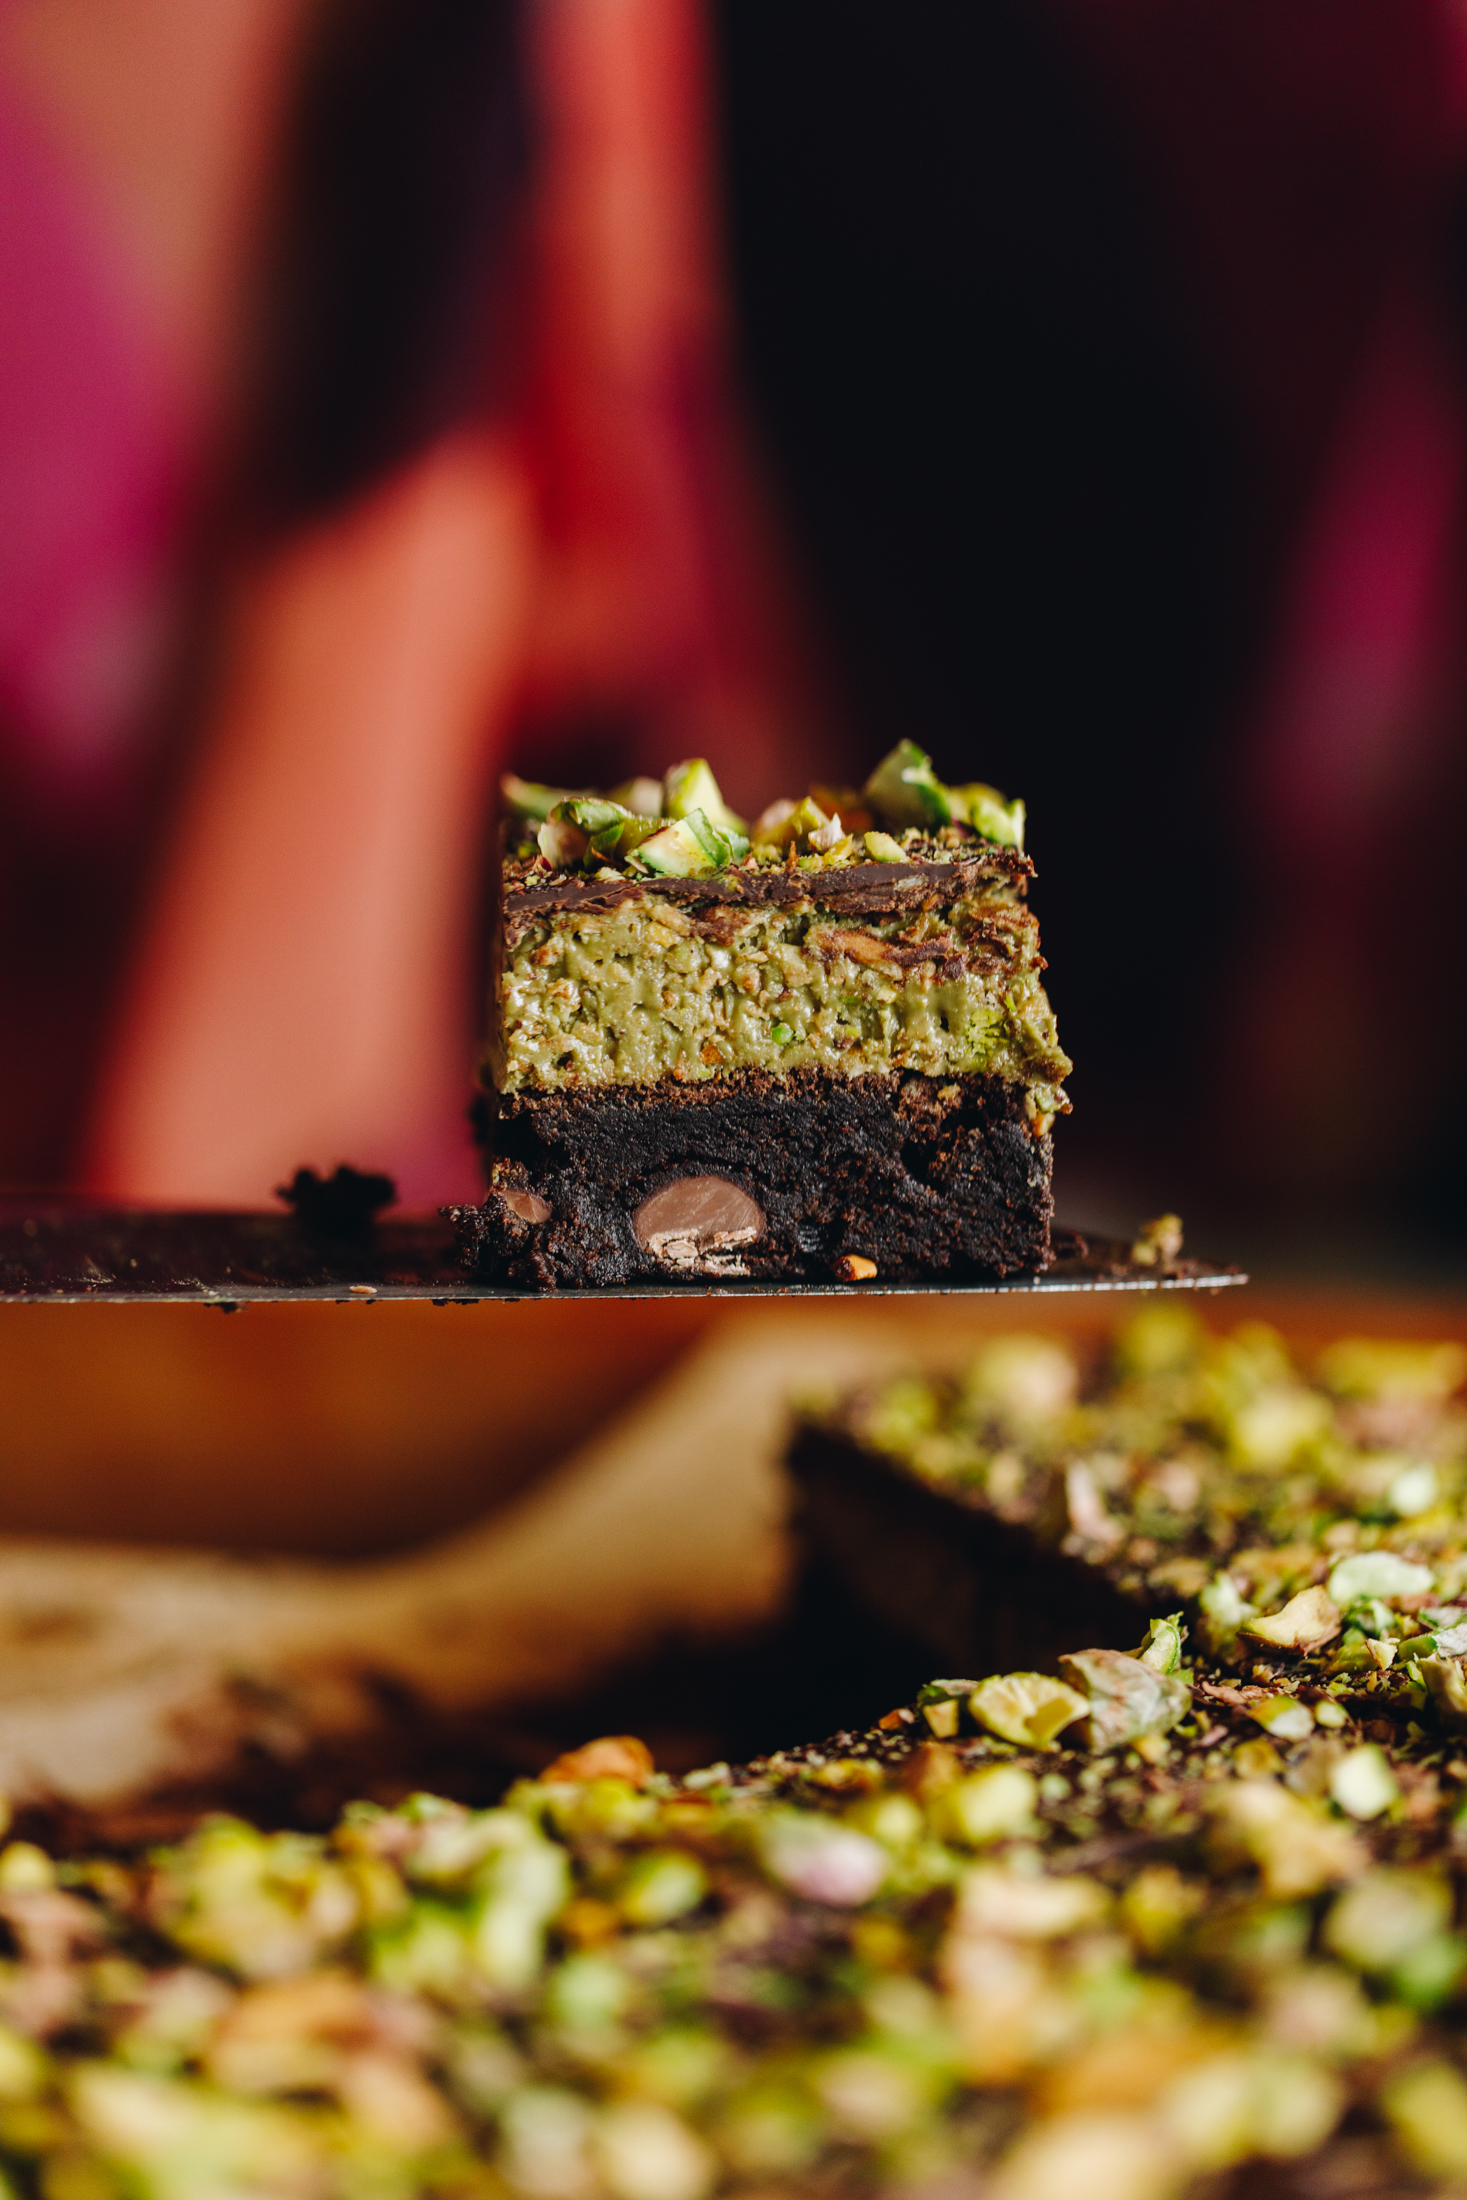
13. Chill the Dubai Chocolate Brownie:
Whakamātaohia mō te 2 ki te 3 harora (refrigerate for 2 - 3 hours) then chop into your desired slices.
Store the Brownie:
For any that are left over (this goes very quickly in our whānau), store in a sealed container in the fridge for up to a week.
Take a look at these other
Slice Recipes
Layers of deliciousness can make any day brighter.

DID YOU ENJOY THIS RECIPE?
It would be so awesome if you could please leave a review/comment by clicking the “leave a comment” section at the top of the page.
I love seeing you all make my creations, so send a whakaahua (photo) or kiriata (video) to my Instagram and show me what you made. Let me know if you have any pātai (questions) too, I would love to help.
Dubai Chocolate Brownie
Equipment
- 1 x 20 cm square brownie tin with 4 cm high sides.
Ingredients
Chocolate Brownie - Te Keke Tiakarete
- 80 g tiakarete parauri (dark chocolate, I use 50%)
- 80 g Pams pata (butter, chopped roughly)
- ¼ C (22 g) Pams kōkō (cocoa)
- ½ tsp tote (salt, fine)
- 2 Pams hēki (eggs, size 6)
- ¾ C (165 g) Pams huka one (caster sugar)
- 1 ½ tsp Pams wanira (vanilla)
- ½ C (150 g) Pams puehu parāoa noa (plain flour)
- ¼ tsp pēkana paura (baking powder)
- ½ C (90 g) Pams titipi tiakarete (chocolate chips, or drops)
The Pistachio Layer - Te Paparanga Pihitāhio
- 20 g Pams pata (butter)
- 1 C (80 g) Pams kokonati ngakungaku (shredded coconut)
- 1 C (300 g) pē pihitāhio (pistachio paste)
- 150 g Pams pihitāhio (pistachios, roasted and salted in the shells)
The Chocolate Layer - Te Paparanga Tiakarete
- 150 g tiakarete parauri (dark chocolate, I use 50%)
- 3 tbsp kirīmi (cream) or 2 tablespoon miraka (milk)
Instructions
Preheat the Oven:
- Preheat the oven to 165 °C bake setting or 155 °C fan bake setting.
- Grease a 20 cm tin with high sides with butter. Line with baking paper, making sure there is a large over hang.
Melt the Chocolate and Butter:
- Chop the first measure of tiakarete parauri (dark chocolate) in to small pieces.
- Add the chopped tiakarete parauri (dark chocolate), pata (butter), kōkō (cocoa) and tote (salt) in to a small pot.
- Gently melt it over low heat, stirring as you go.Once it is melted, remove it from the heat and set aside to cool to room temperature.
Whip the Eggs and Sugar:
- Add the hēki (eggs), huka one (caster sugar) and wanira (vanilla) into a large bowl.
- Whip on high for 3 minutes until the hēki (eggs) are light and fluffy in colour and texture.
Pour in the Chocolate Mixture:
- Slowly drizzle in the slightly cooled ranunga tiakarete (chocolate mixture) a little bit at a time as you whip for another minute.
Add the Dry Ingredients:
- Sift in the puehu parāoa (flour), pēkana paura (baking powder) and titipi tiakarete (chocolate chips).Whētuihia (fold it together), until just combined.
Bake the Brownie:
- Pour the brownie mix in to the prepared tin.Bake for 30 minutes and leave aside to cool for 30 minutes.
Toast the Coconut:
- Add the pata (butter) and kokonati ngakungaku (shredded coconut) to a frying pan. Add it to the stove over medium heat and toast the coconut until it is all deeply golden and toasty. Stir occasionally so it doesn't burn. Remove from the heat and cool for 5 minutes.
Prepare the Pistachios
- Remove all of the pihitāhio (pistachios) from the shells. Chop half of them into fine pieces and the other half into rough chunks.
Combine the Ingredients:
- Add the fine pieces of pihitāhio (pistachios) into the kokonati (coconut). Leave the rest aside for the topping.
- Add all of the pē pihitāhio (pistachio paste) into the coconut mixture. Whakaranuhia (mix to combine).
Add the Pistachio Mixture to the Brownie:
- Spread the ranunga pihitāhio (pistachio mixture) onto the cooled brownie. Refrigerate briefly as you prepare the chocolate layer.
Make the Chocolate Layer:
- Pour around 4 cm of water in to the bottom of a medium pot. Bring it to a simmer over a low heat.
- Chop the tiakarete parauri (dark chocolate) in to rough chunks. Add the tiakarete parauri (dark chocolate) and kirīmi (cream) in to a heat-proof bowl. Place the bowl on top of the pot of simmering water. Make sure the bottom of the bowl is not touching the water.
Add the Chocolate to the Slice:
- Melt all of the ingredients together, stirring occasionally. Remove from the heat and pour over the pistachio layer. Smooth it out gently as the pistachio layer will still be unset.
- Once the tiakarete (chocolate) is even sprinkle over the reserved, chopped pihitāhio (pistachios).
Chill the Dubai Chocolate Brownie:
- Whakamātaohia mō te 2 ki te 3 harora (refrigerate for 2 - 3 hours) then chop into your desired slices.
Store the Brownie:
- For any that are left over (this goes very quickly in our whānau), store in a sealed container in the fridge for up to a week.
Video
Expert Tips
For the Best Dubai Chocolate Brownies:
Allow your brownie base to cool before adding the pistachio filling. This helps keep the layers neat and prevents the pistachio cream from melting.
Deeply toast the Coconut:
Toast the shredded coconut in a dry frying pan over a medium-low heat, stirring regularly until golden. Keep a close eye on it, as coconut can burn quite quickly.
Make the Chocolate Layer even:
For a beautiful smooth chocolate topping, melt the tiakarete (chocolate) gently and spread it evenly over the pistachio layer. Allow the chocolate to set before slicing.
For the neatest Slices:
Use a large sharp knife warmed under hot water and wiped dry between cuts.
Variations
Swap the Chocolate:
You could use milk chocolate instead of dark chocolate for a sweeter, creamier finish, or use a combination of both.
Use different Coconut:
If you don't have shredded coconut, you could use toasted desiccated coconut instead. The texture will be slightly different, but it will still give you that lovely toasted coconut flavour.
Storage
Refrigerate:
Store your Dubai chocolate brownies in an airtight container in the refrigerator for up to 5 days. The chilled layers will firm up nicely, making them easier to slice and serve.
For the best flavour and texture, take the brownies out of the refrigerator about 10–15 minutes before serving. This allows the brownie base and pistachio filling to soften slightly.
Frequently Asked Questions
Absolutely! These brownies are perfect for making ahead. You can prepare them a day in advance and store them in the refrigerator until you're ready to serve. In fact, allowing the layers time to set makes them easier to cut.
This recipe uses toasted shredded coconut instead of traditional kataifi pastry. Coconut is much easier to find in New Zealand supermarkets and gives the pistachio filling a delicious toasted flavour and lovely texture.
Pistachio paste is available from some specialty food stores and online retailers in New Zealand. I used Pisti pistachio paste for this recipe. Make sure you use pistachio paste rather than pistachio-flavoured spread, as the sweetness and consistency can vary.
Leave a Review