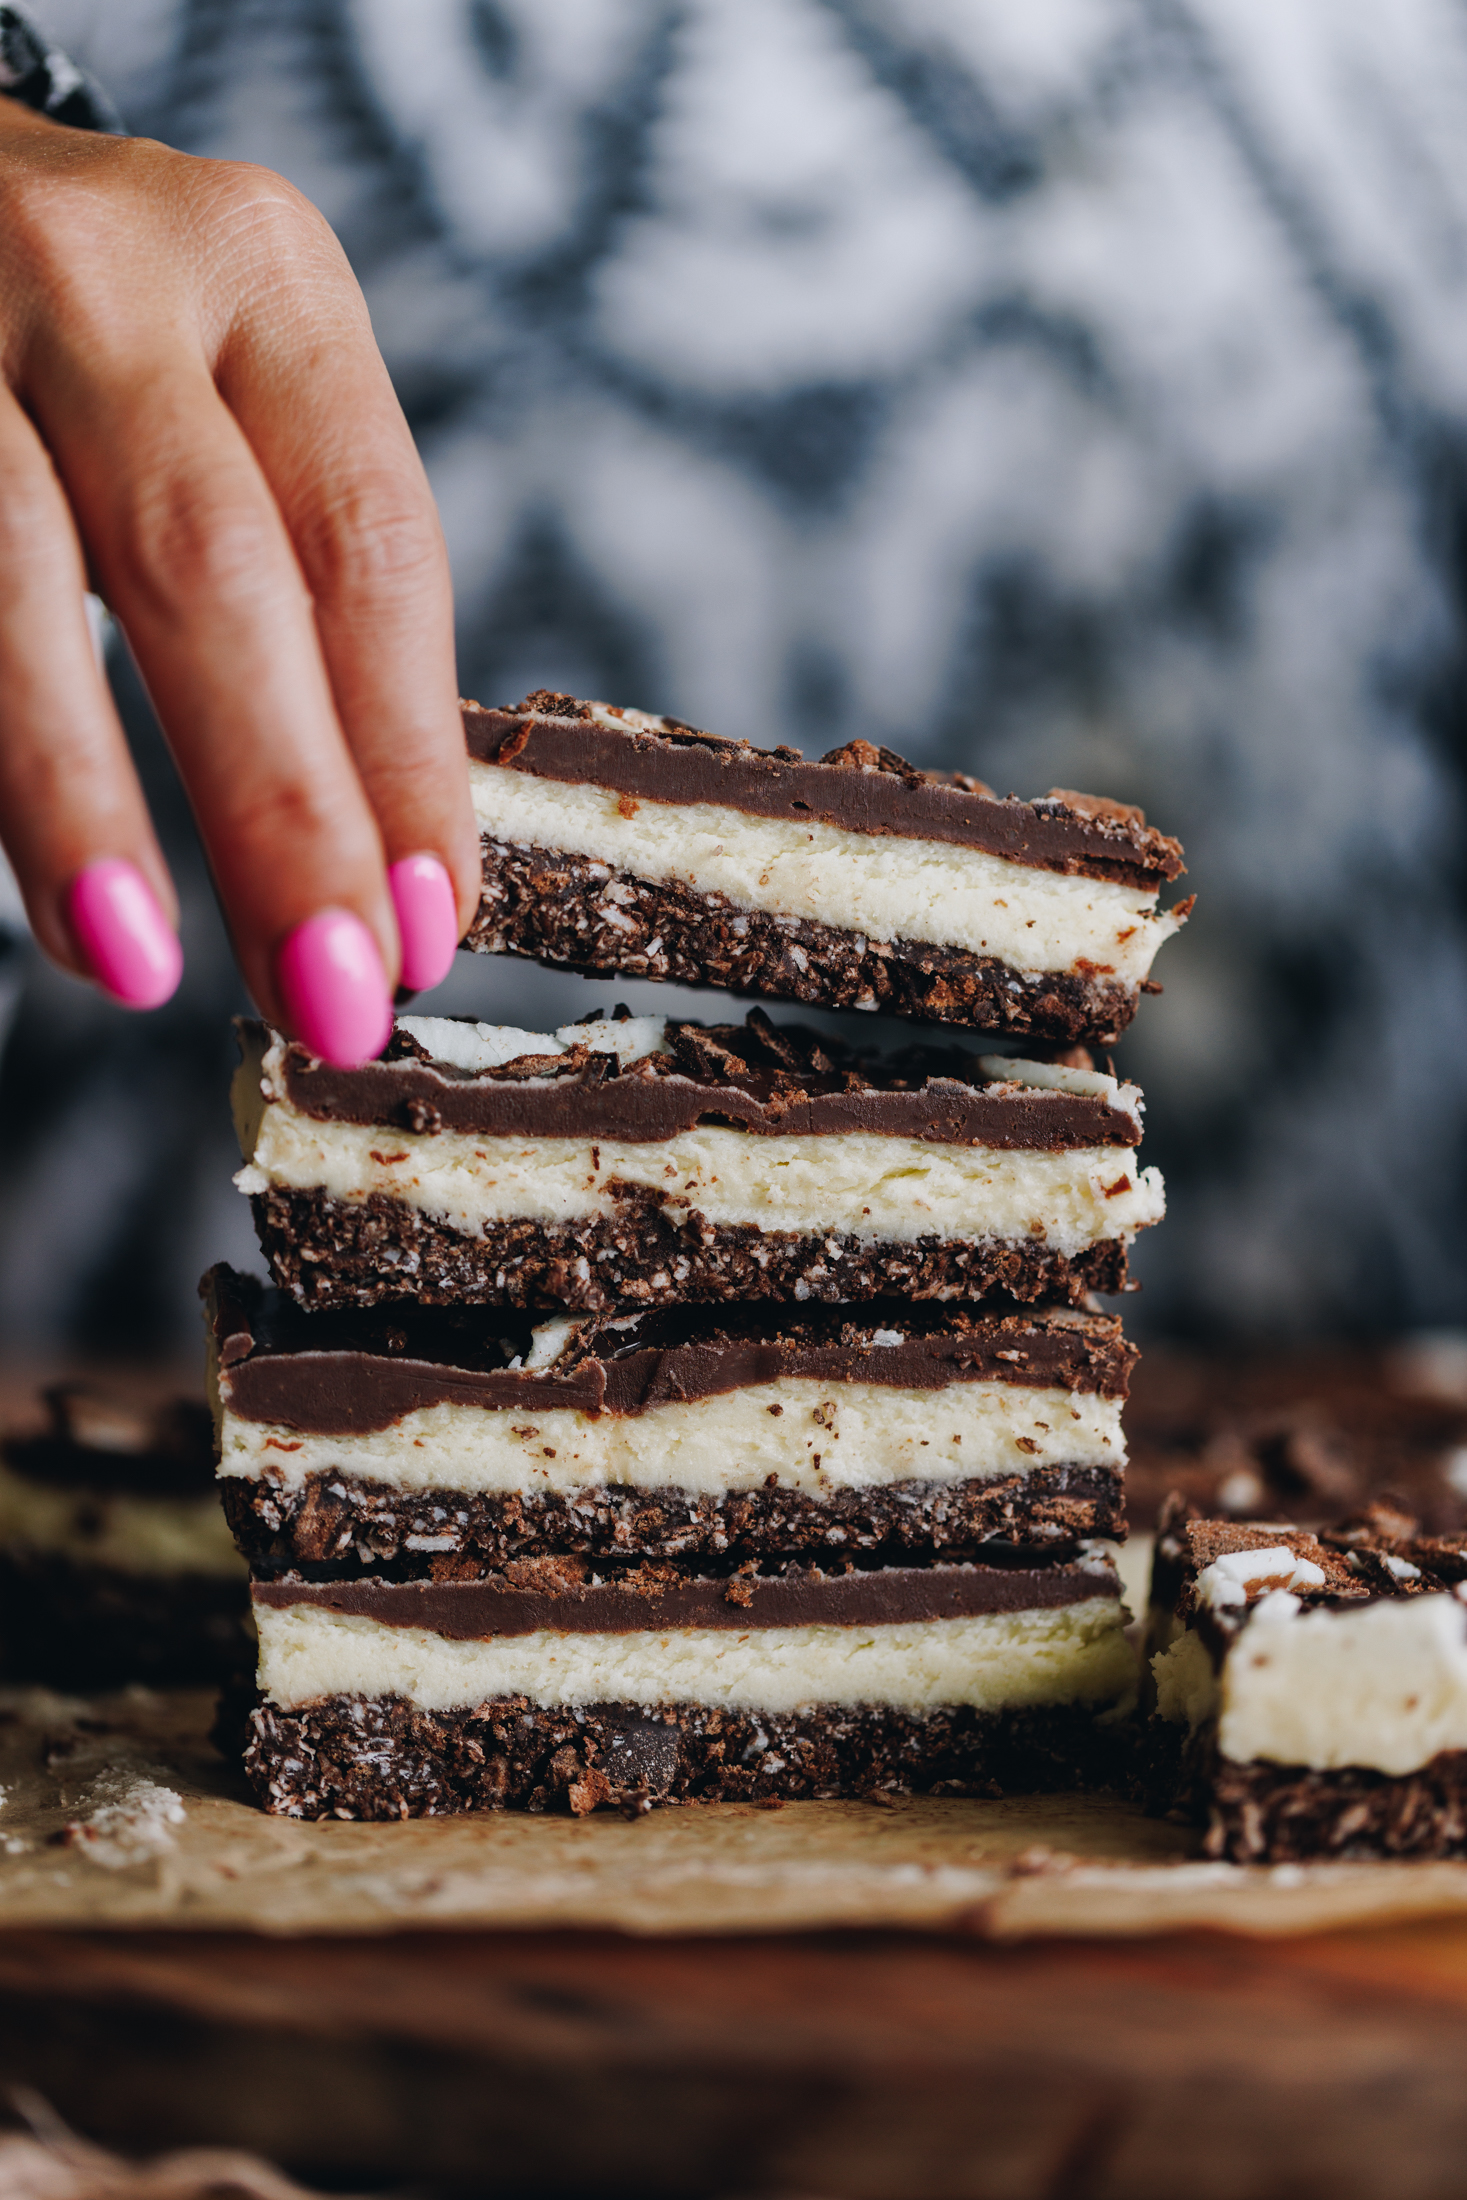
If you want a no-bake mint slice that’s easy to whip up and utterly moreish, I’ve got you covered. The base is made with crushed Mint Slice Biscuits, the filling is a creamy coconut peppermint layer, and it’s topped with a rich milk chocolate ganache. What’s not to love?
Why you love this no-bake mint slice:
There’s so much to love about this easy no-bake mint slice. It comes together without turning the oven on, making it perfect for those days when you want something delicious without too much fuss. With a crunchy chocolate biscuit base, creamy peppermint filling and a smooth milk chocolate topping, every bite is rich, minty and wonderfully moreish. It’s a lovely treat to share with whānau and friends—or keep a few pieces tucked away in the fridge just for you!
Created as part of The Giving Series, this recipe is all about the joy of making something delicious to share with the people you love. The Giving Series is proudly funded by Pams and Te Māngai Pāho, bringing together recipes that celebrate food, whānau and the simple pleasure of giving.
More no-bake slices to try:
Everyone loves no-bake slices for their quick and easy nature. If that is you, try my no-bake marshmallow slice, full of texture and flavour. Or do you prefer pata pīnati (peanut butter)? Give this peanut butter slice a whirl. Got a special occasion? Then this homemade rocky road is a winner every time.
Videography and photography by Sarah Henderson.
INGREDIENT TIPS FOR THE MINT SLICE:
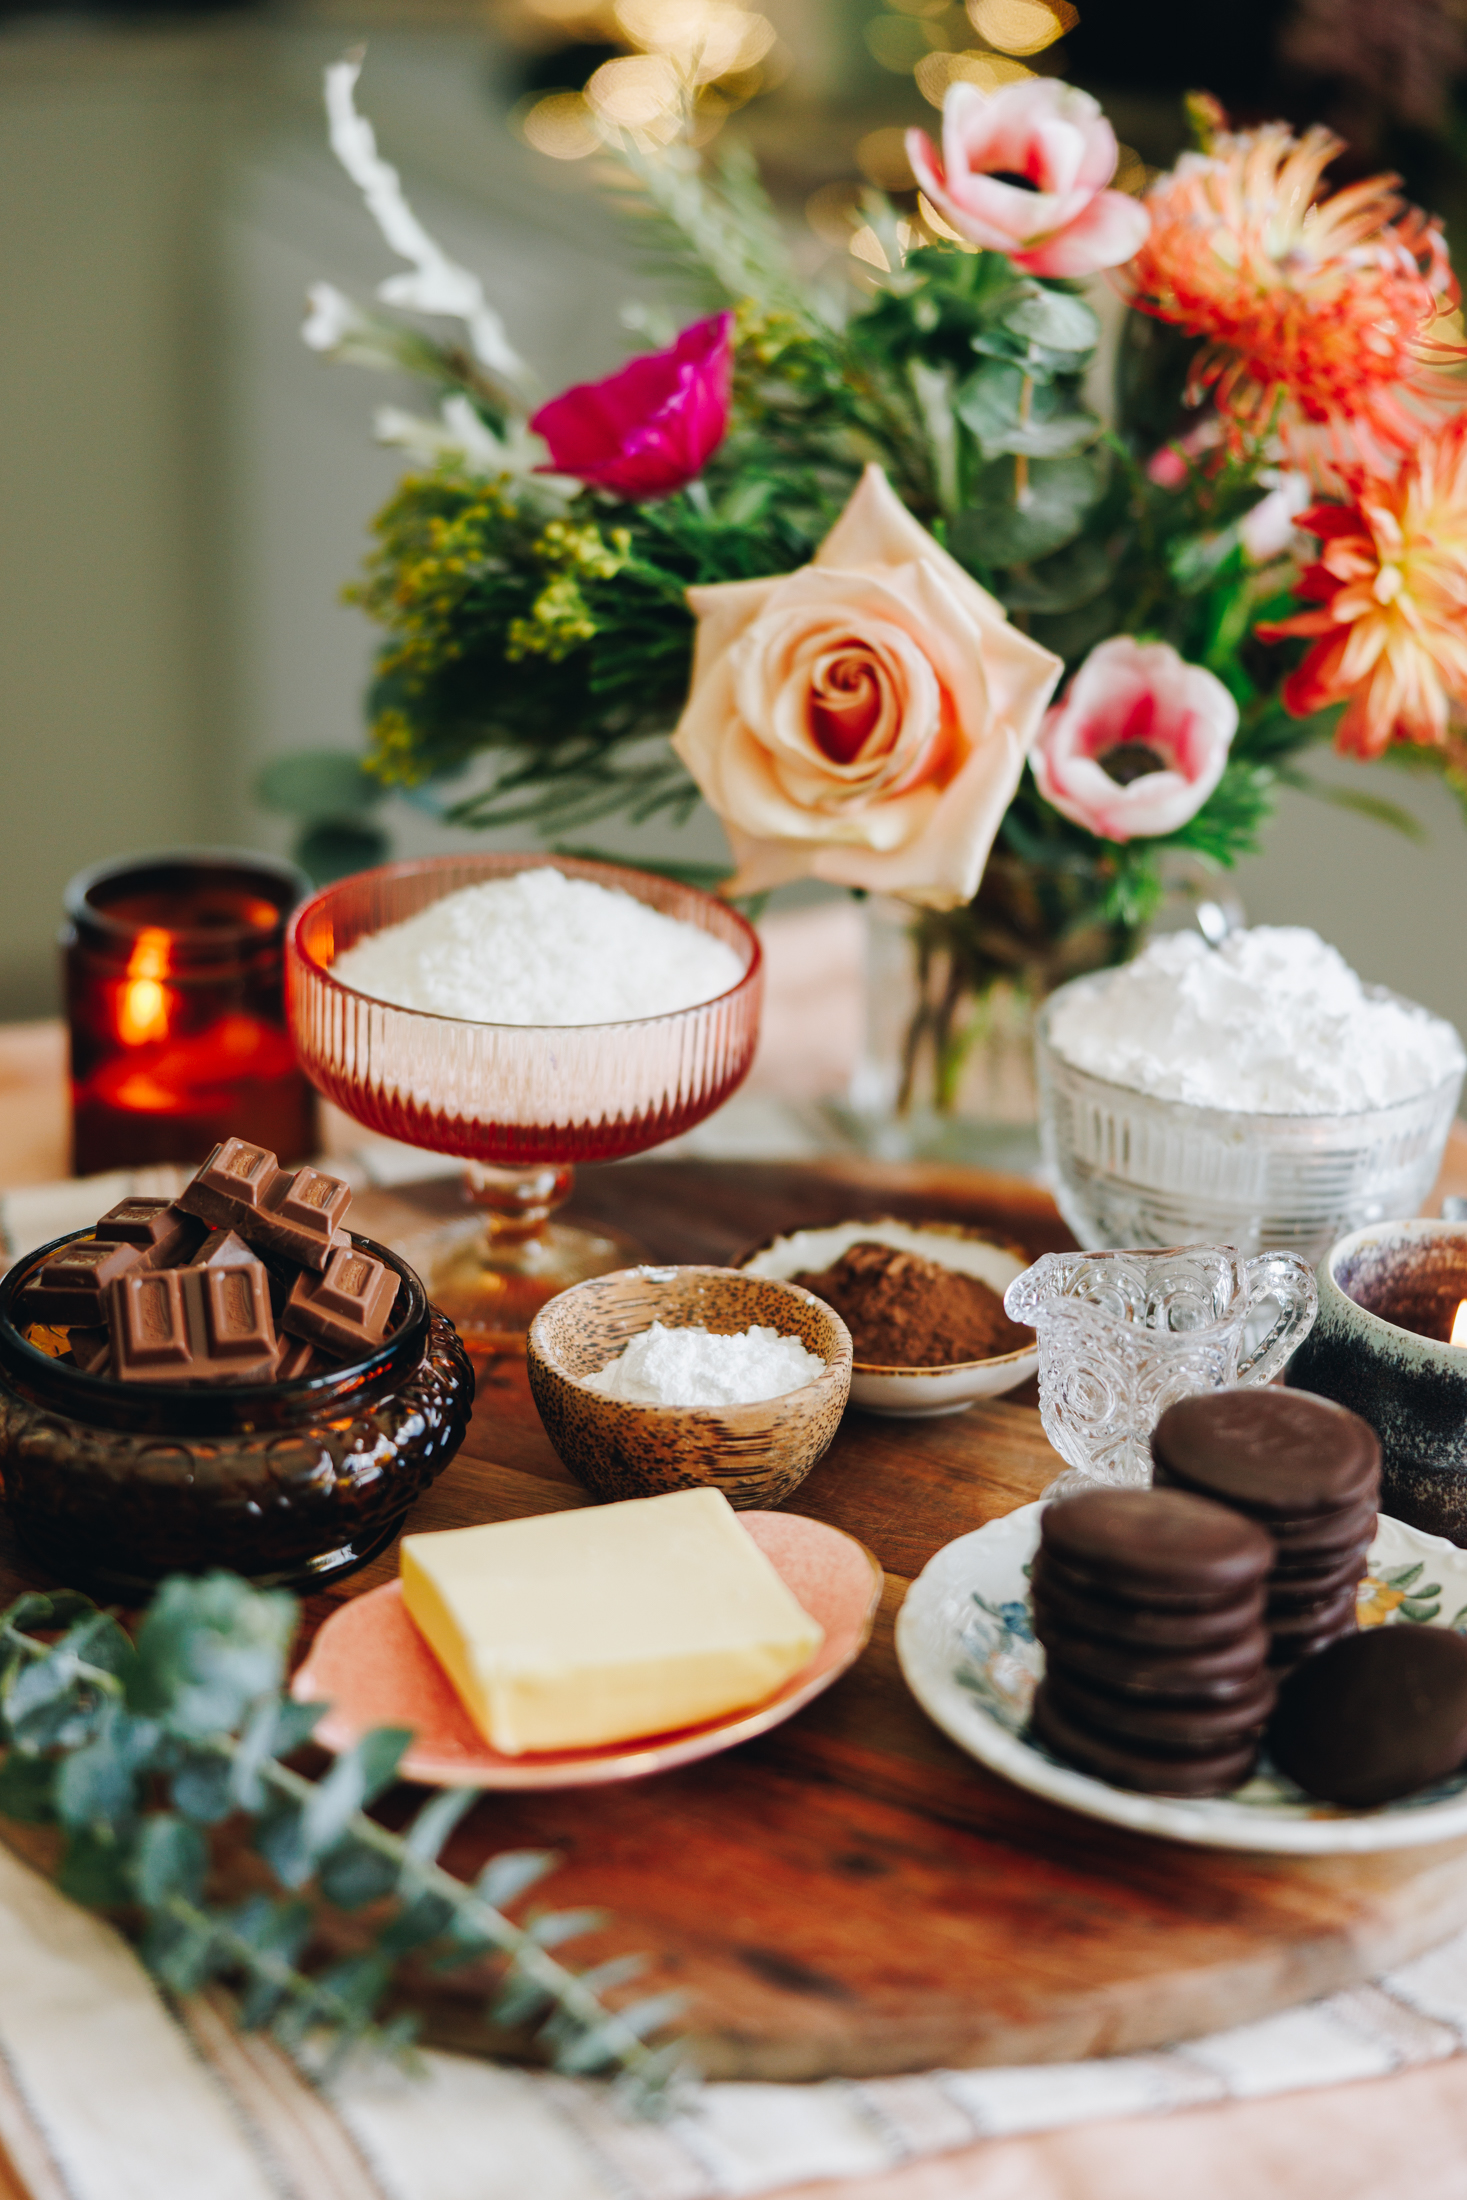
- Mint Biscuits: I use Pams Mint Slice Treat Biscuits for this recipe, one packet is all you need for the base and decoration on top.
- Peppermint Essence: I use a natural waitāwhara hīoi (peppermint essence) which can have a more subtle flavour. If yours is not natural, add 2 teaspoons and adjust accordingly.
- Cream Cheese: Cream Cheese may sound a bit weird in this recipe but it makes for the creamiest centre and I just know you will love it.
STEP BY STEP INSTRUCTIONS FOR THE mint slice:
Note: The full recipe card with the full list of ingredients, instructions and step by step video are found at the bottom of this page.
1. Prepare the Tin:
Grease and line a 20cm square tin with baking paper.
2. Make the Biscuit Base:
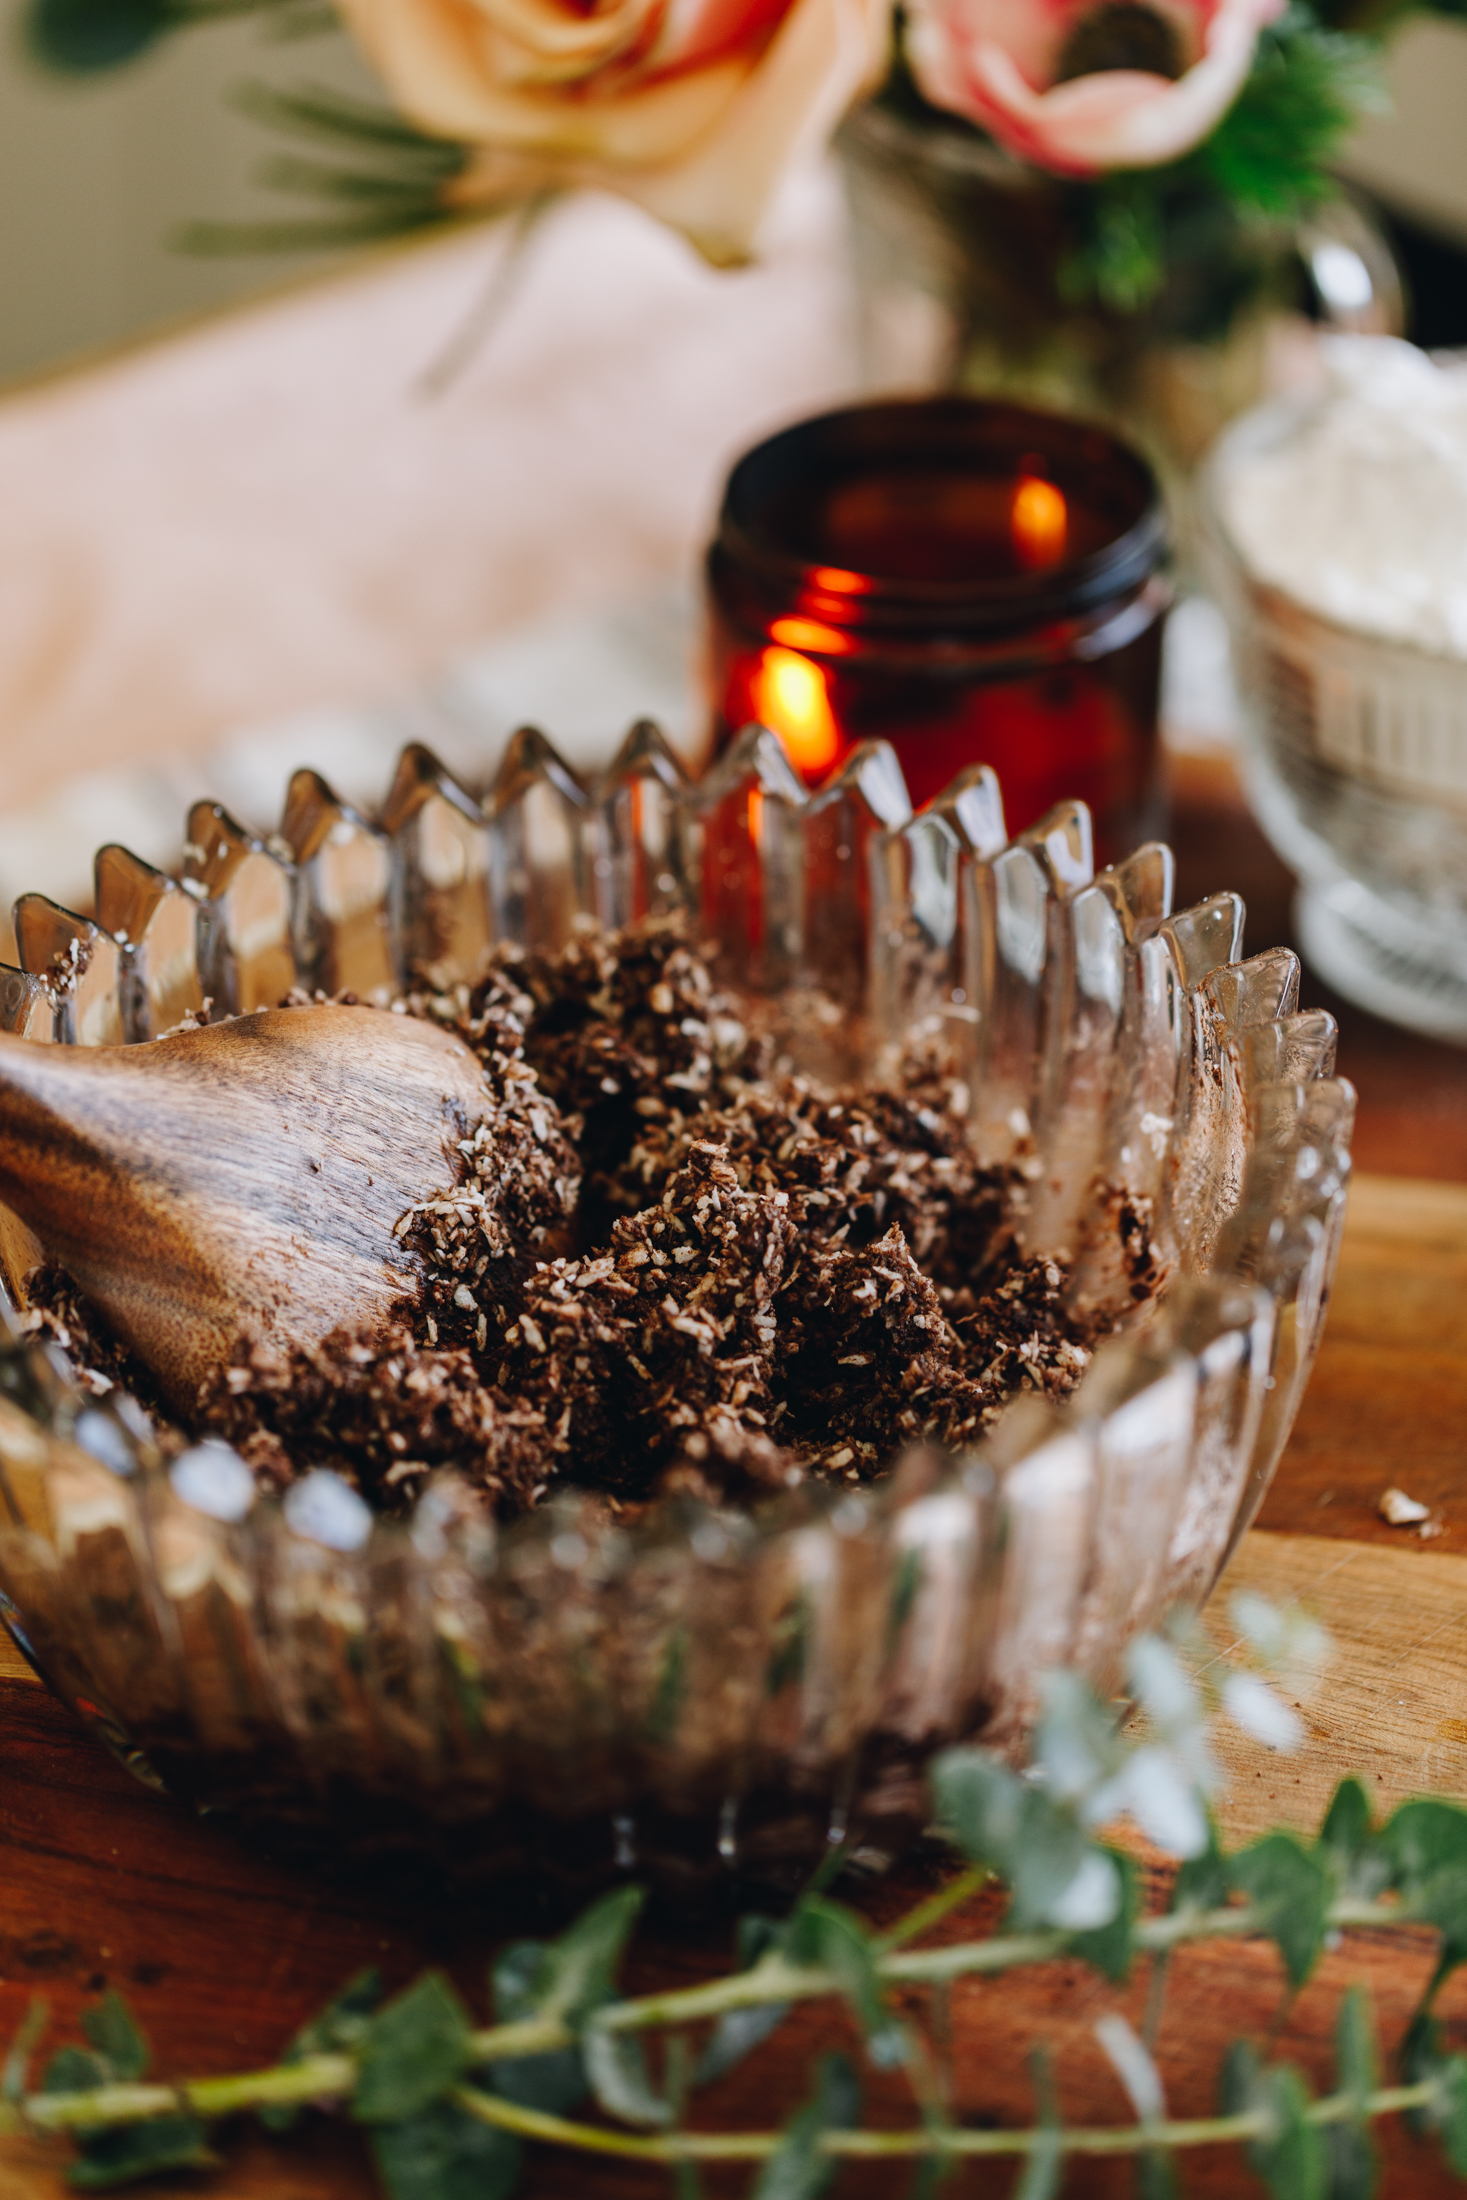
Reserve 2 pihikete hīoi tiakarete (chocolate mint biscuits) for the topping. Crush the rest into a rough, thick crumb and add them to a medium bowl.
Stir in the kōkō (cocoa), puehu huka (icing sugar) and pata kua rewaina (melted butter) until everything is evenly coated.
Pēhia ki te paepae (press it in to the tray). Take the time to press it in firmly all over so the slice cuts easily.
3. Chill the Base:
Whakamātaohia (refrigerate) as you make the filling.

4. Whip the Creamy Mint Filling:
Add the pata kūteretere (softened butter), waitāwhara hīoi (peppermint essence) and puehu huka (icing sugar) to a medium bowl. Tāwhiuwhiua mō te 4 miniti (whip for 4 minutes).
Once it is light and fluffy in colour and texture, add the kirīmi tīhi (cream cheese). Whip again until smooth, for around 30 seconds. Don't over whip it.
Fold through the kokonati pūtī (desiccated coconut) with a spatula until combined.
5. Spread the Mint Filling on to the Base:
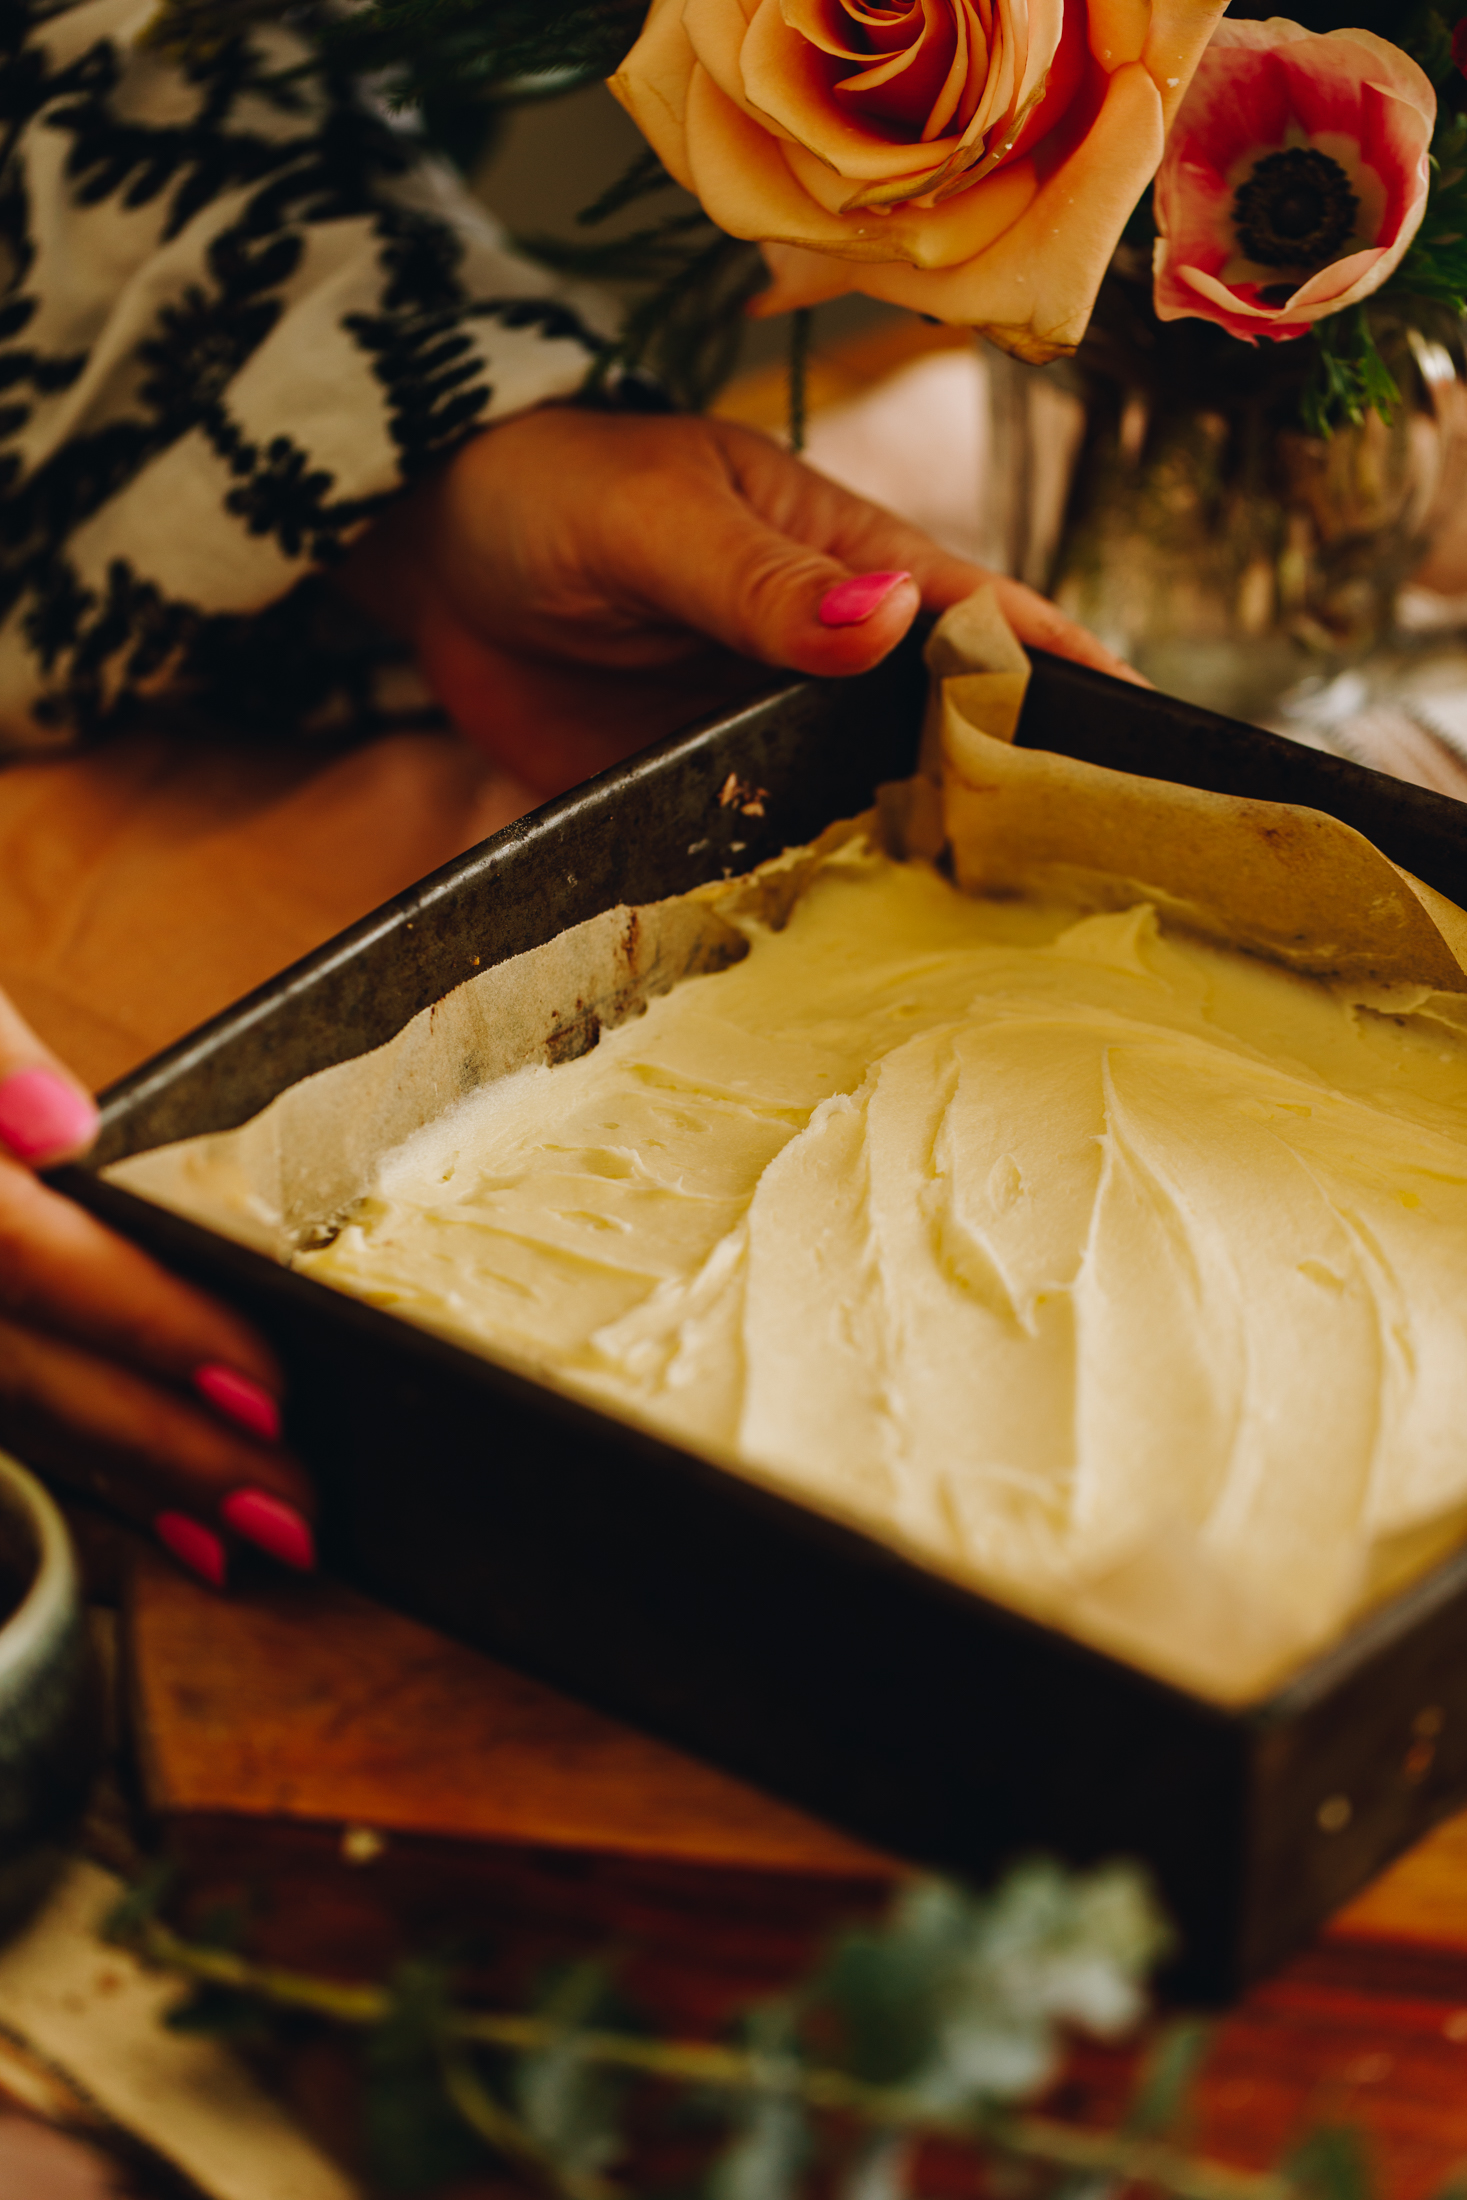
Remove the base from the fridge and spread on the creamy filling. Smooth it out evenly and refrigerate again.
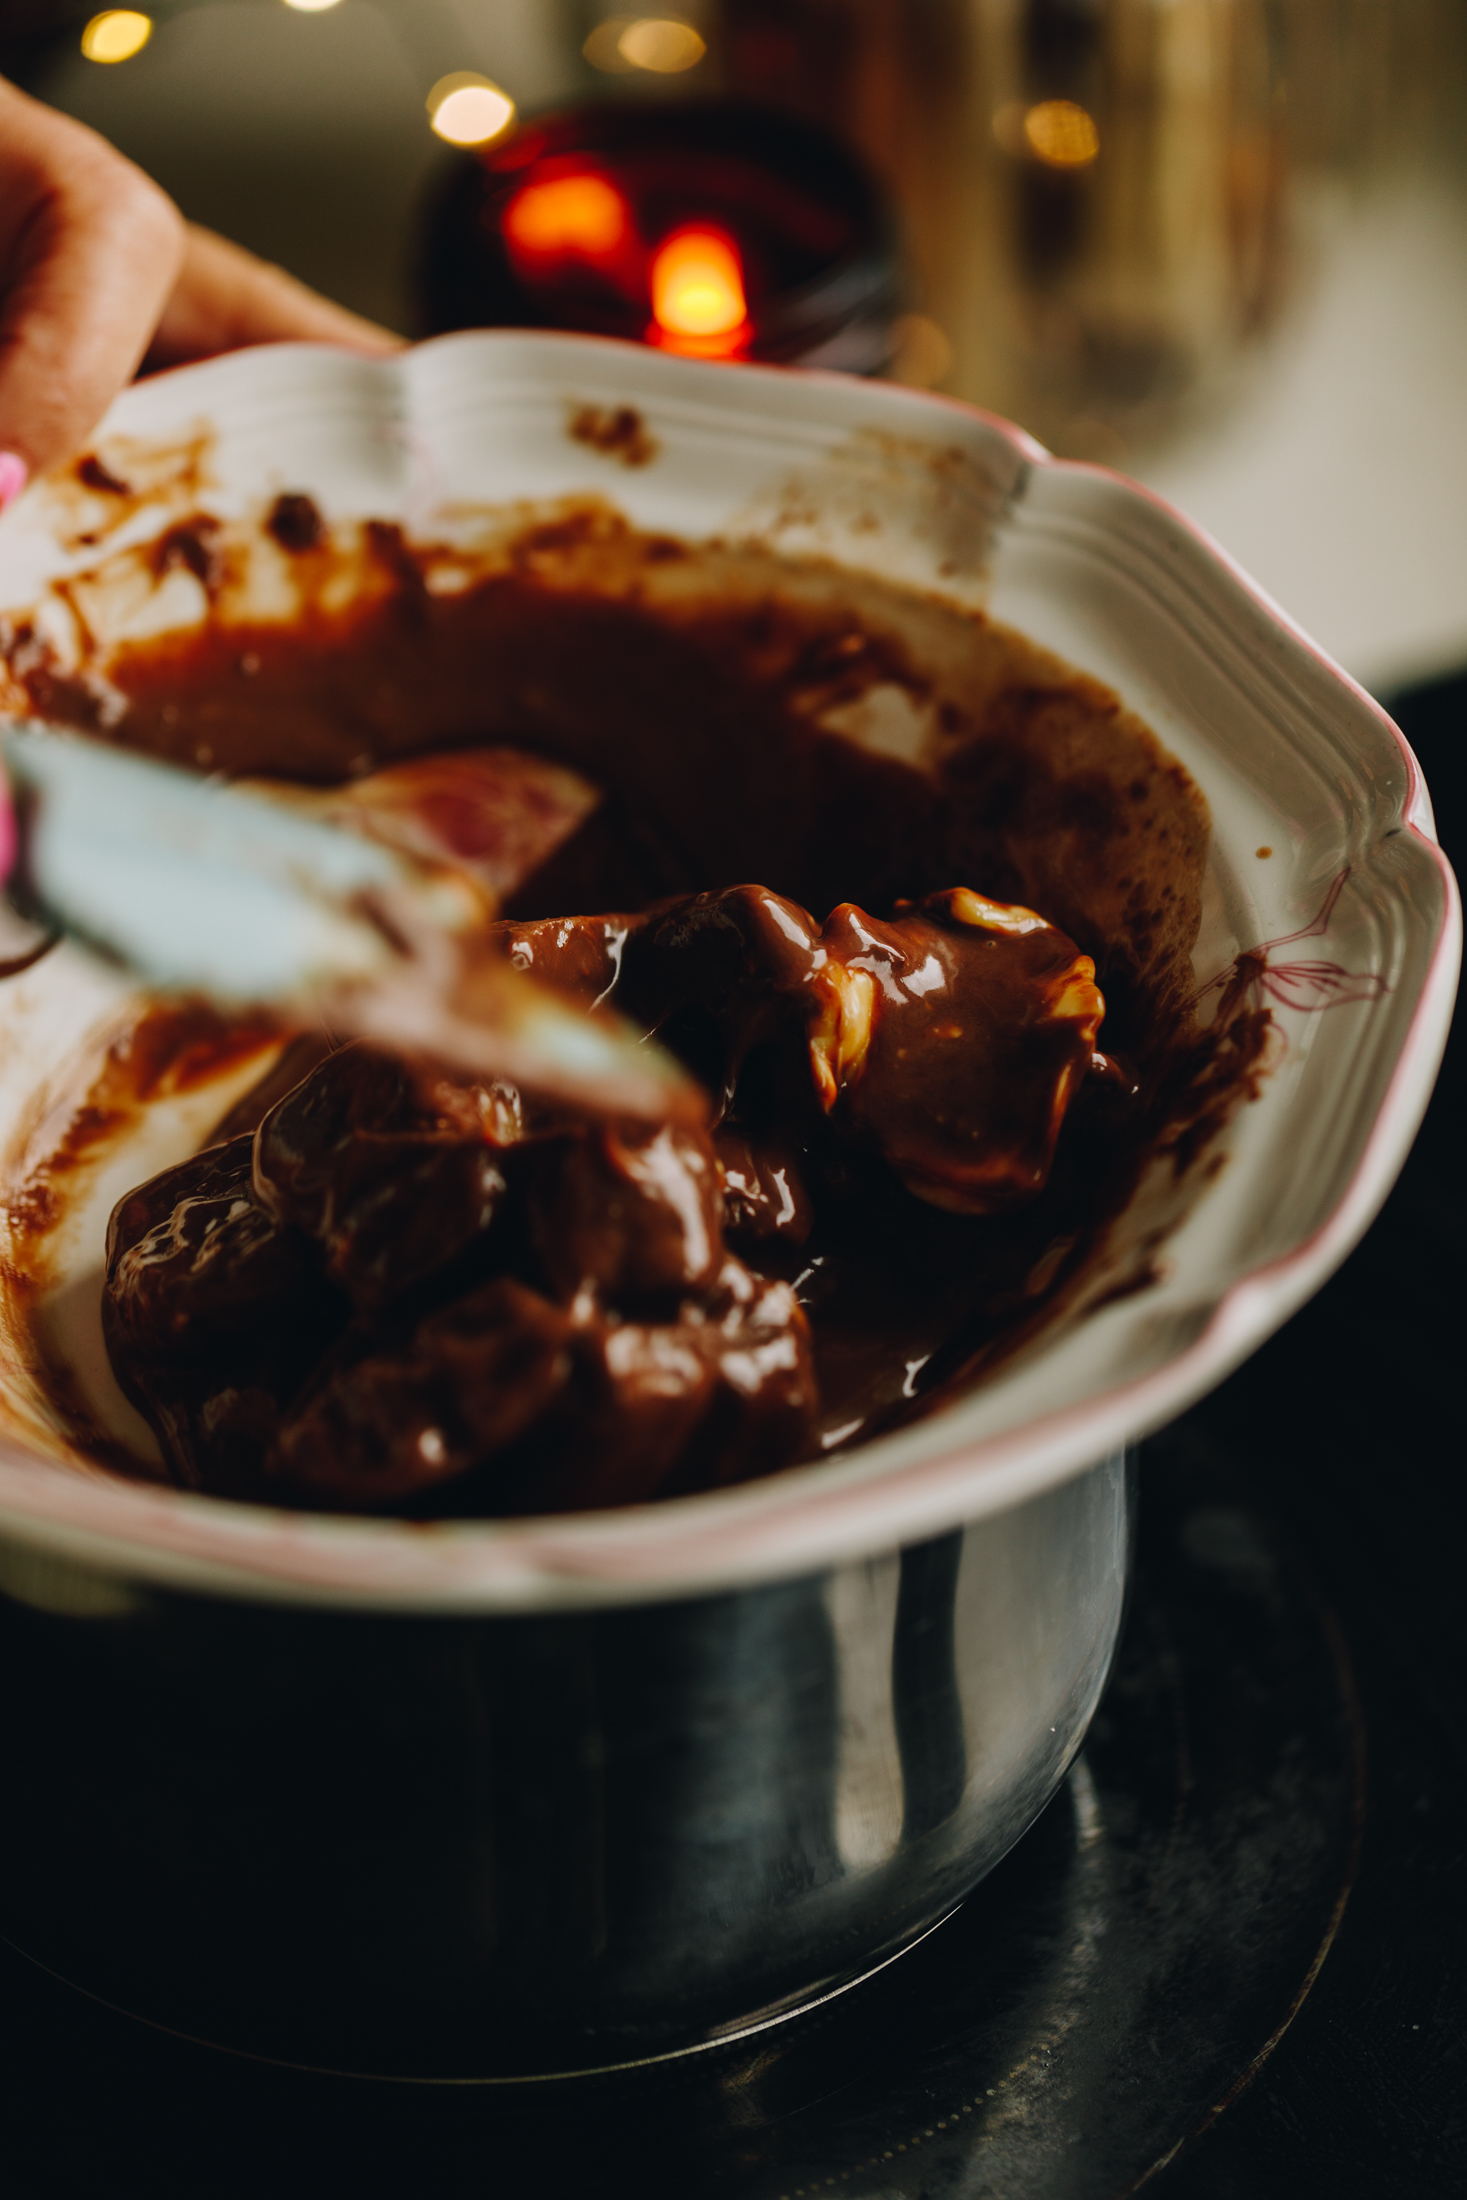
6. Melt the Chocolate Ganache:
Add the tiakarete miraka (milk chocolate), miraka (milk) and pata (butter) to a medium bowl.
Place it over a pot of simmering water, making sure the base of the bowl does not touch the water.
Slowly melt the mixture, stirring occasionally until smooth. Remove from the heat and cool for a few minutes.
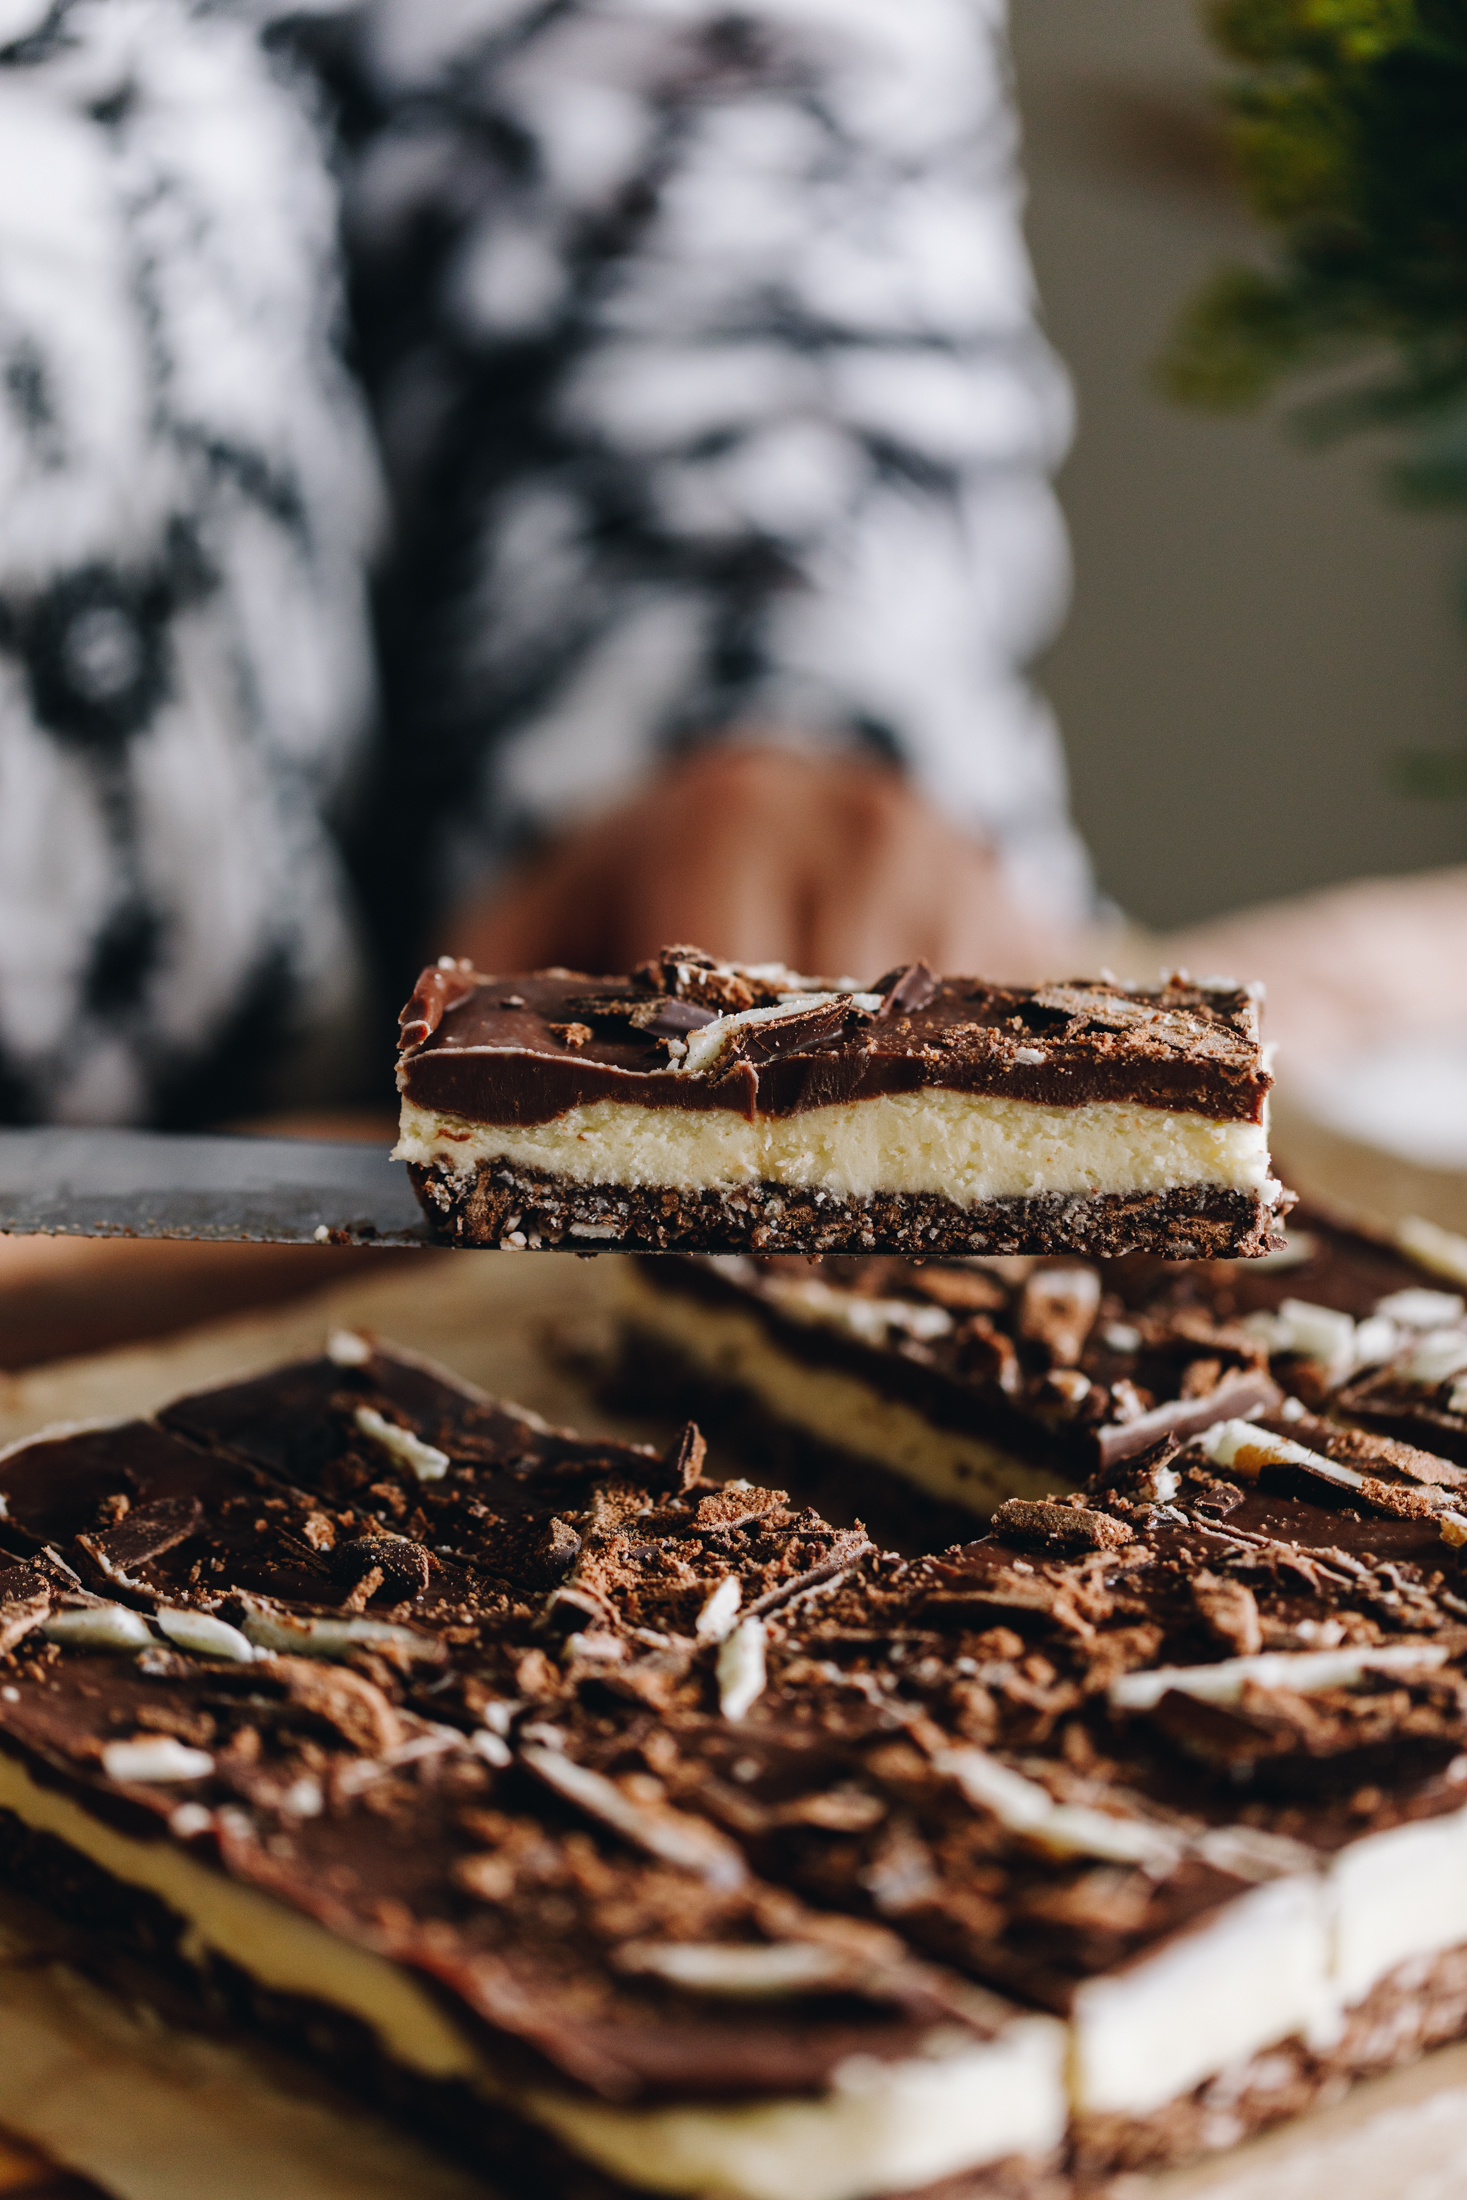
7. Decorate the Creamy Mint Slice:
Pour the slightly cooled mixture onto the creamy mint filling and spread it out evenly.
Chop the 2 reserved pihikete (biscuits) into thin slices and arrange over the slice.
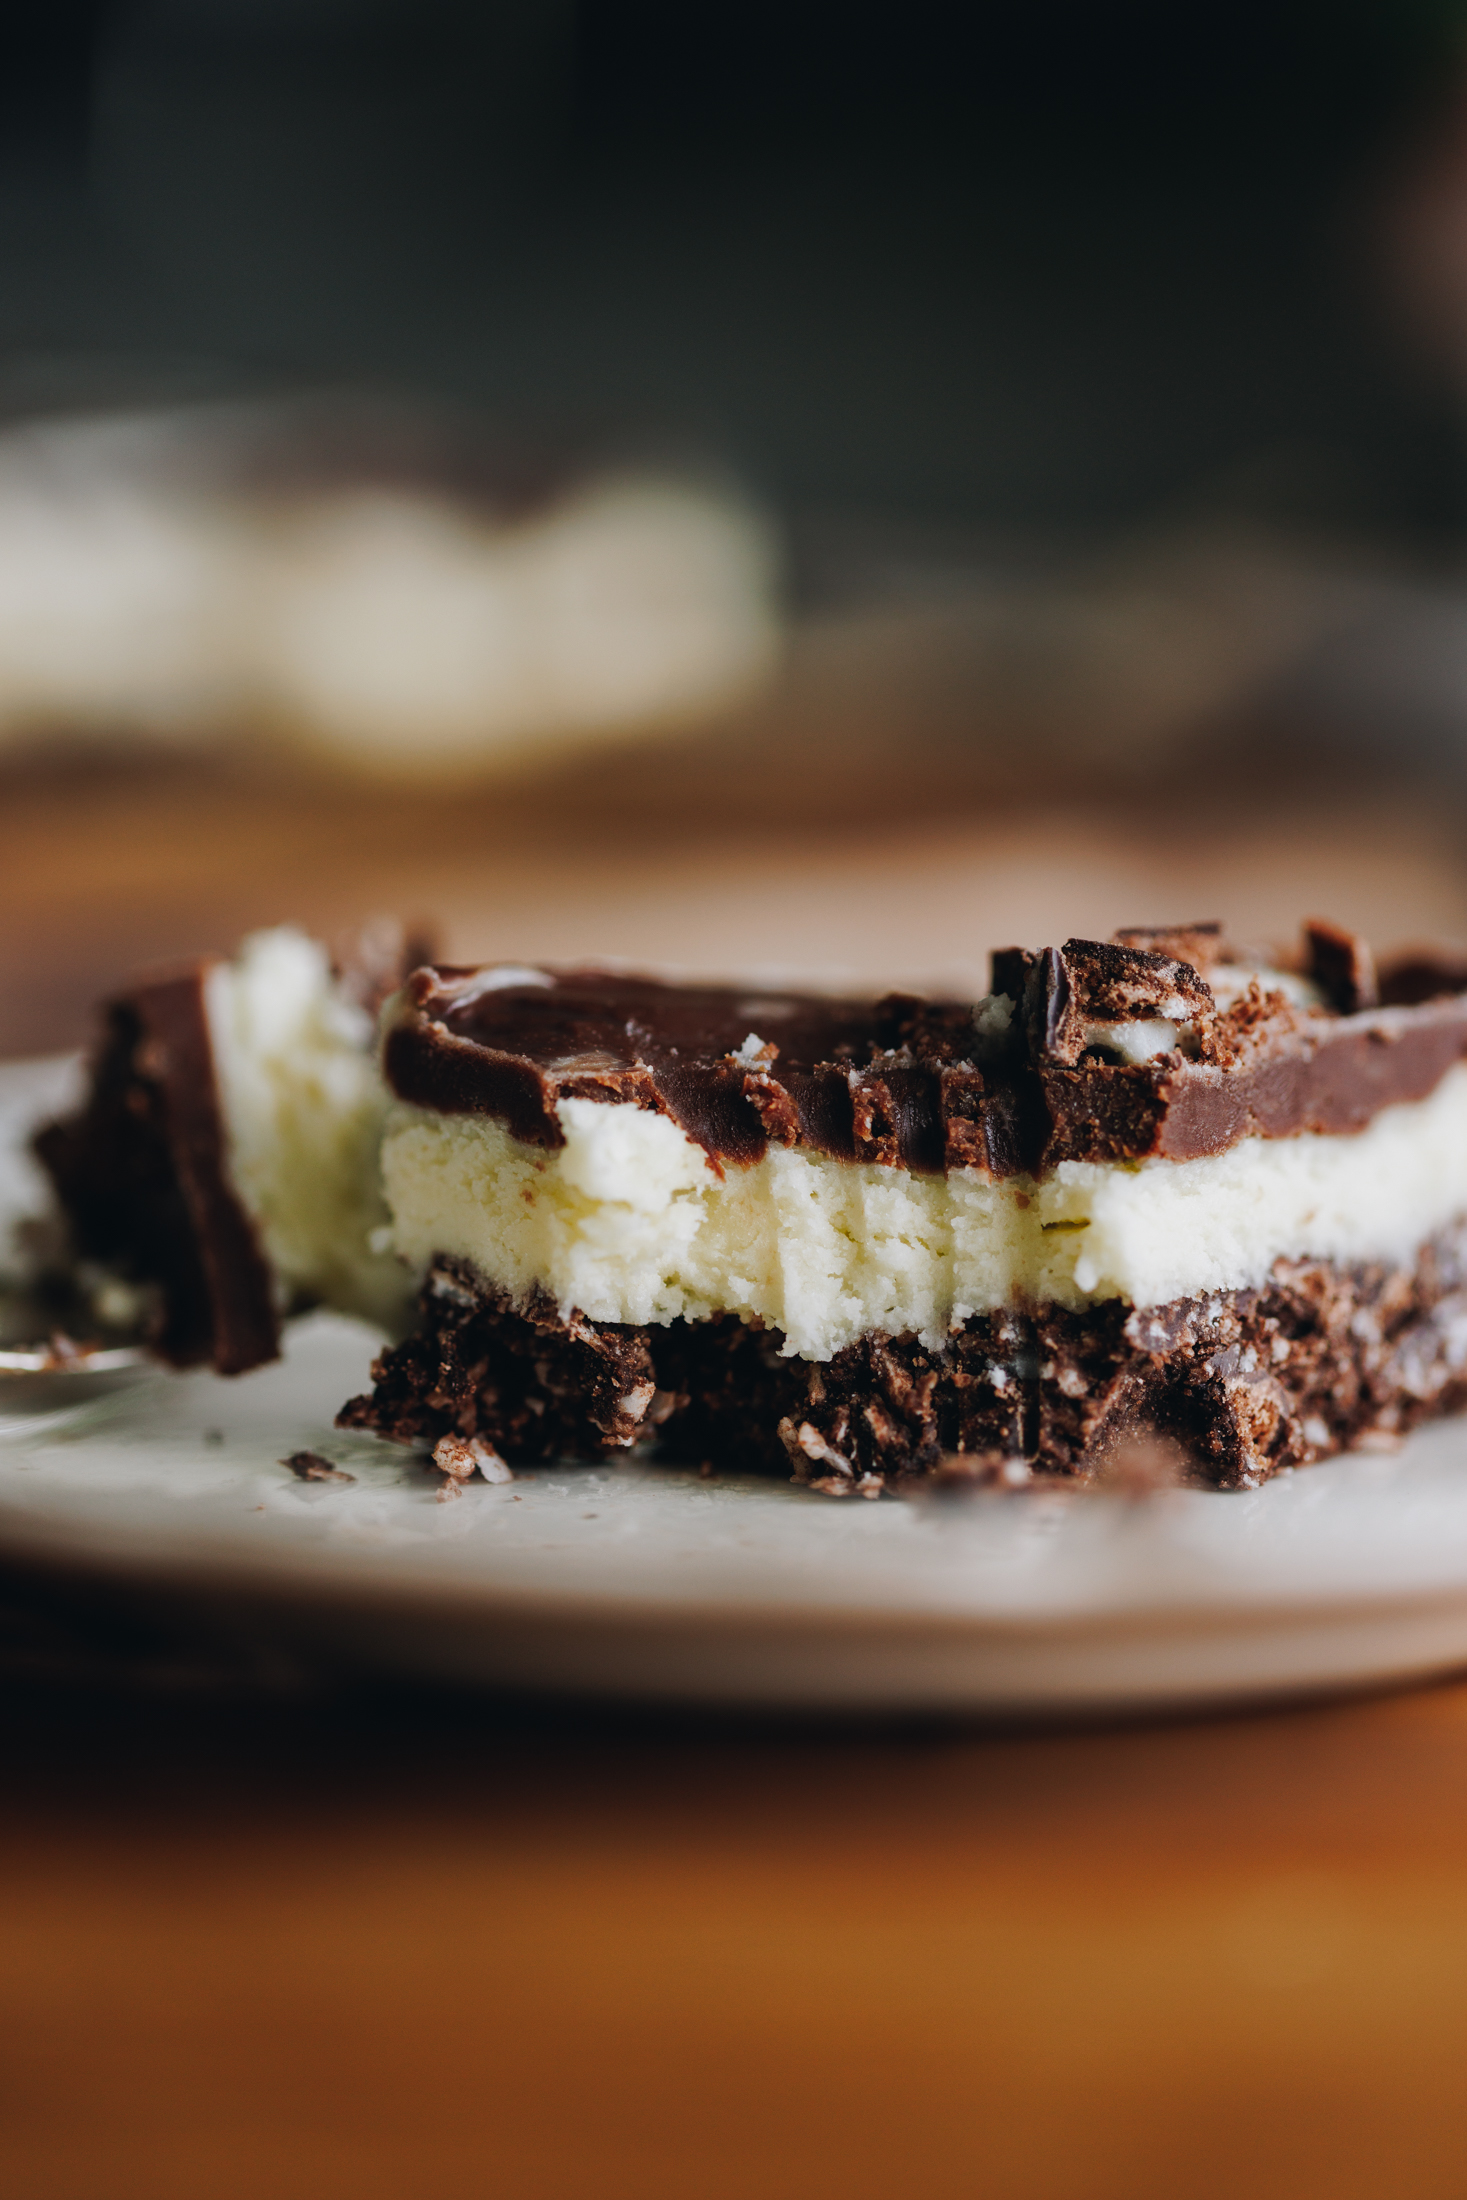
8. Slice the No-Bake Mint Slice:
Chill for a minimum of 1 hour.
This slice is best kept in the fridge and eaten directly from there for the best hold.
Take a look at these
Slice Recipes
Simple recipes, perfect for all occasions.

DID YOU ENJOY THIS RECIPE?
It would be so awesome if you could please leave a review/comment by clicking the “leave a comment” section at the top of the page.
I love seeing you all make my creations, so send a whakaahua (photo) or kiriata (video) to my Instagram and show me what you made. Let me know if you have any pātai (questions) too, I would love to help.
No-Bake Mint Slice with a Creamy Mint Centre
Ingredients
Biscuit Base - Paparanga Pihikete
- 200 g Pams pihikete hīoi tiakarete (chocolate mint biscuits)
- 1 C (75 g) Pams kokonati pūtī (desiccated coconut)
- 2 tablespoon (12 g) Pams kōkō (cocoa)
- 2 tablespoon (16 g) Pams puehu huka (icing sugar)
- 80 g Pams pata kura rewaina (melted butter)
Mint Cream - Kirīmi Hīoi
- 80 g Pams pata kūteretere (softened butter)
- 3 tsp waitāwhara hīoi (peppermint essence)
- 1 ⅔ C (275 g) Pams puehu huka (icing sugar)
- 130 g Pams kirīmi tīhi (cream cheese, room temperature)
- 1 tbsp Pams puehu kānga (cornflour)
The Chocolate - Te Tiakarete
- 180 g tiakarete miraka (milk chocolate)
- 2 tablespoon (30 ml) miraka (milk)
- 10 g pata (butter)
Instructions
Prepare the Tin:
- Grease and line a 20cm square tin with baking paper.
Make the Biscuit Base:
- Reserve 2 pihikete hīoi tiakarete (chocolate mint biscuits) for the topping. Crush the rest into a rough, thick crumb and add them to a medium bowl.
- Stir in the kōkō (cocoa), puehu huka (icing sugar) and pata kua rewaina (melted butter) until everything is evenly coated.
- Pēhia ki te paepae (press it in to the tray). Take the time to press it in firmly all over so the slice cuts easily.
Chill the Base:
- Whakamātaohia (refrigerate) as you make the filling.
Whip the Creamy Mint Filling:
- Add the pata kūteretere (softened butter), waitāwhara hīoi (peppermint essence) and puehu huka (icing sugar) to a medium bowl. Tāwhiuwhiua mō te 4 miniti (whip for 4 minutes).
- Once it is light and fluffy in colour and texture, add the kirīmi tīhi (cream cheese). Whip again until smooth, for around 30 seconds. Don't over whip it.
- Fold through the kokonati pūtī (desiccated coconut) with a spatula until combined.
Spread the Mint Filling on to the Base:
- Remove the base from the fridge and spread on the creamy filling. Smooth it out evenly and refrigerate again.
Melt the Chocolate Ganache:
- Add the tiakarete miraka (milk chocolate), miraka (milk) and pata (butter) to a medium bowl.
- Place it over a pot of simmering water, making sure the base of the bowl does not touch the water. Slowly melt the mixture, stirring occasionally until smooth. Remove from the heat and cool for a few minutes.
Decorate the Creamy Mint Slice:
- Pour the slightly cooled mixture onto the creamy mint filling and spread it out evenly.
- Chop the 2 reserved pihikete (biscuits) into thin slices and arrange over the slice. Finish with some small mint leaves if you fancy.
Serve the No-bake Mint Slice:
- Chill for a minimum of 1 hour. This slice is best kept in the fridge and eaten directly from there for the best hold.
Video
Expert Tips:
To prevent the mixture from being lumpy, make sure the kirīmi tīhi (cream cheese) has been bought to room temperature before using it. This should take 30 minutes on the bench.
Do not over whip the kirīmi tīhi (cream cheese) as this can cause the filling to split. Once it is added into the butter mixture, whip until it just comes together.
Variations:
Feel free to swap the topping for tiakarete parauri (dark chocolate) instead of milk. This is a preference thing but I think the milk version works perfectly.
I decorated with chocolate mint biscuits but it can be decorated with mint candy, coconut or left plain.
Storage:
This slice is best stored in the fridge and served that way. It can be on the bench for up to 2 hours but the filling will soften a little after that.
Frequently Asked Questions:
Yes you can however these mint chocolate biscuits have the perfect balance of crunch, mint and chocolate.
In this recipe yes, the coconut is essential as it helps keep the hold of the filling.
Leave a Review