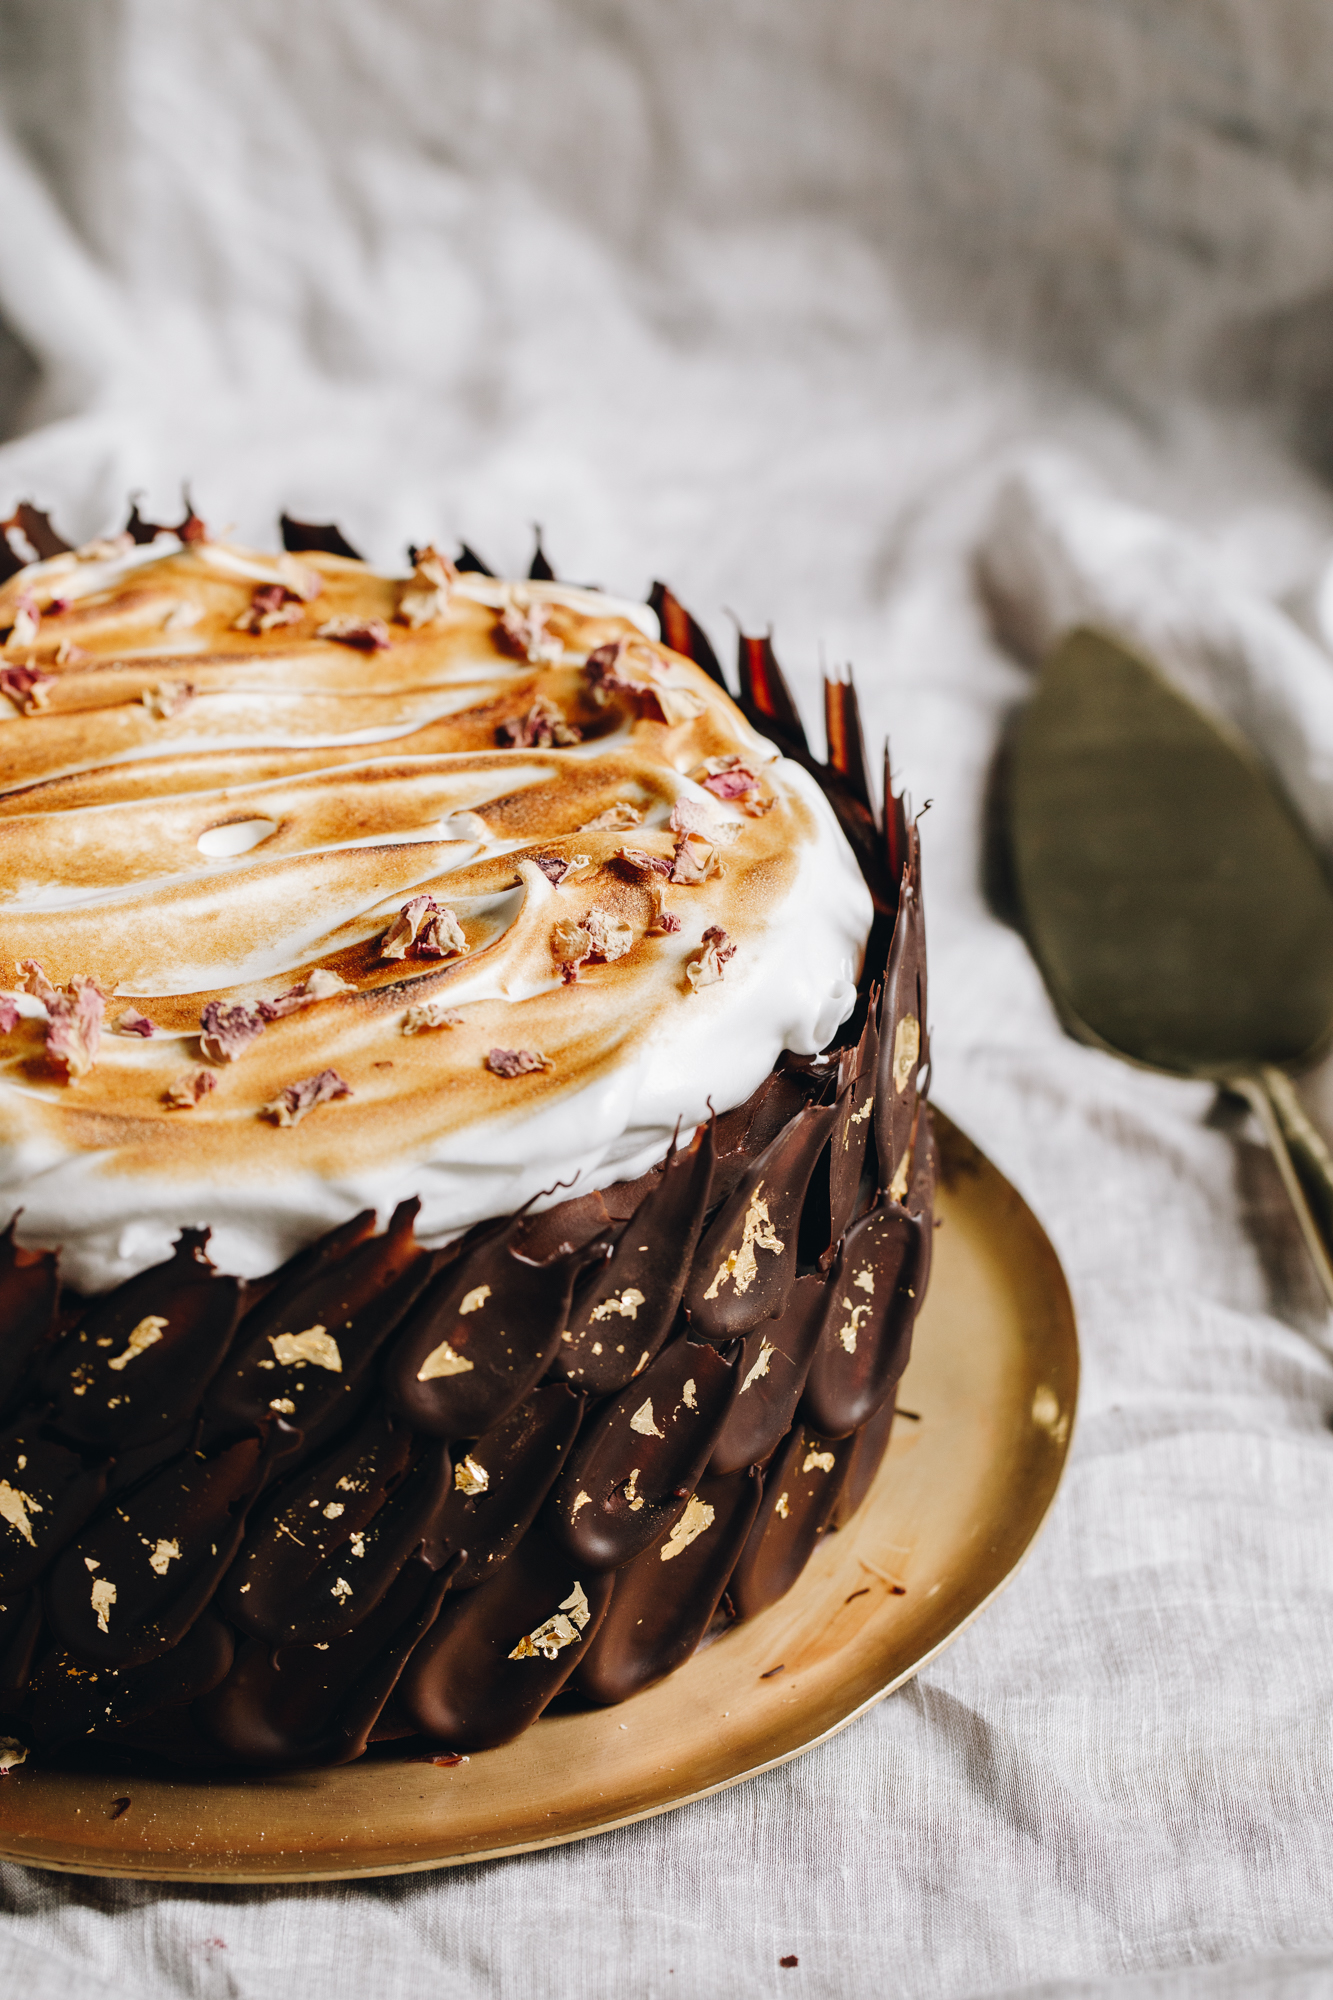
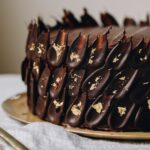
These Dark Chocolate Petal Decorations pack a visual punch and could not be simpler to make. They are such a fun topping to decorate cakes or cupcakes.
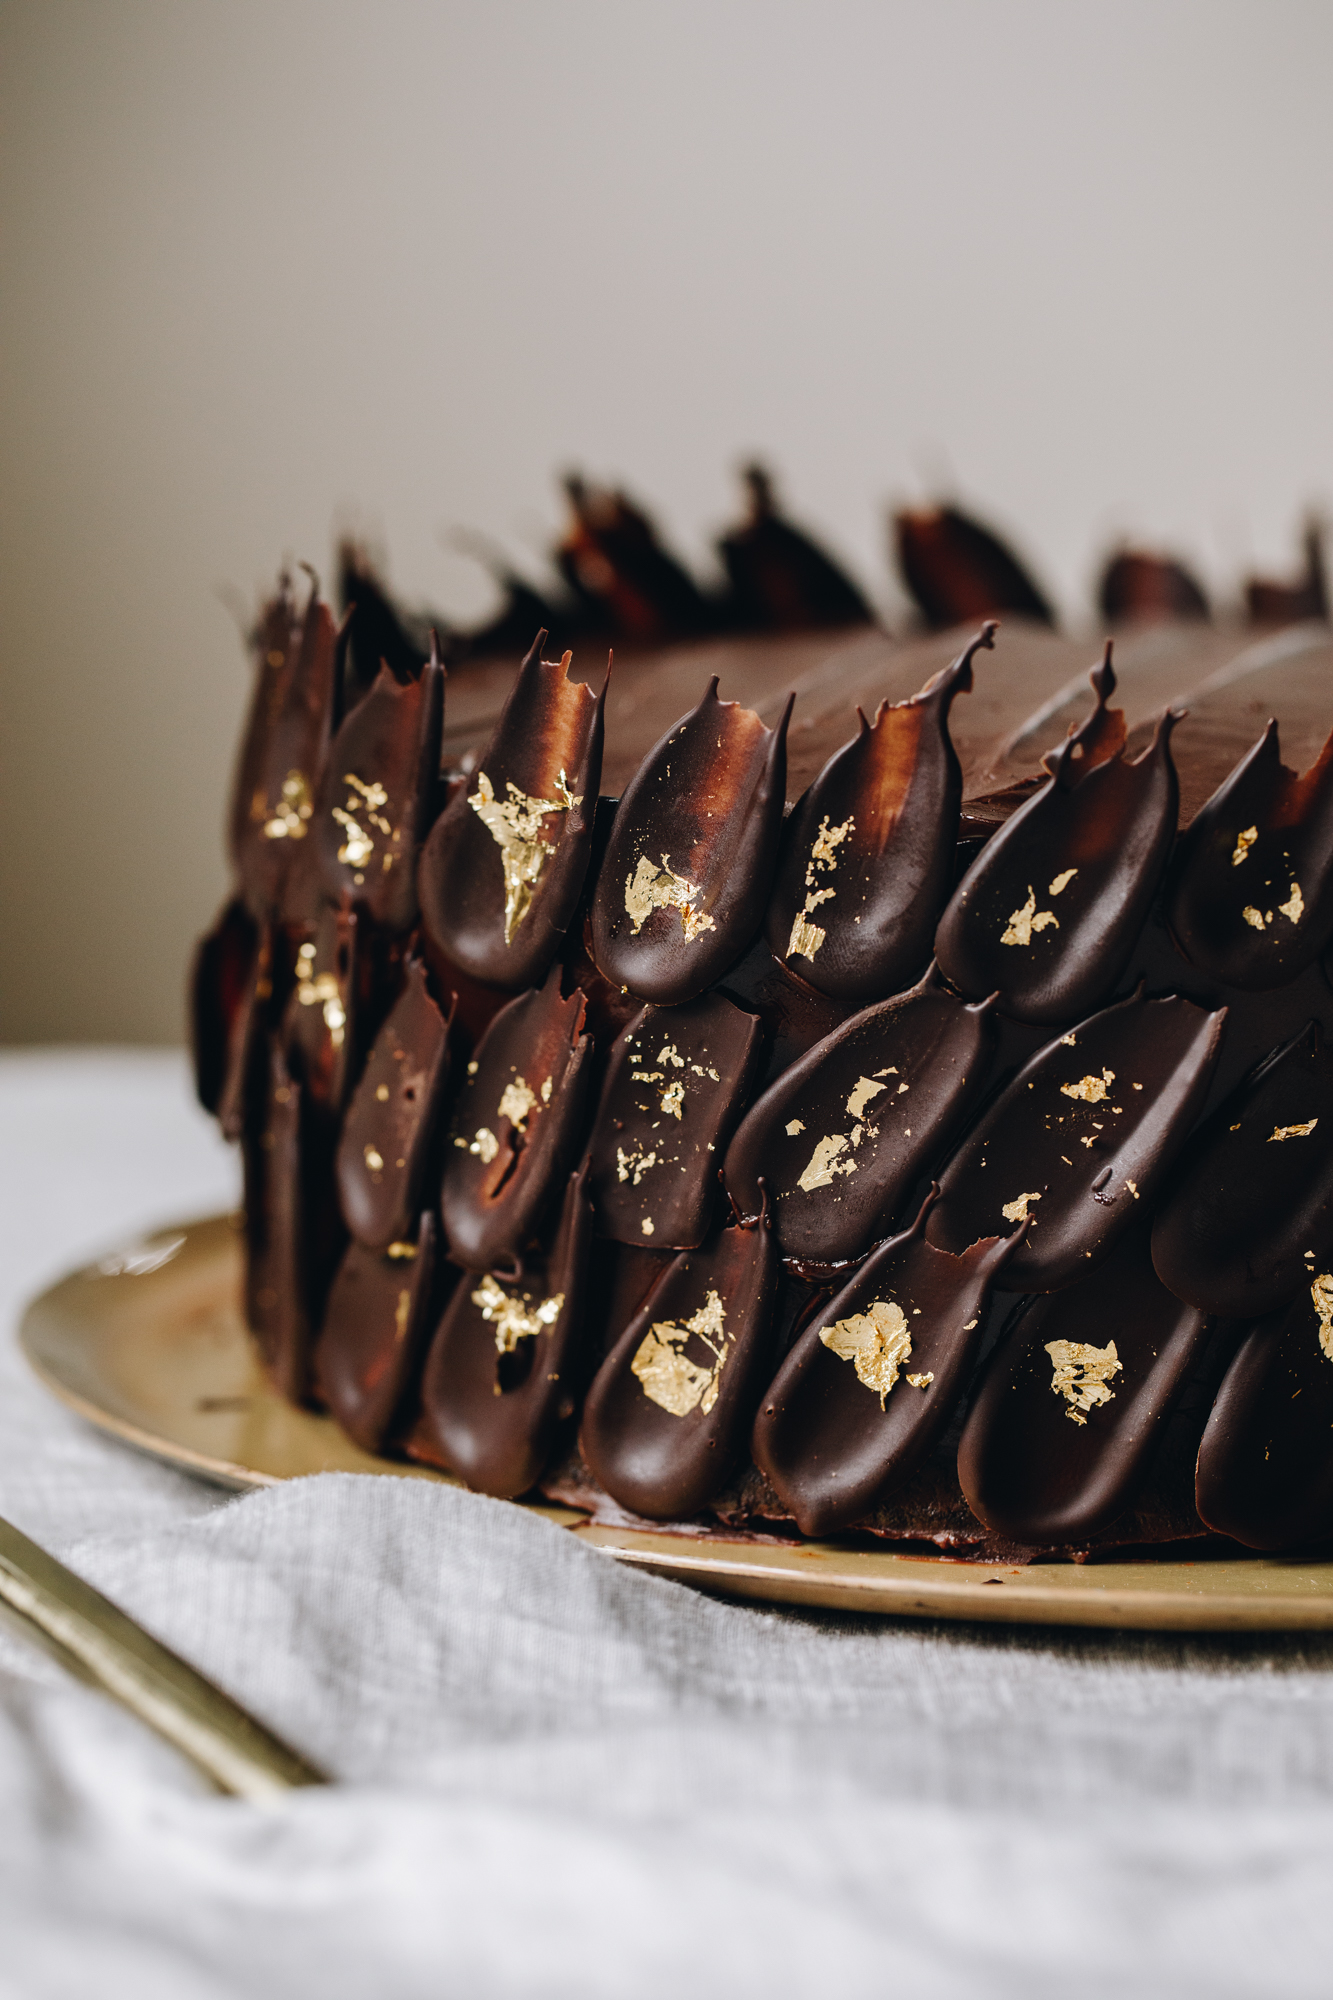
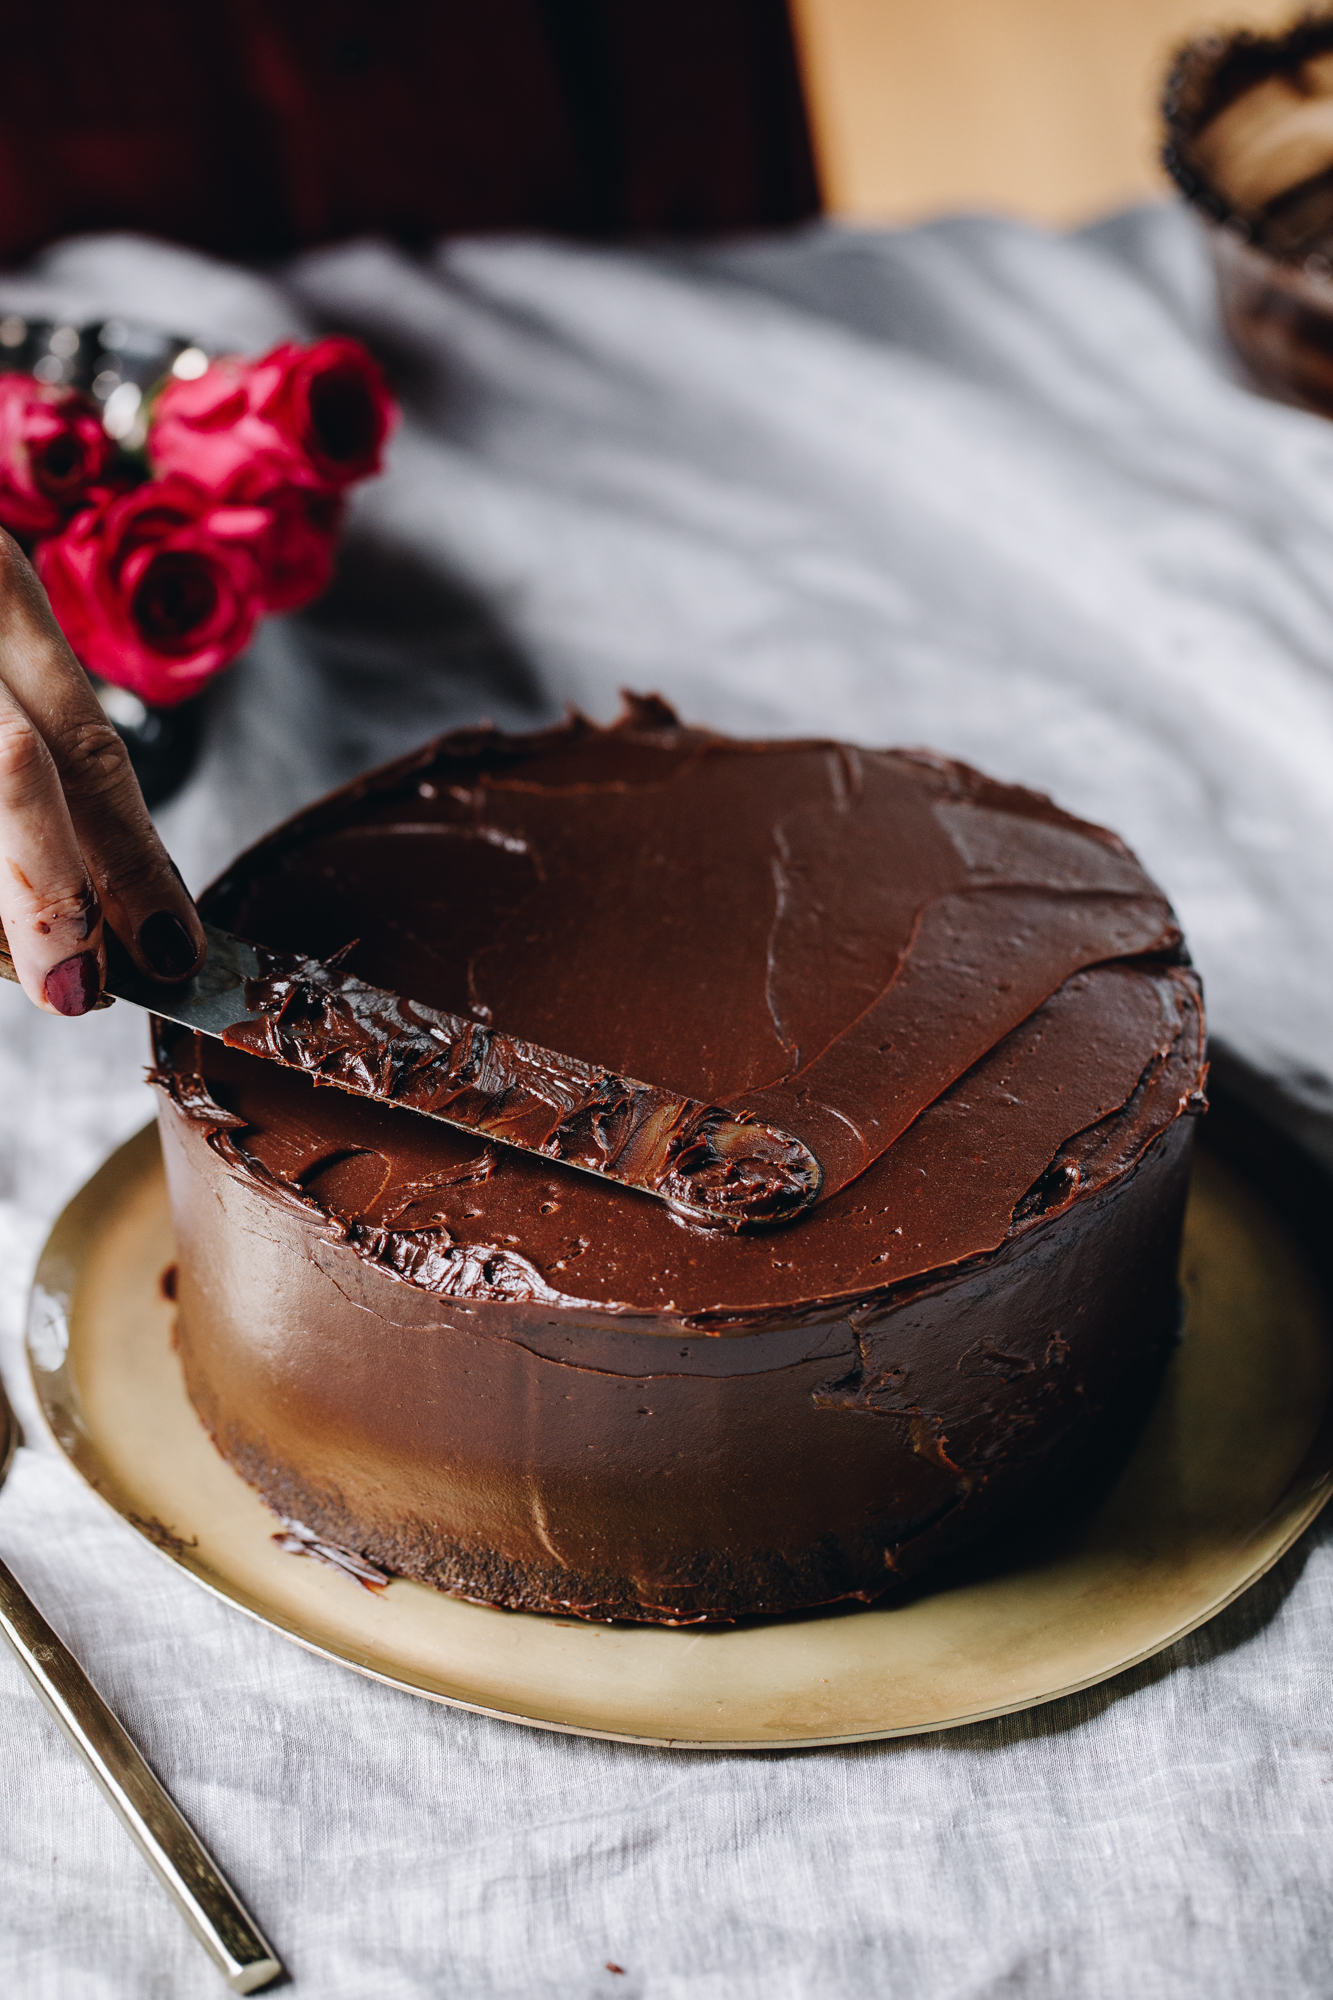
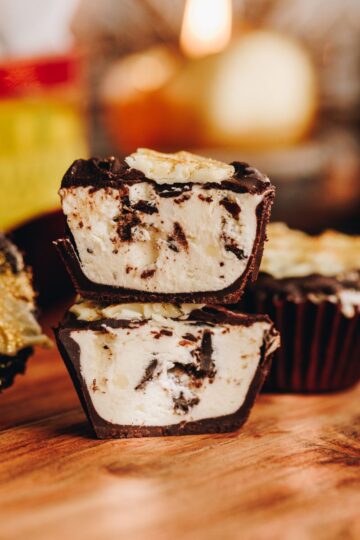
If you have followed my mahi (work) for a while, you will know that I am a sucker for decorating my baking. It is in fact my favourite part of baking, bringing something to life with simple decorations. If you have my cookbook, you will have seen these raupua (petals) on my keke tiakarete (chocolate cake), decorated with gold leaf. I also feature them on my Vegan Chocolate Cake.
More decorating inspiration:
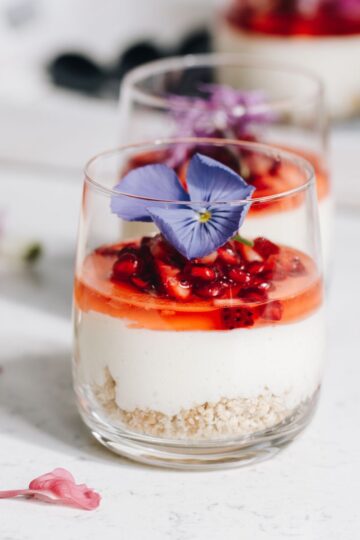
Try these White Chocolate Decorations to add flair to this delicious Lemon and White Chocolate Cheesecake. Want to decorate mawhene (muffins) with a whispy merenge (meringue), then try my simple French Meringue recipe.
Videography and photography by Sarah Henderson.
Ingredient Tips for the Dark Chocolate Petal Decorations:
- Dark Chocolate: One ingredient is all it takes here and for the best result, use a good quality tiakarete (chocolate). Anything from milk to dark will work for this recipe.
Expert Tips:
Treat the tiakarete (chocolate) with care because it is sensitive to heat. To combat this, gently melt the tiakarete (chocolate) in a bowl that sits over a pot of barely simmering water (a double boiler) or melt very gently in the microwave.
Melt the tiakarete (chocolate) until it is nearly all melted then remove it from the heat and stir until it is all smooth. This is a cheats way to temper. If you want to temper the chocolate like the pro's do, google it as I am all about the cheat in this department.
Let the raupua tiakarete (chocolate petals) set on the bench for the first 15 minutes. Then set the whakarākei (decorations) in the fridge.
Make sure they are set properly before using them otherwise they will break as you go. Make them slightly bigger and thicker than you think if you are worried that they will break.
Step by Step Instructions for this Dark Chocolate Petal Decorations:
Note: The full recipe card with the full list of ingredients, instructions and step by step video are found at the bottom of this page.
1. Melt the Chocolate:
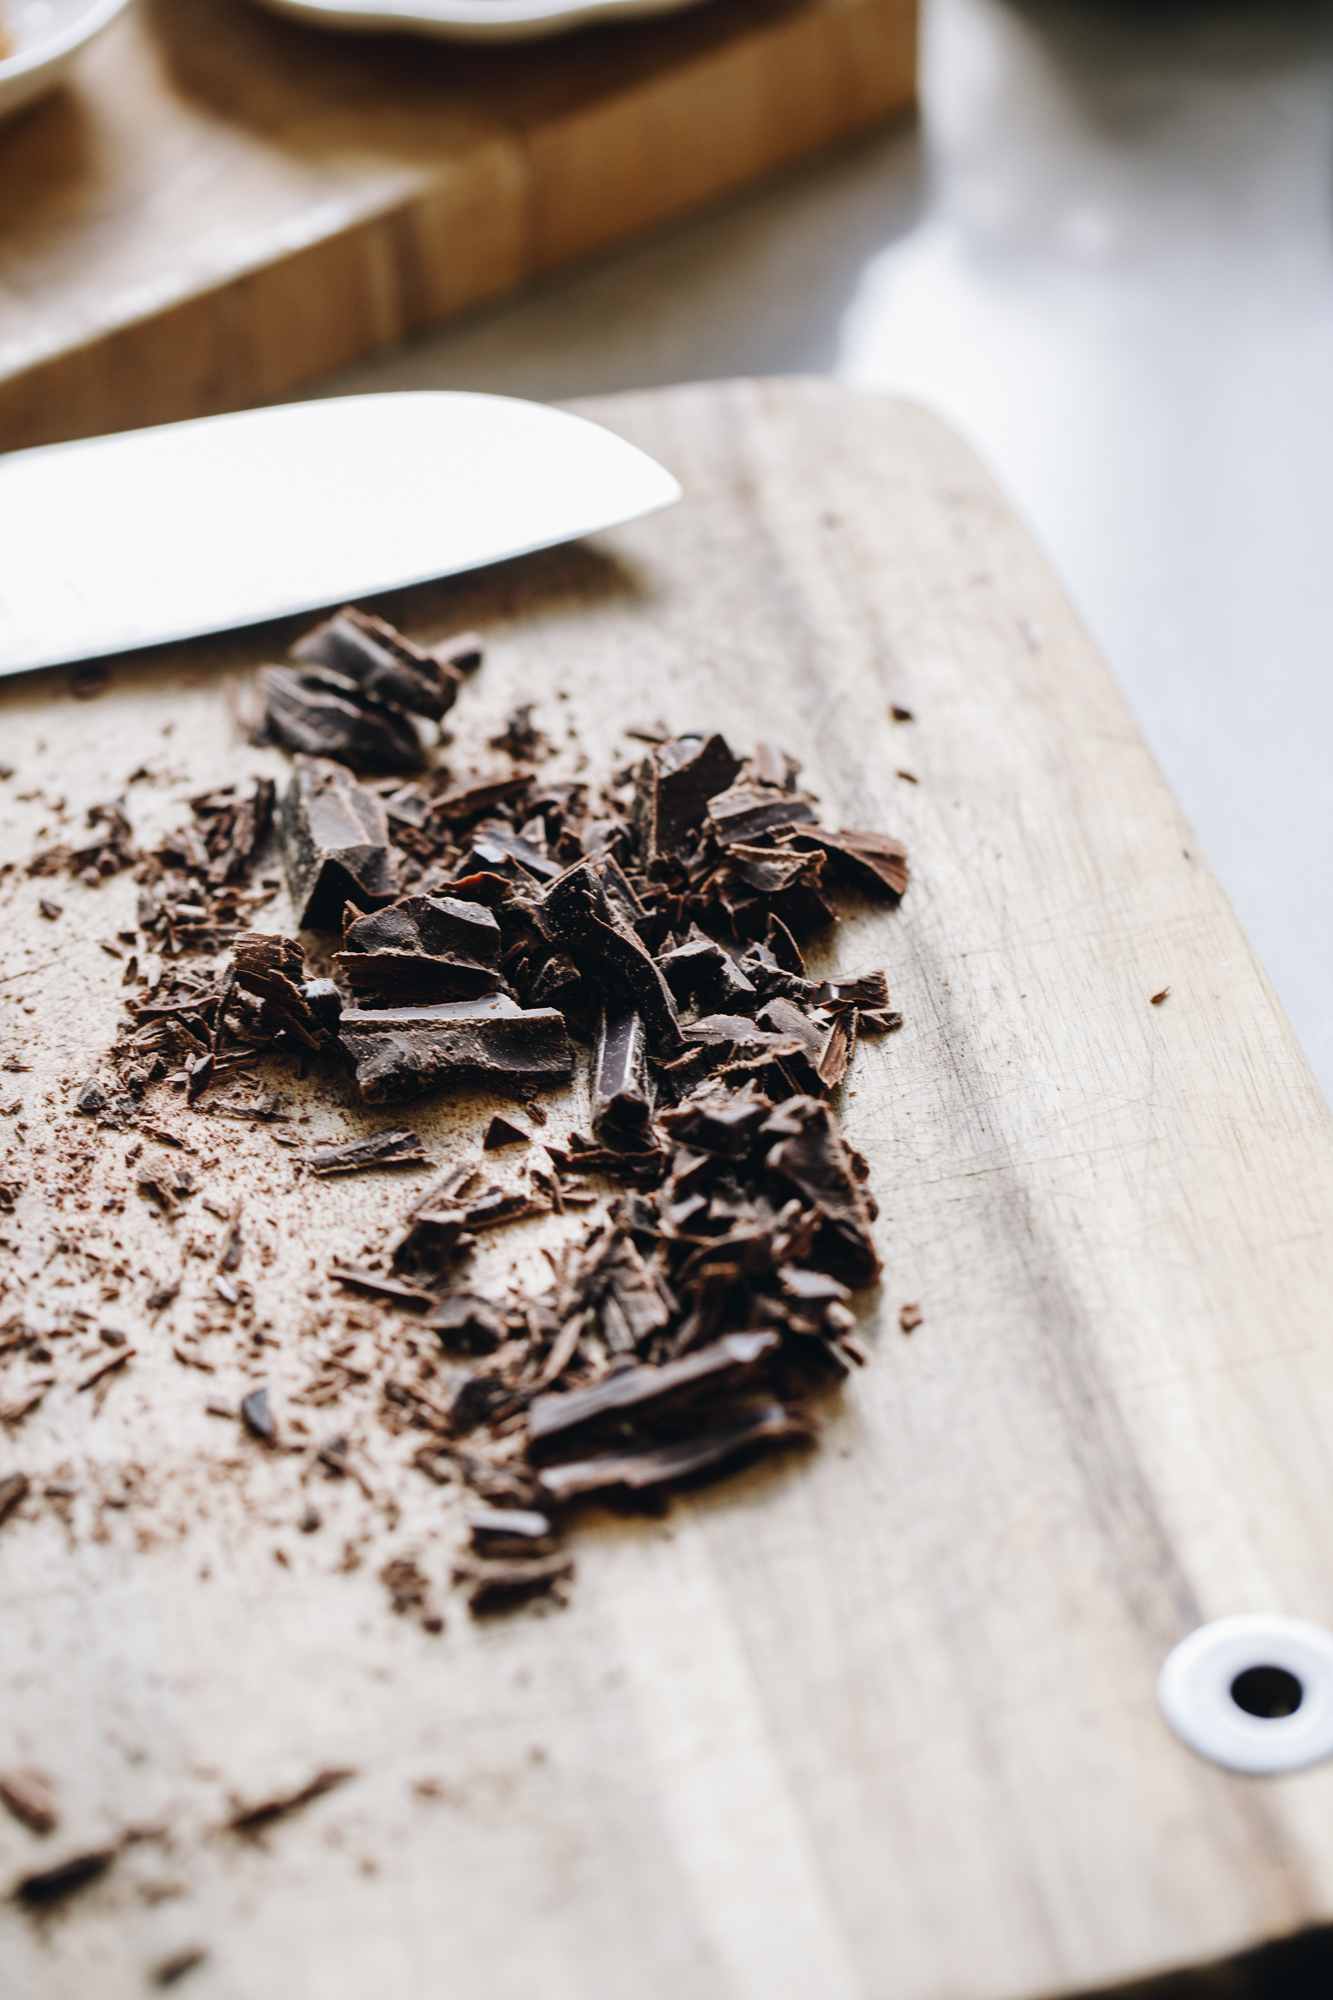
Chop the tiakarete parauri (dark chocolate) in to fine pieces and add it to a heat-proof bowl.
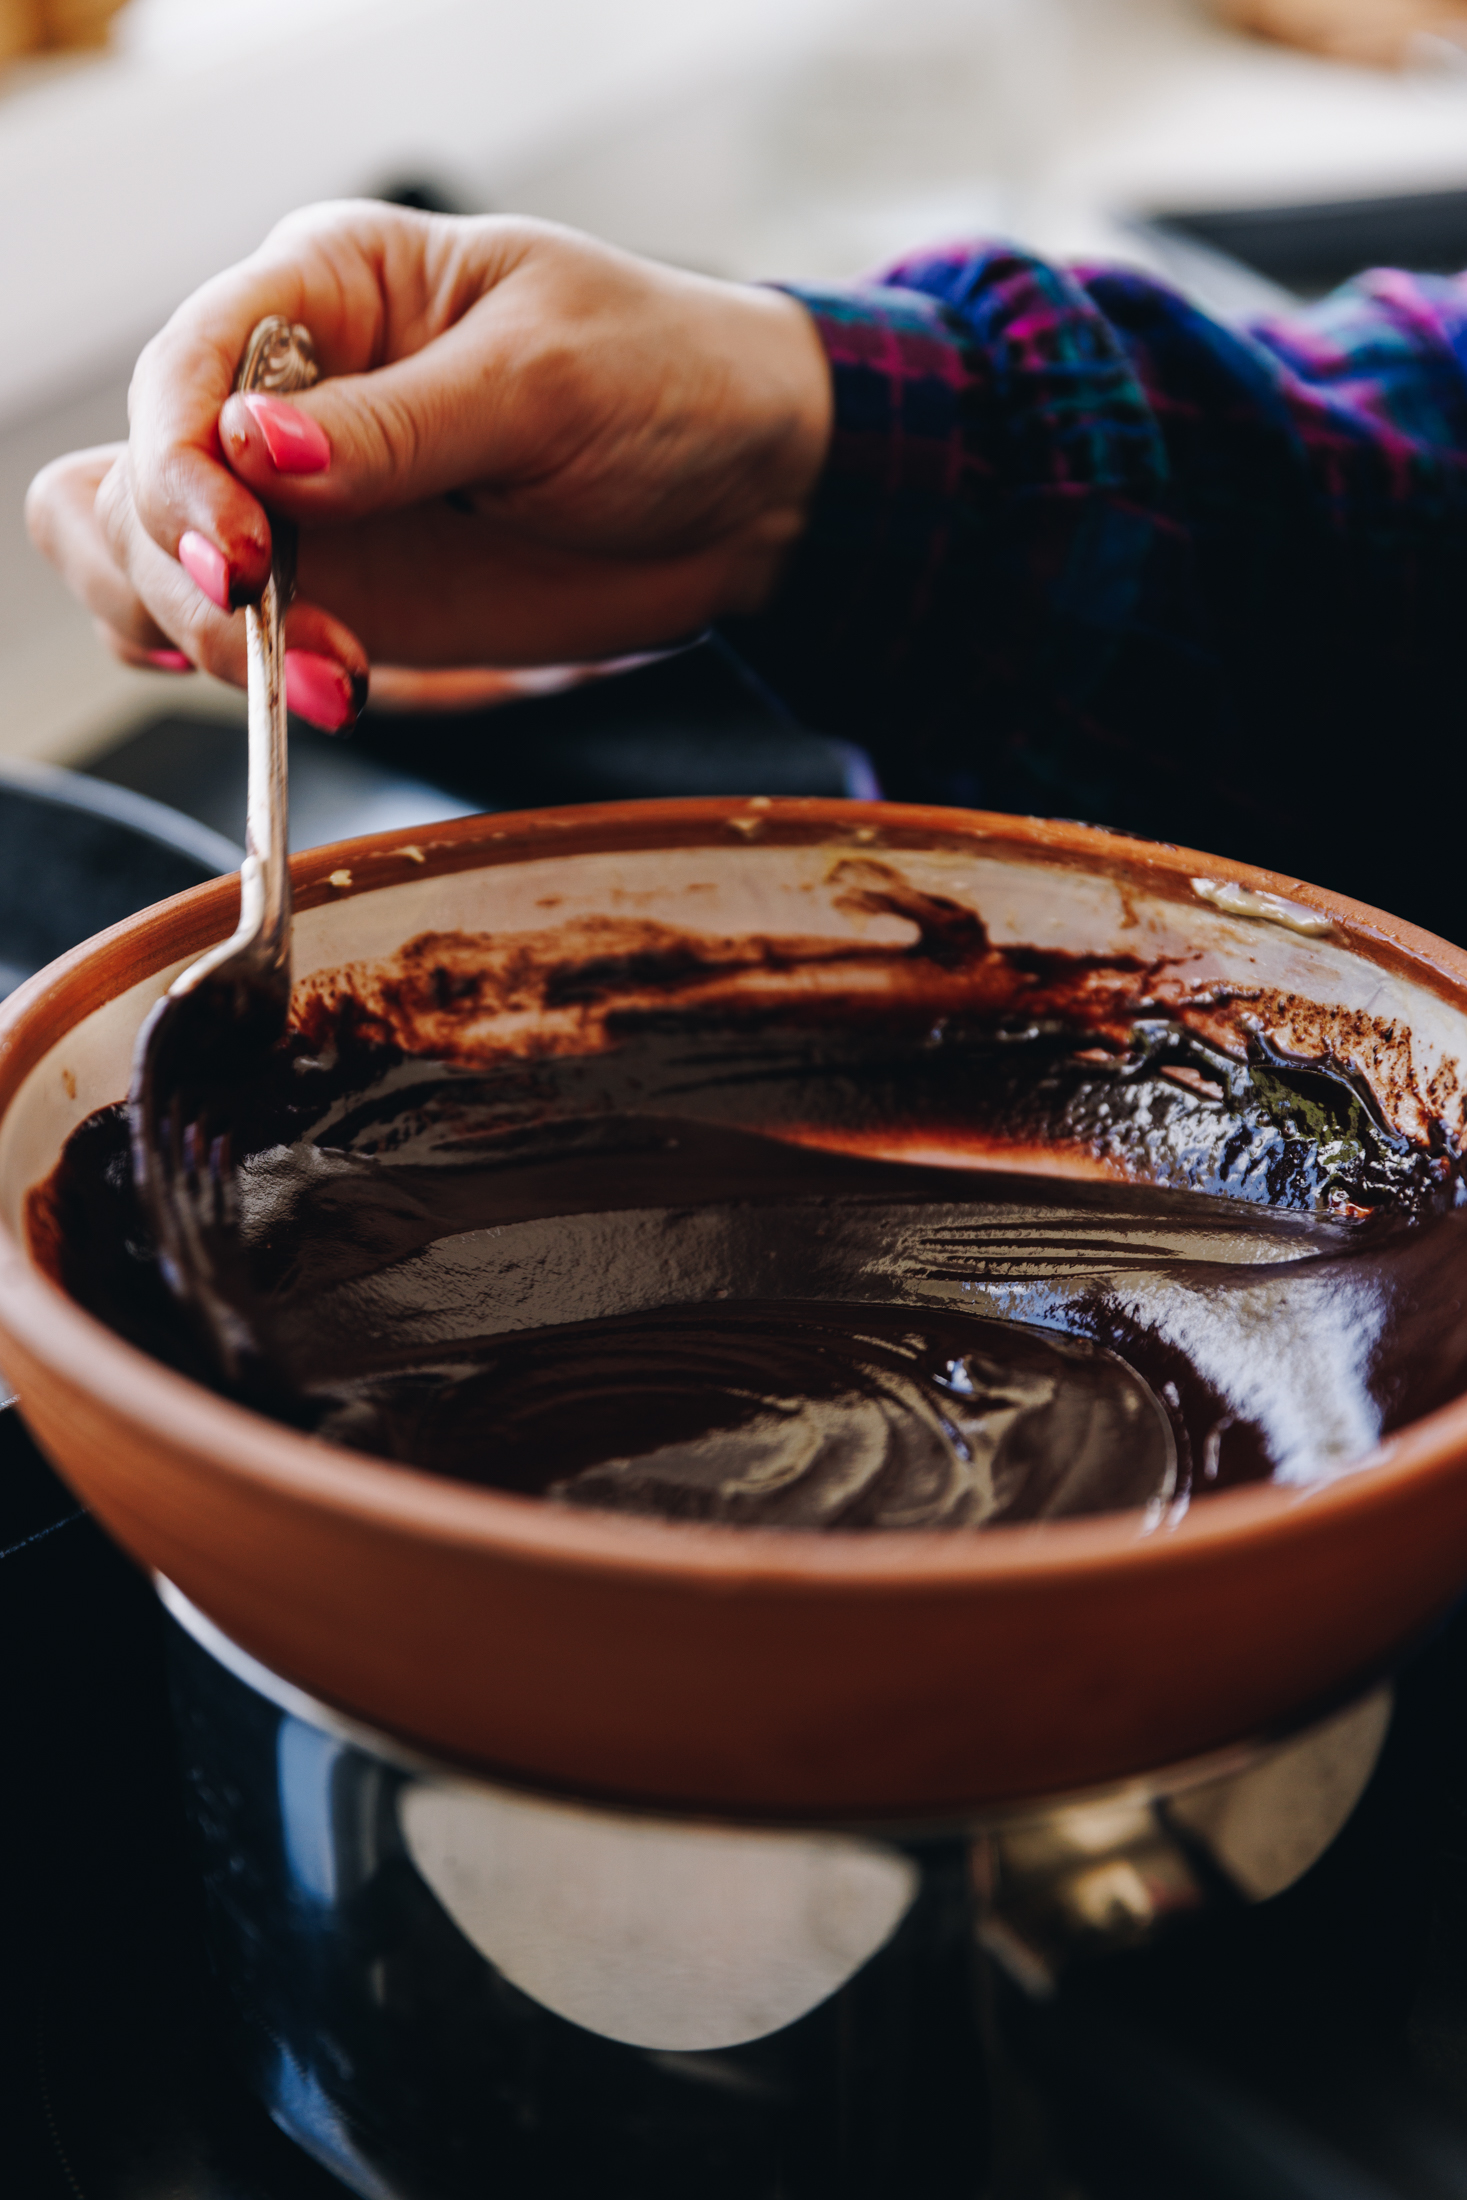
Melt it gently in a heat-proof bowl that is sitting over a pot of barely simmering water (around 3cm deep). Make sure the bowl is not touching the water.
You can also do this in 15 second bursts in the microwave, stir gently after each 15 seconds.
With both melting methods, only melt ¾'s of the tiakarete (chocolate) and then remove from the heat. Stir gently until it is all melted.
2. Create the Dark Chocolate Petal Decorations:
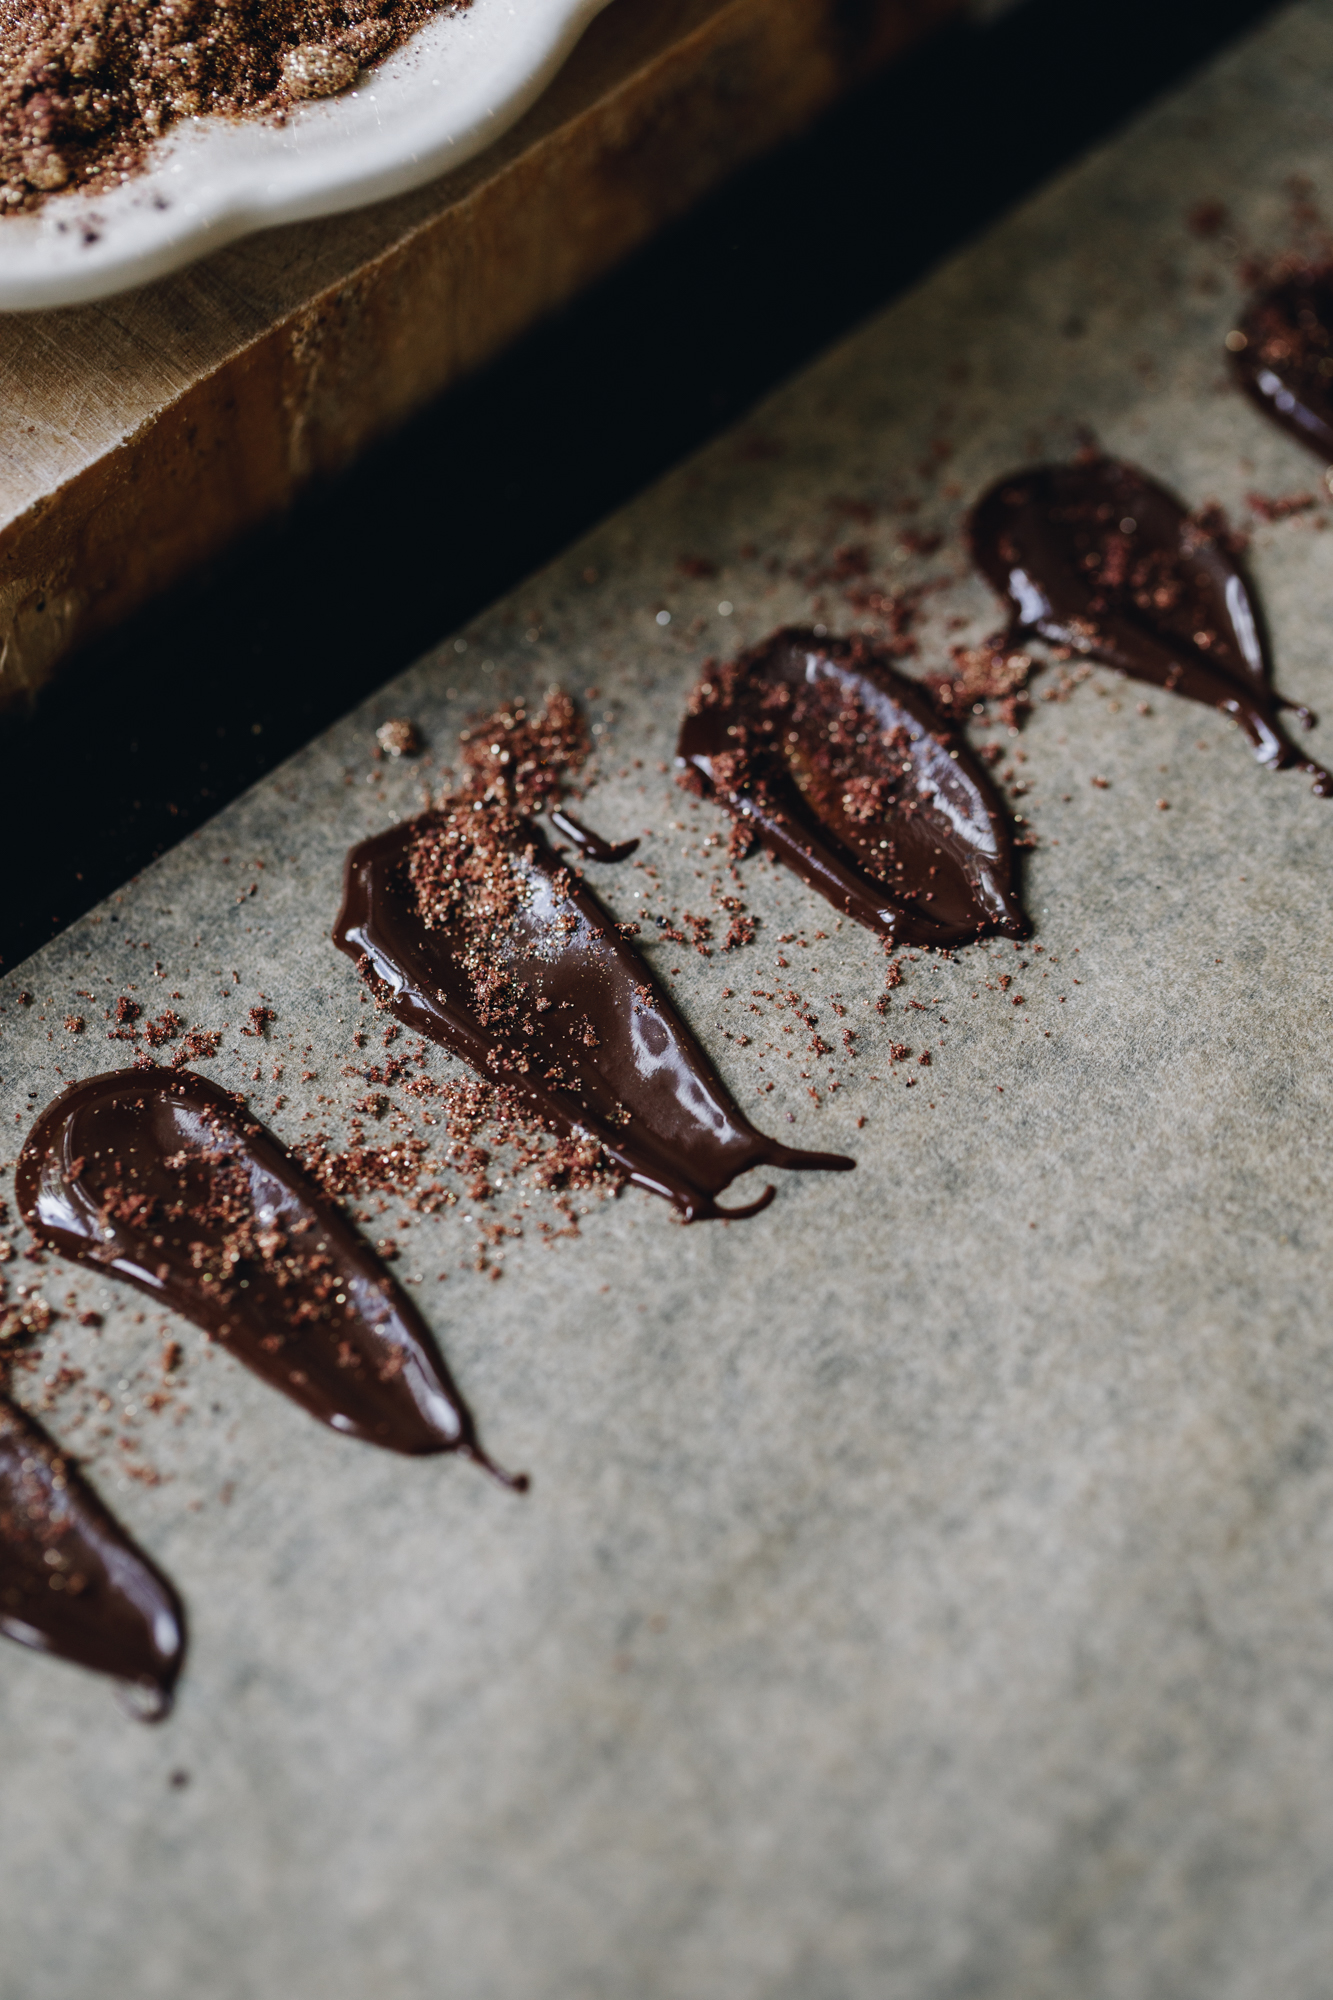
On to a flat baking tray, lined with baking paper, add dollops of the melted chocolate on to baking paper.
Once you have added a dollop, smear it with the back of the teaspoon. There are no rules here in terms of size and shape. Just go with it.
If you are hua tuaraki-tio (freeze-dried fruit) or powder, add it on while the tiakarete (chocolate) is not set.
Once you have used all the tiakarete, leave it to set on the bench for 20 minutes. Then add them to the fridge to completely set for 5 more minutes.
If you are using rau kōura (gold leaf), add it on with a dry paintbrush when the petals are fully set and remain on the baking paper.
3. Tips for the Decorations:
Be gentle as you use them and just gently peel the decorations off the baking paper.
Don't handle them too much either because the heat of your hands will start to melt them.
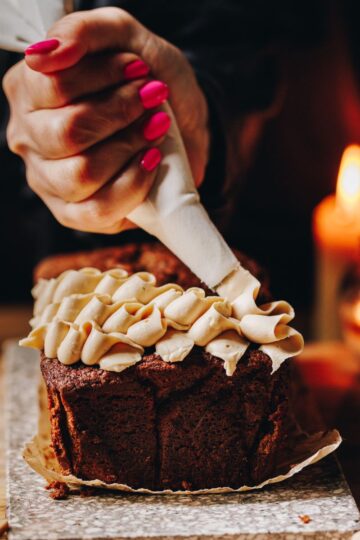
If you are using them to decorate a cake, make sure the icing or buttercream has not set hard because they will not stick.
If it is hot in your kāuta (kitchen), add them on to your freshly decorated goods (when the icing is still soft) in the fridge.
4. Use the Dark Chocolate Petal Decorations:
Once they have set, they are free to use however you wish. Try them on my cookbook chocolate cake (pictured above) or my Vegan Chocolate Cake.
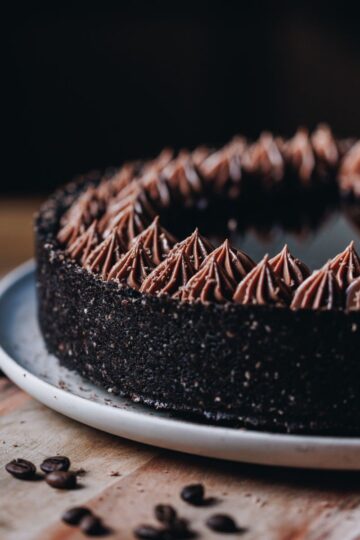
They would also look amazing on my Chocolate Cake with Biscoff Buttercream or Chocolate Hazelnut Cake.
Store the Decorations:
These will keep well stored in a sealed container, in the fridge or in a cool cupboard for a few days.
Want to see some more
Toppings?
We don't stop at chocolate decorations, there is so much more to see.
DID YOU ENJOY THIS RECIPE?
It would be so awesome if you could please leave a review/comment by clicking the “leave a comment” section at the top of the page.
I love seeing you all make my creations, so send a whakaahua (photo) or kiriata (video) to my Instagram and show me what you made. Let me know if you have any pātai (questions) too, I would love to help.
Chocolate Petals - Raupua Tiakarete
Ingredients
Chocolate Petals - Raupua Tiakarete
- 100 g tiakarete parauri (dark chocolate). You can use whatever chocolate you like. If you are decorating a large, double layer cake change the ratio to 160 g.
The Decorations - Ngā Whakarākei
- Any bling that you want to add. Freeze dried fruit, gold leaf or edible fruit powders all work.
Instructions
Melt the Chocolate:
- Chop the tiakarete parauri (dark chocolate) in to fine pieces and add it to a heat-proof bowl.
- Melt it gently in a heat-proof bowl that is sitting over a pot of barely simmering water (around 3cm deep). Make sure the bowl is not touching the water.
- You can also do this in 15 second bursts in the microwave, stir gently after each 15 seconds.
- With both melting methods, only melt ¾'s of the tiakarete (chocolate) and then remove from the heat. Stir gently until it is all melted.
Create the Dark Chocolate Petal Decorations:
- On to a flat baking tray, lined with baking paper, add dollops of the melted chocolate on to baking paper.
- Once you have added a dollop, smear it with the back of the teaspoon. There are no rules here in terms of size and shape. Just go with it.
- If you are hua tuaraki-tio (freeze-dried fruit) or powder, add it on while the tiakarete (chocolate) is not set.
- Once you have used all the tiakarete, leave to set on the bench for 20 minutes. Then add them to the fridge to completely set for 5 more minutes.
- If you are using rau kōura (gold leaf), add it on with a dry paintbrush when the petals are fully set and remain on the baking paper.
Tips for the Decorations:
- Be gentle as you use them and just gently peel the decorations off the baking paper.
- Don't handle them too much either because the heat of your hands will start to melt them.
- If you are using them to decorate a cake, make sure the icing or buttercream has not set hard because they will not stick.
- If it is hot in your kāuta (kitchen), add them on to your freshly decorated goods (when the icing is still soft) in the fridge.
Use the Dark Chocolate Petal Decorations:
- Once they have set, they are free to use however you wish. Try them on my cookbook chocolate cake or my Vegan Chocolate Cake.
Store the Decorations:
- These will keep well stored in a sealed container, in the fridge or in a cool cupboard for a few days.


Leave a Review