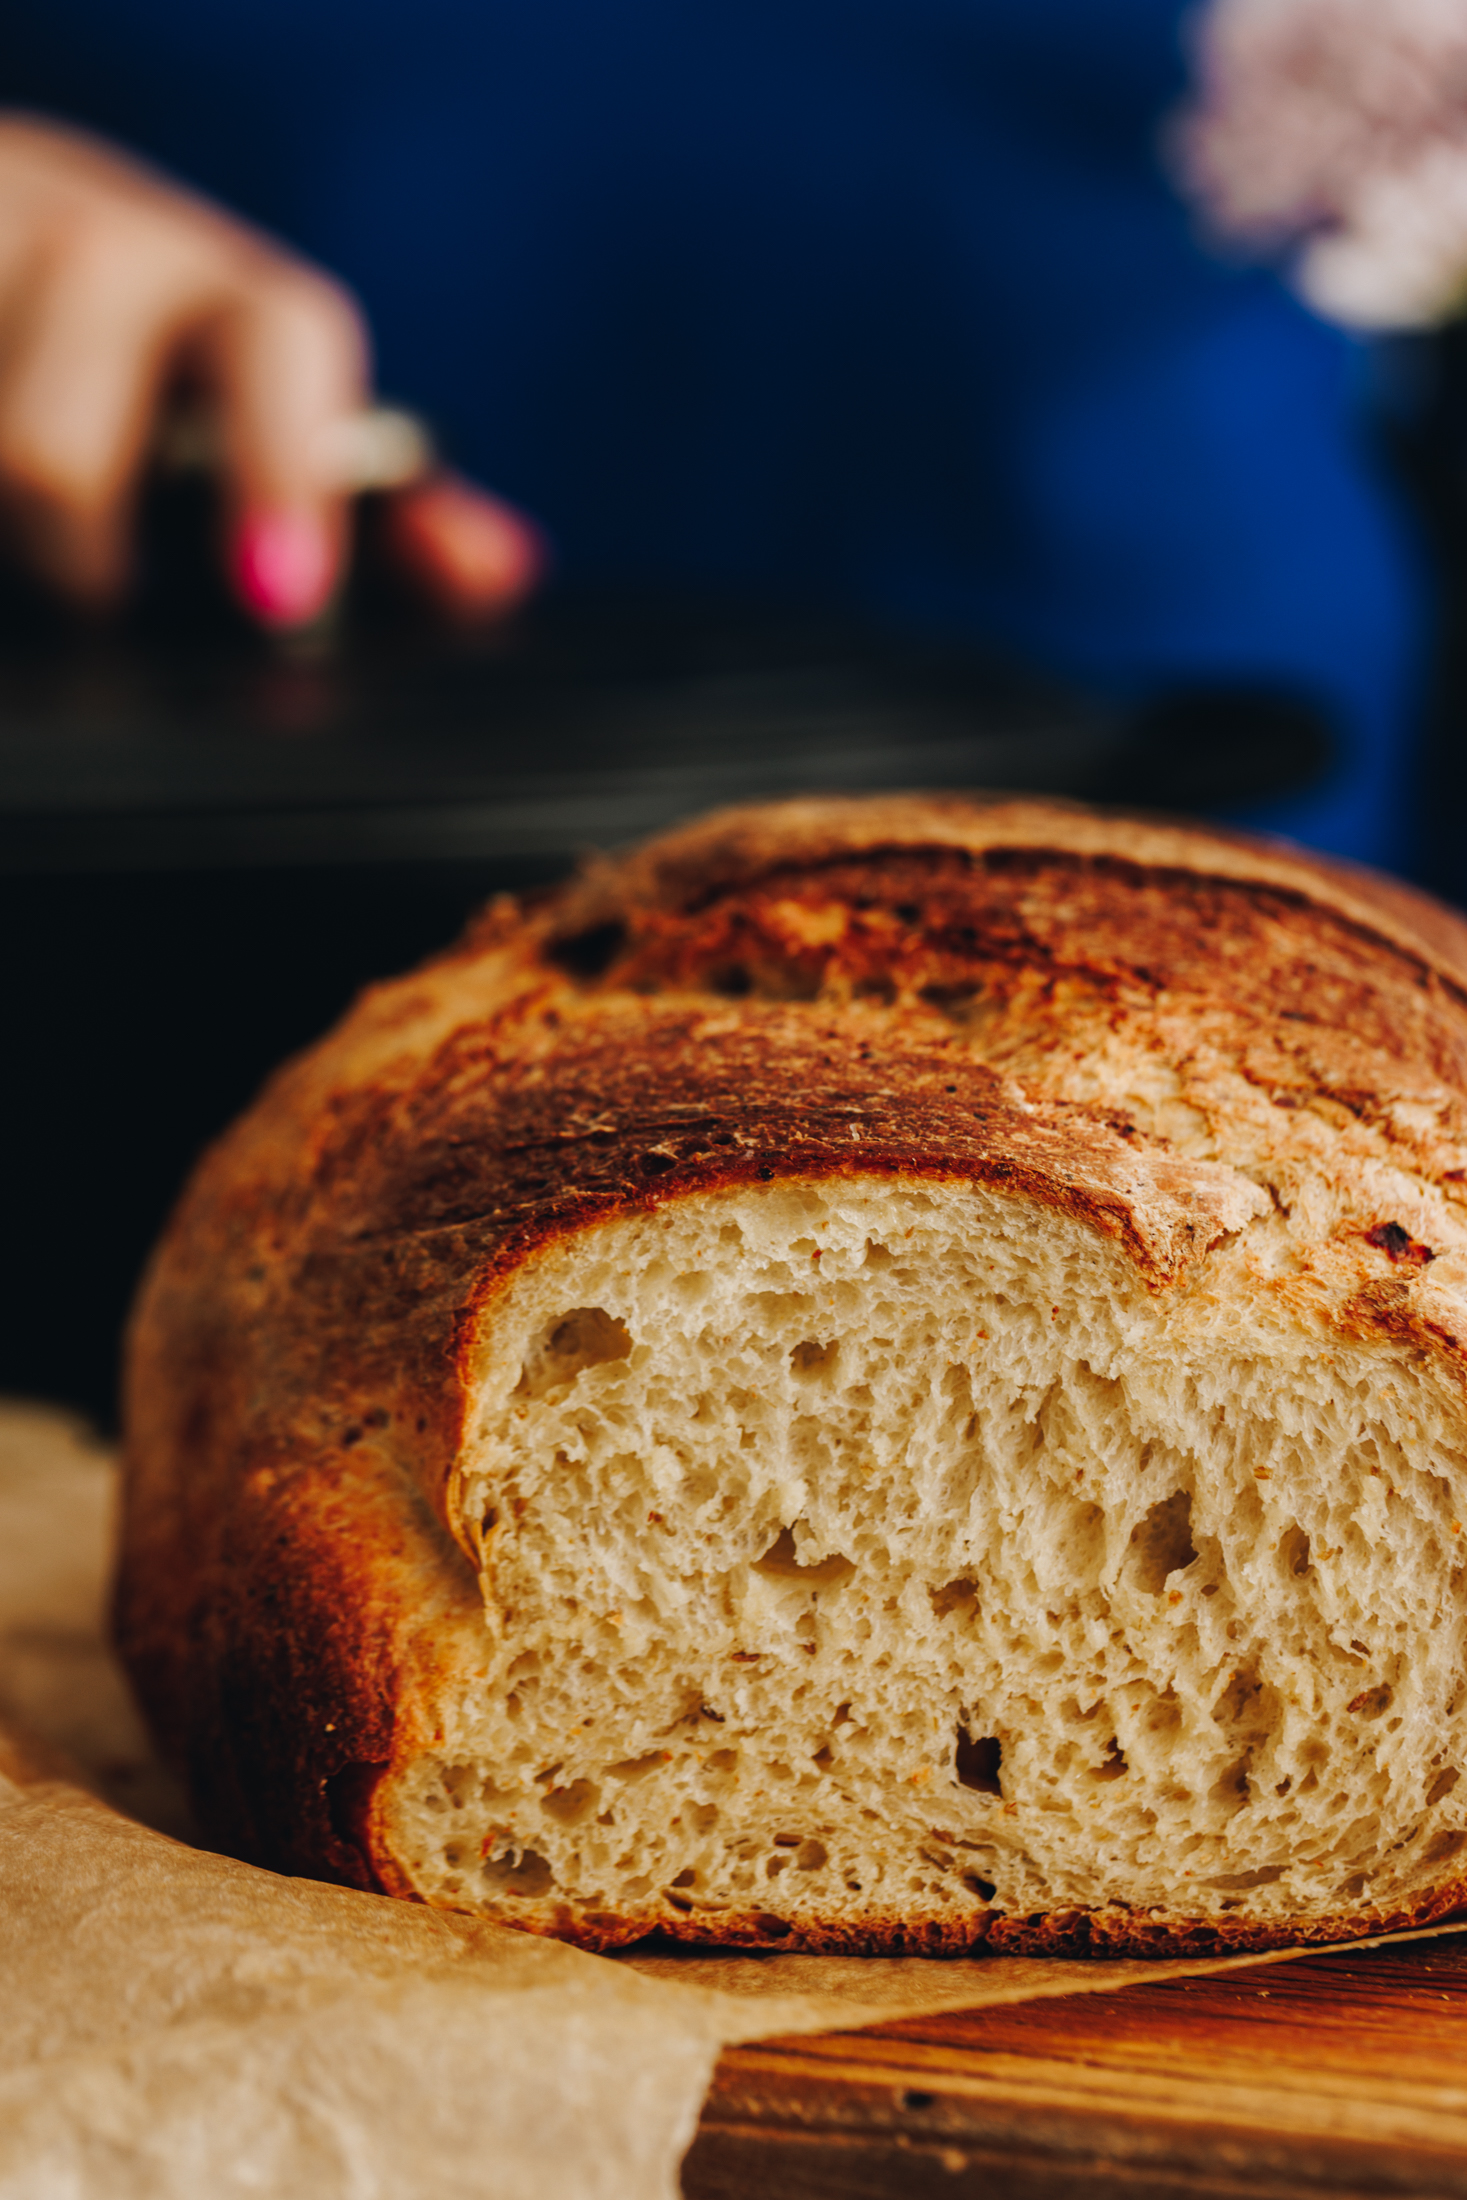
This Cottage Cheese Bread recipe is such a stunner, if I do say so myself. It hums with the subtle flavour of toasted cumin seeds and the dough is softened by cottage cheese. Let this recipe be a part of your baking repertoire and be the hero in your kitchen. 🦸♀️ 🦸♂️
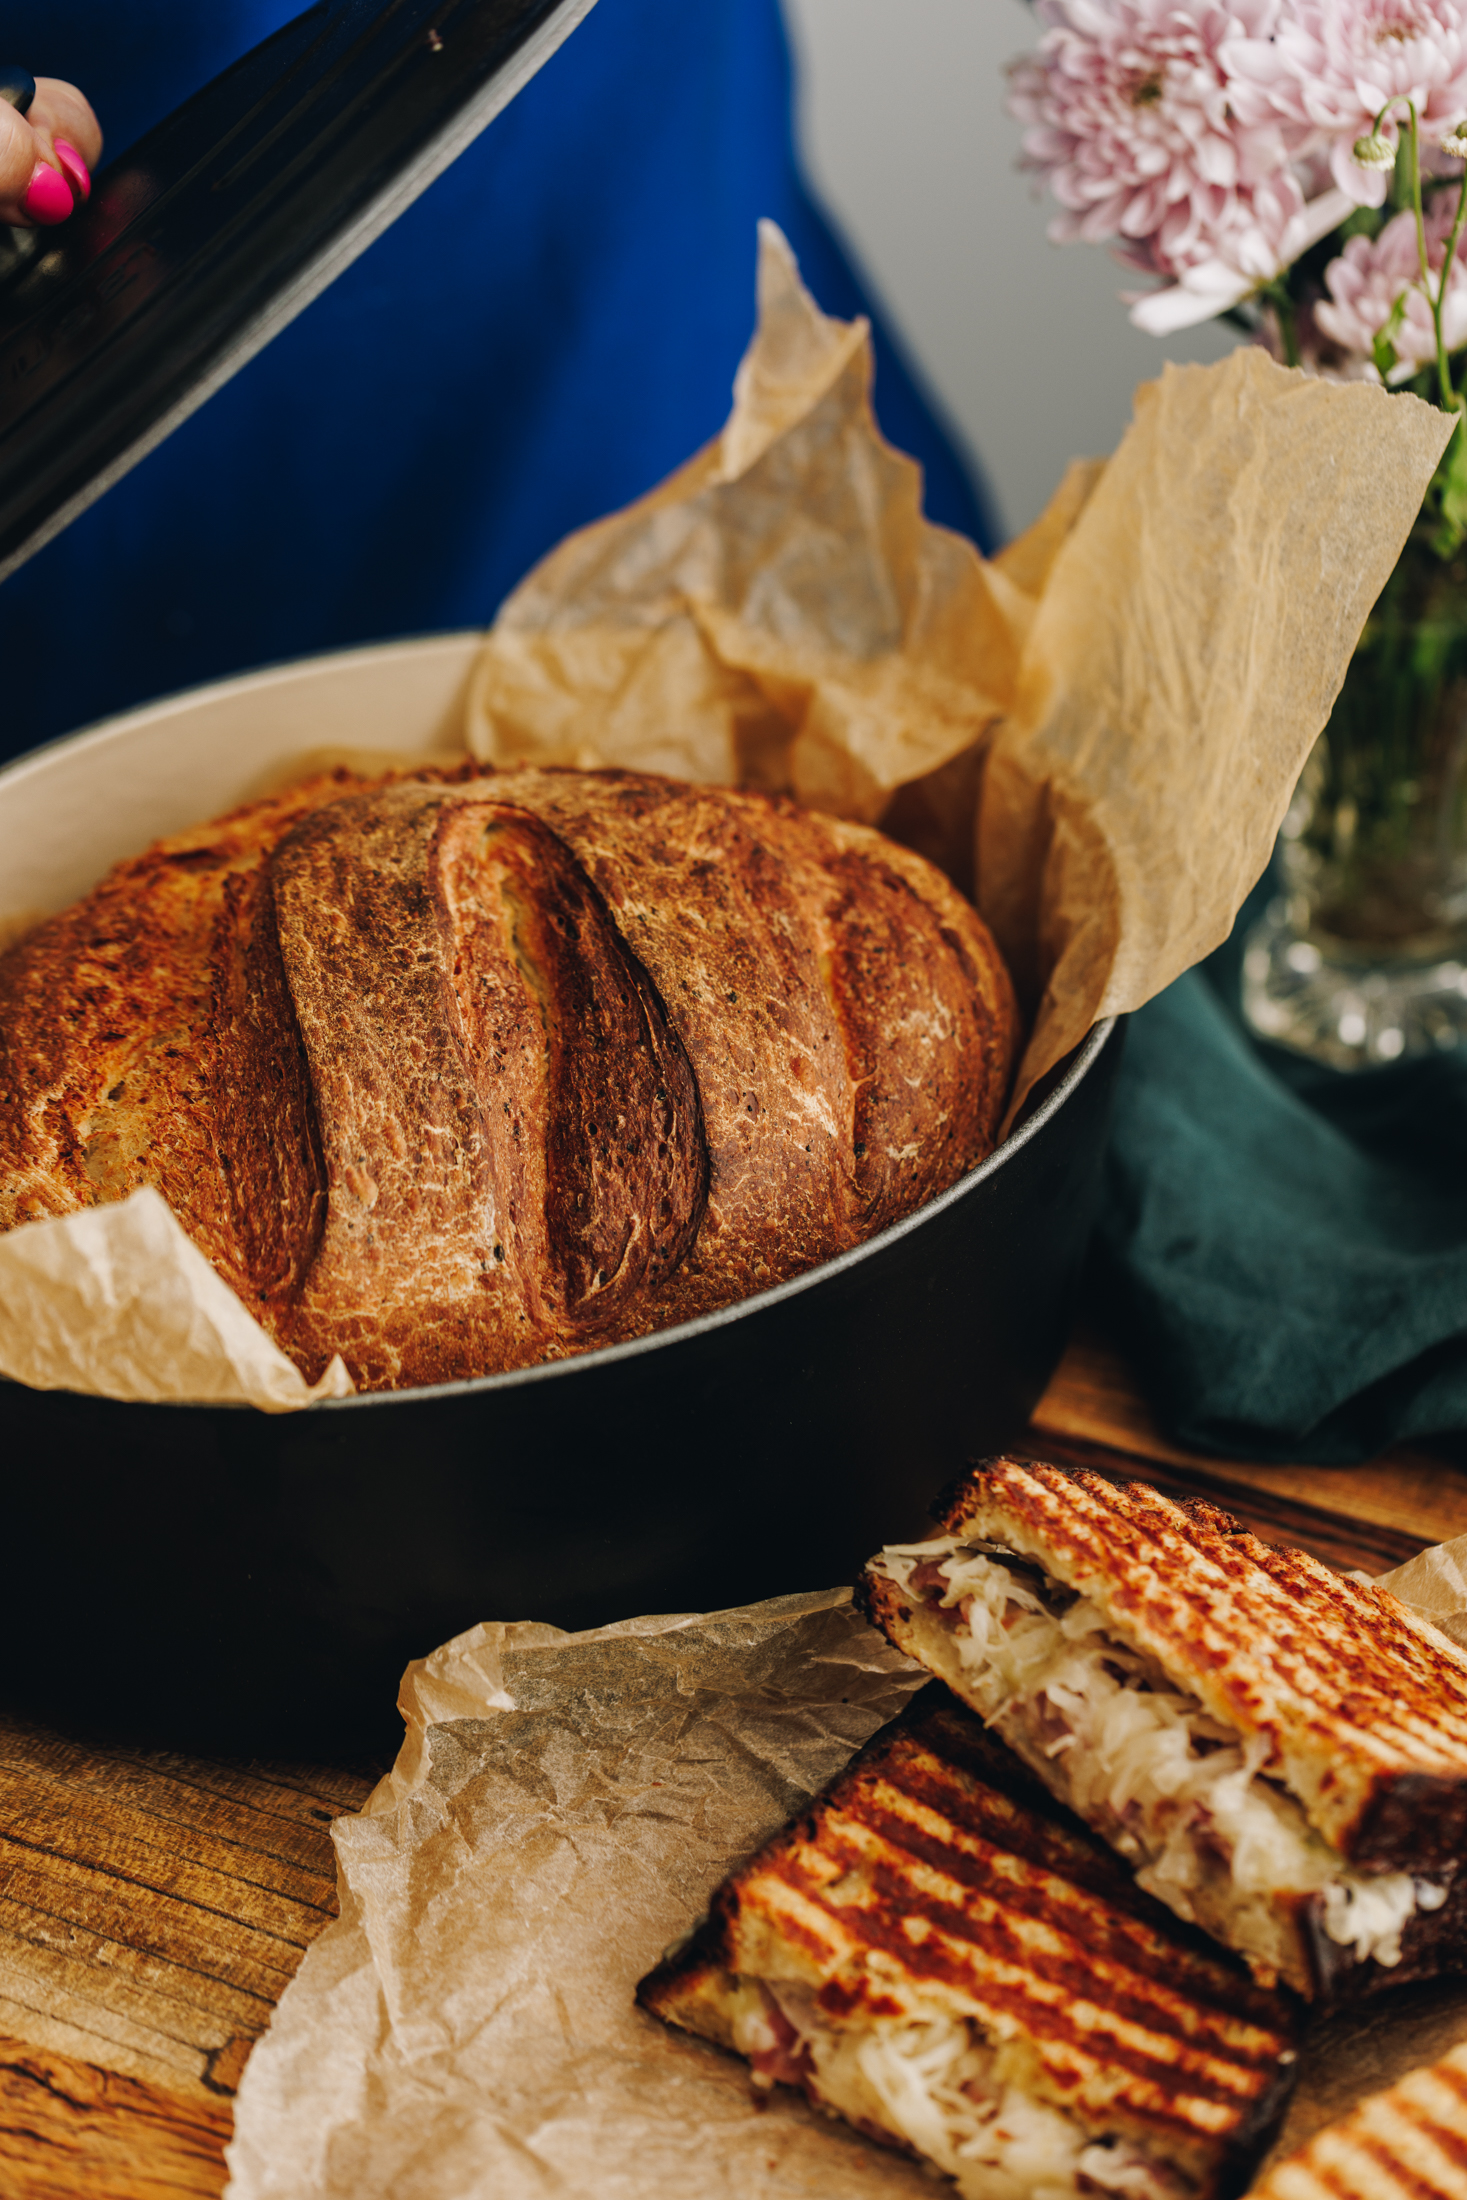
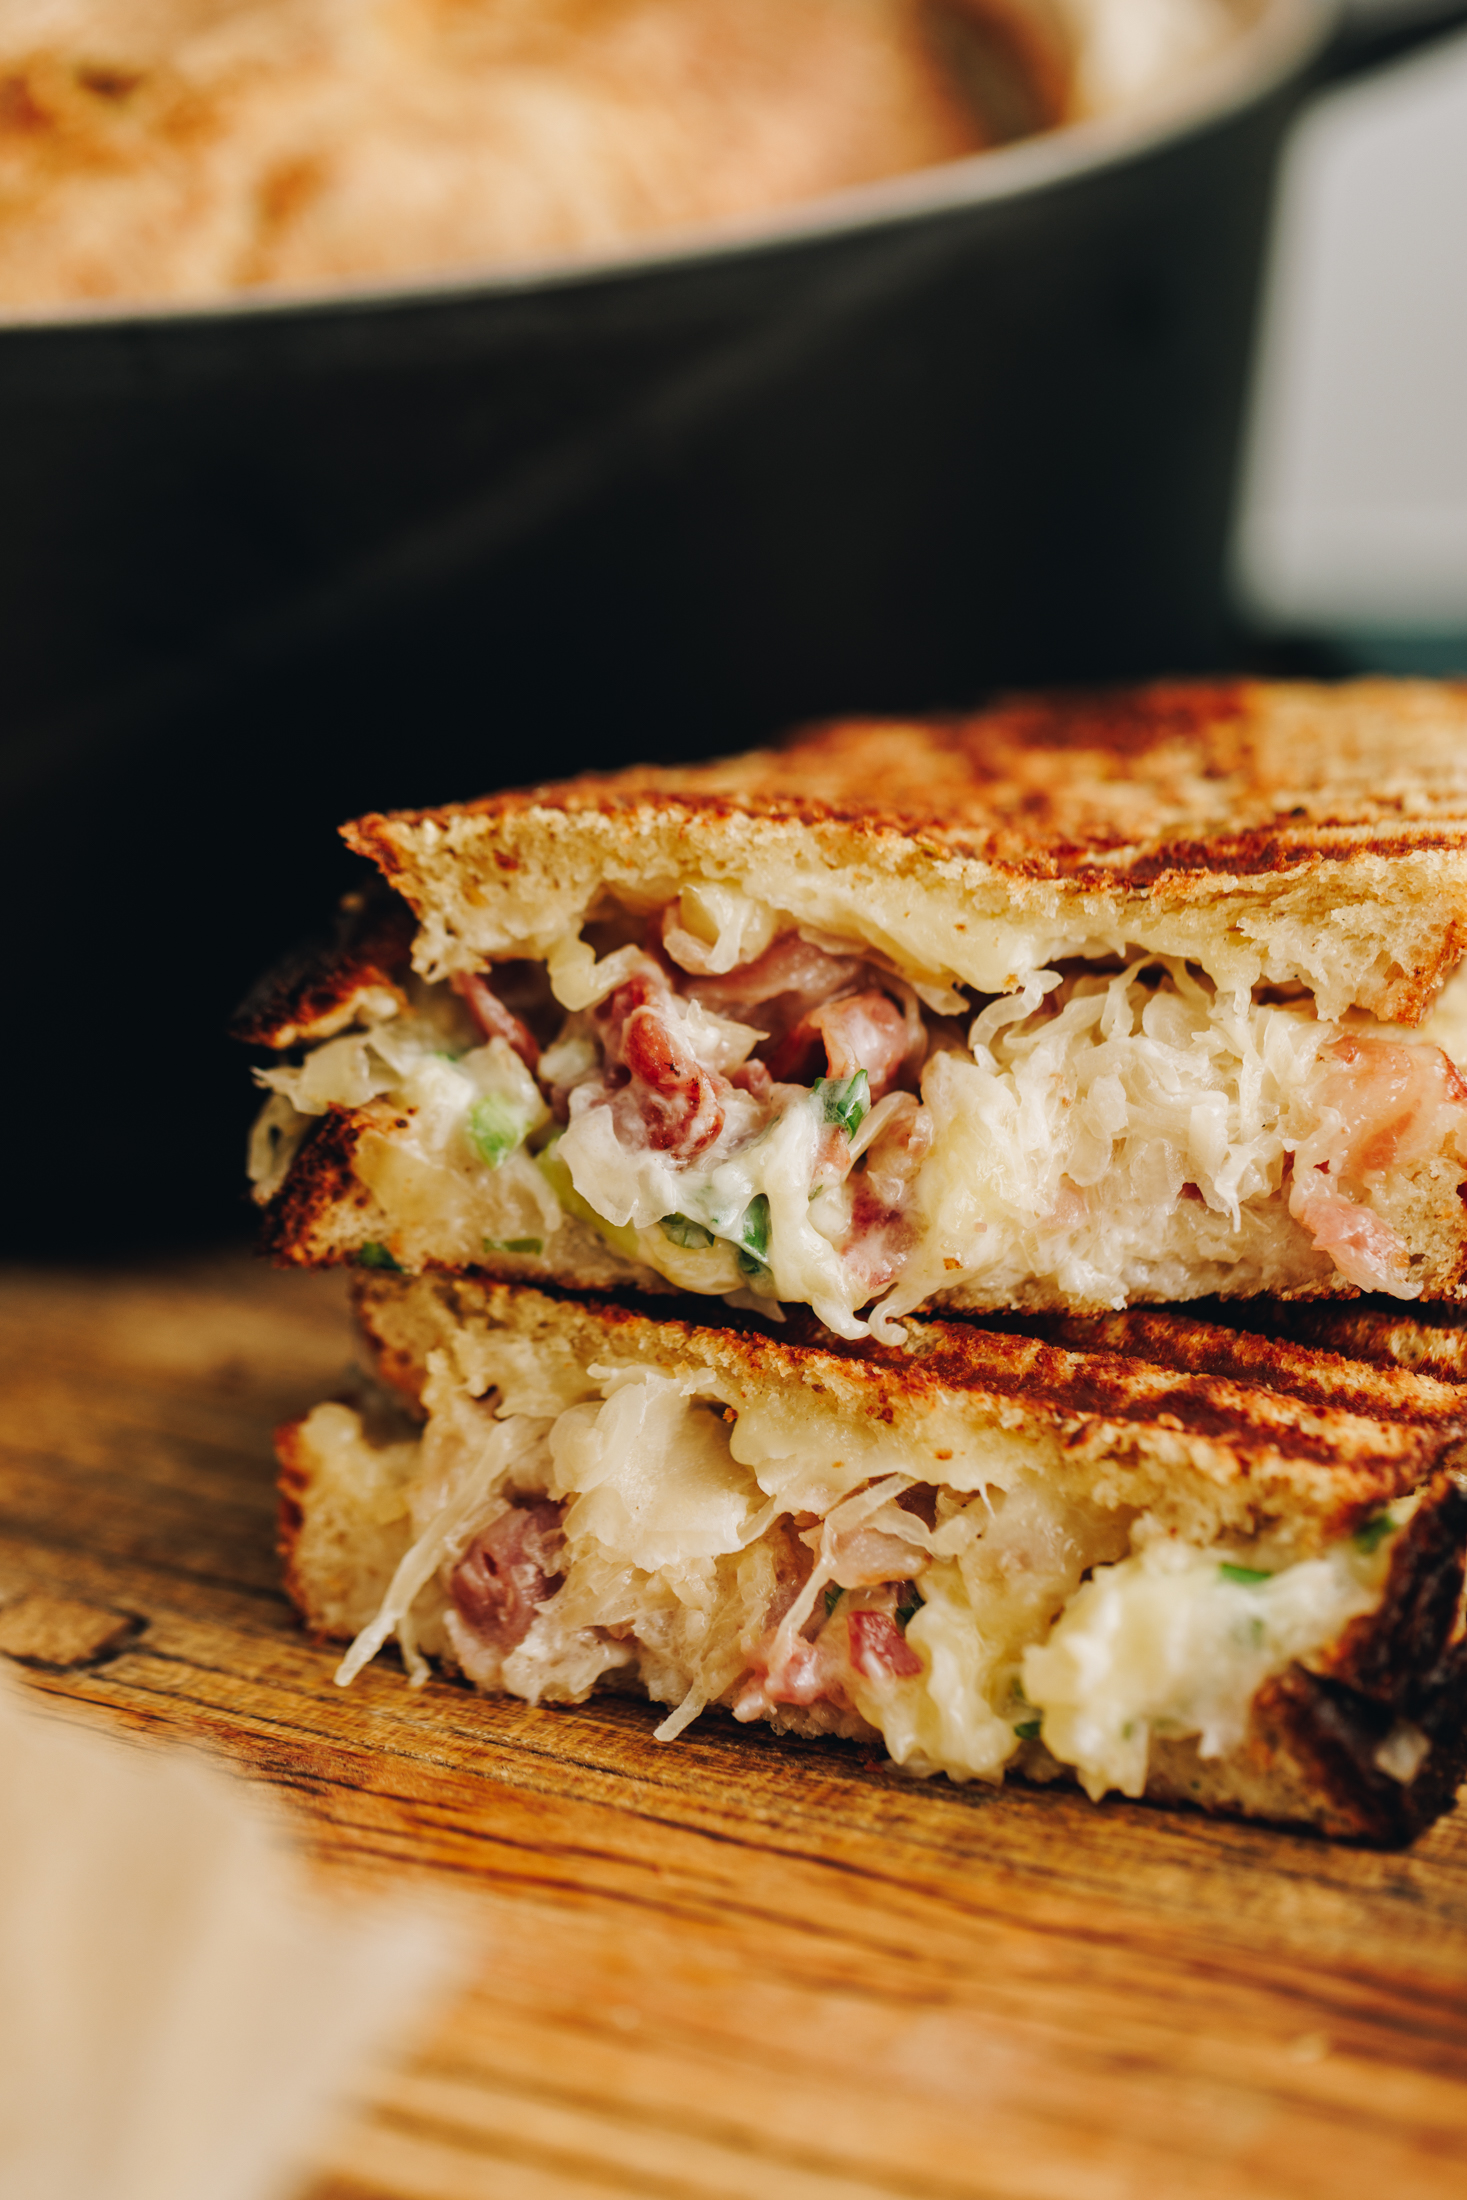
I made this divine bread recipe a couple of years ago for Fly Buys. The challenge was to showcase the beauty of this Le Cruset cast iron pot and it was not a hard task. I knew instantly that a rustic parāoa (bread) was the perfect recipe to create. Don't worry if you don't have a cast iron pot though because I have added instructions to bake it in a loaf tin too. It is absolutely delicious served warm with a lick of butter or it can be transformed into my Maple Bacon Cheese Toastie.
More bread recipes:
Want a no-knead bread recipe? Then look no further than these No-knead Bread Buns for a burger night or this Focaccia Bread for a simple dinner.
Videography and photography by Sarah Henderson.
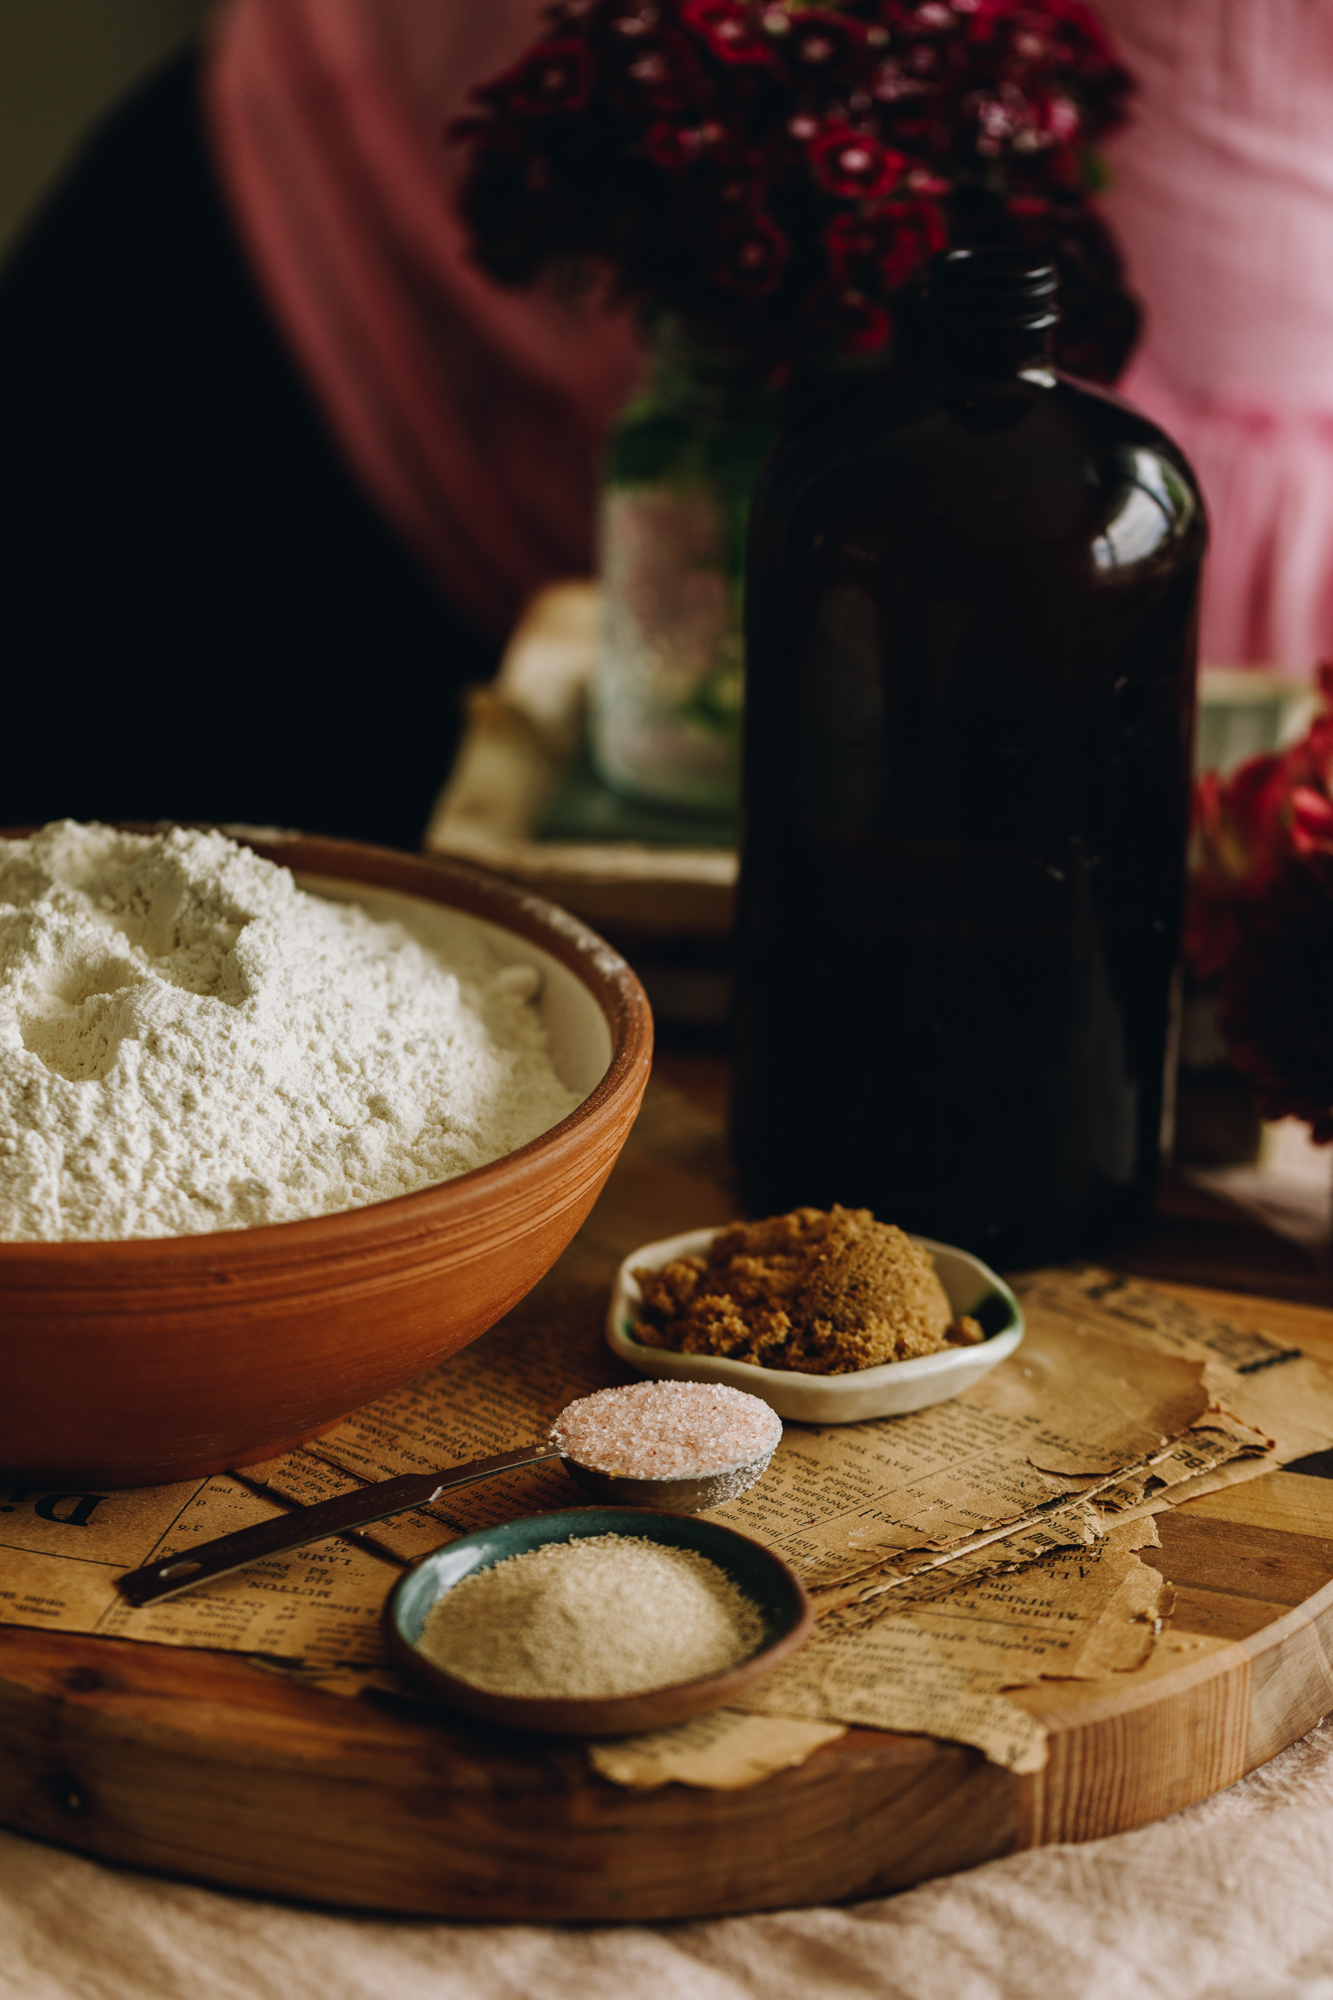
Ingredient Tips for this Cottage Cheese Bread Recipe:
- Cumin: If cumin seeds are not your vibe, leave them out or swap them for spices like dried coriander or oregano. The parāoa (bread) can also be free of spices all together if you want.
- Salt: I use Himalayan salt here, if you are using iodised table salt, half this amount.
- Egg: Adding an egg gives a lovely richness to the dough.
- Cottage Cheese: Tīhi pahī (cottage cheese) creates the softest texture to this loaf and adds a pop of protein.
- Sugar: Use huka hāura (brown sugar), huka mā (white sugar), marahihi māpere (maple syrup) or mīere (honey) in the dough.
- Instant yeast: Use īhi horo (instant yeast) in this recipe for efficient rising. If you are using Surebake or bread makers yeast, double the amount.
- High grade flour: Always use puehu parāoa kounga (high grade flour) in bread recipes for the fluffiest result.
EXPERT TIPS:
Yeast is sensitive to heat so check that the water is the correct temperature before adding it. Simply hold your finger in it, if it a similar temperature to your finger, it is perfect. If you can't hold your finger in it, the water it is too hot and will kill the yeast.
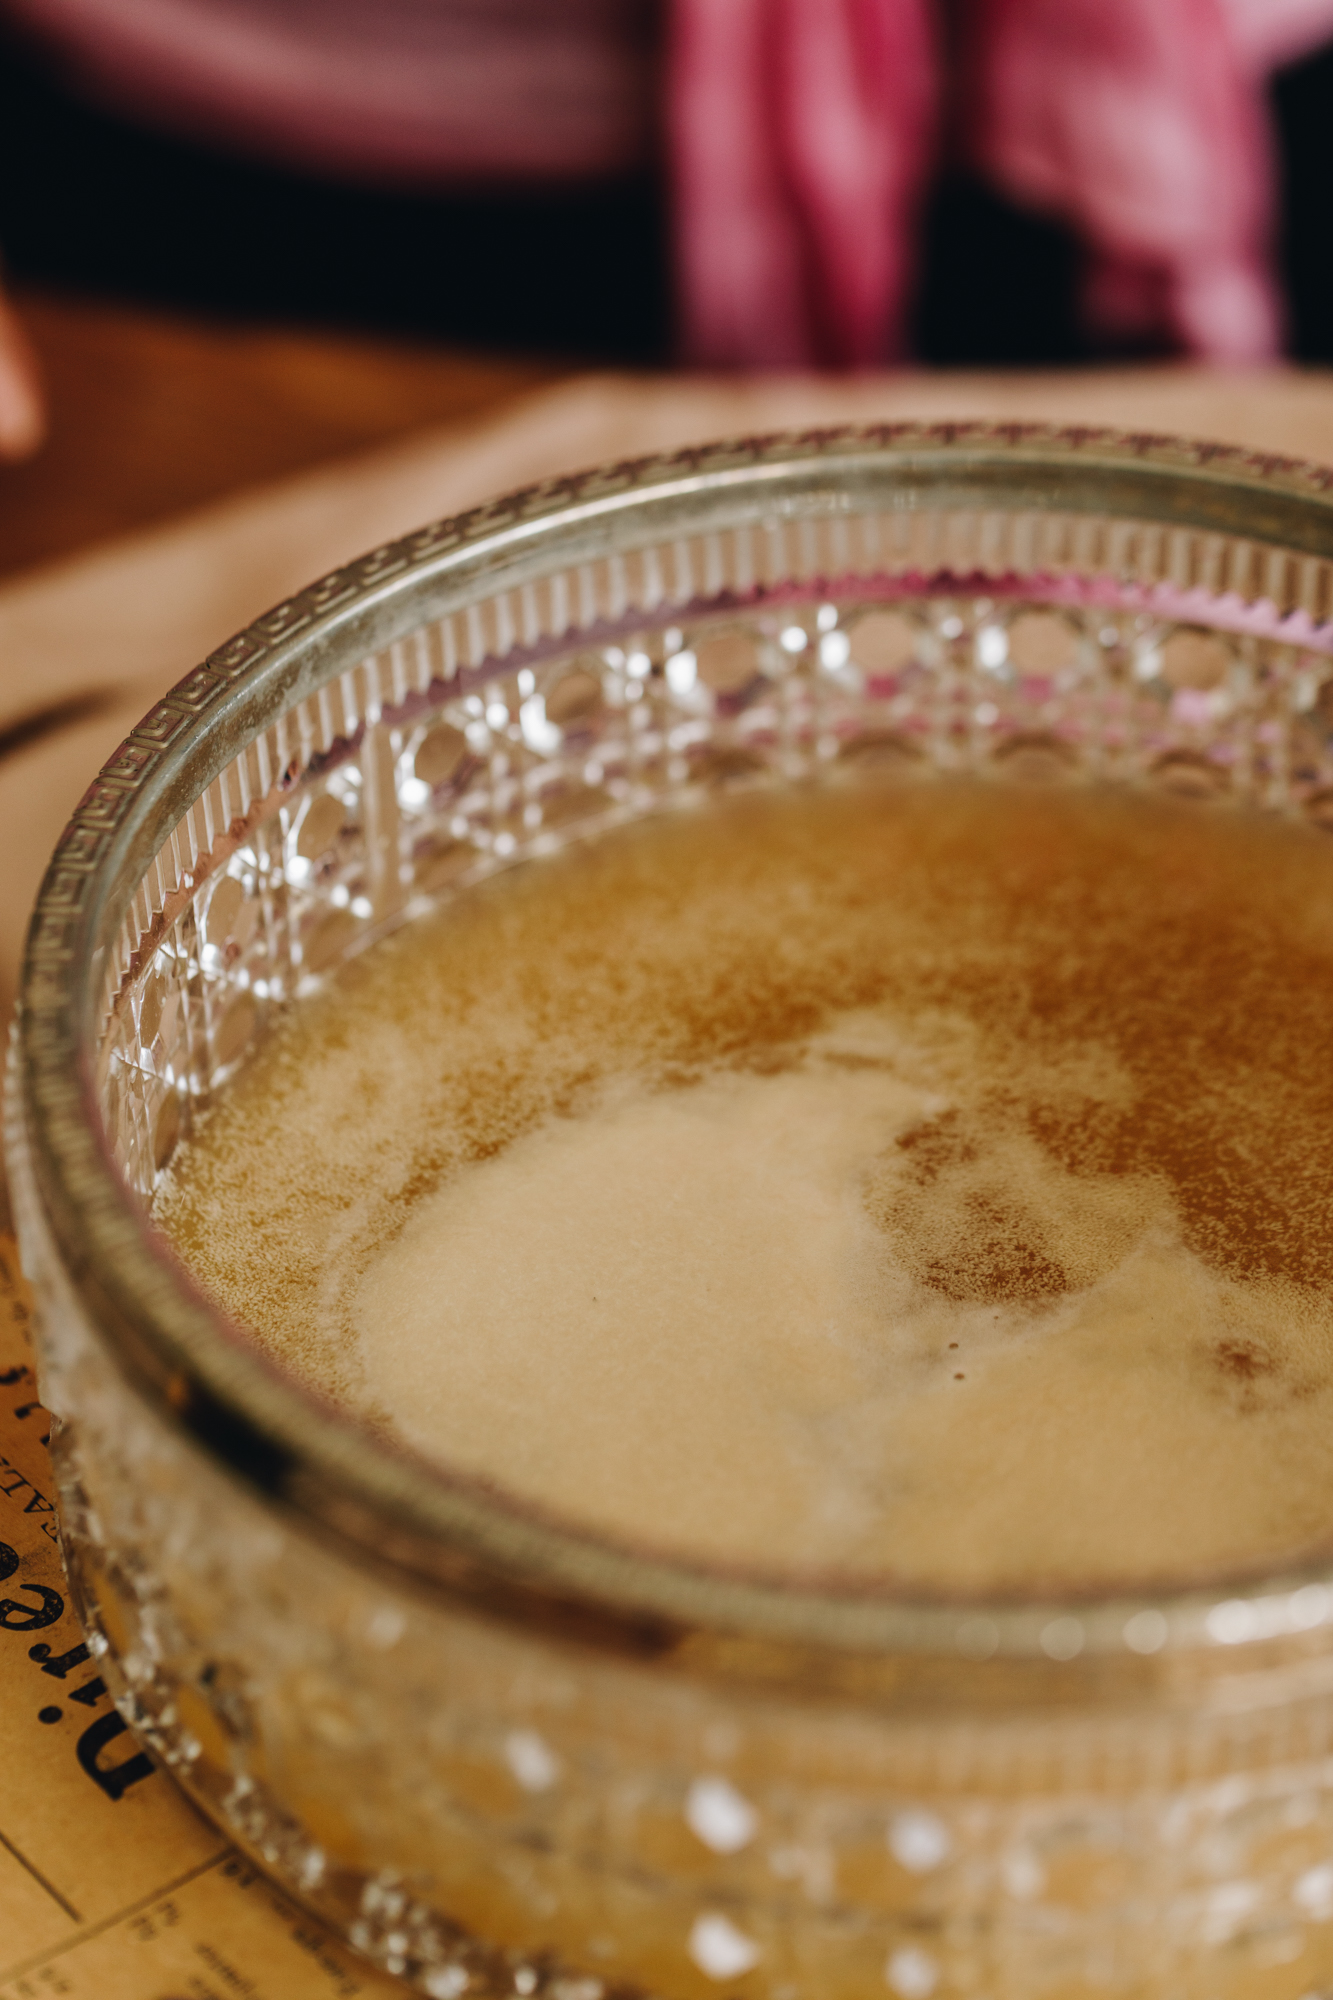
Always give the yeast enough time to activate before adding the dry ingredients. The yeast will float to the top and it will be slightly foamy when it is ready.
Follow the kneading times as they are written because the gluten needs time to develop properly. If you need some more tips, check out this How to Knead Dough post.
When hand kneading use the palm of your hands, not your fingers. The dough and hands seem to get much stickier when it is worked like that, so work those palms in to the dough.
STEP BY STEP INSTRUCTIONS FOR THIS COTTAGE CHEESE BREAD RECIPE:
Note: The full recipe card with the full list of ingredients, instructions and step by step video are found at the bottom of this page.
1. Toast the Cumin (Optional):
Set a frying pan over medium heat. Add the kākano kumene (cumin seeds) and toast for 5 minutes or until fragrant.
Add them to a mortar and pestle or a chopping board.
Add the tote (salt) to the kākano kumene (cumin seeds) and either grind them to a powder with a mortar and pestle or crush and chop them finely with a sharp knife. They can also be ground in a spice grinder. Leave to the side.
2. Activate the Yeast for the Cottage Cheese Bread Recipe:
Add the wai aromahana (lukewarm water) and huka hāura (brown sugar) in to a large bowl. Kaurorihia (stir it) until the sugar dissolves.
Add in the īhi (yeast) and whisk it together. If you are using instant yeast, leave it for 5 minutes until the yeast has floated to the top. If you are using surebake yeast, leave it for 10 minutes until the yeast has floated to the top and is foamy.

3. Add the Egg and Cottage Cheese:
Add the hēki (egg) in to the yeast mixture and whisk until well incorporated.
Using a fork, give the tīhi pahī (cottage cheese) a really good mash until smooth. (Mine was a bit too lumpy in the video - woops). Add it to the yeast mixture and stir it through.
4. Mix in the Dry Ingredients:
Add the puehu parāoa (flour) and ranunga kumene (cumin mixture).
Mix it together with a bread and butter knife until a shaggy dough forms.

5. Knead the Dough:
If you are using a stand mixer, place the dough in the mixing bowl. Using a dough hook, knead for 8 – 10 minutes on low-medium speed.
If you are kneading by hand, add the dough to a lightly floured bench or table. Knead the dough with the palms of your hands (not with your fingers), for 10 – 12 minutes.
6. First Rise:
Add the dough to a large oiled bowl and cover with a tea towel or bowl cover.
Leave for 1 hour and 30 - 1 hour and 45 minutes to rise and double in size.
The following details are for baking it in a cast iron pan but if you want to bake it in a loaf tin, the details are on the recipe below.
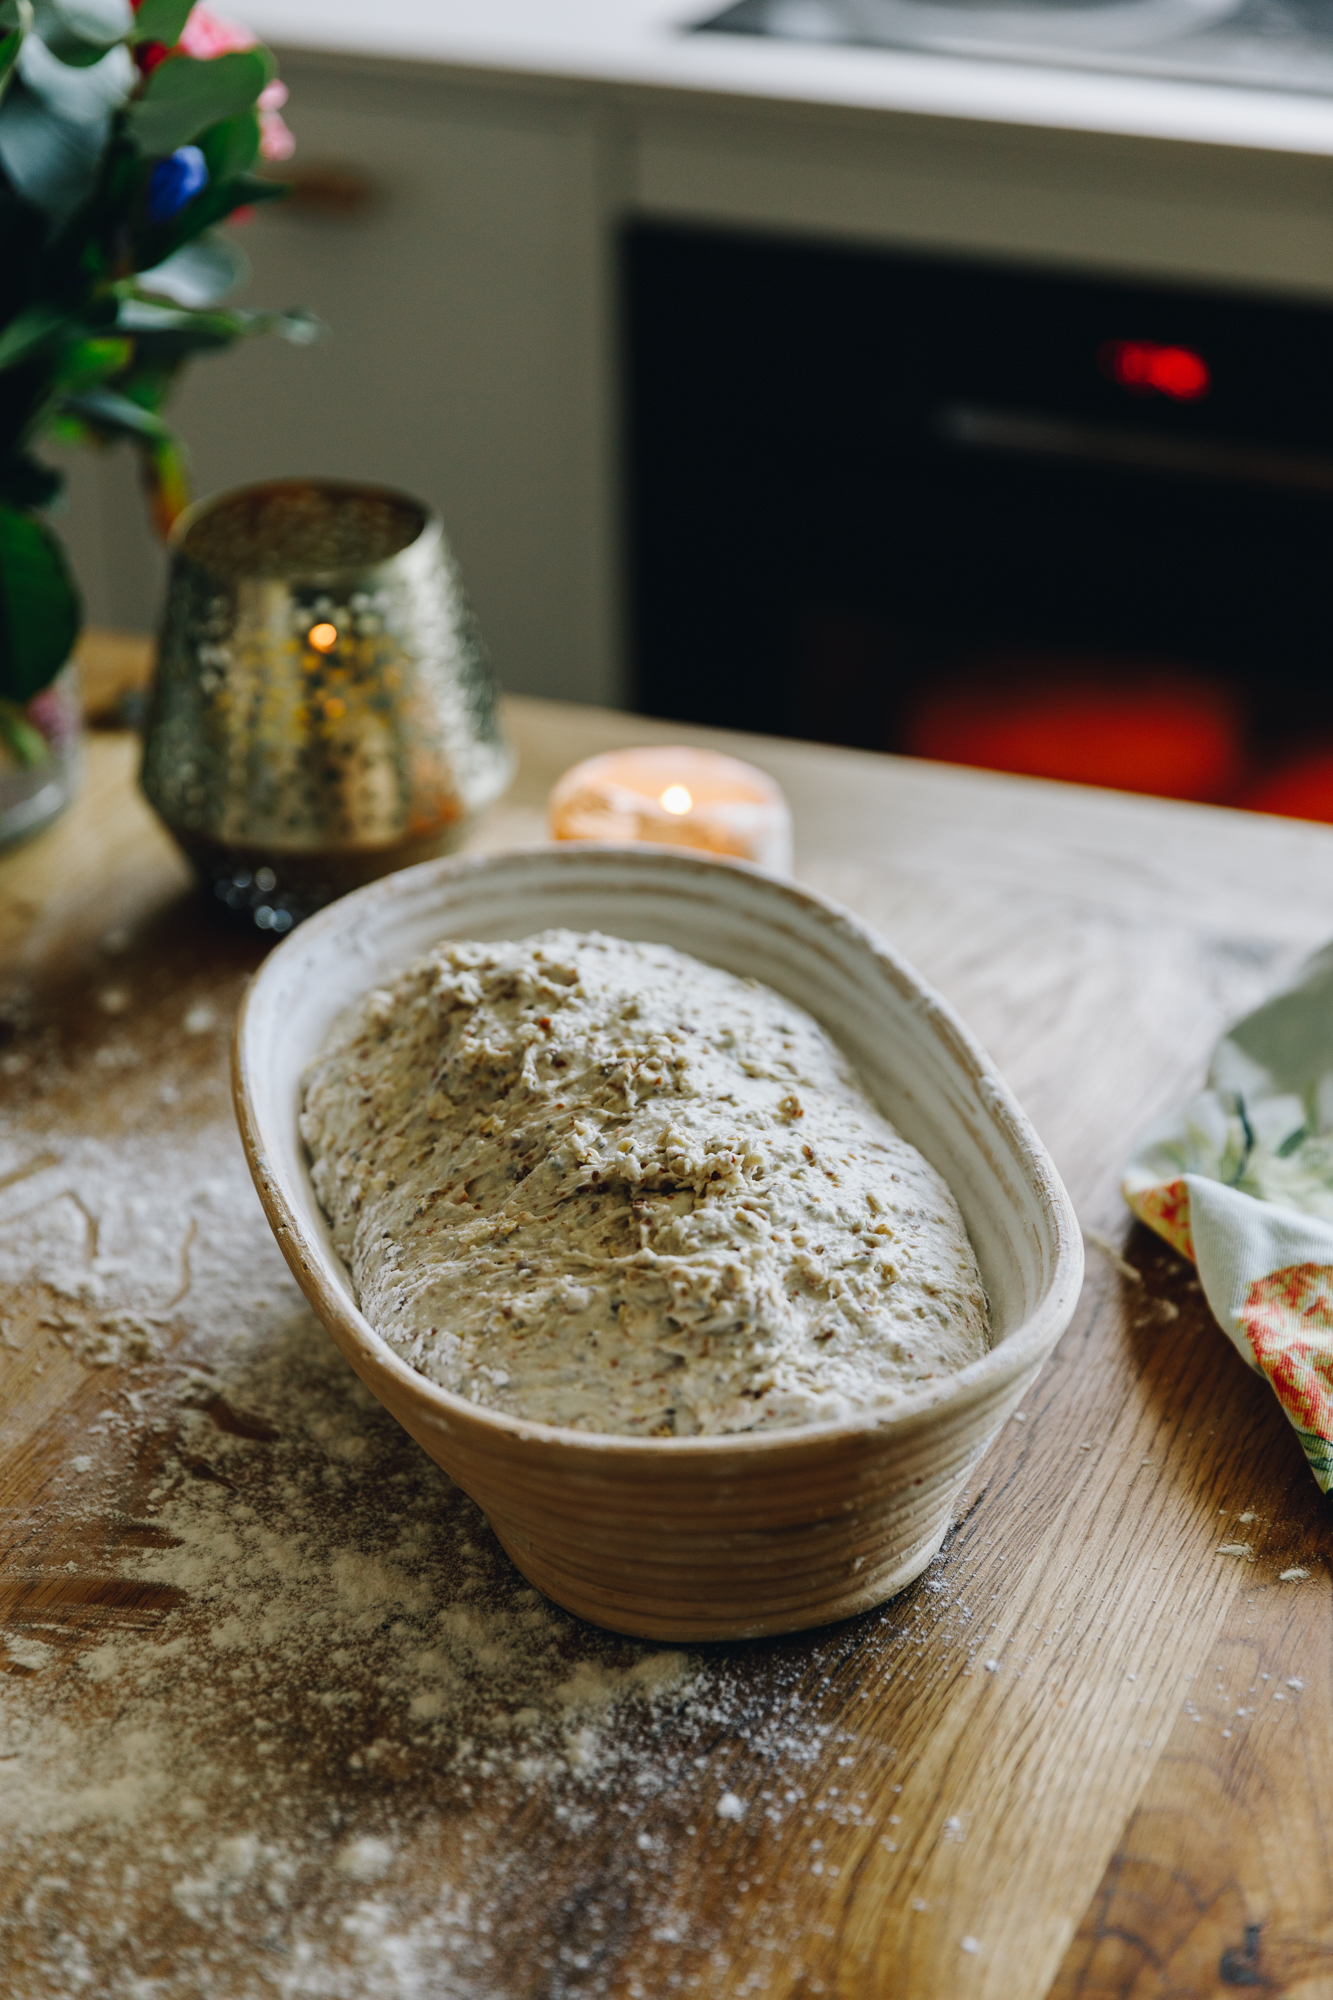
7. Shape the Dough for a Cast Iron Pot:
Once the dough has risen, tip it on to a lightly floured bench and fold in to a loaf shape. (Refer to the video for a guide).
Place it in an oiled bowl or in a sourdough bannteon, the same shape as your cast iron pot (the bowl or banneton should be smaller than the pot).
Note: The dough in banneton in this image is different to the one you are making. It is just a reference.
Second Rise:
Cover and rise again for 50 minutes.
Preheat the Cast Iron Pot:
Add a 3.6 L cast iron pot and the lid in to the oven and heat at 200 °C for 30 minutes.
9. Bake the Loaf in a Cast Iron Pot:
Tip the risen dough upside down on to a large piece of baking paper that will over hang in the cast iron pot.
Remove the preheated pot from the oven and gently lower the parāoa (bread) in to it. Place the lid on.
Bake it for 25 minutes with the lid on.
Remove the lid and bake for a further 20 minutes uncovered.
10. Cool and Serve:
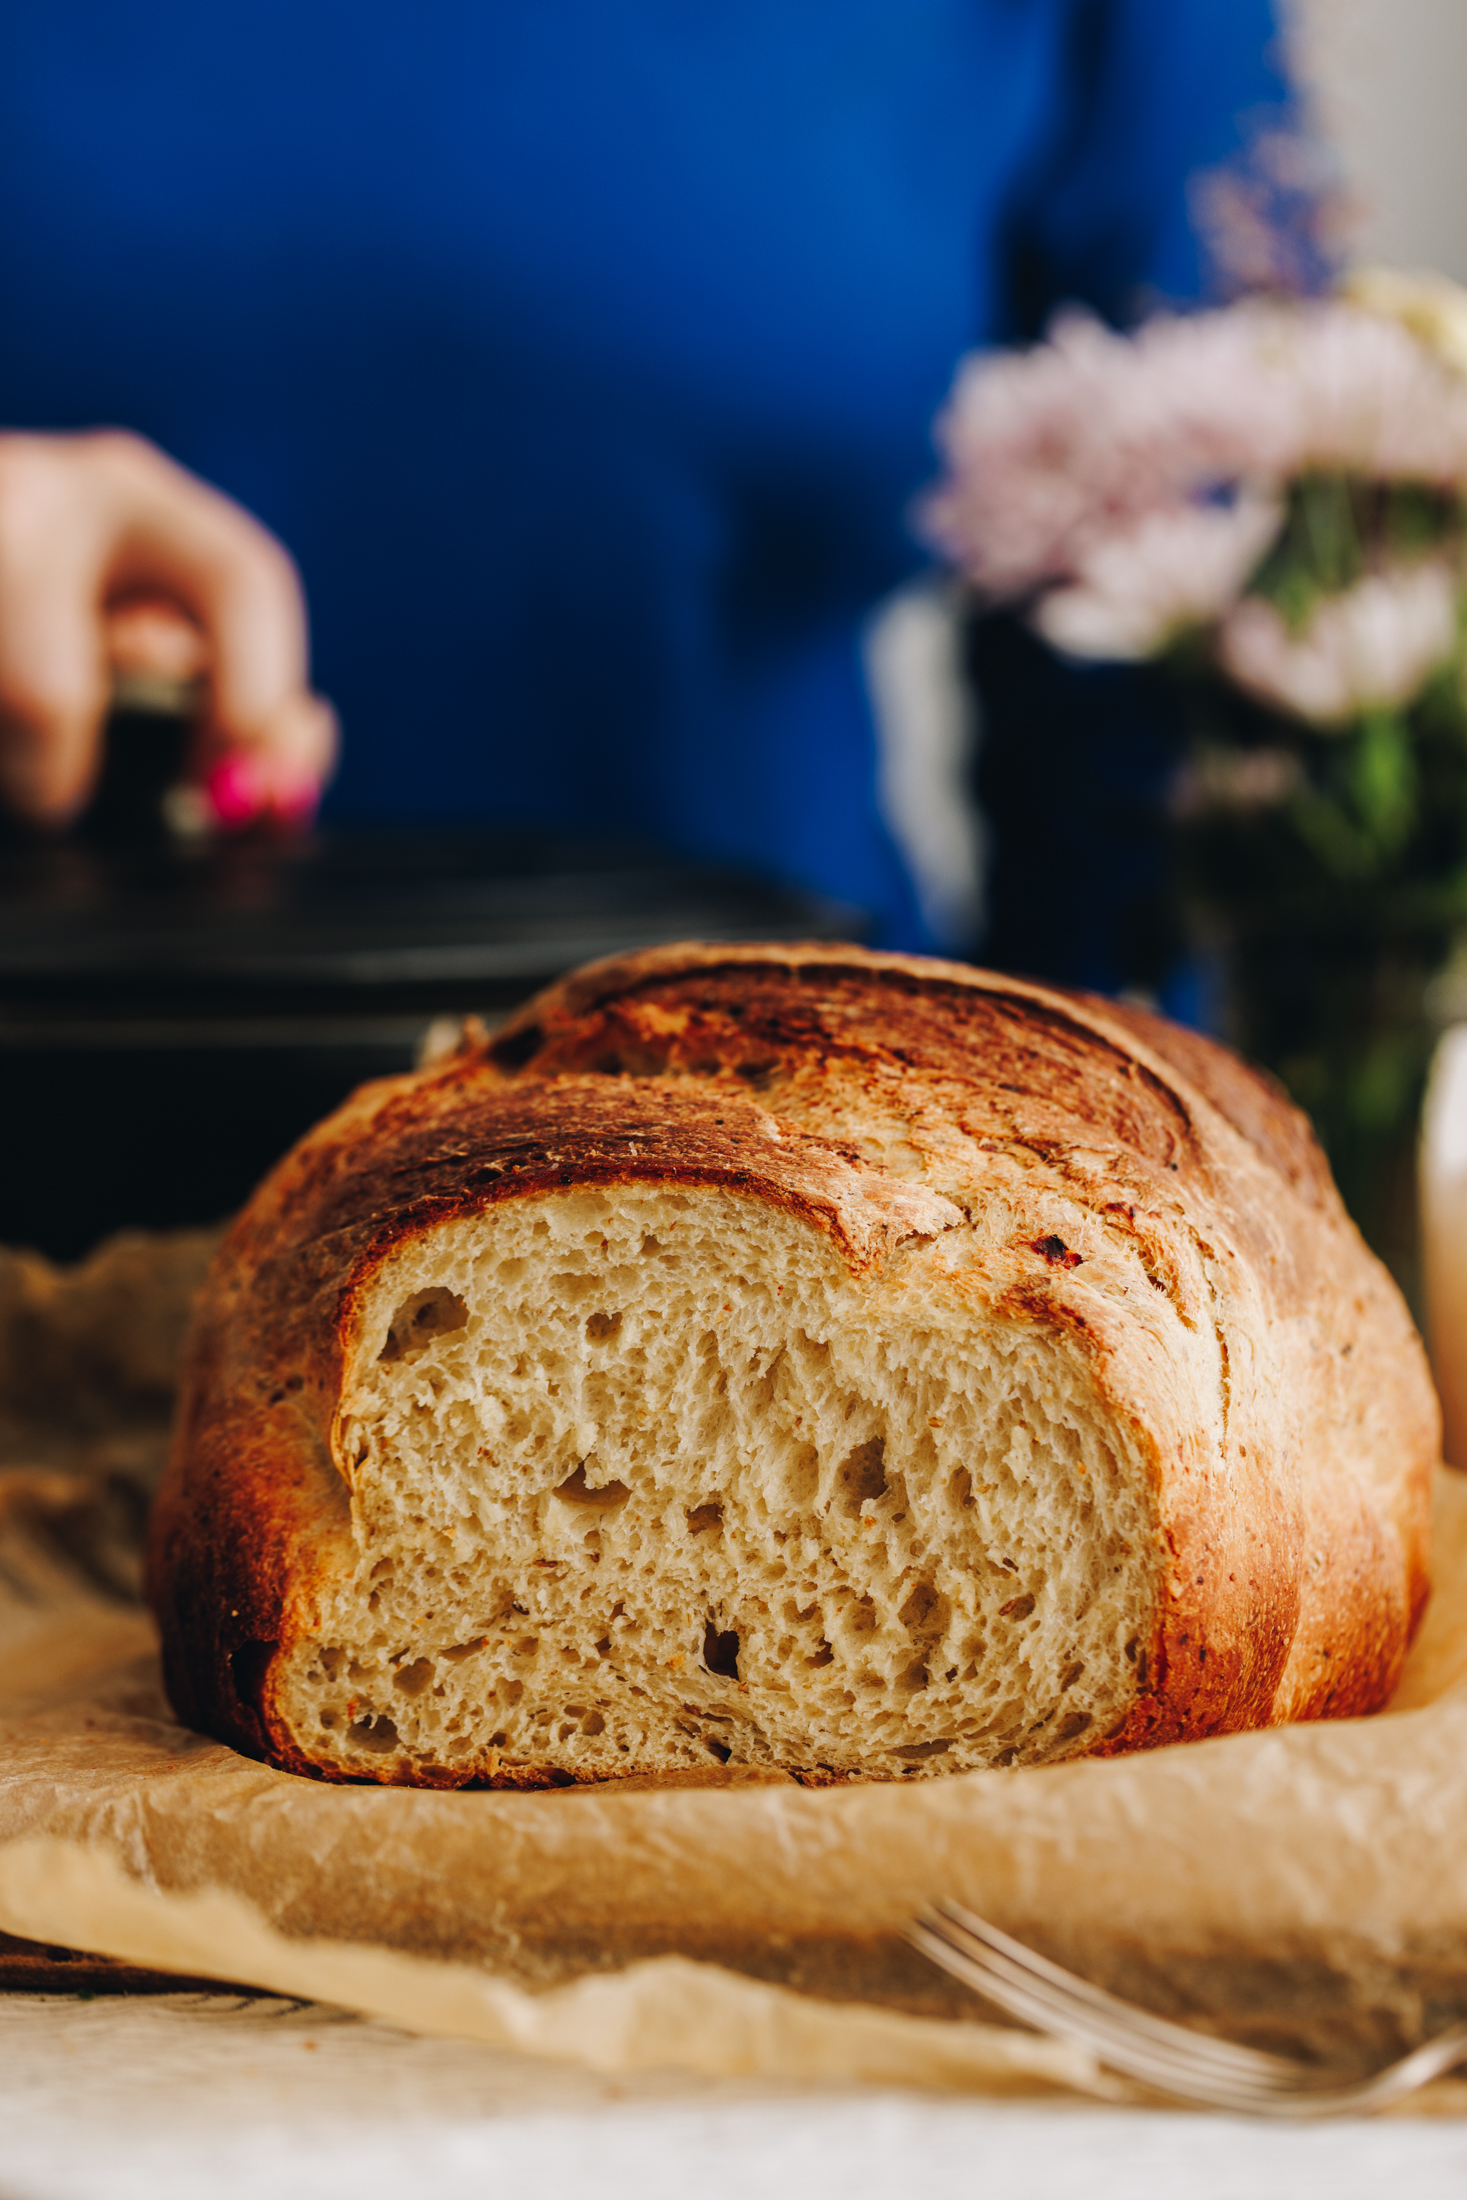
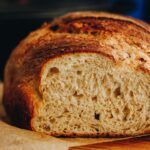
Remove it from the oven, let it cool for 5-10 minutes and slice in to the delicious parāoa (bread) that you just made. Ka wani kē - how awesome!
Store the Cottage Cheese Bread:
This loaf will be at its best on the day but will also make great toast or epic toasties the next day.
In general, I keep homemade bread in a plastic bag for a day on the bench.
Beyond that I slice it and store it in the freezer and remove a piece at a time for toasting.
This parāoa (bread) also works as the best base for my Maple Bacon Cheese Toastie.
Lean in and pick your favourite
Parāoa (Bread) Recipes
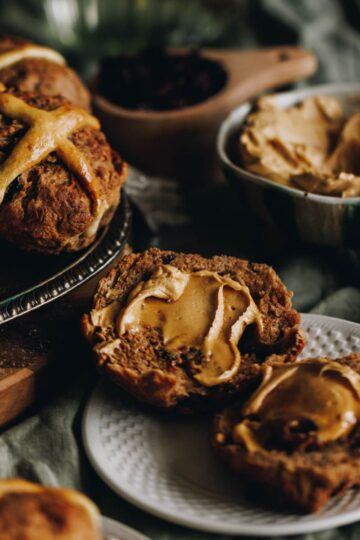
Warm bread spread with a little butter is magical moment indeed.


DID YOU ENJOY THIS RECIPE?
It would be so awesome if you could please leave a review/comment by clicking the “leave a comment” section at the top of the page.
I love seeing you all make my creations, so send a whakaahua (photo) or kiriata (video) to my Instagram and show me what you made. Let me know if you have any pātai (questions) too, I would love to help.
Cottage Cheese Bread Loaf - Rohi Parāoa Tīhi Pahī
Equipment
- 1 x 3.6 L cast iron pot or a Loaf Tin approximately 20 cm long and 12 cm wide.
Ingredients
The Cumin and Cottage Cheese Dough - Te Pokenga Kumene me te Tīhi Pahī
- 1 tablespoon kākano kumene (cumin seeds). If cumin are not your vibe, leave them out or swap them for spices like dried coriander or oregano.
- 2 teaspoon (10 g) tote (salt). I use Himalayan salt here, if you are using iodised table salt, half this amount.
- 1 C (250 ml) wai aromahana (lukewarm water)
- 2 tablespoon (30 g) huka hāura (brown sugar)
- 2 ½ teaspoon (8 g) īhi horo (instant yeast). This can be swapped for 4 teaspoon (16 g) Surebake yeast.
- 1 hēki (egg, size 6)
- ¾ C (170 g) tīhi pahī (cottage cheese)
- 3 C (450 g) puehu parāoa kounga (high grade flour)
Instructions
1. Toast the Cumin:
- Note: If you don't want a super pronounced flavour of cumin in your pokenga (dough), skip the toasting step and add it in un-toasted.
- Set a frying pan over medium heat. Add the kākano kumene (cumin seeds) and toast for 5 minutes or until fragrant.
- Add them to a mortar and pestle or a chopping board.
- Add the tote (salt) to the kākano kumene (cumin seeds) and either grind them to a powder with a mortar and pestle or crush and chop them finely with a sharp knife. They can also be ground in a spice grinder. Leave to the side.
2. Activate the Yeast:
- Add the wai aromahana (lukewarm water) and huka hāura (brown sugar) in to a large bowl. Kaurorihia (stir it) until the sugar dissolves.
- Add in the īhi (yeast) and whisk it together. If you are using instant yeast, leave it for 5 minutes until the yeast has floated to the top. If you are using surebake yeast, leave for 10 minutes until the yeast has floated to the top and is foamy.
3. Add the Egg and Cottage Cheese:
- Add the hēki (egg) in to the yeast mixture and whisk until well incorporated.
- Using a fork, give the tīhi pahī (cottage cheese) a really good mash until smooth. (Mine was a bit too lumpy in the video - woops).
- Add it to the yeast mixture.Whakawhenumia (mix it together).
4. Mix in the Dry Ingredients:
- Add the puehu parāoa (flour) and ranunga kumene (cumin mixture).
- Mix it together with a bread and butter knife until a shaggy dough forms.
5. Kneading the dough - Pokepoke pokenga
- Now it is time to knead the dough. The dough has an egg in it so it will be a little sticky but don't add extra flour.
- If you are using a stand mixer, place the dough in the mixing bowl. Using a dough hook, knead for 8 – 10 minutes on low-medium speed. If you are kneading by hand, add the dough to a lightly floured bench or table. Knead the dough with the palms of your hands (not with your fingers), for 10 – 12 minutes.
6. First Rise:
- Add the dough to a large oiled bowl and cover with a tea towel or bowl cover.
- Leave for 1 hour and 30 - 1 hour and 45 minutes to rise and double in size.
- Once the dough has risen, follow the steps for either baking it in a cast iron pot or a loaf tin. If you are baking it in a tin, skip to step number 12. If you are baking it in a cast iron pot, go to step number 7.
Option One: Bake it in a Cast Iron Pot
7. Shape the Dough for a Cast Iron Pot:
- Once the dough has risen, tip it on to a lightly floured bench and fold in to a loaf shape. (Refer to the video for a guide).
- Place it in an oiled bowl or a sourdough banneton that is the same shape as your cast iron pot (it should be smaller than the pot).
8. Second Rise:
- Cover and rise again for 50 minutes.
9. Preheat the Cast Iron Pot:
- Add a 3.6 L cast iron pot and the lid to the oven and heat at 200 °C for 30 minutes.
10. Bake the Loaf in a Cast Iron Pot:
- Tip the risen dough upside down on to a large piece of baking paper that will over hang in the cast iron pot. Score it, this helps the parāoa (bread) rise in a uniform way and can be done with scissors or a sharp knife.
- Remove the preheated cast iron pot from the oven and gently lower the parāoa (bread) in to it. Place the lid on.
- Bake it for 25 minutes with the lid on.
- Remove the lid and bake for a further 20 minutes uncovered.
11. Cool and Serve:
- Remove it from the oven, let it cool for 5-10 minutes and slice in to the delicious parāoa (bread) that you just made. Ka wani kē - how awesome!
Option 2: Bake the Loaf in a Loaf Tin
12. Prepare the Loaf Tin:
- Grease the base and sides of a loaf tin with oil. The size should be approximately 20 cm long and 12 cm wide.
13. Shape the Dough:
- Once the dough has risen, tip it on to a lightly floured bench and fold in to a loaf shape. (Refer to the video for a guide).
- Add the rolled up dough in to the loaf tin, with the seam underneath.
14. Second Rise:
- Cover the tin with a tea towel and allow to rise for 45-50 minutes.
Preheat the Oven:
- As it rises, preheat the oven to 175 °C.
15. Bake the Bread:
- Once it has doubled in size, score it, this helps the parāoa (bread) rise in a uniform way and can be done with scissors or a sharp knife.
- Slide it in to the preheated oven and bake for 45 minutes until golden.
16. Slice and Enjoy:
- Allow to cool for 5 minutes in the tin. Slice and enjoy with your favourite toppings.
Store the Bread:
- This loaf will be at its best on the day but will also make great toast or epic toasties the next day.
- In general, I keep homemade bread in a plastic bag for a day on the bench. Beyond that I slice it and store it in the freezer and remove a piece at a time for toasting.
- This parāoa (bread) also works as the best base for my Maple Bacon Cheese Toastie.


Leave a Review