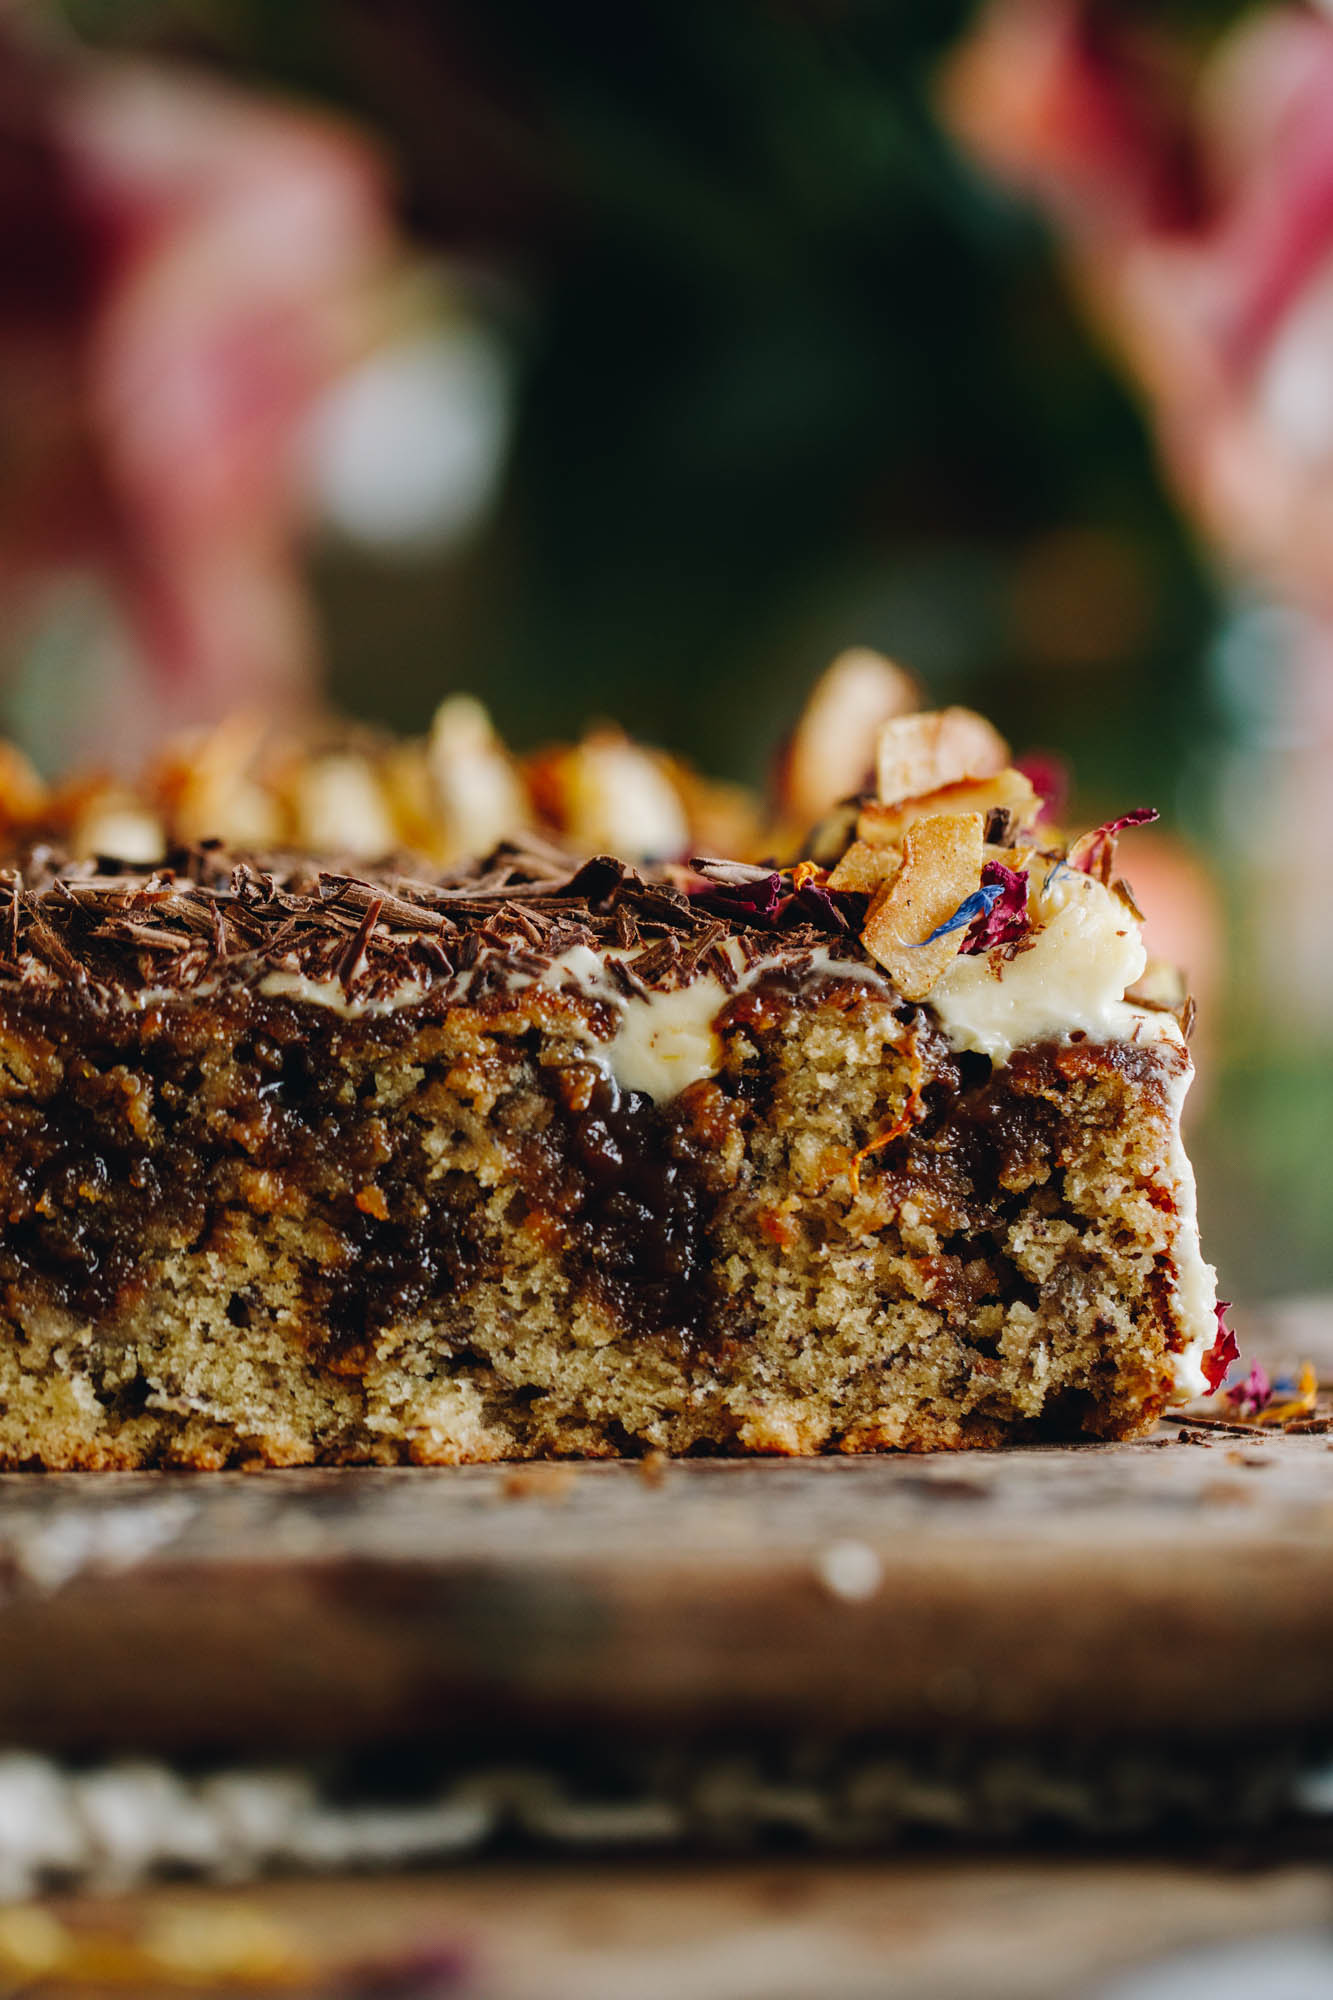
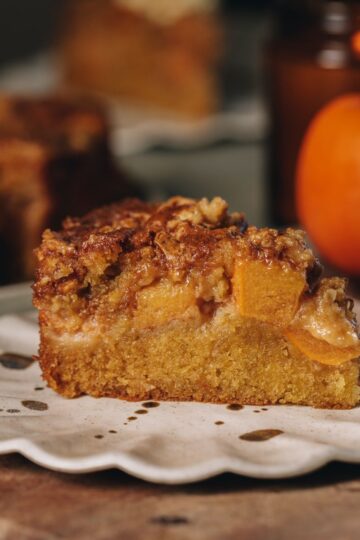
This Banana and Caramel Poke Cake is a rich banana caramel poke cake that takes the humble keke panana (banana cake) to a whole new level. Soft, moist banana cake is filled with sweet, sticky homemade caramel and topped with a creamy cream cheese frosting.
Perfect for a family dessert, afternoon tea, or special celebration, it’s the kind of cake that always has everyone coming back for seconds. Grab your apron and let’s bake this banana-packed treat together! 🍌
Why you will love this Banana and Caramel Poke Cake:
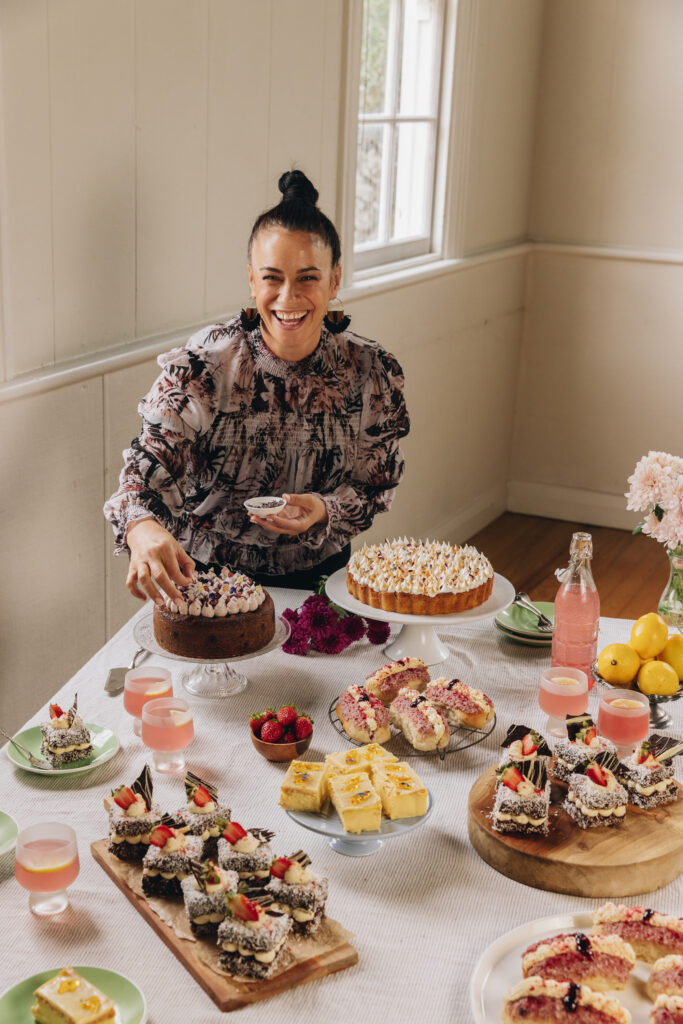
I first made this recipe for Pams as part of a Matariki campaign. It was such a special project—baking these keke (cakes) in bulk and sharing them with our local marae and community was incredibly meaningful.
The recipe worked beautifully, and I’ve been so grateful for all the lovely feedback from you all. Since then, I’ve tweaked it slightly to allow for even more panana (banana) flavour, because, you can never have too much banana in a cake like this!
More banana recipes:
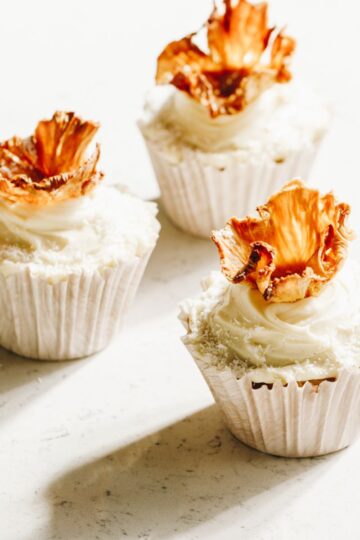
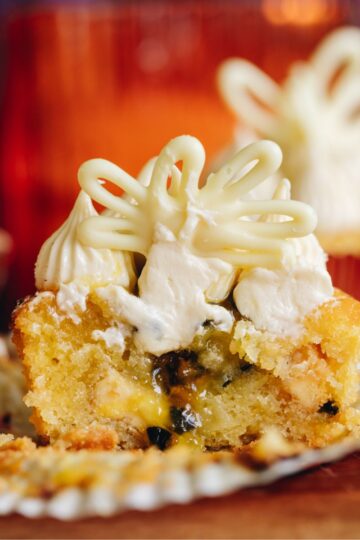
If banana brings you joy, you’ll love these delicious cake recipes. Try this Spiced Banana Loaf, packed with flavour and texture. Or go for these Simple Banana Cupcakes with peanut butter buttercream. Which one will you bake first?
Videography and photography taken by Sarah Henderson.
INGREDIENTS:
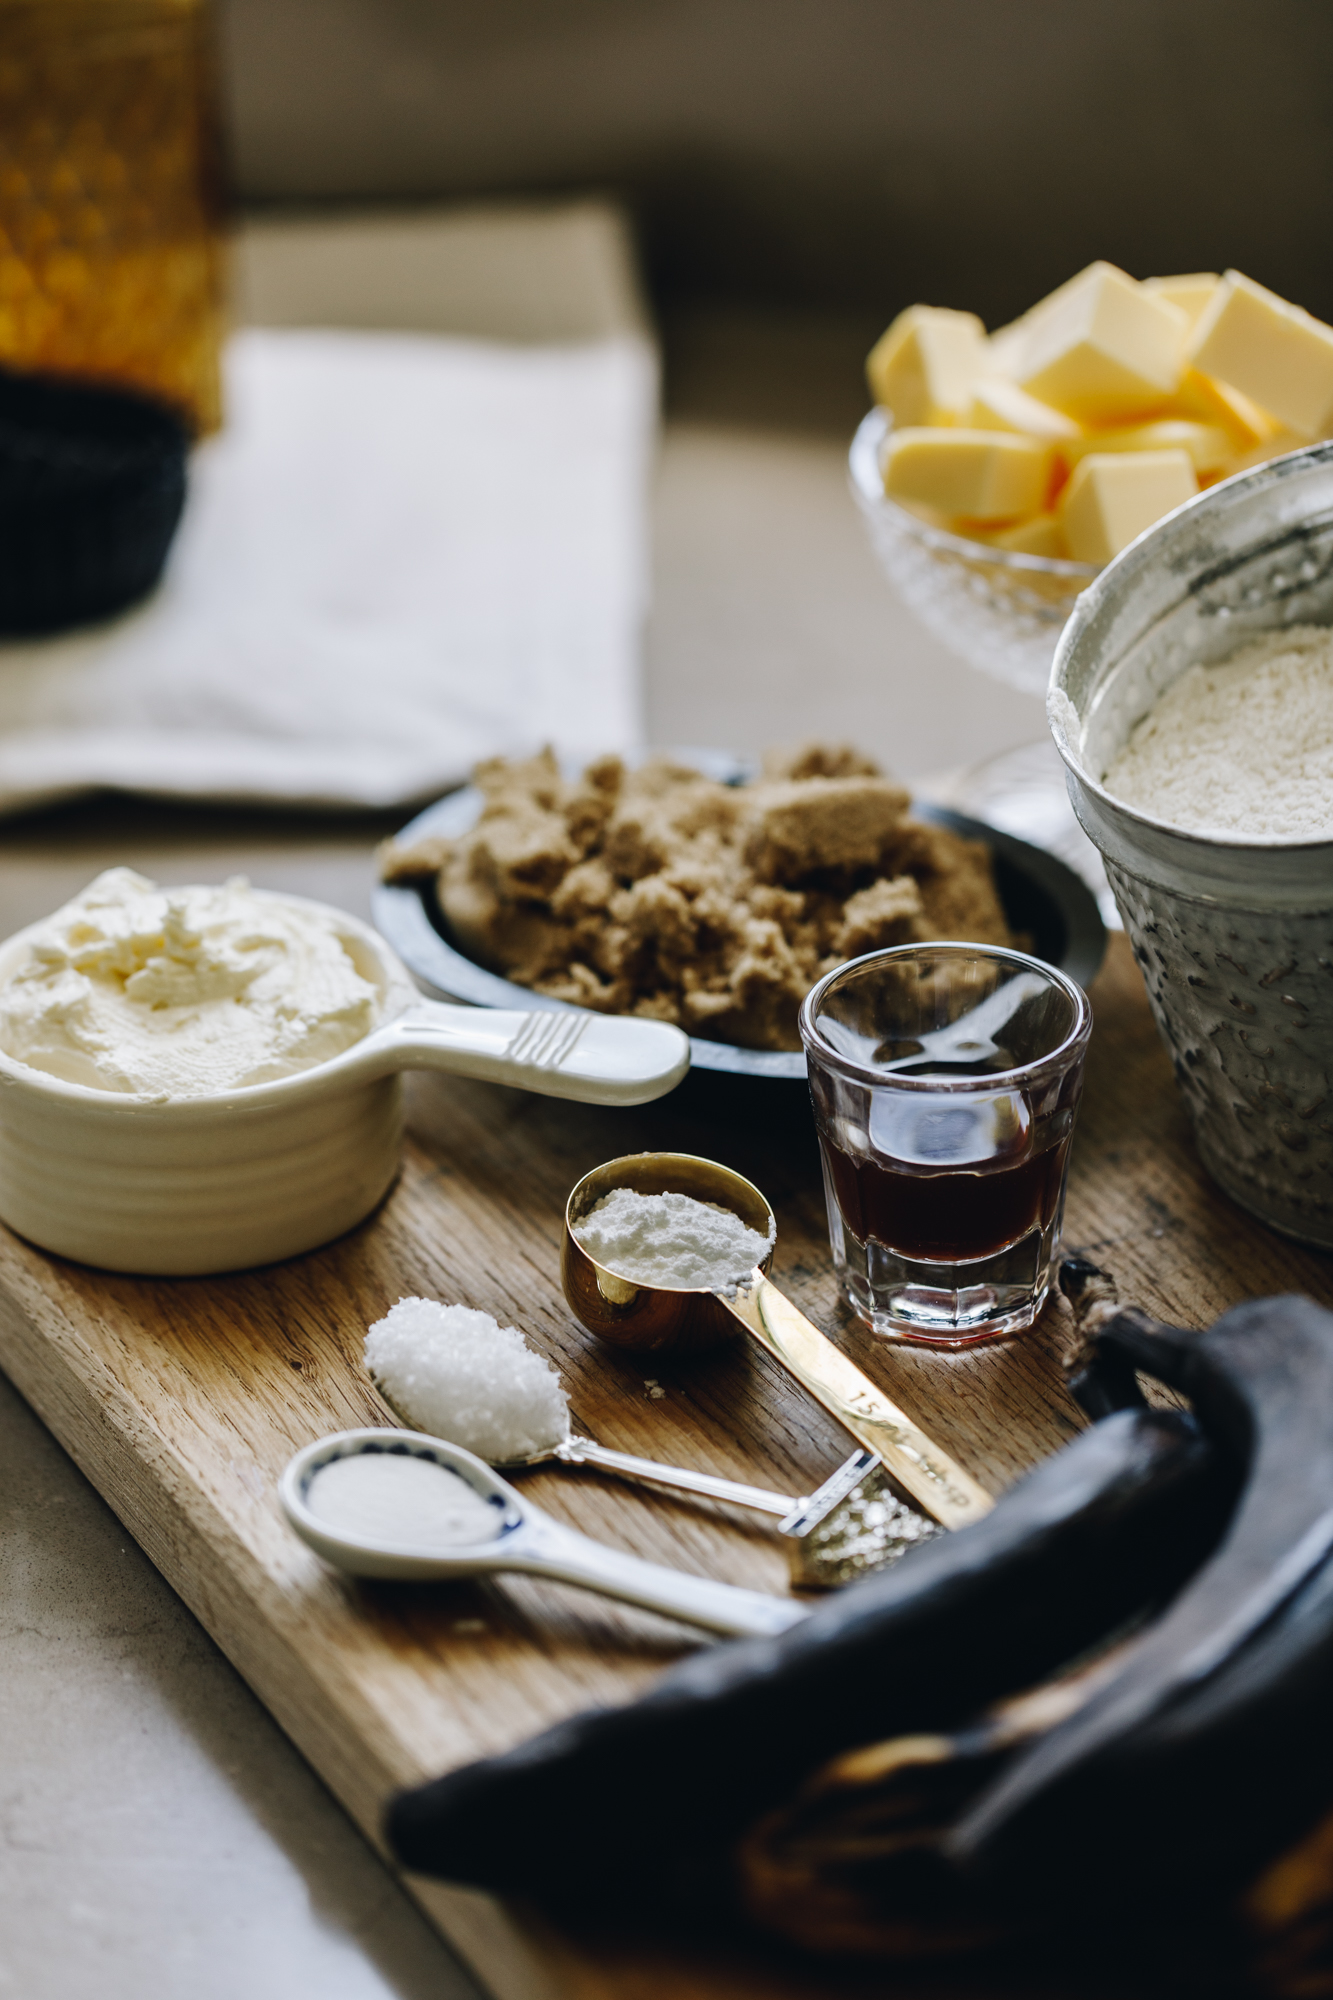
- Eggs: I always use free-range hēki (eggs) but use what you have.
- Sugar: Use huka one (caster sugar) to create a light and fluffy egg mixture.
- Rotten bananas: Use rotten bananas for the best flavour. I know it sounds weird but trust me, the blacker the better. If you don't have any, check my tips below.
- Oil: Use a neutral flavoured oil in this keke (cake) like olive or rice bran.
- Flour: Use plain or high grade flour in this recipe, either of them will work.
- Brown Sugar: Definitely use huka hāura (brown sugar) when making the caramel for the best results.
- Cream Cheese: Always use the traditional full fat kirīmi tīhi (cream cheese) for the best results and avoid the spreadable or lite kind as they do not whip up in the same way.
HOW TO MAKE THIS BANANA CAKE:
Note: The full recipe card with the full list of ingredients, instructions and step by step video are found at the bottom of this page.
1. Preheat the Oven:
Preheat the oven to 160 °C
bake setting or 150 °C
fan bake.
Grease a 20 cm x 30 cm rectangle tin with high sides with butter and then line it with baking paper.
Make sure the tin as close to this size as possible so the cake is thick enough when baked.
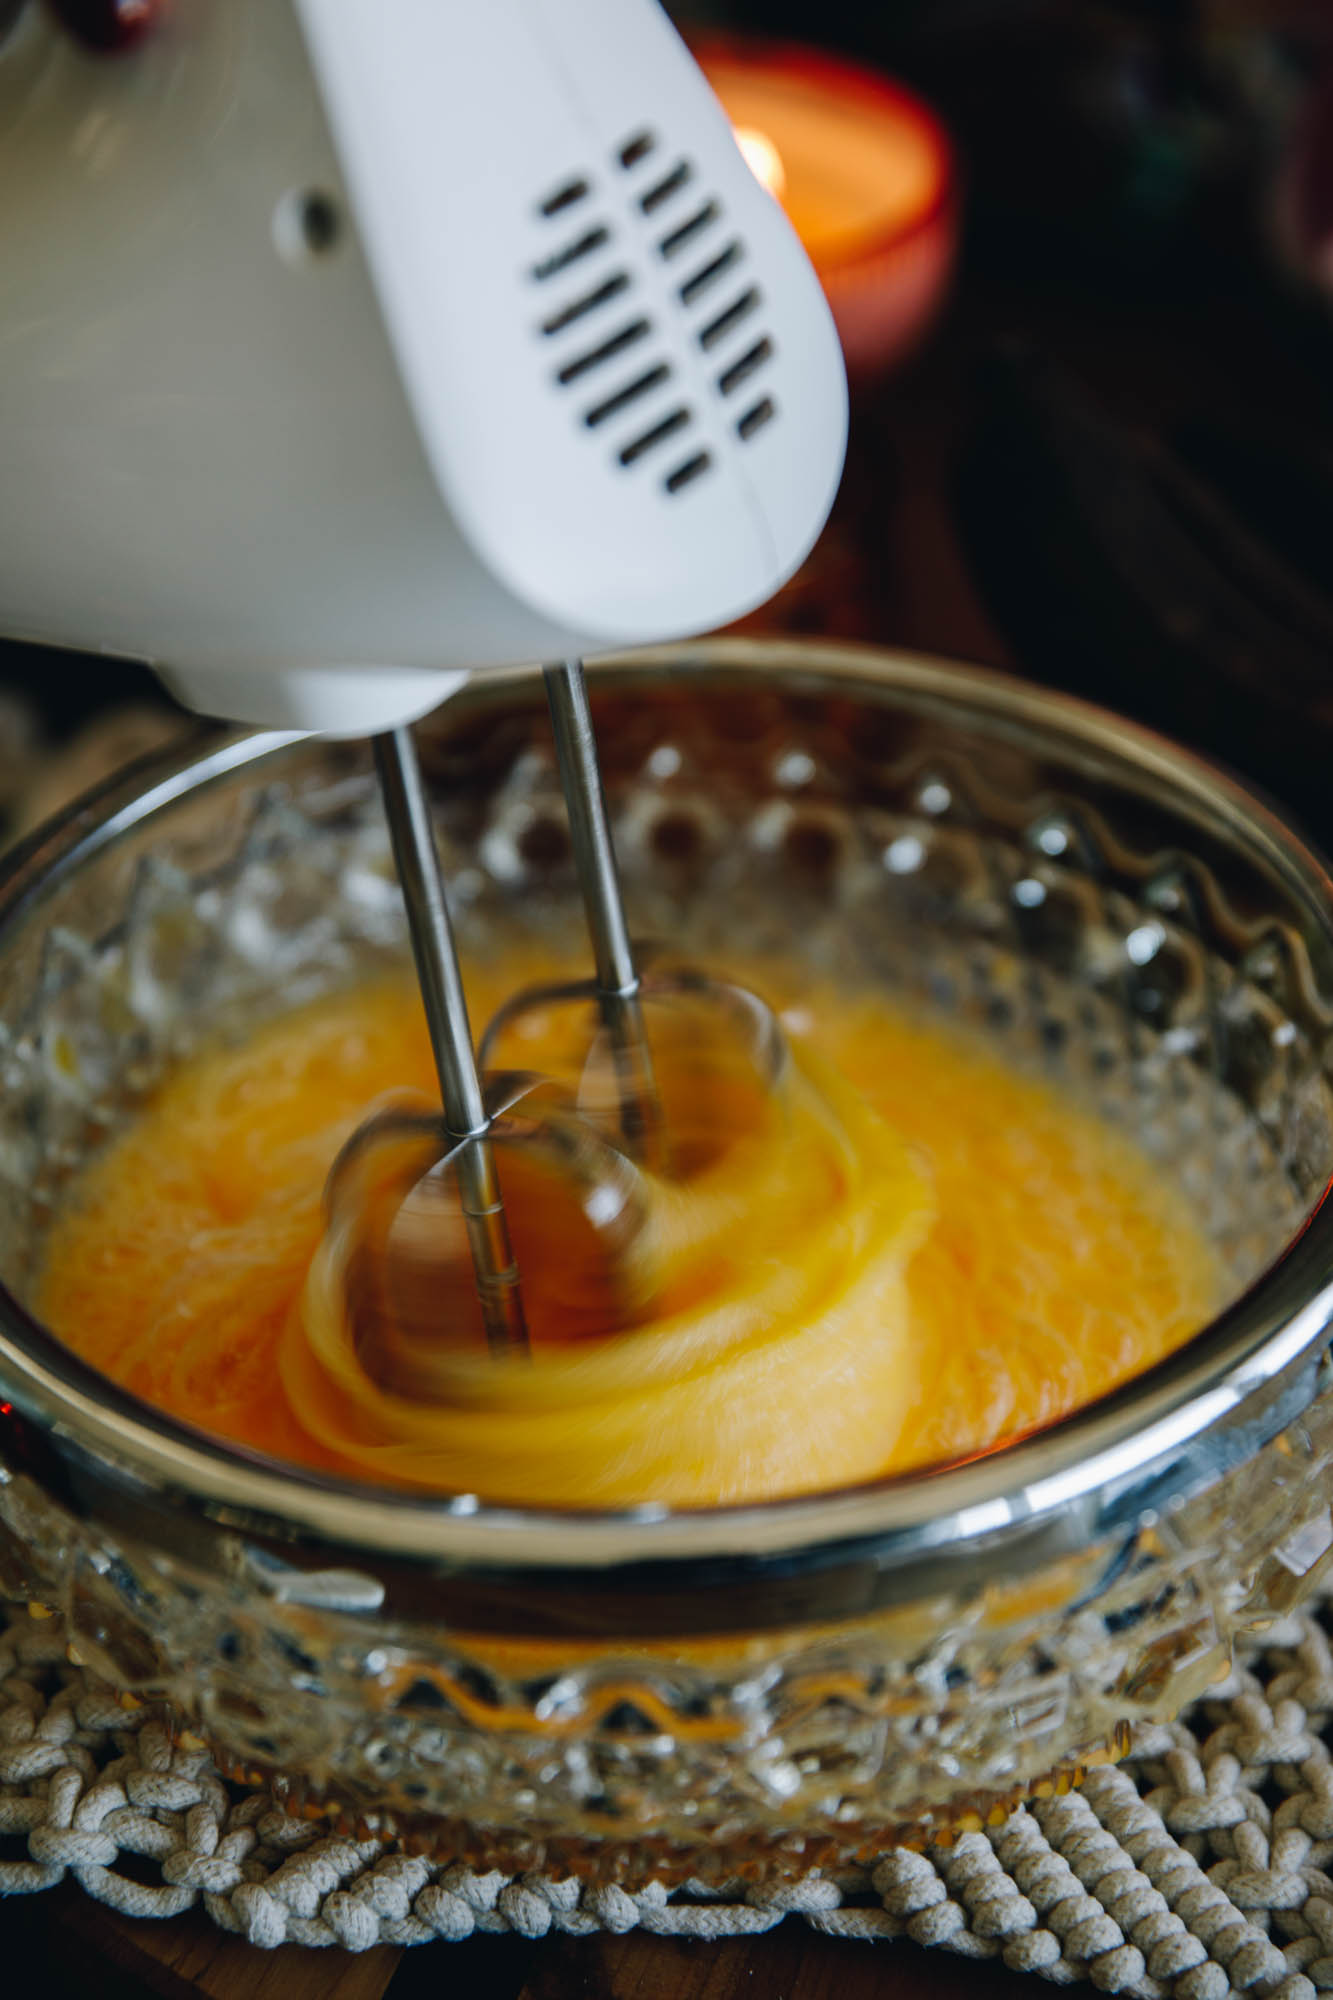
2. Whip the Eggs and Sugar:
Add the hēki (eggs) and huka one (caster sugar) in to a medium bowl.
Whip it on medium-high speed for 5 minutes until light and fluffy in colour. Leave to the side.
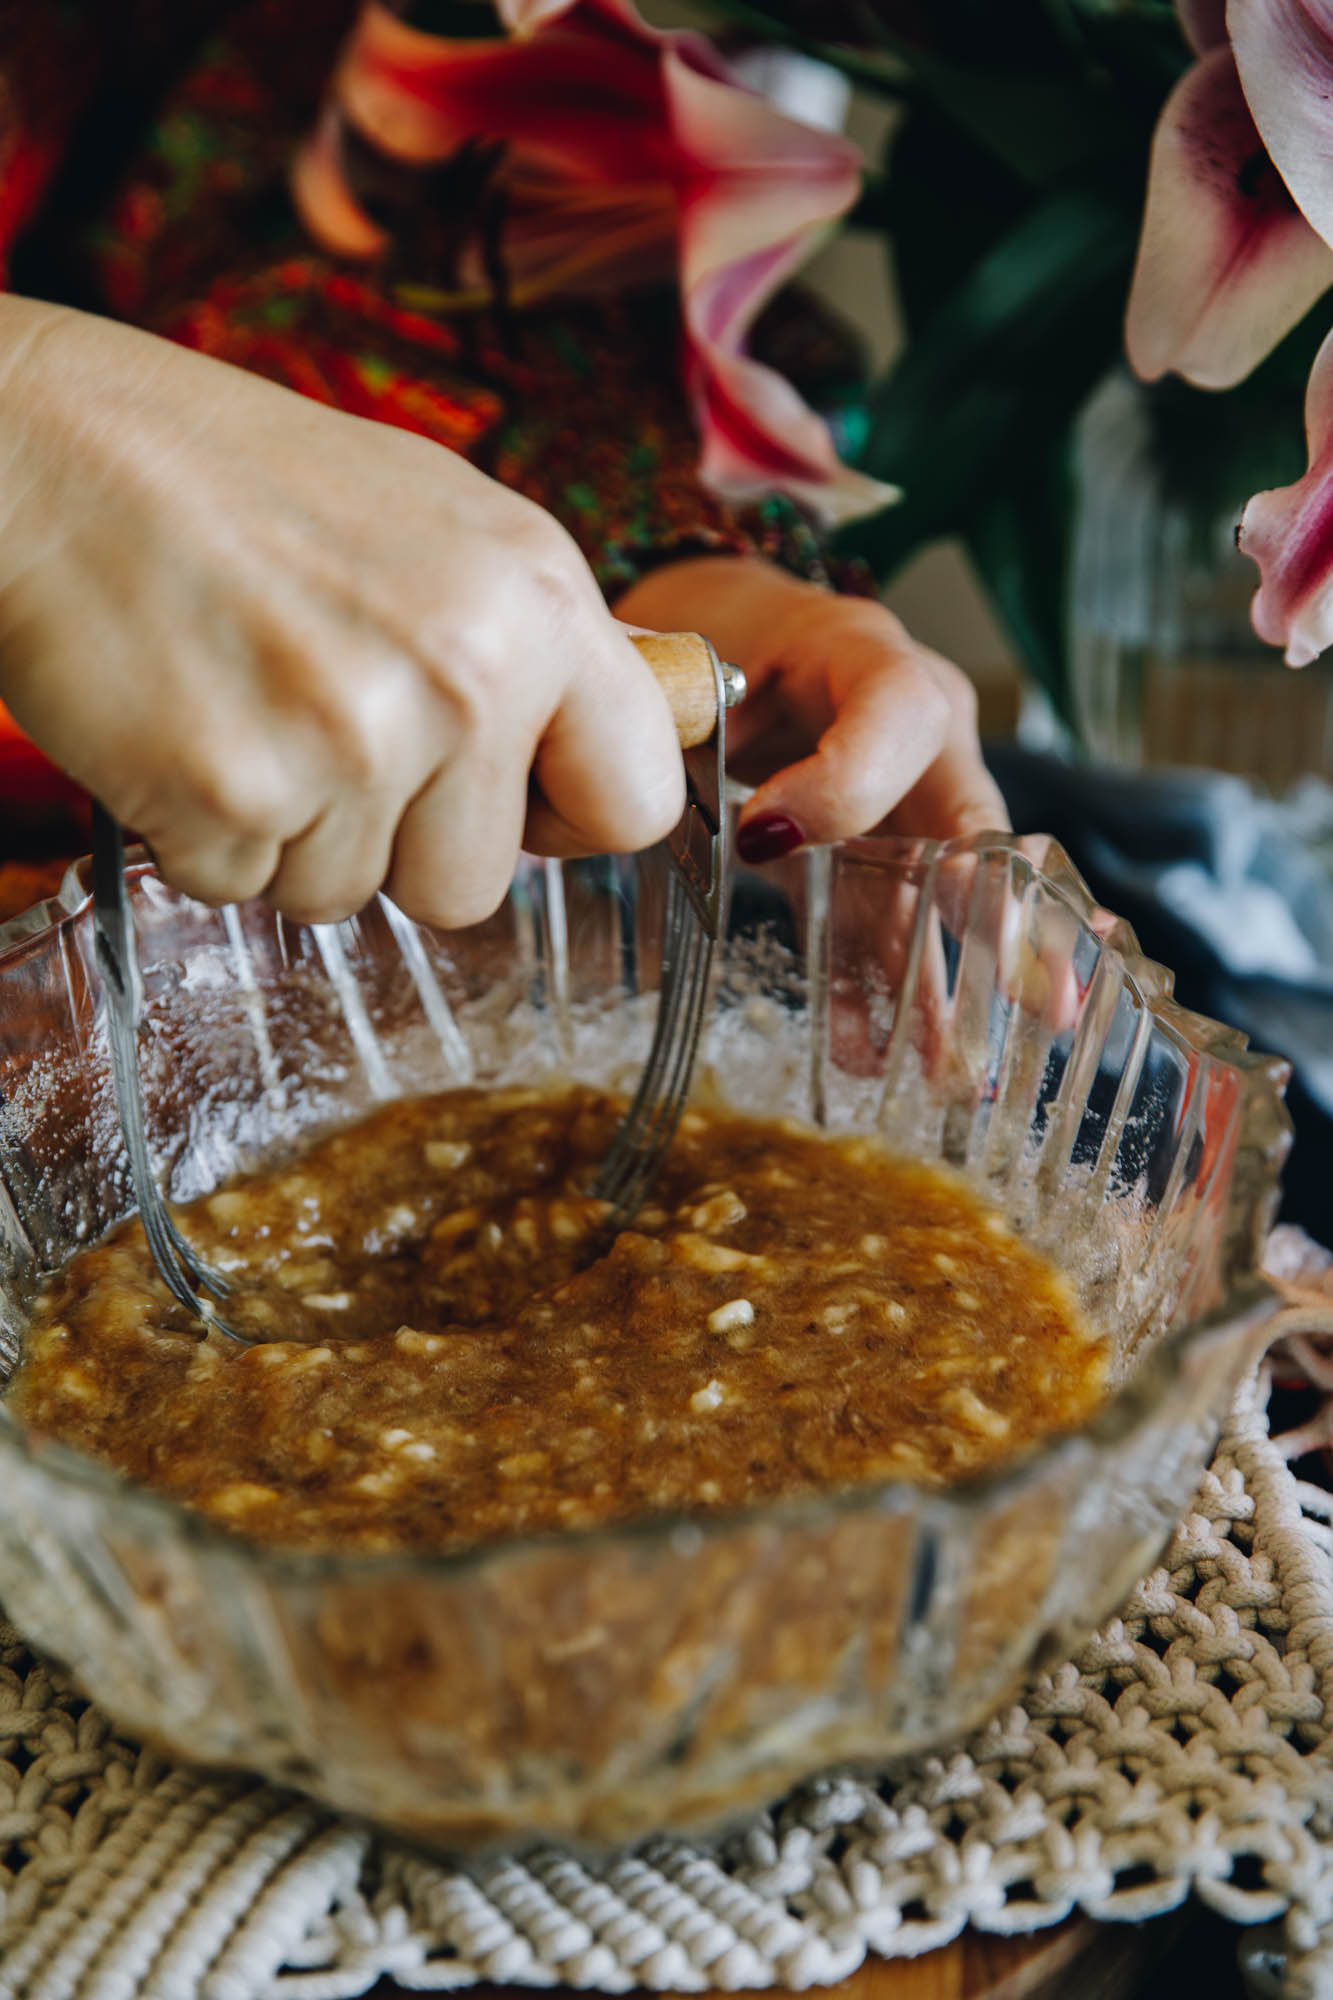
3. Prepare the Bananas:
Break the maika nui pirau (large overripe bananas) in to a large bowl.
Add the huka hāura (brown sugar), tote (salt, fine), wanira (vanilla) and noni (oil).
Mash all of the ingredients together until the maika (bananas) are smooth.
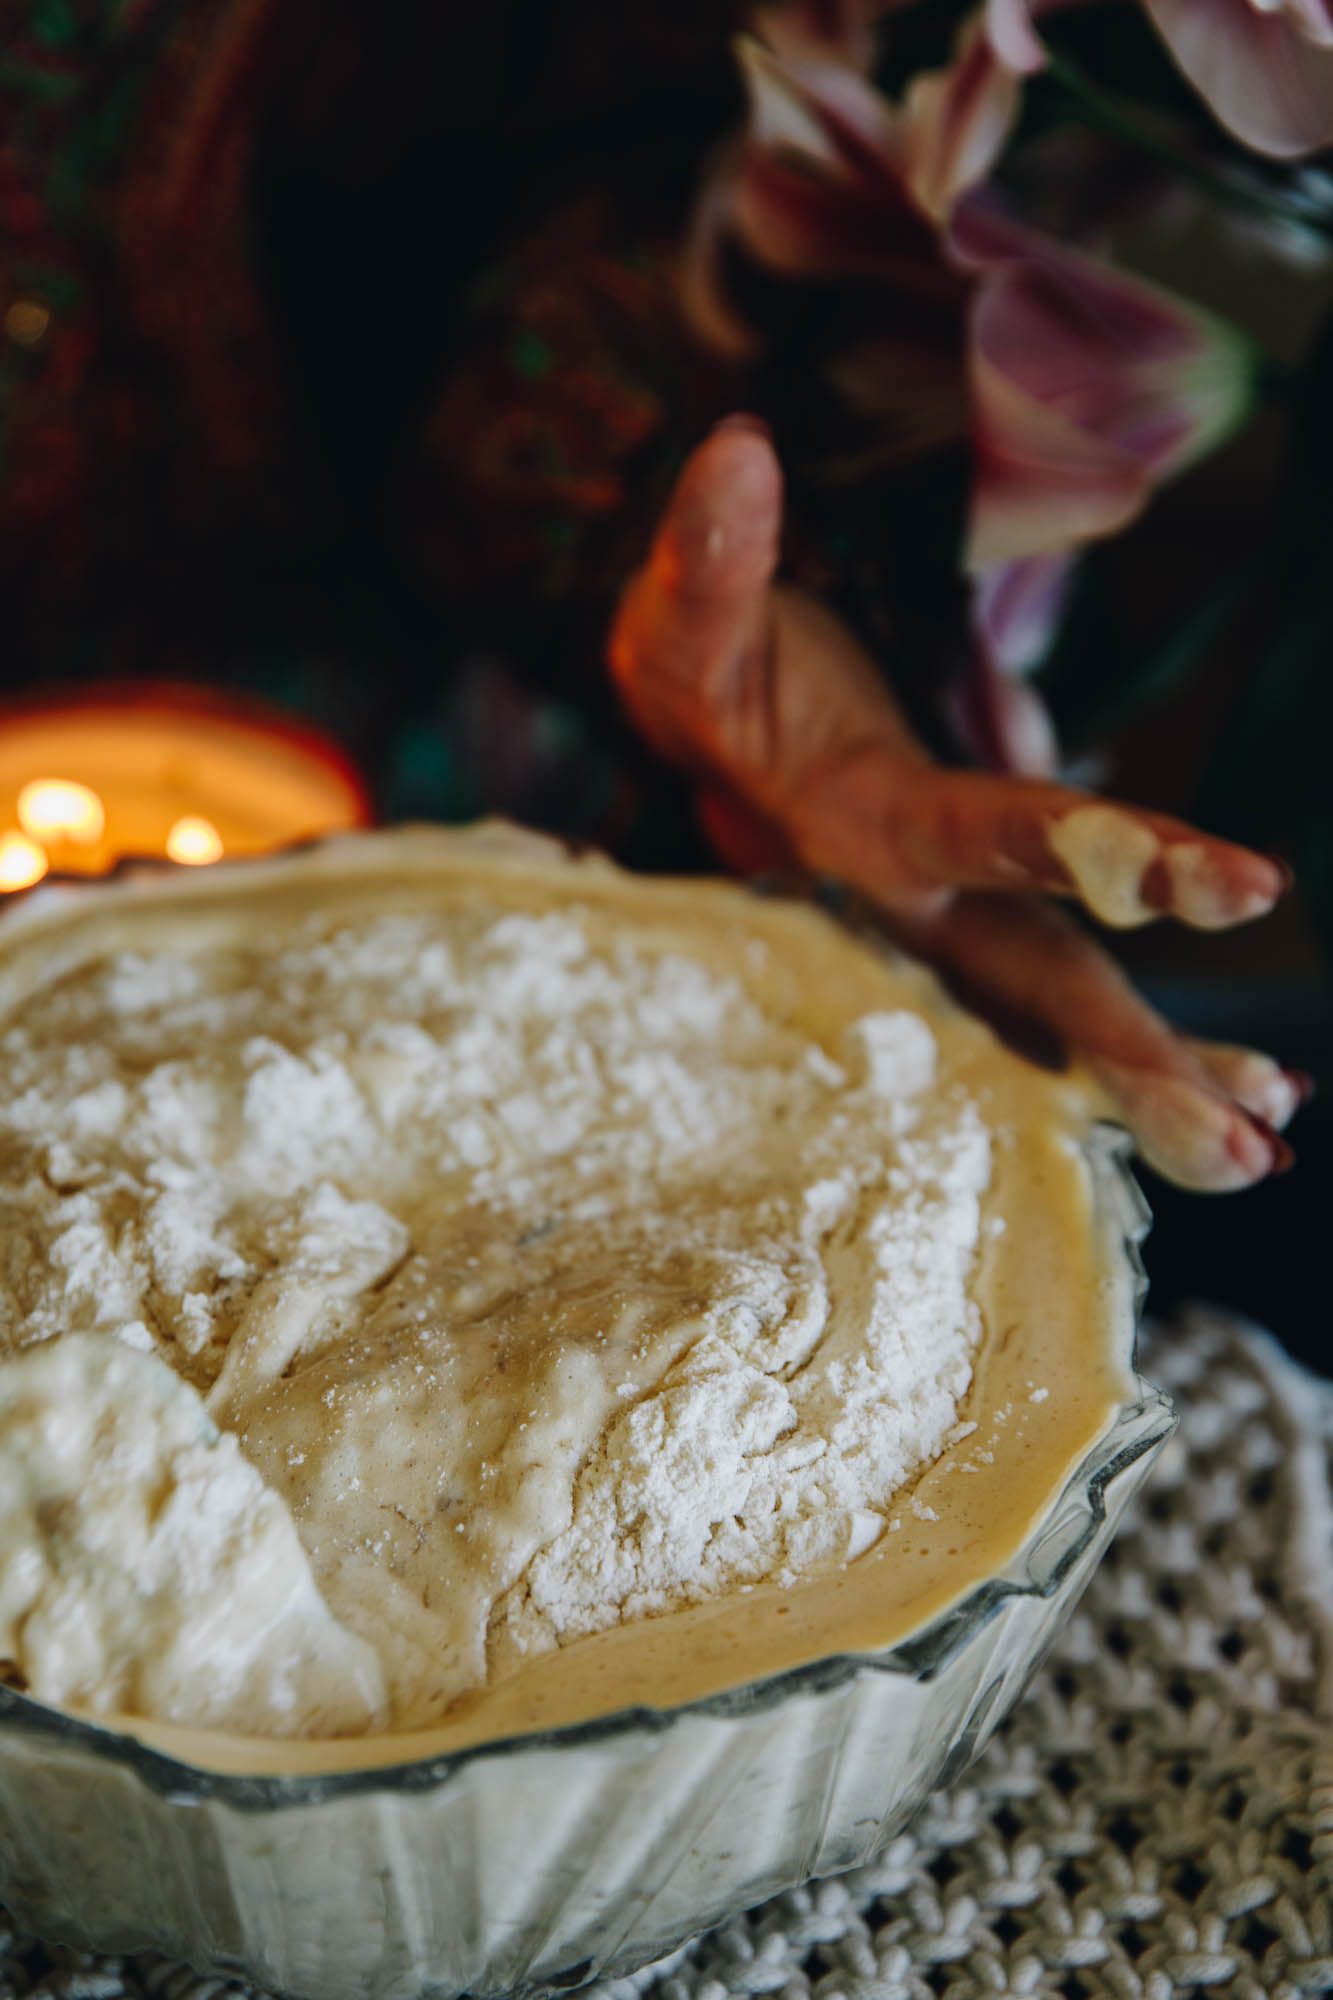
4. Add the Whipped Eggs:
Add all of the ranunga hēki (egg mixture) in to the mashed bananas and fold it in very gently until roughly combined.
5. Sift in the Dry Ingredients:
Add in the pēkana paura (baking powder) and pēkana houra (baking soda) and fold a couple of times with a whisk.
Sift in all of the puehu parāoa (flour).
Āta whētuihia (fold it gently) until just combined. Do not over-mix here, just mix until everything is just combined.
Note: If you can see lumps of puehu parāoa (flour) in the batter, use a whisk to gently fold it around 7 times in the bowl and the lumps will break up.
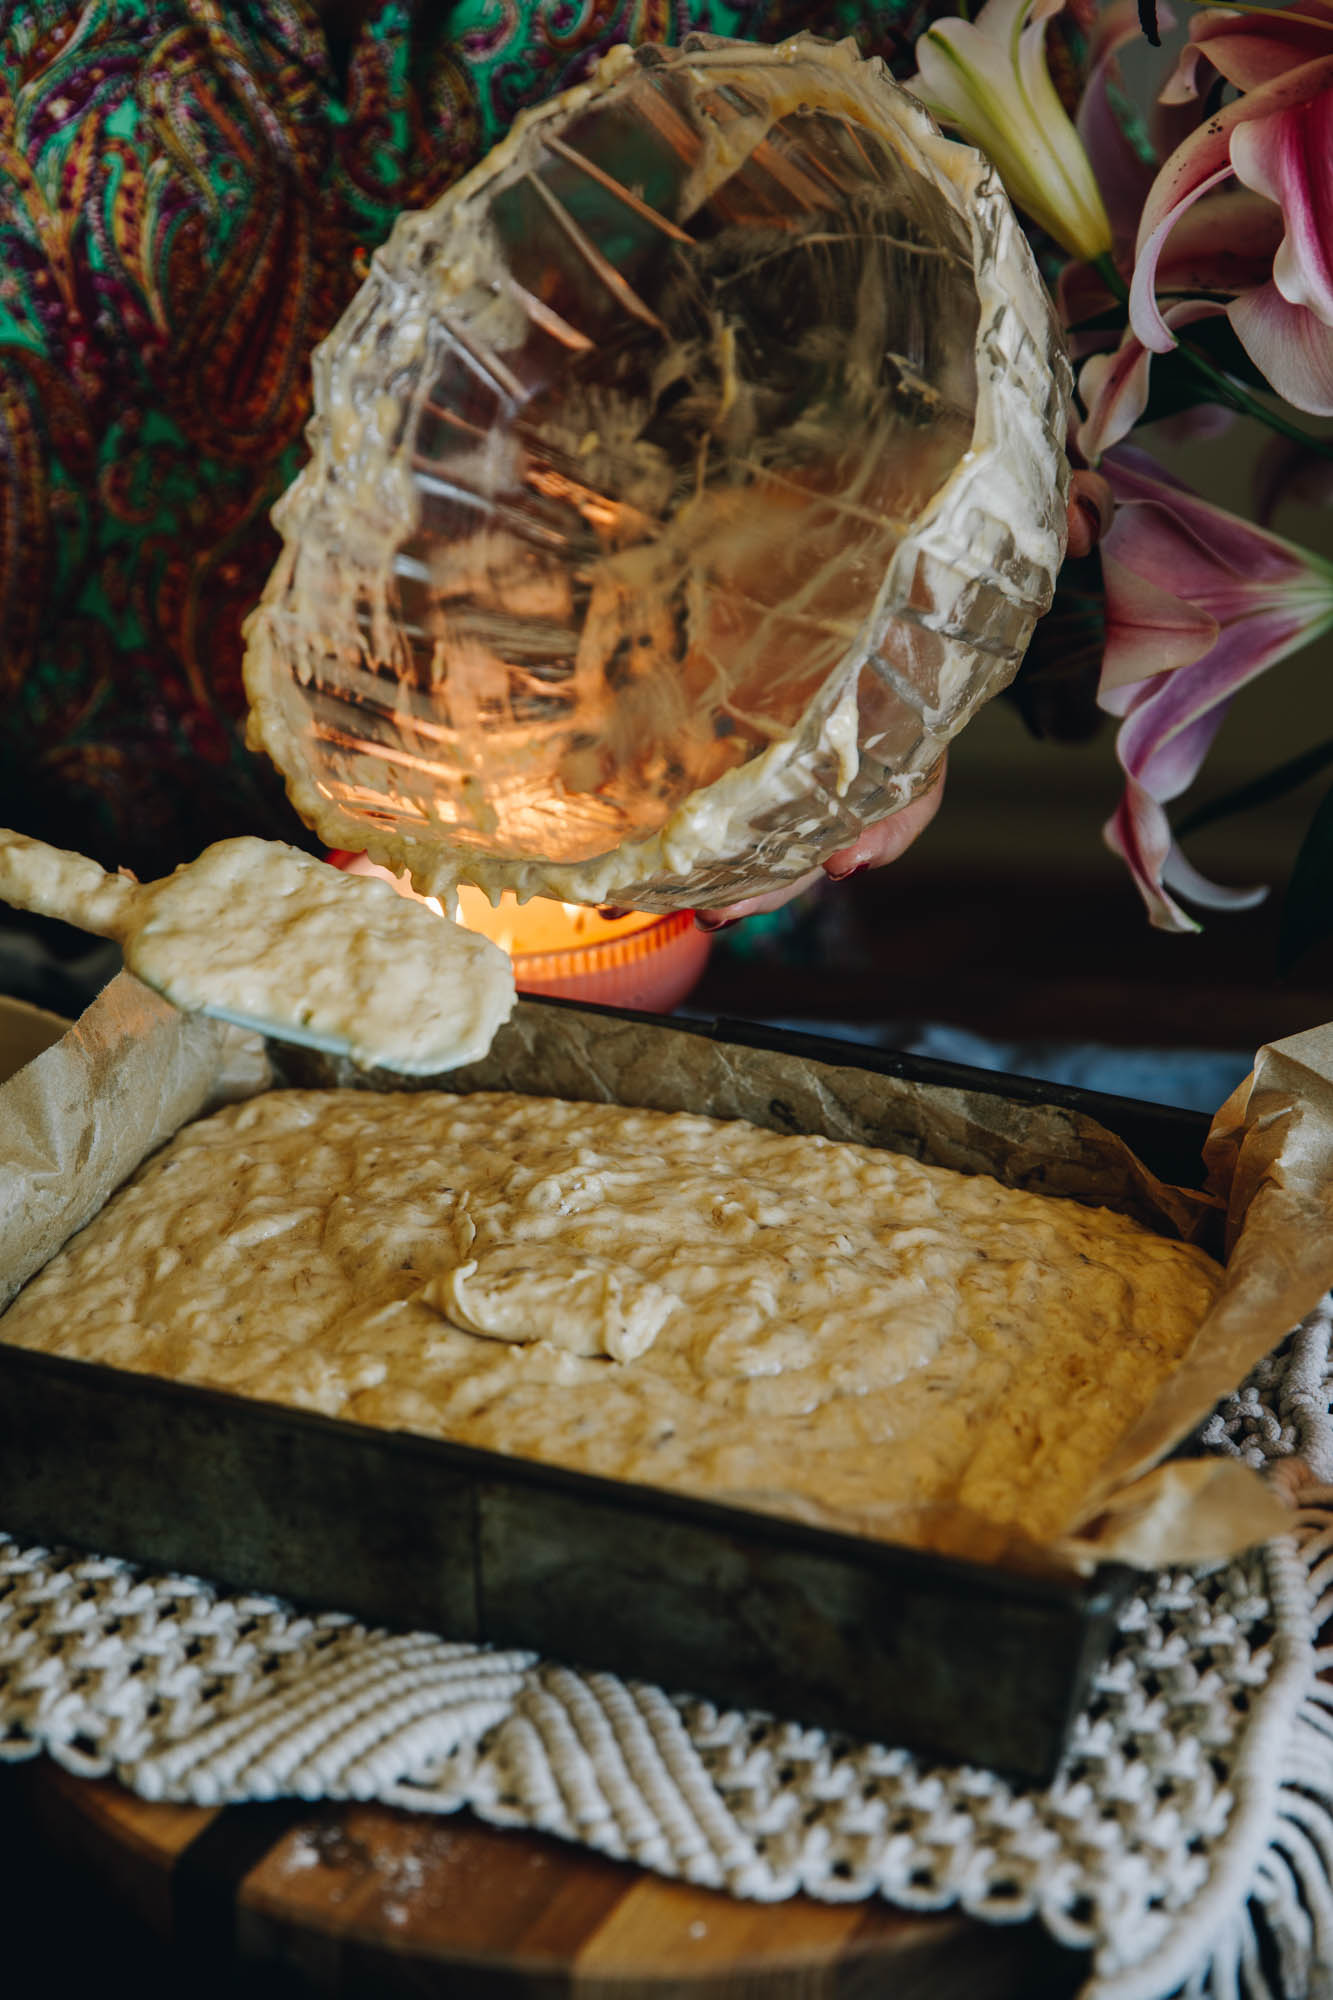
6. Bake the Cake:
Pour the ranunga (mixture) in to the prepared tin and smooth it out.
Bake for 50 - 55 minutes.
Once it has baked for 50 - 55 minutes and springs back when pressed, turn the oven off and leave the cake in the oven for five more minutes.
This helps gently finish off the baking process of the cake.
As the keke (cake) is baking, make the simple karamea (caramel).
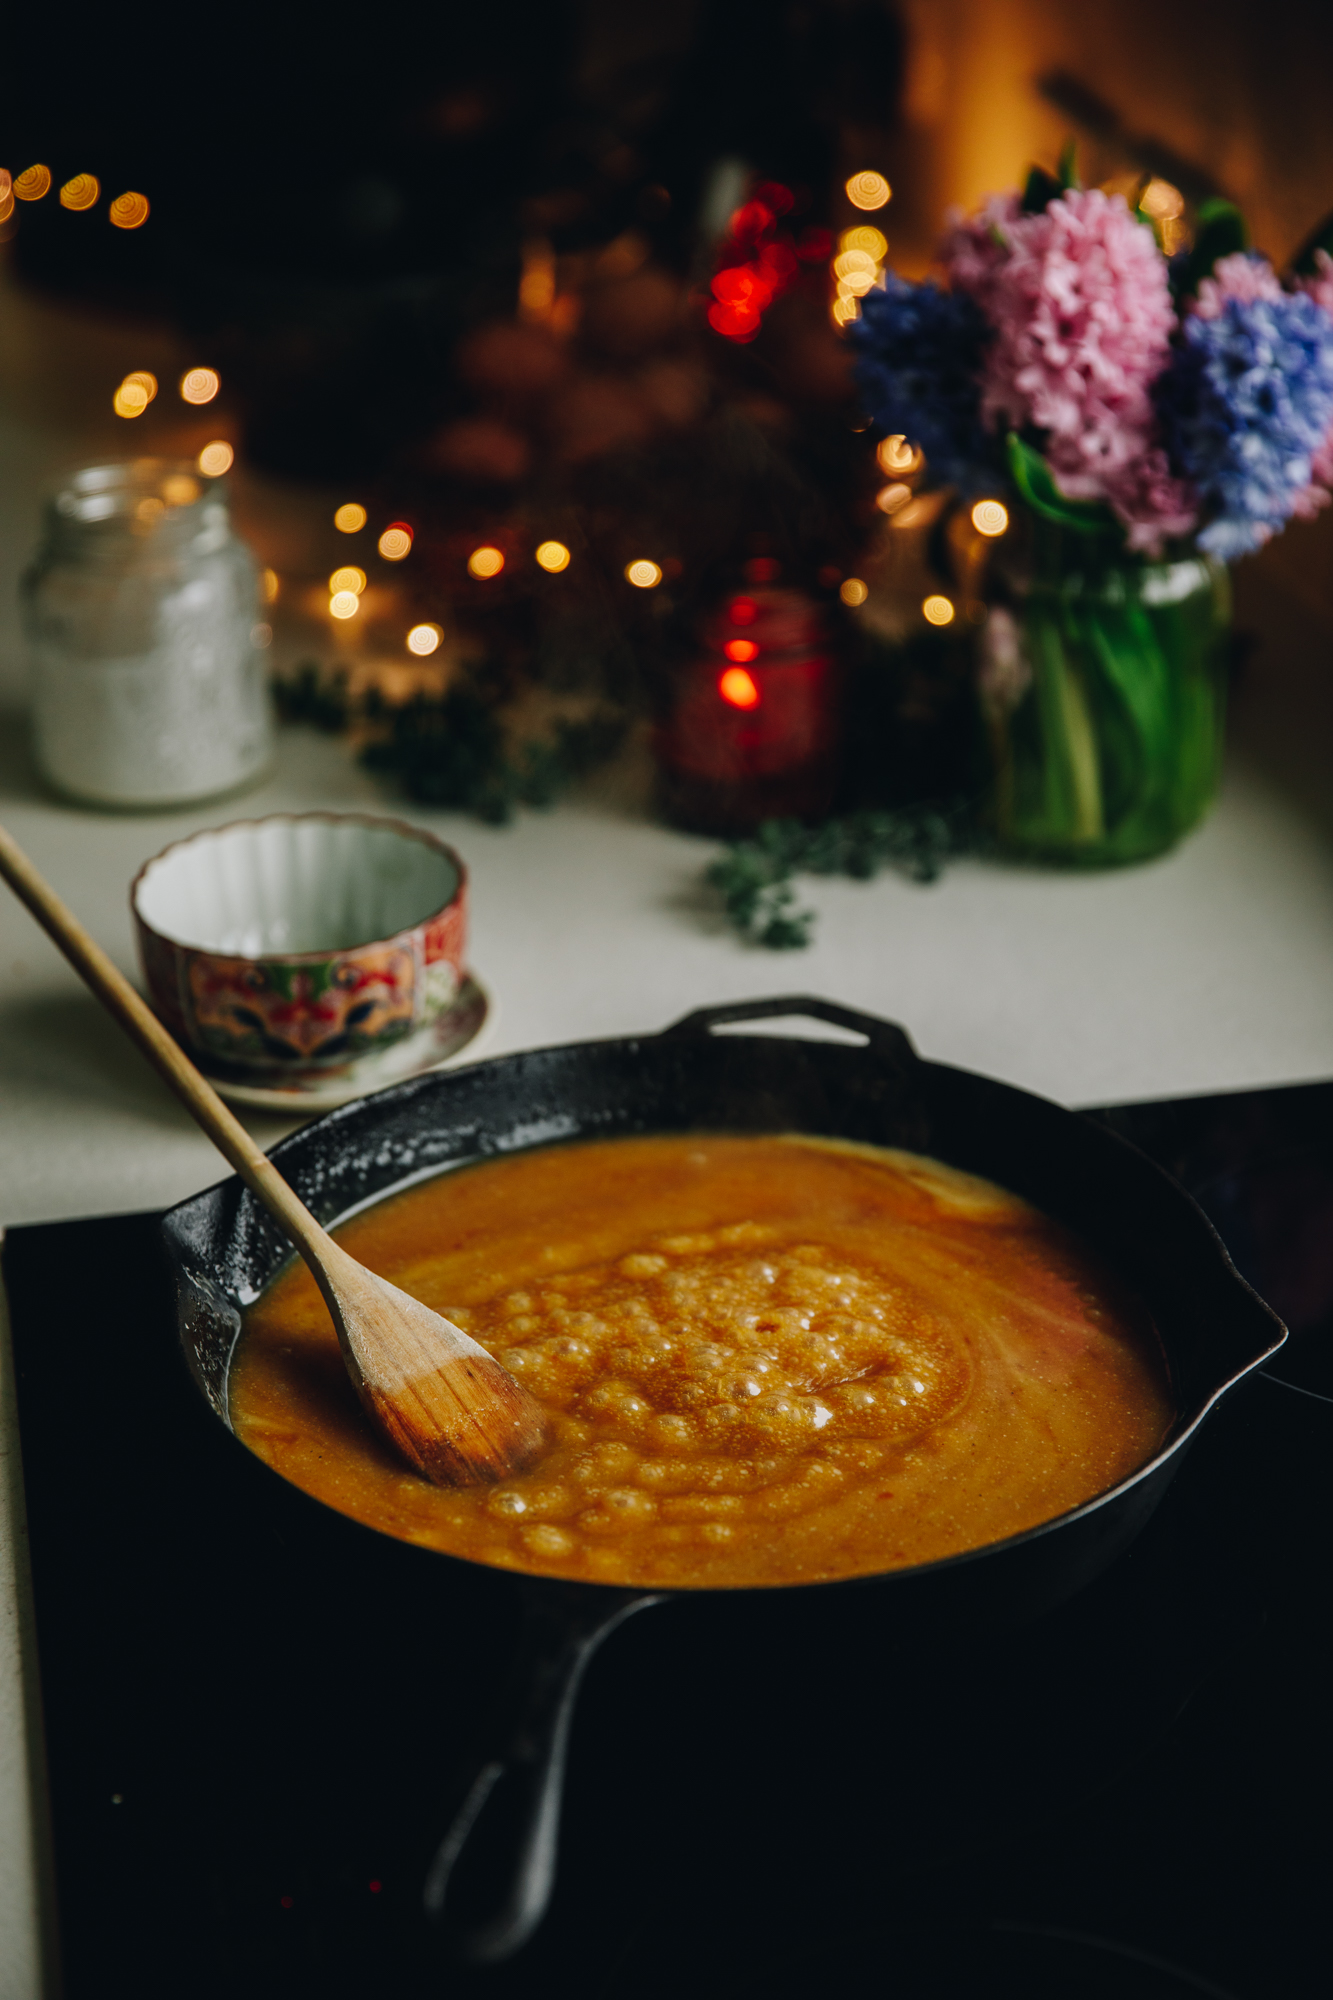
7. Make the Easy Caramel Sauce:
Make a ¾ quantity of my easy caramel recipe.
Note: The ratio's are slightly less but the method is exactly the same.
Once it is made, remove the karamea (caramel) from the heat and leave to thicken slightly as the keke (cake) bakes.
8. Cool the Banana and Caramel Poke Cake:
Once the keke (cake) has baked and has been in the cooling oven for ten minutes, remove it and allow it to cool for 15 minutes in the tin.
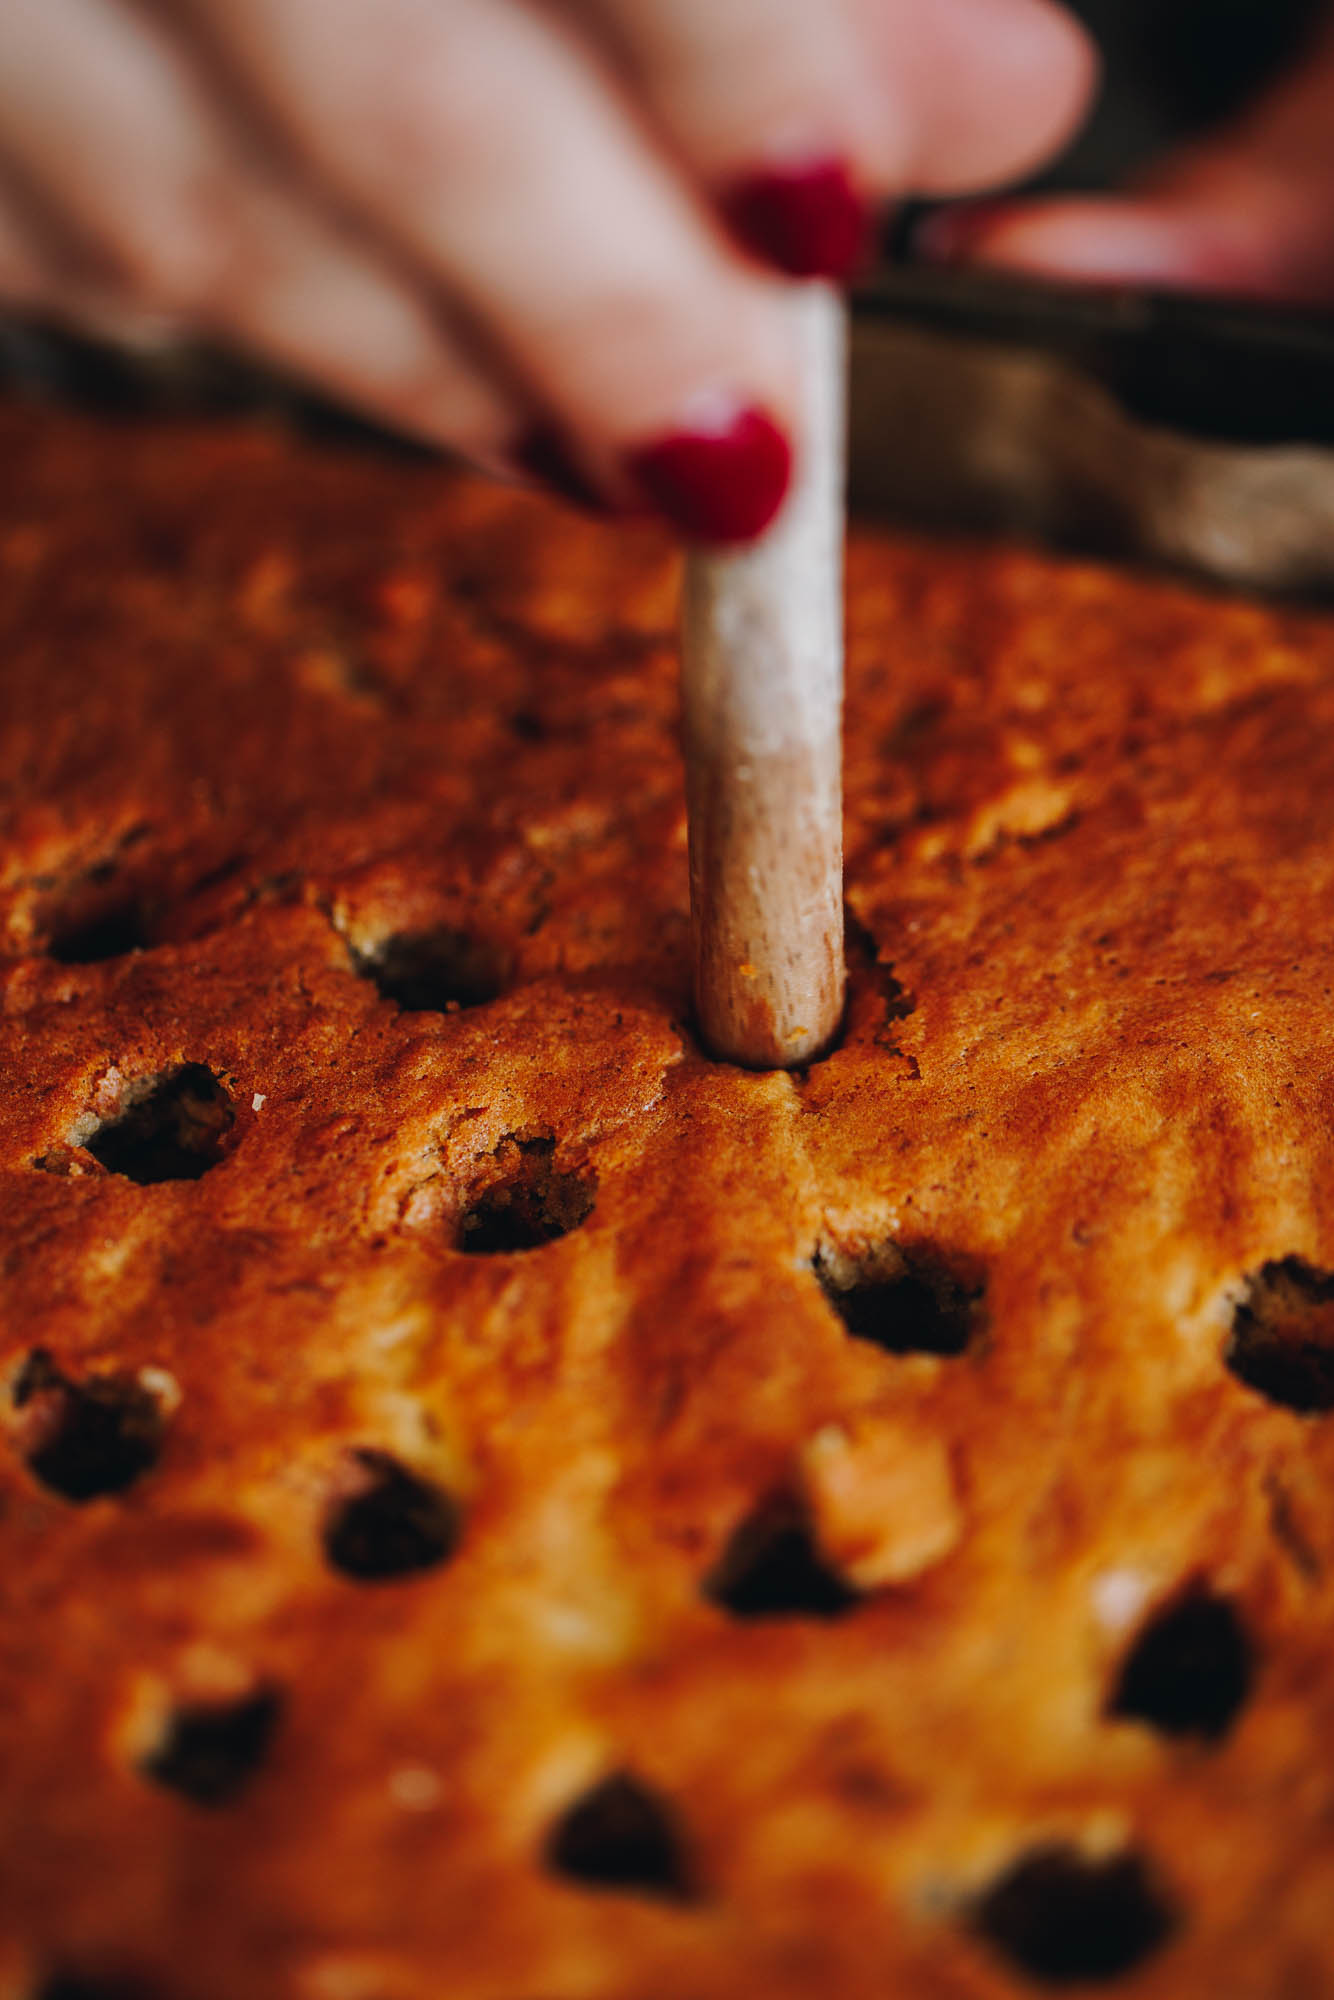
9. Poke Holes in the Cake:
Using the end of a wooden spoon (2 cm wide) gently poke deep holes around 2 cm apart all over the cake going ¾'s of the way in to the cake.
Do this gently but twisting the handle side to side to help it move cleanly in and out of the cake. (Refer to the video for a visual aid).
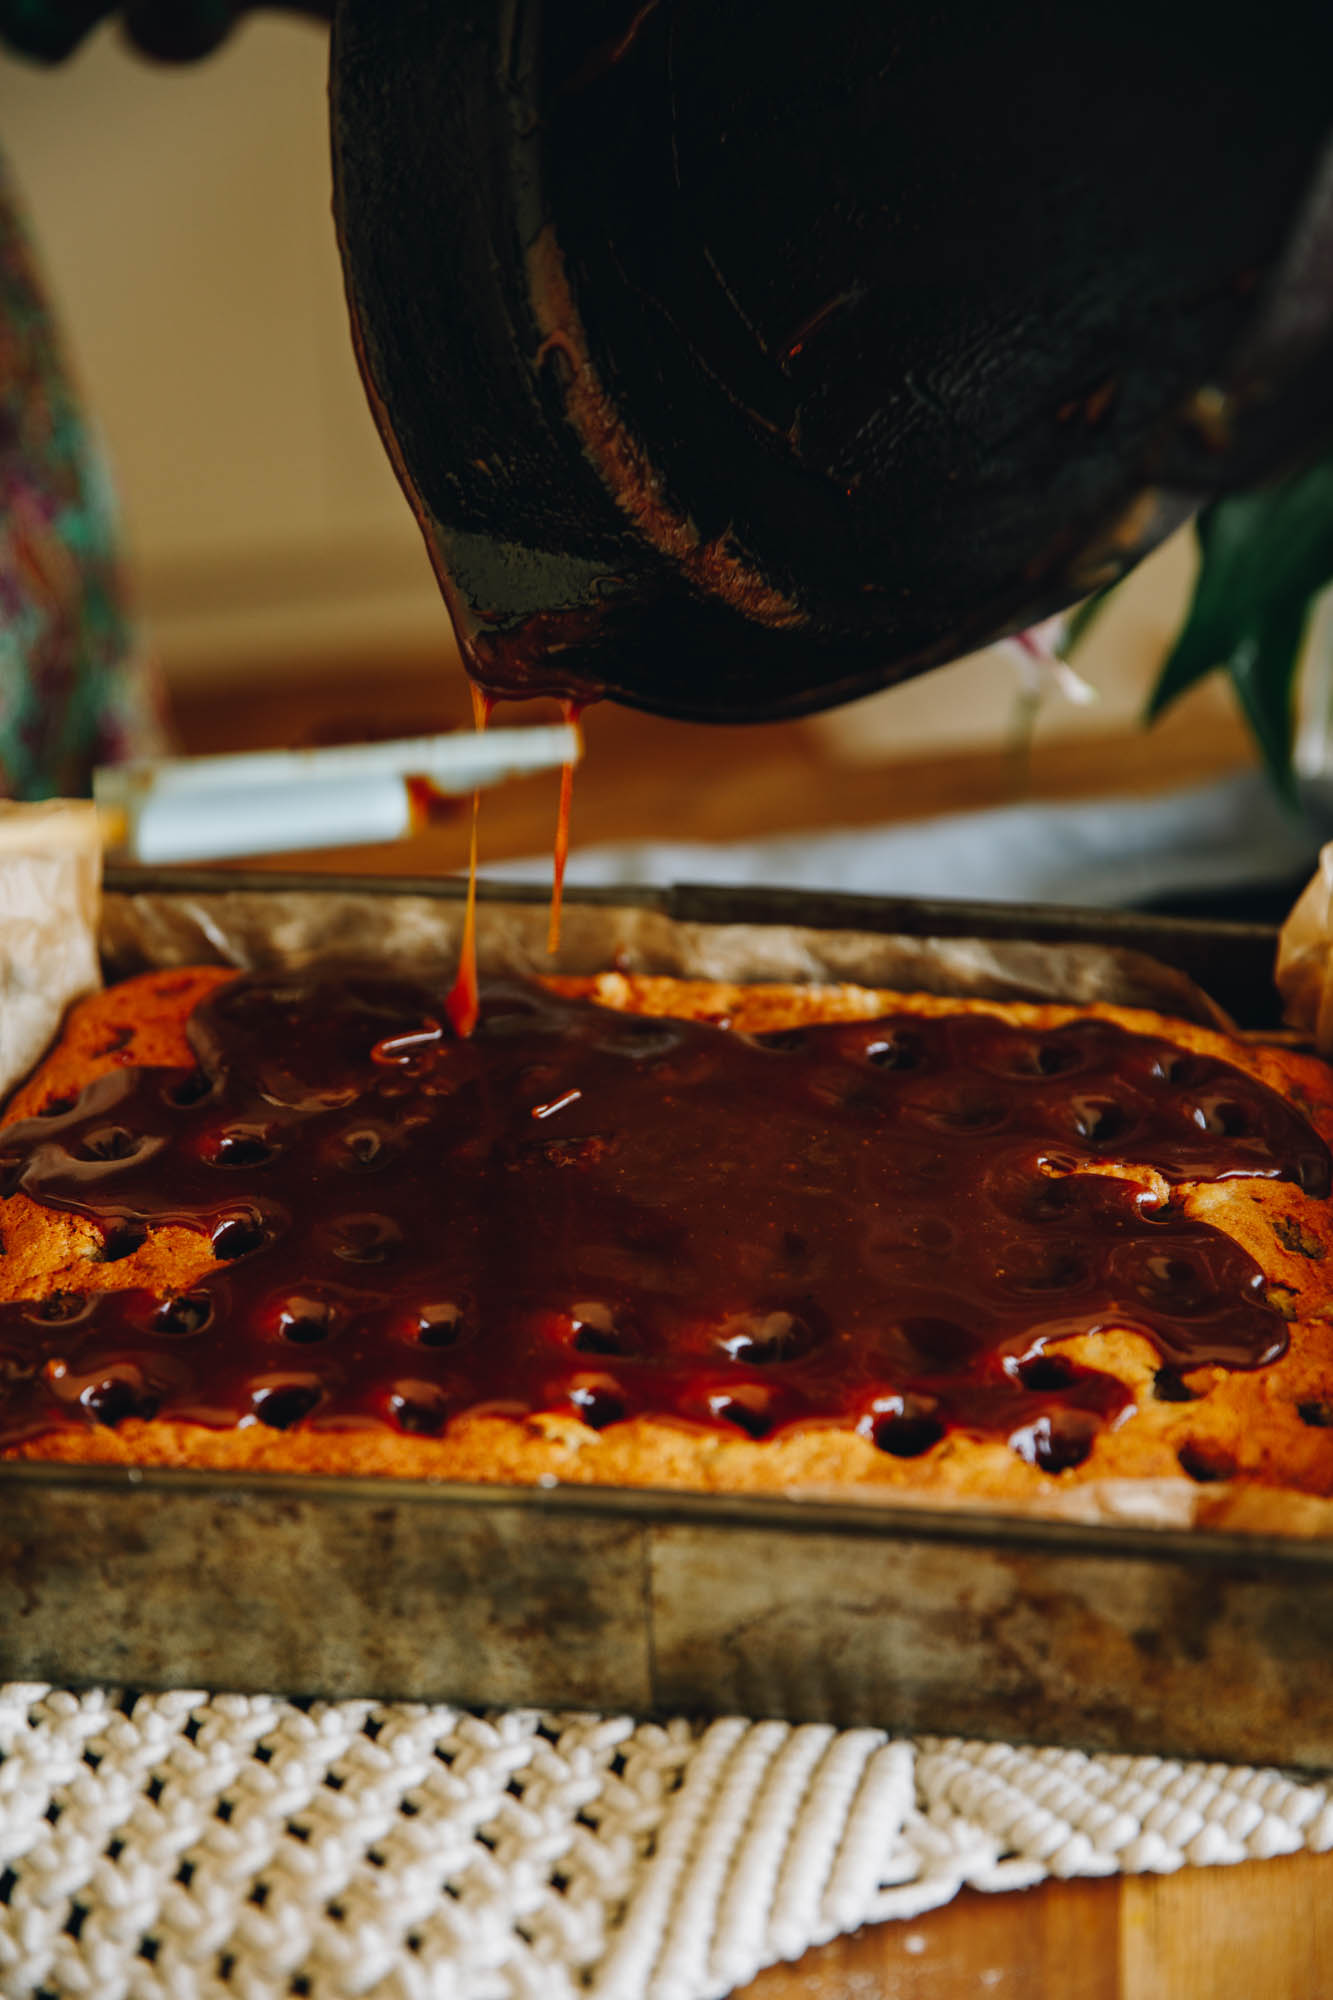
10. Pour the Caramel on to the Cake:
When the holes are created, pour the karamea (caramel) all over the cake.
Using a spatula, smear it all over the cake making sure it goes into the holes.
Allow it to cool completely before adding the icing.
The keke (cake) can be wrapped in plastic wrap or baking paper at this stage and will keep in a sealed container in a cool cupboard for up to three days.
This is a simple way to develop even more flavour in the cake. When you are ready to serve it, whip up the pani reka kirīmi tīhi (cream cheese frosting).
11. Make the Cream Cheese Frosting:
Make one quantity of my simple cream cheese frosting.
Once it is whipped up, add the wai rēmana (lemon juice) if you are using it.
12. Spread it on to the Cooled Cake:
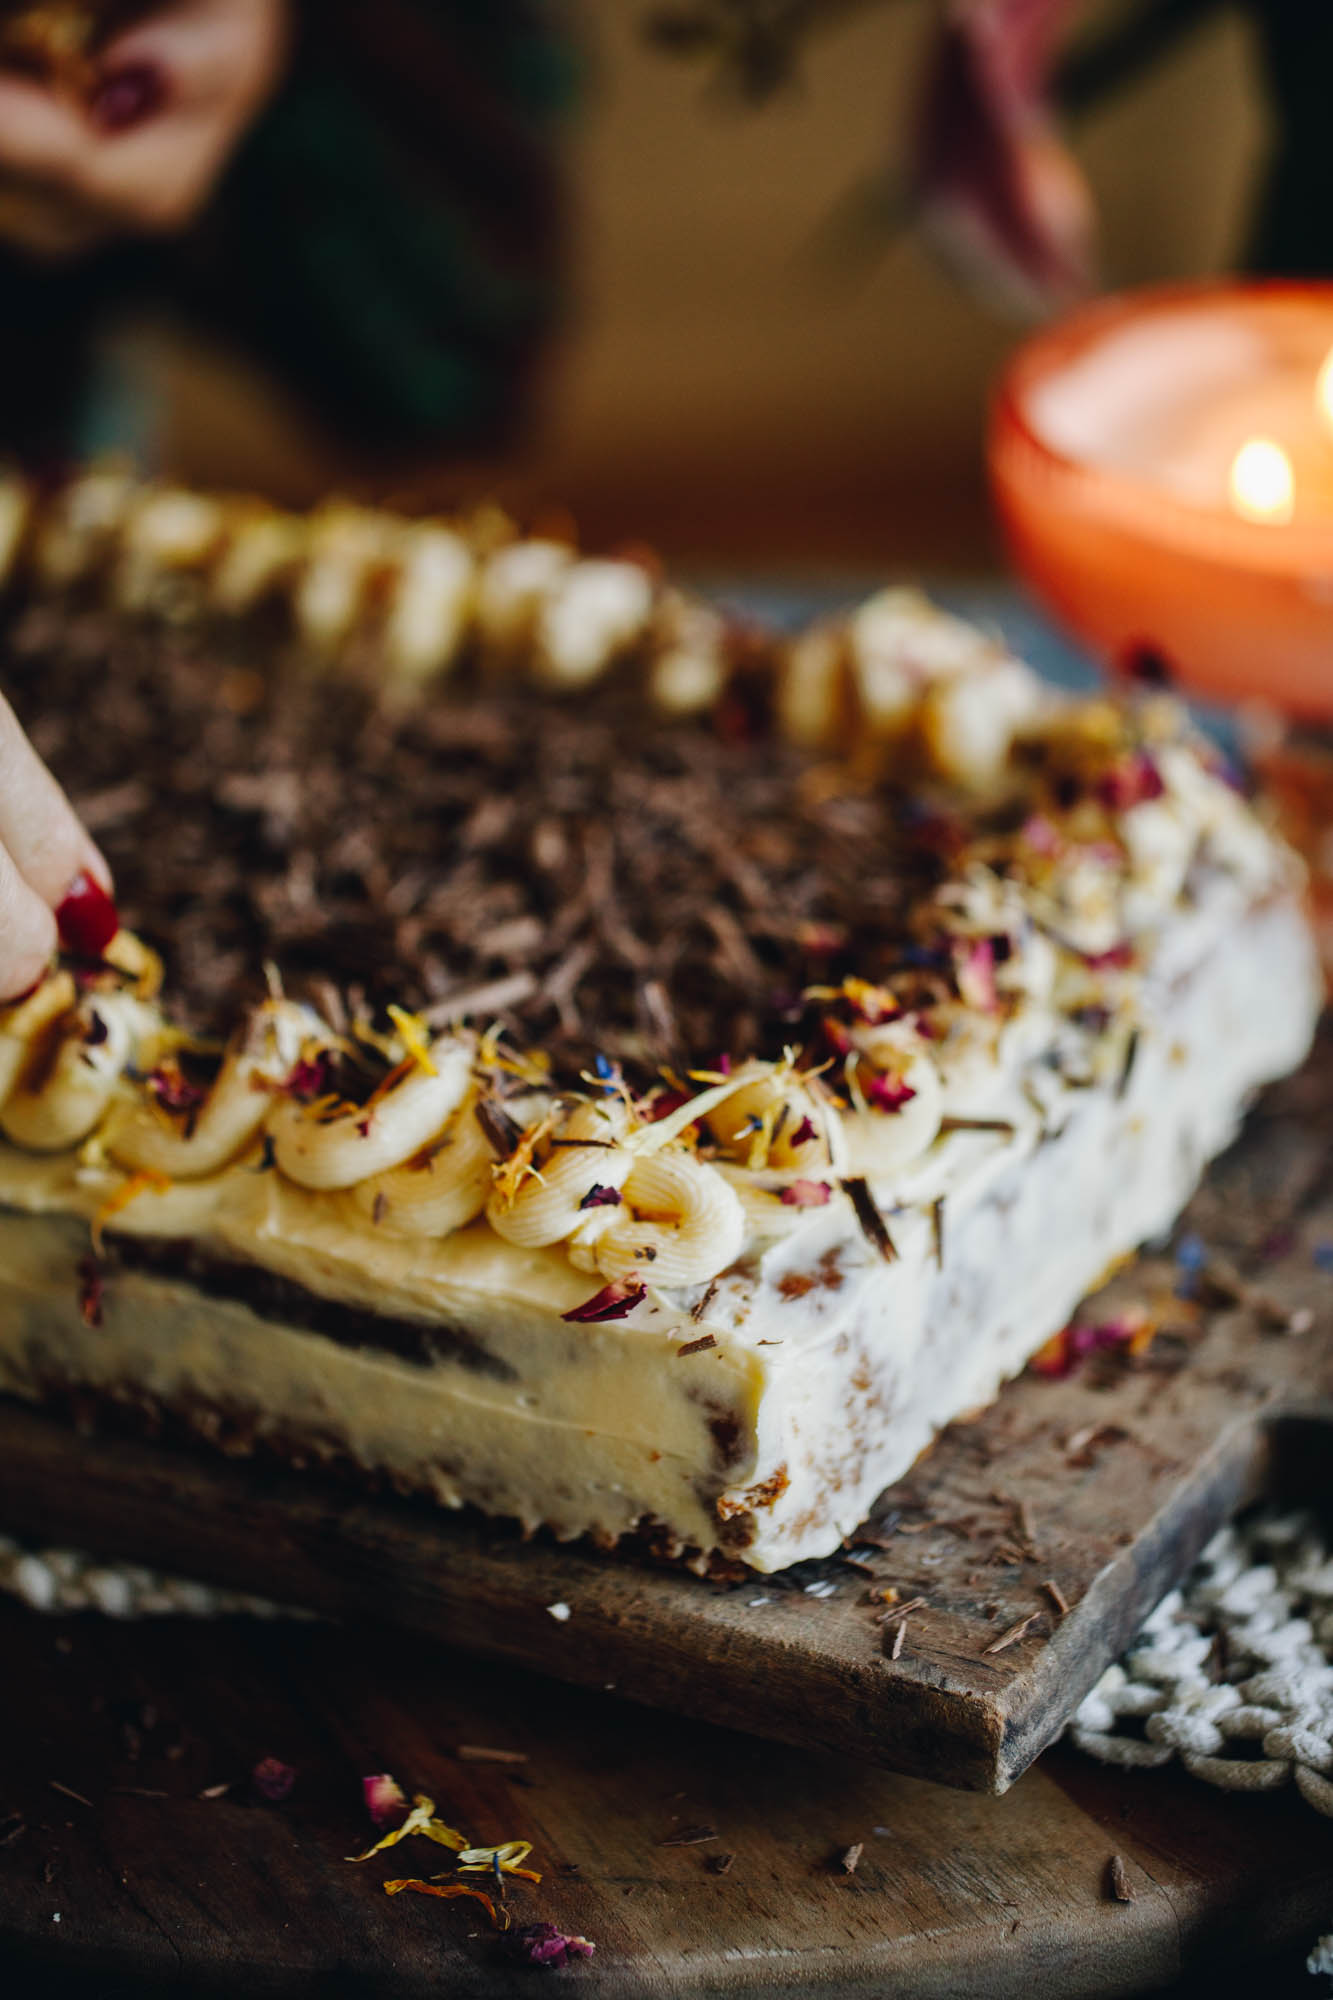
Smear half of the icing all over the keke (cake) and use the rest to pipe decorations all over top in whatever fashion you want.
This is just a rough guide and you can take whatever decorating liberty you want here.
Finish it off with shavings of tiakarete (chocolate) using a block of chocolate and a potato peeler.

Store the Cake:
Store this keke (cake) in a sealed container in a cool place. It will develop in flavour as it sits and in my opinion is even better a few days after it is baked.
It will keep well for up 5 days.
Indulge all of your senses with these
Keke (Cake) Recipes
Slow down and make a delicious cake to be shared with others.
DID YOU ENJOY THIS RECIPE?
It would be so awesome if you could please leave a review/comment by clicking the “leave a comment” section at the top of the page.
I love seeing you all make my creations, so send a whakaahua (photo) or kiriata (video) to my Instagram and show me what you made. Let me know if you have any pātai (questions) too, I would love to help.

Banana and Caramel Poke Cake - Keke Panana me te Karamea
Equipment
- 1 x 20 cm x 30 cm rectangle tin with high sides
Ingredients
Banana Cake - Keke Panana
- 4 hēki (eggs, size 6)
- ¾ C (165 g) huka one (caster sugar)
- 5 (580 g) maika pirau (overripe bananas, medium sized). The weight is without the banana peel.
- ½ C (100 g) huka hāura (brown sugar)
- 1 teaspoon (5 g) tote (salt, fine). I use Himalayan salt here, if you are using iodised table salt, half this amount.
- 2 teaspoon (10 ml) wanira (vanilla)
- ½ C (125 ml) noni ōriwa (olive oil or any neutral oil)
- 2 ½ teaspoon pēkana paura (baking powder)
- 1 ½ teaspoon pēkana houra (baking soda)
- 2 ¾ C (410 g) puehu parāoa noa (plain flour)
The Caramel - Te Karamea
- ¾ quantity of my easy caramel recipe
- 90 g pata (butter)
- ⅔ C (132 g) huka hāura (brown sugar)
- ½ teaspoon I use Himalayan salt here, if you are using iodised table salt, half this amount.
- 200 ml (¾ C + 1 tbsp) kirīmi (cream)
Cream Cheese Icing - Pani Reka Kirīmi Tīhi
- 1 quantity of my simple cream cheese frosting
- 120 g pata kūteretere (softened butter)
- ⅔ C (110 g) puehu huka (icing sugar)
- 2 teaspoon (10 ml) wanira (vanilla)
- 250 g kirīmi tīhi (cream cheese, room temperature)
- 2 tablespoon (30 ml) wai rēmana (lemon juice, optional)
Instructions
Preheat the Oven:
- Preheat the oven to 160 °C bake setting or 150 °C fan bake.
- Grease a 20 cm x 30 cm rectangle tin with high sides with butter and then line it with baking paper. Make sure the tin as close to this size as possible so the cake is thick enough when baked.
Whip the Eggs and Sugar:
- Add the hēki (eggs) and huka one (caster sugar) in to a medium bowl.
- Whip on medium-high speed for 5 minutes until light and fluffy in colour. Leave to the side.
Prepare the Bananas:
- Break the panana nui pirau (large overripe bananas) in to a super large bowl. (This is a big mixture)
- Add the huka hāura (brown sugar), tote (salt, fine), wanira (vanilla) and noni (oil) to the panana (bananas).
- Mash all of the ingredients until the panana (bananas) are smooth.
Add the Whipped Eggs:
- Add all of the ranunga hēki (egg mixture) in to the mashed bananas and fold it in very gently until roughly combined.
Sift in the Dry Ingredients:
- Add in the pēkana paura (baking powder) and pēkana houra (baking soda) and fold a couple of times.
- Sift in all of the puehu parāoa (flour).
- Āta whētuihia (fold it gently) until just combined.Do not over-mix here, just mix until everything is just combined.Note: If you can see lumps of puehu parāoa (flour) in the butter, use a whisk to gently fold it around 7 times in the bowl and the lumps will break up.
Bake the Cake:
- Pour the ranunga (mixture) in to the prepared tin and smooth it out.
- Bake for 50 - 55 minutes.
- Once it has baked for 50 - 55 minutes and springs back when pressed, turn the oven off and leave the cake in the oven for five more minutes. This helps gently finish off the baking process of the cake.
- As the keke (cake) is baking, make the simple karamea (caramel).
Make the Easy Caramel Sauce:
- Make ¾ quantity of my easy caramel recipe. The ratio's are above on this recipe. Note: The ratio's are slightly less but the method is exactly the same.
- Once it is made, remove the karamea (caramel) from the heat and leave to thicken slightly as the keke (cake) bakes.
Cool the Cake:
- Once the keke (cake) has baked and has been in the cooling oven for ten minutes, remove it and allow it to cool for 15 minutes in the tin.
Poke Holes in the Cake:
- Using the end of a wooden spoon (2 cm wide) gently poke deep holes around 2 cm apart all over the cake going ¾'s of the way in to the cake.
- Do this gently but twisting the handle side to side to help it move cleanly in and out of the cake. (Refer to the video for a visual aid).
Pour the Caramel on to the Cake:
- When the holes are created, pour the karamea (caramel) all over the cake.
- Using a spatula, smear it all over the cake making sure it goes into the holes.
- Allow it to cool completely before adding the icing.
- The keke (cake) can be wrapped in plastic wrap or baking paper at this stage and will keep in a sealed container in a cool cupboard for up to three days.
- This is a simple way to develop even more flavour in the cake. When you are ready to serve it, whip up the pani reka kirīmi tīhi (cream cheese frosting).
Make the Cream Cheese Frosting:
- Make one quantity of my simple cream cheese frosting. Once it is whipped up add the wai rēmana (lemon juice) if you are using it.
Spread it on to the Cooled Cake:
- Smear half of the icing all over the keke (cake) and use the rest to pipe decorations all over top in whatever fashion you want. This is just a rough guide and you can take whatever decorating liberty you want here.
- Finish it off with shavings of tiakarete (chocolate) using a block of chocolate and a potato peeler.
Store the Cake:
- Store this keke (cake) in a sealed container in a cool place. It will develop in flavour as it sits and in my opinion is even better a few days after it is baked. It will keep well for up 5 days.
Video
Tips for the Best Banana and Caramel Poke Cake:
Use Overripe Bananas for Best Banana Cake Flavour:
For the best keke panana (banana cake), use very ripe bananas. If they’re not quite there yet, mash them and cover the bowl. Leave them to sit for up to 24 hours in the fridge or on the bench to deepen the flavour and natural sweetness before baking.
Choose the Right Cake Tin Size:
Use a baking tin close to 20 cm x 30 cm for the best results. This ensures the banana cake bakes evenly and has the ideal thickness.
Whip Eggs and Sugar Until Light and Fluffy:
Whip the huka one (caster sugar) and hēki (eggs) until pale, thick, and fluffy. This step is essential for creating a light banana cake texture.
Gently Combine the Banana Mixture:
Add the mashed banana and gently fold it into the whipped egg mixture. Avoid overmixing, as this will remove air and result in a denser cake.
Fold in the Flour Carefully:
Add the puehu parāoa (flour) and gently fold to combine. If small flour lumps remain, use a whisk and fold the batter around 6–7 times to break them up without overworking the mixture.
Bake Banana Cake on a Low Heat:
Bake the banana cake in a moderate to low oven for an even rise and flat top. Gentle heat helps prevent doming and ensures a soft, consistent crumb.
Serve or Elevate with Toppings:
This keke panana (banana cake) is delicious on its own, or you can fill it with caramel and top it with frosting for extra indulgence. Kei a koe—it’s up to you.
Variations:
Try Peanut Butter Frosting:
Peanut butter frosting pairs beautifully with banana cake. Swap the caramel topping for my smooth peanut butter buttercream for a nutty twist.
Chocolate Banana Cake:
Fold in a handful of titipi tiakarete (chocolate chips) to the batter for a chocolate-banana variation. The chocolate melts into the cake and adds pockets of richness.
Simple, Unfrosted Version:
This cake is just as delicious without any topping. Serve it plain for a lighter option with miraka tepe (yogurt) or as a breakfast-style banana loaf.
Storage Tips
This keke (cake) is best stored in a sealed container in a cool place. It will continue to develop flavour as it sits and, in my opinion, is even better a few days after baking. It will keep well for up to 5 days.
In warmer months, you can store the decorated and uncut cake in the refrigerator. Bring it back to room temperature before serving for the best texture and flavour.
Once cut, avoid refrigerating the cake as this will dry it out. Instead, keep it in an airtight container at room temperature and consume within a few days.
Frequently Asked Questions
Yes, frozen bananas work well. Thaw them completely and bring them room temperature before mashing and adding to the batter.
A dense cake usually means the batter was overmixed after adding the flour or banana. Gently folding helps keep the cake light and airy.
Āe mārika (yes indeed), this banana cake is ideal for making ahead. The flavour actually improves after a day or two as it rests.
Yes. Once fully cooled, wrap the cake tightly in cling film and freeze for up to 2 months. Defrost at room temperature before serving.
Kāore (no), these additions are completely optional. The cake is delicious on its own, but toppings like caramel or buttercream can be added for extra indulgence.


Donna
Looks absolutely delicious,im looking forward to baking.
Nga mihi.
Naomi Toilalo WhānauKai
Ohh yes e hoa, it is such a good one! You are going to love.