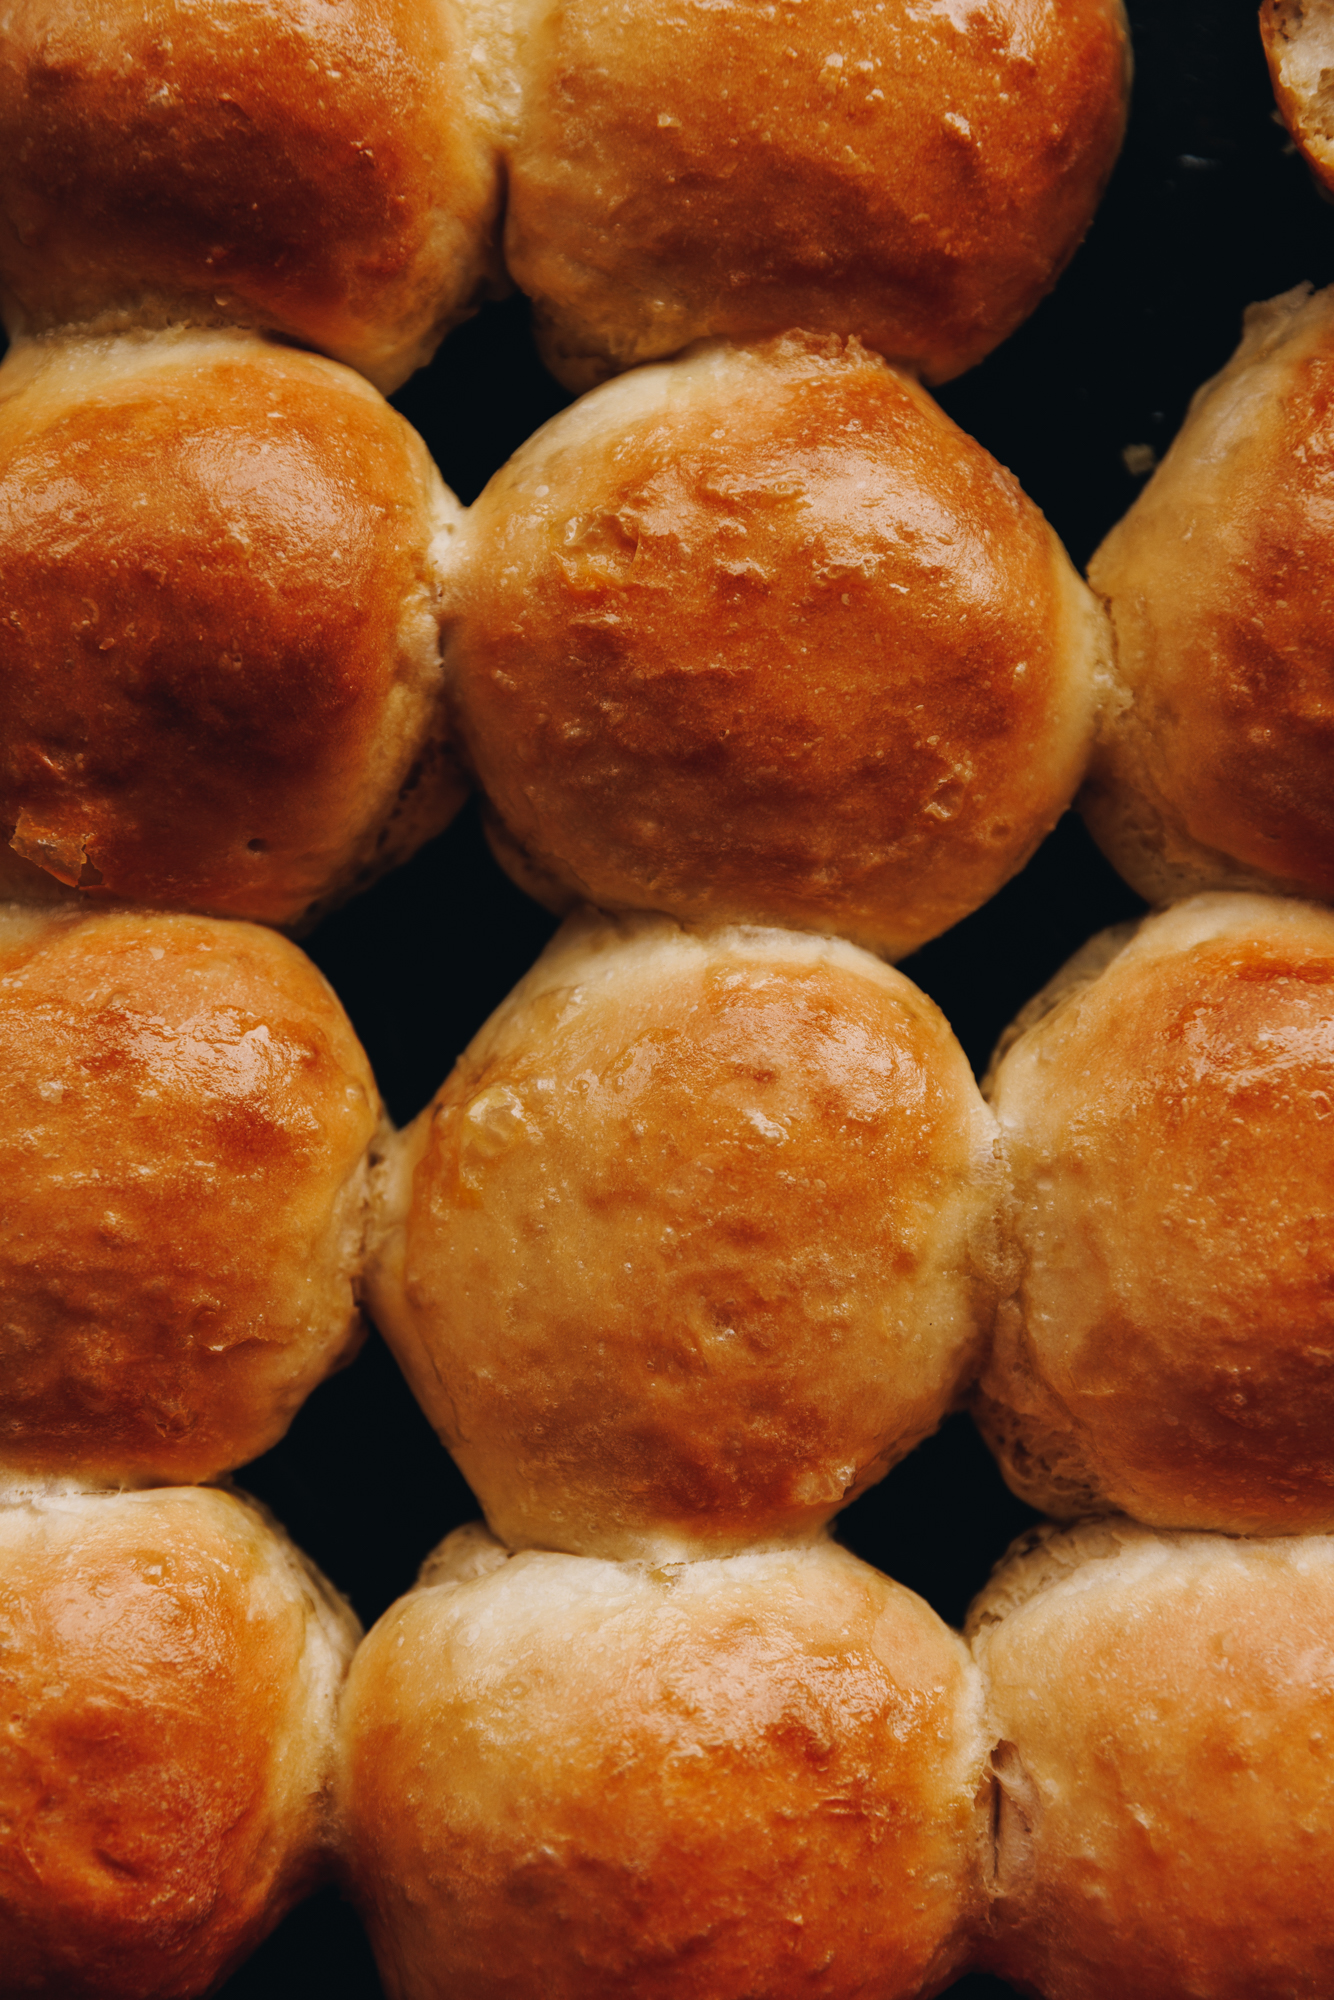
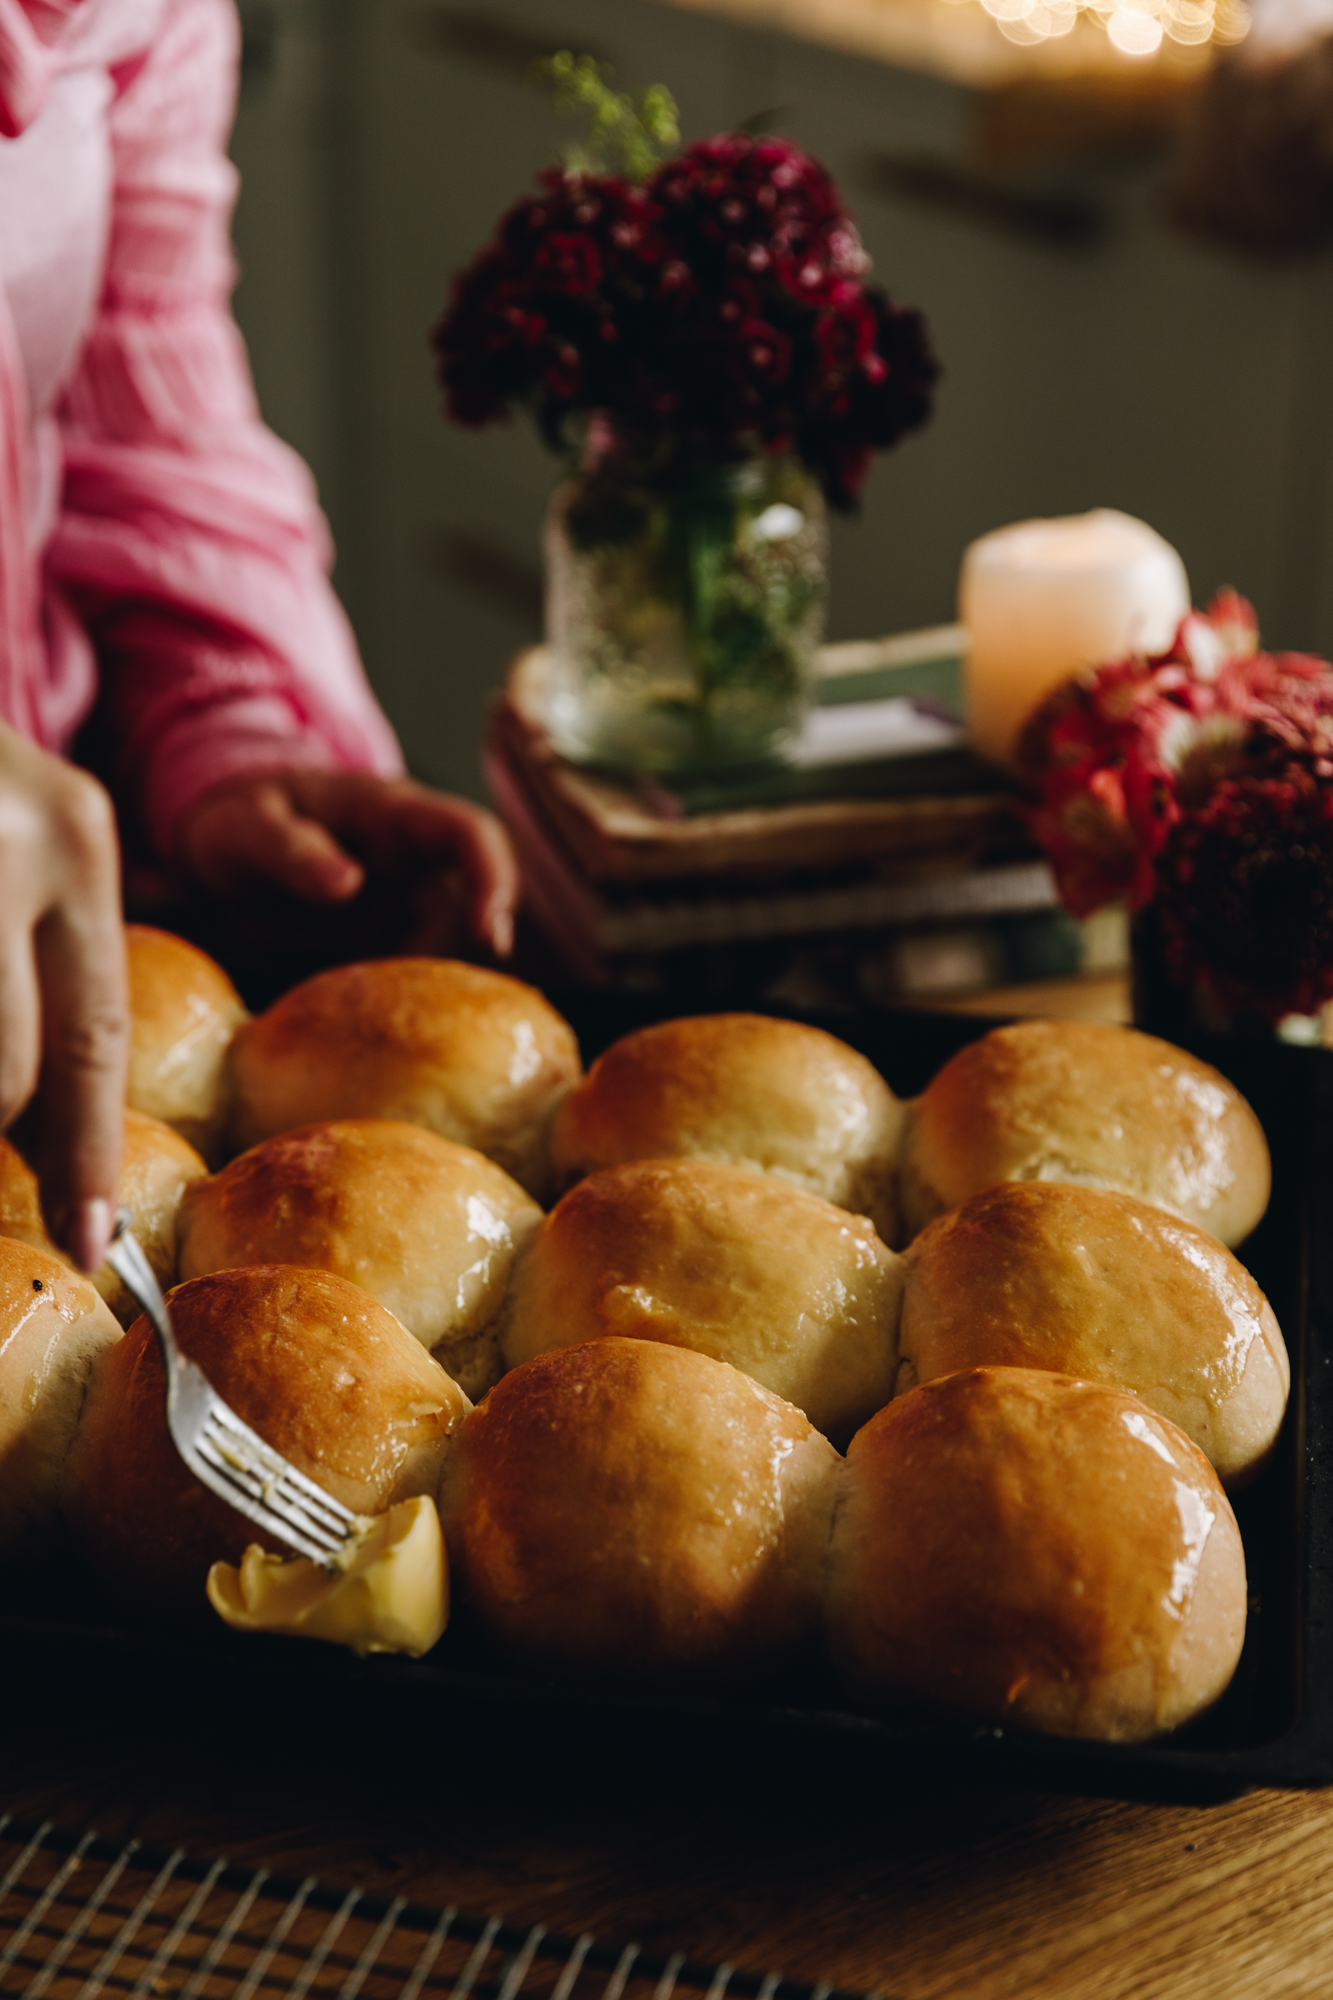
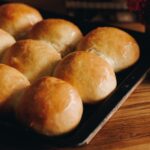
Light, airy buns made with an easy stretch-and-fold method.
Do you want to make homemade hamburger buns, or are you simply craving a soft, fluffy bun to enjoy with your meal? If the idea of kneading dough puts you off, these no-knead bread buns are exactly what you need. You’ll mix the dough, leave it in the bowl, and gently build strength through a few simple stretch-and-folds. No heavy kneading required. Kia tunu tātou (let’s bake)! 🥖
Why you will love these no-knead bread buns:
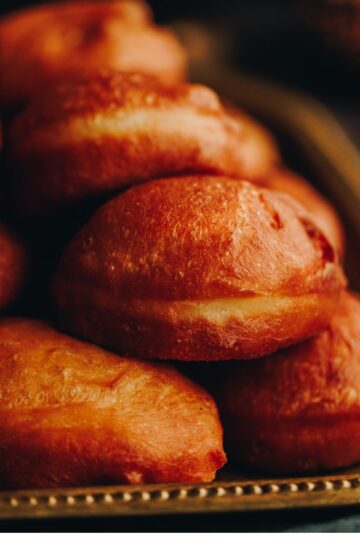
These no-knead bread buns will quickly earn a spot in your weekly baking rotation. They’re the no-knead version of one of the most popular recipes in my cookbook—Parāoa Iti Tuatangata (Superhero Buns).
While I do love kneading, this method keeps things simple: the dough stays in the bowl and develops structure through stretch and folds instead. It’s a gentle sourdough-inspired technique that activates the gluten over time, creating beautifully light, fluffy buns with minimal effort. The result? Soft, pillowy buns that everyone will rave about—without the kneading.
More no-knead recipes:
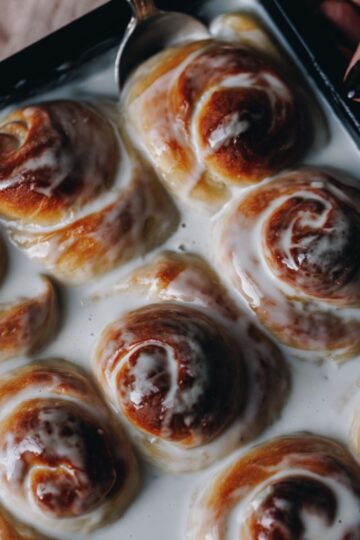
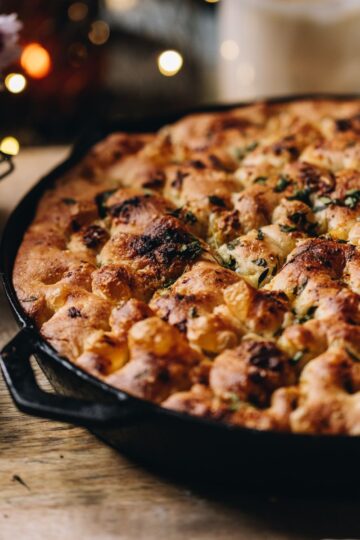
Want to try a cheesy version of these buns? My Cheesy No-Knead Bread Buns are simple to make but deliver a big flavour hit. Or, if you’re after something fragrant and flavour-packed, take a look at my No-knead Focaccia. It’s light and fluffy, infused with kāriki (garlic), rēmana (lemon), and tāima (thyme).
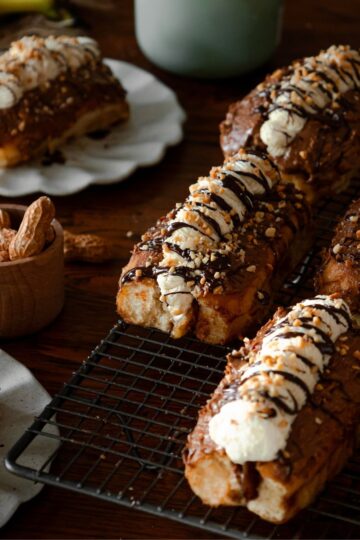
BREAKFAST BUNS & BAKES:
From soft muffin splits to savoury bacon and egg buns, these breakfast favourites are perfect for slow mornings, brunch spreads, or easy meal prep. Simple, comforting, and homemade—these kind of bakes make breakfast feel a little more special.
Videography and photography by Sarah Henderson.
INGREDIENT TIPS FOR NO-KNEAD BREAD BUNS:
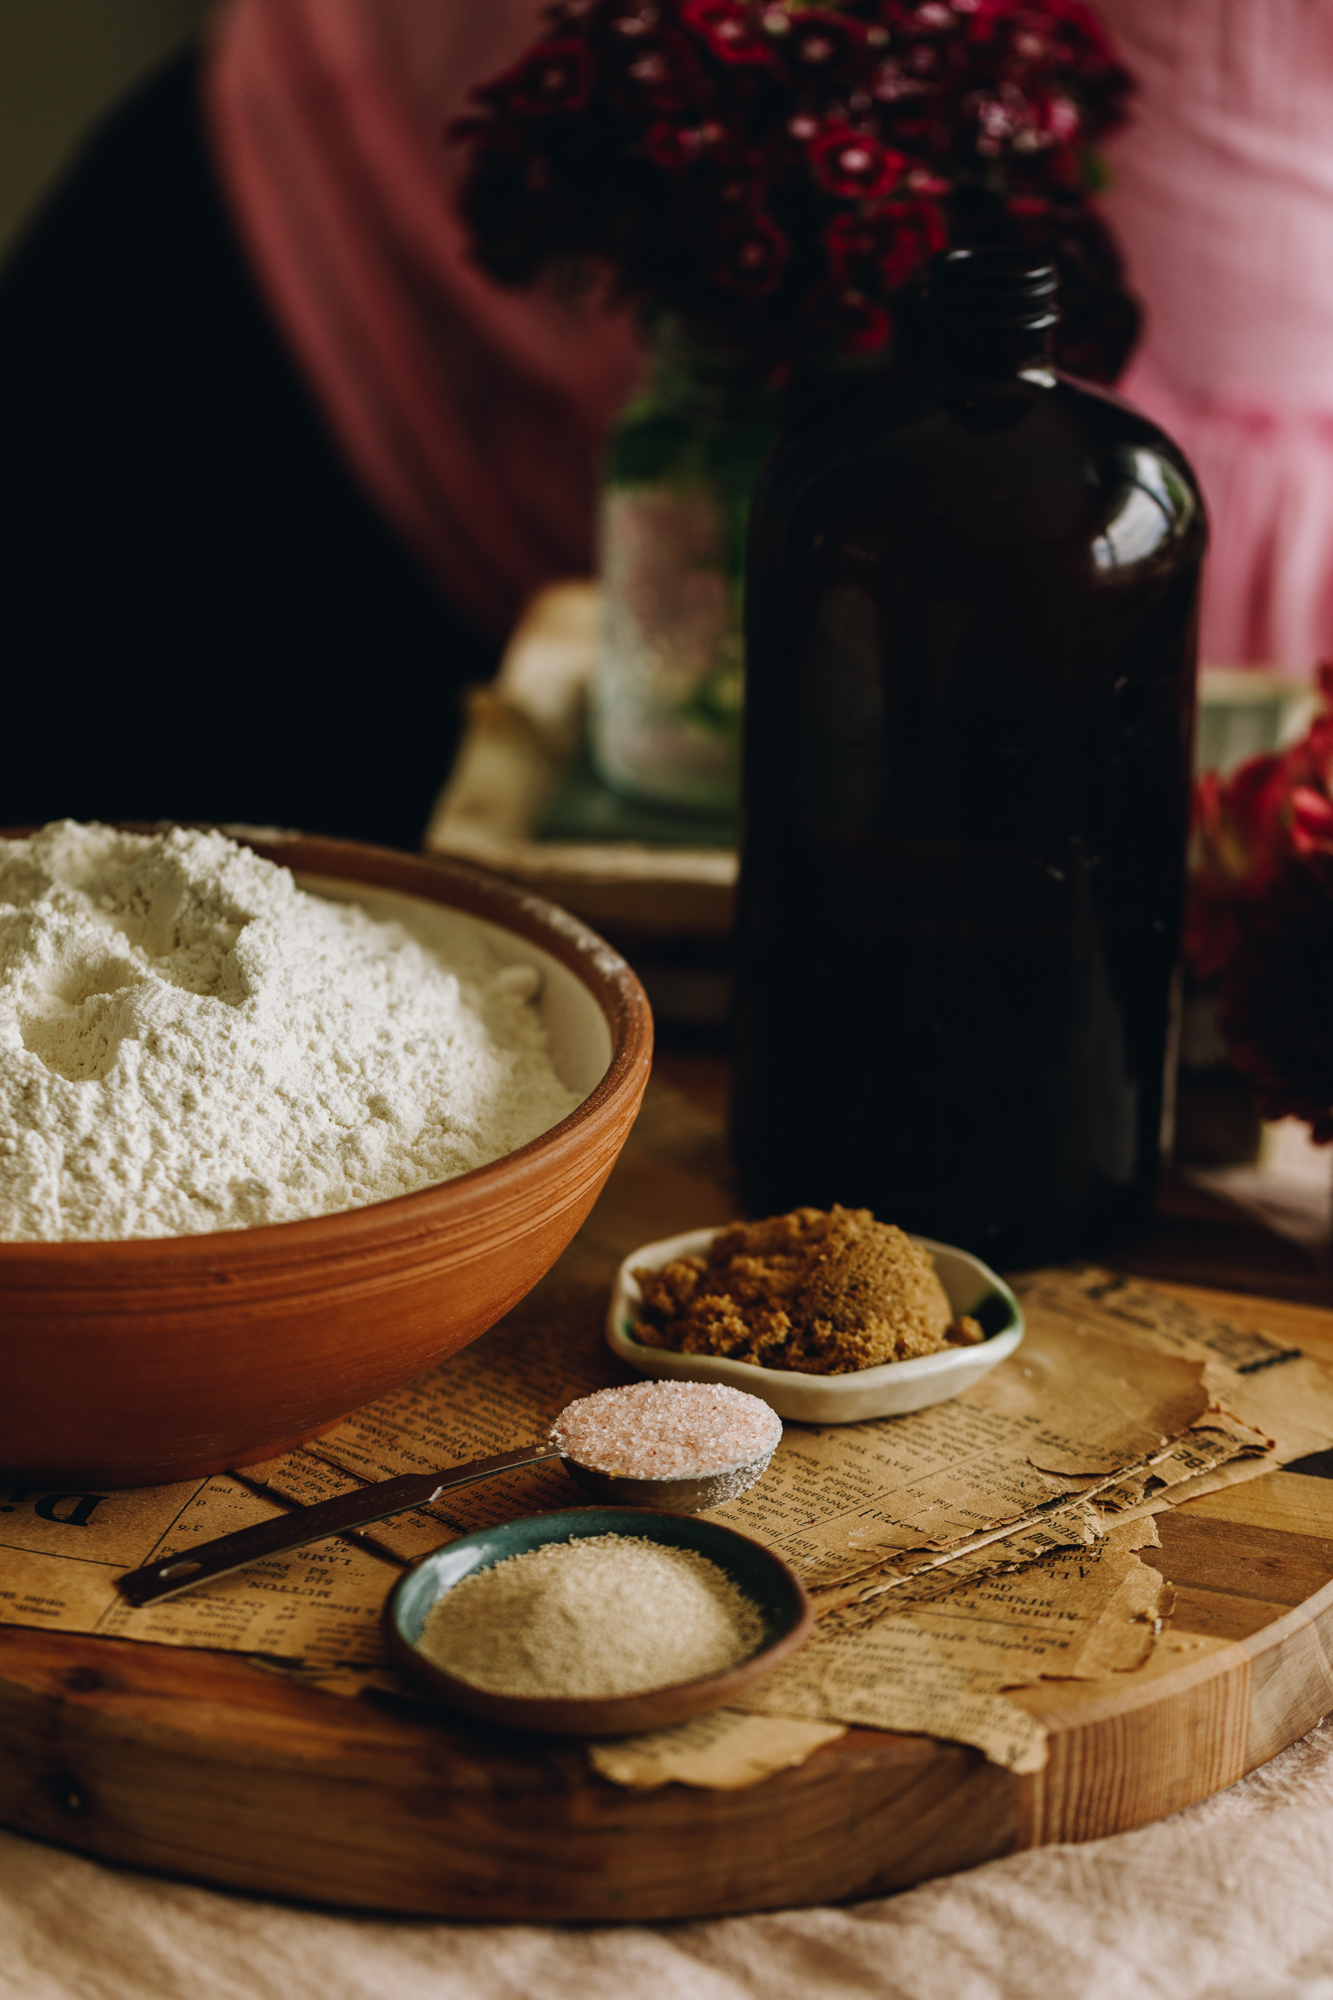
- Brown sugar: Use huka hāura (brown sugar), huka mā (white sugar), marahihi māpere (maple syrup) or mīere (honey) in the dough.
- Instant yeast: Use īhi horo (instant yeast) in this recipe for efficient rising. If you are using Surebake or breadmakers yeast, double the amount.
- High grade flour: Always use puehu parāoa kounga (high grade flour) in bread recipes for the fluffiest result.
- Salt: I use Himalayan salt in my baking because it gives a subtle flavour. If you are using iodised table salt, half the quantity.
- Butter: I always use salted butter in my baking but unsalted is fine too. If you want to make these buns dairy-free, swap the butter for 4 tablespoon of noni (oil).
HOW TO MAKE NO-KNEAD BREAD BUNS:
Note: The full recipe card with the full list of ingredients, instructions and step by step video are found at the bottom of this page.
1. Prepare the Tray:
Lightly grease a 25 cm by 35 cm tray with a little noni (oil).
Try and get a tray close to this size as it helps the buns rise in a more uniform way.
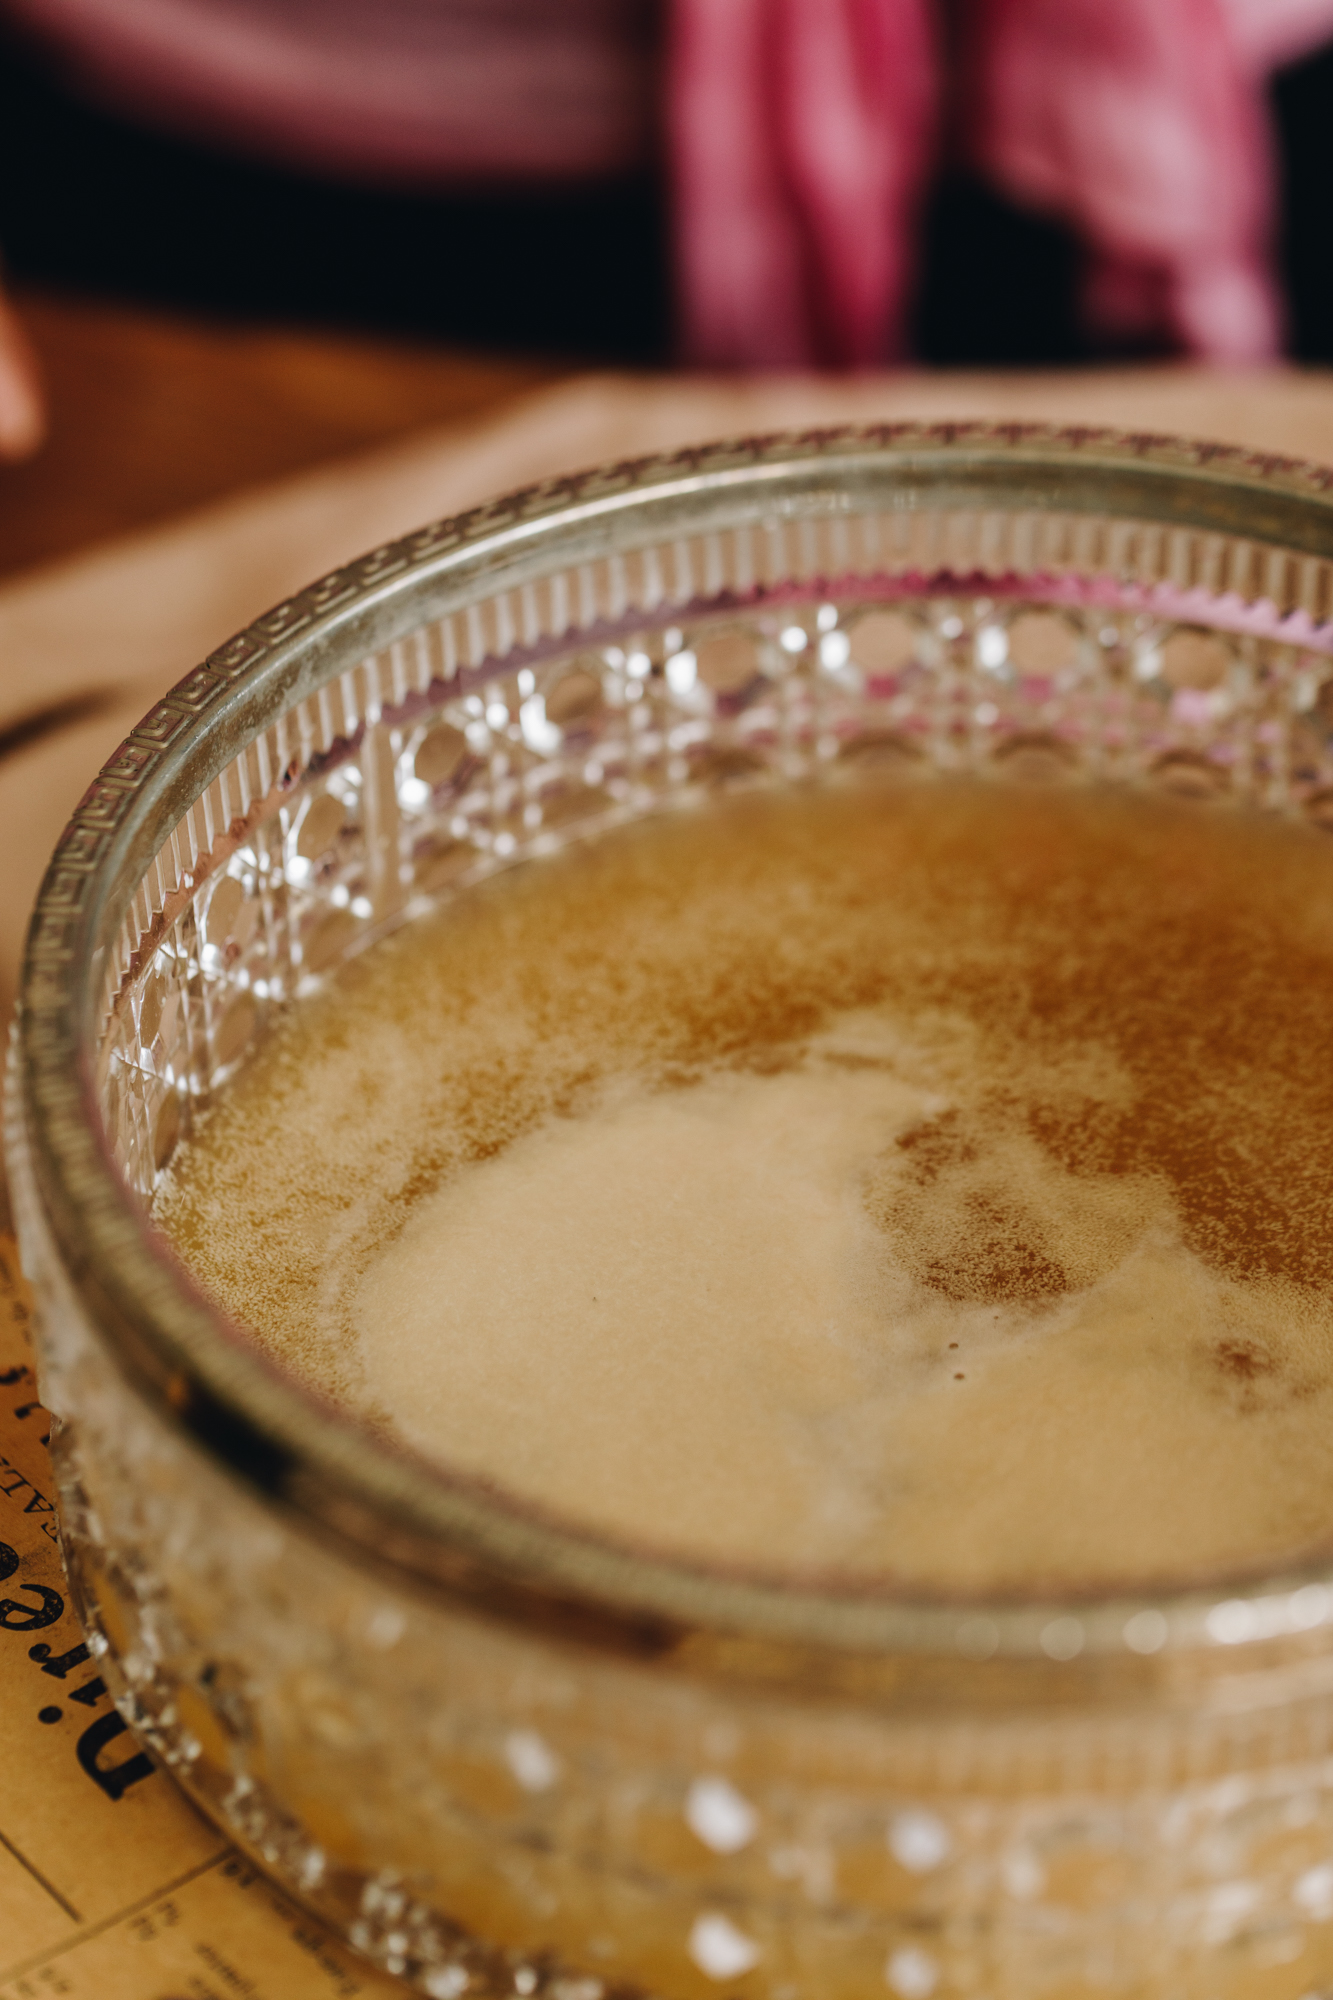
2. Activate the Yeast:
Add the wai (water) and huka (sugar) in to a large bowl. Stir it until the huka (sugar) is dissolved.
Add the īhi horo (instant yeast) and stir it in.
Leave the īhi (yeast) to activate for five minutes. The yeast is activated when it has floated to the top.
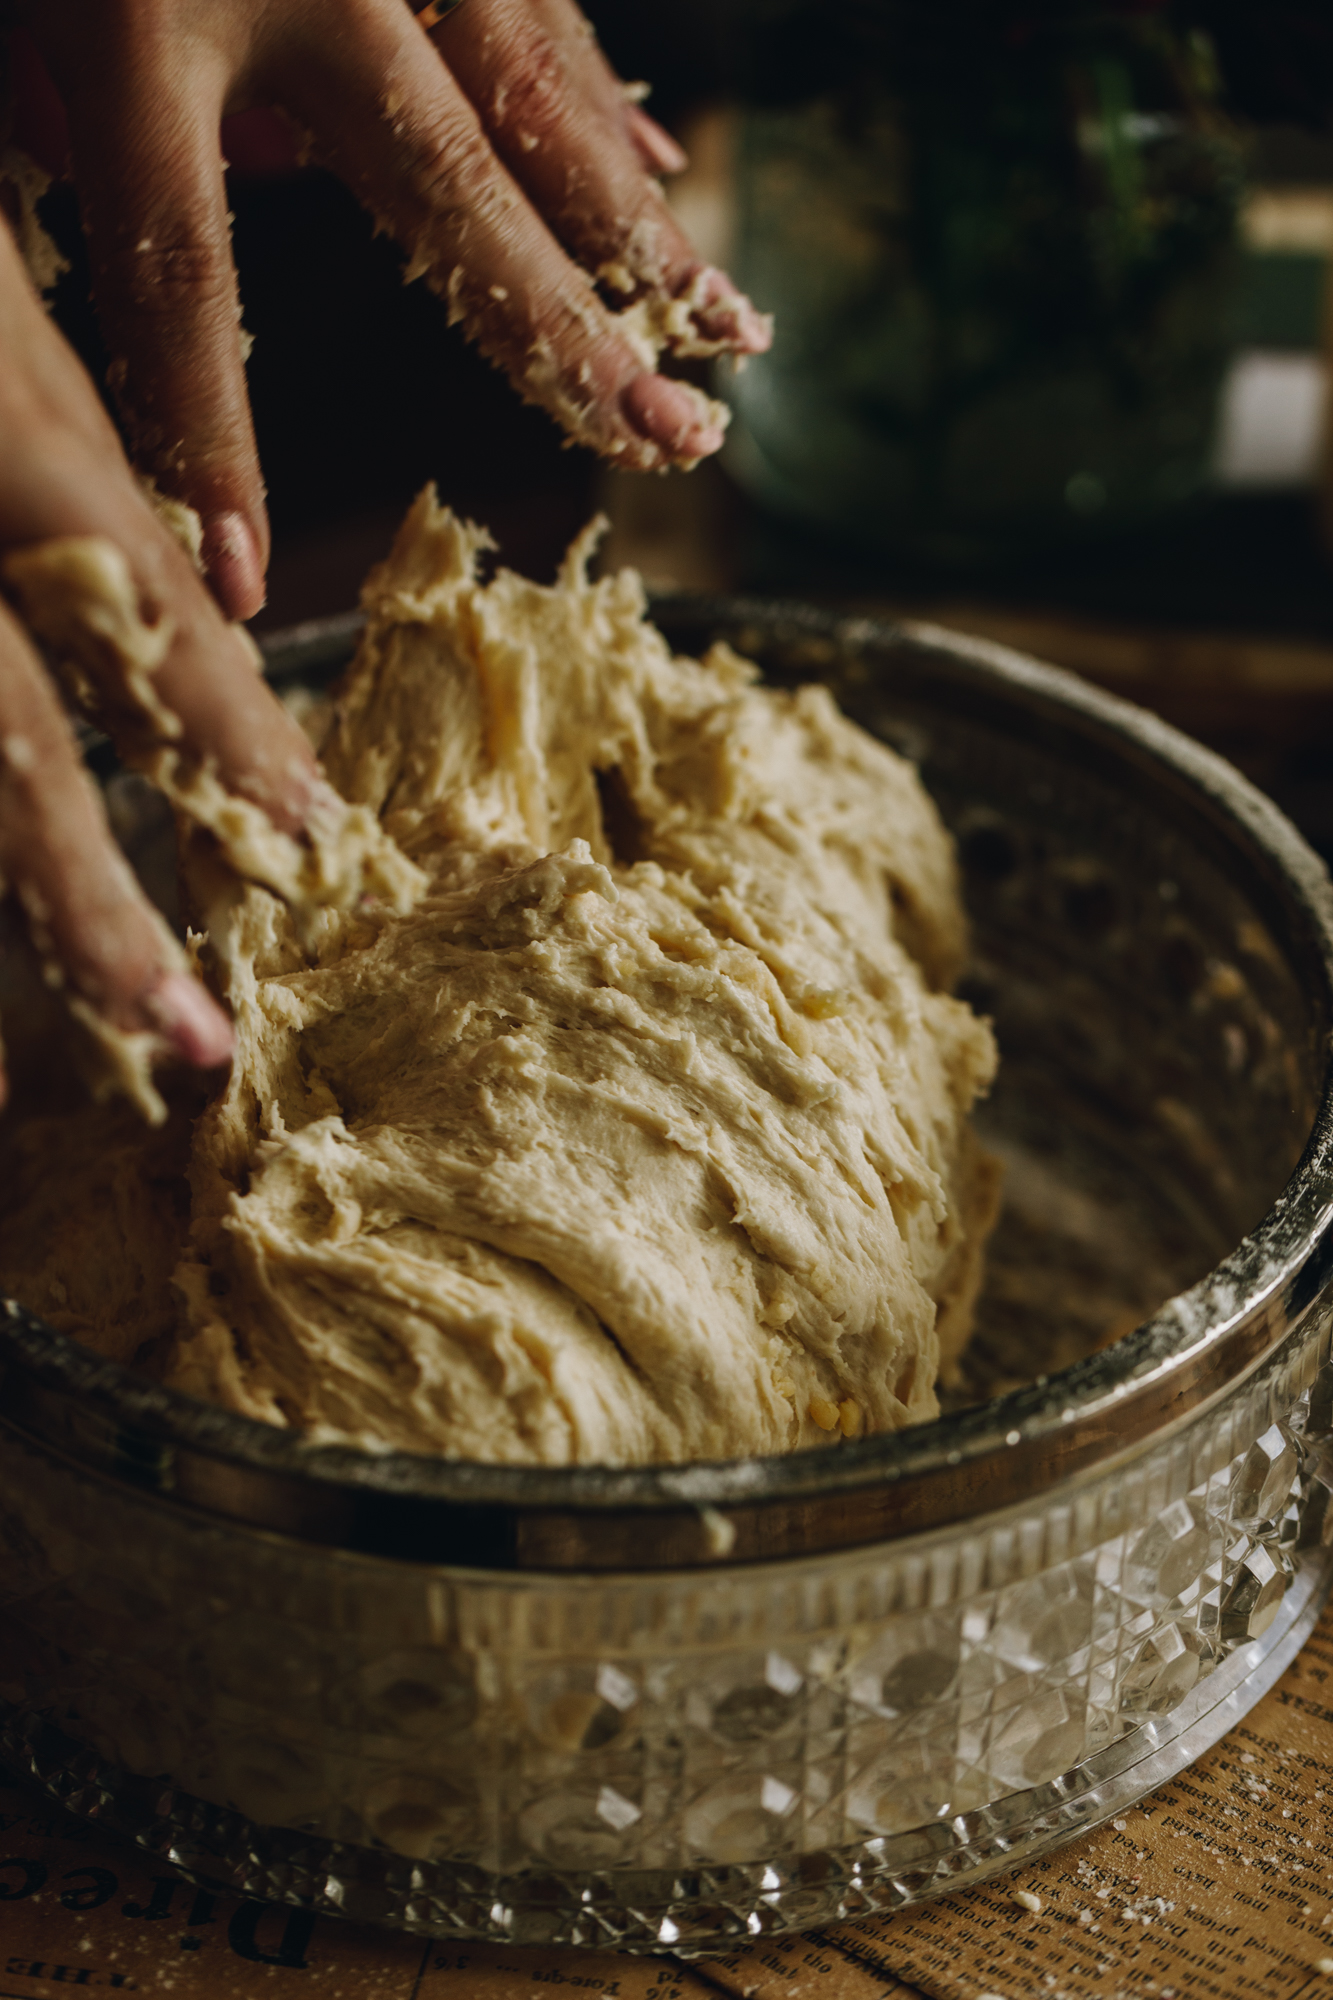
3. Add the remaining Ingredients:
Add the puehu parāoa (flour), tote (salt) and pata (butter).
Stir it all together with a bread and butter knife for 1-2 minutes until combined.
Use your hands to make sure all the puehu parāoa and pata (butter) are combined well. It will be sticky, don't add any more flour.
4. First Rise:
Cover the bowl with a bowl cover or tea towel.
Leave to rise for 30 minutes.
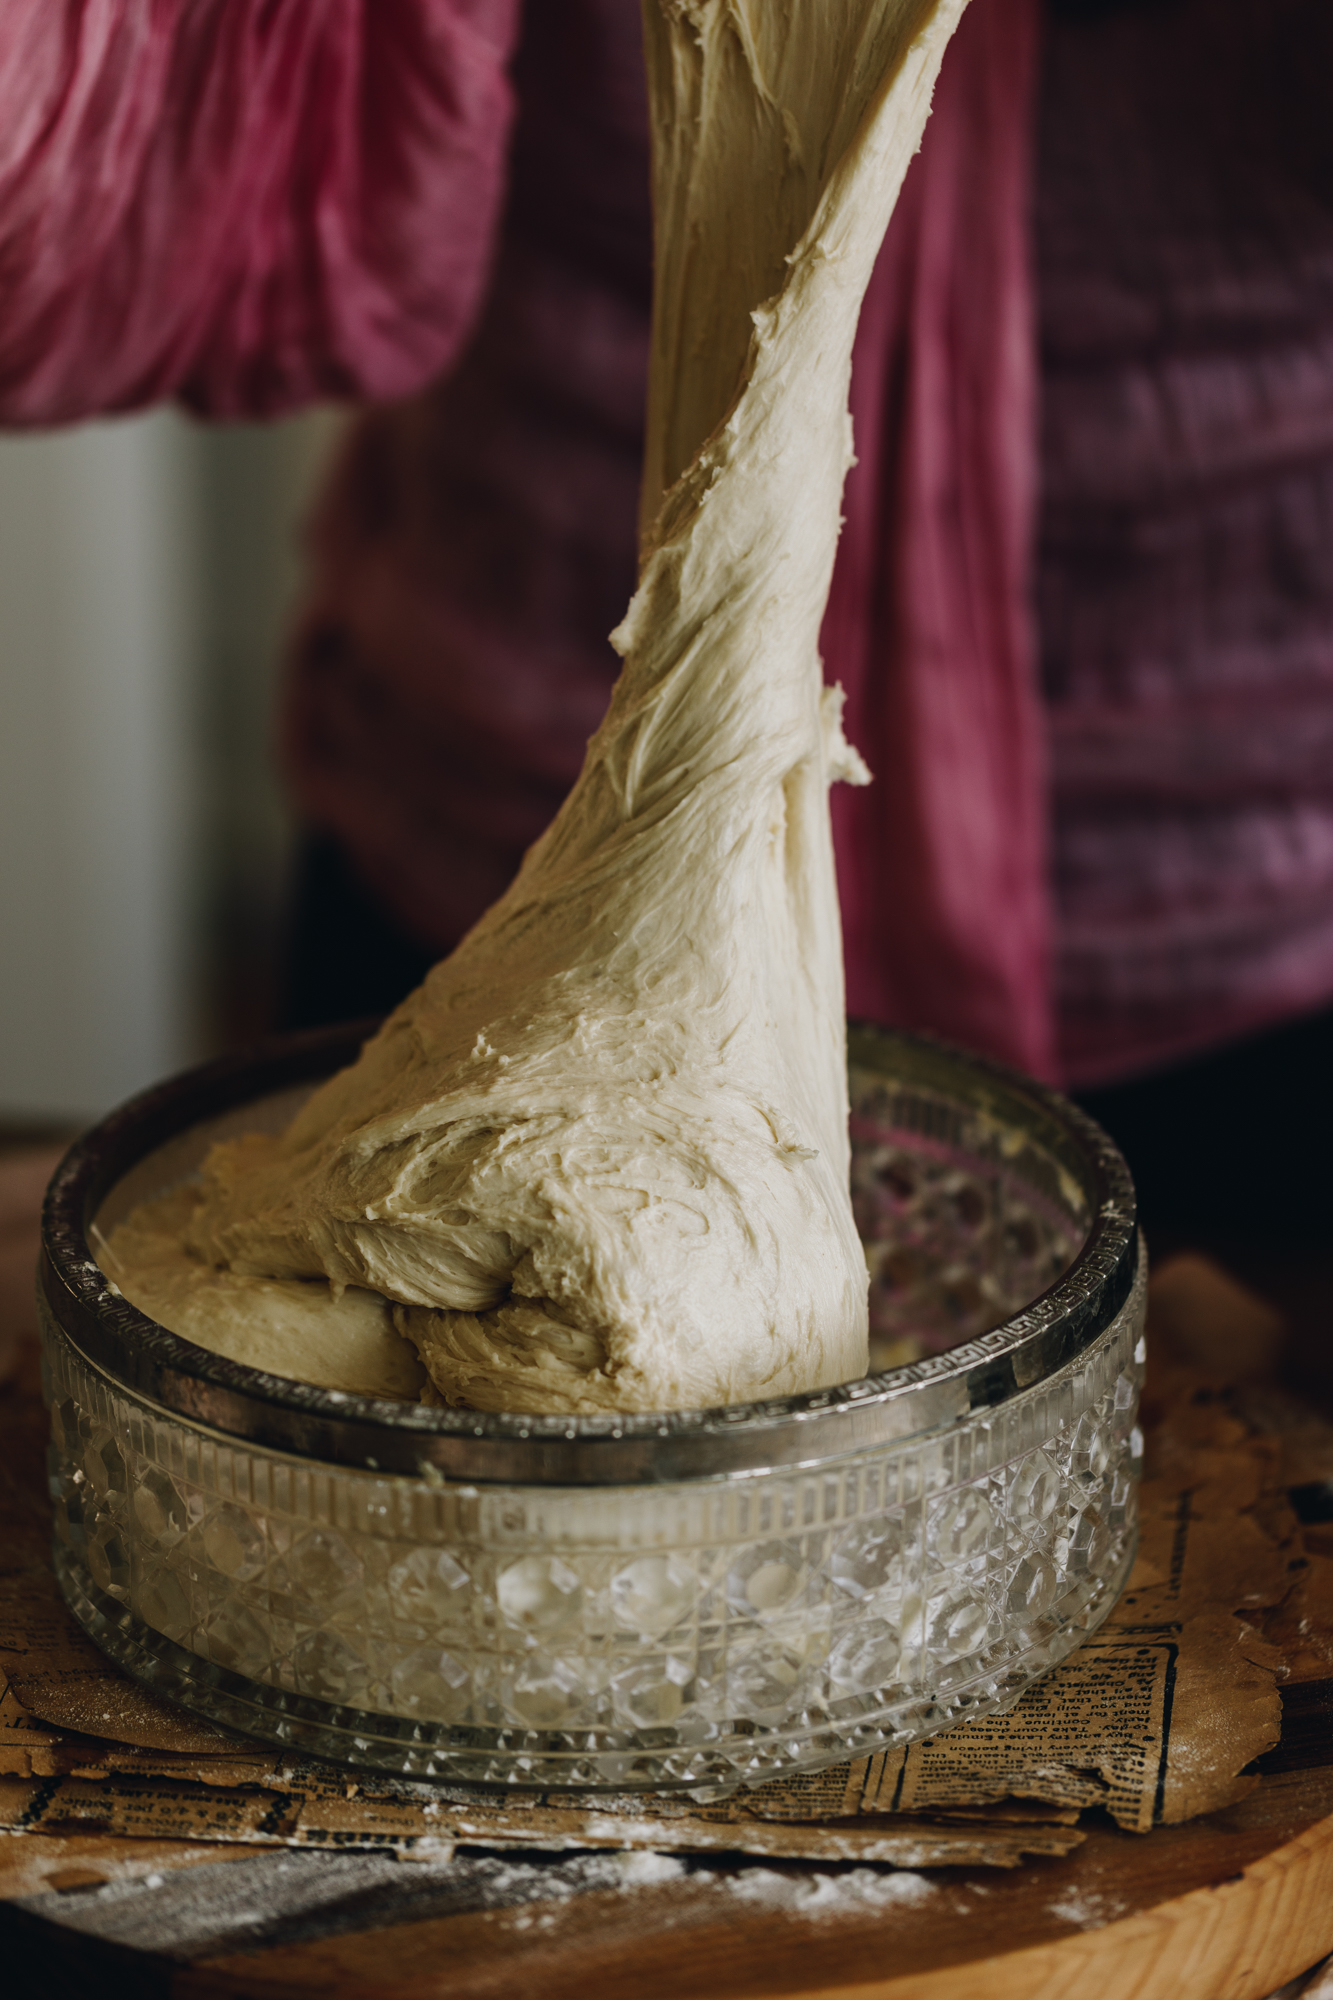
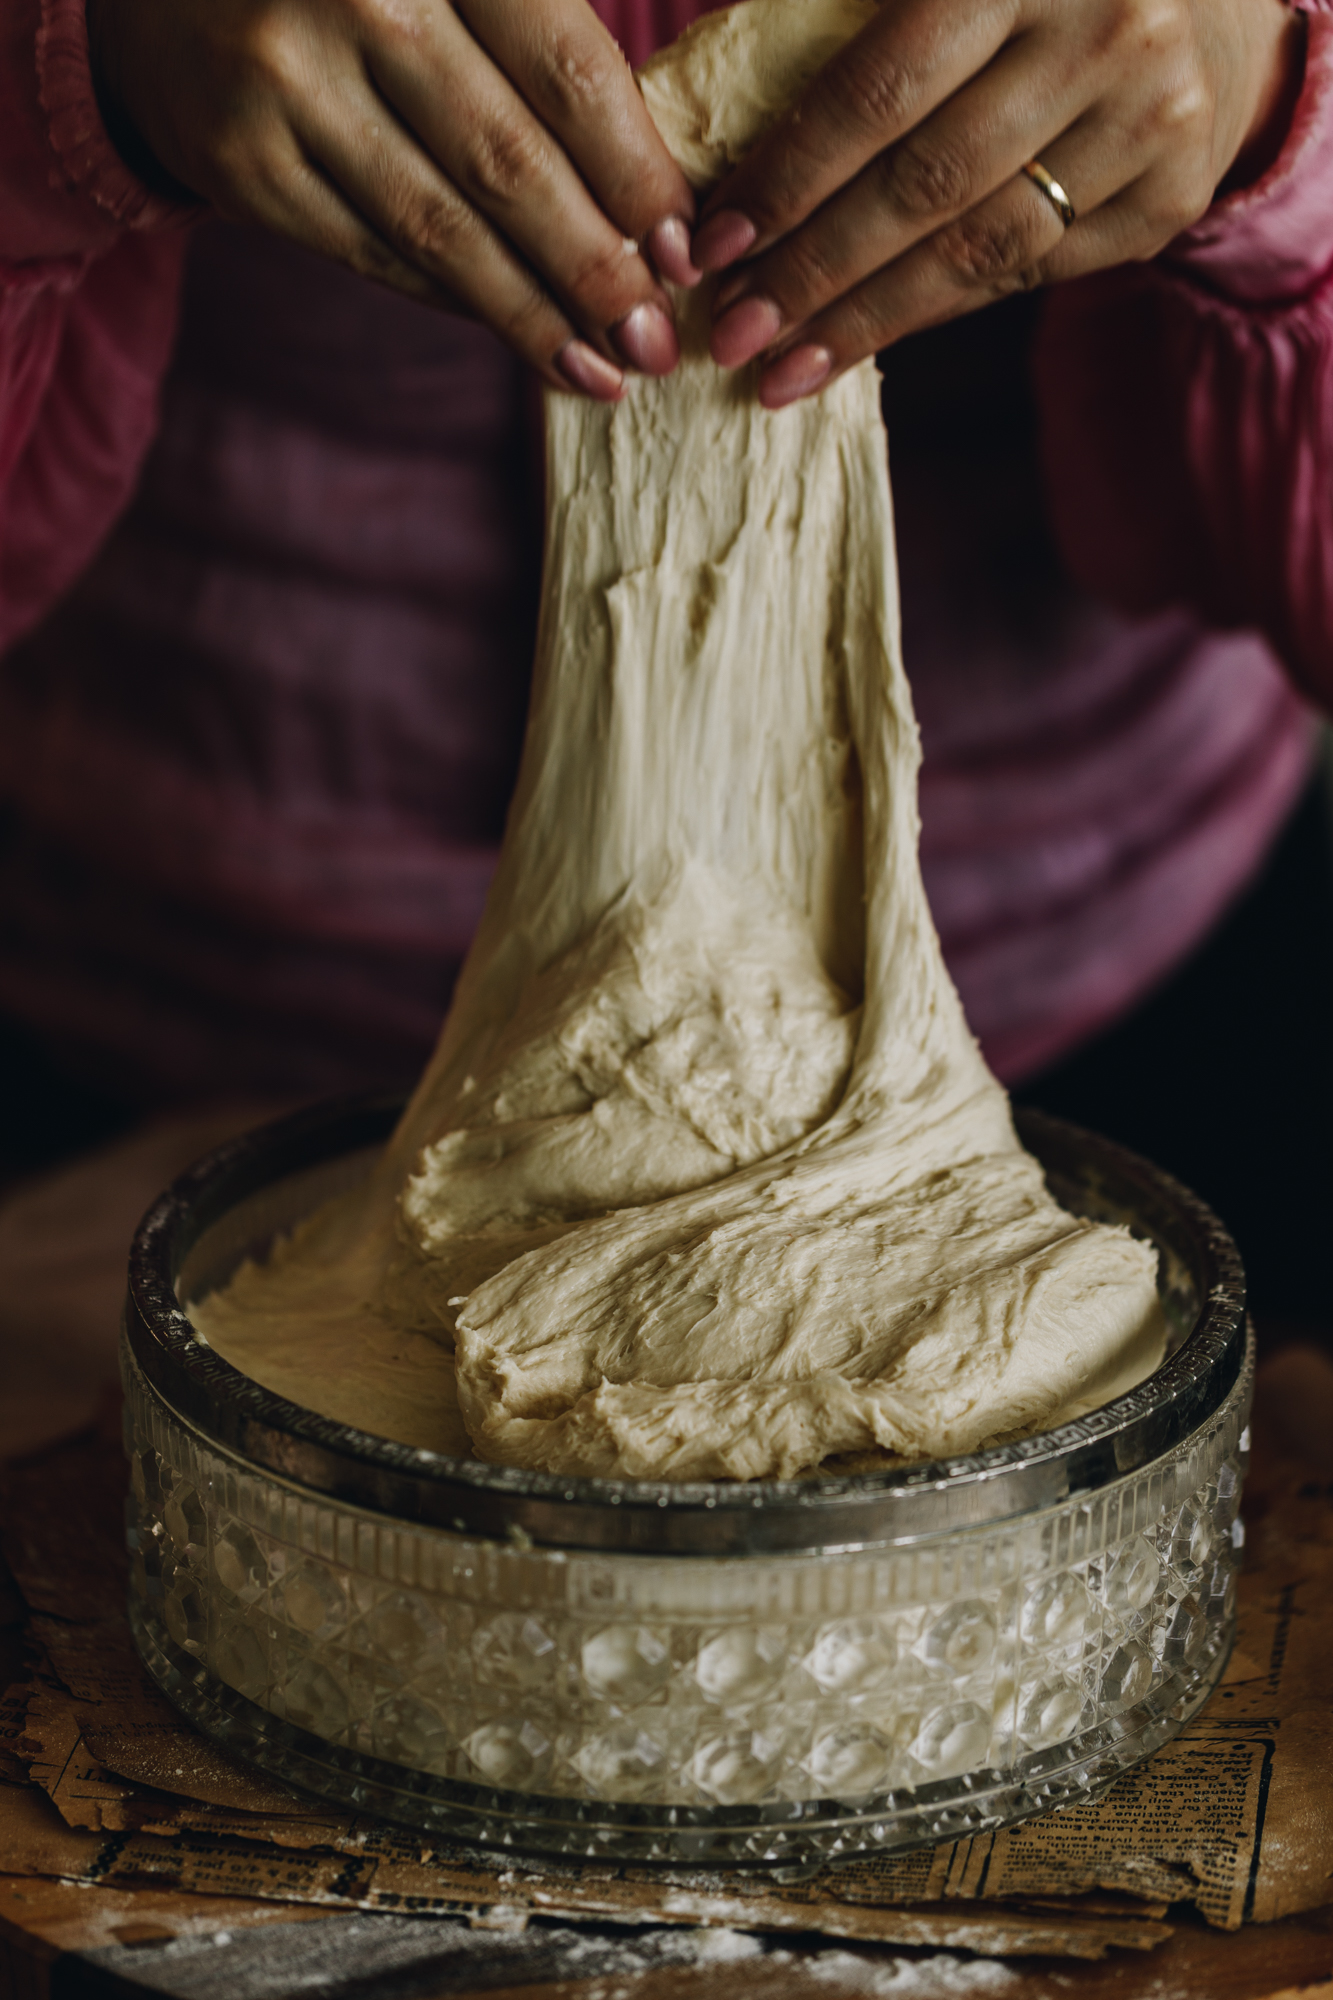
5. First Stretch and Fold:
After 30 minutes, stretch and fold the dough. (Refer to the video for a guide).
With wet hands, take a handful of dough from the side of the bowl, pull it high in the air and then place it in to the centre of the bowl. Turn the bowl a quarter turn and repeat that process.
Every time you place the dough in to the centre it is one count.
In total do 30-35 stretch and folds. This should only take a minute or so.
6. Second Rise:
Cover the bowl with a bowl cover or tea towel.
Leave to rise for 30 minutes.
7. Second Stretch and Fold:
After 30 minutes, stretch and fold the dough again.
This time do 25 stretch and folds.
8. Third Rise:
Cover the bowl with a bowl cover or tea towel.
Leave to rise for 15 minutes.
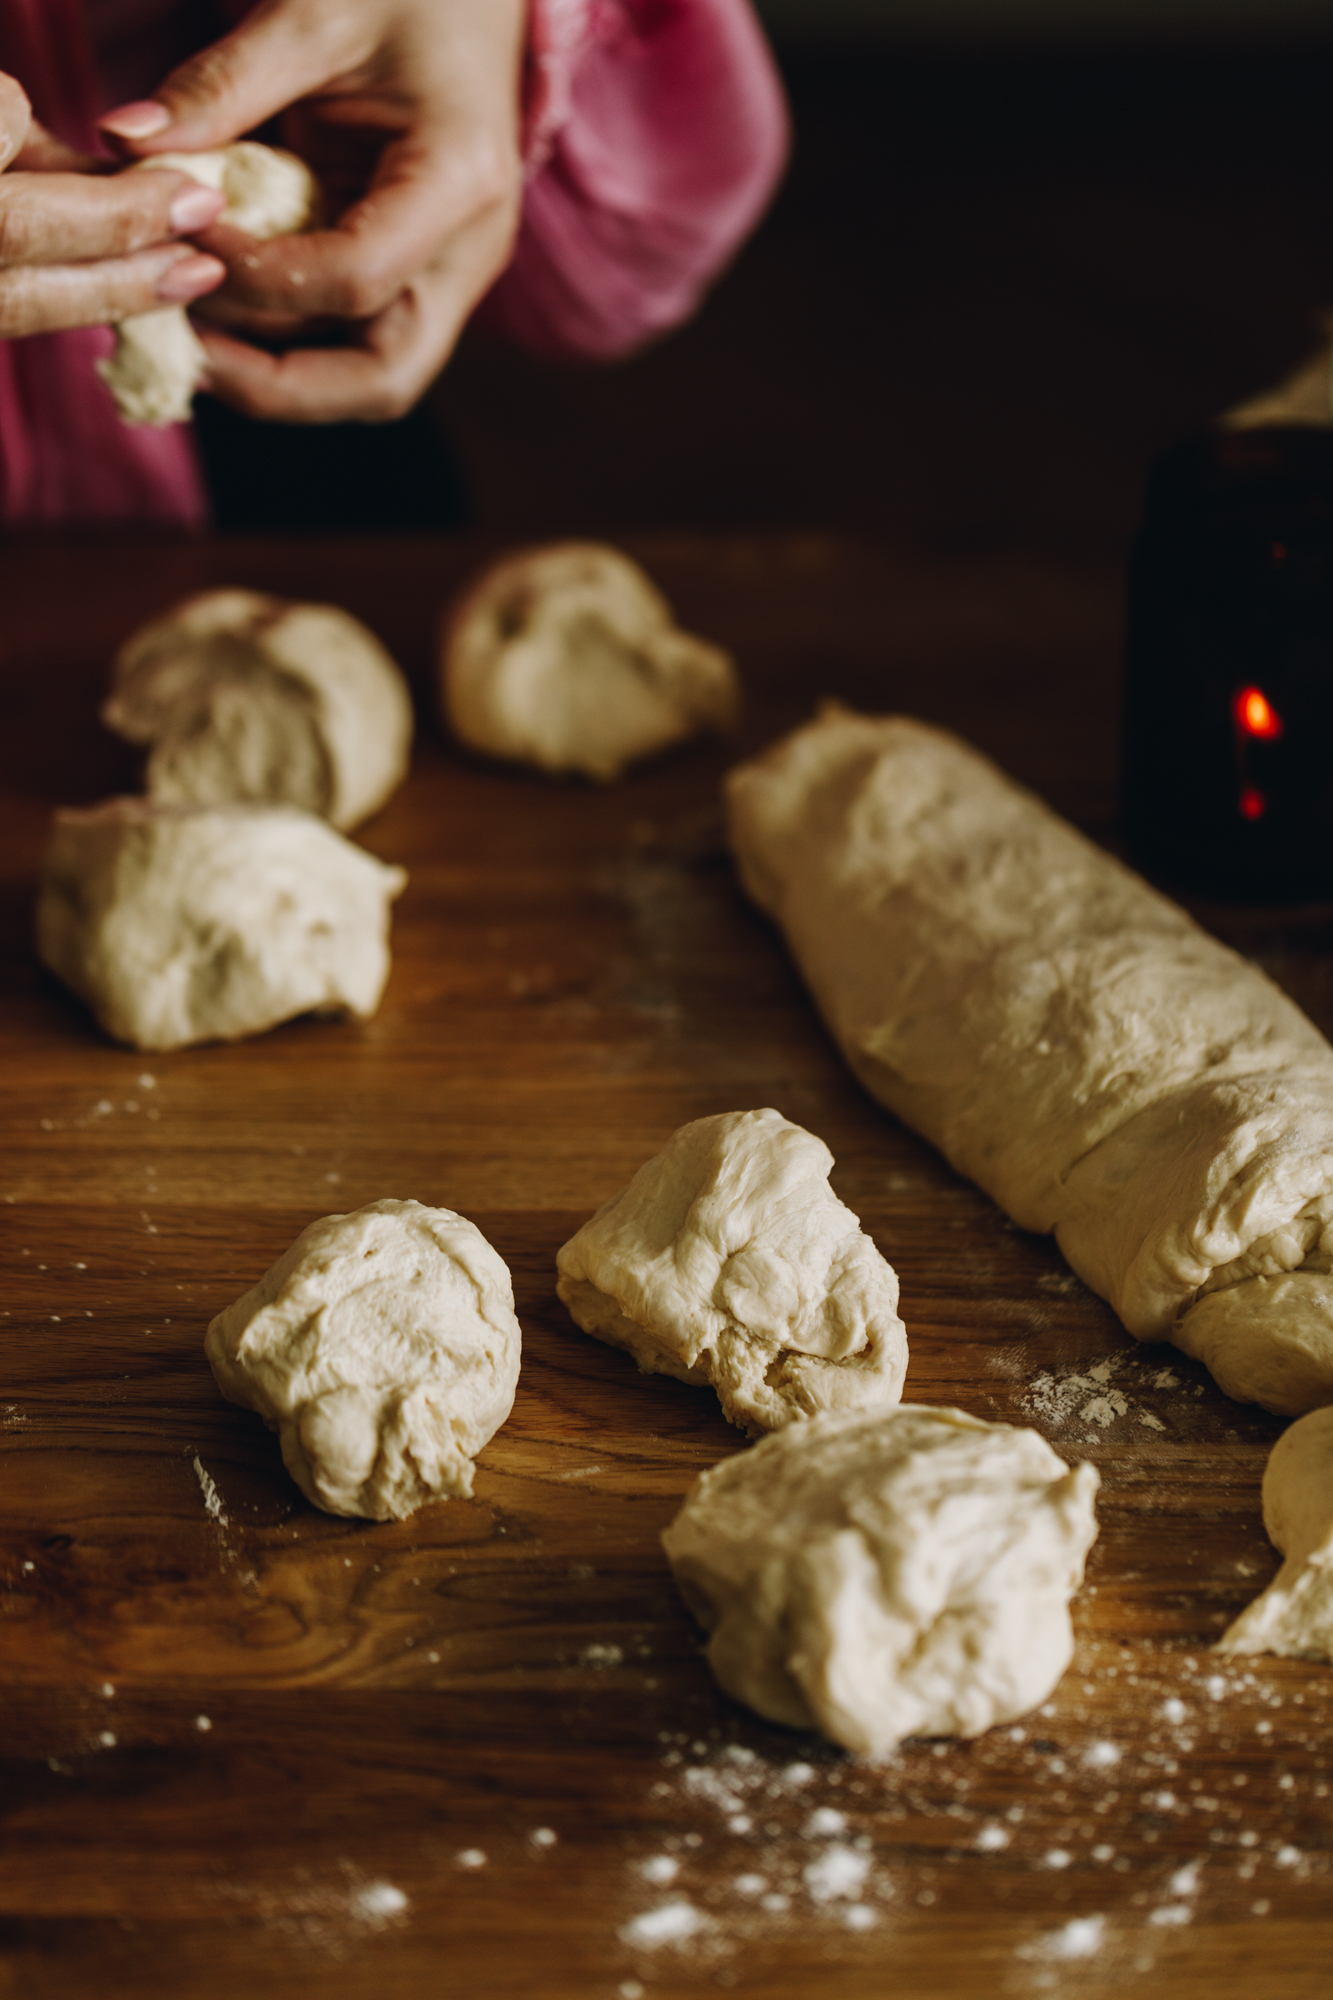
9. Divide the Dough:
Tip the risen dough on to lightly floured bench.
Divide the dough in to 12 equal pieces.
Don't be tempted to knead or work the dough again here, we want to handle the dough lightly so the buns stay nice and fluffy.
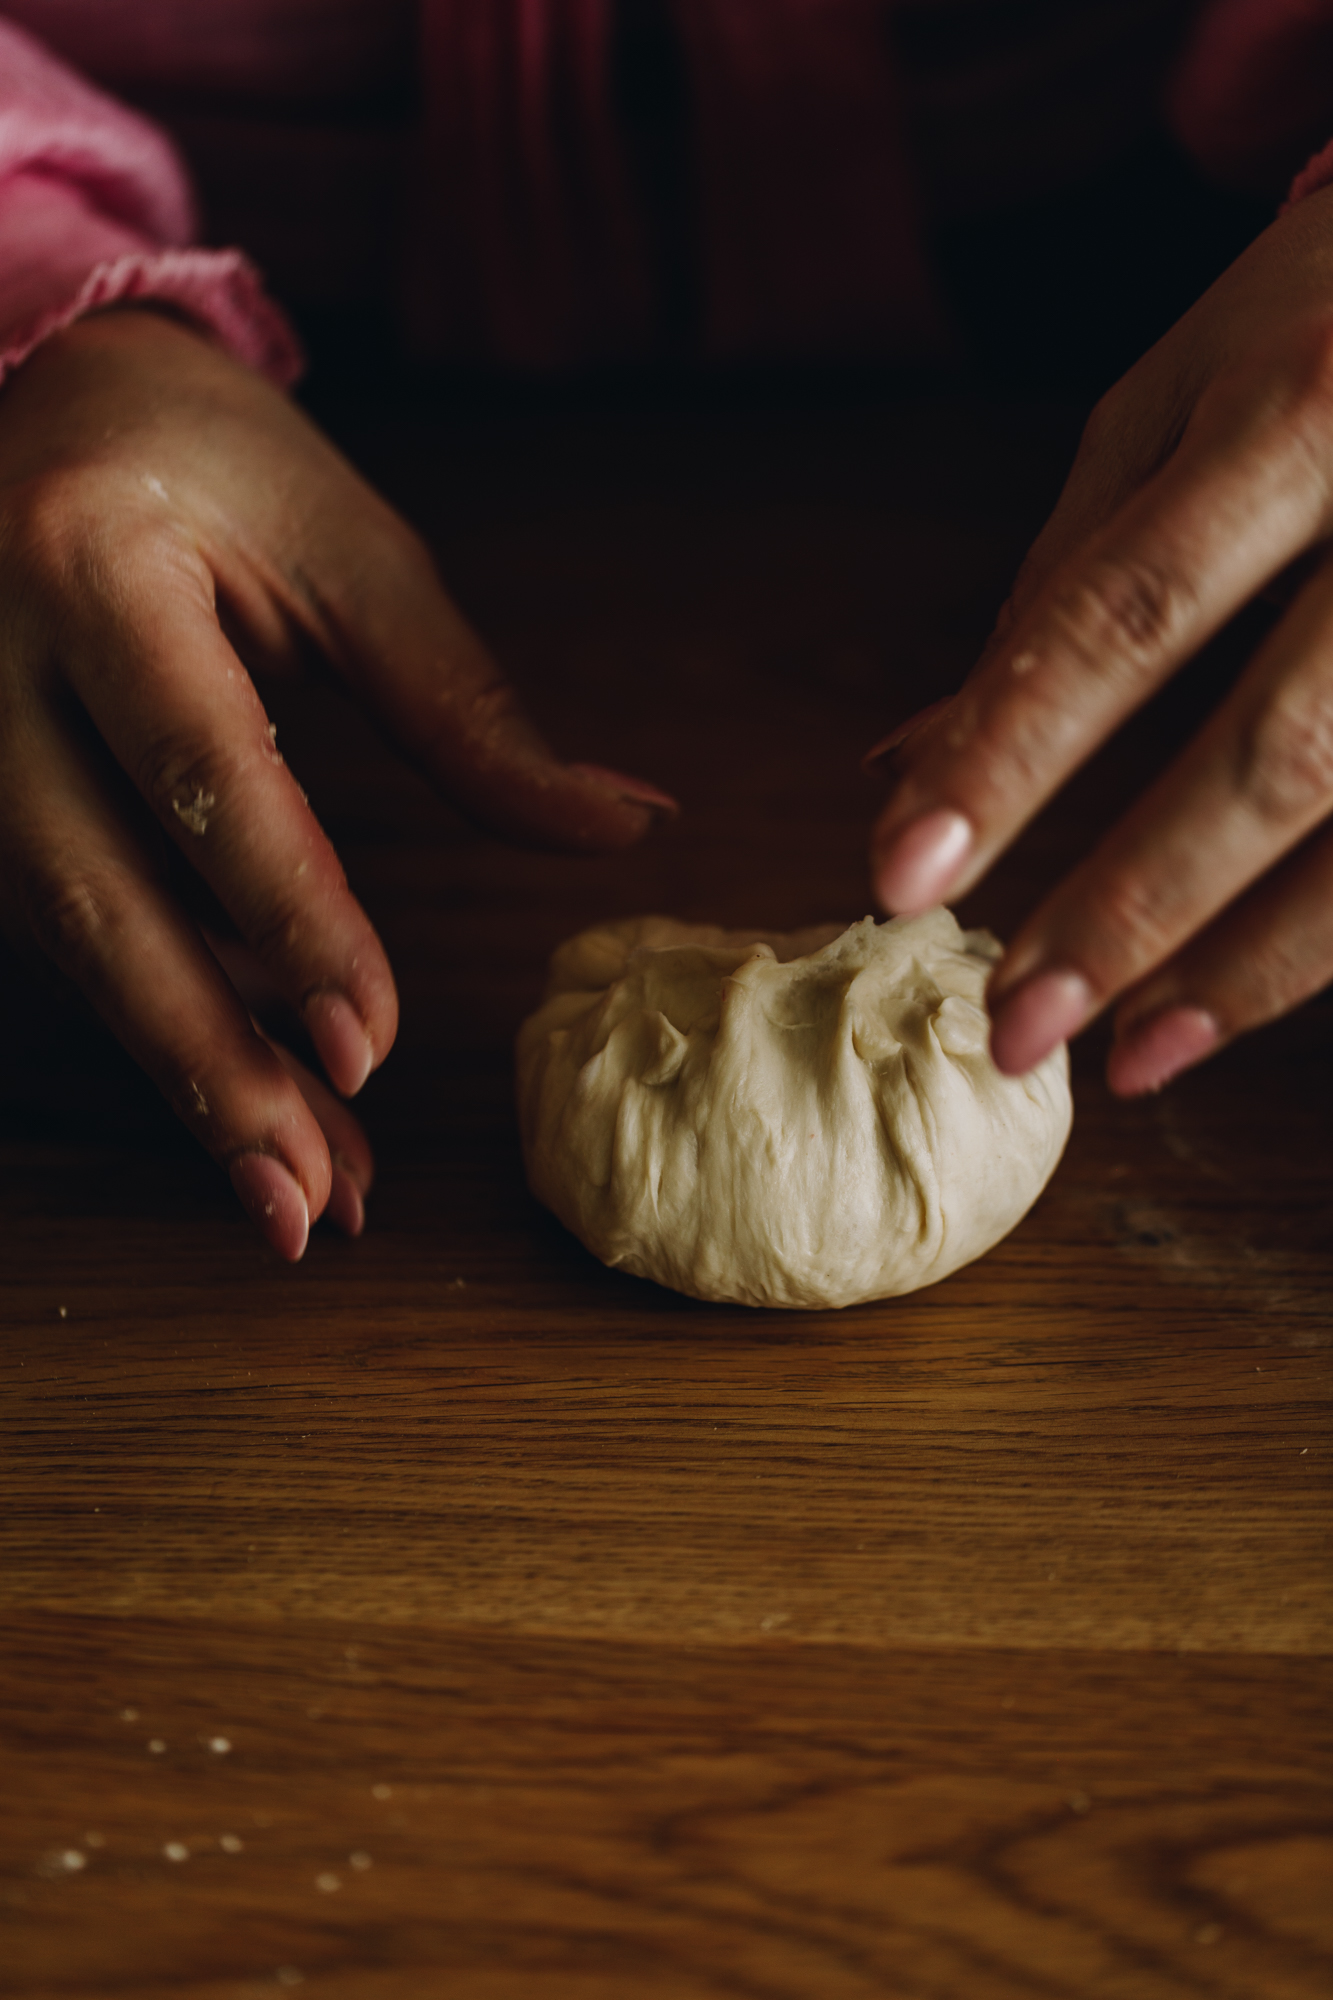
10. Shape the Buns:
Take each piece, fold all the corners in to the centre until you have a tight ball and seal the seams by pinching them with your fingers. (Refer to the video for a guide).
Flip the dough over and use your hands to tuck it in to a ball shape.
Place it on to the oiled tray. Repeat with each piece of dough.
11. Fourth and Final Rise:
Cover the buns with a tea towel and rise for 45 minutes.
12. Preheat the Oven:
15 minutes before the rising time is up, preheat the oven to 175 °C bake setting or 165 °C fan bake setting.
13. Bake the Buns:
Bake for 25 - 27 minutes until baked and golden.
To test if the buns are done, press the bottom part of one of the buns.
If the buns springs back, they are ready.
If the dough stays indented when you press it, bake for a couple more minutes.
14. Glaze the Buns:
When the buns come straight out of the oven, brush them with a knob of pata (butter) for a glossy finish.
Storing the Buns:
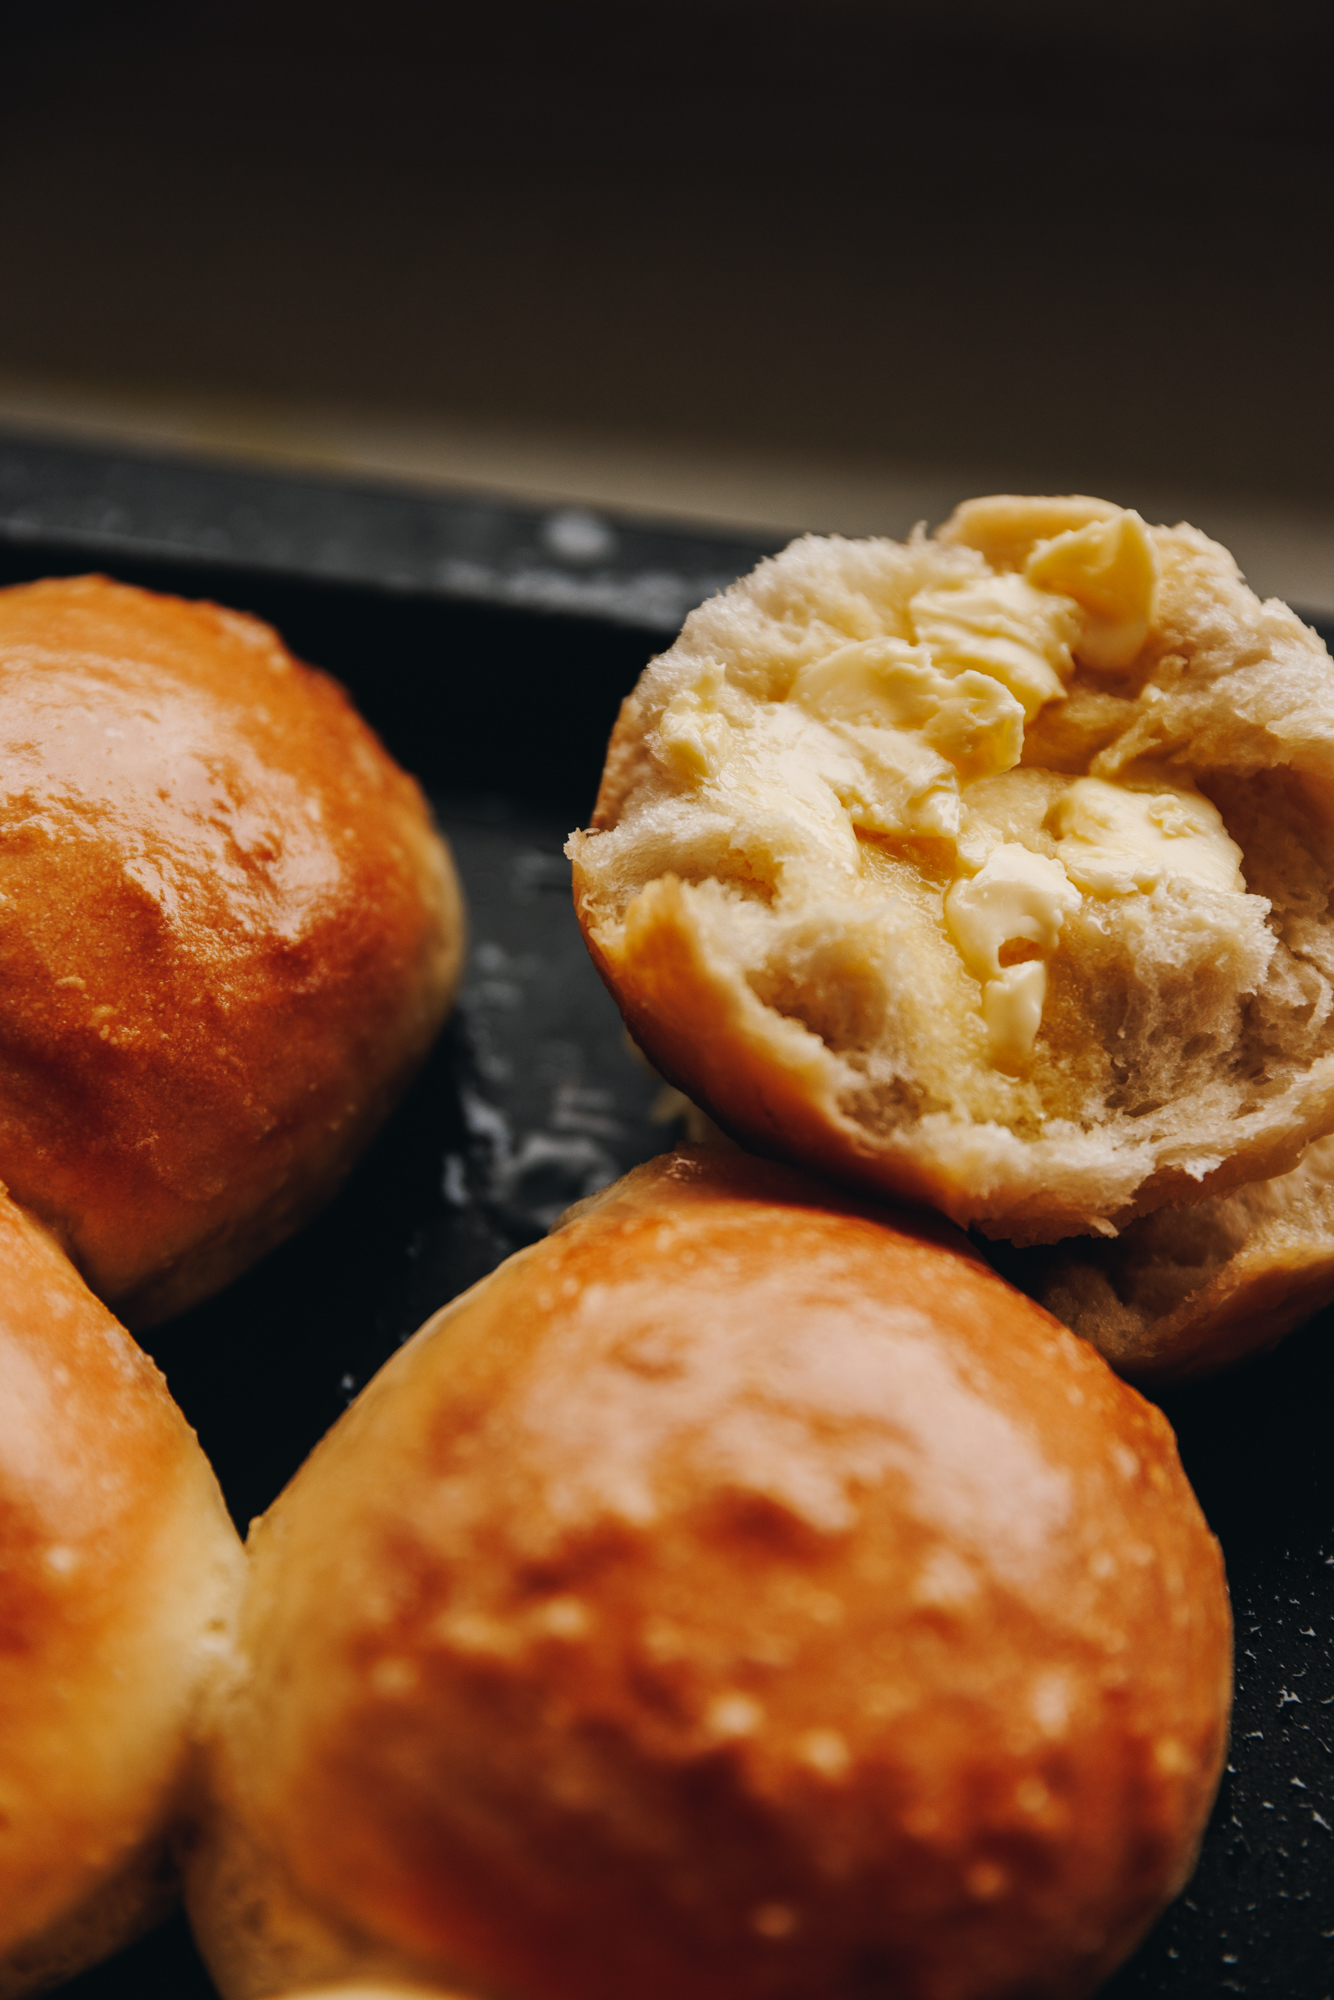
These are at their best eaten immediately or cut open and toasted the next day.
I keep my homemade bread buns in a plastic bag for a day or so on the bench.
Beyond that I slice them open and store it in the freezer and toast them when needed.
Check out some more
Parāoa (Bread) Recipes
Warm bread, straight from the oven - is there anything better?

DID YOU ENJOY THIS RECIPE?
It would be so awesome if you could please leave a review/comment by clicking the “leave a comment” section at the top of the page.
I love seeing you all make my creations, so send a whakaahua (photo) or kiriata (video) to my Instagram and show me what you made. Let me know if you have any pātai (questions) too, I would love to help.
No-knead Bread Buns - Parāoa Iti Poke-kore
Ingredients
The Dough - Te Pokenga
- 2 ¼ C (565 ml) wai aromahana (lukewarm water)
- 2 ½ tablespoon huka hāura (brown sugar)
- 2 ½ teaspoon (8 g) īhi tere (instant yeast) or 16 g (2 tbsp) Surebake/breadmakers yeast.
- 5 C + 2 tablespoon (770 g) puehu parāoa kounga (high grade flour)
- 2 tsp tote (salt, fine) I use Himalayan salt here, if you are using iodised table salt, half this amount.
- 65 g pata kua rewaina (melted butter). If you don't want to use butter, replace it with the same amount of noni (oil).
Instructions
Prepare the Tray:
- Lightly grease a 25 cm by 35 cm tray with a little noni (oil). Try and get a tray close to this size as it helps the buns rise in a more uniform way.
Activate the Yeast:
- Add the wai (water) and huka (sugar) in to a large bowl. Stir it until the huka (sugar) is dissolved.
- Add the īhi horo (instant yeast) and stir it in. Leave the īhi (yeast) to activate for five minutes. The yeast is activated when it has floated to the top.
Add the remaining Ingredients:
- Add the puehu parāoa (flour), tote (salt) and pata (butter).
- Stir it all together with a bread and butter knife for 1-2 minutes until combined. Use your hands to make sure all the puehu parāoa and pata (butter) are combined well. It will be sticky, don't add any more flour.
First Rise:
- Cover the bowl with a bowl cover or tea towel. Leave to rise for 30 minutes.
First Stretch and Fold:
- After 30 minutes, stretch and fold the dough. (Refer to the video for a guide).
- With wet hands, take a handful of dough from the side of the bowl, pull it high in the air and then place it in to the centre of the bowl. Turn the bowl a quarter turn and repeat that process. Every time you place the dough in to the centre it is one count. In total do 30-35 stretch and folds. This should only take a minute or so.
Second Rise:
- Cover the bowl with a bowl cover or tea towel. Leave to rise for 30 minutes.
Second Stretch and Fold:
- After 30 minutes, stretch and fold the dough again. This time do 25 stretch and folds.
Third Rise:
- Cover the bowl with a bowl cover or tea towel. Leave to rise for 15 minutes.
Divide the Dough:
- Tip the risen dough on to lightly floured bench.
- Divide the dough in to 12 equal pieces. Don't be tempted to knead or work the dough again here, we want to handle the dough lightly so the buns stay nice and fluffy.
Shape the Buns:
- Take each piece, fold all the corners in to the centre until you have a tight ball and seal the seams by pinching them with your fingers. (Refer to the video for a guide).
- Flip the dough over and use your hands to tuck it in to a ball shape. Place it on to the oiled tray. Repeat with each piece of dough.
Fourth and Final Rise:
- Cover the buns with a tea towel and rise for 45 minutes.
Preheat the Oven:
- 15 minutes before the rising time is up, preheat the oven to 175 °C bake setting or 165 °C fan bake setting.
Bake the Buns:
- Bake for 25 - 27 minutes until baked and golden.
- To test if the buns are done, press the bottom part of one of the buns. If the buns springs back, they are ready. If the dough stays indented when you press it, bake for a couple more minutes.
Glaze the Buns:
- When the buns come straight out of the oven, brush them with a knob of pata (butter) for a glossy finish.
Storing the Buns:
- These are at their best eaten immediately or cut open and toasted the next day.
- I keep my homemade bread buns in a plastic bag for a day or so on the bench. Beyond that I slice them open and store it in the freezer and toast them when needed.
Video
Expert Advice:
Stretch and fold technique:
In this recipe, I use a stretch and fold technique often used in sourdough baking. It allows us to activate the gluten in the flour without ever removing the dough from the bowl. Take a moment to watch the video to see the technique in real time—it’s much simpler than it sounds.
Dough consistency:
This pokenga (dough) is slightly looser than a traditional bun dough. Again, this is similar to what you would find in sourdough baking. Try not to add extra puehu parāoa (flour), as this will change the final texture and result.
Rising conditions:
Keep the rising dough away from hot spots, direct sunlight, or strong heat. Remember that īhi (yeast) is alive and very sensitive to temperature during the rising process. We only want heat when we are baking.
Baking tray size:
I use a 25 cm by 35 cm tray when baking these parāoa iti (buns). Use a tray close to this size, as it helps the buns rise more evenly and uniformly.
Handling the dough:
After the dough has risen and it’s time to shape the buns, don’t be tempted to knead or overwork it again. Handle the dough gently so the buns stay light and fluffy.
Storage:
These buns are at their best eaten fresh or cut open and toasted the next day.
I store my homemade bread buns in a plastic bag on the bench for up to a day or so. For longer storage, I slice them in half and freeze them. When needed, I simply toast them straight from frozen.
Variations:
CHEESY BUNS:
If you want a cheesy vibe, check out make my No-knead Cheesy Buns recipe here.
Seeded buns:
Sprinkle sesame seeds, poppy seeds, or mixed seeds on top before baking for extra texture and flavour.
Garlic butter topping:
Brush warm baked buns with melted butter mixed with kāriki (garlic) and a pinch of salt for extra flavour.
Frequently Asked Questions:
This dough is meant to be slightly soft and sticky. Avoid adding too much extra flour, as this will affect the final texture.
Yes you can use active dry yeast but cut the ratio down to 2 teaspoon and activate the yeast for 10 minutes instead of 5 minutes because the small yeast balls take longer.
No. The stretch and fold method develops the gluten without traditional kneading.
This is usually due to under-proofing, expired yeast, or adding too much flour during shaping.

Sheridan Eketone
I have been a fan of your super hero buns recipe for a while now so couldn't wait to try the no knead version. Oh my GOSH, these were so easy to make! I will never go back to the kneading 😉 HA! I love that all your tips work! (Like make sure you incorporate the butter - I may have missed that step... still delicious tho) My family loved having fresh buns for lunch! Thank you for always sharing your tips and tricks with us!
Naomi Toilalo WhānauKai
Yes Sheridan! Best feedback EVER!!!
Rach Wallace
I loved this parāoa recipe! Great instructions in te reo and english with awesome results. Yum!
Naomi Toilalo WhānauKai
Wonderful to hear that Rach - I love this recipe too. So stoked you enjoy it. Ngā mihi, Naomi
Jenny Heath
Morena, can you freeze the buns for later use? They look delicious.
Naomi Toilalo WhānauKai
Kia ora Jenny, yes you totally can. I would make sure that they cool right down and then cut them through the middle for ease of opening after they are frozen. Store in a plastic bag.
Ngawaiata
These have quickly become a whānau fave!! Easy to make and light fluffy buns.
Ngā mihi Naomi.
Naomi Toilalo WhānauKai
So glad that you enjoy this recipe Ngawaiata, there is nothing quite like a homemade bun! Ngā mihi!
Nic
These are easy (I did use my Kenwood and dough kneading function) and so yummy! Did not disappoint!
I am also making the cottage cheese and cumin loaf to go with soup for dinner and can’t wait to try that. And I found a copy of your cookbook to order and am very excited to get it!
Naomi Toilalo WhānauKai
Kia ora Nic, so stoked to hear that you enjoyed the bread buns recipe. I have been making them heaps lately too. The Cumin and Cottage Cheese Loaf is so delicious as well - let me know what you think! And yay, regarding the cookbook. I really hope you love it!