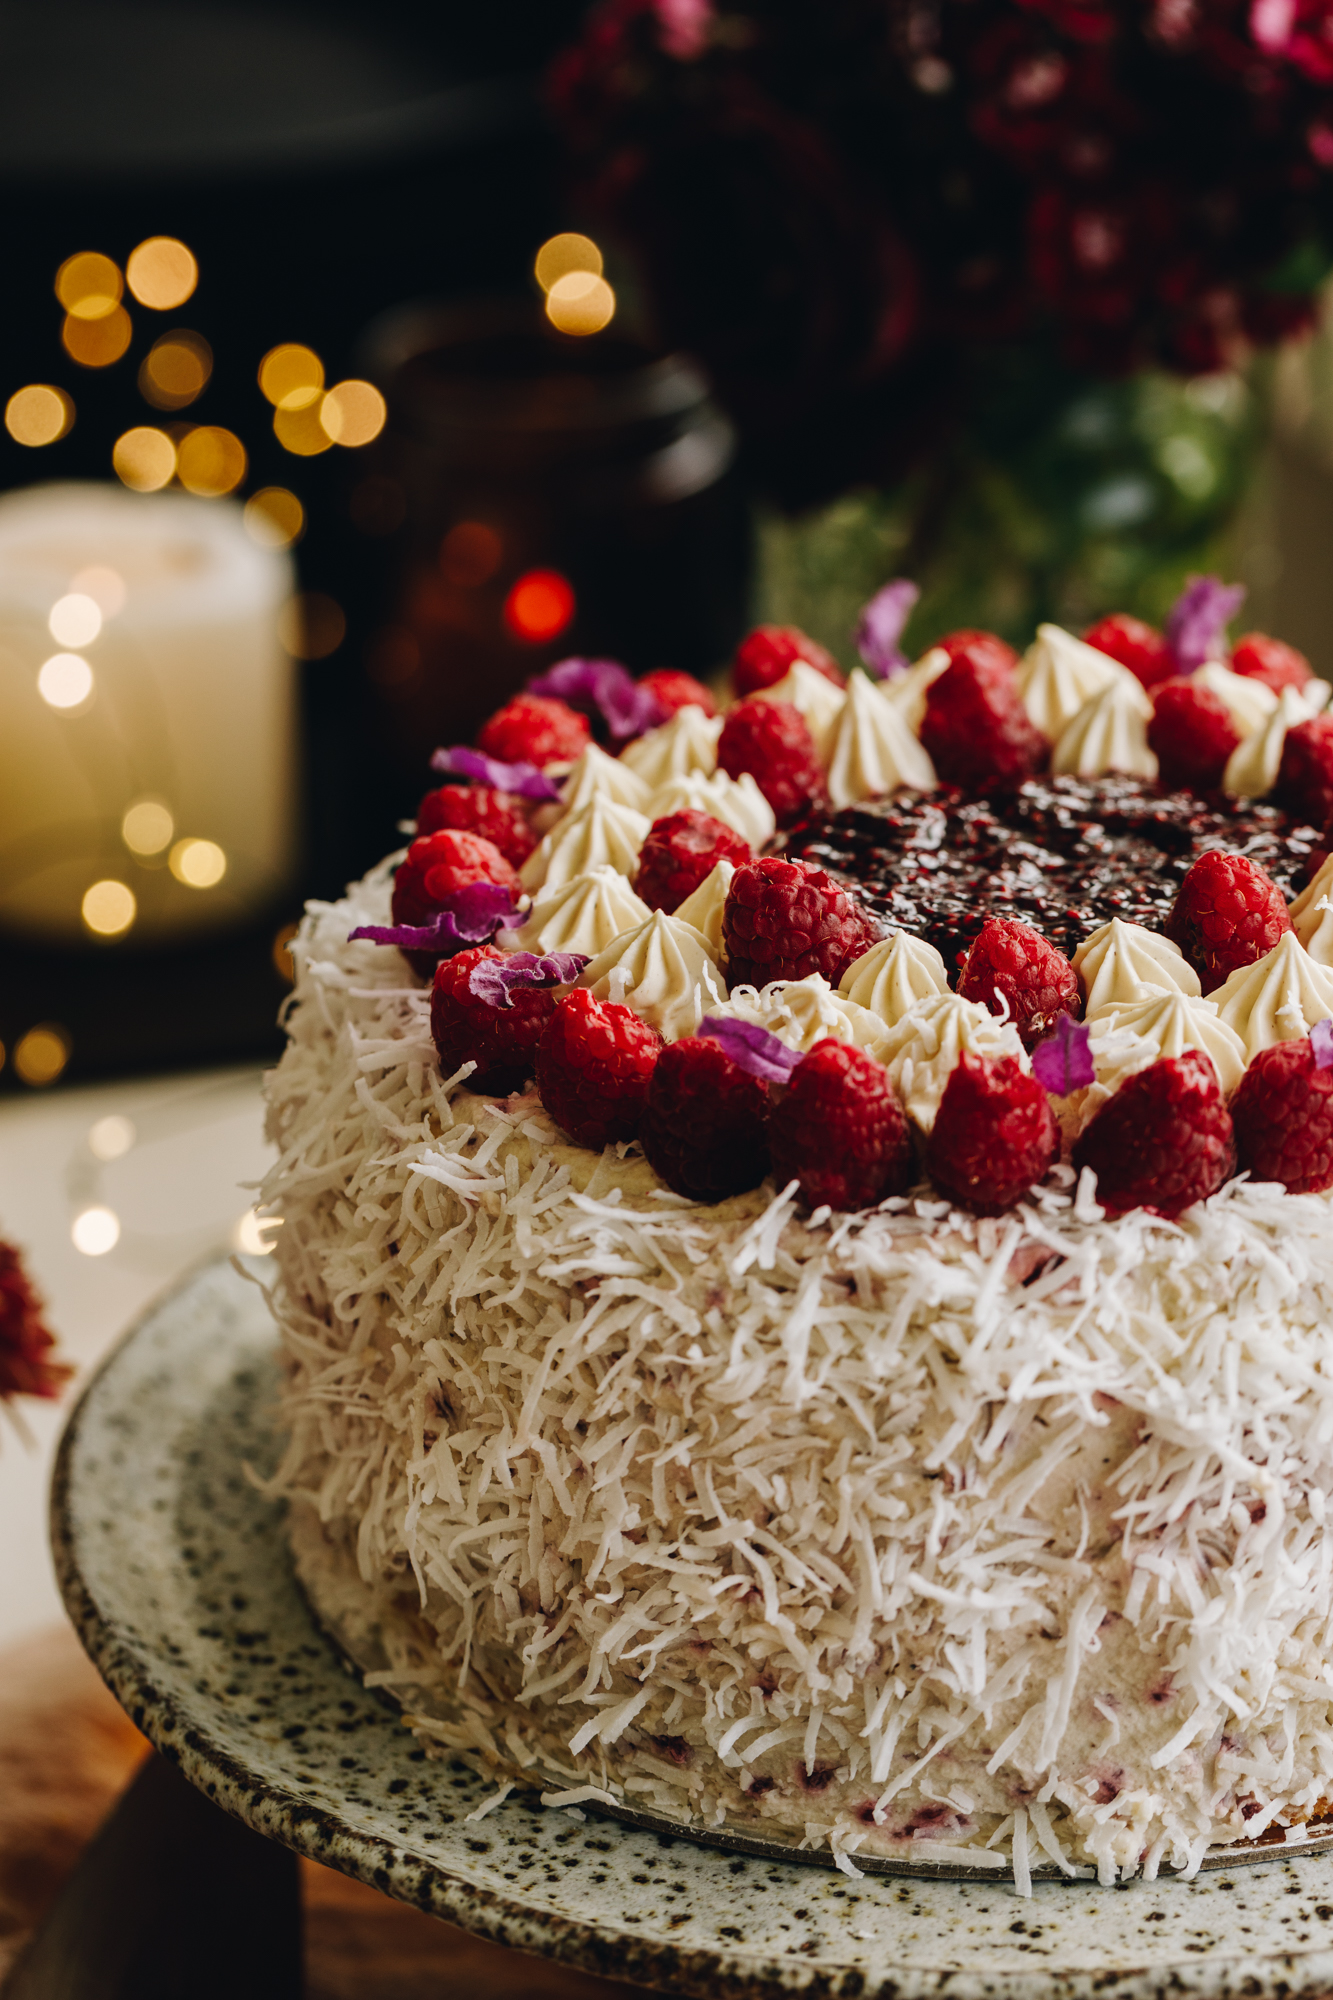
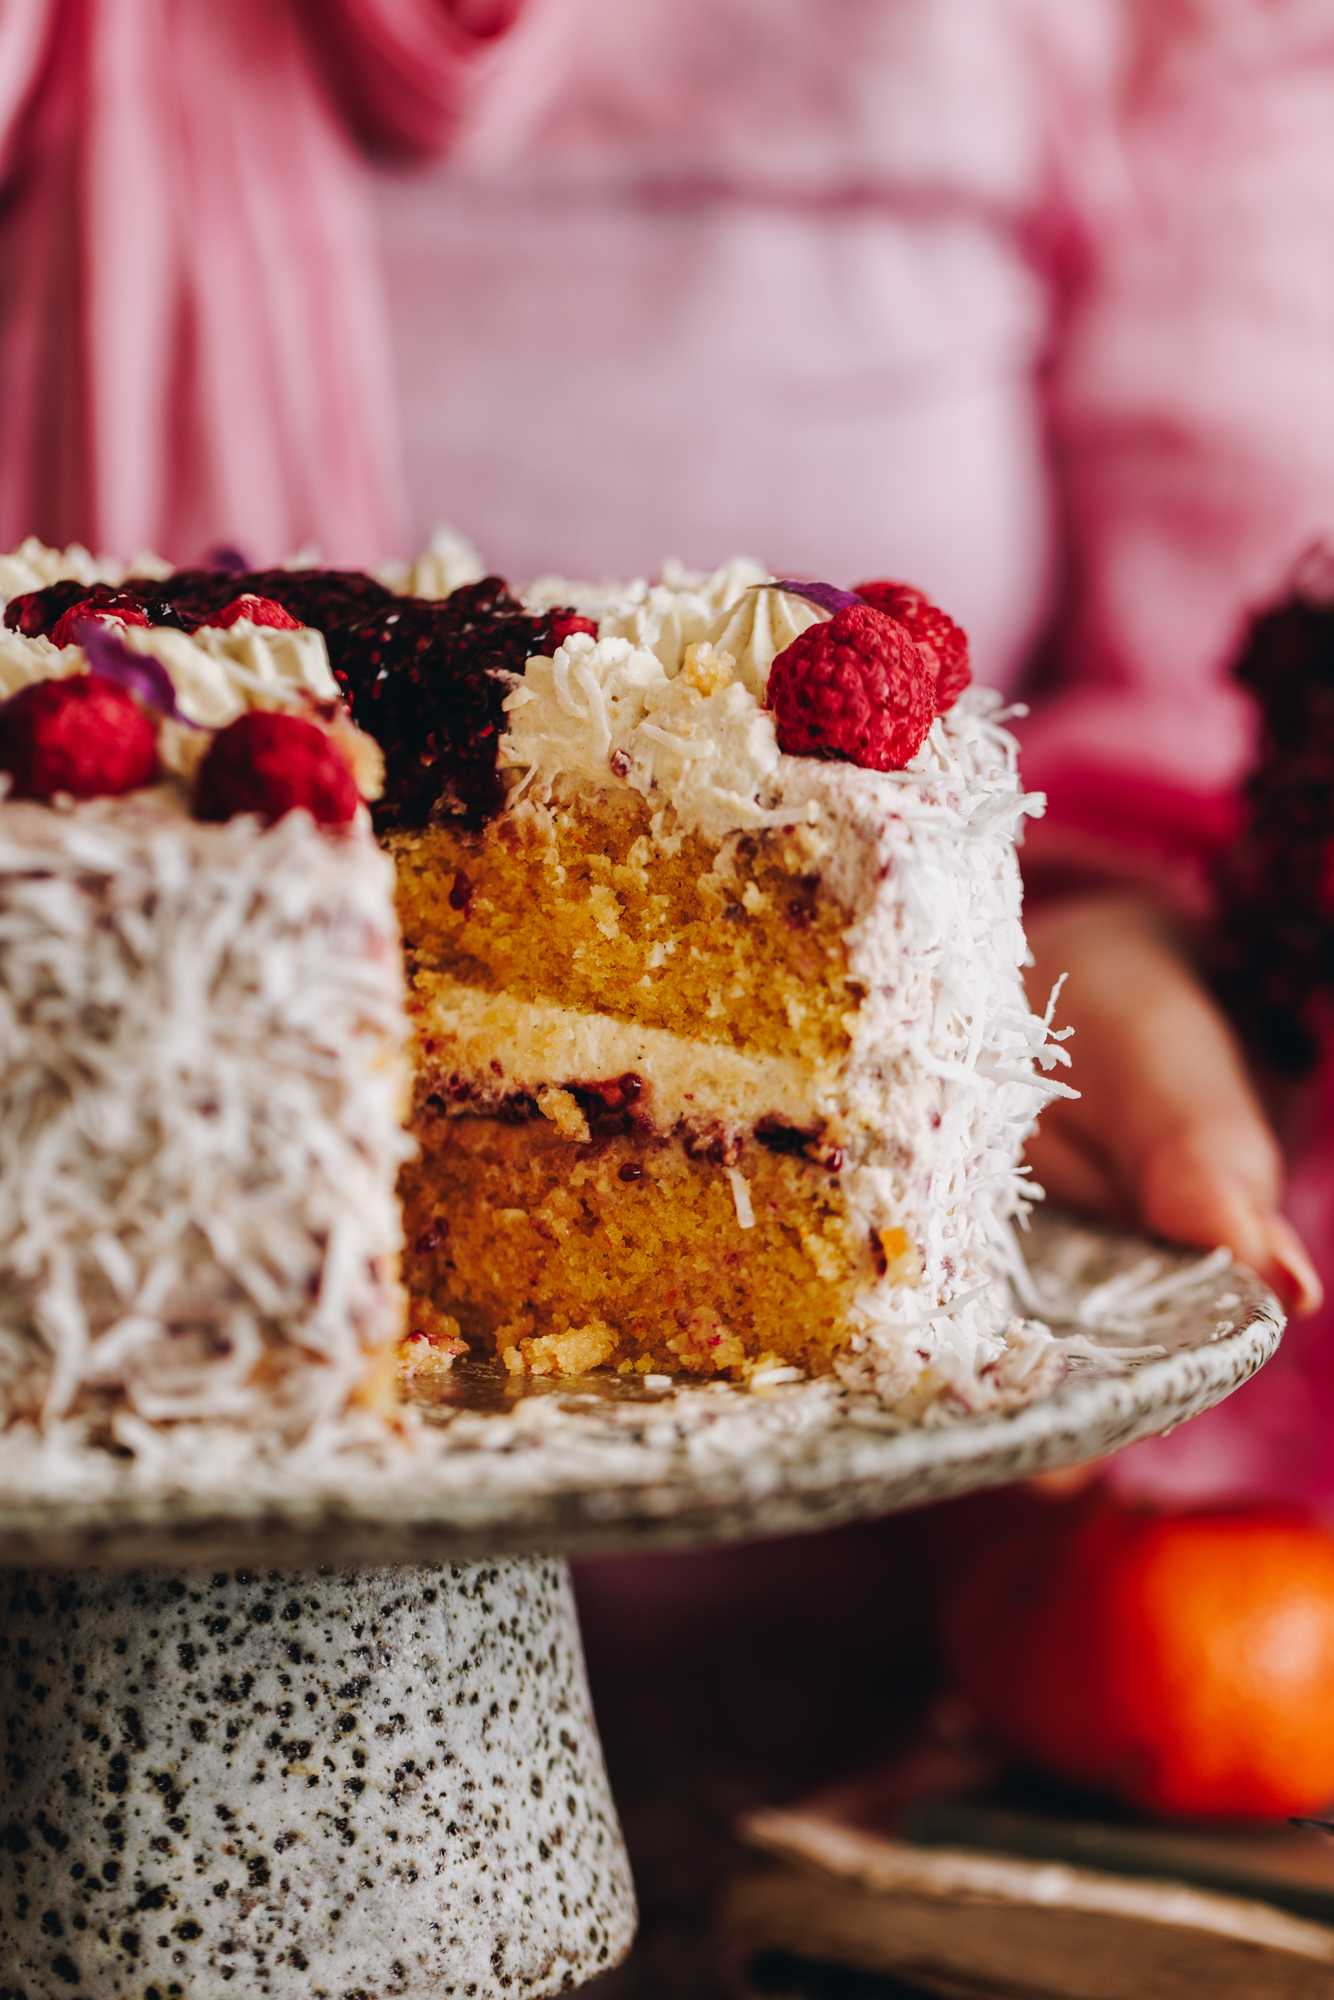
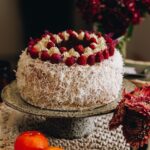
This recipe takes all the elements that we love in a lamington and merges it in to this irresistible keke (cake). A mandarin spiked Victorian sponge is baked and layered with white chocolate ganache, raspberries and cream. Cover the entire cake with shredded coconut and decorate it with a rustic charm that will wow your manuhiri (guests). So let's bake this keke (cake) together!
Are you a fan of Lamingtons? They are one of my husband's favourite things to eat and understandably so. I loved creating this keke (cake) with all of the delicious elements in mind. This recipe has many options so you can omit some of the steps if you want to. Take a look below to see what is involved.
More keke (cakes) to try:
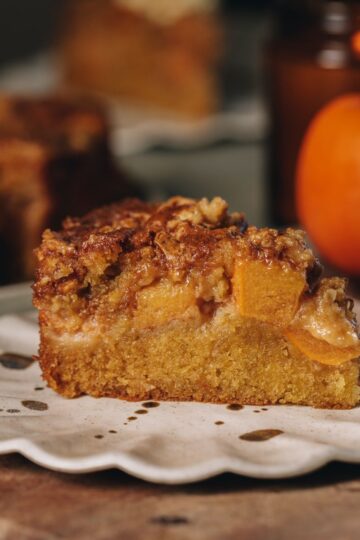
Check out my Whole Orange Almond Cake or my Plum, Citrus and Almond Cake as they both celebrate the delicious flavour of ārani (orange). Or take a squizz at this epic Lemon Syrup Bundt Cake for lemon hit.
Videography and photography by Sarah Henderson.
Raspberry Lamington Cake Ingredient Tips:
- Raspberry Jam: My speedy Chia Seed Raspberry Jam is perfect in this recipe because it is bright and not too sweet. However, I have given you the option to use store-bought with lemon juice mixed through.
- Lemon Juice: I always prefer fresh wai rēmana (lemon juice) for my baking but you use what makes you happy.
- Mandarins: Mandarins are great in this recipe but they can be swapped for oranges or even lemons if you wanted.
- Eggs: Free-range eggs are always my preference but use what you have.
- Self-raising flour: Self-raising flour is what I prefer because it gives the perfect rise to these keke kōpungapunga (sponge).
- White Chocolate: I use Whittaker's Mango and coconut chocolate for the extra layer of flavour and texture it provides but this can be swapped for any good quality white chocolate.
- Mascarpone: This is the secret ingredient to my Stable Whipped Cream. It enables the cake to be decorated in advance without any weeping like plain whipped cream can do.
- Raspberries: Fresh or freeze-dried work well for decorating and layering the cake. I always use frozen when I making my tiamu rahipere (raspberry jam).
Expert Advice:
When making a Victorian Sponge it is very important to whip the pata (butter) and huka (sugar) for long enough. I believe this is better achieved in a stand mixer but if you are using a hand mixer, whip it for an extra few minutes. This process ensures the keke (cakes) are light and fluffy when baked.
Add the hēki (eggs) as I have instructed in the recipe. It is lightly whipped and then added in parts to the butter mixture to prevent it from splitting. Pay close attention to the timings and you will have a perfectly fluffy batter.
Remove the keke (cakes) from the oven and immediately run a bread and butter knife around the edge to release them from the edge of the tins. This stops the sides of the cakes from collapsing as it cools.
The Chocolate Ganache is an optional addition but it creates a beautiful creaminess to the cake and adds another layer of flavour. If you want to omit it, that is completely fine and is your prerogative as the chief baker in your kāuta (kitchen).
STEP BY STEP INSTRUCTIONS FOR THE RASPBERRY LAMINGTON CAKE:
Note: The full recipe card with the full list of ingredients, instructions and step by step video are found at the bottom of this page.
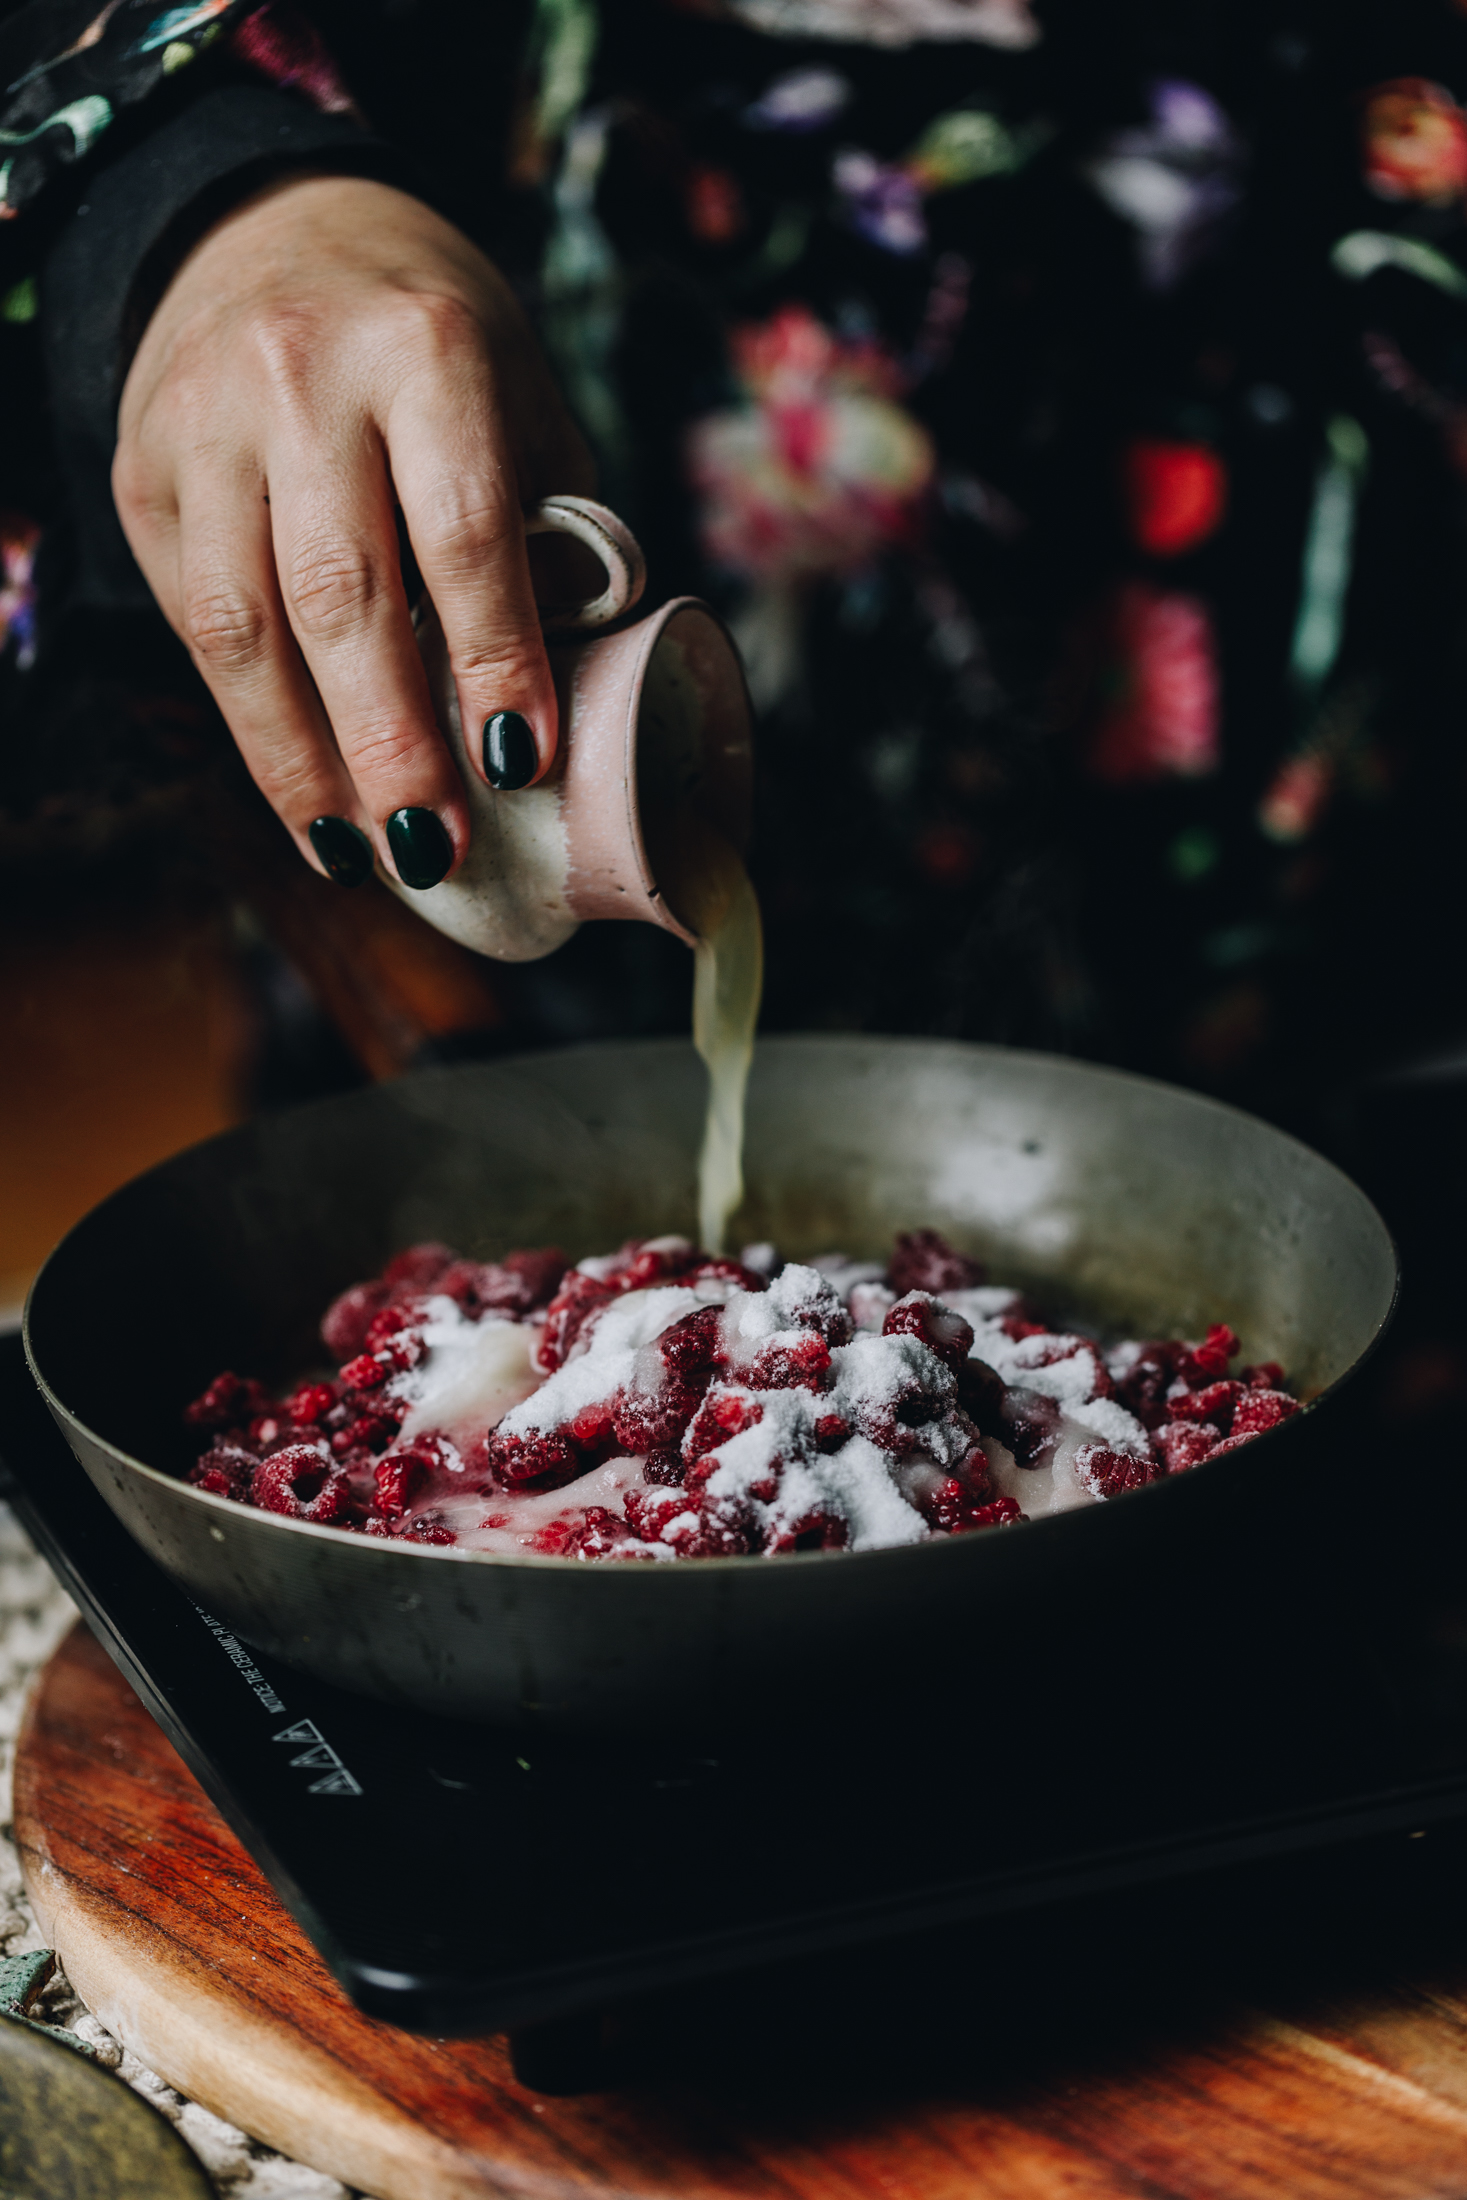
1. Make the Raspberry Jam:
If you are making my 5 Minute Chia Raspberry Jam for this recipe, start by making it so it can thicken and cool as you make the keke (cake).
This tiamu (jam) adds a real brightness to the cake.
It can be made up to 5 days ahead and stored in the fridge.
Homemade Jam Alternative:
If you are not making the tiamu (jam), add the store-brought tiamu (jam) in to a small bowl and combine it with the wai rēmana (lemon juice). Leave to the side while you make the keke (cakes).
2. Preheat the Oven:
Preheat the oven to 160 °C, fan bake setting or 170 °C bake setting.
3. Prepare the Cake Tins:
Grease two 19 cm or 20 cm cake tins with pata (butter) on the base and sides.
Line the base of the tins with baking paper but keeps the sides free from baking paper (even though I did do it in the video 😘).
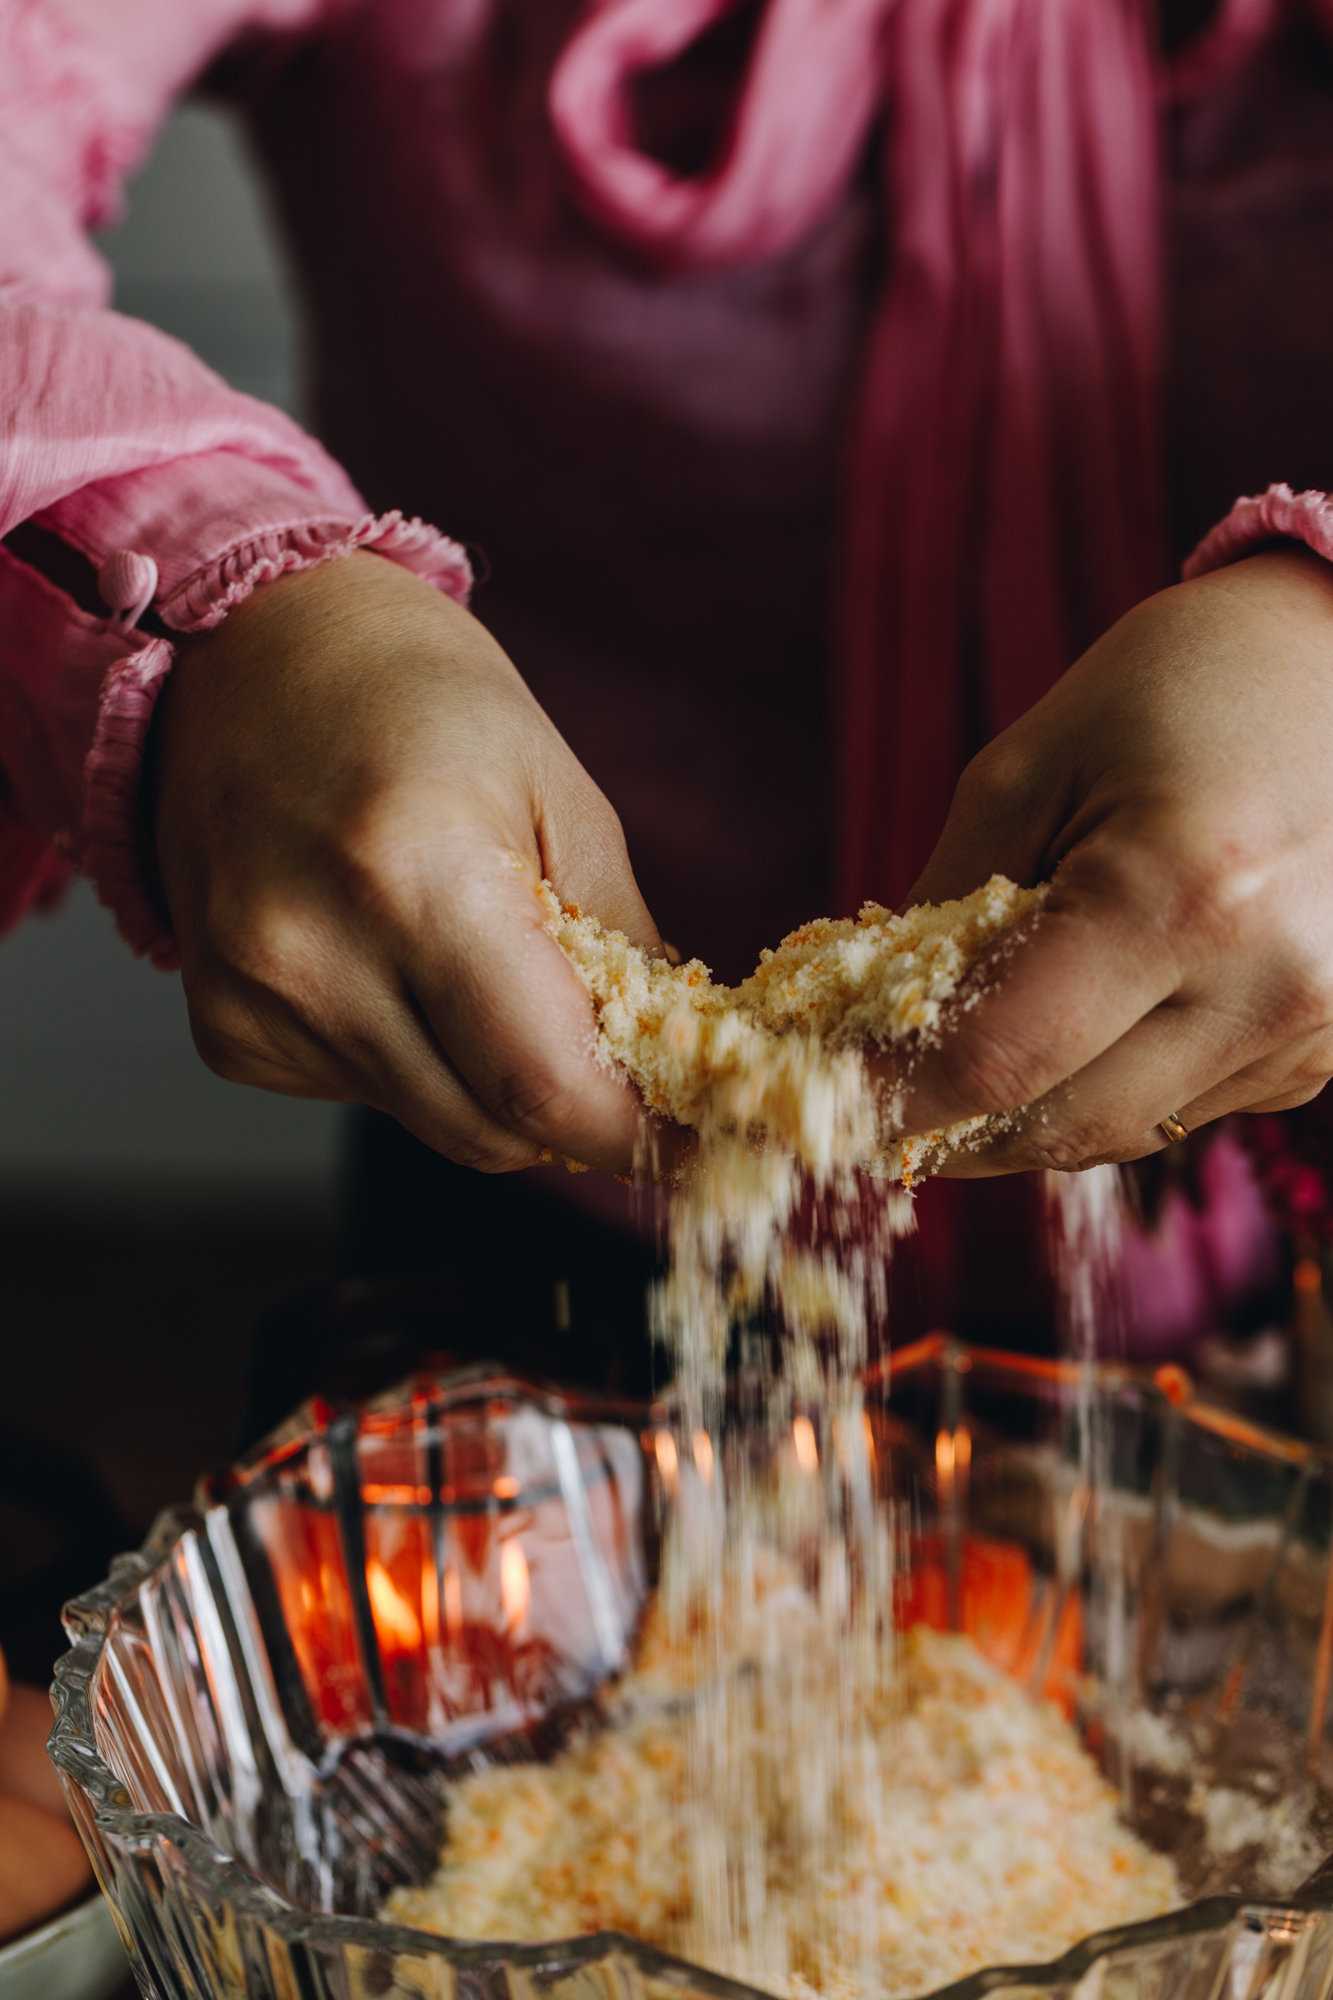
4. Make the Zesty Sugar Flavour Bomb:
Add the huka one (caster sugar) in to a large bowl then grate in the kiri manarini (mandarin zest).
Rub it together with your hands and watch the beautiful colour appear.
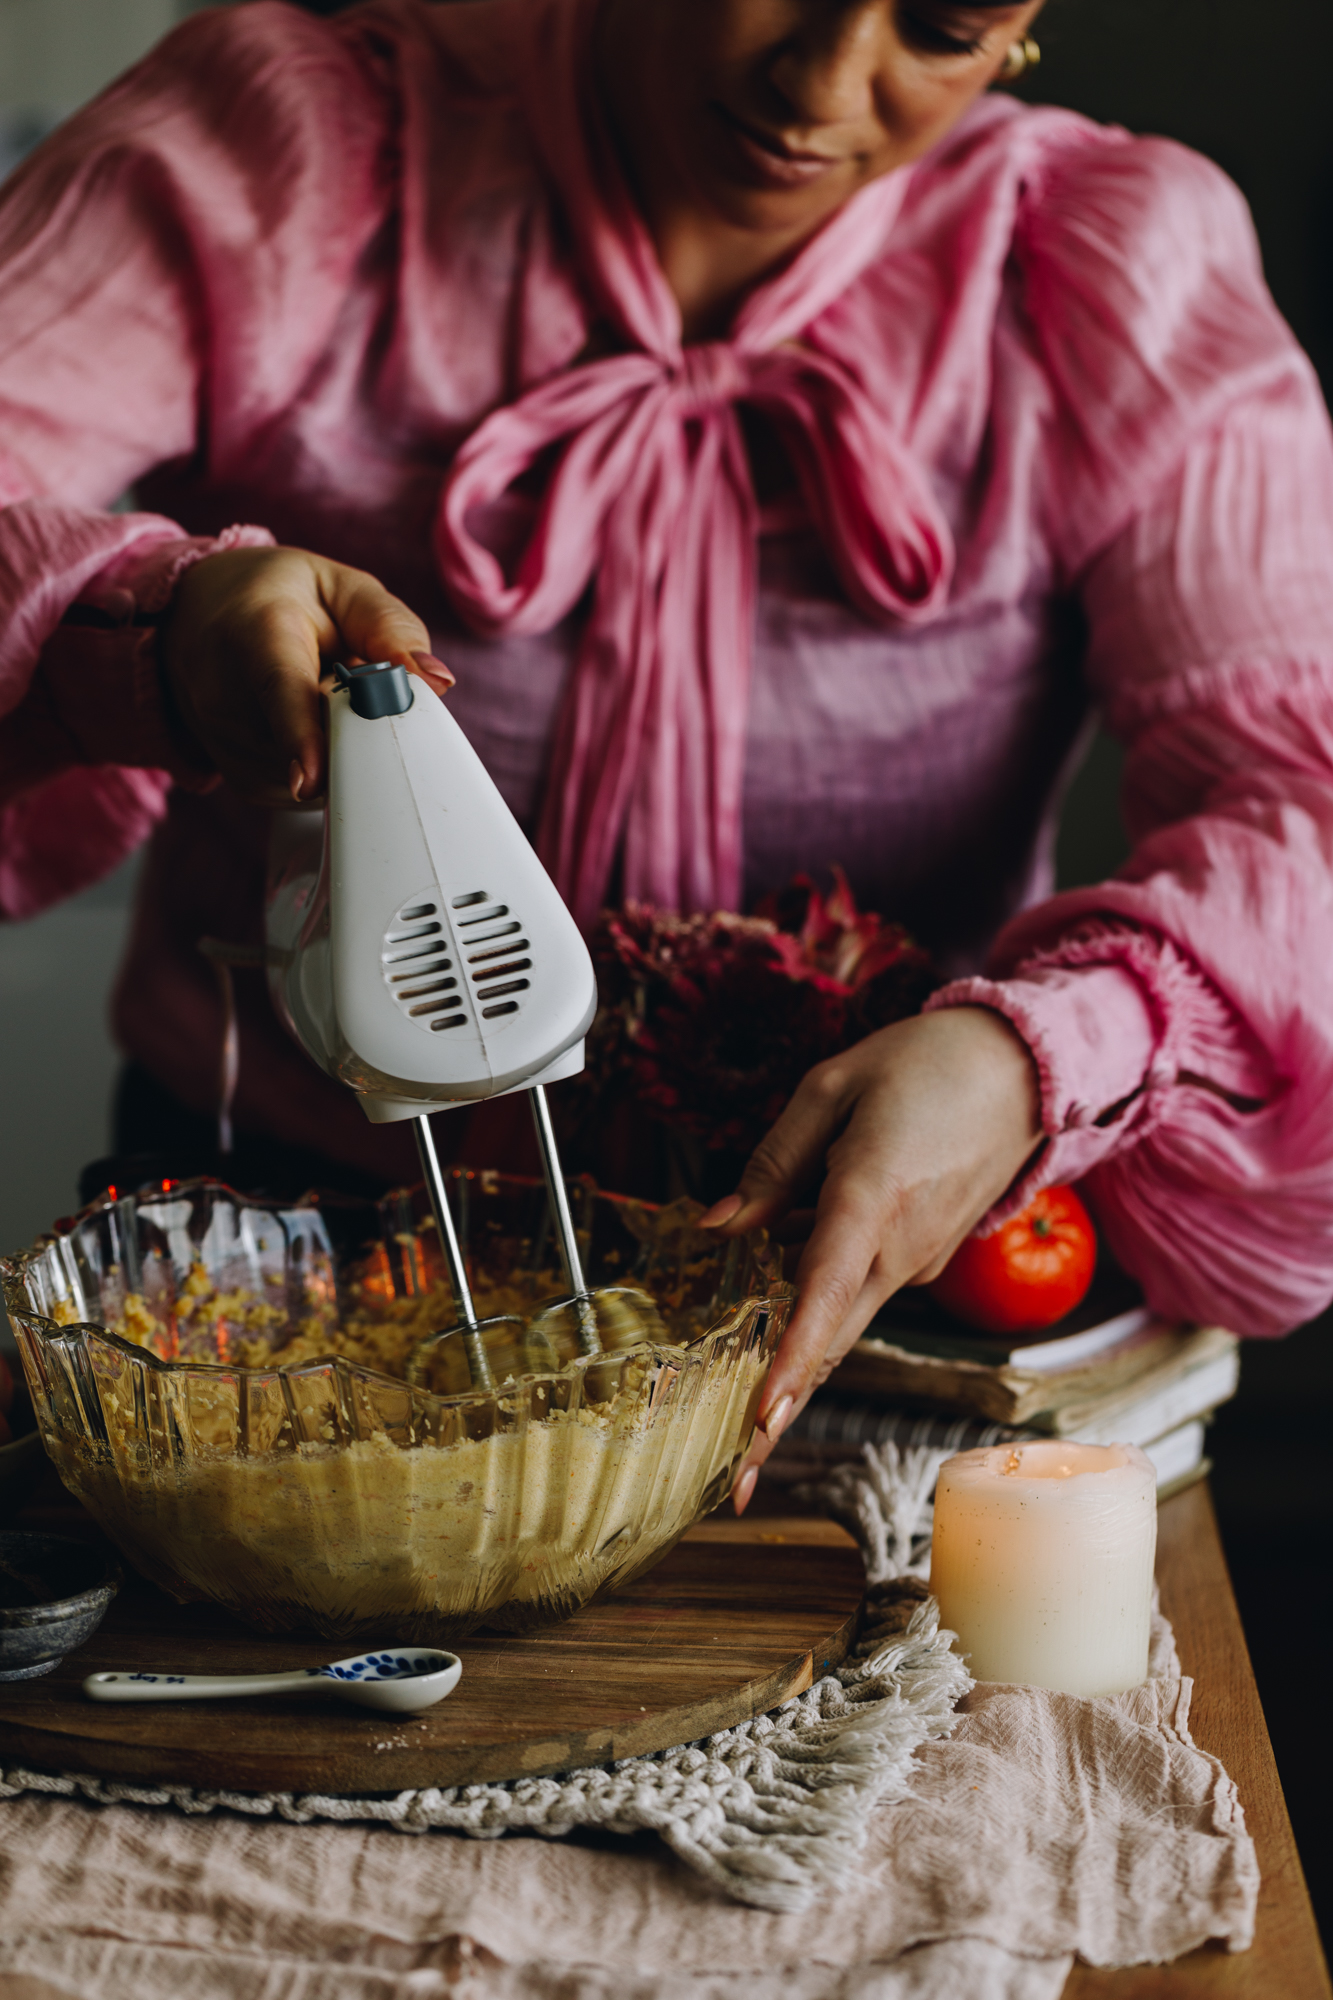
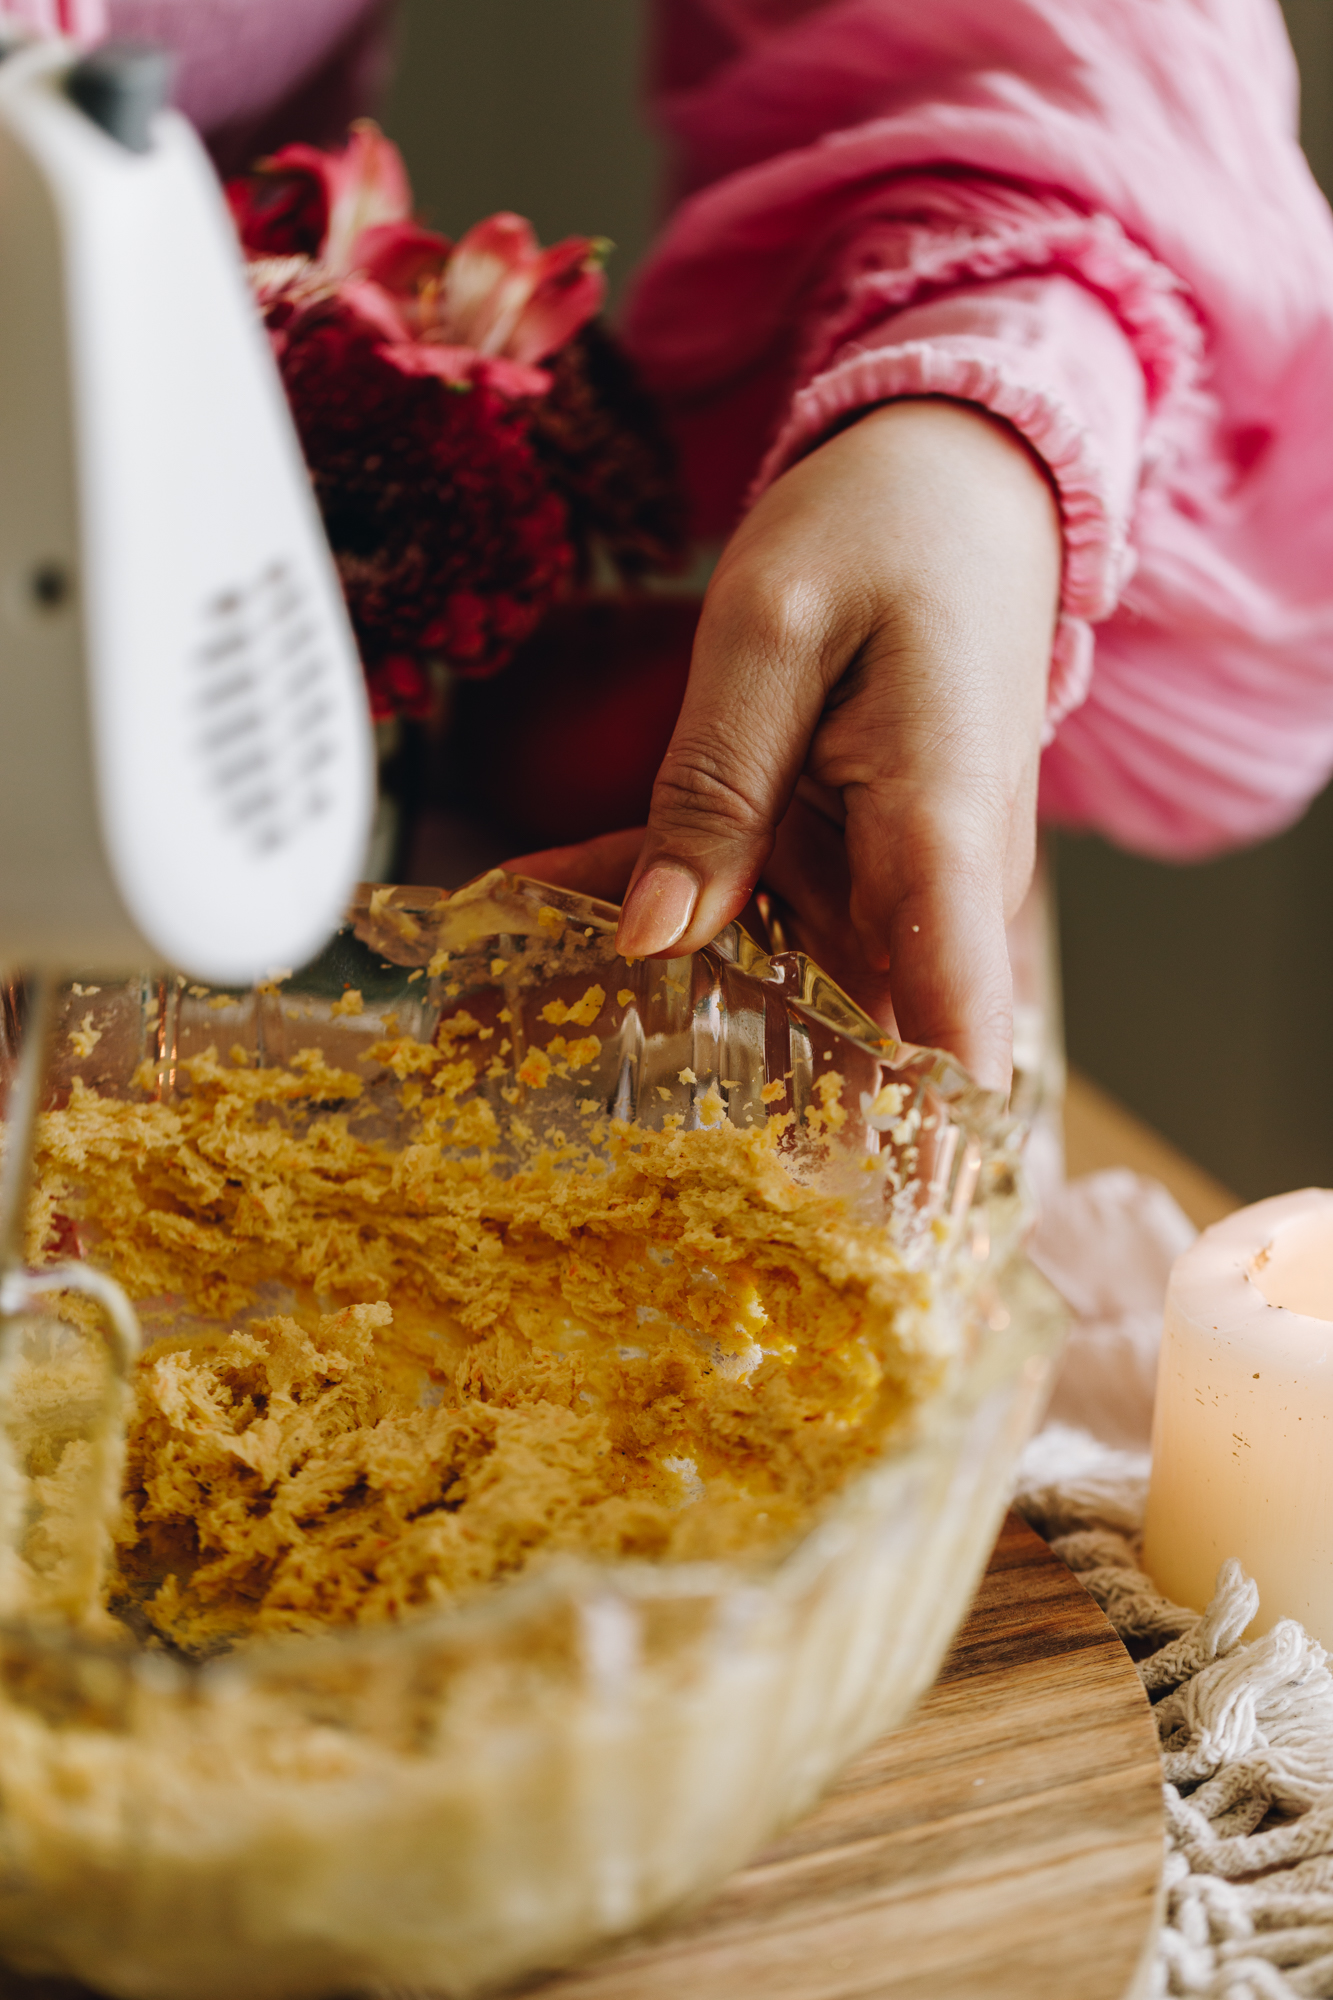
5. Whip the Butter and Sugar:
Add the pata kūteretere (softened butter), tote (salt) and (wanira) in to the sugar.
Whip it on high for five minutes until light in colour and fluffy in texture.
This is an important step in adding air in to the keke (cake) and works better in a stand mixer.
If you only have a hand mixer, whip for a few more minutes on high.
6. Prepare the Eggs:
Add all of the hēki (eggs) in to a small bowl and lightly whip them with a paoka (fork).
7. Whip in the Eggs:
Pour a ¼ of the whipped hēki (eggs) in to the ranunga pata (butter mixture) and whip on high for 30 seconds or until fluffy again.
Pour in another ¼ and repeat the whipping for 20 seconds.
Add the third quarter and whip on high for 20 - 30 seconds until smooth and fluffy.
8. Combine the Remaining Egg and Milk:
You will now have a quarter of the ranunga hēki (egg mixture) remaining (which will be just under ¼ C).
Pour the miraka (milk) in to it. Whakaranuhia - mix to combine and leave to the side. This step prevents the cake batter from splitting.
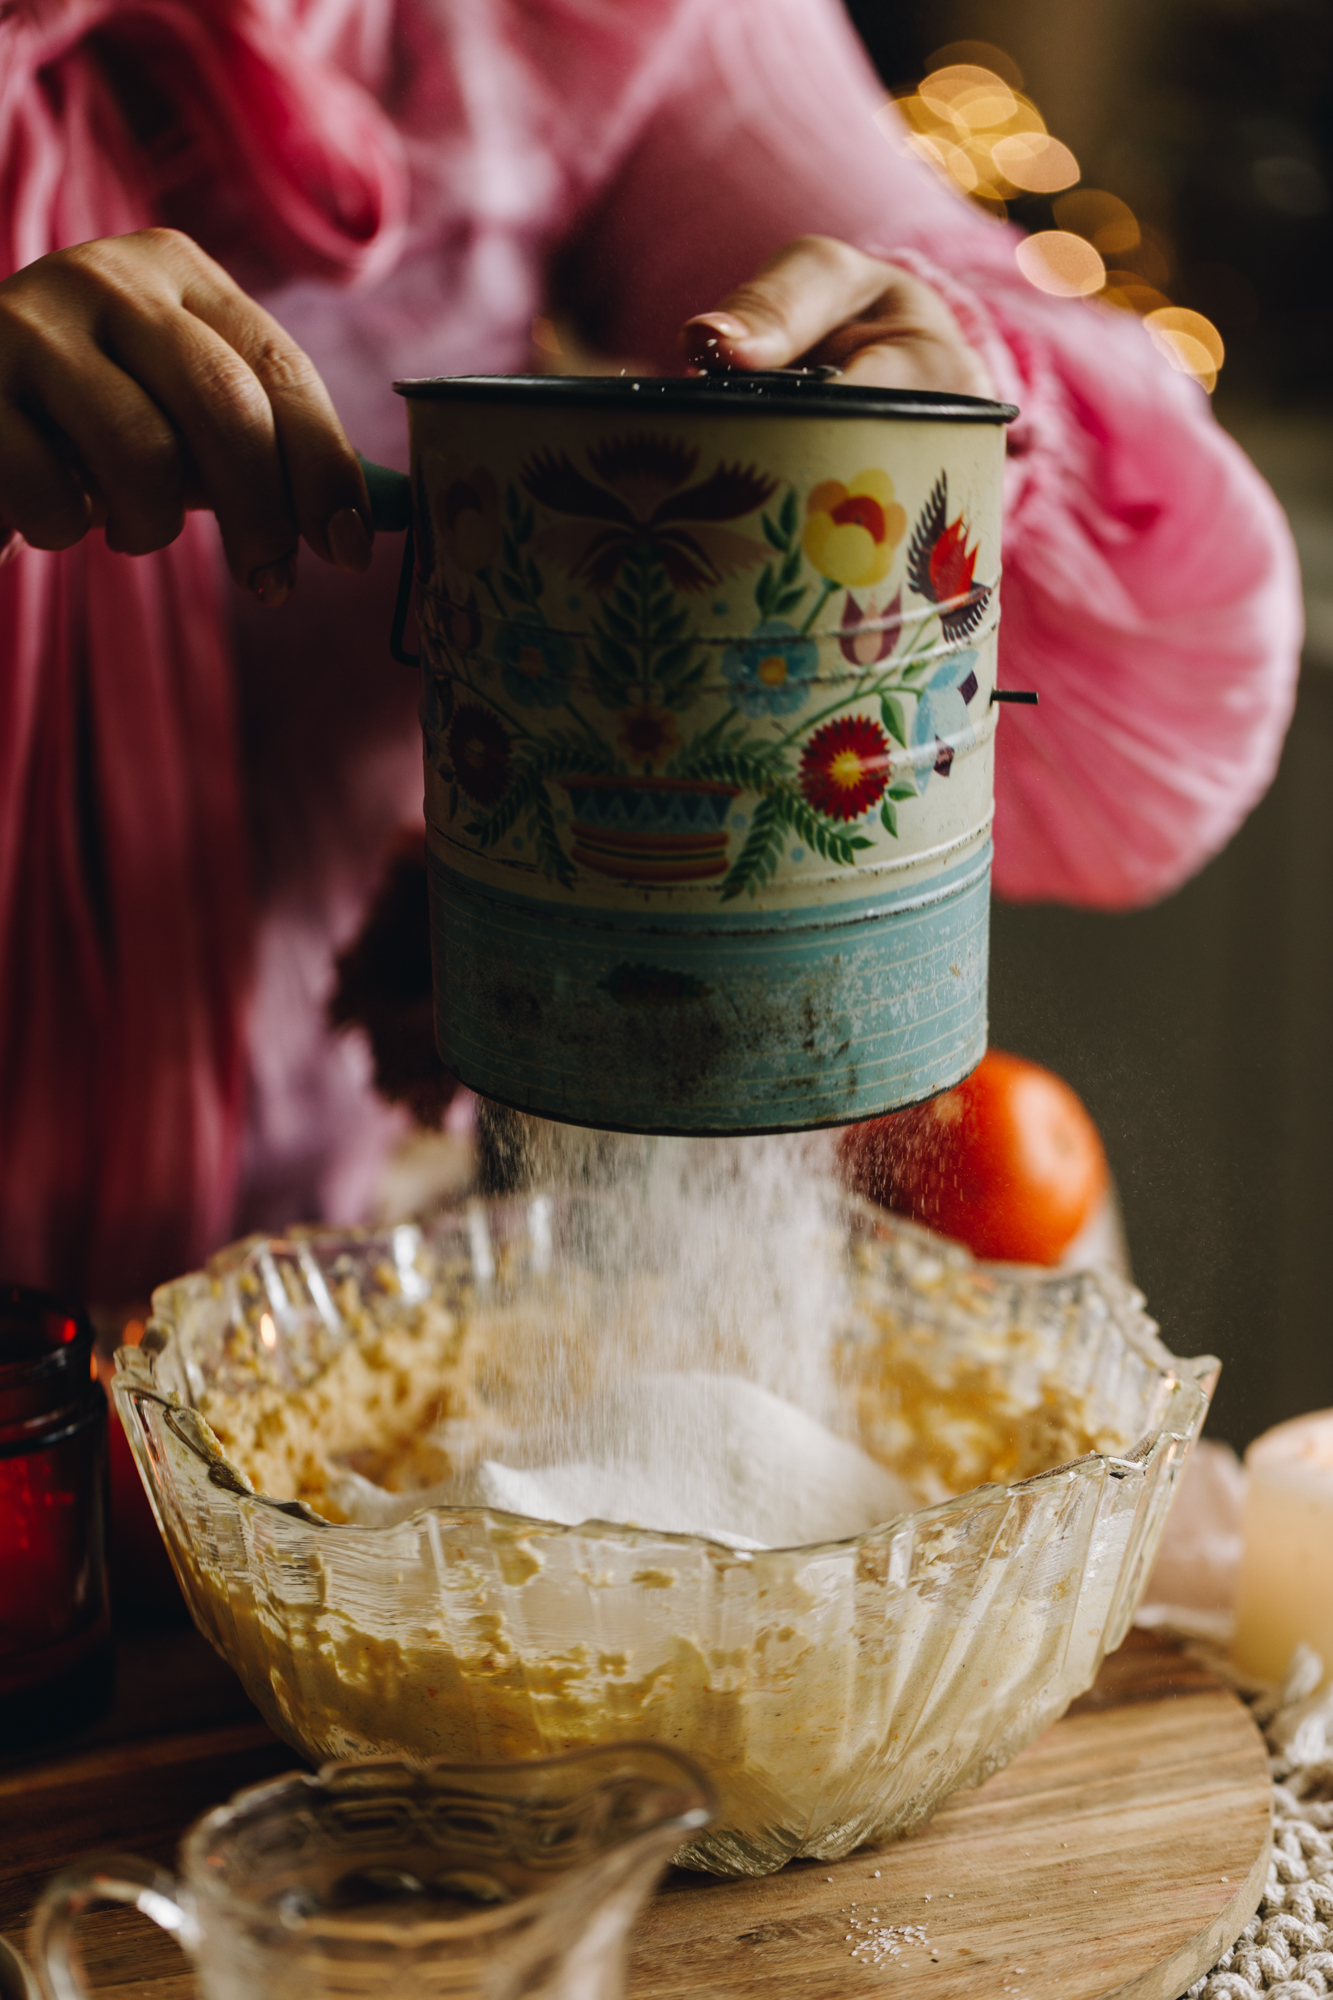
9. Sift in the Dry Ingredients:
Sift the puehu parāoa whakatipu (self-raising flour) and pēkana paura (baking powder) in to the butter mixture.
Fold it until it is half combined
10. Combine the Egg and Milk Mixture:
Then pour in the egg and milk mixture. Fold it again until you have a smooth mixture.
Do not over mix here, just gently fold until the ingredients are all combined.
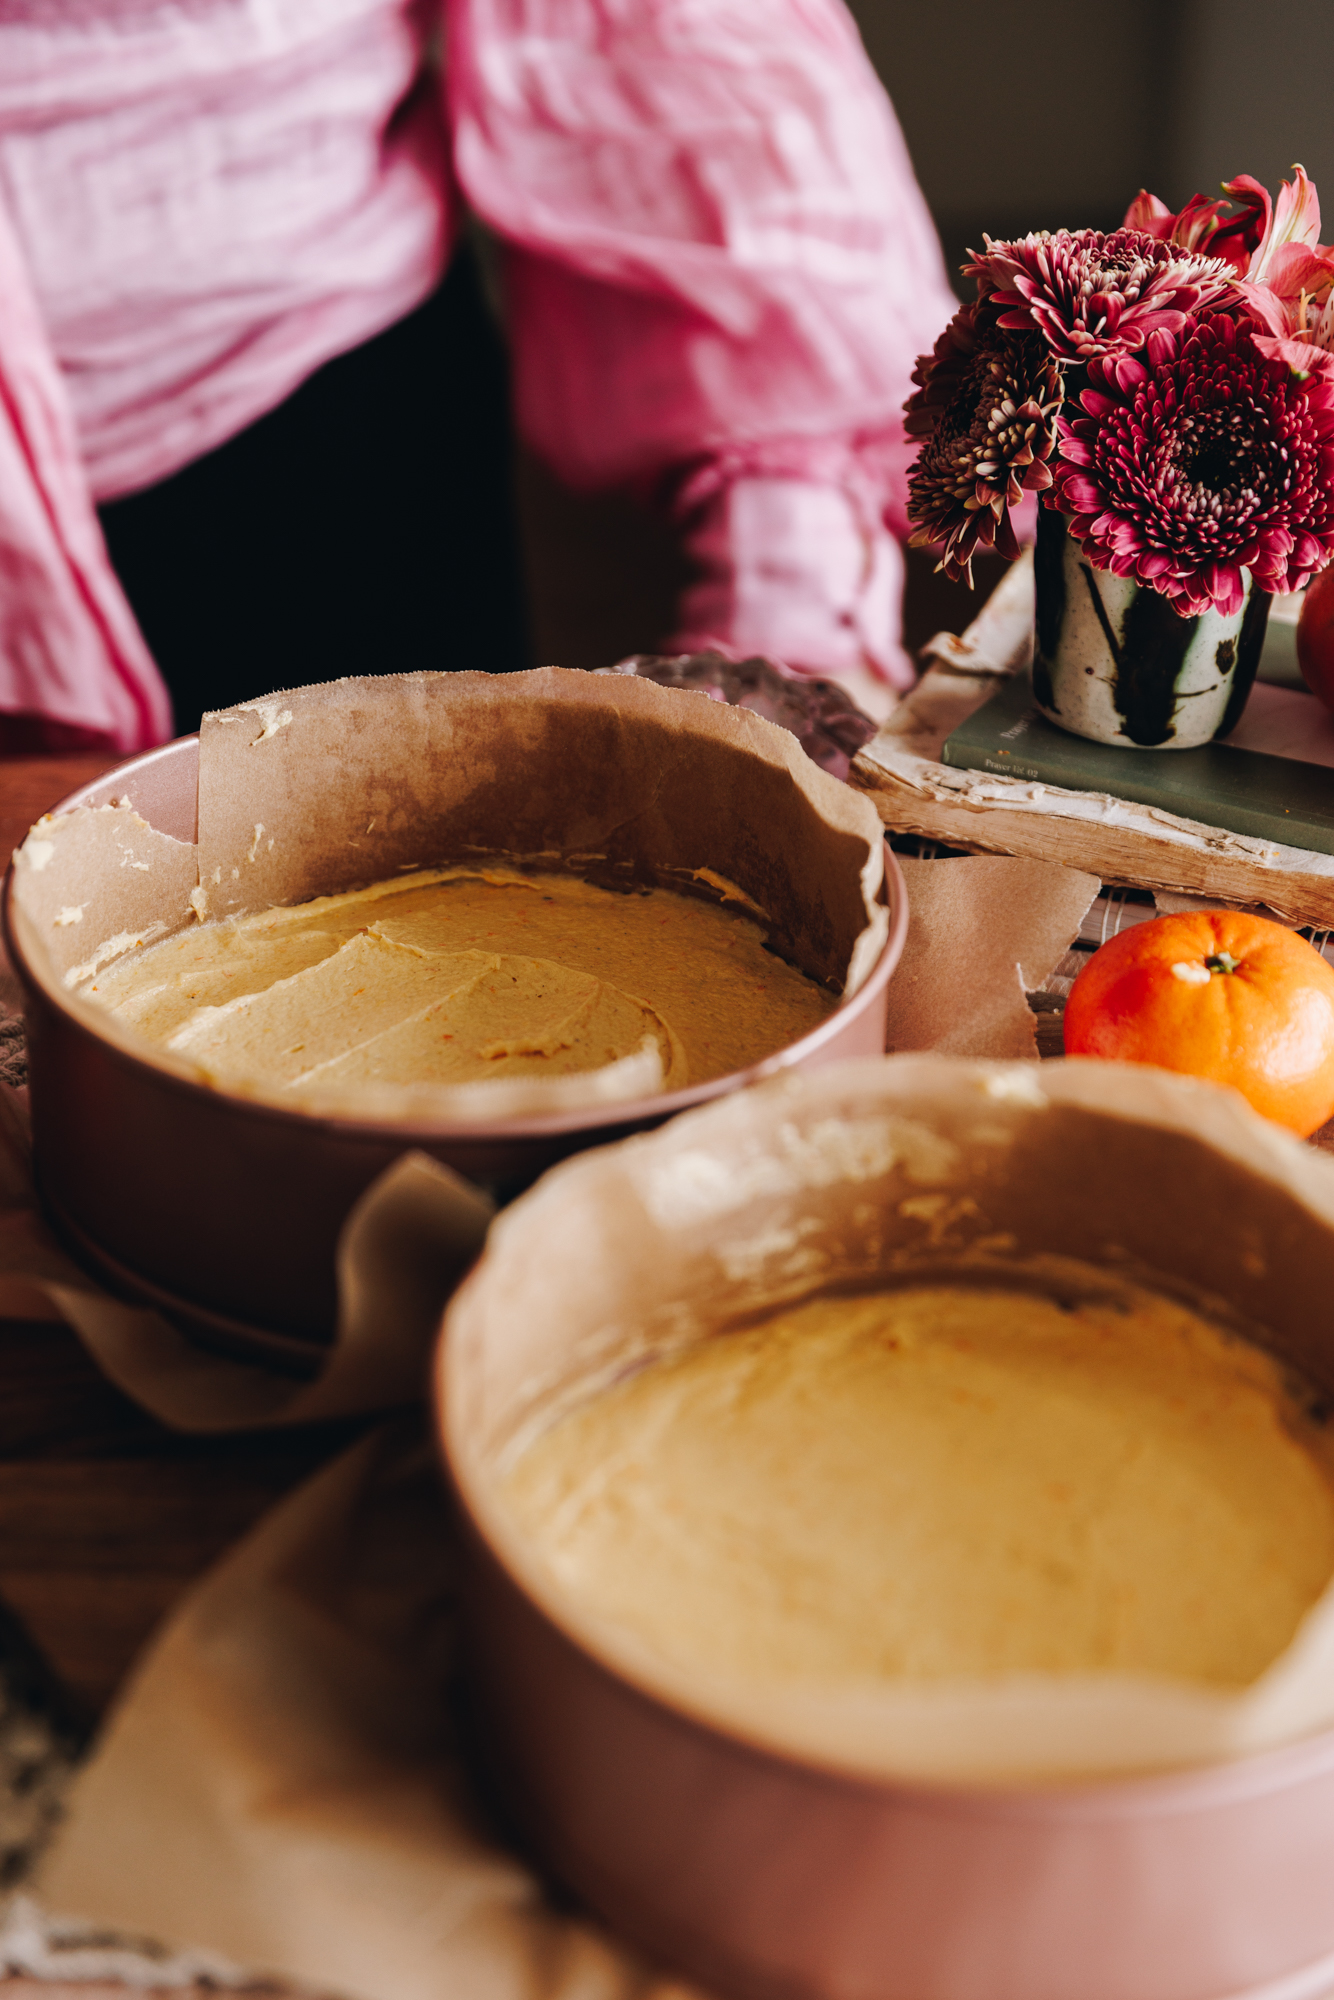
11. Add the Cake Batter in to the Tins:
Divide the mixture between the two cake tins and smooth it out with a spatula.
12. Bake the Cakes:
Bake them for 30 minutes until golden and when they spring back when you press the centre.
13. Cool the Cakes:
Remove from the oven and immediately run a bread and butter knife around the edge of the keke (cakes) to release it from the edge of the tins. This stops the sides of the cakes from collapsing as it cools.
Cool for ten minutes in the tins before tipping them on to a cooling rack. Prepare the simple elements as they cool.
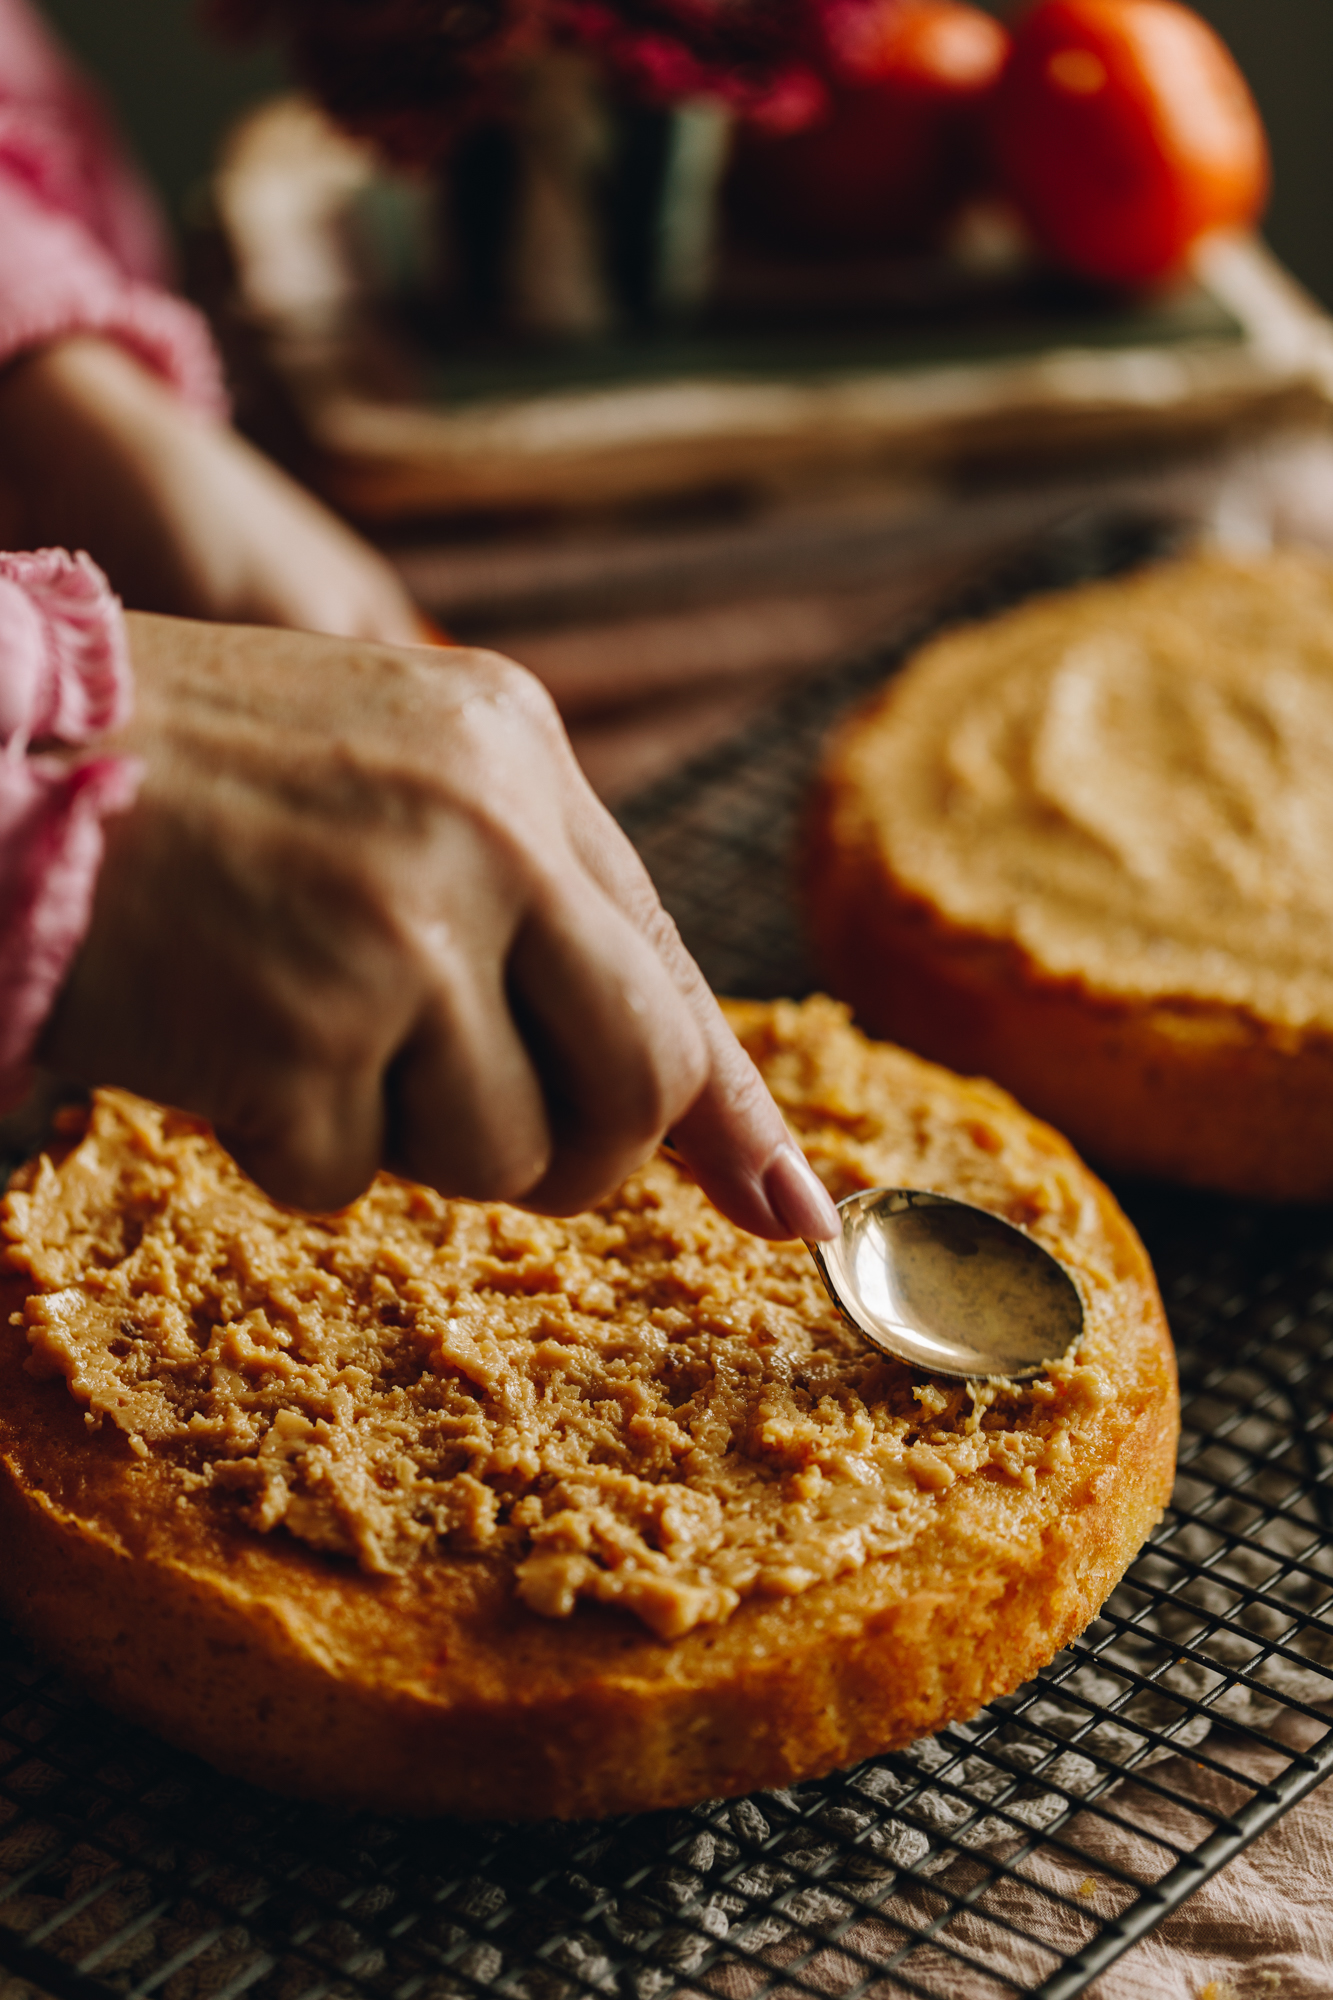
14. Make the White Chocolate Ganache:
Note: The Chocolate Ganache is an optional addition but it creates a beautiful creaminess to the cake and another layer of flavour. If you don't want to use it however, skip to the Stable Cream section.
Chop the tiakarete mā (white chocolate) in to rough chunks.
Add the tiakarete (chocolate) and kirīmi (cream) in to a heat proof bowl.
Place it over a pot of barely simmering water that is approximately 3 cm deep. Make sure the water in the pot is not touching the base of the bowl.
Gently melt and stir occasionally. Once it has melted, remove it from the heat and stir until it is smooth. Divide the ganache between both of the warm cakes and spread it on. Leave a 1 cm border clear from the edge of the keke (cakes).
15. Whip the Stable Whipped Cream:
Make one quantity of my stable whipped cream recipe.
16. Decorate the first Raspberry Lamington Cake:
Add the first layer of the keke (cake) with the kirīmi tiakarete mā (white chocolate ganache) on to a serving plate or cake stand.
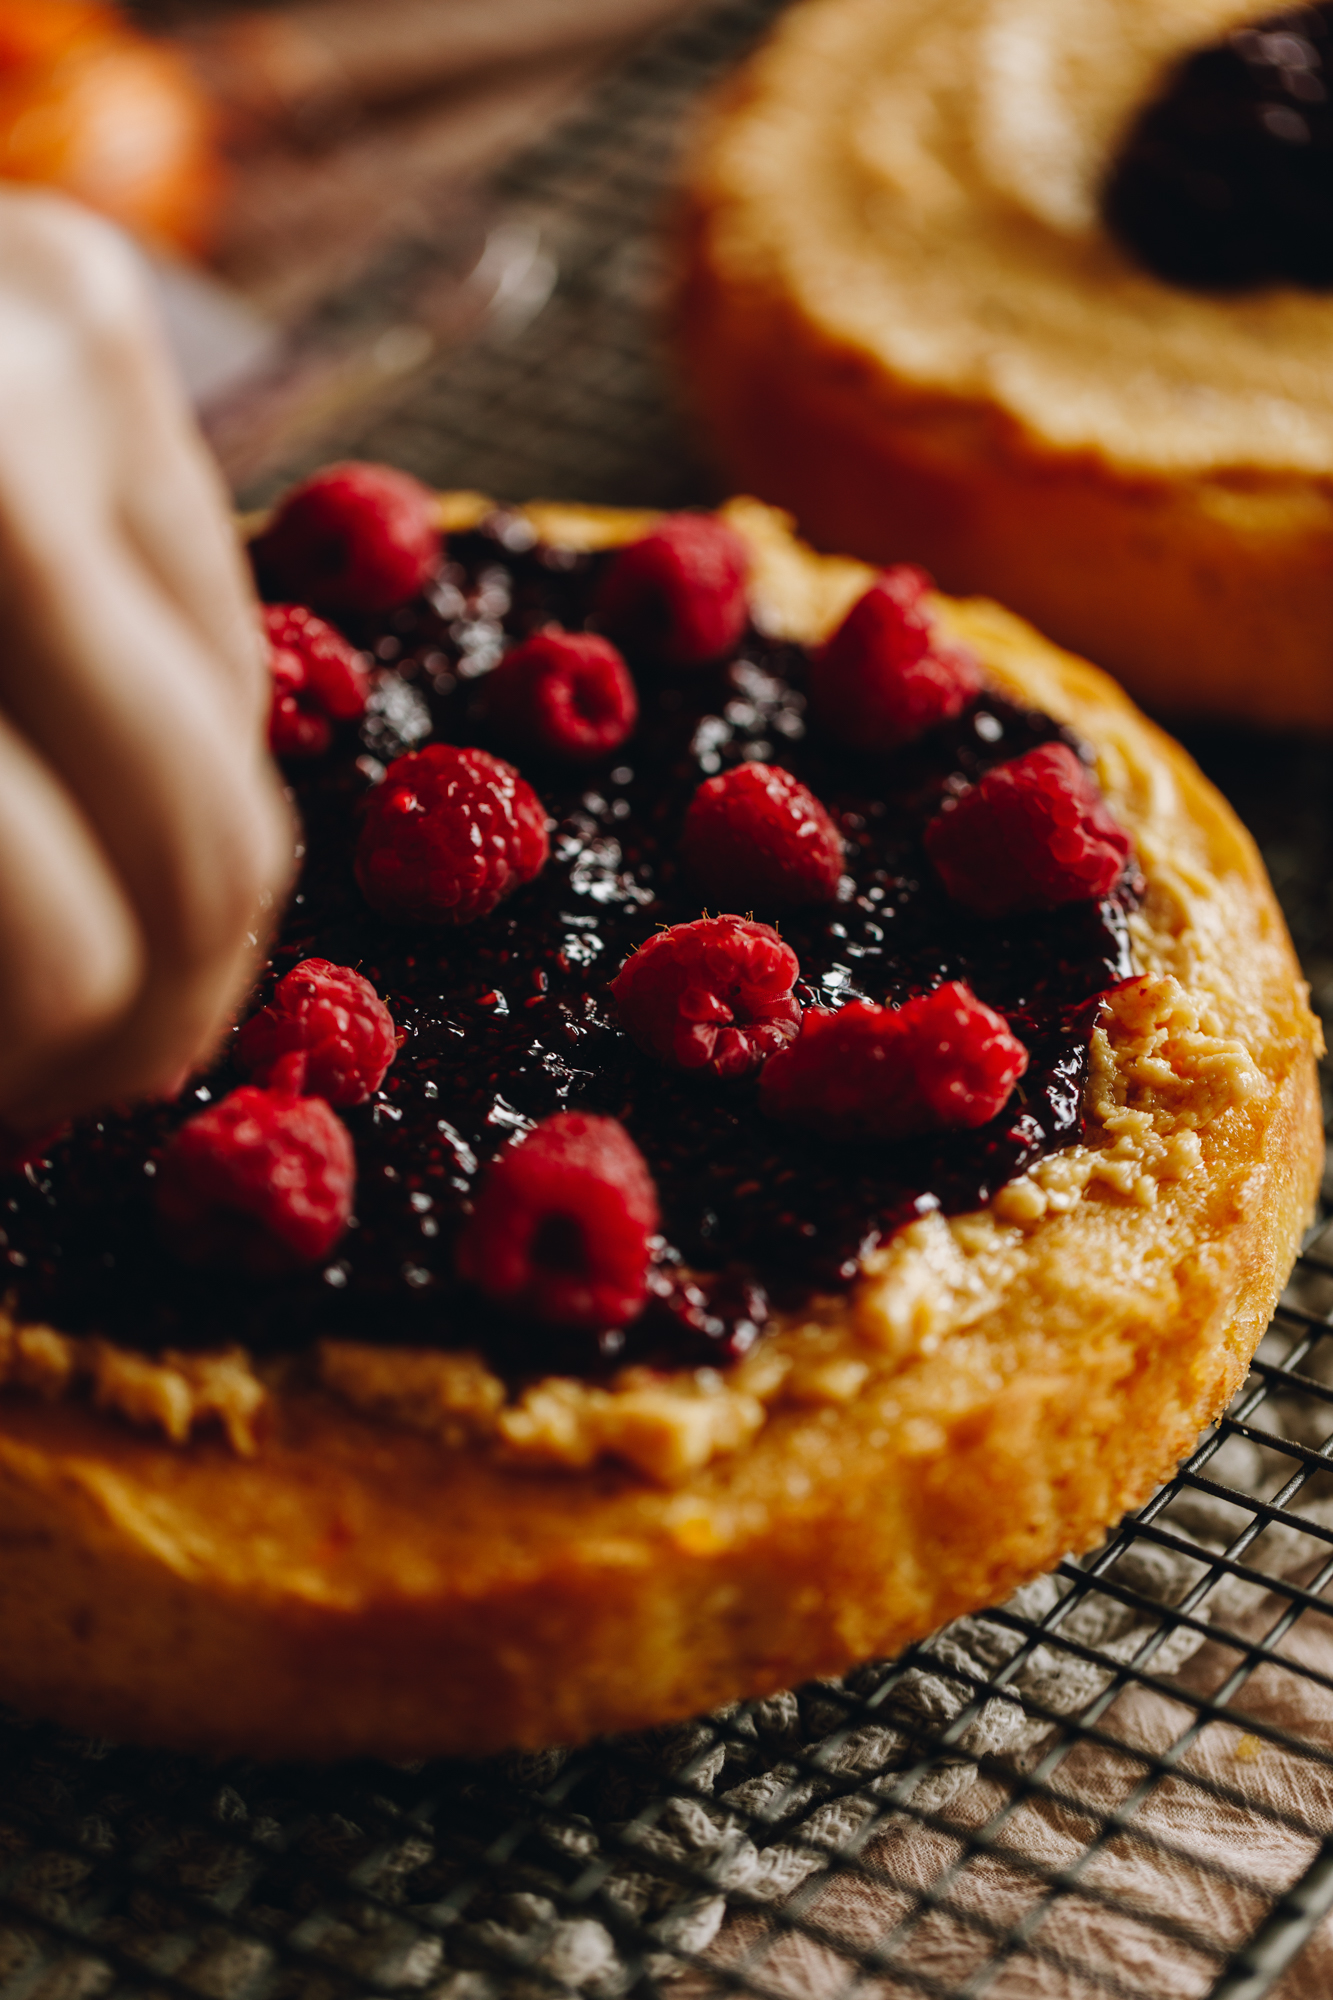
17. Top with the Raspberry Jam and Raspberries:
Add ⅓ C tiamu rahipere (raspberry jam) on top, making sure you leave a 1 cm gap clear of jam from the edge.
Then add half of the rahipere māota (fresh raspberries).
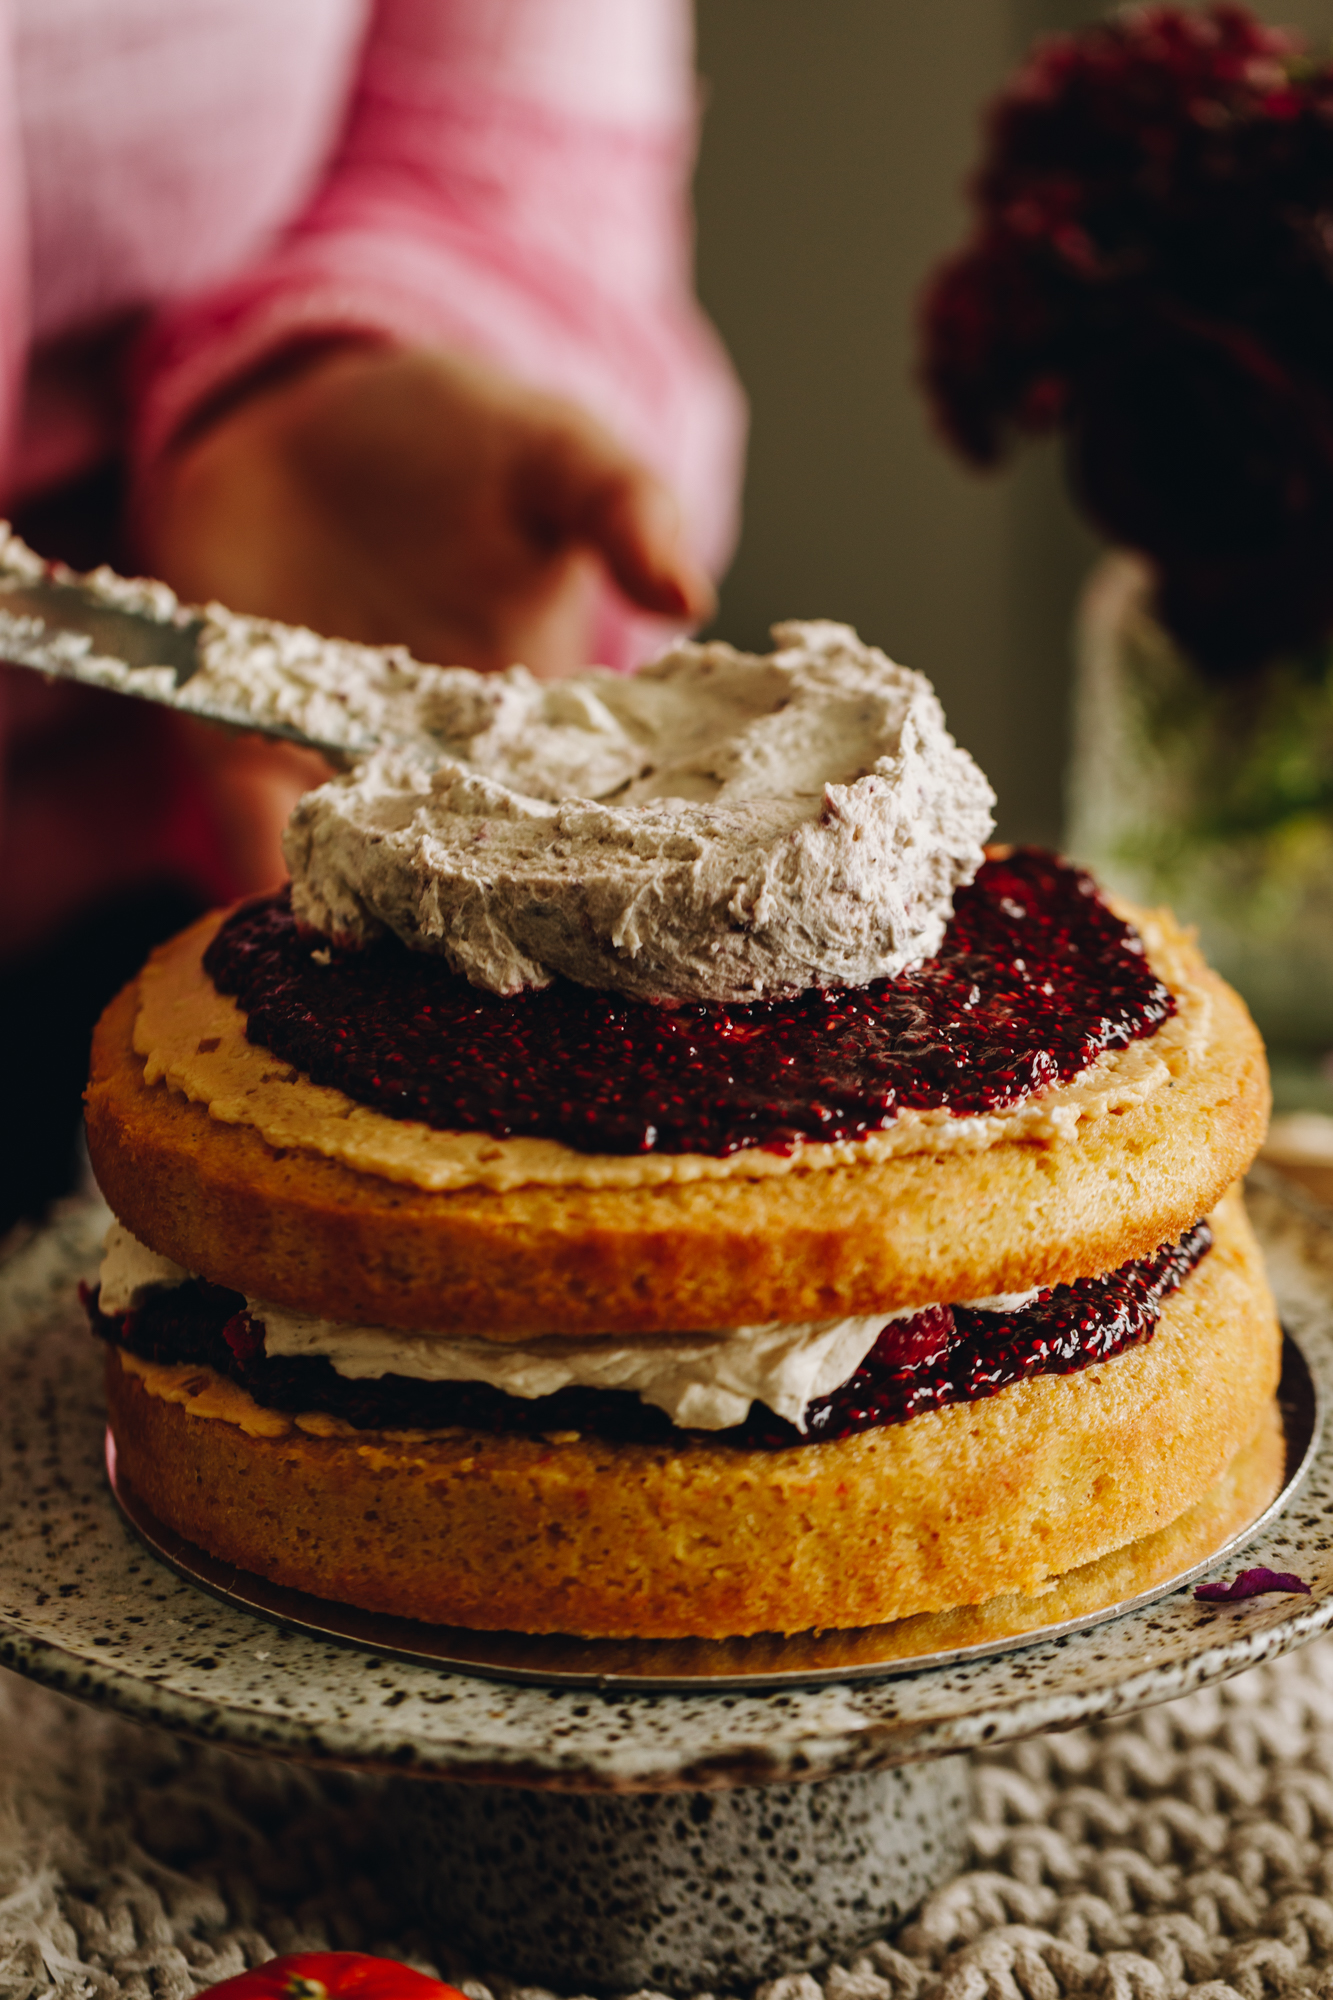
18. Spread on Whipped Cream:
Add around ⅓ of the kirīmi tāwhiuwhiu (whipped cream) on and gently spread it out to the edge of the keke (cake).
19. Add the Second Cake:
Add the second layer of keke (cake).
20. Top with Raspberry Jam:
Add ⅓ C tiamu rahipere (raspberry jam) on top of the tiakarete (chocolate), making sure you leave a 1 cm gap clear of jam from the edge.
21. Add Whipped Cream:
Spread most of the remaining kirīmi (cream) on top and the sides of the cake, leaving half a cup if you want to pipe some on top.
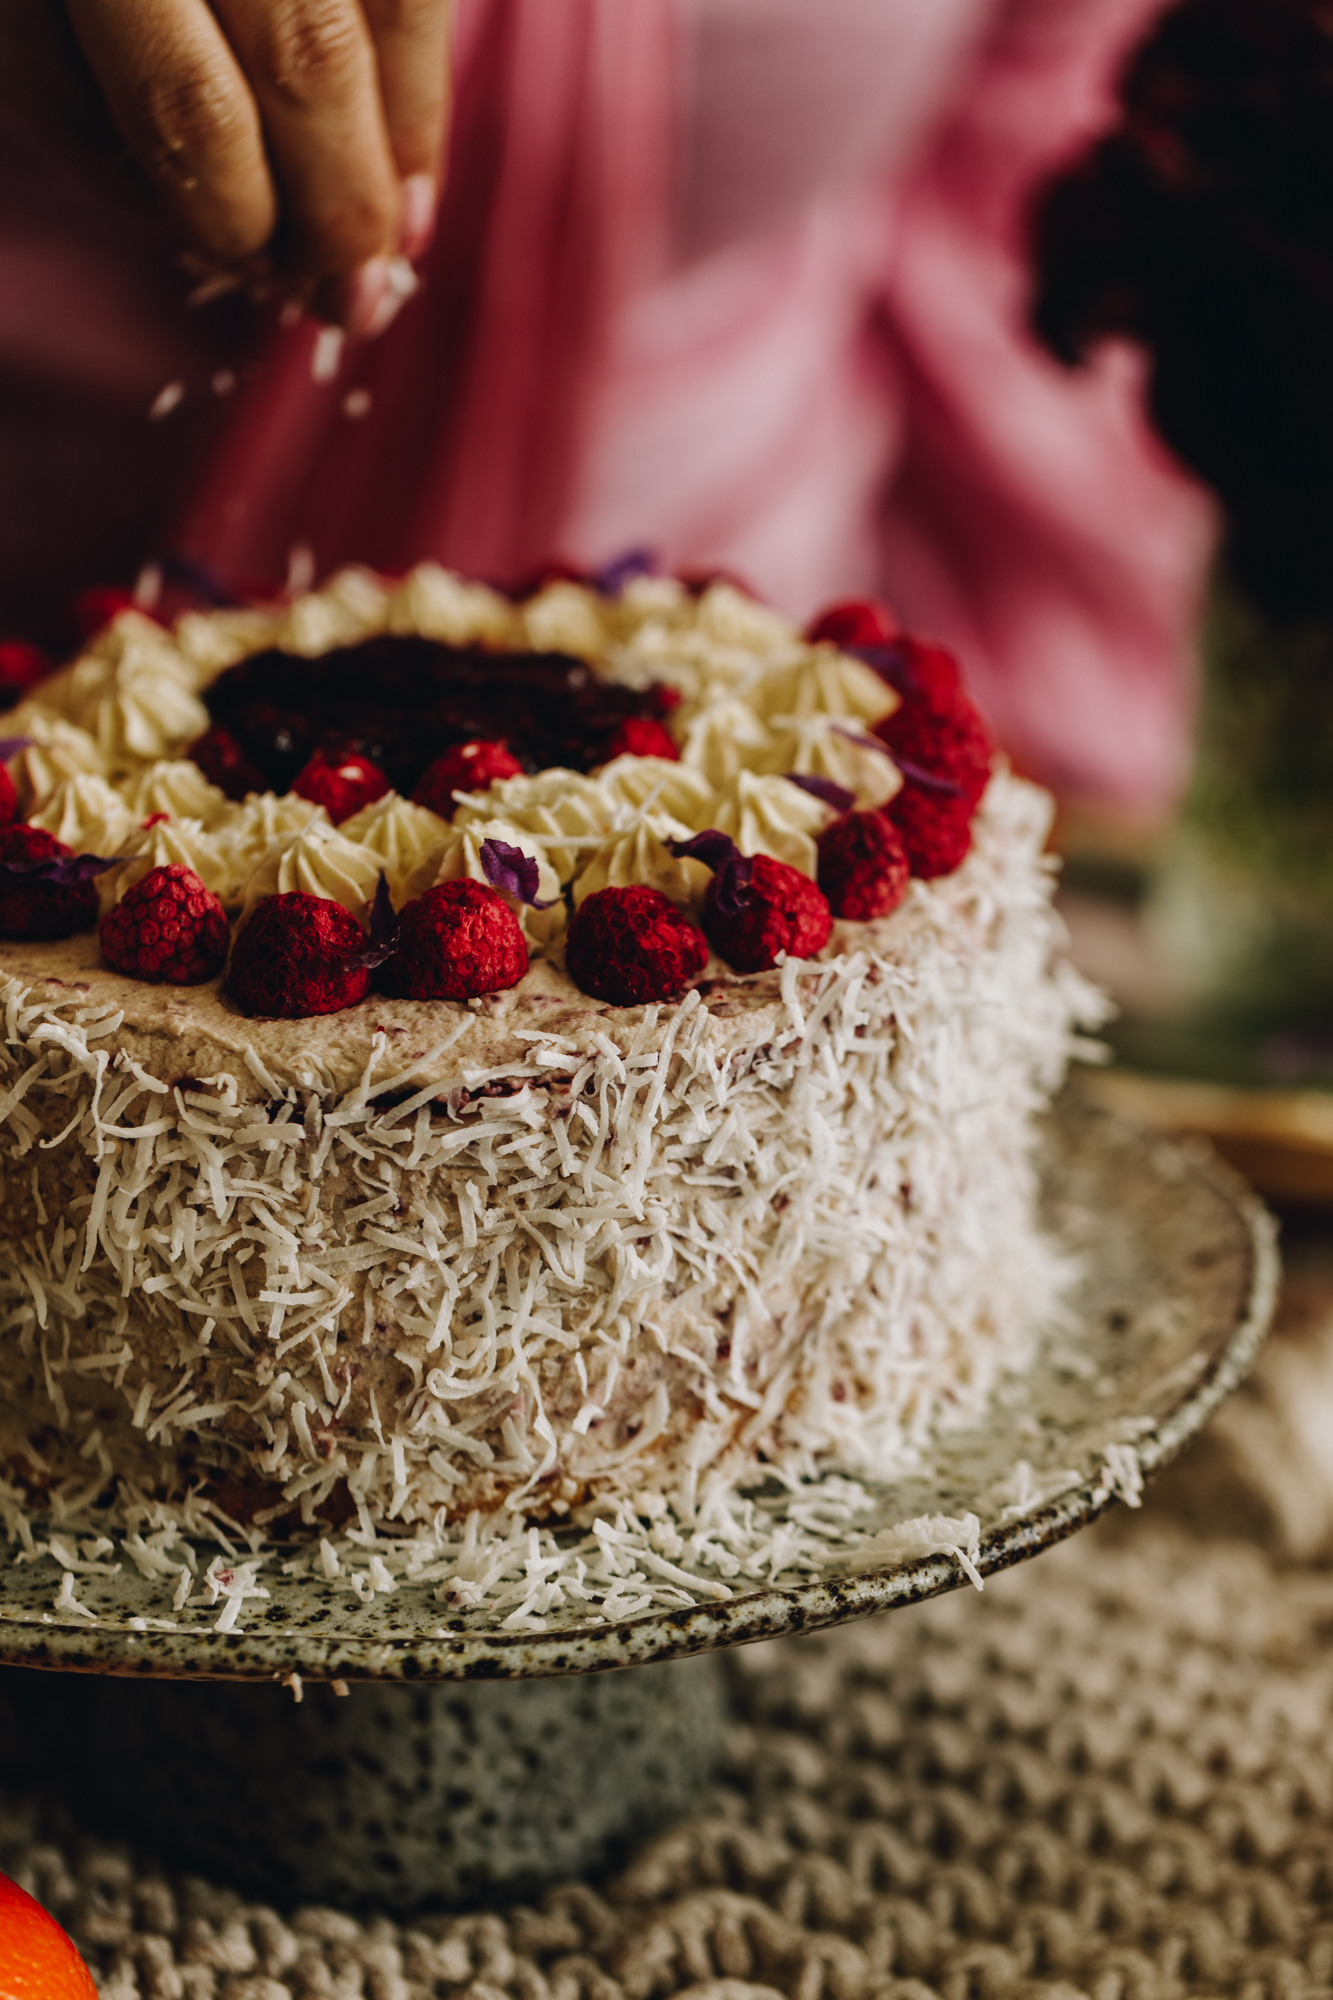
22. Sprinkle over the Coconut:
Add the kokonati ngakungaku (shredded coconut) all around the edge of the keke (cake), leaving the top free for decoration.
23. Decorate the Raspberry Lamington Cake:
Pipe the leftover cream in a circle near the edge and close to the centre.
Add the remaining rahipere (raspberries) in between the cream.
If you have any tiamu rahipere (raspberry jam) left over, add that to the centre of the cake.
It is now ready to serve to your manuhiri (guests).
Storage Instructions for the Raspberry Lamington Cake:
This keke (cake) can be refrigerated for up to 8 hours from the time you decorate it.
If it has been refrigerated for longer than two hours, remove from the fridge 30 minutes before serving.
This cake will keep for a couple of days, stored in a sealed container in a cool place. I don't like to refrigerate my keke (cakes) for too long but if you do, allow it to come back to room temperature for half an hour or so before serving.
Titiro mai (look here), more
Keke (Cake) Recipes
Take the time to create a keke (cake) filled with aroha (love) for a special moment.


DID YOU ENJOY THIS RECIPE?
It would be so awesome if you could please leave a review/comment by clicking the “leave a comment” section at the top of the page.
I love seeing you all make my creations, so send a whakaahua (photo) or kiriata (video) to my Instagram and show me what you made. Let me know if you have any pātai (questions) too, I would love to help.
Raspberry Lamington Cake - Keke Kōpungapunga Rahipere
Equipment
- 2 x 19 cm or 20 cm Cake Tins
Ingredients
Raspberry Jam - Tiamu Rahipere (Either use my speedy jam or store-bought)
1 quantity of my Chia Raspberry Jam - Tiamu Rahipere:
- 2 ½ C (300g) rahipere tio (frozen raspberries)
- ½ C (110 g) huka one (caster sugar)
- ¼ C (65 ml) wai rēmana (lemon juice)
- 2 tablespoon (20 g) kākano chia (chia seeds)
Homemade Jam Alternative:
- 1 C Store-bought raspberry jam
- 2 tablespoon wai rēmana (lemon juice)
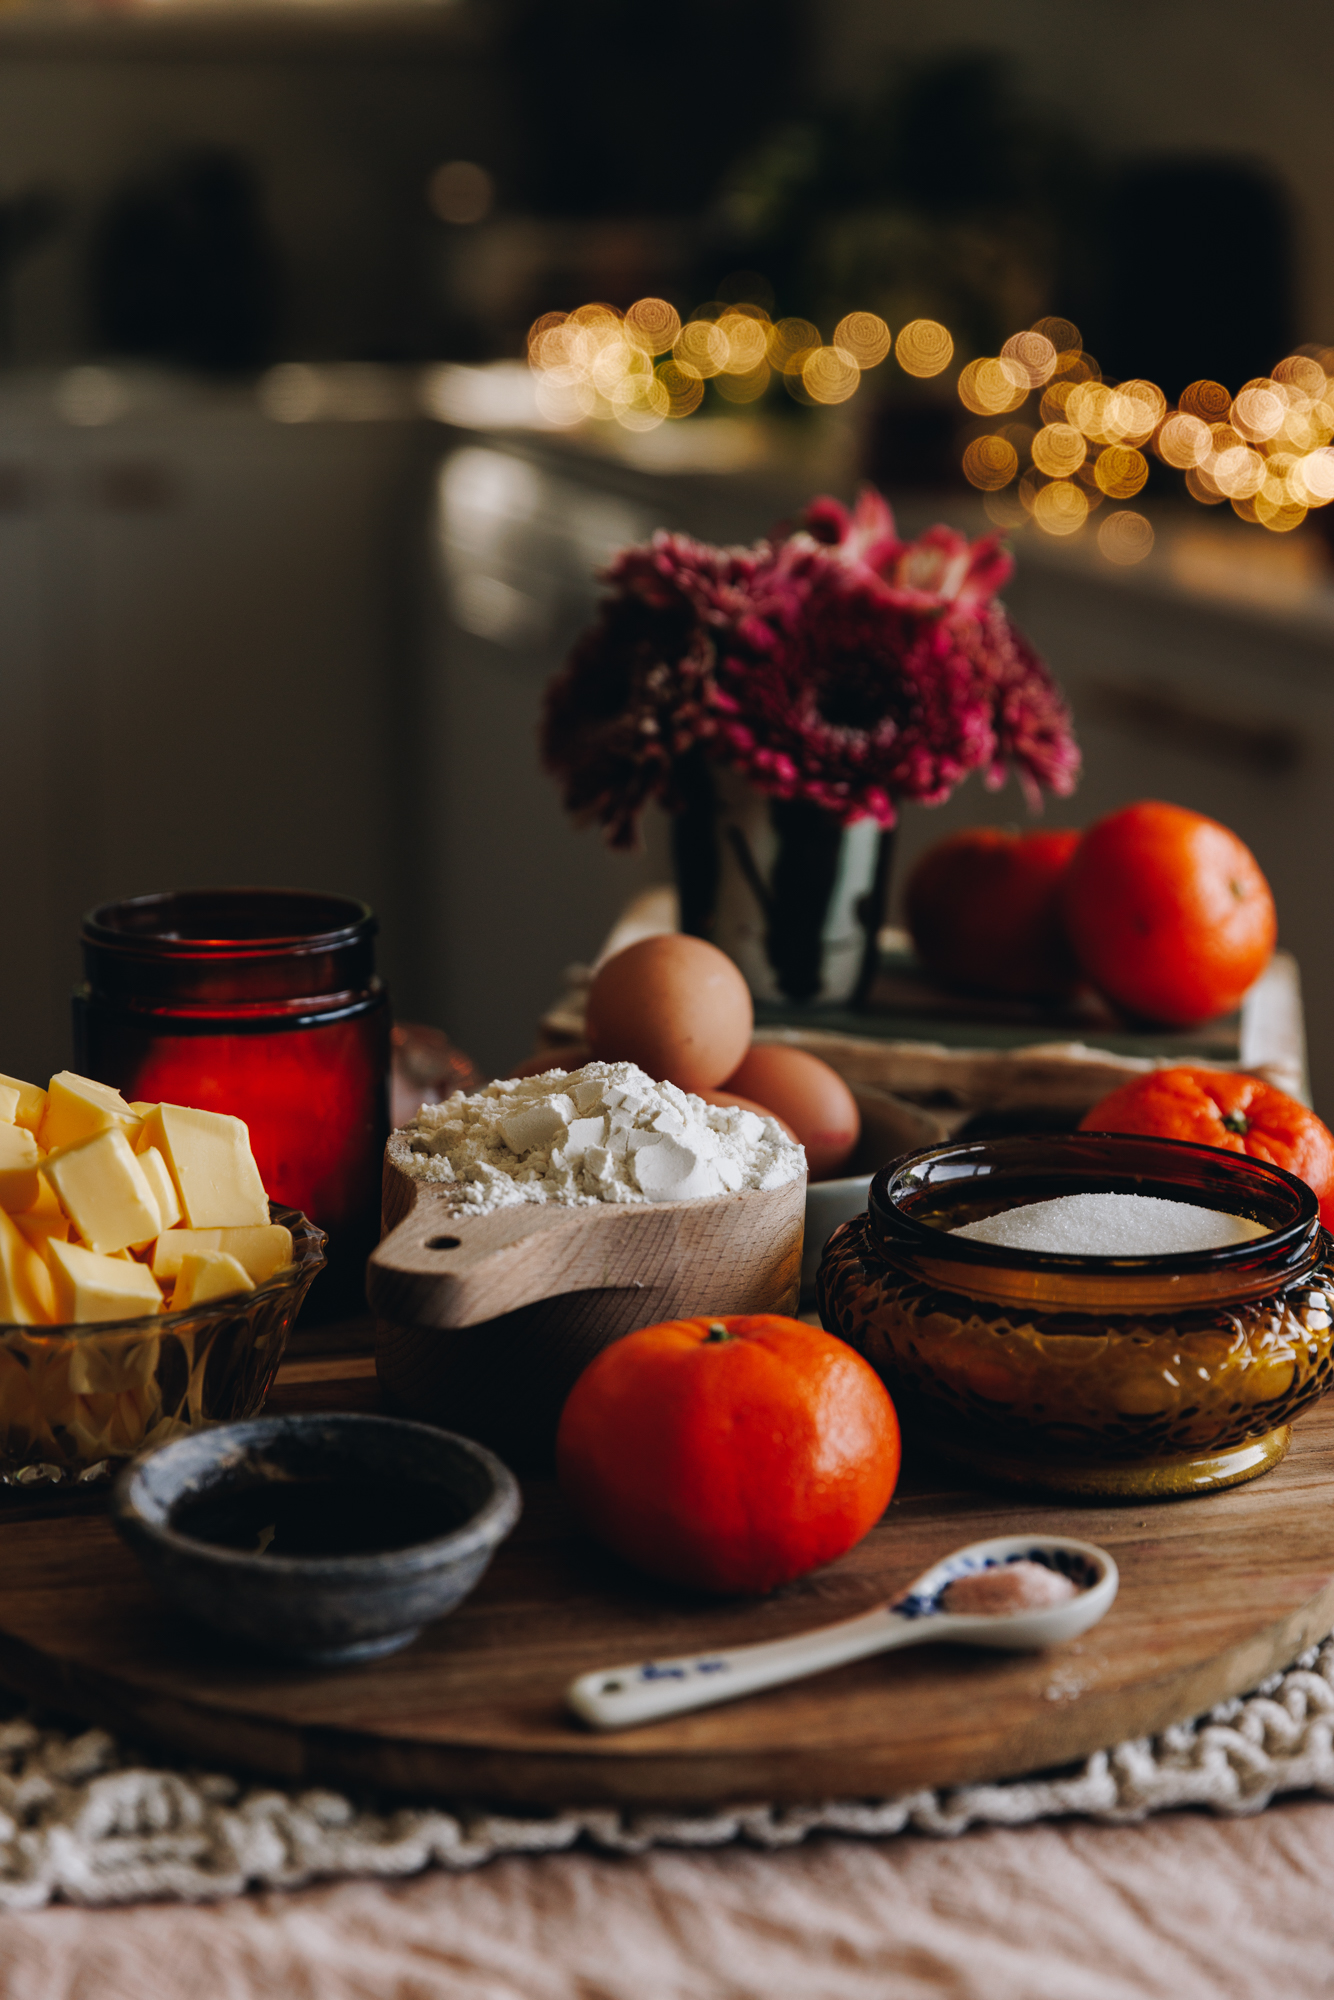
Victoria Sponge Cake - Keke Kōpungapunga Wikitoria:
- 1 C (220 g) huka one (caster sugar)
- Kiri manarini (mandarin zest, of 2 mandarins or one orange)
- 180 g pata kūteretere (softened butter)
- ½ teaspoon tote (salt, fine)
- 2 teaspoon (10 ml) wanira (vanilla)
- 4 hēki (egg, size 6)
- ⅓ C (85 ml) miraka (milk)
- 1 ½ C (225 g) puehu parāoa whakatipu (self-raising flour)
- ½ teaspoon pēkana paura (baking powder)
Kirīmi Tiakarete Mā - White Chocolate Ganache (Optional but delicious)
- 150 g tiakarete mā (white chocolate, I used Whittaker's Mango and coconut chocolate but any white will work)
- 2 tablespoon kirīmi (cream)
1 quantity of my Stable Whipped Cream - Kirīmi Tāwhiuwiu
- 400 ml kirīmi (cream)
- ½ C (100 g) marscapone
- 2 teaspoon (10 ml) wanira (vanilla)
- ⅓ C (55 g) puehu huka (icing sugar)
Extra Ingredients - Ngā kai anō
- 125 g rahipere māota (fresh raspberries or freeze dried raspberries also work)
- 1 ½ C (120 g) kokonati ngakungaku (shredded coconut)
- 20 lavender leaves (optional)
Instructions
Make the Raspberry Jam:
- If you are making my 5 Minute Chia Raspberry Jam for this recipe, start by making it so it can thicken and cool as you make the keke (cake). This tiamu (jam) adds a real brightness to the cake and can be made up to 5 days ahead, stored in the refrigerator.
Homemade Jam Alternative:
- If you are not making the tiamu (jam), add the store-brought tiamu (jam) in to a small bowl and combine it with the wai rēmana (lemon juice). Leave to the side.
Preheat the Oven:
- Preheat the oven to 160 °C, fan bake setting or 170 °C bake setting.
Prepare the Cake Tins:
- Grease two 19 cm or 20 cm cake tins with pata (butter) on the base and sides. Line the base of the tins with baking paper but keeps the sides free from baking paper (even though I do it in the video 😘).
Make the Zesty Sugar Flavour Bomb:
- Add the huka one (caster sugar) in to a large bowl then grate in the kiri manarini (mandarin zest). Rub it together with your hands and watch the beautiful colour appear.
Whip the Butter and Sugar:
- Add in the pata kūteretere (softened butter), tote (salt) and (wanira). Whip on high for five minutes until light in colour and fluffy in texture. This is an important step in adding air in to the keke (cake) and works better in a stand mixer. If you only have a hand mixer, whip for a couple more minutes on high.
Prepare the Eggs:
- Add all of the hēki (eggs) in to a small bowl and lightly whip them with a paoka (fork).
Whip in the Eggs:
- Add a ¼ of the whipped hēki (eggs) in to the ranunga pata (butter mixture) and whip on high for 30 seconds or until fluffy again.
- Add another ¼ and repeat the whipping for 20 seconds. Add the third quarter and whip on high for 20 - 30 seconds until smooth and fluffy.
Combine the Remaining Egg and Milk:
- You will now have a quarter of the ranunga hēki (egg mixture) remaining (just under ¼ C). Pour the miraka (milk) in to it. Whakaranuhia - mix to combine and leave to the side. This step prevents the cake batter from splitting.
Sift in the Dry Ingredients:
- Sift in the puehu parāoa whakatipu (self-raising flour) and pēkana paura (baking powder) in to the butter mixture. Fold it until it is half combined
Add in the Egg and Milk Mixture:
- Then pour in the egg and milk mixture. Fold again until you have a smooth mixture. Do not over mix here, just gently fold until the ingredients are all combined.
Add the Cake Batter in to the Cake Tins:
- Divide the mixture between the two cake tins.
Bake the Cakes:
- Bake them for 30 minutes until golden and when they spring back when you press the centre.
Cool the Cakes:
- Remove from the oven and immediately run a bread and butter knife around the edge of the keke (cakes) to release it from the edge of the tins. This stops the sides of the cakes from collapsing as it cools.
- Cool for ten minutes in the tins before tipping them on to a cooling rack. Prepare the simple elements as they cool.
Make the White Chocolate Ganache:
- Note: The Chocolate Ganache is an optional addition but it creates a beautiful creaminess to the cake and another layer of flavour. If you don't want to use it however, skip to the Stable Cream section.
- Chop the tiakarete mā (white chocolate) in to rough chunks.
- Add the tiakarete (chocolate) and kirīmi (cream) in to a heat proof bowl.Place it over a pot of barely simmering water that is approximately 3 cm deep. Make sure the water in the pot is not touching the base of the bowl.
- Gently melt and stir occasionally. Once it has melted, remove it from the heat and stir until it is smooth.
- Divide the ganache between both of the warm cakes and spread it on. Leave a 1 cm border clear from the edge of the keke (cakes).
Whip the Stable Whipped Cream:
- Make one quantity of my stable whipped cream recipe.
Decorate the First Cake:
- Add the first layer of the keke (cake) with the kirīmi tiakarete mā (white chocolate ganache) on to a serving plate or cake stand.
Add Raspberry Jam and Raspberries:
- Add ⅓ C tiamu rahipere (raspberry jam) on top, making sure you leave a 1 cm gap clear of jam from the edge. Add half of the rahipere māota (fresh raspberries).
Spread on the Whipped Cream:
- Add around ⅓ of the kirīmi tāwhiuwhiu (whipped cream) on and gently spread it out to the edge of the keke (cake).
Add the Second Cake:
- Add the second layer of keke (cake).
Dollop on the Raspberry Jam:
- Add ⅓ C tiamu rahipere (raspberry jam) on top of the tiakarete (chocolate), making sure you leave a 1 cm gap clear of jam from the edge.
Spread on the Whipped Cream:
- Spread most of the remaining kirīmi (cream) on top and the sides of the cake, leaving half a cup if you want to pipe some on top. See the video for reference if you want to add a little bit of colour to the cream but do not add too much as it can split the cream.
Sprinkle over the Coconut:
- Add the kokonati ngakungaku (shredded coconut) all around the edge of the keke (cake), leaving the top free for decoration.
Decorate the Top:
- Pipe the leftover cream in a circle near the edge and close to the centre. Add the remaining rahipere (raspberries) in between the cream.
- If you have any tiamu rahipere (raspberry jam) left over, add that to the centre of the cake.
- Your delicious keke (cake) is now ready to serve to your manuhiri (guests).
Storage Instructions:
- This keke (cake) can be refrigerated for up to 8 hours from the time you decorate it. If it has been refrigerated for longer than two hours, remove from the fridge 30 minutes before serving.
- This cake will keep for a couple of days, stored in a sealed container in a cool place. I don't like to refrigerate my keke (cakes) for too long but if you do, allow it to come back to room temperature for half an hour so before serving.


Megan
This is AMAZBALLS!! So divine 🤤. Ka pai
Naomi Toilalo WhānauKai
Yes Megan, I love this cake too. How delicious are all the flavours together.