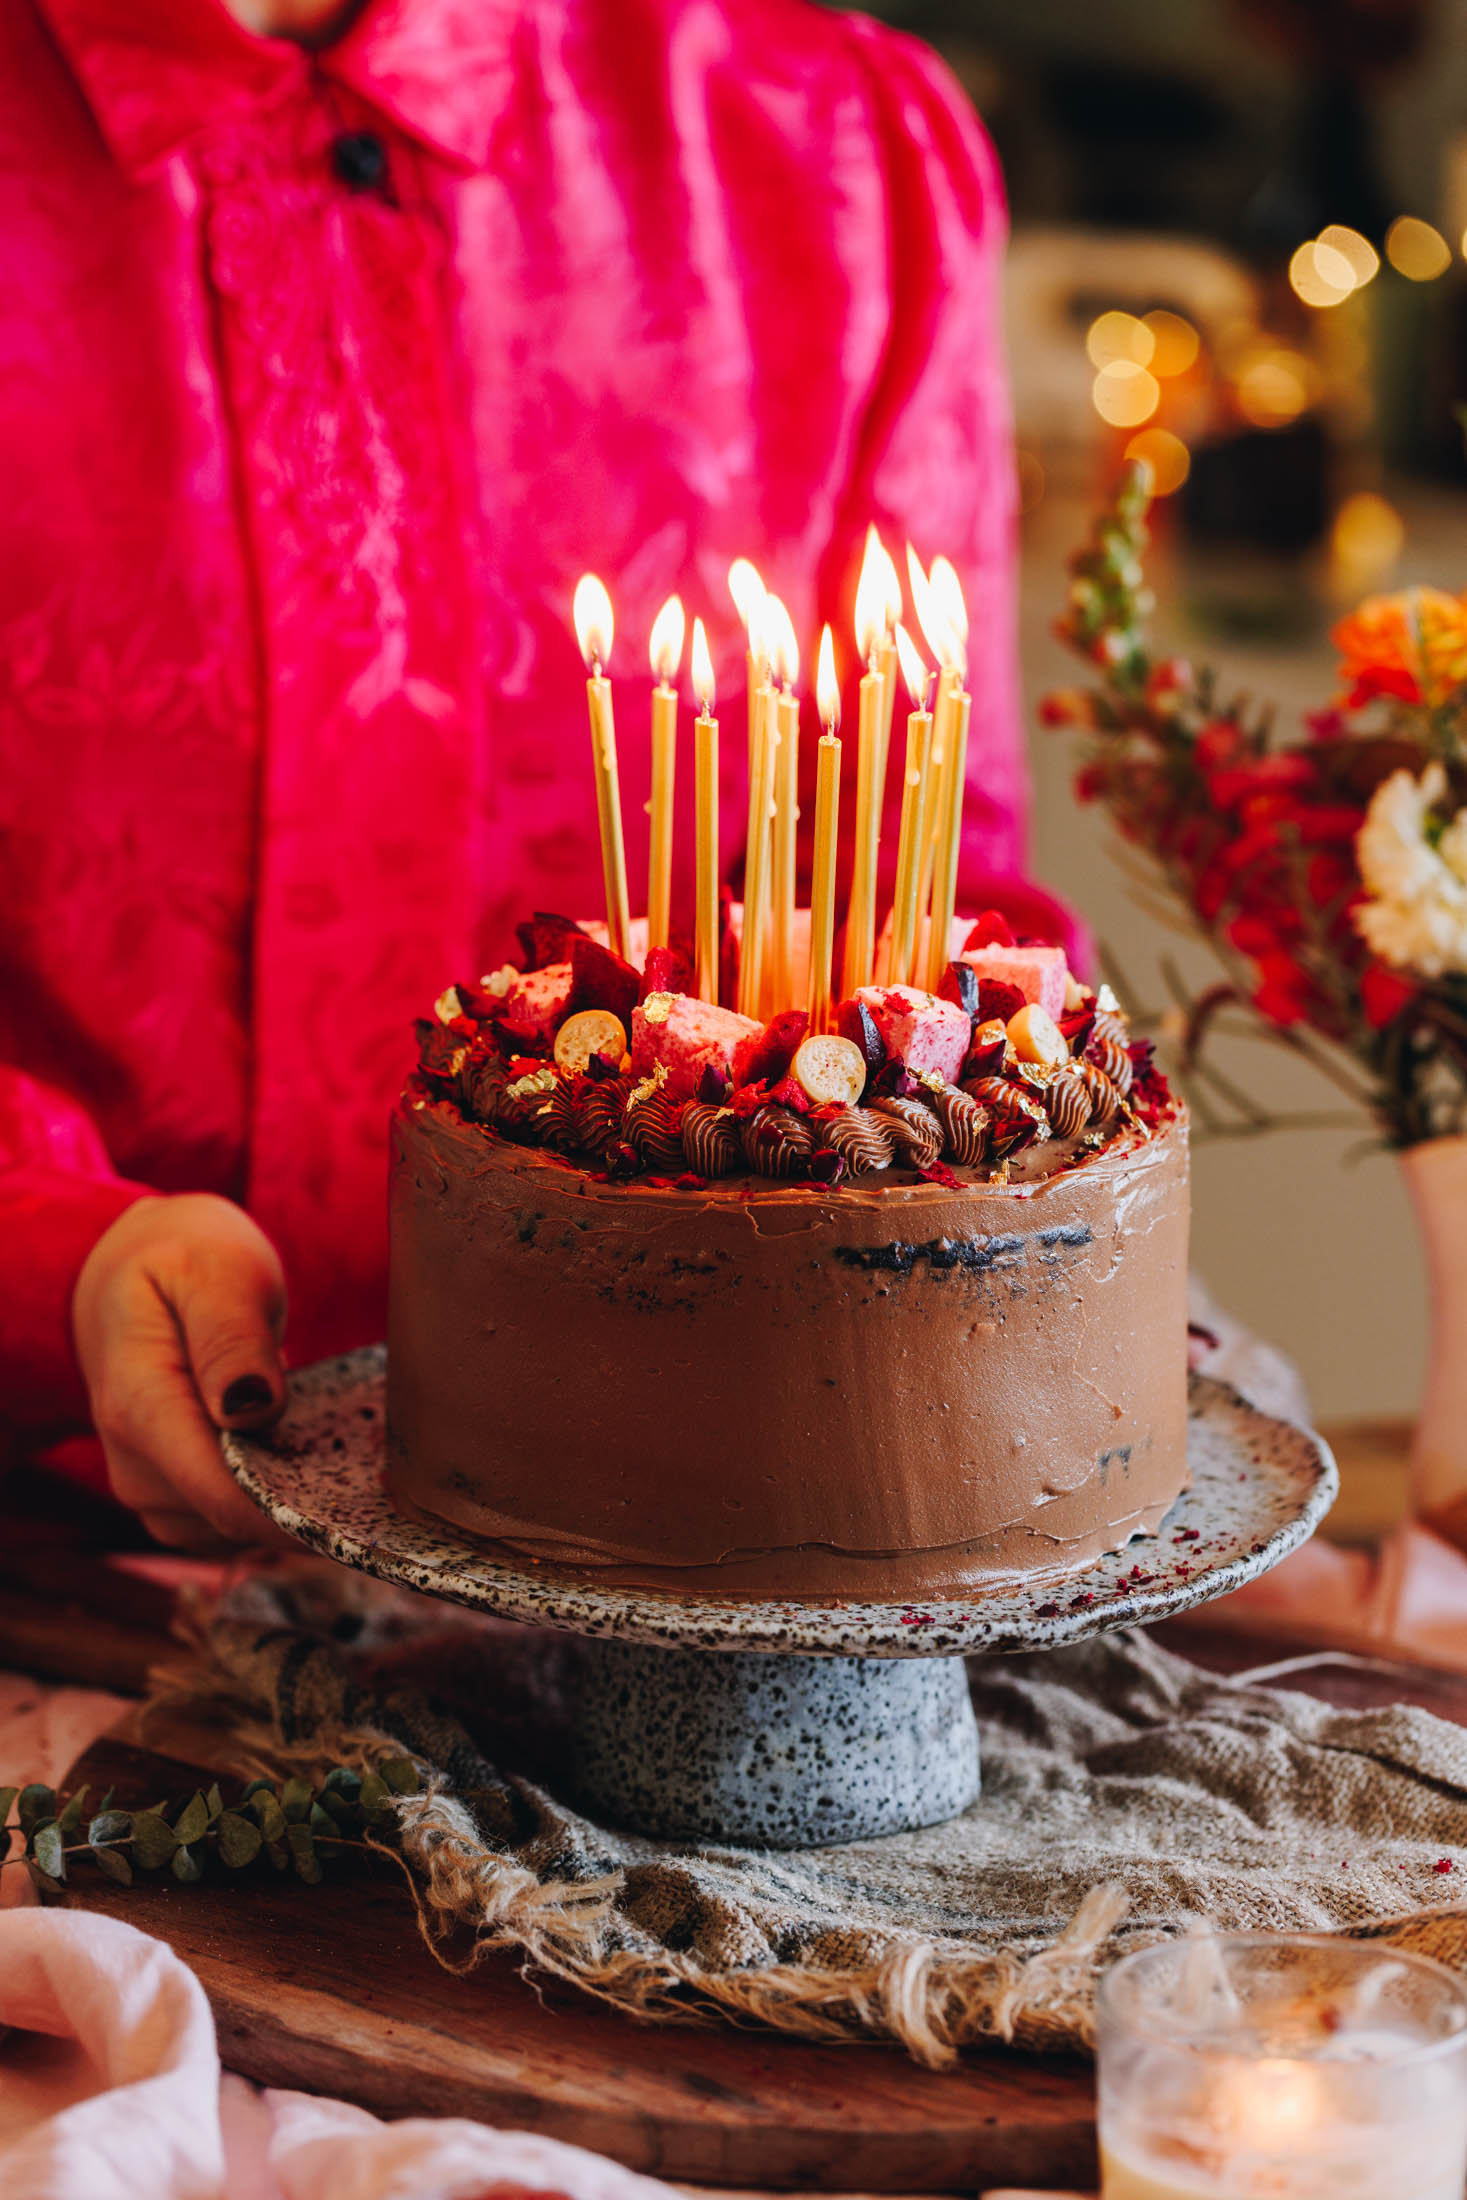
This Chocolate Cake with Biscoff Buttercream will soon become your go-to cake for every occasion. It starts with a flavoursome chocolate and almond cake that needs no fancy equipment to make. Then fill and cover it with the dreamy chocolate biscoff buttercream, add more creamy Biscoff in the centre and adorn with crushed maltesers. You are welcome.
I created this Chocolate Cake with Biscoff Buttercream for reomaori. This keke (cake) honours the 50th anniversary of Te Wiki o te Reo Māori (Māori Language Week), 2025. Te Wiki o Te Reo Māori is a time for us to celebrate! We have come so far as a country and it is a time to remember that we are on this haerenga (journey) together. Te Reo Māori (the Māori Language) is a unique part of Aotearoa (New Zealand). In brief, we all have a roll to play so what better way to celebrate than with this indulgent keke (cake).
More keke tiakarete (chocolate cakes):
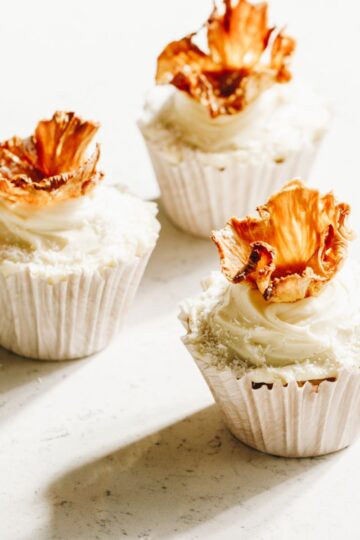
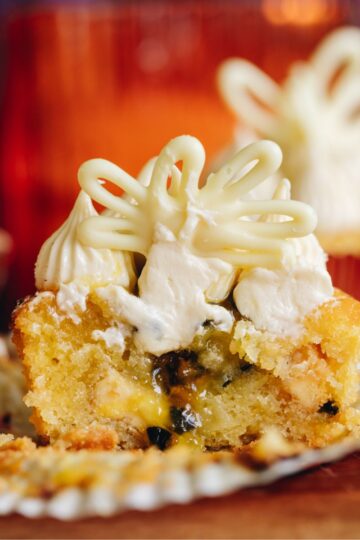
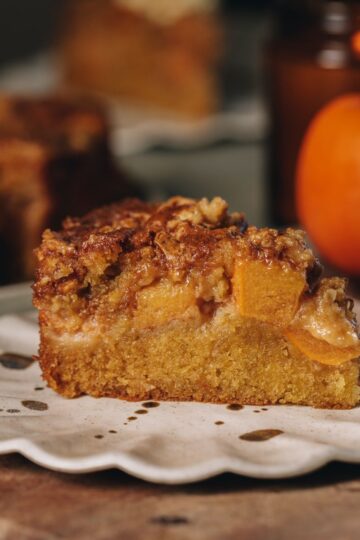
Whatever celebration cakes you need, I have got you! Do you want a Gluten-free Chocolate Hazelnut Cake, filled with rich hazelnuts, chocolate buttercream and boysenberries? Or do you want a Forerro Rocher style cake? Then try my Chocolate Hazelnut Cake for flavours of hazelnuts and Nutella. Or is a Plum and Almond Cake more your baking style? I can't wait to see what you choose.
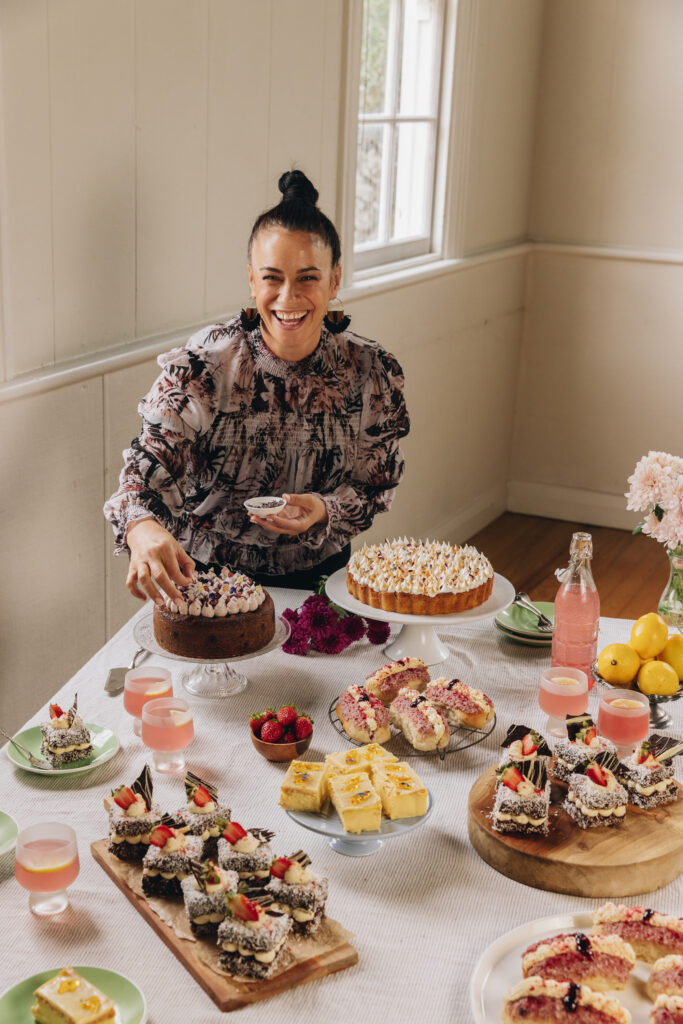
Videography and photography taken by Sarah Henderson.
Ingredient tips for the Chocolate Cake with Biscoff Buttercream:

- Vinegar: I add vinegar to milk to make buttermilk in this recipe. Any vinegar will do but lemon juice works as well. If you want to replace the homemade buttermilk with the store bought version, go for it!
- Cocoa: I prefer to use dutch Cocoa in all of my cakes but this can be expensive so use what you have.
- Coffee powder: This helps lift the flavour of the cocoa in the cake. Use caffeinated or decaf.
- Oil: I use a neutral flavoured olive oil in this cake but again, use what you have. As long as it is neutral flavoured, it will work.
- Ground Almonds: The ground almonds in this cake are to create moisture. They can be replaced with ground hazelnuts or any ground nuts that you love.
- Dark chocolate: I like the depth of flavour that dark chocolate brings to this buttercream but you can use any chocolate you like.
- Biscoff: Biscoff adds a great depth of flavour to the buttercream but you can omit it and just use chocolate. It can also be swapped for the same amount of Nutella or similar spreads.
Expert Tips:
Bake the cake gently on 150 degrees celsius, this gentle heat creates an even bake of the cake with no doming. This means the keke (cakes) do not need to be trimmed after baking and also stops them from drying out when baking.
If your oven naturally runs hot or only has a fan bake setting, turn the oven down 20 degrees.
These keke (cakes) can be made ahead of time and develops a delicious flavour this way: Up to 3 days before decorating, bake the cakes and allow them to completely cool. Wrap the cakes in plastic wrap and store for a few days in a sealed container, in a cool cupboard.
I always use two cake tins when I am baking a layered cake, this helps bake the cakes evenly and also cuts down on baking time.
When decorating this cake, use my decorations as a guide but use whatever makes you happy. Decorating is all about experimenting and just giving it a go. Whatever you do, it will taste delicious.
Step by step instructions for the Chocolate Cake with Biscoff Buttercream:
Note: The full recipe card with the full list of ingredients, instructions and step by step video are found at the bottom of this page.

1. Preheat the oven:
Preheat the oven to 150 °C bake setting or 140 °C fan setting.
Grease and line 2 x 19 cm or 2 x 20 cm cake tins with baking paper on the base and sides.
2. Combine the cocoa mixture:
Combine the miraka (milk) and winika (vinegar) in a glass jar, small jug or bowl. Stir it together to create a simple buttermilk and leave it to the side.
To a large jug or medium bowl, add the kōkō (cocoa), huka hāura (brown sugar), tote (salt) and paura kawhe (coffee powder). Mix it with a whisk.

2. Combine the cocoa mixture:
Boil the jug and pour in the wai wera (hot water). Stir it with a whisk until the ranunga kōkō (cocoa mixture) has dissolved. Once it is free of lumps, pour in the miraka pata (buttermilk) and stir it in. Leave it to the side.
3. Whisk the egg mixture:
In to a large bowl, add the hēki (eggs), huka one (caster sugar) and wanira (vanilla). Using a whisk, whip for a minute or so until smooth and well combined.
4. Add the Oil and Cocoa Mixture:
Slowly drizzle in the noni (oil) as you whisk for 30 seconds or so.
Continue whisking as you pour in the cocoa mixture.

5. Sift in the dry ingredients:
Once the mixture is smooth, sift in all of the peru oneone (ground almonds), puehu parāoa (flour), pēkana paura (baking powder) and pēkana houra (baking soda).
6. Combine everything together.
Using a whisk, stir the mixture together slowly for 2 minutes until it all combined.
Although it might feel like a long time to whisk the mixture, it helps create a little bit of gluten development which results in a sturdy cake, perfect for stacking.

7. Bake the Chocolate cakes:
Divide the mixture evenly between the two prepared cake tins.
Bake for 35 minutes or until they spring back in the centre when pressed.
8. Cool the cakes.
Remove the cakes from the oven. Flip them straight on to a cooling rack. This helps them stay flat so you don't have to trim the cakes.
Leave the baking paper on the cakes until you are ready to decorate and allow them to completely cool.

9. Melt the chocolate for the buttercream:
Chop the tiakarete parauri (dark chocolate) roughly in to chunks. Add the tiakarete parauri (dark chocolate) and kirīmi (cream) or miraka (milk) in to a heat proof bowl.
Gently melt it in the microwave in 20 second bursts, stirring well between each time. You can also melt it gently in a heat-proof bowl that is sitting over a pot of barely simmering water (around 3cm deep). Make sure the bowl is not touching the water. Stir it occasionally until it is melted.
Once completely melted and smooth, leave the tiakarete (chocolate) aside to cool for 5 minutes.

10. Make the chocolate Biscoff Buttercream:
Add the pata kūteretere (softened butter), puehu huka (icing sugar) and wanira (vanilla) to a large bowl. Whip on high for around 4-5 minutes until it is light and fluffy in colour and texture.
Add the cooled tiakarete (chocolate) in to the whipped pata (butter). Whip again on medium speed for around 40 seconds.
Add the room temperature Biscoff and whip on medium speed for 40 seconds. It is now ready to adorn your delicious keke (cake).

11. Spread the Cake with Biscoff buttercream:
Add the first cooled keke (cake) to a cake stand or plate.
Add around ⅔ – ¾ C of the pani reka (buttercream) and spread it over the top of the keke (cake). Once smooth, pipe a border around the edge. If you don't have a piping bag, just add small blobs of buttercream around the edge of the cake and use a spoon to create a border.
12. Add the extra Biscoff:
Add the softened biscoff in to the centre and gently feather it out to the edges of the border.

13. Add the Maltesers:
Cut the Maltesers in to small pieces. If you want to decorate with them as well, reserve half a cup for decoration. Add the remaining pieces in to the centre of the keke (cake), nestling them in to the pani reka (buttercream) and biscoff.
14. Add the second cake:
Add the second keke (cake) on top and press it down gently. Continue to spread the pani reka (buttercream) on top of the keke (cake) and down the sides. Make sure to take the time to smooth it out.

15. Add the toppings (Optional):
If you have extra pani reka (buttercream), pipe some in a pattern around the edge of the top of the cake like I did.
Divide the māngohe (marshmallow) around the edge, add some maltesers in between them. Add the paramu-tauraki tio (freeze-dried plums) on either side of the maltesers.
Sprinkle some of the paramu-tauraki tio (freeze-dried plums) around the edge of the keke (cake). Finish with the putiputi raki (dried flowers) around the edge and a sprinkle of rau kōura (gold leaf).

Store the Chocolate Cake:
Store this keke (cake) in a sealed container in a cool place. It will develop in flavour as it sits and in my opinion is even better a few days after it is baked.
It will keep well for up 5 days.
In the hotter months you can store the decorated and uncut cake in the refrigerator but bring it room temperature before eating.
Once it is cut, don't keep it in the fridge as the cake will dry out.
Take a moment to look at more of our
Cake Recipes
When life asks us to celebrate, do it with keke (cake).
DID YOU ENJOY THIS RECIPE?
It would be so awesome if you could please leave a review/comment by clicking the “leave a comment” section at the top of the page.
I love seeing you all make my creations, so send a whakaahua (photo) or kiriata (video) to my Instagram and show me what you made. Let me know if you have any pātai (questions) too, I would love to help.

Chocolate Cake with Biscoff Buttercream - He Keke Tiakarete me te Pani Reka Biscoff.
Equipment
- 2 x 19 cm or 20 cm Cake Tins
Ingredients
Chocolate Almond Cake – Keke Tiakarete Aramona
- ¾ C (185 ml) miraka (milk)
- 2 tablespoon (30 ml) winika (vinegar) or wai rēmana (lemon juice)
- 1 C (100 g) kōkō (cocoa, dutch is best)
- ½ C (100 g) huka hāura (brown sugar, tightly packed)
- ½ teaspoon tote (salt, fine)
- ½ tablespoon paura kawhe (coffee powder, instant)
- 1 C (250 ml) wai wera (hot water, boiled)
- 3 hēki iti (small eggs, size 6)
- 1 C (220 g) huka one (caster sugar)
- ½ tablespoon wanira (vanilla)
- ⅔ C (165 ml) noni (oil, neutral oil, I use olive oil but use what you have)
- 1 C (120 g) peru oneone (ground almonds)
- 1 ¼ C (185 g) puehu parāoa noa (plain flour)
- 1 ¼ tsp pēkana paura (baking powder)
- 1 tsp pēkana houra (baking soda)
Chocolate and Biscoff Buttercream - Pani Reka Tiakarete me te Biscoff
- 150 g tiakarete parauri (dark chocolate, I use 50% but use whatever you like)
- 3 tbsp kirīmi (cream) or 2 tablespoon miraka (milk)
- 200 g pata kūteretere (softened butter)
- ⅔ C (110 g) puehu huka (icing sugar)
- 2 teaspoon wanira (vanilla)
- ½ C (115 g) biscoff spread (smooth, room temperature)
Ingredients for the centre of the cake - Ngā kai mō te puku o te Keke
- 140 g maltesers (I used a mixture of gold and milk chocolate but use use what you like. These can also be swapped for your favourite cookies turned in to a crumb)
- ½ C (115 g) biscoff spread (smooth, softened slightly)
The Decorations – Ngā Whakarākei (all optional - the possibilities are endless)
- 6 -8 cubes māngohe (marshmallow). I use a store-bought marshmallow, Kapiti has a good range.
- ½ C paramu tauraki-tio (freeze-dried plums)
- 12 putiputi raki (dried flowers)
- Rau kōura (gold leaf)
Instructions
Preheat the oven:
- Preheat the oven to 150 °C bake setting or 140 °C fan setting.
- Grease and line 2 x 19 cm or 2 x 20 cm cake tins with baking paper on the base and sides.
Combine the cocoa mixture:
- Combine the miraka (milk) and winika (vinegar) in a glass jar, small jug or bowl. Stir it together to create a simple buttermilk. Leave it to the side.
- To a large jug or medium bowl, add the kōkō (cocoa), huka hāura (brown sugar), tote (salt) and paura kawhe (coffee powder). Mix it up with a whisk or fork until smooth.
- Boil the jug and pour the wai wera (hot water) in to the cocoa mix. Stir it with a whisk so all of the ranunga kōkō (cocoa mixture) has dissolved.
- Once it is smooth and free of lumps, pour in the miraka pata (buttermilk) and stir it in. Leave it to the side.
Whisk the egg mixture:
- In to a large bowl, add the hēki (eggs), huka one (caster sugar) and wanira (vanilla). Using a whisk, whip for a minute or so until smooth and well combined.
Add the Oil and Cocoa Mixture:
- Slowly drizzle in the noni (oil) as you continue to whisk for 30 seconds or so. Continue whisking as you pour in the cocoa mixture until combined.
Sift in the dry ingredients:
- Once the mixture is smooth, sift in all of the peru oneone (ground almonds), puehu parāoa (flour), pēkana paura (baking powder) and pēkana houra (baking soda).
Combine everything together:
- Using a whisk, stir the mixture slowly for 2 minutes until it all combined. Although it may feel like a long time to whisk the mixture, this helps create a little bit of gluten development which results in a sturdy cake, perfect for stacking.
Bake the Cakes
- Divide the mixture evenly between the two prepared cake tins.
- Bake for 35 minutes or until they spring back in the centre when pressed.
Cool the cakes:
- Remove the cakes from the oven. Flip them straight on to a cooling rack as this helps them stay flat so you don't have to trim the cakes. Leave the baking paper on the cakes until you are ready to decorate them.
- Allow them to completely cool before decorating.
Chocolate Biscoff Buttercream - Melt the Chocolate:
- Chop the tiakarete parauri (dark chocolate) roughly in to chunks. Add the tiakarete parauri (dark chocolate) and kirīmi (cream) or miraka (milk) to a heat proof bowl.
- Gently melt it in the microwave in 20 second bursts, stirring well between each time. This should take a minute or just over. You can also melt it gently in a heat-proof bowl that is sitting over a pot of barely simmering water (around 3cm deep). Make sure the bowl is not touching the water. Stir it occasionally until it is melted.
- Once completely melted and smooth, leave the tiakarete (chocolate) to cool for 5 minutes.
Make the Chocolate Biscoff Buttercream:
- Add the pata kūteretere (softened butter), puehu huka (icing sugar) and wanira (vanilla) to a large bowl. Whip on high until light and fluffy for around 4-5 minutes.
- Add the cooled tiakarete (chocolate) in the whipped pata (butter). Whip again on medium speed for around 40 seconds.
- Add the room temperature Biscoff and whip on medium speed for 40 seconds. It is ready to adorn your delicious keke (cake).
Cake Assembly - Spread the First Cake with Buttercream:
- Add the first cooled keke (cake) to a cake stand or plate.
- Add around ⅔ - ¾ C of the pani reka (buttercream) and spread it over the top of the keke (cake). Once smooth, pipe a border around the edge. If you don't have a piping bag, just add small blobs of buttercream around the edge of the cake and use a spoon to create a border.
Add the Extra Biscoff:
- Add the softened biscoff in to the centre and gently feather it out to the edges of the border.
Add the Maltesers:
- Cut the Maltesers in to a mixture of shapes, some in half and some smaller. If you want to decorate with them as well, reserve half a cup for decoration.Add the remaining pieces in to the centre of the keke (cake), nestling them in to the pani reka (buttercream) and biscoff.
Add the Second Cake:
- Add the second keke (cake) on top and press it down gently. Continue to spread the pani reka (buttercream) on top of the keke (cake) and down the sides. Make sure to take the time to smooth it out.
Add the Toppings:
- If you have extra pani reka (buttercream), pipe some in a pattern around the edge like I did. Divide the māngohe (marshmallow) around the edge, add some maltesers in between them. Add the paramu-tauraki tio (freeze-dried plums) on either side of the maltesers. Sprinkle some of the paramu-tauraki tio (freeze-dried plums) around the edge of the keke (cake).
- Finish with the putiputi raki (dried flowers) around the edge and a sprinkle of rau kōura (gold leaf).
- Serve to your guests and enjoy your efforts.
How to store the cake:
- Store this keke (cake) in a sealed container in a cool place. It will develop in flavour as it sits and in my opinion is even better a few days after it is baked. It will keep well for up 5 days.
- In the hotter months you can store the decorated and uncut cake in the refrigerator but bring it room temperature before eating.
- Once it is cut, don't keep it in the fridge as the cake will dry out.


Daisy
I made this yesterday and it's tino pai. The cake came out beautifully light and moist and the flavour combination works so well. I'll definitely be making it again!
Naomi Toilalo WhānauKai
Daisy, what awesome feedback. I am so glad to hear that you loved it as I love this one so much too.
Ngā mihi nui ki a koe - thank you!
Naomi