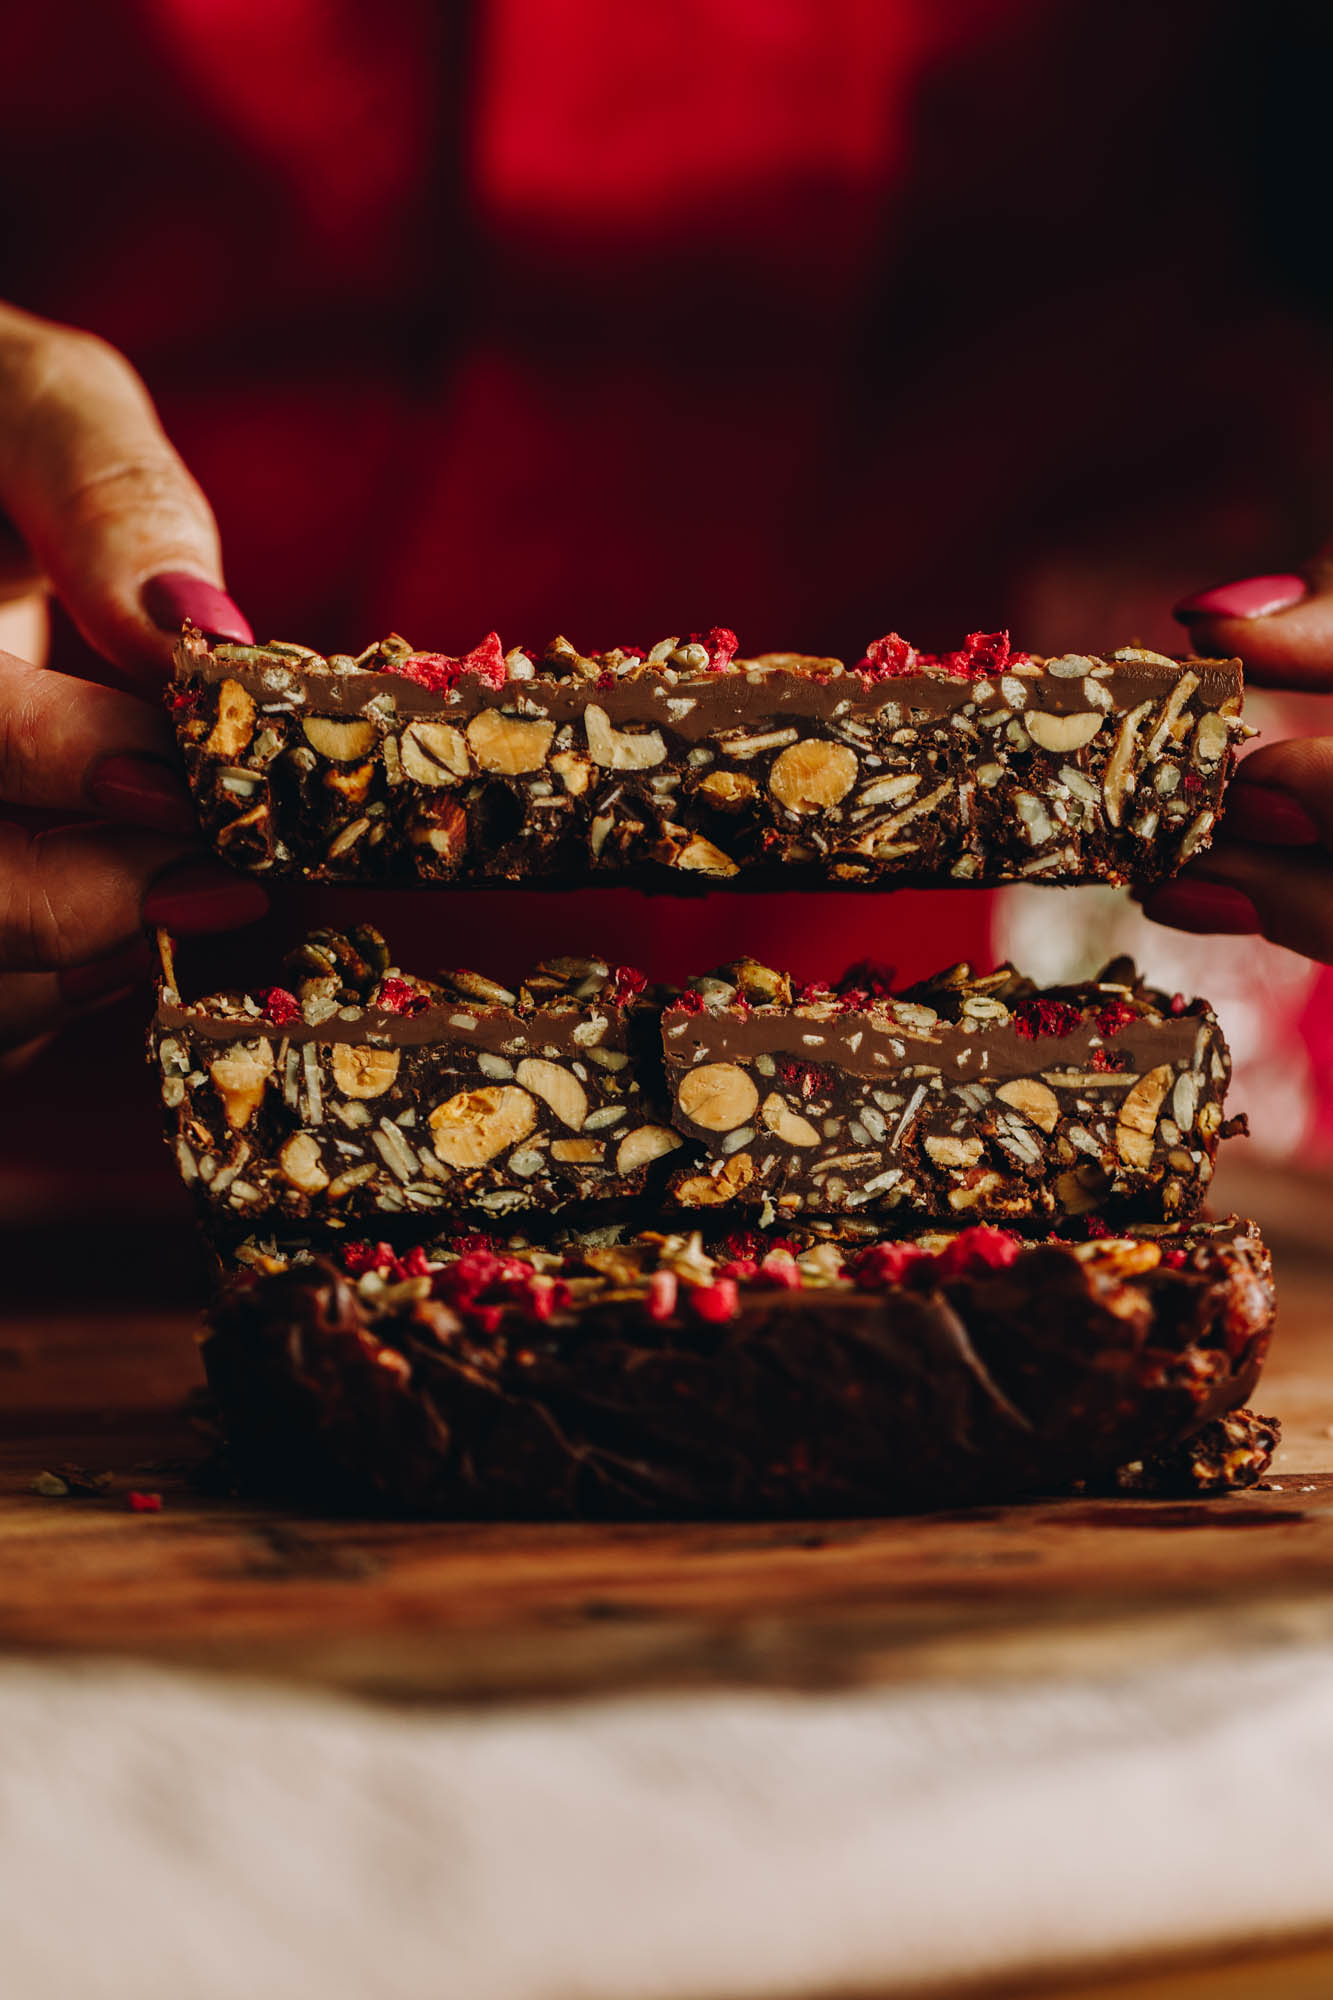
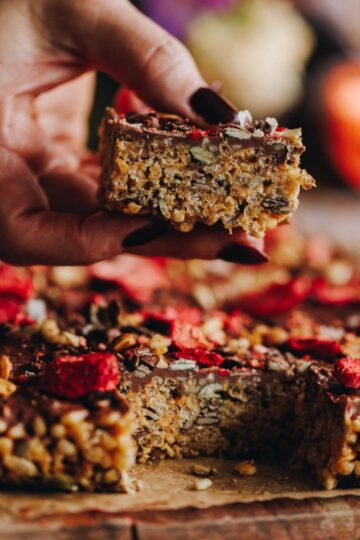
This Chocolate Nut and Seed Slice is no-bake, low sugar and is super easy to make. It is naturally gluten-free, can be made dairy-free and consists of only a few ingredients. So what are you waiting for? Dive in to this simple recipe and prepare your tastebuds for a delicious time.

Chocolate Nut and Seed Slice is one of the recipes that will always hit the spot. It is super quick to make, making it perfect for the surprise manuhiri (guests) that turn up. If you are living that keto life, you can also use a sugar free chocolate and make it fully keto. He māmā noa iho - so easy!
More no-bake recipes:
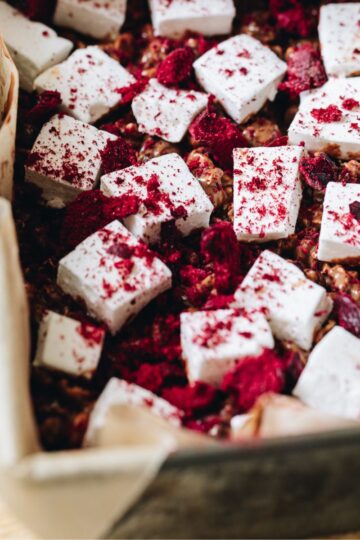
This Rocky Road with Homemade Marshmallow is not only visually stunning but it also filled with delicious texture and flavour. Or does my Toasted Coconut Fudge with pata pīnati (peanut butter) get your taste buds tingling?
Videography and photography by Sarah Henderson.
Ingredient Tips for the Chocolate Nut and Seed Slice:

- Dark chocolate: I prefer the flavour of dark chocolate in this recipe but use what you want. If you want to make it keto, use sugar-free chocolate.
- Coconut oil: This works well in this recipe and is a great dairy free product. It can also be swapped for butter.
- Almond butter: You can use any nut butter that you want in this recipe, it can also be swapped out for Biscoff or Nutella as well.
- Muesli: I love keto muesli in this recipe because it is jammed packed with toasted nuts and seeds but you can use your favourite granola too.
- Soy Protein Crisps: I have recently discovered this product and they are perfect in this recipe for a high protein version. I have added quantities in to the recipe below.
Expert Tips:
You can absolutely swap ingredients in this slice. This recipe is so flexible and I recommend getting those ingredients that need using and throwing them in. You may need to add a bit of extra pata (butter) or tiakarete (chocolate) if you are adding a lot of extra dry ingredients. However, at the end of the day, make the recipe yours!
Step by Step Instructions for the Chocolate Nut and Seed Slice:
Note: The full recipe card with the full list of ingredients, instructions and step by step video are found at the bottom of this page.

1. Prepare the Tin or Tray:
If you want to make this a slice: Line a 8 cm x 18 cm loaf tin with baking paper.
Don't worry if yours is not exactly the same size, this is just a rough guide.
If you want to make this in to bark: Line a flat baking tray with baking paper.
2. Melt the Chocolate:
Break up the tiakarete (chocolate) in to pieces, add it along with the hinu kokonati (coconut oil) to a pot.
Set it over low heat and gently melt it all together.
Remove from the heat and add it to a bowl or leave it in the pot.
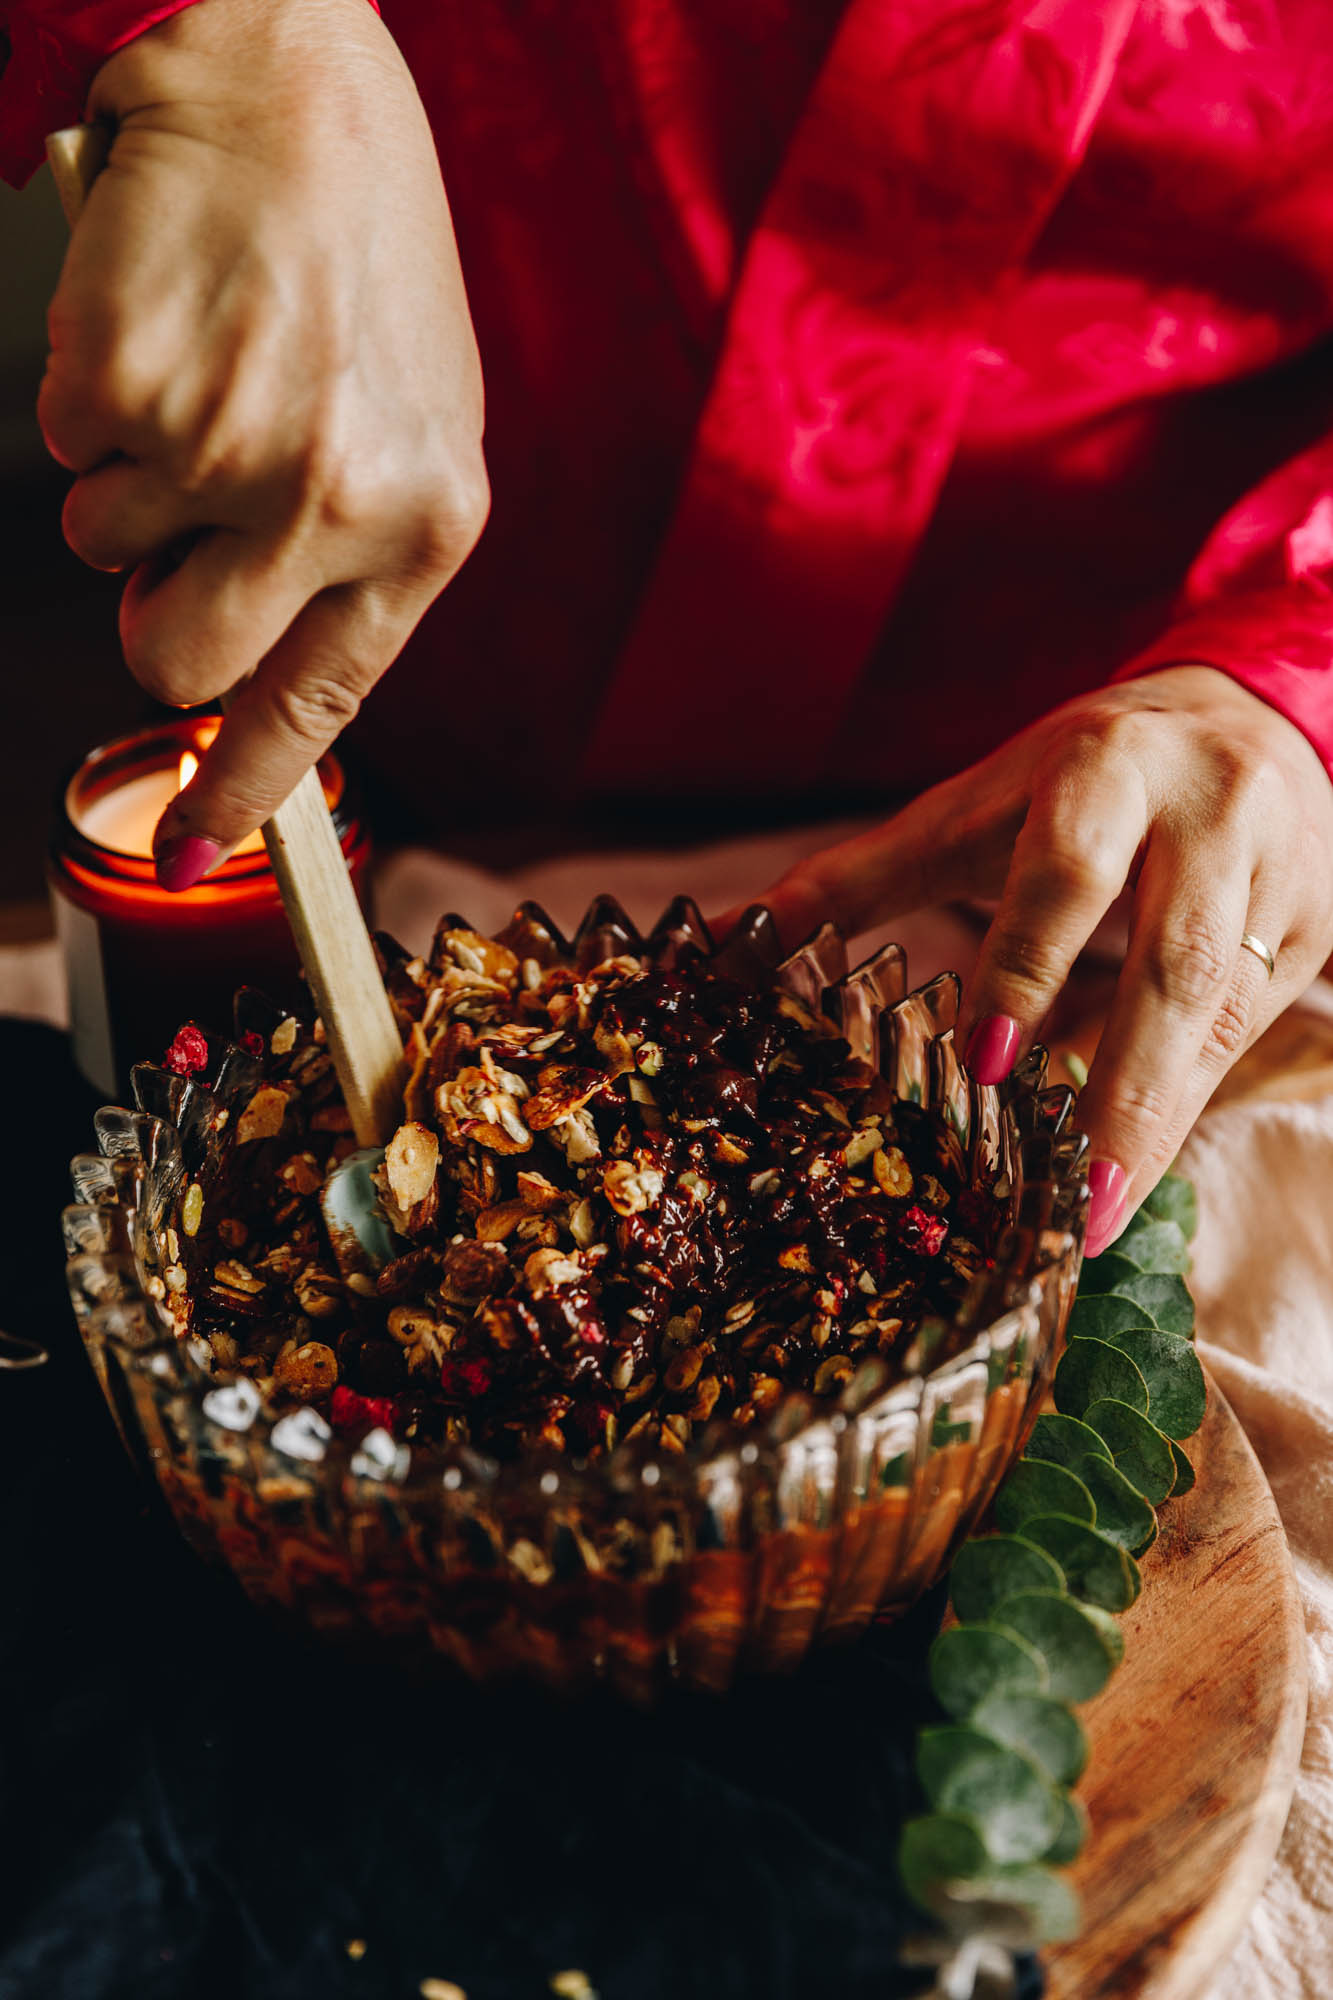
3. Add the Remaining Ingredients:
Add the pata aramona (almond butter) and pū kākano (cereal).
Whakaranuhia (stir to combine).
Kua oti (finished)!
4. Make a Chocolate Nut and Seed Slice or Bark:
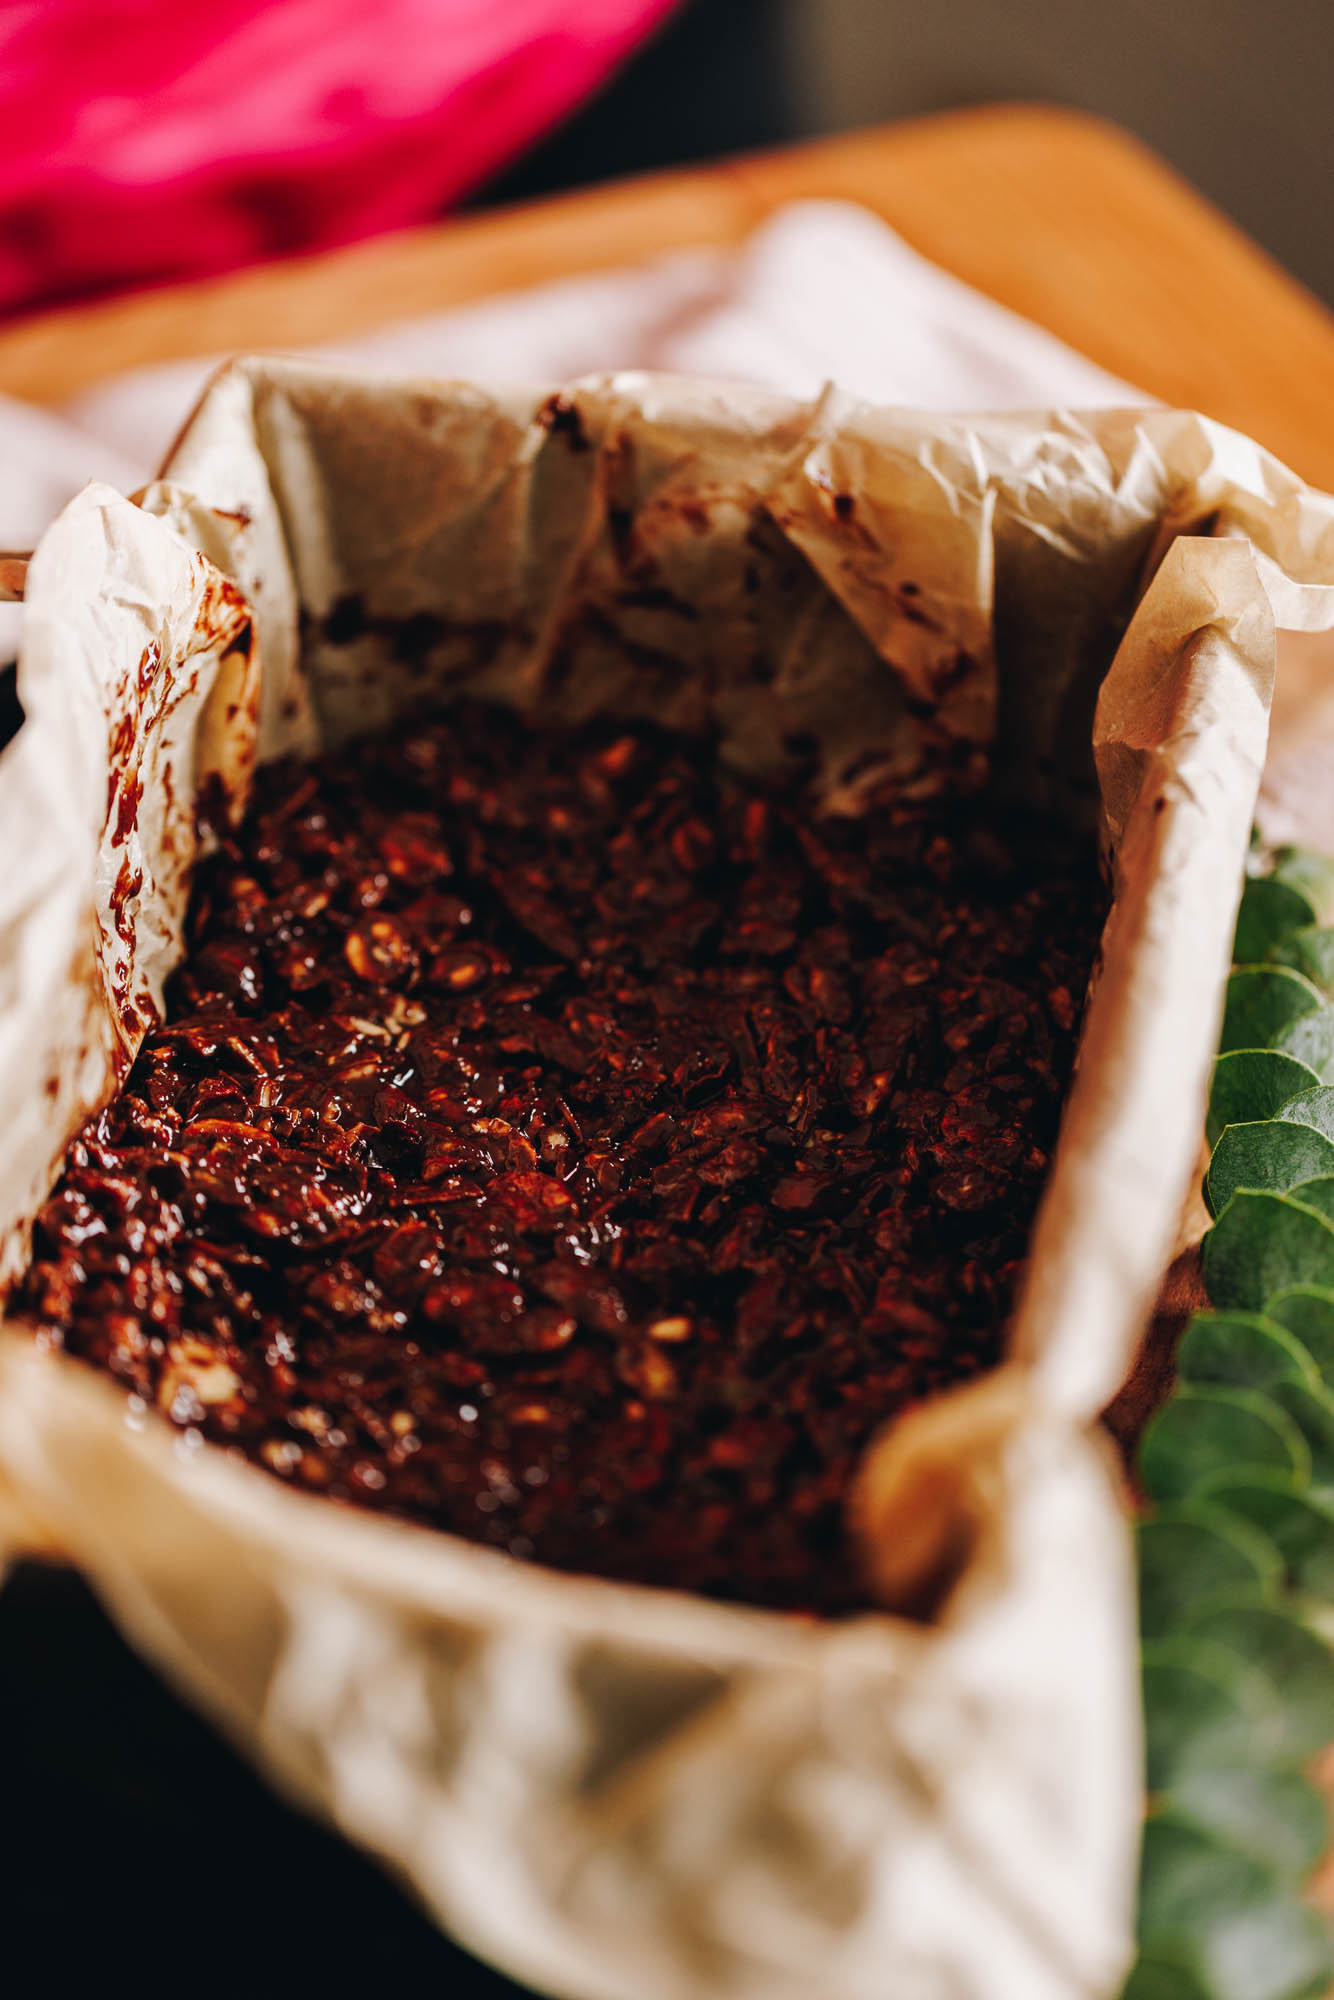
If you want to make this a slice: Add the ranunga (mixture) in to the prepared loaf tin.
Take the time to press the tiakarete (chocolate) in to all of the gaps so it nestles down well and cuts well once set.
If you want to make this in to bark: Pour on to the prepared baking tray and spread it out to your preferred thickness.
5. Chill:
Whakamātaohia (refrigerate) the slice or bark for 30 minutes.
Once set, it is ready to eat like that. You can also make this simple topping if you want.
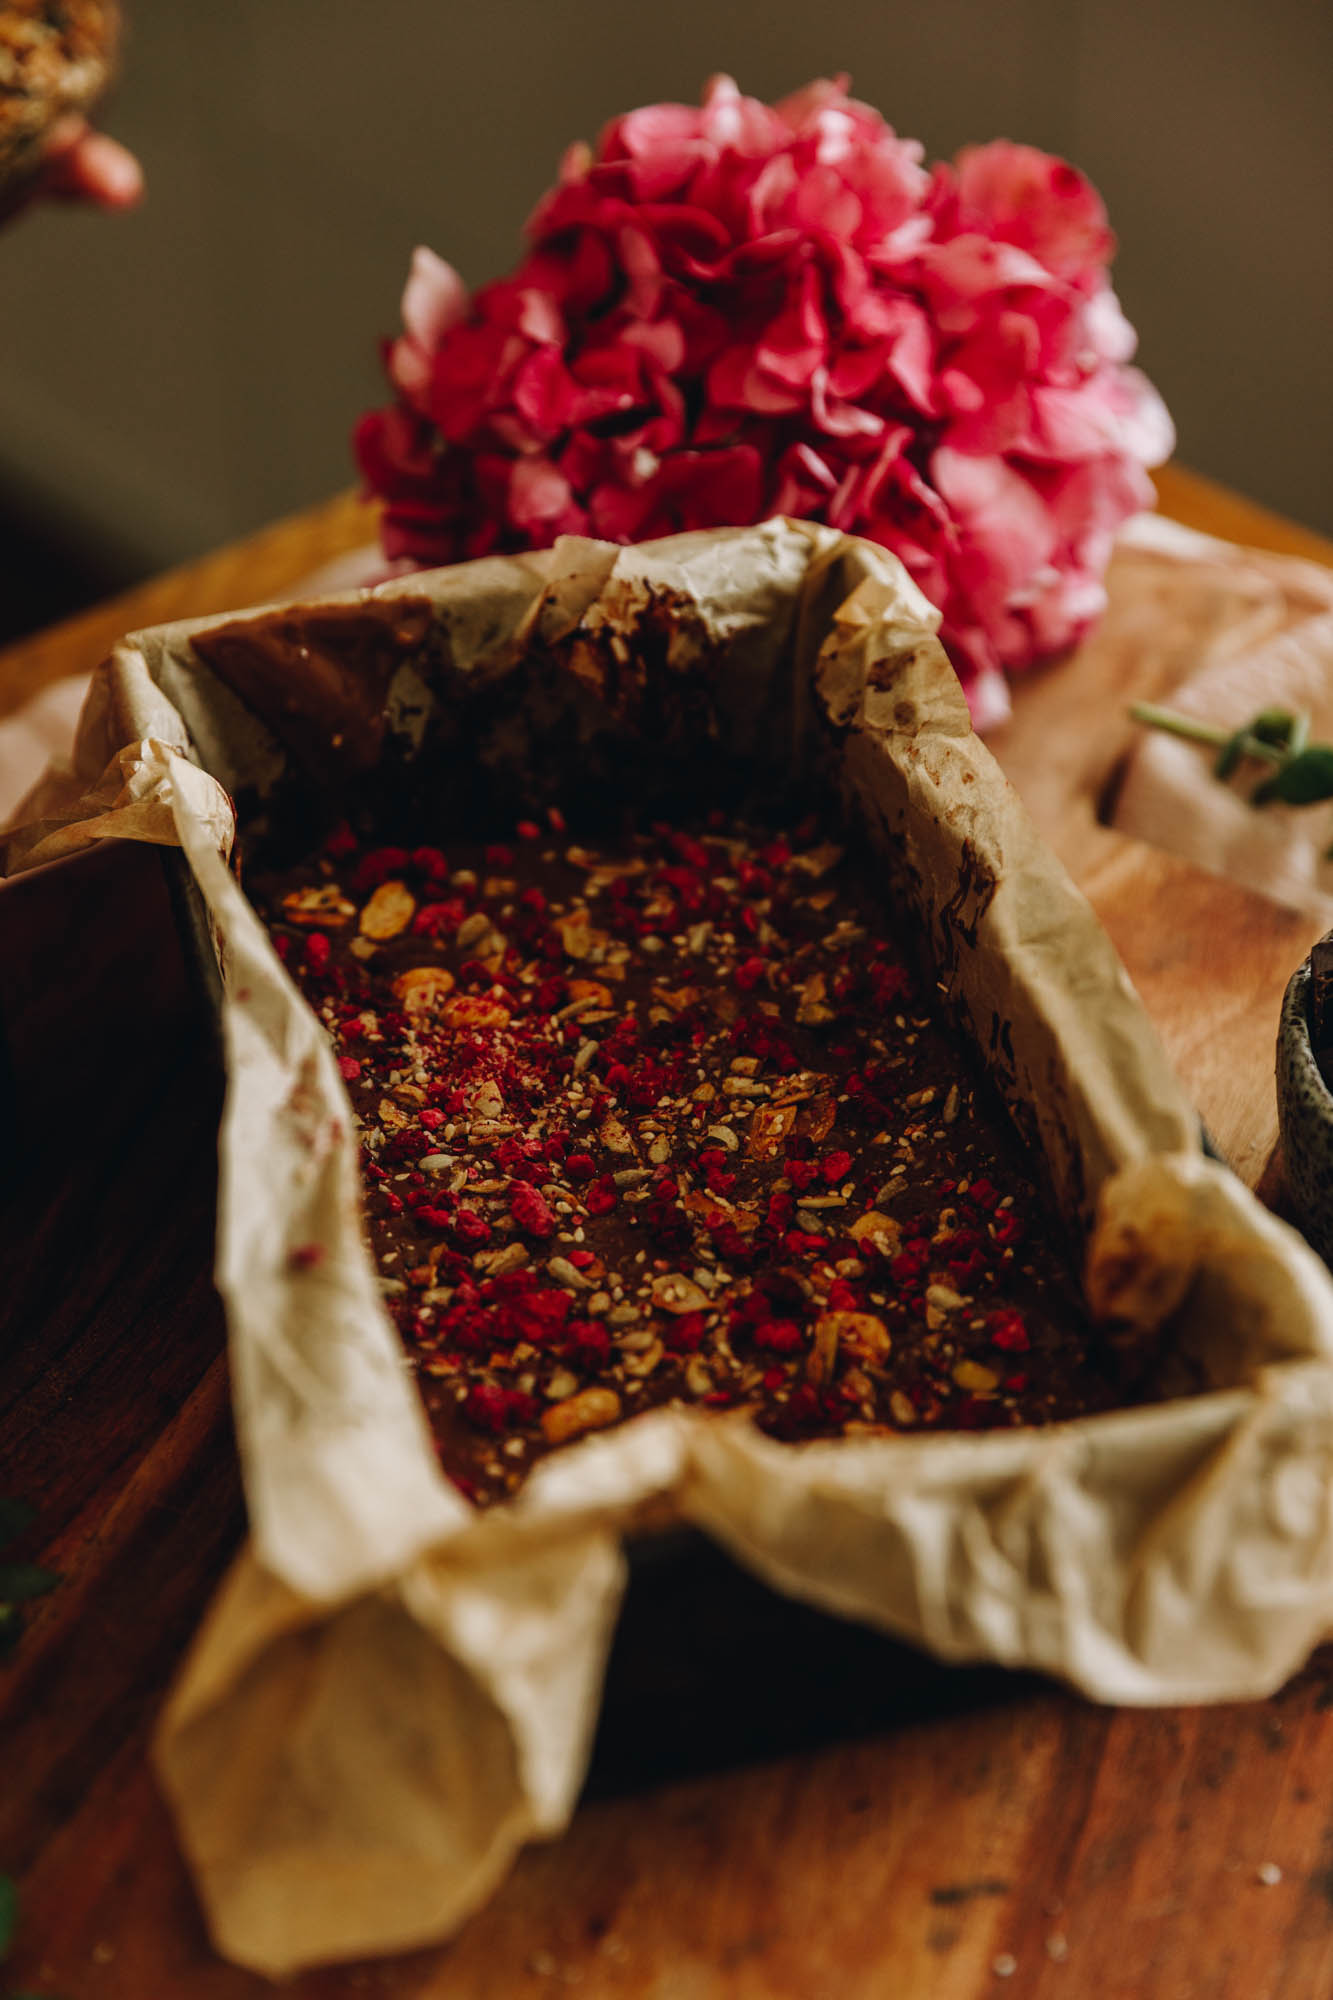
6. Add the Topping (Optional):
Add the tiakarete (chocolate) and hinu kokonati (coconut oil) to a pot.
Set it over low heat and gently melt it all together. Remove from the heat.
Drizzle it all over the set slice or bark.
Sprinkle over the pū kākano anō (extra muesli) for a touch of decoration.
7. Chill:
Whakamātaohia mō te 15 miniti (refrigerate for 15 minutes).
Store:
Store in a sealed container and store in the fridge to retain the crunch.
This will keep well for up to a week.
Take a look at more of our
No-bake Recipes
So many recipes can be made without turning the oven on!


DID YOU ENJOY THIS RECIPE?
It would be so awesome if you could please leave a review/comment by clicking the “leave a comment” section at the top of the page.
I love seeing you all make my creations, so send a whakaahua (photo) or kiriata (video) to my Instagram and show me what you made. Let me know if you have any pātai (questions) too, I would love to help.

Chocolate, Nut and Seed Slice - Keke Tapatahi Tiakarete, Nati me Ngā Kākano
Ingredients
The Chocolate Slice - Te Keke Tapatahi Tiakarete
- 150 g tiakarete parauri (dark chocolate, I used Whittakers 62% with almonds). Use what chocolate you want here.
- 3 tablespoon (45 g) hinu kokonati, pata rānei (coconut oil or butter)
- ⅓ C (90 g) pata aramona (almond butter, or whatever nut butter you want)
- 1 ¾ C (175 g) pū kākano keto (keto muesli or normal muesli). This can also be changed to ¾ C of keto muesli and 1 - 1 ¼ C of Soy Protein Crisps.
- 1 teaspoon wanira (vanilla)
Decorations - Ngā Whakarākei (Optional)
- 80 g tiakarete (chocolate). I used a dairy milk chocolate for the topping in the video but usually just use the same dark chocolate as the base. Use what you want.
- 1 tablespoon (15 g) hinu kokonati, pata rānei (coconut oil or butter)
- ¼ C (25 g) pū kākano anō (extra muesli)
Instructions
Prepare the Tin or Tray:
- If you want to make this a slice: Line a 8 cm x 18 cm loaf tin with baking paper. Don't worry if yours is not exactly the same size, this is just a rough guide.
- If you want to make this in to bark: Line a flat baking tray with baking paper.
Melt the Chocolate:
- Break up the tiakarete (chocolate) in to pieces, add it along with the hinu kokonati (coconut oil) to a pot.
- Set it over low heat and gently melt it all together. Remove from the heat and add it to a bowl or leave it in the pot.
Add the Remaining Ingredients:
- Add the pata aramona (almond butter) and pū kākano (cereal) and Soy Protein Crisps (if you are using them). Whakaranuhia (stir to combine). Kua oti (finished)!
Make a Slice or Bark:
- If you want to make this a slice: Add the ranunga (mixture) in to the prepared loaf tin. Take the time to press the tiakarete (chocolate) in to all of the gaps so it nestles down well and cuts well once set.
- If you want to make this in to bark: Pour on to the prepared baking tray and spread it out to your preferred thickness.
Chill:
- Whakamātaohia (refrigerate) the slice or bark for 30 minutes.
- Once set, it is ready to eat like that. You can also make this simple topping if you want.
Add the Topping (Optional):
- Add the tiakarete (chocolate) and hinu kokonati (coconut oil) to a pot.
- Set it over low heat and gently melt it all together. Remove from the heat.
- Drizzle it all over the set slice or bark. Sprinkle over the pū kākano anō (extra muesli) for a touch of decoration.
Chill:
- Whakamātaohia mō te 15 miniti (refrigerate for 15 minutes).
Store:
- Store in a sealed container and store in the fridge to retain the crunch.This will keep well for up to a week.


Raylee
this is scrumptious and great for work as a quick on the run snack!
Naomi Toilalo WhānauKai
Yesss Ray! Love this and a good snack for those gluten free peeps out there. Love you x