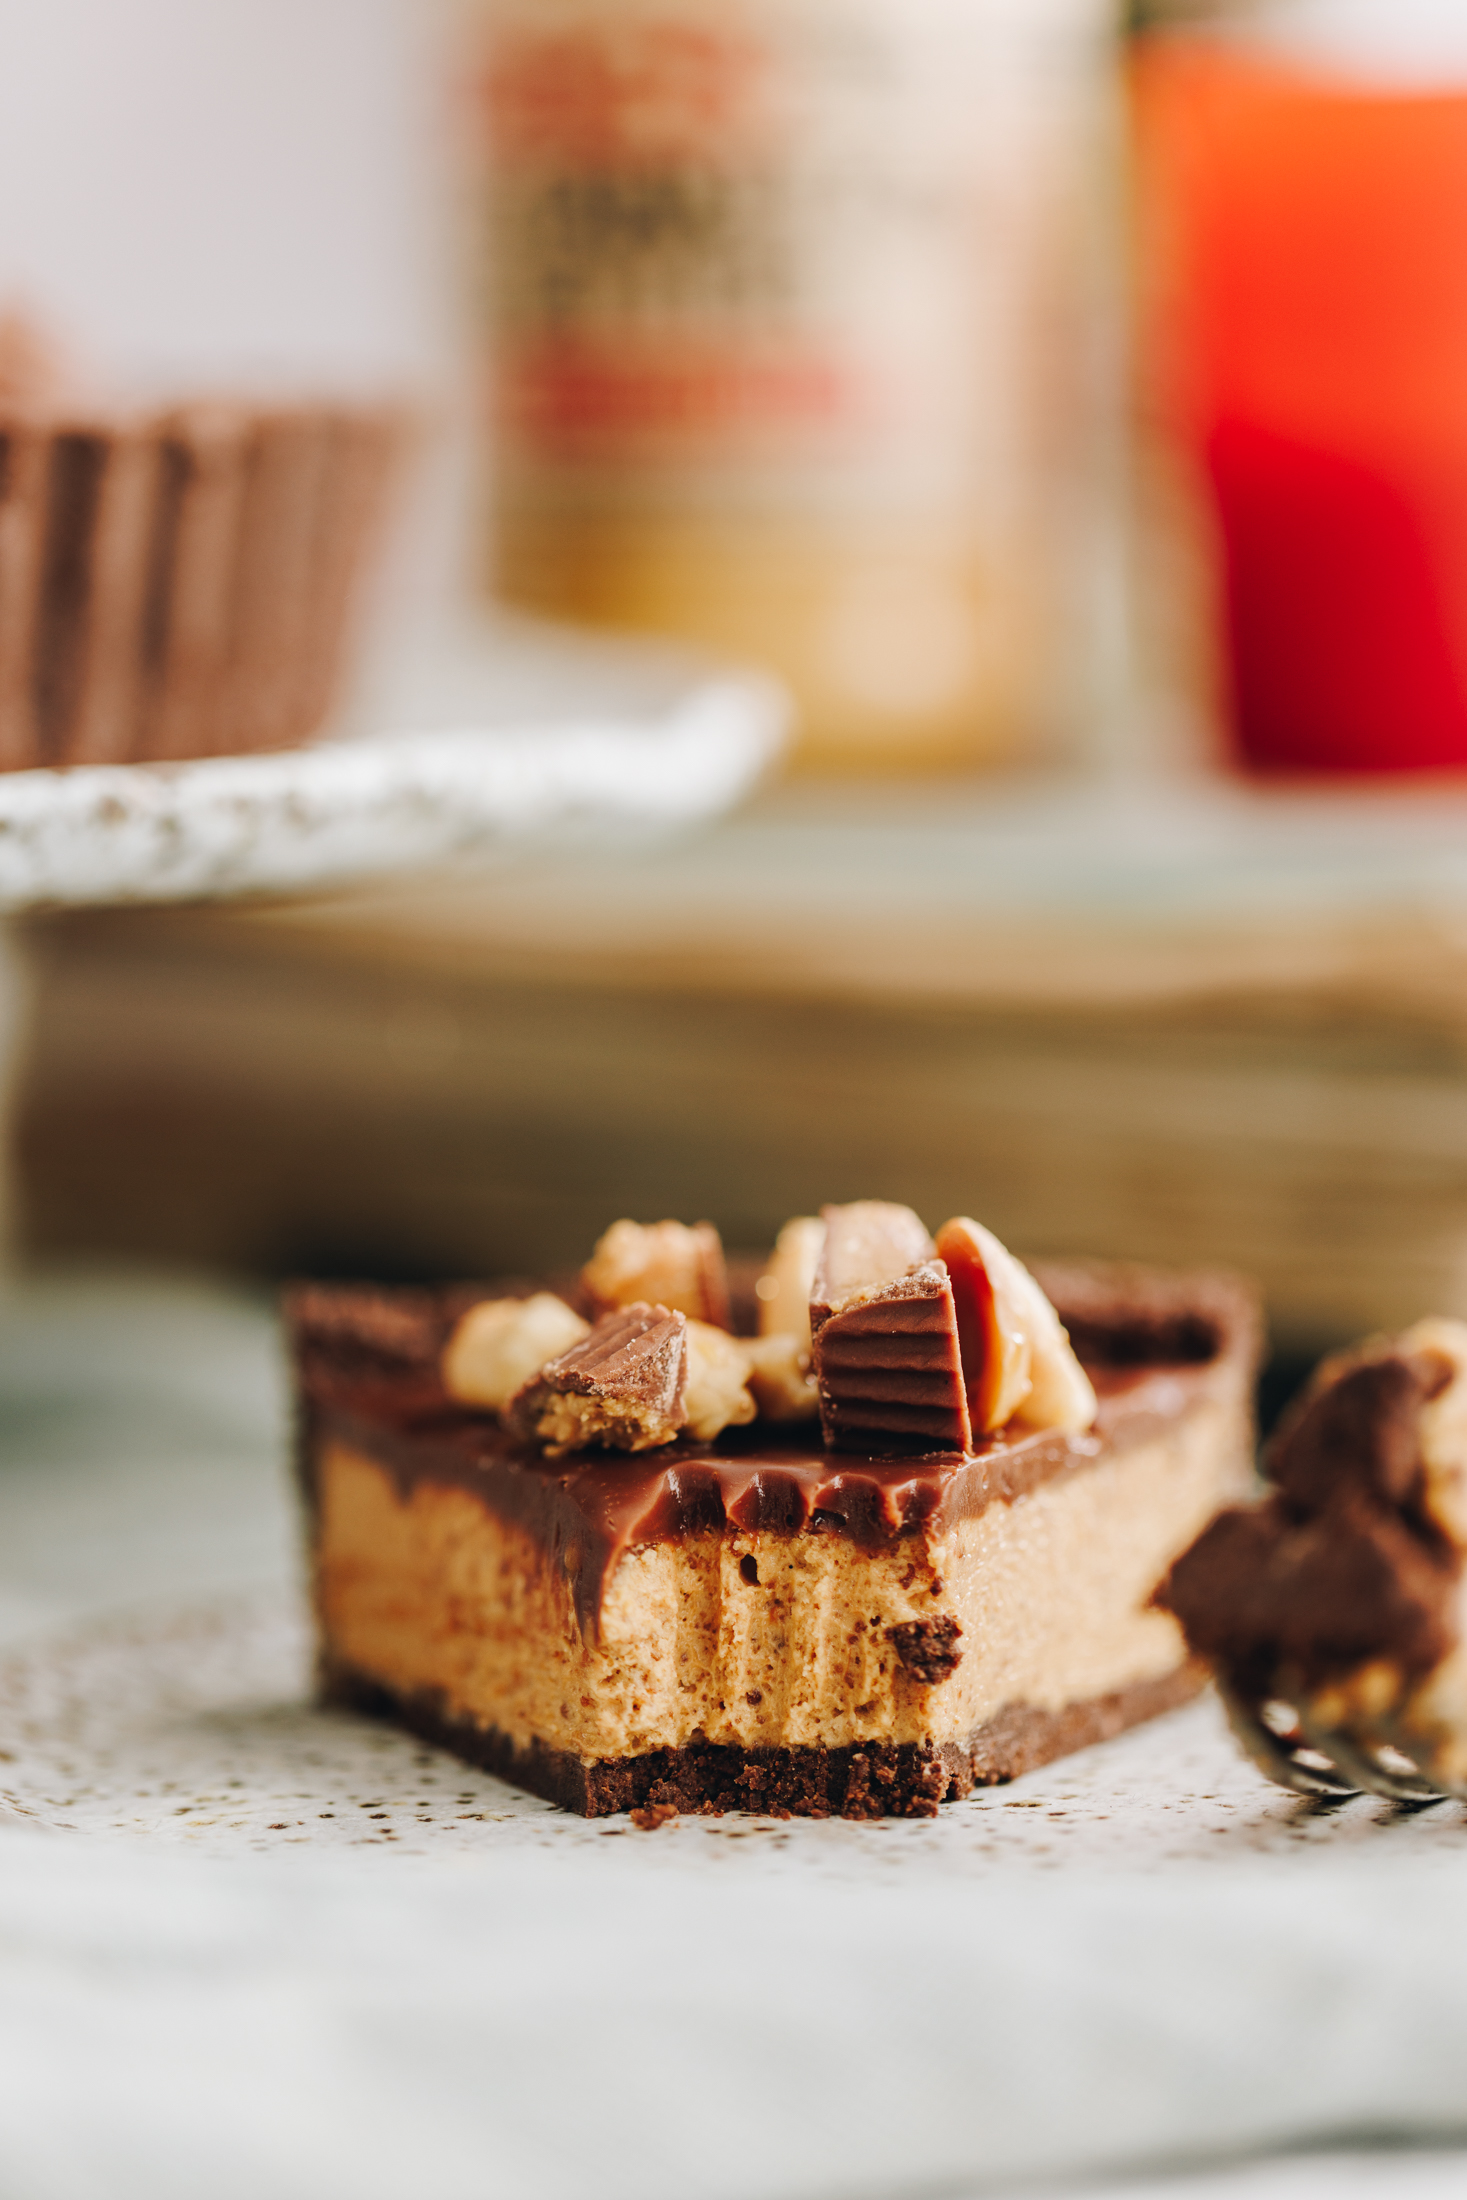
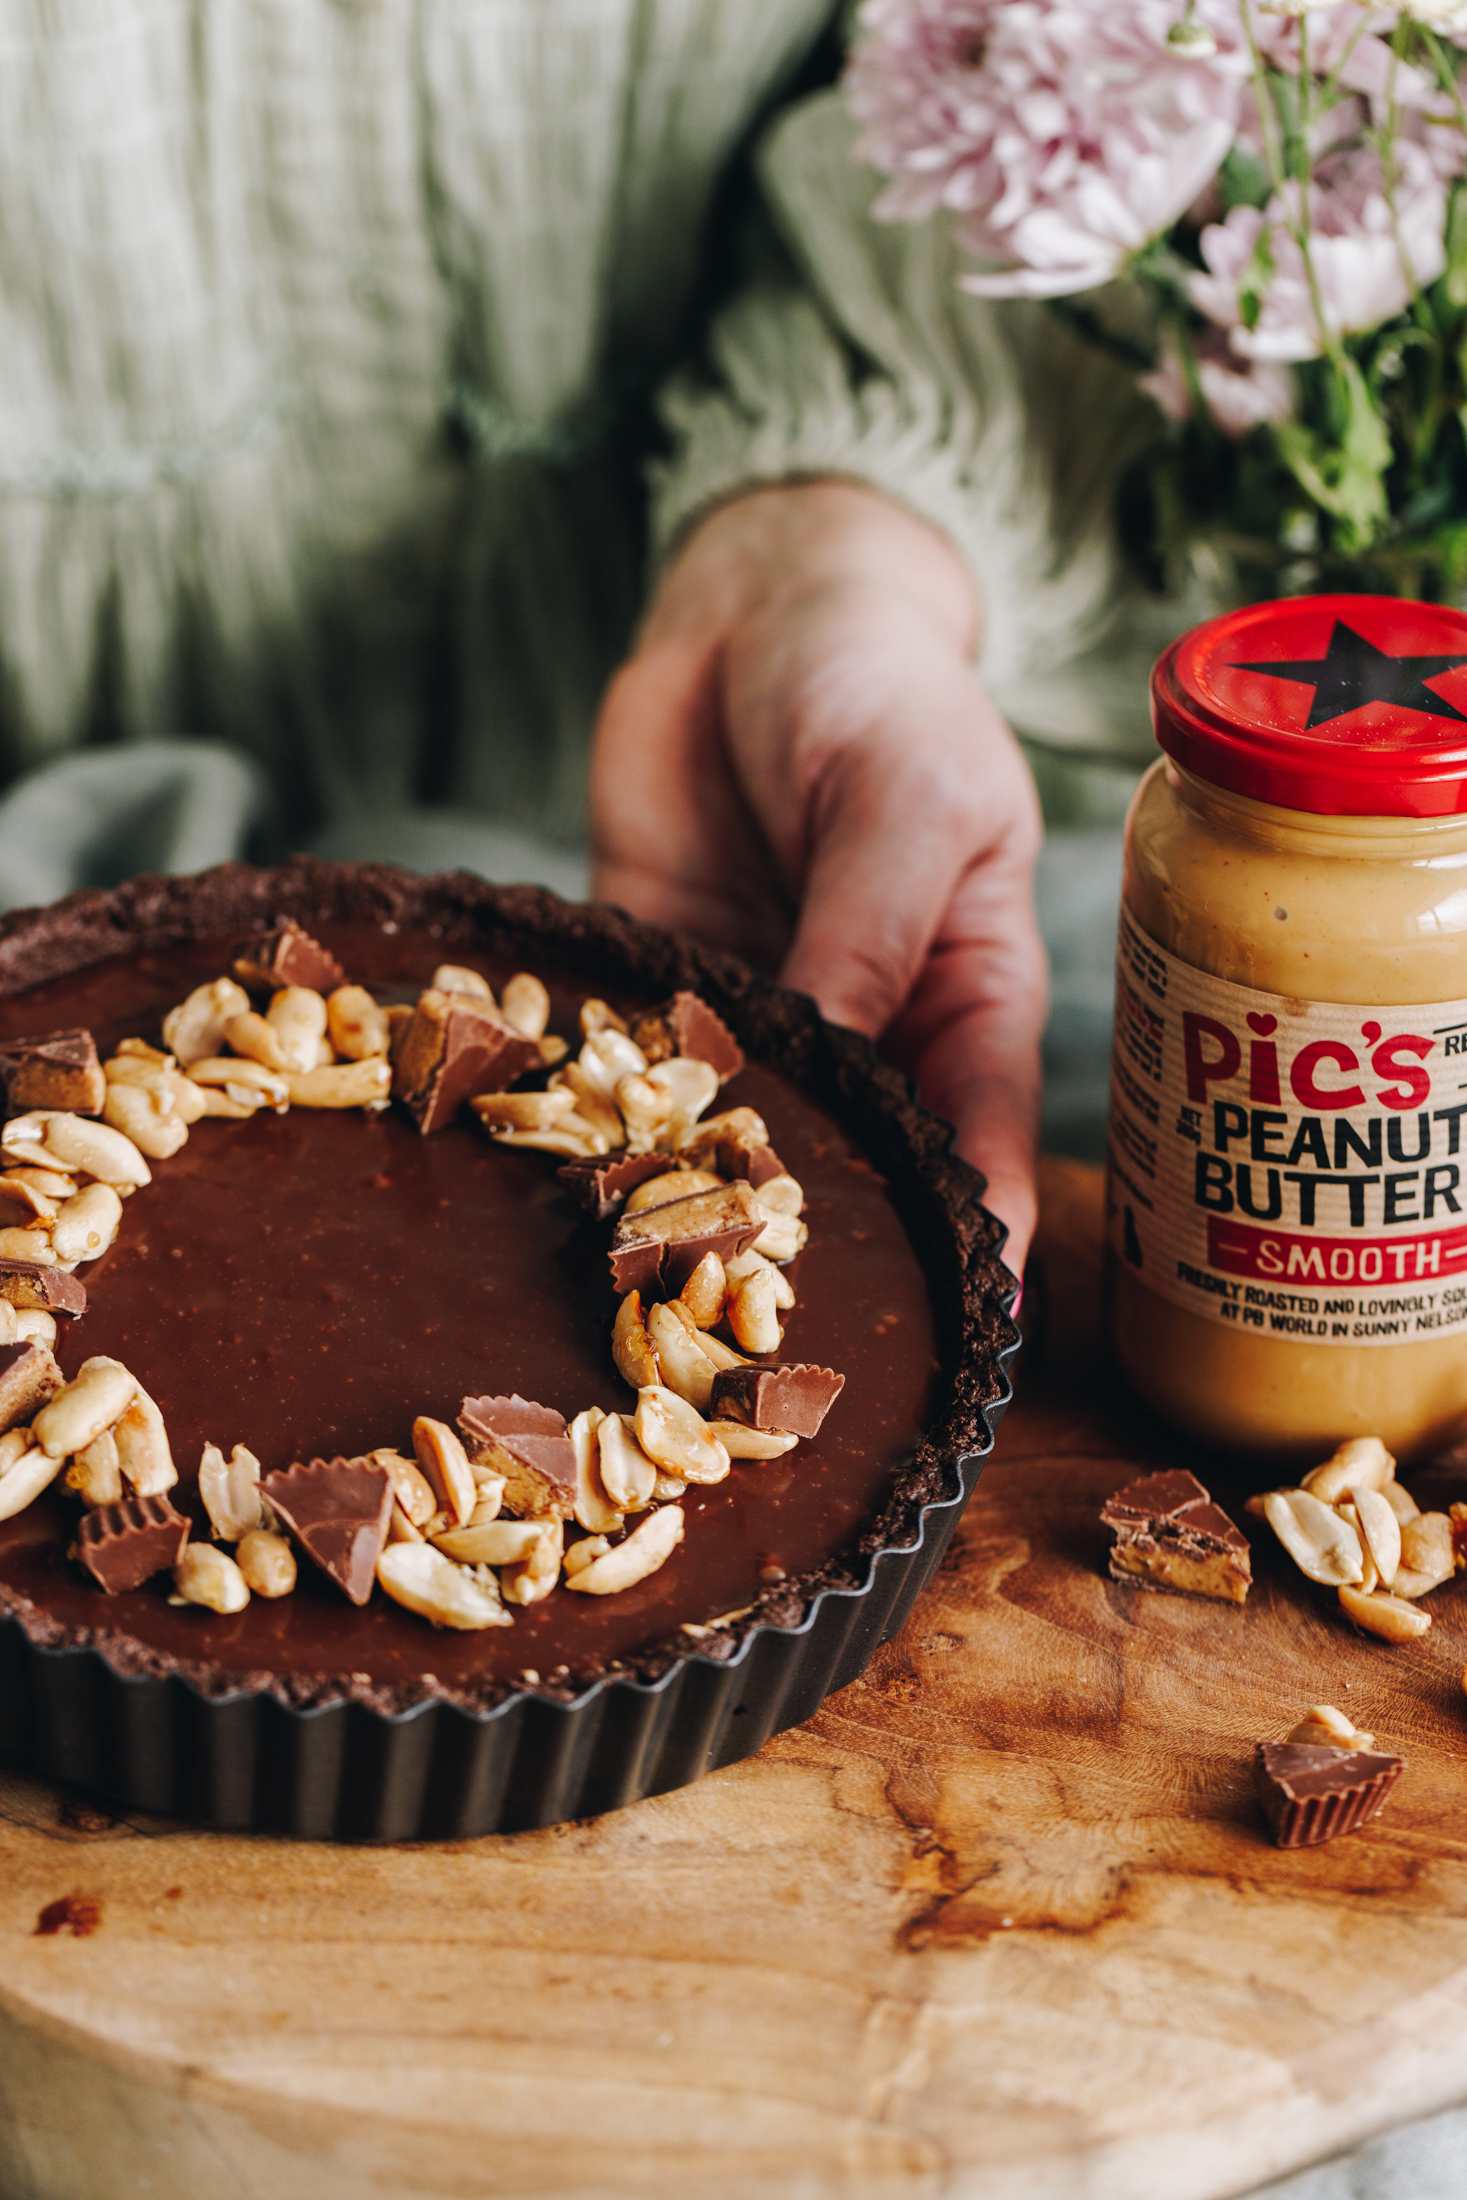
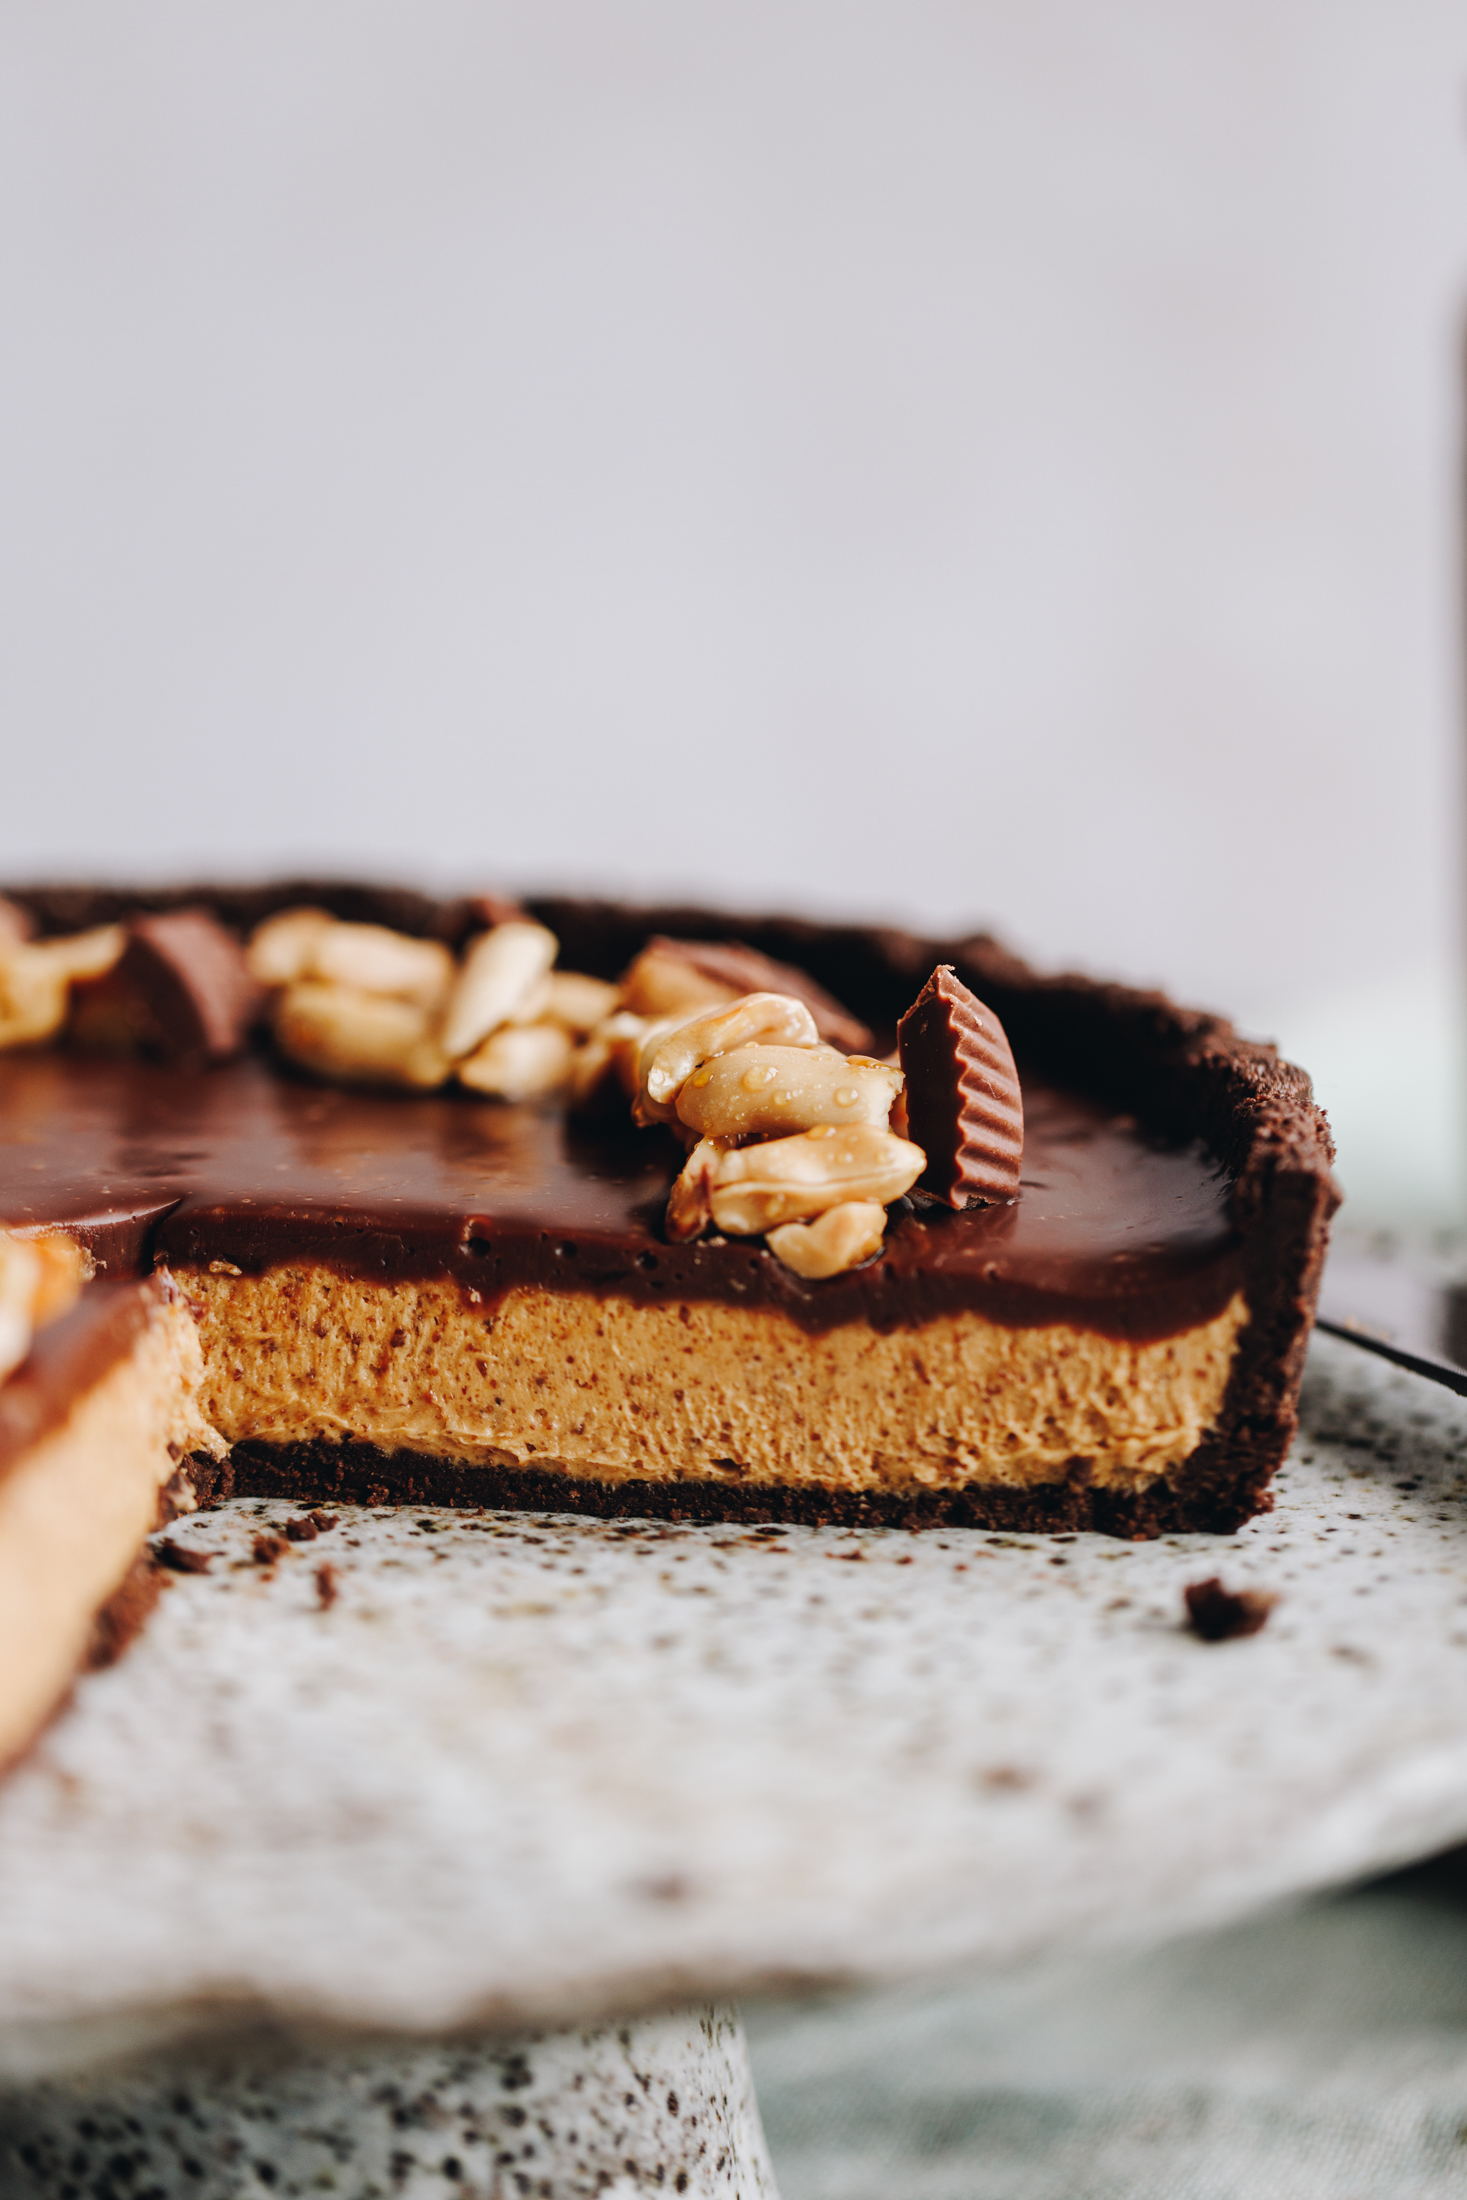
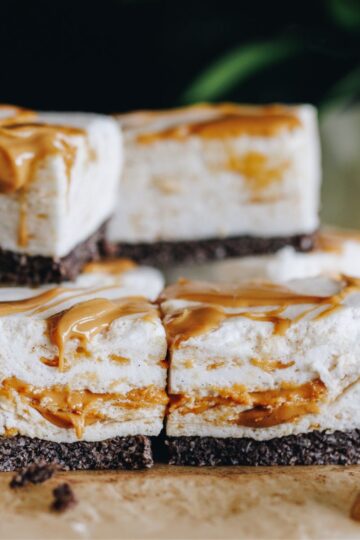
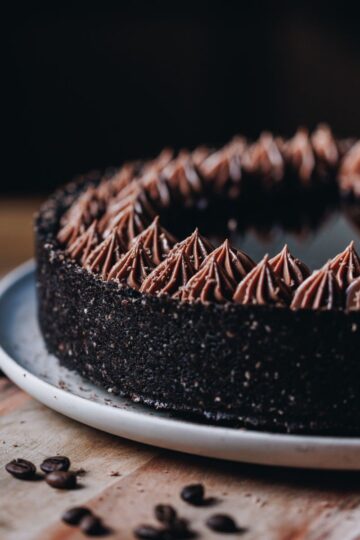
This No-Bake Peanut Butter Pie is everything I want in a dessert. A chocolate biscuit base, a super creamy peanut butter filling, and a silky chocolate ganache topping. The best thing - it all comes together without ever needing to turn on the oven. It’s a little bit of biscuit crushing, a little swirl of peanut butter, and a generous layer of chocolate smoothing—simple steps that lead to something seriously special. I can’t wait for you to make it… and maybe sneak a slice for me too.
Why you will love this No-bake Peanut Butter Pie:
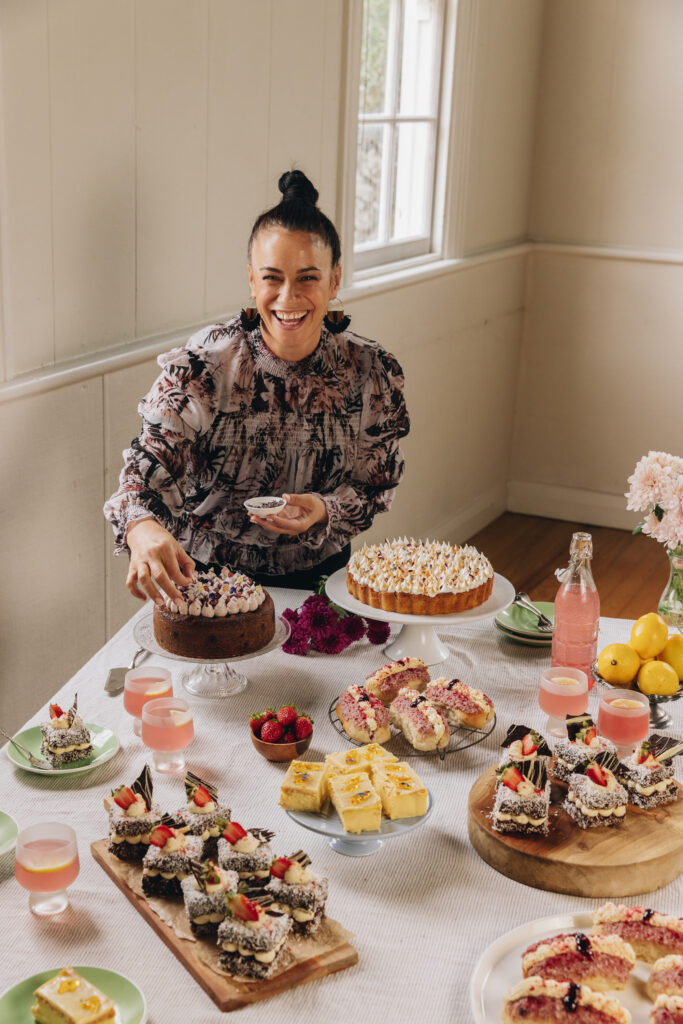
This recipe has been a long time in the making, so it feels extra special to finally share it with you in collaboration with the wonderful Pic’s whānau.
It’s the kind of dessert that feels impressive but is wonderfully simple to put together. The mix of crunchy chocolate biscuit base, creamy peanut butter filling, and glossy chocolate ganache makes every bite rich, satisfying, and hard to resist. I really hope you give it a go—it’s an absolute cracker. Karawhiua - go for it! 🤩
More peanut butter recipes:
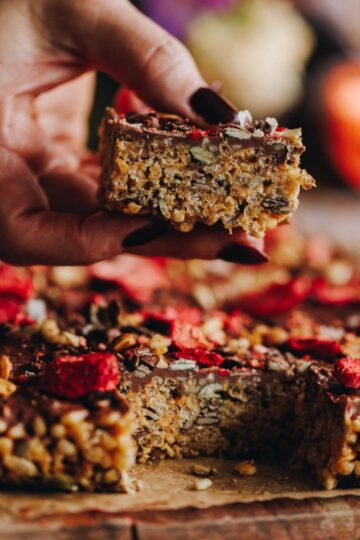
Need a delicious no-bake treat? Try my no-bake peanut butter slice or chocolate nut and seed slice—both are gluten and dairy free.
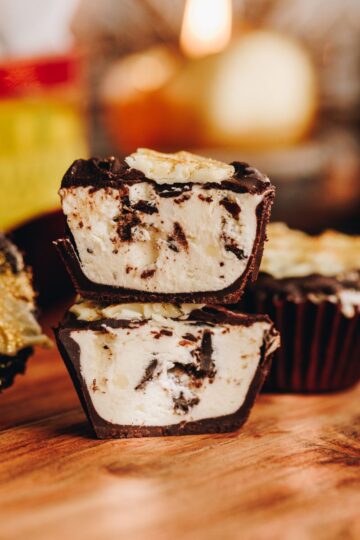
Looking for something a little more special? My peanut butter and jelly cheesecake is the perfect next-level dessert and is also no-bake. 🥜
Videography and photography by Sarah Henderson.
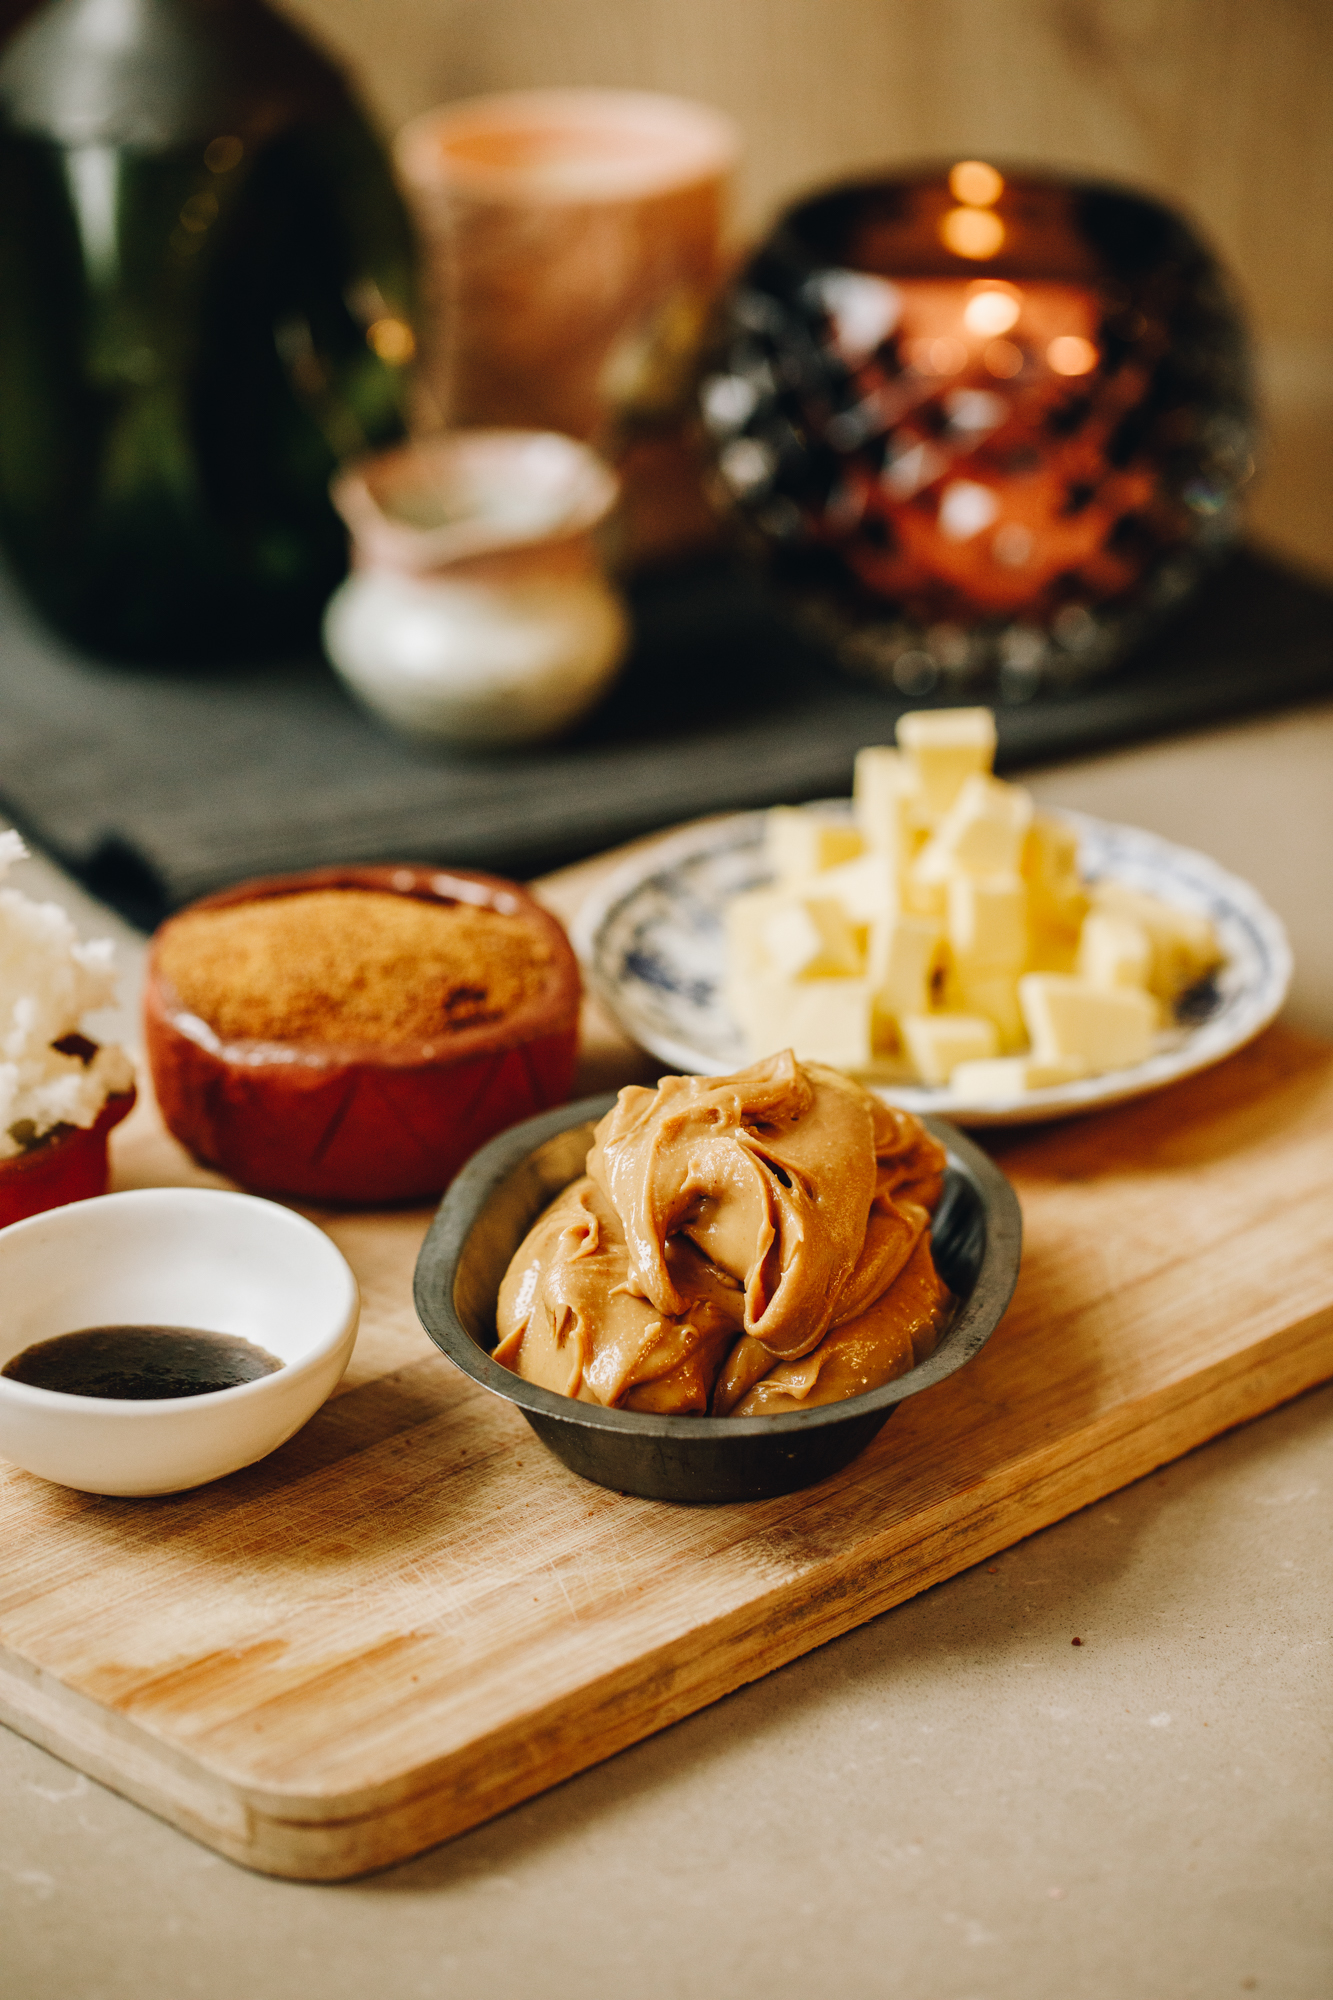
Ingredients:
- Tim Tams: The dark chocolate Tim Tams in this recipe work perfectly but can be replaced with any chocolate covered, cream filled biscuits.
- Butter: Use salted or unsalted butter for this recipe.
- Mixed spice: This adds a subtle hum in the background but can be omitted.
- Coconut Oil: Hinu kokonati (coconut oil) helps the filling set so don't swap it out.
- Coconut Sugar: This provides a delicious, subtle sweetness to the pie but if you don't have it, swap it for ½ cup of huka hāura (brown sugar).
- Peanut butter: Smooth peanut butter creates a silky texture to the filling. Use a good quality peanut butter for a superior flavour.
- Chocolate: Use any tiakarete (chocolate) for the topping.
- Peanut: For the optional maple peanut topping, use blanched or roasted peanuts.
HOW TO MAKE THIS PB PIE:
Note: The full recipe card with the full list of ingredients, instructions and step by step video are found at the bottom of this page.
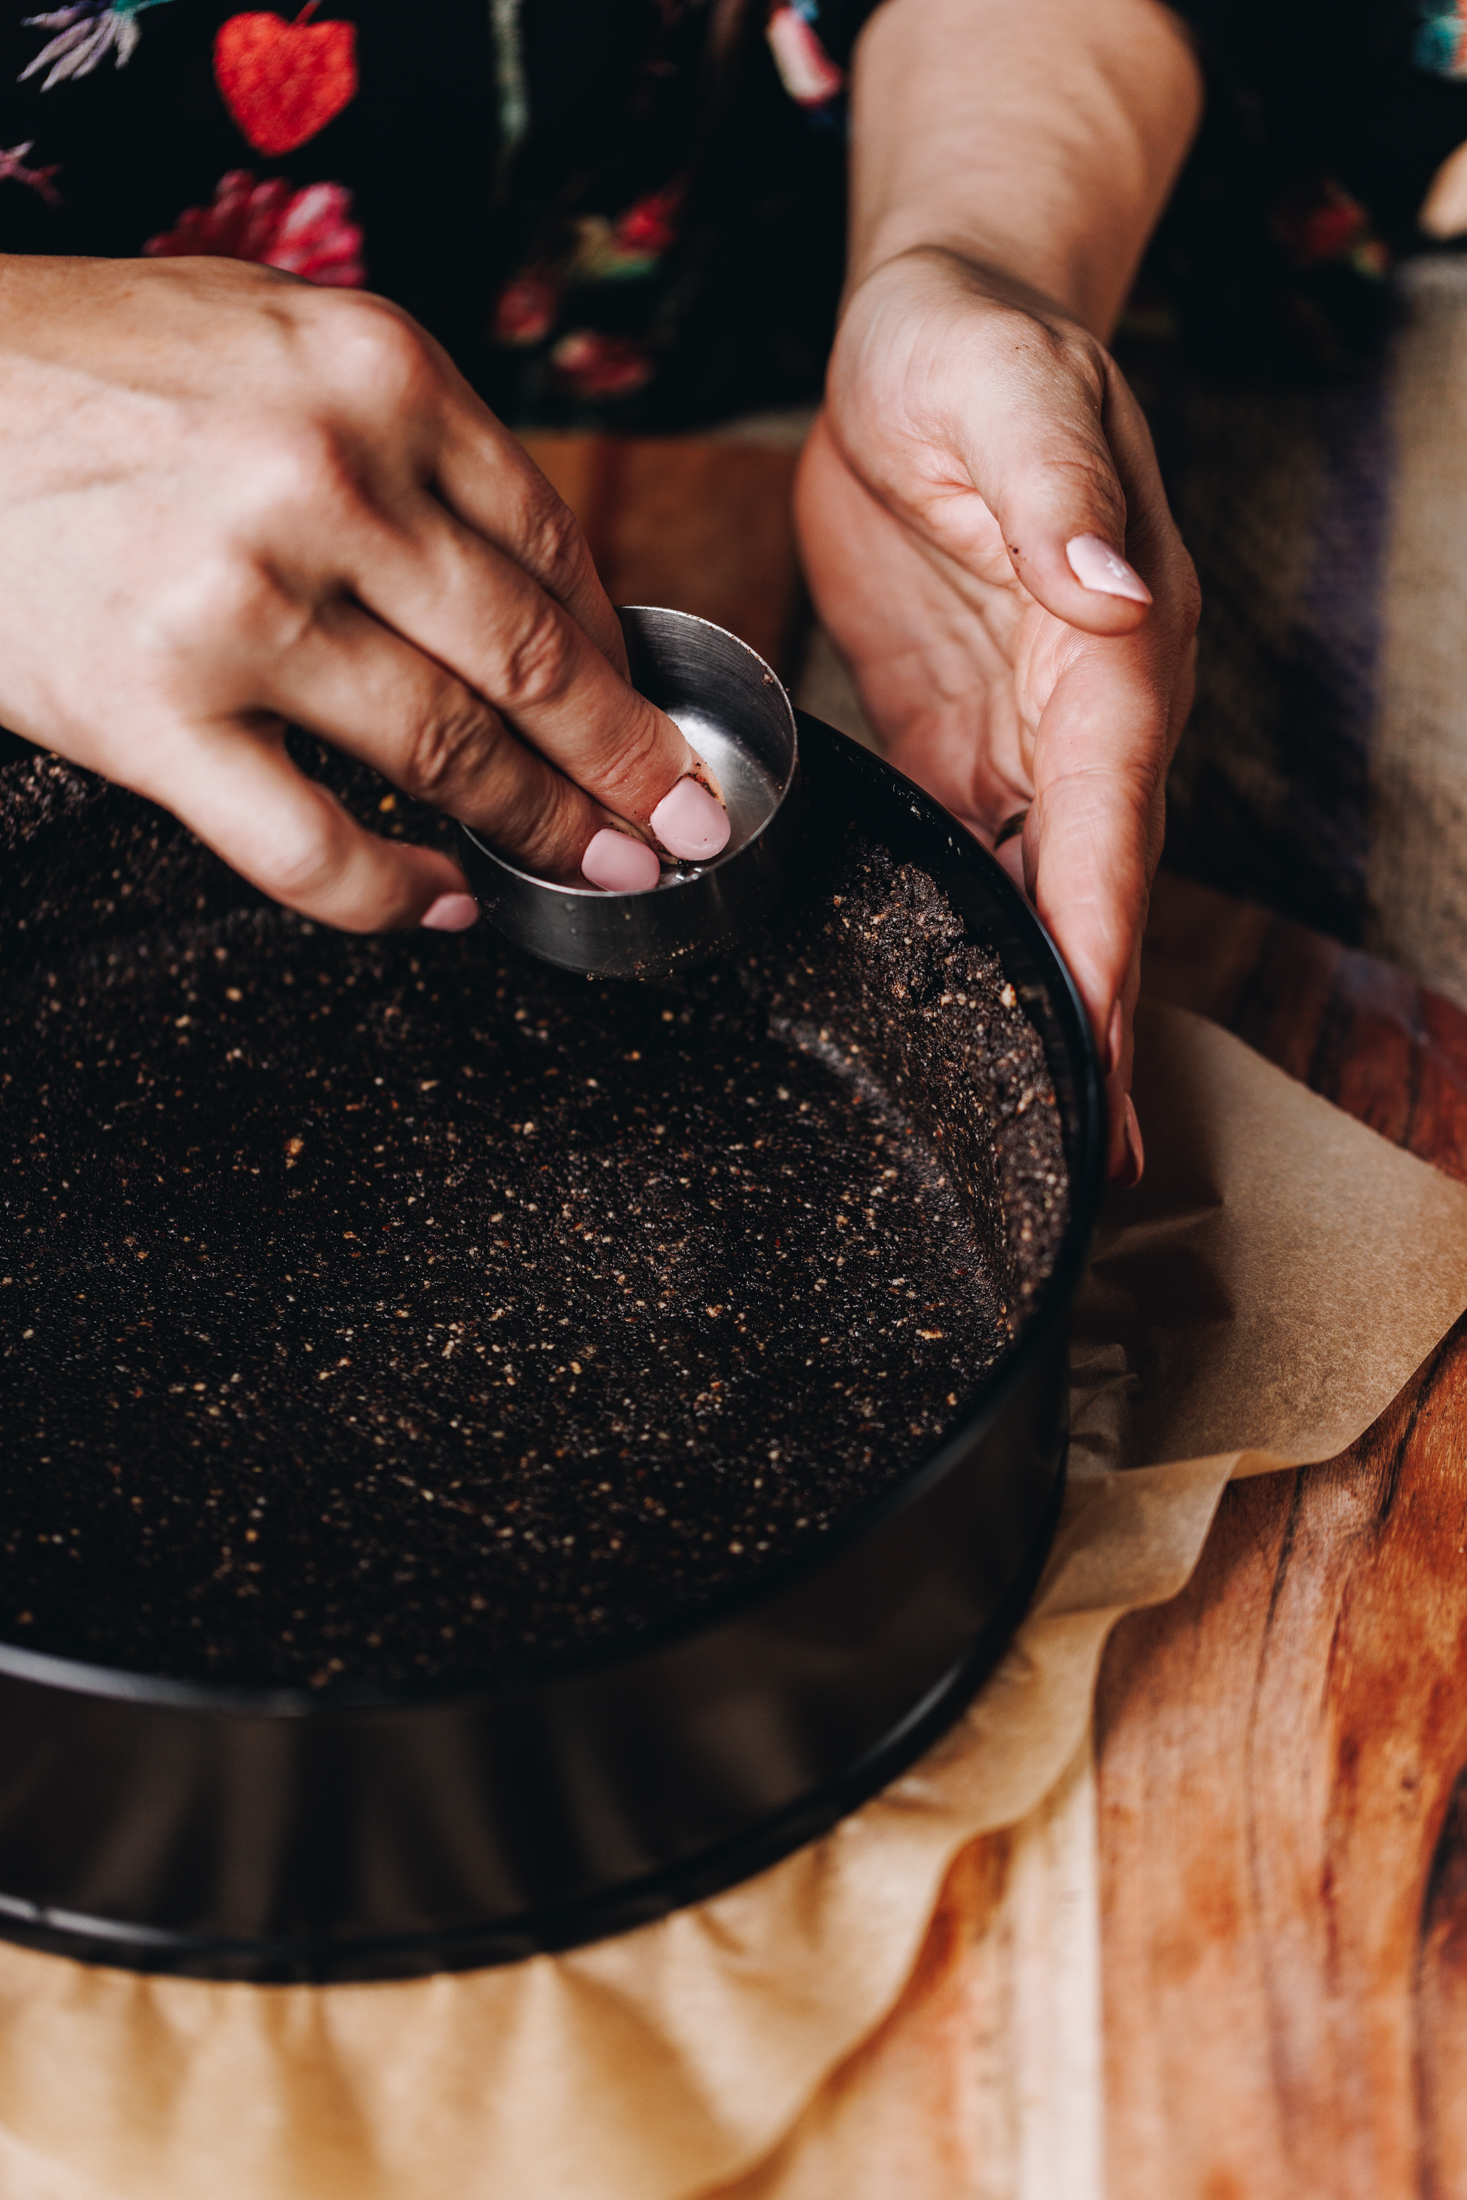
1. Prepare the Biscuit Layer:
Add the pihikete tiakarete parauri (chocolate biscuits) to a tāwhirowhiro (food processor) or crush it in a bowl with a rolling pin or something similar.
Whizz or crush it all together until you get a fine-ish crumb.
Add the pata kua rewaina (melted butter), wanira (vanilla) and rau kikini whakauruuru (mixed spice). Pulse or stir for 10 seconds until combined.
Press the crumb firmly in to a 20 cm quiche tin or a cake tin.
Refrigerate the base as you make the kirīmi pata pīnati (peanut butter cream).
2. Prepare the Coconut Oil:
Melt the hinu kokonati (coconut oil) gently in the microwave or in a pot over low heat on the stove.
Remove it from the heat and set it aside for 10 - 15 minutes until it has cooled.
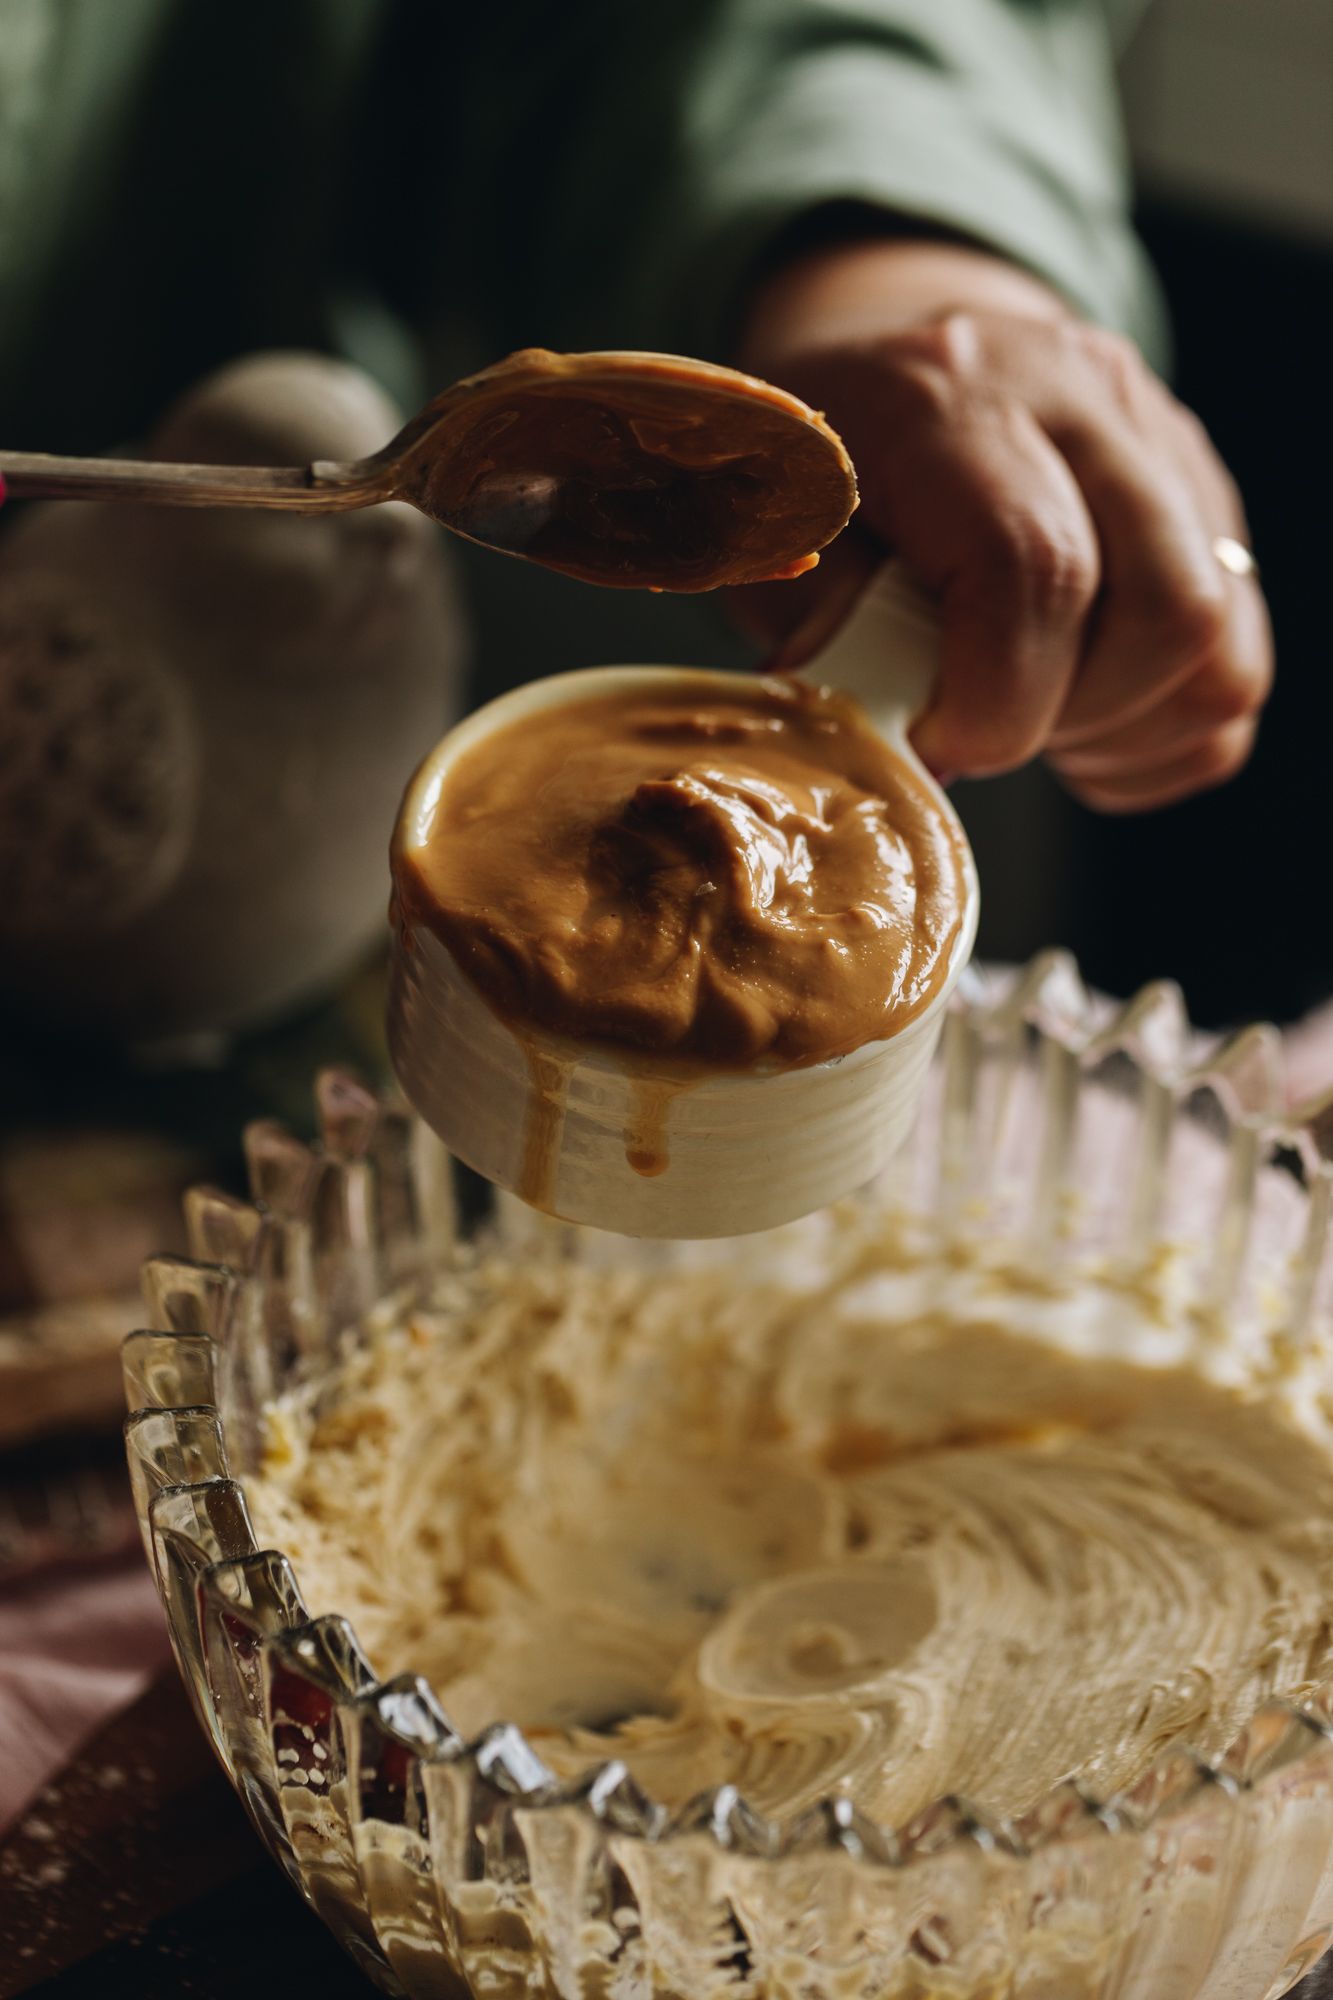
3. Whip the Peanut Butter Filling:
Add the cooled hinu kokonati (coconut oil), pata kūteretere (softened butter), tote (salt), huka kokonati (coconut sugar) and wanira (vanilla) into a large bowl.
Tāwhiuwhiua (whip it) on high for around 4 - 5 minutes until light and fluffy in colour and texture.
Add the pata pīnati (peanut butter) and whip it in until just combined, for around 10 seconds.
4. Spread the Filling in to the Base:
Pour the filling in to the biscuit base and smooth it out with a spatula.
5. Chill the Peanut Butter Filling:
Whakamātaohia (refrigerate it) for 20 minutes before pouring on the chocolate topping.
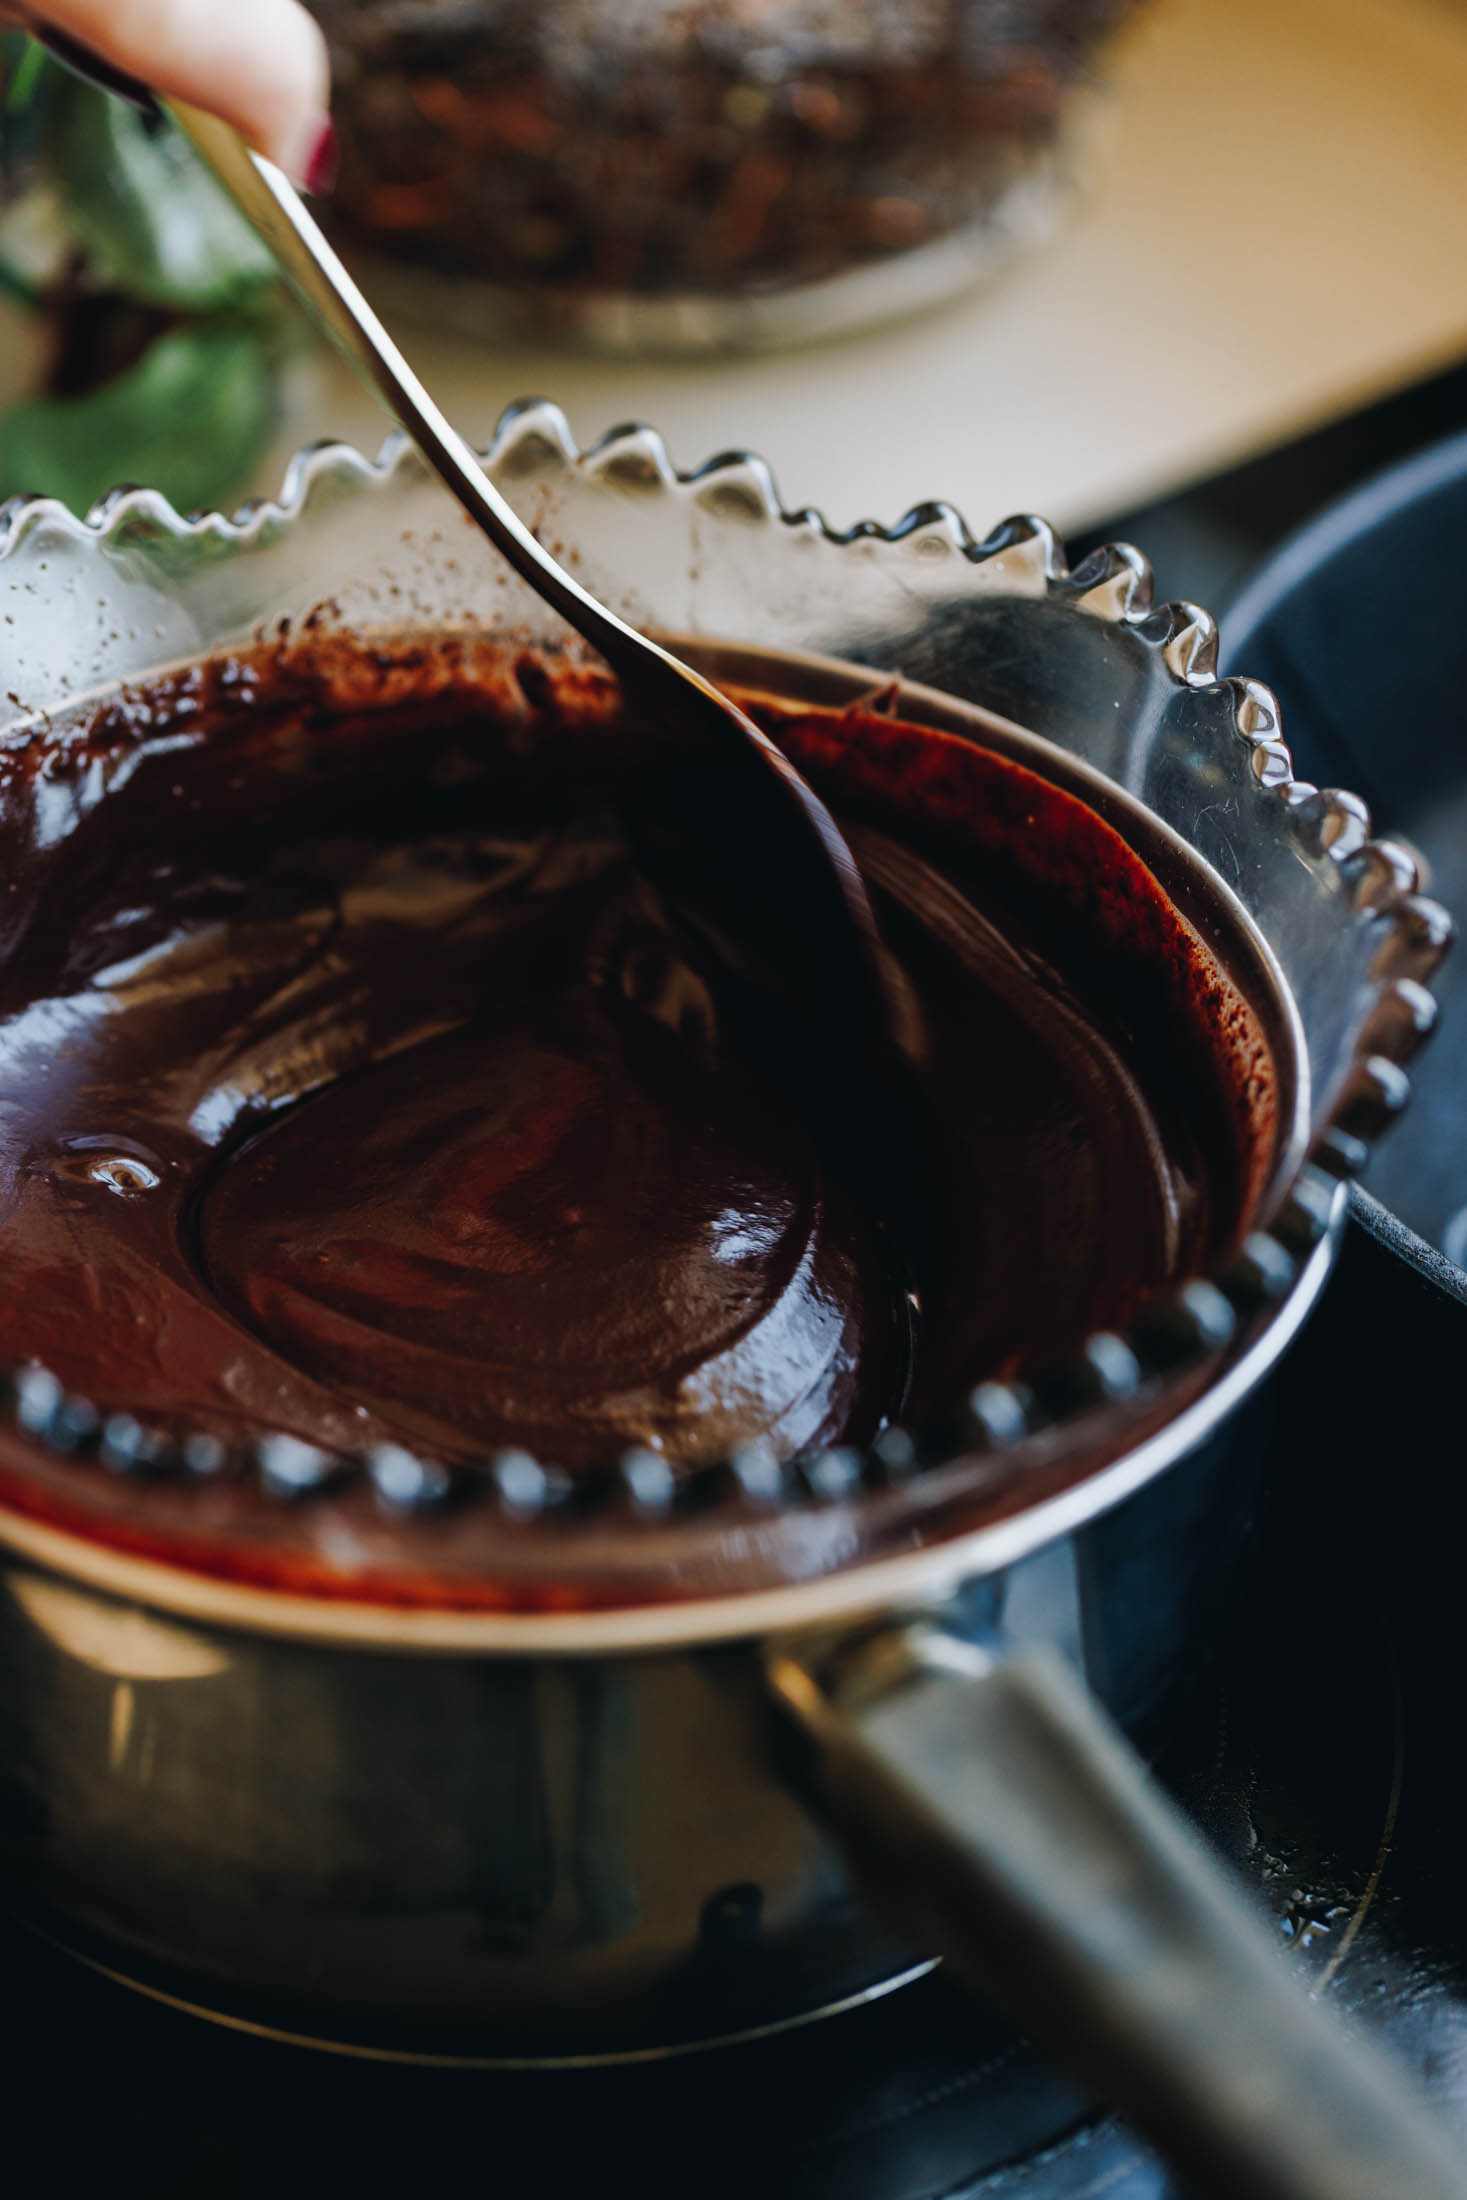
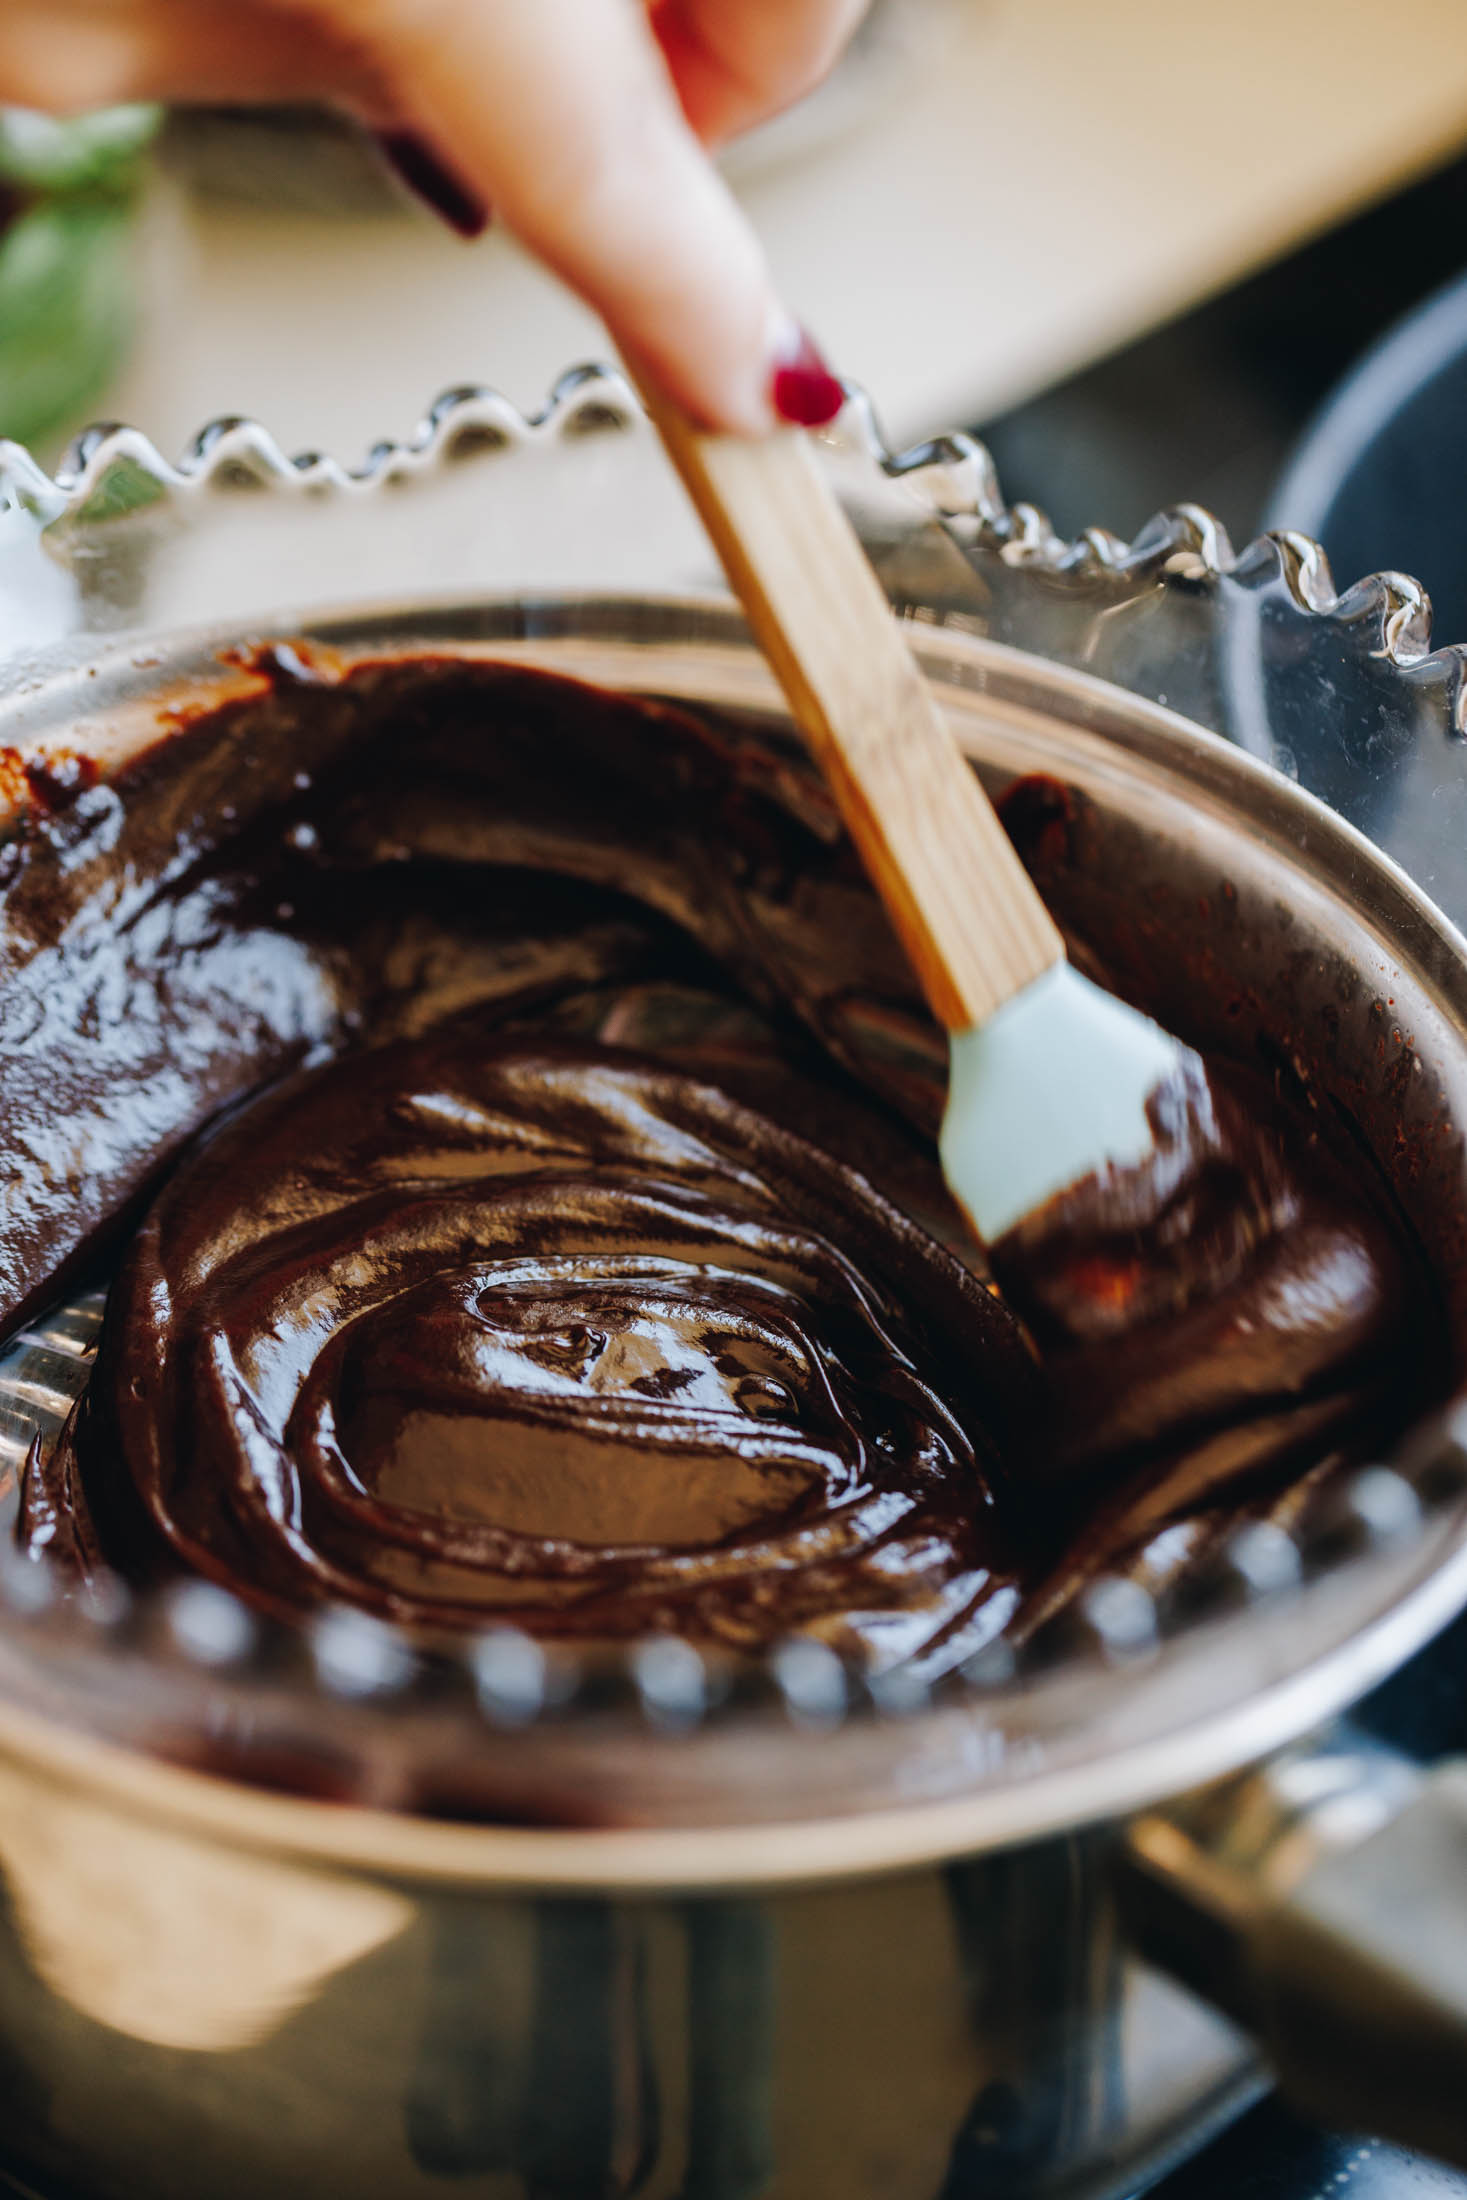
6. Prepare the Chocolate Topping:
Chop the tiakarete parauri (dark chocolate) roughly in to chunks.
Add the tiakarete parauri (dark chocolate) and kirīmi (cream) or miraka (milk) to a heat proof bowl. Gently melt it in the microwave or over a double boiler.
Once the tiakarete (chocolate) is completely melted and smooth, leave it to cool for 10 minutes.
7. Add the Chocolate Ganache:
Once the kirīmi tiakarete (chocolate ganache) has cooled, spread it on to the set peanut butter filling.

8. Chill the No-bake Peanut Butter Pie:
Refrigerate for at least 40 minutes before serving.
This will keep well in the fridge like this for up to five days.
If you are chilling it longer than 12 hours, place it in a sealed container.
When it is set, serve it plain or top it with my simple peanut decorations.
9. Make the Maple Peanuts:
On the day of serving, add the pīnati (peanuts) in to a dry frying pan set over medium heat. Toast them for around 5 minutes until they are golden and fragrant.
Then drizzle over the marahihi māpere (maple syrup) and a sprinkle of tote (salt).
Stir for a minute or so until sticky.
Remove them from the heat and let them set and cool on a chopping board.
Pull them in to pieces and add them to the pie when you are ready to serve.
Store the No-bake Peanut Butter Pie:
This will keep in the fridge for up to a week but make the pīnati (peanuts) on the day of serving or the day before.
This pie filling softens around 15 minutes after being removed from the fridge.
If you want a firmer set, put the pie in the freezer for an hour before serving.
Love this recipe? There are so many more
No-bake Recipes
Leave the oven off and get those creative juices flowing!
DID YOU ENJOY THIS RECIPE?
It would be so awesome if you could please leave a review/comment by clicking the “leave a comment” section at the top of the page.
I love seeing you all make my creations, so send a whakaahua (photo) or kiriata (video) to my Instagram and show me what you made. Let me know if you have any pātai (questions) too, I would love to help.

Peanut Butter Pie - Peanut Butter Pie
Equipment
- 1 x 20 cm Quiche Tin or Cake Tin
Ingredients
The Biscuit Layer - Te Paparanga Pihikete
- 180 g pihikete tiakarete parauri (dark choc tim tams)
- 60 g pata kua rewaina (melted butter)
- 1 teaspoon wanira (vanilla)
- ½ teaspoon rau kikini whakauruuru (mixed spice)
The Peanut Butter Cream - Te Kirīmi Pata Pīnati
- ¼ C (40 g) hinu kokonati (coconut oil)
- 70 g pata kūteretere (softened butter)
- He kini tote - a pinch of salt
- ¾ C (130 g) huka kokonati (coconut sugar) or ½ C (100g) huka hāura (brown sugar).
- 1 ½ teaspoon wanira (vanilla)
- ¾ C (200 g) pata pīnati māeneene (smooth peanut butter)
The Chocolate - Te Tiakarete
- 100 g tiakarete parauri (dark chocolate, 50%)
- 3 tablespoon (45 ml) kirīmi (cream) or 2 tablespoon (30 ml) miraka (milk).
Maple Peanuts - Pīnati Marahihi Māpere (optional)
- ½ C (70 g) pīnati (peanuts, I used blanched peanuts but roasted would work as well)
- 2 tablespoon (30 ml) marahihi māpere
- He kini tote - a pinch of salt
- 6 kapu pata pīnati iti (mini peanut butter cups)
Instructions
Prepare the Biscuit Layer:
- Add the pihikete tiakarete parauri (chocolate biscuits) to a tāwhirowhiro (food processor) or crush it in a bowl with a rolling pin or something similar. Whizz or crush it all together until you get a fine-ish crumb.
- Add the pata kua rewaina (melted butter), wanira (vanilla) and rau kikini whakauruuru (mixed spice). Pulse or stir for 10 seconds until combined.
- Press the crumb firmly in to a 20 cm quiche tin or a cake tin.
- Refrigerate the base as you make the kirīmi pata pīnati (peanut butter cream).
Prepare the Coconut Oil:
- Melt the hinu kokonati (coconut oil) gently in the microwave or in a pot over low heat on the stove.
- Remove it from the heat and set it aside for 10 - 15 minutes until it has cooled. You want it to be room temperature, if you can hold your finger in it, it is ready.
Whip the Peanut Butter Filling:
- Add the cooled hinu kokonati (coconut oil), pata kūteretere (softened butter), tote (salt), huka kokonati (coconut sugar) and wanira (vanilla) into a large bowl.
- Tāwhiuwhiua (whip it) on high for around 4 - 5 minutes until light and fluffy in colour and texture.
- Add the pata pīnati (peanut butter) and whip it in until it is just combined for around 10 seconds.
Spread the Filling in to the Base:
- Pour the filling in to the biscuit base and smooth it out with a spatula.
Chill the Peanut Butter Filling:
- Whakamātaohia (refrigerate it) for 20 minutes before pouring on the chocolate topping.
Prepare the Chocolate Topping:
- Chop the tiakarete parauri (dark chocolate) roughly in to chunks.
- Add the tiakarete parauri (dark chocolate) and kirīmi (cream) or miraka (milk) to a heat proof bowl.Gently melt it in the microwave in 10 second bursts, stirring well between each time. This should take a minute or just over.
- You can also melt it gently in a heat-proof bowl that is sitting over a pot of barely simmering water (around 3cm deep). Make sure the bowl is not touching the water. Stir it occasionally until it is melted.
- Once the tiakarete (chocolate) is completely melted and smooth, leave it to cool for 10 minutes.
Add the Chocolate Ganache:
- Once the kirīmi tiakarete (chocolate ganache) has cooled, spread it on to the set peanut butter filling.
Chill the No-bake Peanut Butter Pie:
- Refrigerate for at least 40 minutes before serving. This will keep well in the fridge like this for up to five days. If you are chilling it longer than 12 hours, place it in a sealed container.
- When it is set, serve it plain or top it with my simple peanut decorations.
Make the Maple Peanuts:
- On the day of serving, add the pīnati (peanuts) in to a dry frying pan set over medium heat. Toast them for around 5 minutes until they are golden and fragrant.
- Then drizzle over the marahihi māpere (maple syrup) and a sprinkle of tote (salt). Stir for a minute or so until sticky.
- Remove them from the heat and let them set and cool on a chopping board.
- Pull them in to pieces and add them to the pie when you are ready to serve.
Store the No-bake Peanut Butter Pie:
- This will keep in the fridge for up to a week but make the pīnati (peanuts) on the day of serving or the day before.
- This pie softens around 15 minutes after being removed from the fridge. If you want a firmer set, put the pie in the freezer for an hour before serving.
Video
Expert Tips:
Cool the Coconut Oil:
Make sure you cool the hinu kokonati (coconut oil) before adding it to the pata (butter). If it’s too warm, the filling can turn into a sloppy mess—and that’s not what we’re after! 🙈
Keep the Pie Cool:
This pie filling will soften about 15 minutes after being removed from the fridge. For a firmer set, place it in the freezer for about an hour before serving.
Gently melt the Chocolate:
For smooth melting and less risk of burning the tiakarete (chocolate), always use a gentle double boiler method.
Peanut Decoration Tip:
Make the pīnati (peanuts) on the day of serving, or the day before, for the best crunch.
Variations:
Chocolate swap:
Try a milk chocolate ganache instead of dark chocolate for a sweeter, more mellow finish. You could also use white chocolate for a completely different vibe. Just remember both of these tiakarete (chocolates) will make the pie sweeter.
Nut Butter Switch:
Swap the peanut butter for pata aramona (almond butter) or pata nati kaheu (cashew butter) for a slightly different flavour profile. Just make sure you use a smooth, runny nut butter for the best texture.
Biscuit Base Twist:
Use your favourite pihikete (biscuits). Try chocolate digestives, Oreos, or a gluten-free chocolate biscuit to change the flavour of the base while keeping it crunchy and rich.
Frequently Asked Questions:
This can happen if the coconut oil or butter was too warm when mixed in, or if the pie hasn’t chilled long enough. Make sure it has plenty of time to set in the fridge, or pop it in the freezer for a firmer finish.
Yes, you can but I would only do it for a few hours. The chocolate and filling will lose its texture in the freezer if left for too long.
The pie needs at least 40 minutes in the fridge to fully set, but up to 2 hours is best for clean slices.
Āe mārika - absolutely! This is a great make-ahead dessert. You can prepare it the day before serving, and even up to 4 days ahead. Just add any crunchy toppings (like peanuts) closer to serving time.
You sure can! The texture will be slightly less creamy but the flavour will still be delicious.
Use a hot knife (run it under warm water and wipe dry) and slice straight from the fridge or slightly frozen for the cleanest cuts.


Leave a Review