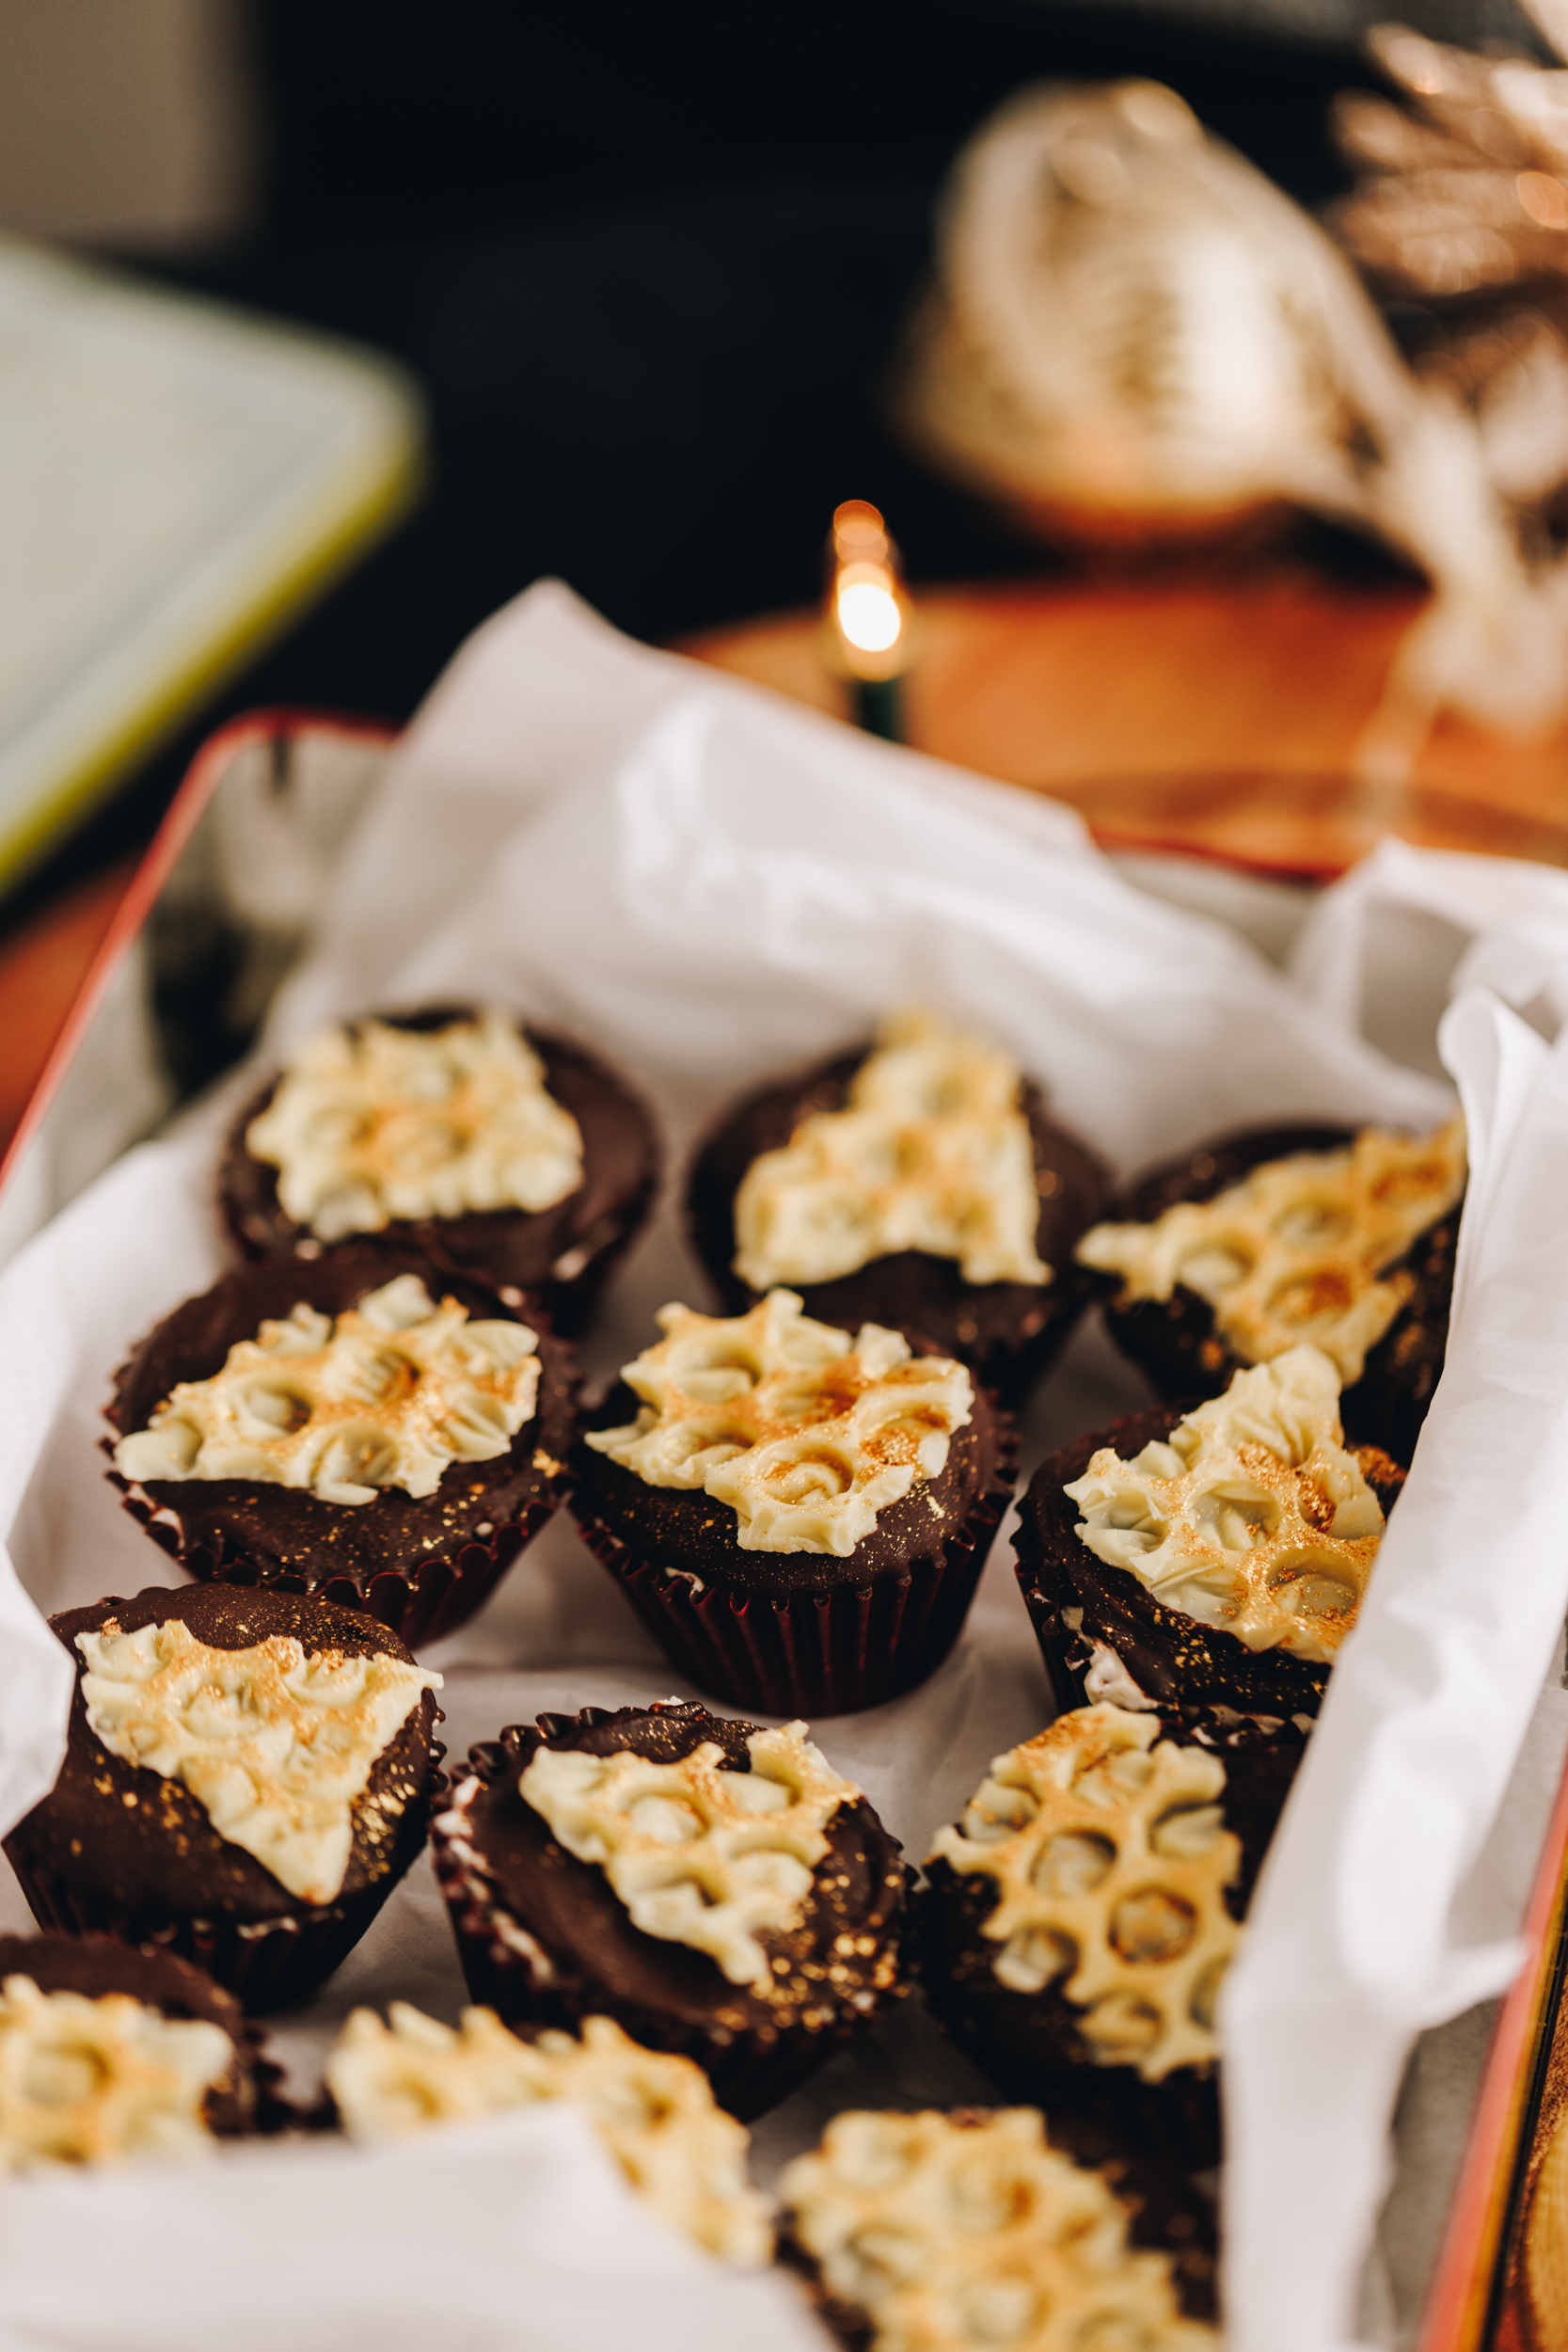
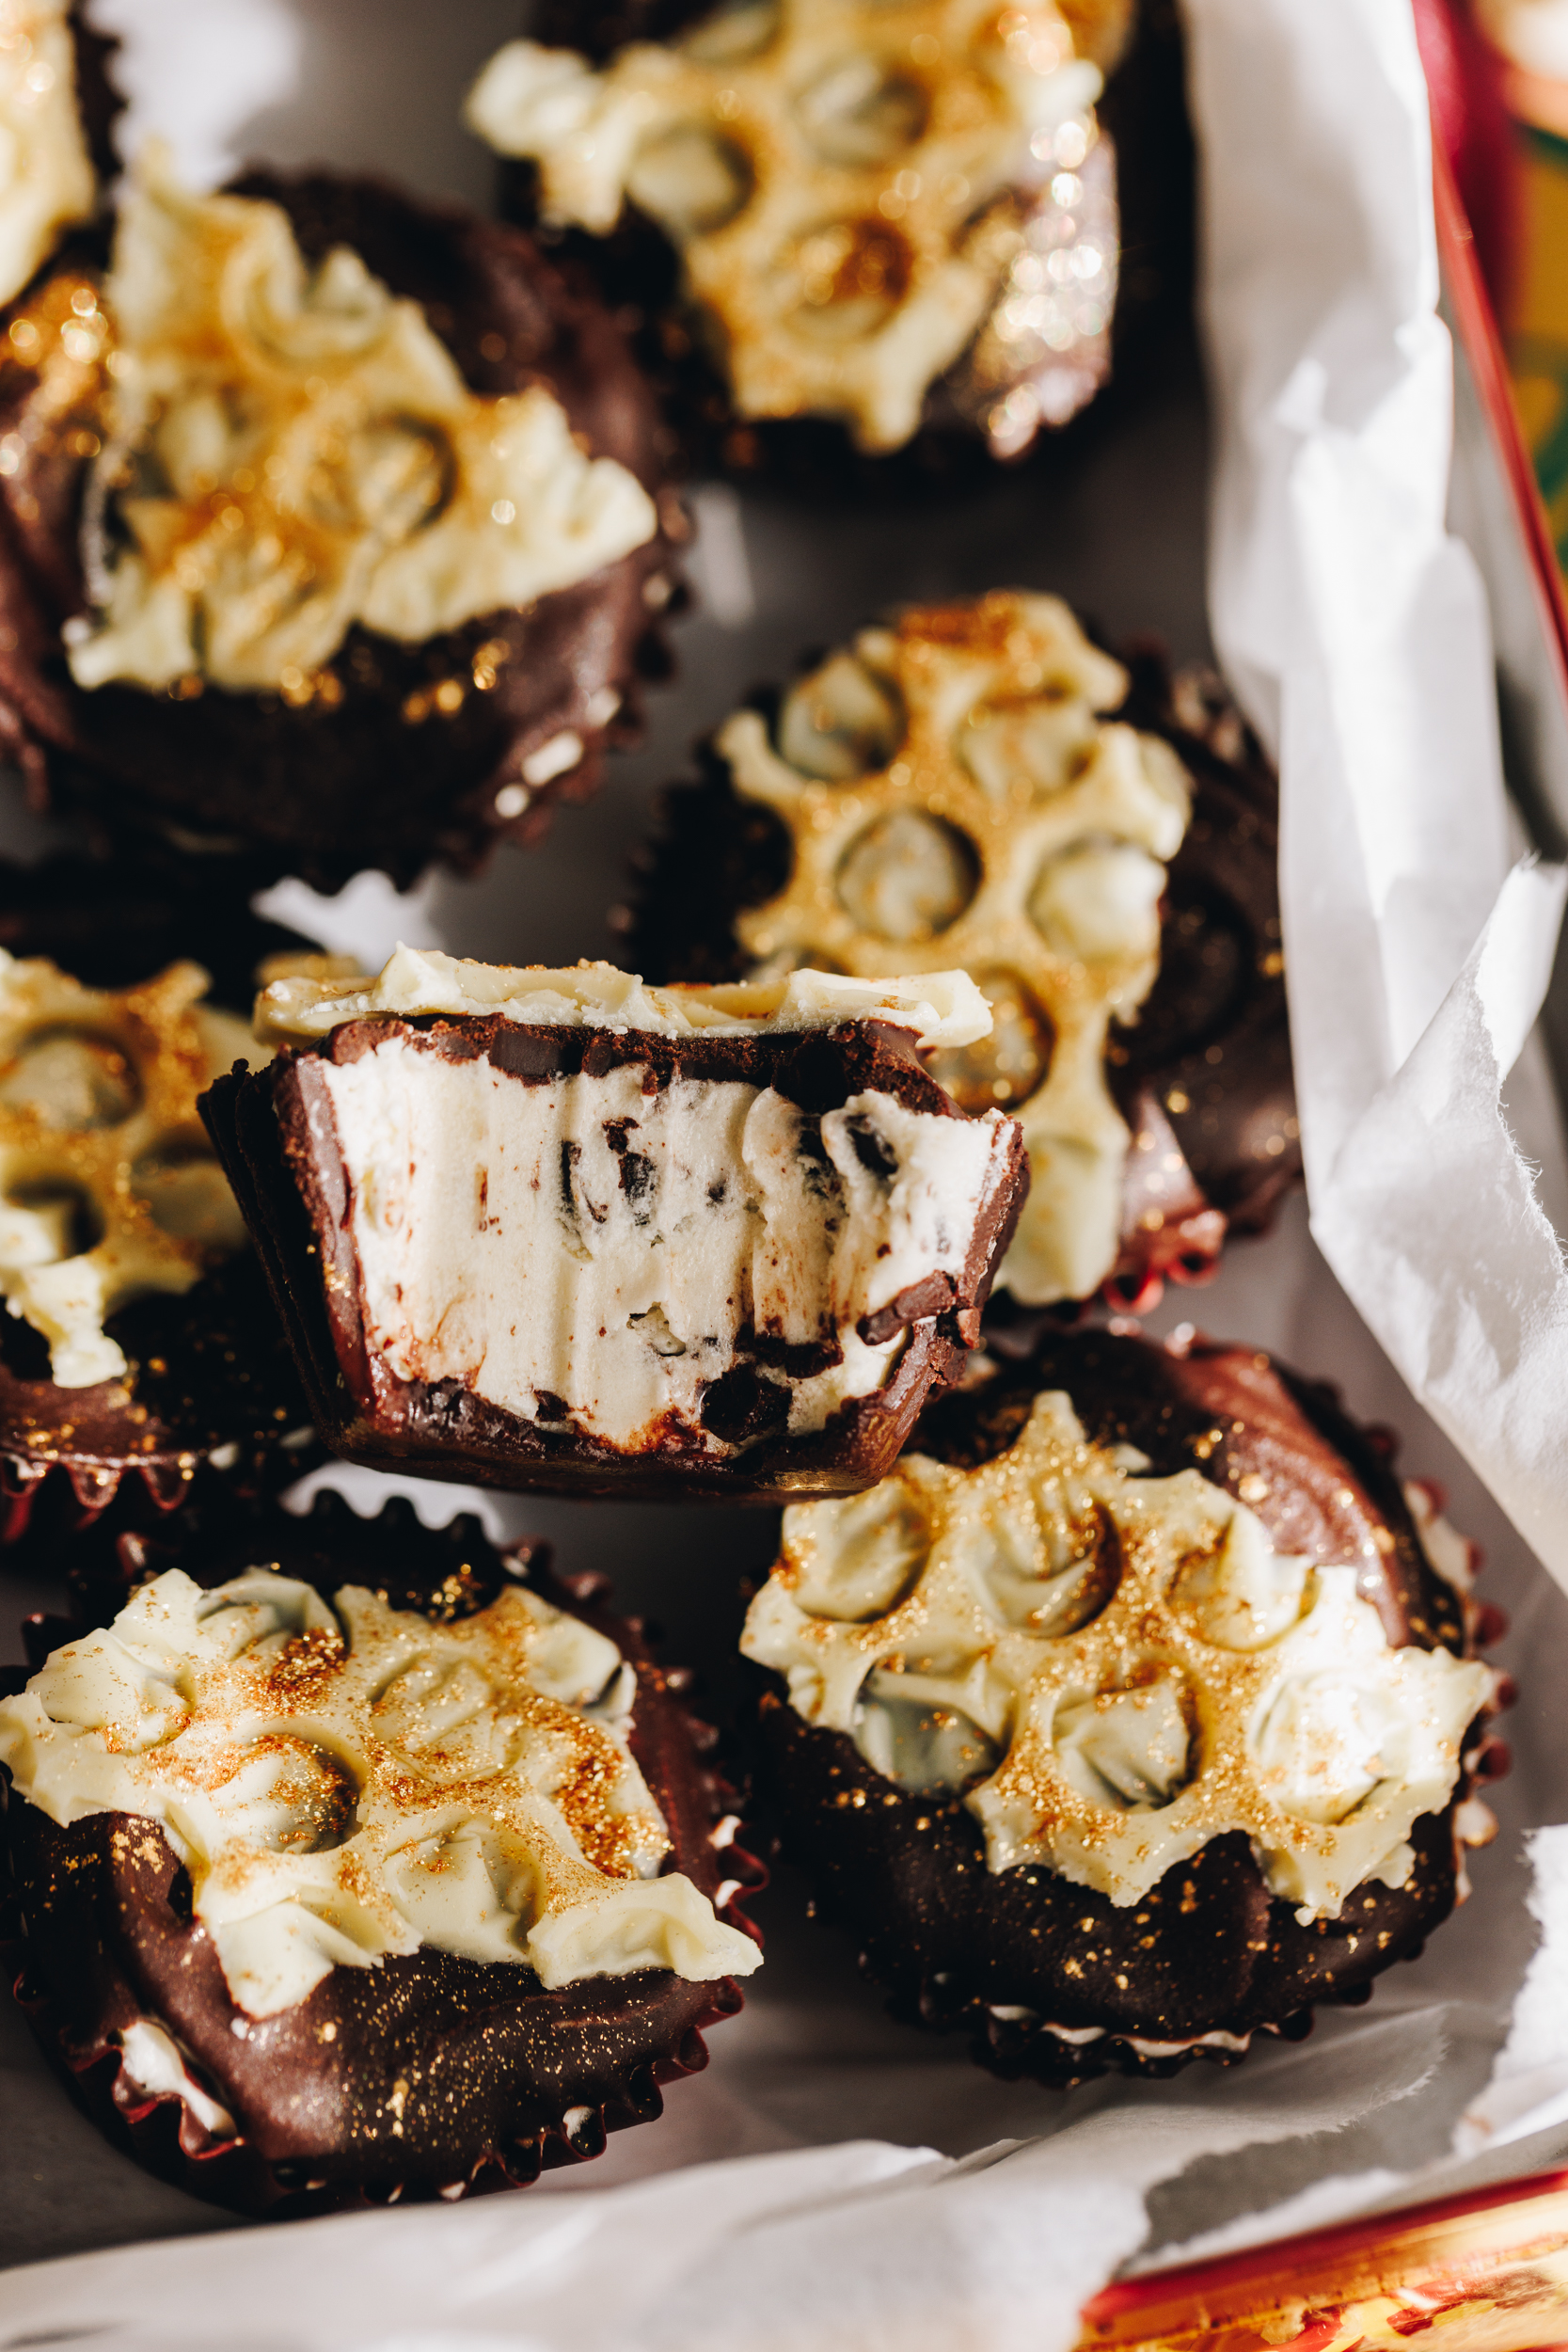
If you love chocolate, peppermint and cheesecake filling, these No-bake Creamy Peppermint Cups are perfect for you. They come together in few simple steps and if you want to bling them out, I have that option too. 🥳
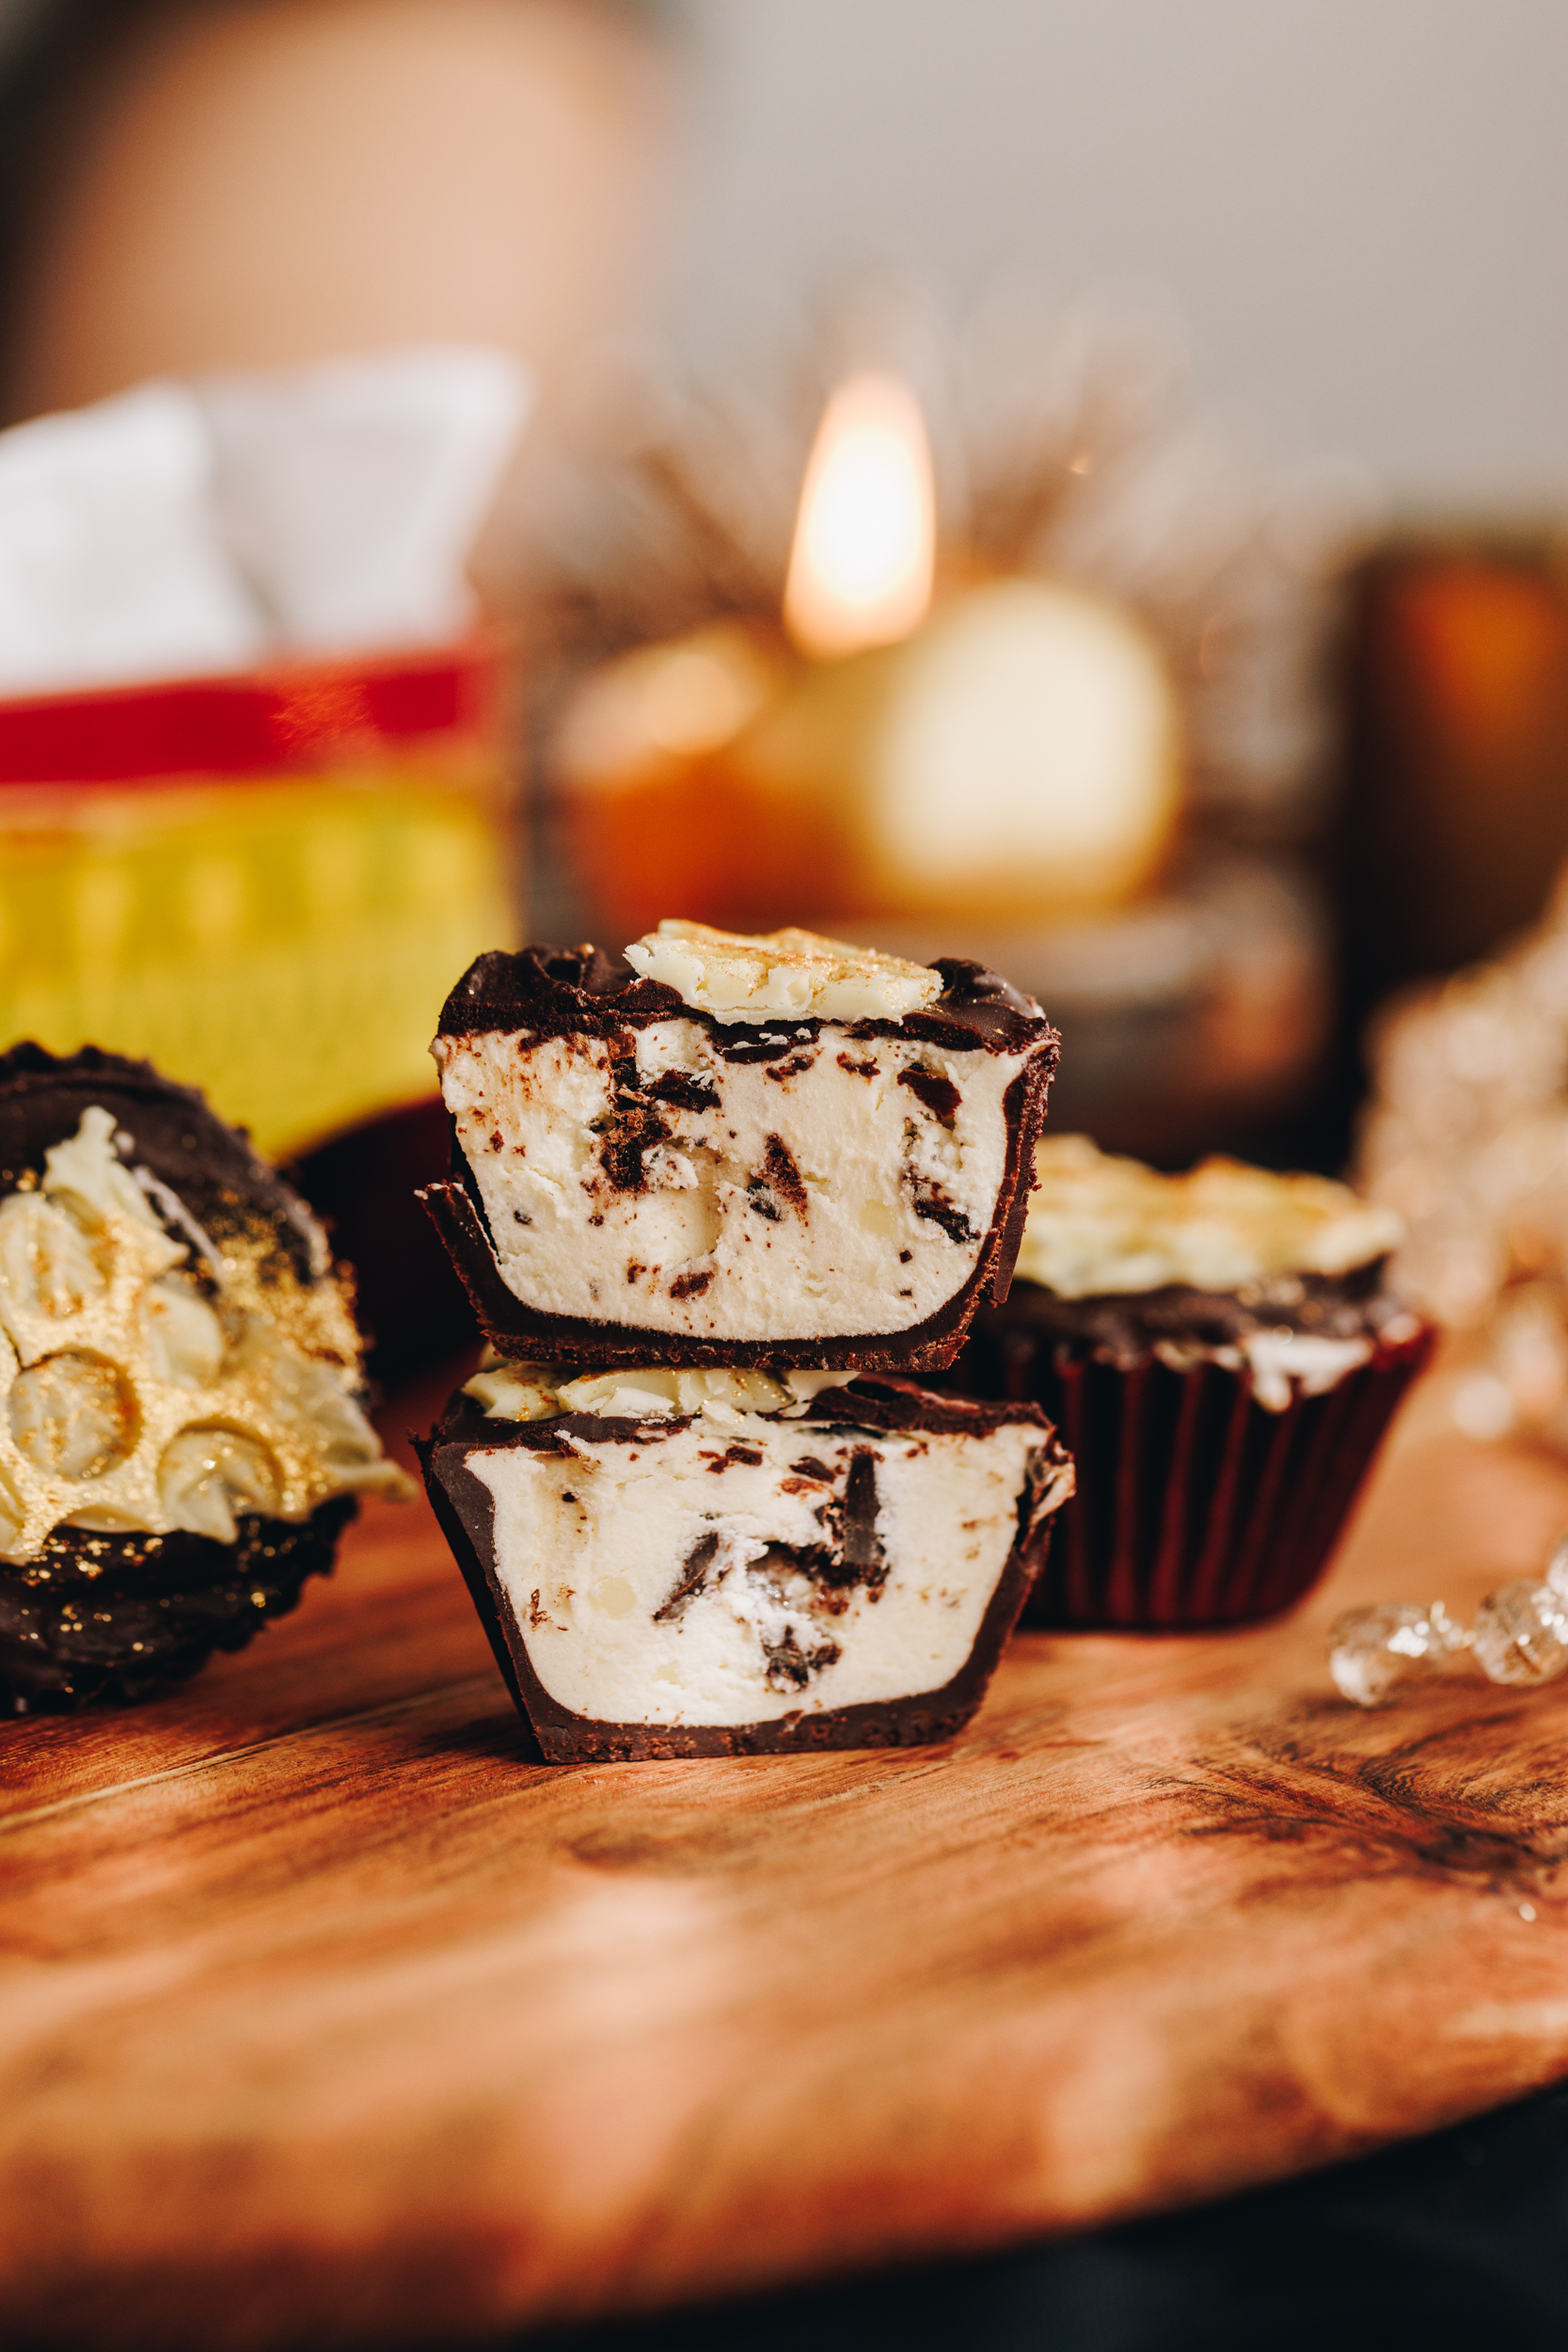
I made this no-bake recipe a couple of years ago for Whittakers Chocolate. I focussed on the amazing peppermint block that has an oozy peppermint fondant in it. It is melted for the shell, chopped finely for the creamy filling and tops the peppermint cups as well. They are simple little morsels of goodness, perfect to share after a big meal.
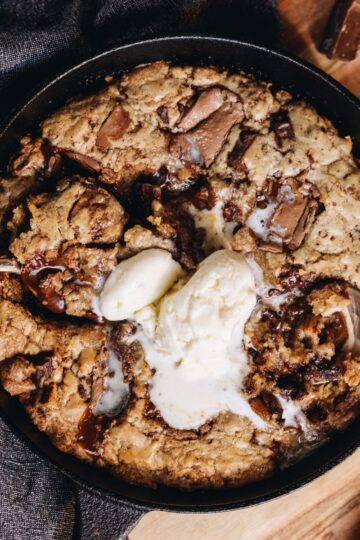
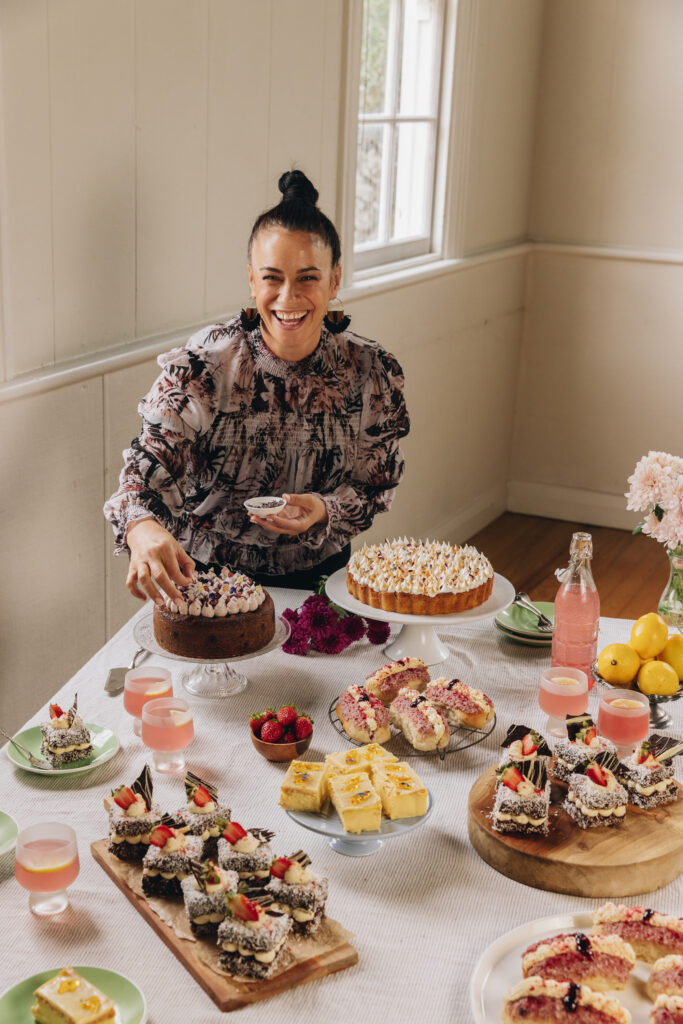
More no-bake recipes:
Do you need a fun slice? Then take a look at my No-bake Marshmallow Slice. Need something a little simpler and lighter on the huka (sugar)? Then try my No-bake Peanut Butter Slice or super simple Chocolate Nut and Seed Slice.
Videography and photography by Sarah Henderson.
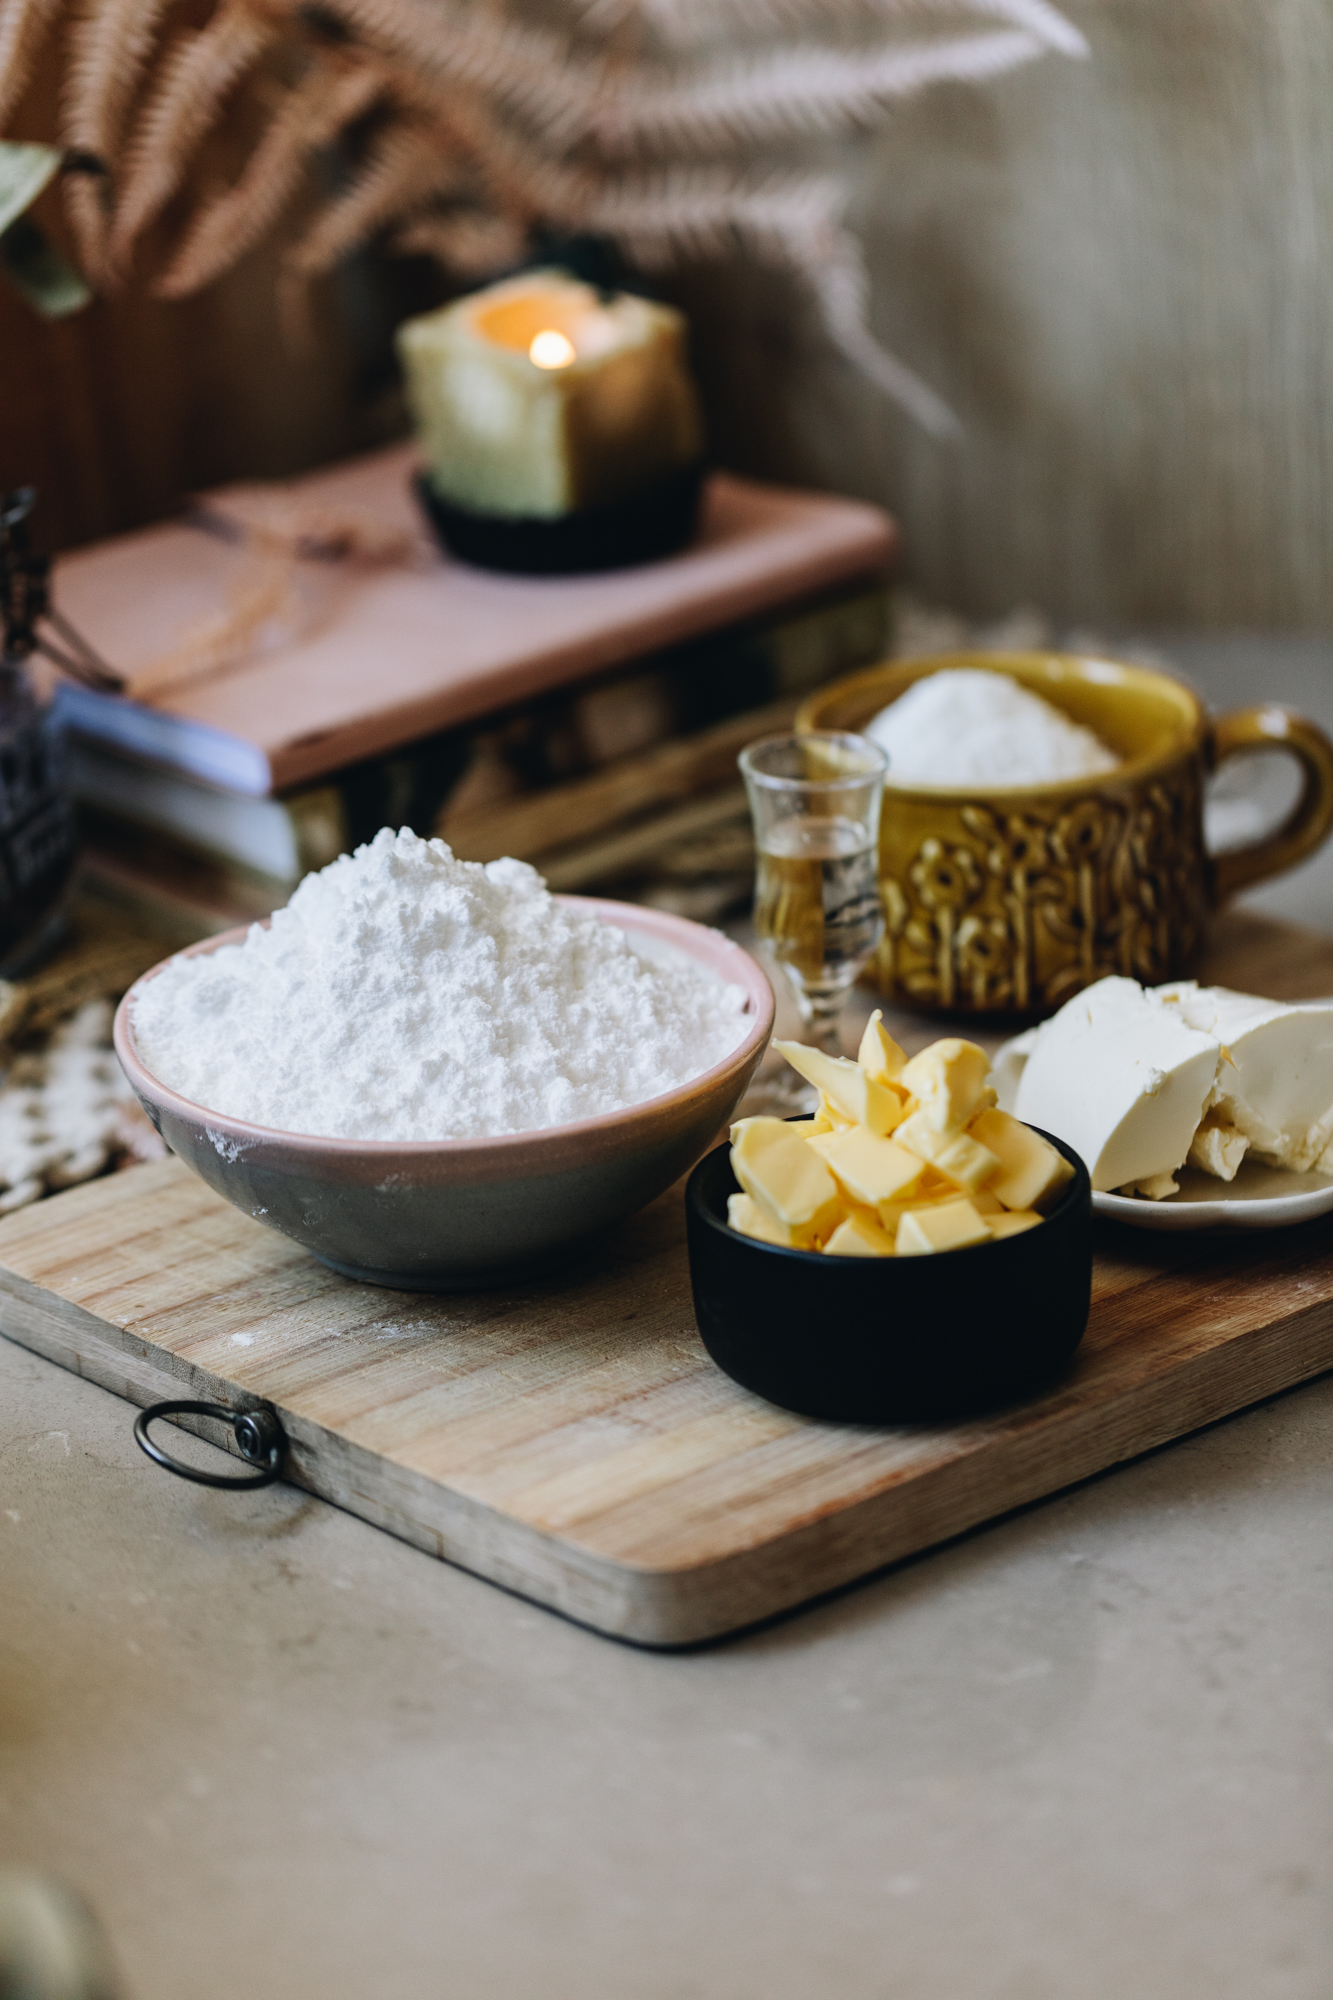
Ingredient Tips for the No-bake Creamy Peppermint Cups:
- Chocolate: I use one block of Whittaker's Peppermint tiakarete (chocolate) for this recipe. If you can find a good quality one like this, go for it.
- Coconut Oil: I prefer to use hinu kokonati (coconut oil) for melting the tiakarete (chocolate) but you can swap it for any neutral flavoured oil you have.
- Butter: Use salted or unsalted pata (butter).
- Icing Sugar: Use puehu huka (icing sugar) to add lightness to the filling.
- Peppermint Essence: This boosts the peppermint flavour so don't skimp on it.
- Cream Cheese: Use full fat kirīmi tīhi (cream cheese) and do not swap it for traditional or lite because I am not certain it will whip up in the same way.
- White Chocolate: This is for the bubble wrap decoration. It can be omitted from the recipe and you will still have a delicious end product.
Expert Tips:
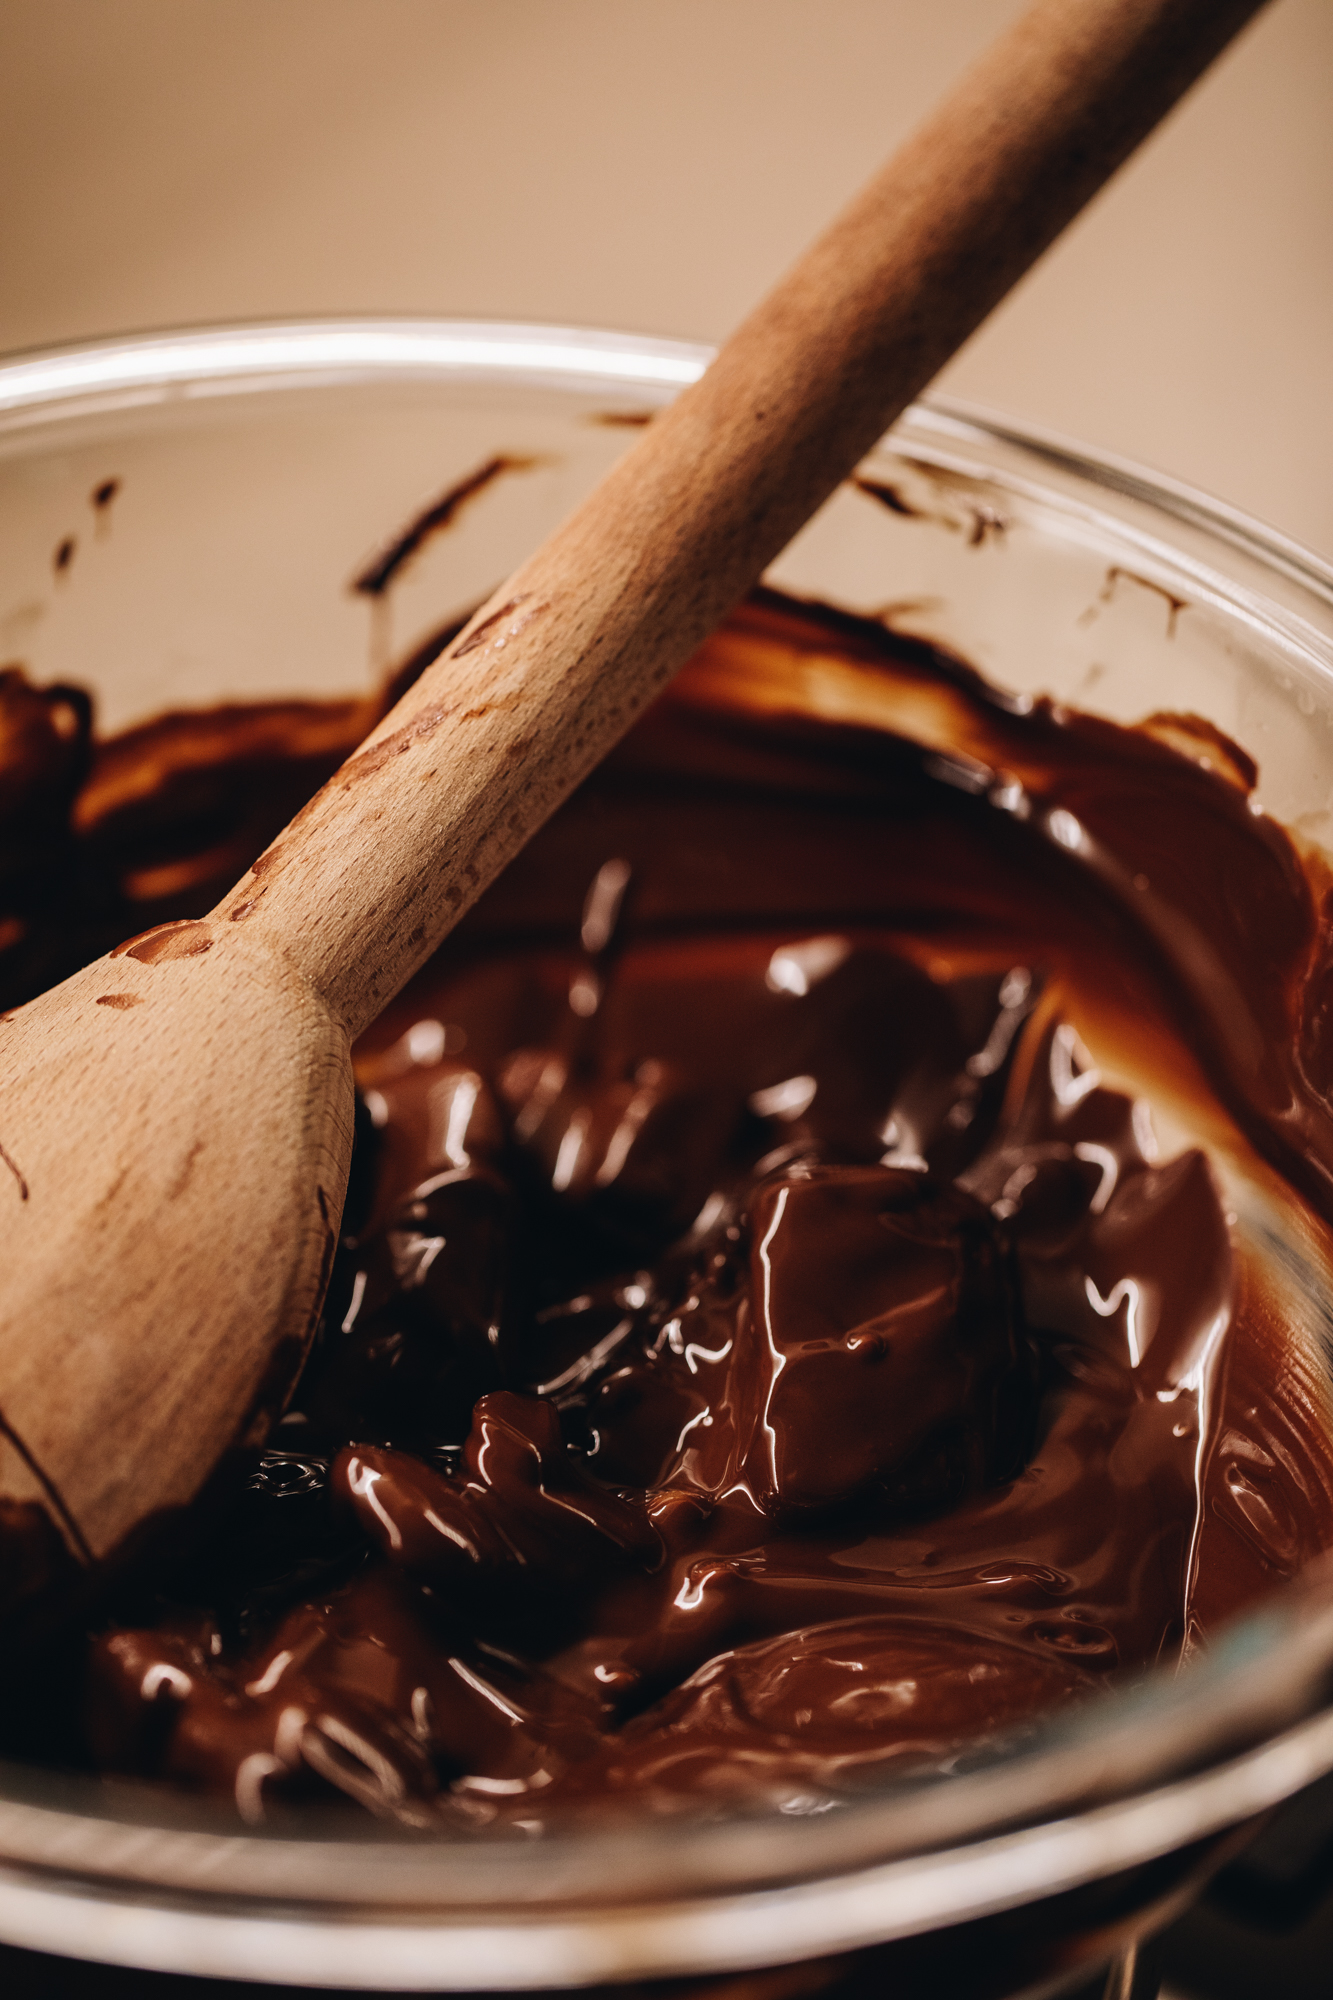
Treat the tiakarete (chocolate) with care because it is sensitive to heat. To combat this, gently melt the tiakarete (chocolate) in a bowl that sits over a pot of barely simmering water (a double boiler) or melt very gently in the microwave.
Melt the tiakarete (chocolate) until it is nearly all melted then remove it from the heat and stir until it is all smooth. This is a cheats way to temper. If you want to temper the chocolate like the pro's do, google it as I am all about the cheat in this department.
Bring the kirīmi tīhi (cream cheese) to room temperature before whipping it. Simply leave it on the bench for an hour to prevent lumps in the mixture.
Do not over whip the mixture because cream cheese can be prone to be splitting. Follow the timings I have stated in the recipe and you will be fine.
STEP BY STEP INSTRUCTIONS FOR the No-bake Creamy Peppermint Cups::
Note: The full recipe card with the full list of ingredients, instructions and step by step video are found at the bottom of this page.
1. Melt the Chocolate for the Cases:
Chop the tiakarete (chocolate) in to chunks. Add the tiakarete hīoi (peppermint chocolate) and hinu kokonati (coconut oil) to a heat-proof bowl.
Melt it gently in a heat-proof bowl that is sitting over a pot of barely simmering water (around 3 cm deep). Make sure the bowl is not touching the water. You can also do this in 15 second bursts in the microwave, stir gently after each 15 seconds.
With both melting methods, only melt ¾'s of the tiakarete (chocolate) and then remove from the heat. Stir gently until it is all melted.
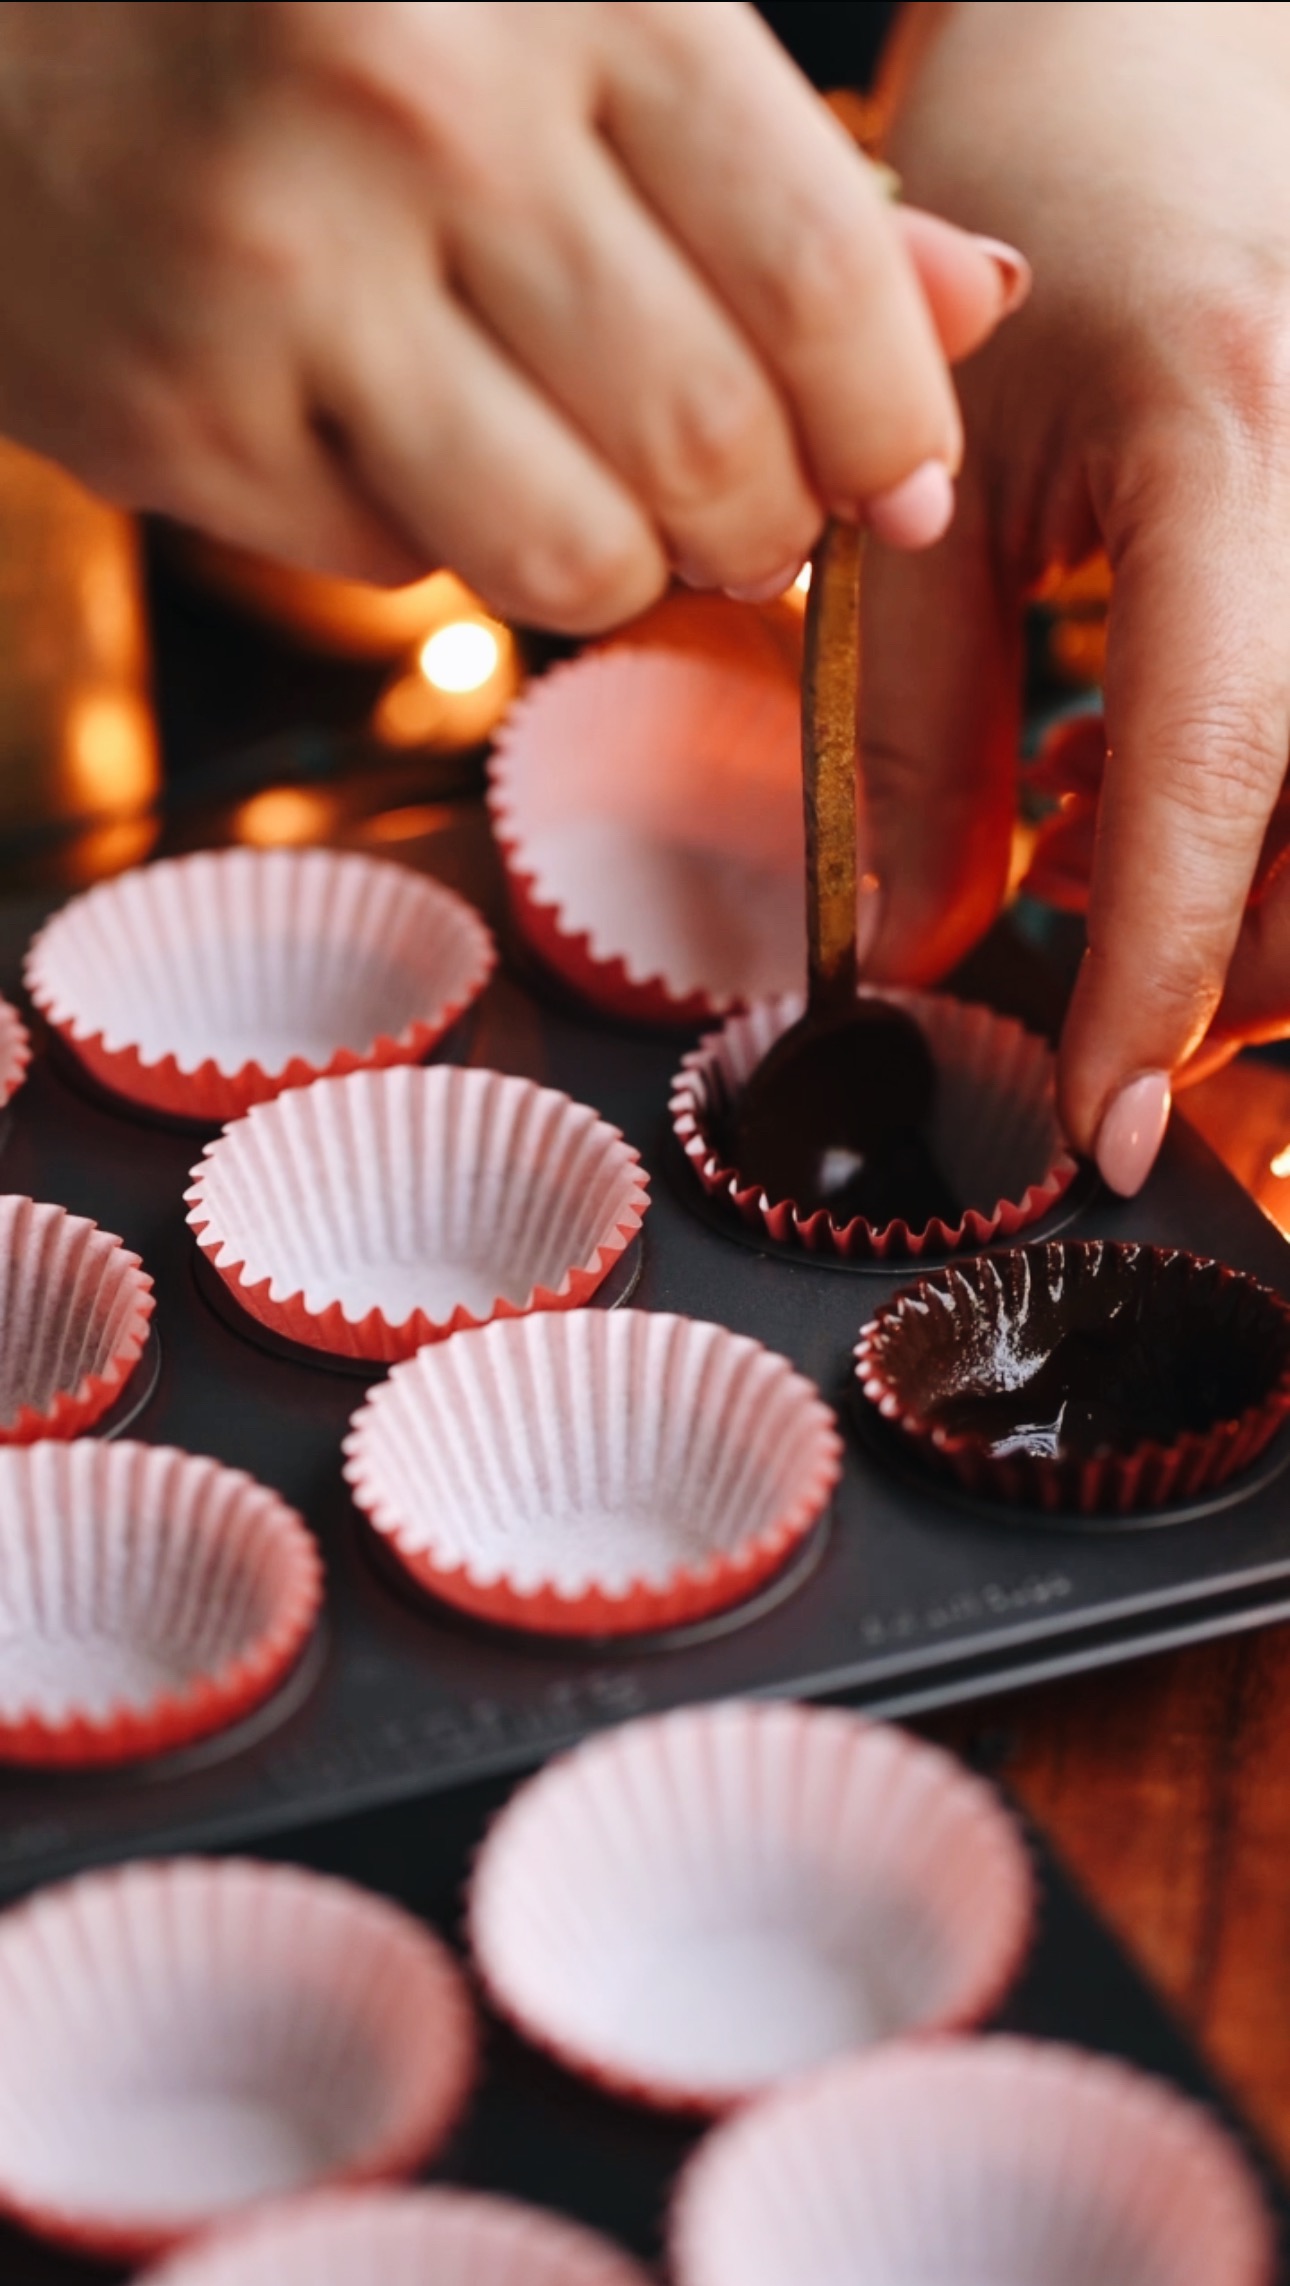
2. Prepare the Paper Cases
Divide 16 mini paper cases between two mini cupcake trays.
3. Add the Chocolate in to the Cases:
Add a teaspoon of the melted tiakarete (chocolate) to each cupcake case, spread it up the sides, pressing well in to the groves.
Whakamātaohia (refrigerate) for 15 minutes until the tiakarete (chocolate) is set.

3. Whip the Creamy Peppermint Mixture:
Add the pata kūteretere (softened butter), puehu huka (icing sugar) and waitāwhara hīoi (peppermint essence) to a large bowl.
Whakapāhukahukatia mō te 5 miniti (whip it for 5 minutes). The mixture should light and fluffy in colour and texture.
Add the kirīmi tīhi (cream cheese) and whip for a minute until smooth.
Finely chop the tiakarete hīoi (peppermint chocolate) and then fold it through the ranunga kirīmi (cream mixture).
4. Add the Peppermint Cream to the Chocolate Cups
Add the kirīmi tāwhiuhwiu (whipped cream) to the set chocolate cups and smooth out the tops with a teaspoon. Return them to the fridge and chill for 25 minutes.
5. Melt the White Chocolate for the Decoration (Optional):
Chop the tiakarete mā (white chocolate) in to fine pieces and add it to a heat-proof bowl.
Melt it the same way you melted the peppermint chocolate above.
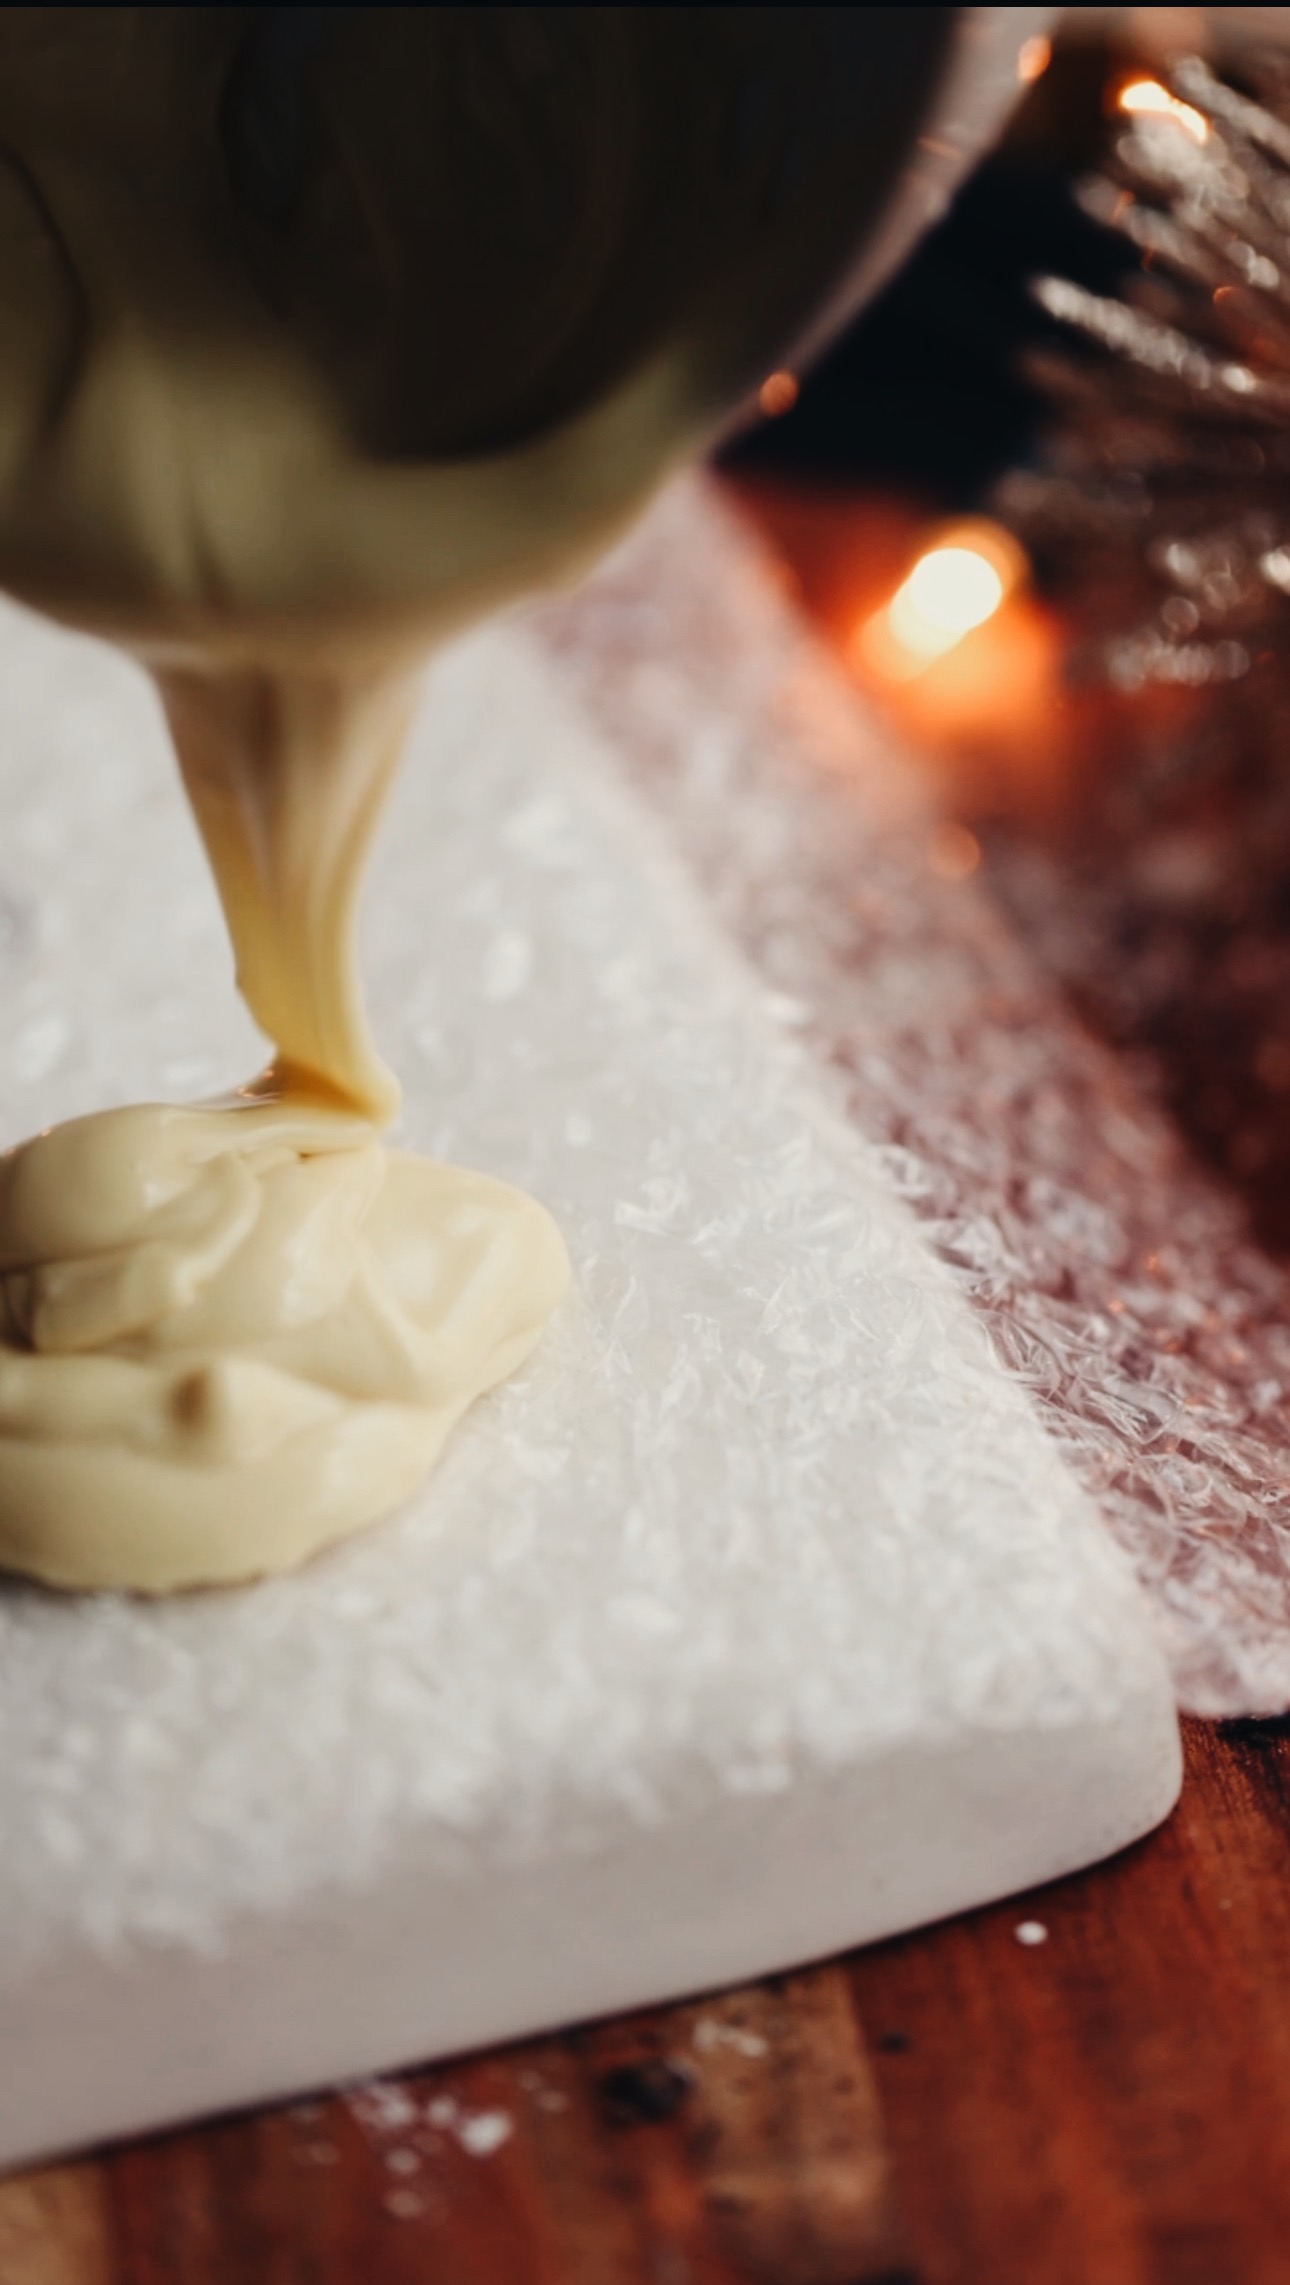
6. Spread the Chocolate on to the Bubble Wrap:
Refrigerate for 20 minutes or until it is set.
Spread the tiakarete mā (white chocolate) directly on to the bubble wrap, press in to all the groves.
7. Melt the Chocolate for the Lids:
Melt the tiakarete hīoi (peppermint chocolate) and hinu kokonati (coconut oil) in the same manner that you did with the other tiakarete (chocolate ).
Once it is melted and smooth, add a small teaspoon of the melted chocolate on to each of the chilled cups.
8. Add the White Chocolate Decoration:
If you are using the white chocolate decoration, add this on to the taupoki (lids) before the peppermint chocolate sets.
Simply peel the bubble wrap off the tiakarete mā (white chocolate) and break in to little shards. Dust with edible glitter if that is your vibe.
Refrigerate for 30 minutes or until the chocolate is set.
9. Serve the No-bake Creamy Peppermint Cups:
Store in a sealed container and leave it in the pouaka makariri (refrigerator).
These are best eaten straight from the fridge and will keep for at least a week.
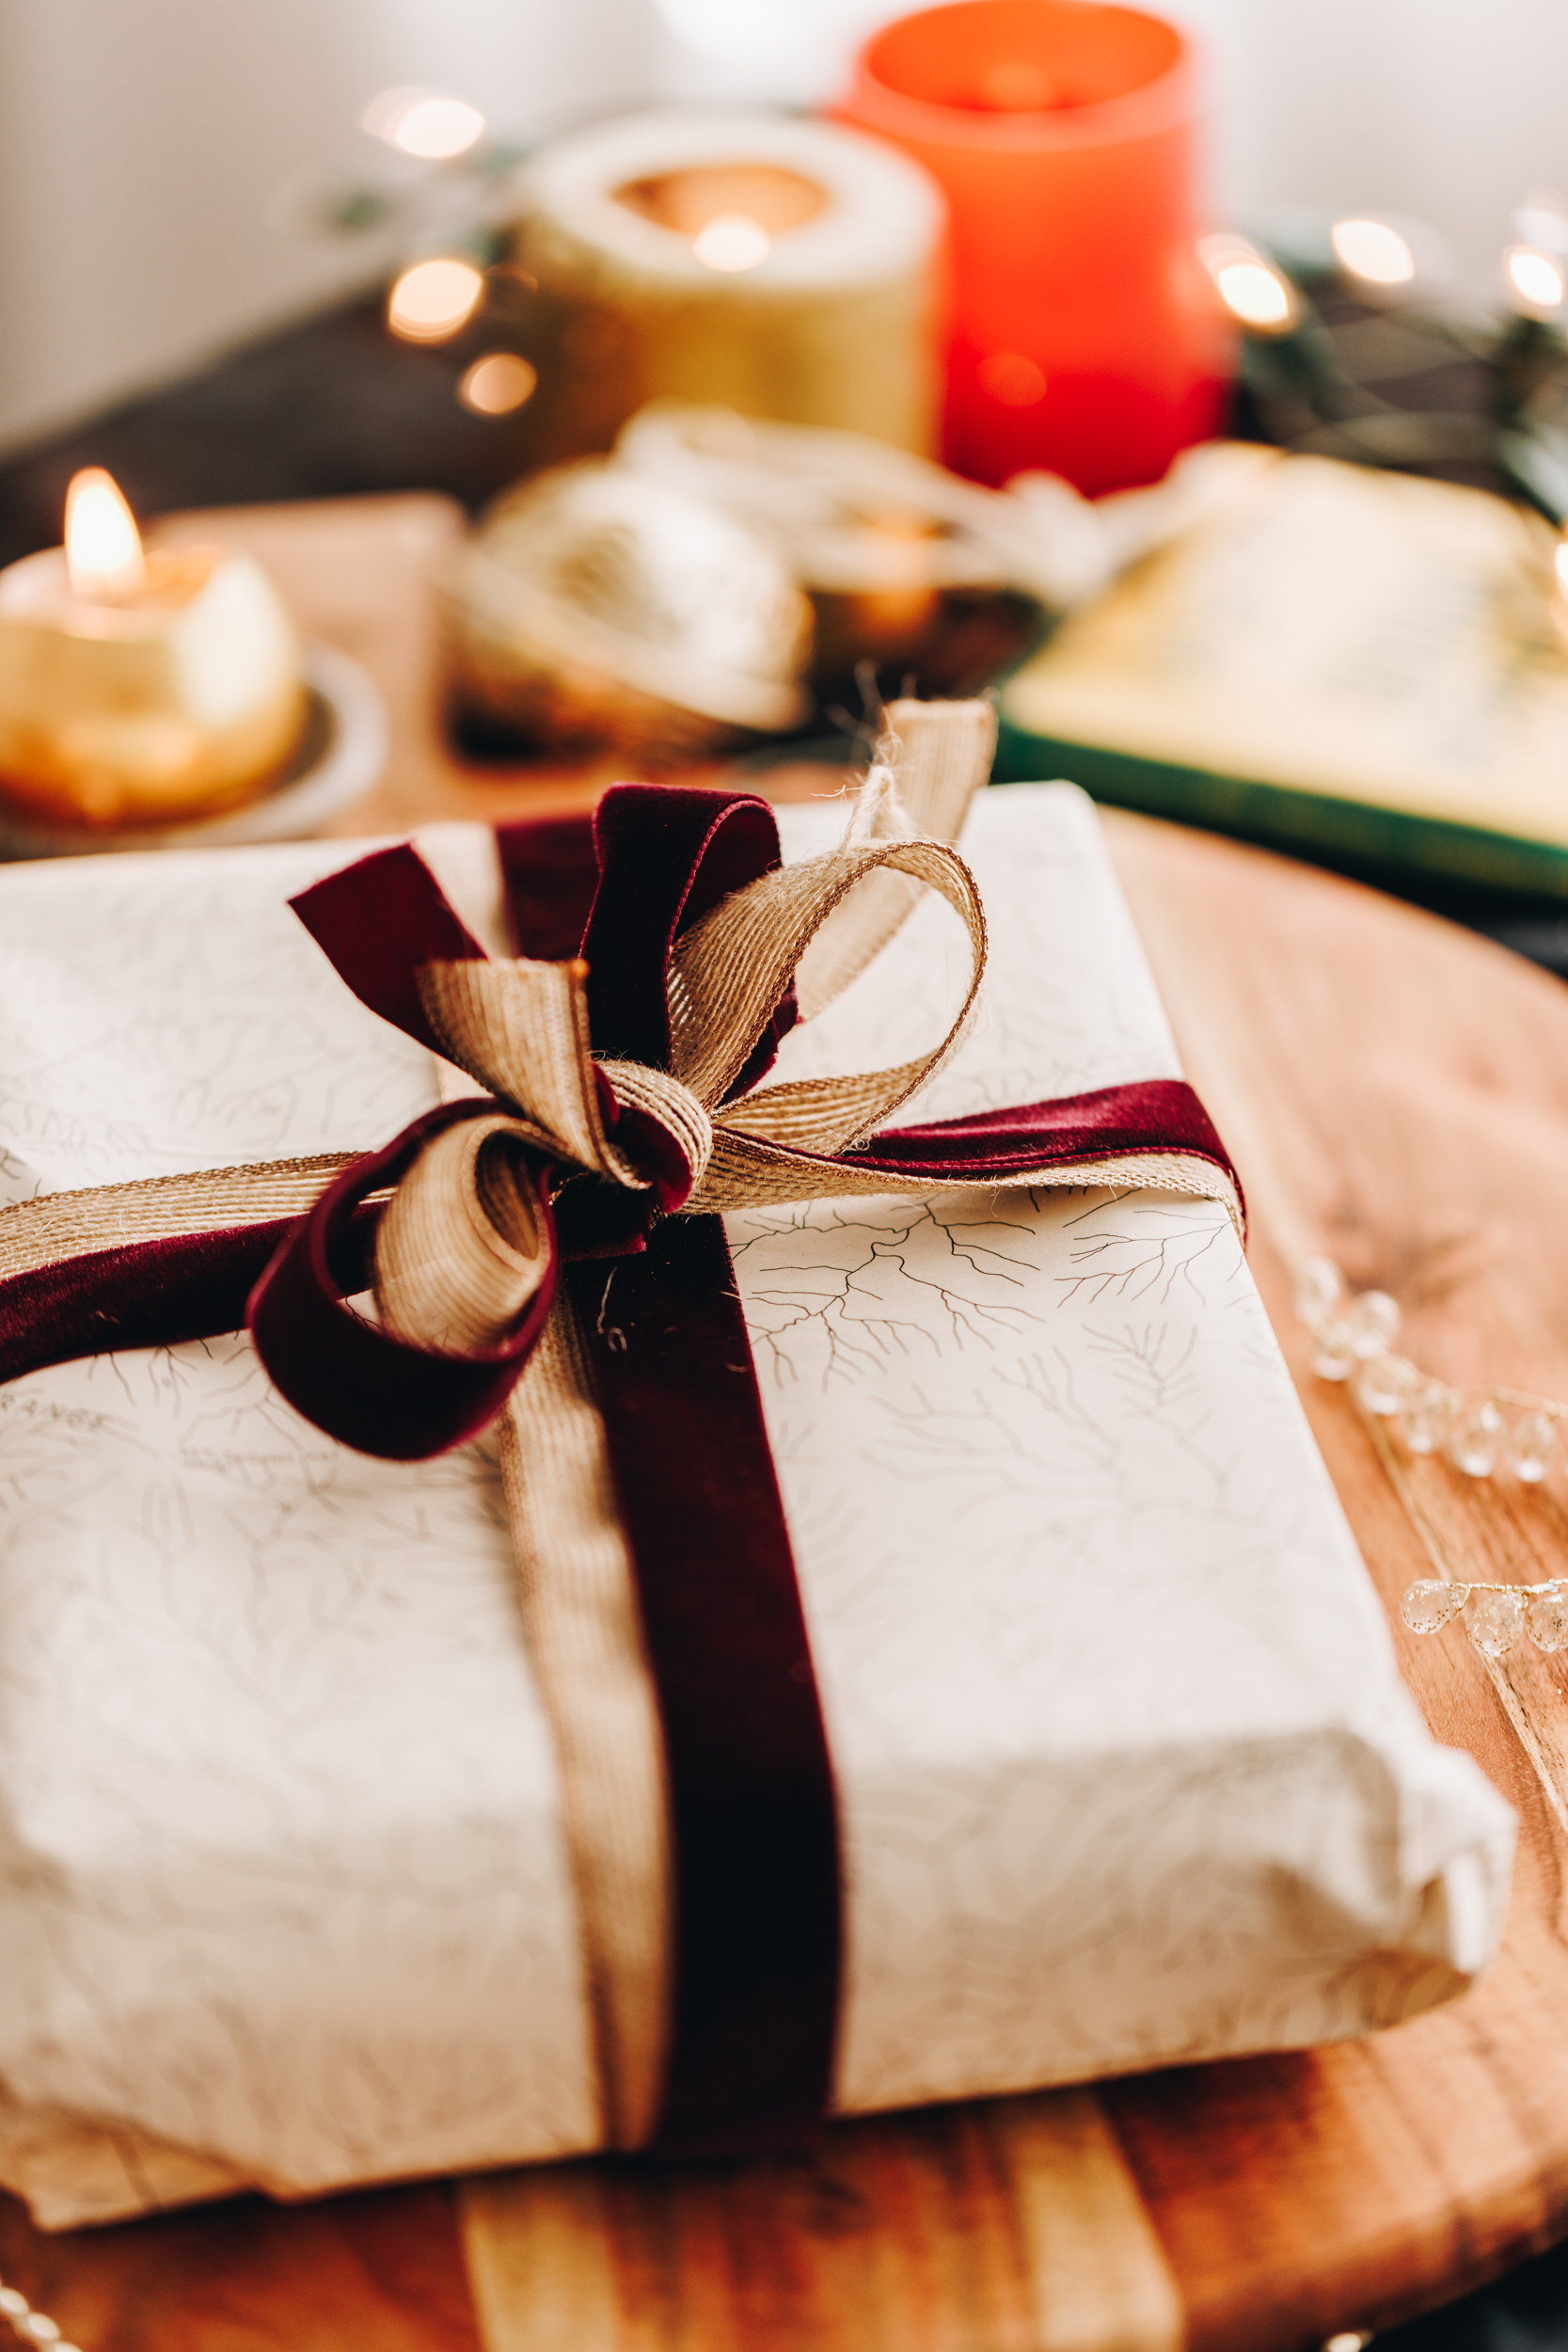
Turn the No-bake Creamy Peppermint Cups in to a Gift:
They make the perfect gift. Add them to an old school cookie tin, line it with baking paper, wrap them up in a bow and give them to your love ones.
Make sure the have been refrigerated well before taking them in the car. No one wants a melted gooey mess of a gift. Just saying! 😂
Like this recipe, then explore these
Dessert Recipes
Everyone needs a little bit of dessert magic in their life.
DID YOU ENJOY THIS RECIPE?
It would be so awesome if you could please leave a review/comment by clicking the “leave a comment” section at the top of the page.
I love seeing you all make my creations, so send a whakaahua (photo) or kiriata (video) to my Instagram and show me what you made. Let me know if you have any pātai (questions) too, I would love to help.

No-bake Creamy Peppermint Cups - Ngā Kapu Hioi
Equipment
- 2 x mini cupcake tins
Ingredients
The Chocolate Cases - Ngā Kapu Tiakarete
- 16 pieces (100 g) tiakarete hīoi (peppermint chocolate)
- 1 tbsp hinu kokonati (coconut oil) or other neutral oil.
The Peppermint Cream - Te Kirīmi Hīoi
- 50 g pata kūteretere (softened butter)
- ¾ C - 1 C (60 - 80 g) puehu huka (icing sugar). Adjust the sweetness to your preference.
- 2 ¼ tsp waitāwhara hīoi (peppermint essence)
- 75 g kirīmi tīhi (cream cheese, room temperature)
- 12 pieces (75 g) tiakarete hīoi (peppermint chocolate)
White Chocolate Decorations - Ngā Whakarākei Tiakarete Mā (Optional)
- 80 g tiakarete mā (white chocolate)
- 1 x 20 cm x 10 cm piece of bubble wrap
The Chocolate Lids - Ngā Taupoki Tiakarete
- 12 pieces (75 g) tiakarete hīoi (peppermint chocolate)
- 1 teaspoon hinu kokonati (coconut oil) or other neutral oil.
Instructions
Melt the Chocolate for the Cases:
- Chop the tiakarete (chocolate) in to chunks.
- Add the tiakarete hīoi (peppermint chocolate) and hinu kokonati (coconut oil) to a heat-proof bowl.
- Melt it gently in a heat-proof bowl that is sitting over a pot of barely simmering water (around 3 cm deep). Make sure the bowl is not touching the water. You can also do this in 15 second bursts in the microwave, stir gently after each 15 seconds.
- With both melting methods, only melt ¾'s of the tiakarete (chocolate) and then remove from the heat. Stir gently until it is all melted.
Prepare the Paper Cases
- Divide 16 mini paper cases between two mini cupcake trays.
Add the Chocolate in to the Cases:
- Add a teaspoon of the melted tiakarete (chocolate) to each cupcake case, spread it up the sides, pressing well in to the groves.
- Whakamātaohia (refrigerate) for 15 minutes until the tiakarete (chocolate) is set.
Whip the Creamy Peppermint Mixture:
- Add the pata kūteretere (softened butter), puehu huka (icing sugar) and waitāwhara hīoi (peppermint essence) to a large bowl.
- Whakapāhukahukatia mō te 5 miniti (whip it for 5 minutes) The mixture should light and fluffy in colour and texture.
- Add the kirīmi tīhi (cream cheese) and whip for a minute until smooth.
- Finely chop the tiakarete hīoi (peppermint chocolate) and then fold it through the ranunga kirīmi (cream mixture).
Add the Peppermint Cream in to the Chocolate Cups:
- Add the kirīmi (cream) to the set chocolate cups and smooth out the tops with a teaspoon.
- Return them to the fridge and chill for 25 minutes.
- Note: If you are making the white chocolate decoration, do it now so it sets before you add the lids.
- If you don't want to do the decoration just skip to the 'Melt the Chocolate for the Lids' section.
Melt the White Chocolate for the Decoration (Optional):
- Chop the tiakarete mā (white chocolate) in to fine pieces and add it to a heat-proof bowl.
- Melt it the same way you melted the peppermint chocolate above.
Spread the Chocolate on the Bubble Wrap:
- Spread the tiakarete mā (white chocolate) directly on to the bubble wrap, press in to all the groves with a spatula.
- Refrigerate for 20 minutes or until it is set.
Melt the Chocolate for the Lids:
- Melt the tiakarete hīoi (peppermint chocolate) and hinu kokonati (coconut oil) in the same manner that you did with the other tiakarete (chocolate ).
- Once it is melted and smooth, add a small teaspoon of the melted chocolate on to each of the chilled cups.
Add the White Chocolate Decoration:
- If you are using the white chocolate decoration, add this on to the taupoki (lids) before the peppermint chocolate sets.
- Simply peel the bubble wrap off the tiakarete mā (white chocolate) and break in to little shards.
- Dust with edible glitter if that is your vibe.
- Refrigerate for 30 minutes or until the chocolate is set.
Serve the No-bake Creamy Peppermint Cups:
- Store in a sealed container and store in the refrigerator.
- These are best eaten straight from the fridge and will keep for at least a week.
Turn the No-bake Creamy Peppermint Cups in to a Gift:
- They make the perfect gift. Add them to an old school cookie tin, line it with baking paper, wrap them up in a bow and give them to your love ones.
- Make sure the have been refrigerated well before taking them in the car. No one wants a melted gooey mess of a gift. Just saying! 😂


Leave a Review