If you’re a fan of rich, buttery cookies with a gooey centre, these cookie pies are about to become your new obsession. Made with brown butter dough and filled with chocolate and chocolate hazelnut spread, they melt and ooze with every bite—just as good as they look, if not better.
If this is your first time making brown butter, check out my how to brown butter post for the simple tips and tricks. It is much simpler than you think.
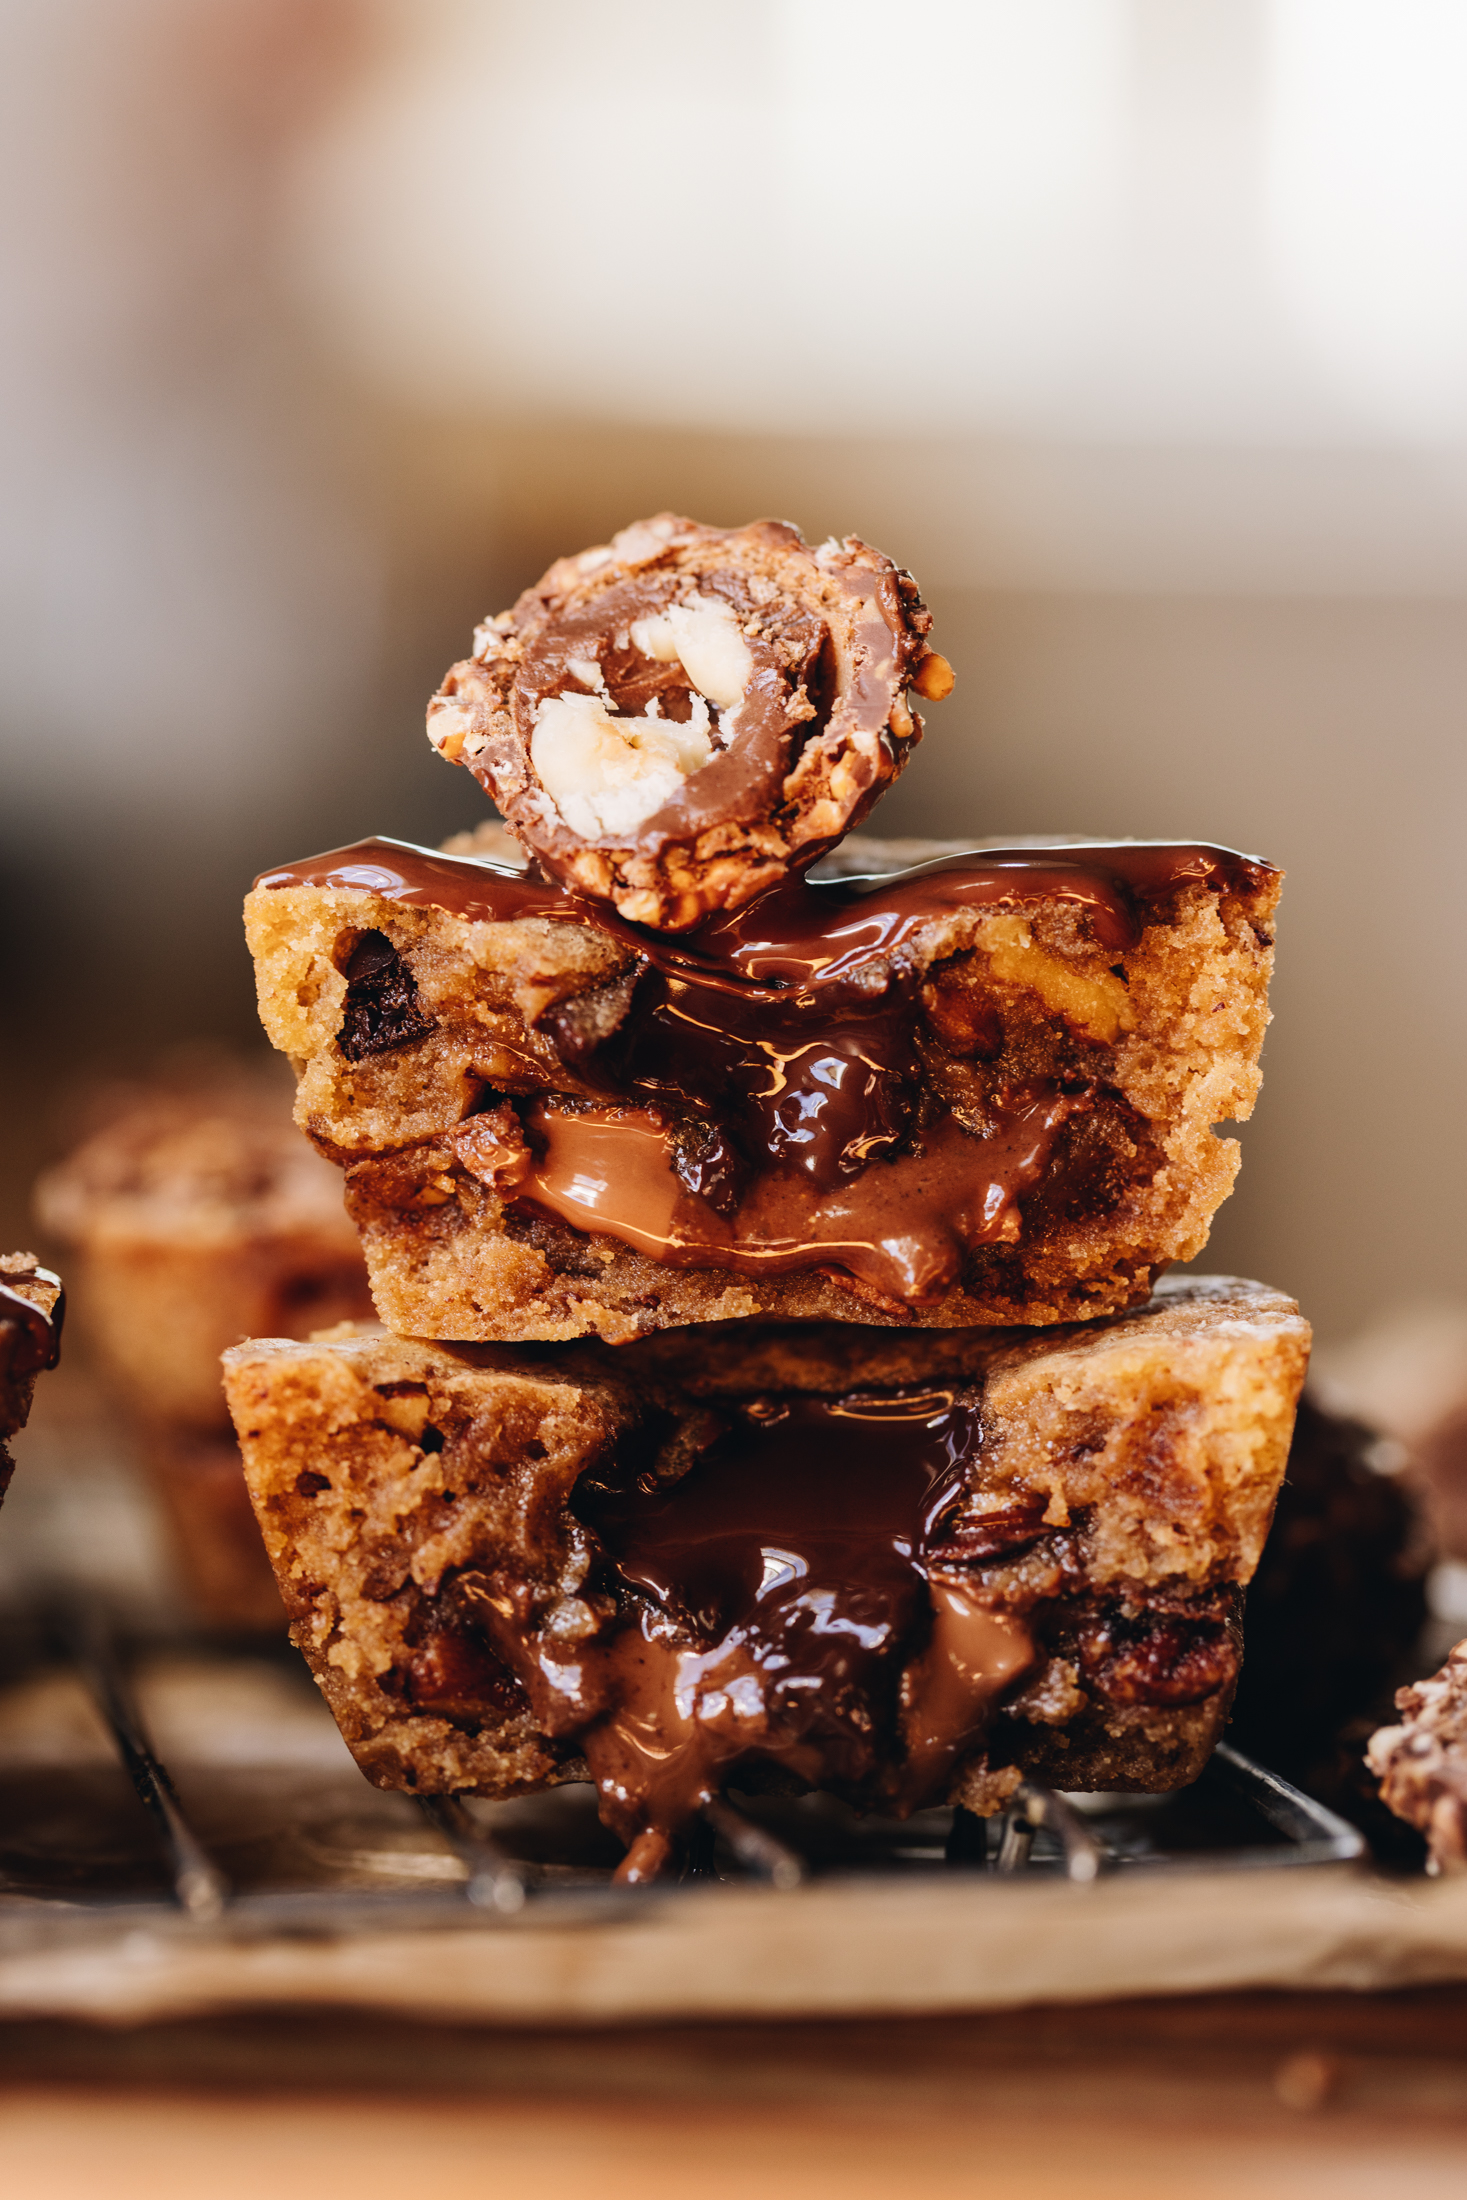
Why you will love these Gooey Cookie pies:
E hoa mā (friends), if you’ve made my brown butter chocolate cookies, then you’re going to love these. They have crisp edges, soft brown butter dough, and a molten chocolate centre for the ultimate bakery-style cookie experience. You can thank me later—with a glowing review on this recipe 😉
More pihikete (cookies) to try:
If you love peanut butter chocolate cookies, you need to try my Ultimate Peanut Butter Cookies—packed with rich pata pīnati (peanut butter) flavour and loaded with tiakarete (chocolate).
Prefer something a little more indulgent? These Chocolate Hazelnut Cookies are perfect for hānati (hazelnut) lovers, with a rich, chocolatey centre inspired by the classic treat.
With so many delicious pihikete (biscuits) to choose from, there’s something for every occasion—let’s get baking.
Videography and photography by Sarah Henderson.
Ingredients:

- Butter: I always use salted butter in all of my recipes because of the superior flavour but if you enjoy unsalted, go for it.
- Pecans: I have added these as an optional mix in to the cookies as they bring a delicious texture and warmth to the cookies. Use them if you want, or not!
- Brown sugar: Adds a delicious caramel flavour and softness to the cookies.
- White sugar: Helps crisp up the cookies a little.
- Flour: Plain or high grade flour both work in this recipe.
- Chocolate: Mix and match the chocolate to your liking. There are no rules here so use all milk, all dark or a mix of both.
- Chocolate hazelnut spread: Use your favourite version. This can also be swapped for Biscoff or smooth peanut butter if that is more your vibe.
How to make these gooey cookies:
Note: The full recipe card with the full list of ingredients, instructions and step by step video are found at the bottom of this page.
1. Preheat the Oven:
Preheat the oven to 165 °C.
2. Brown the Butter:
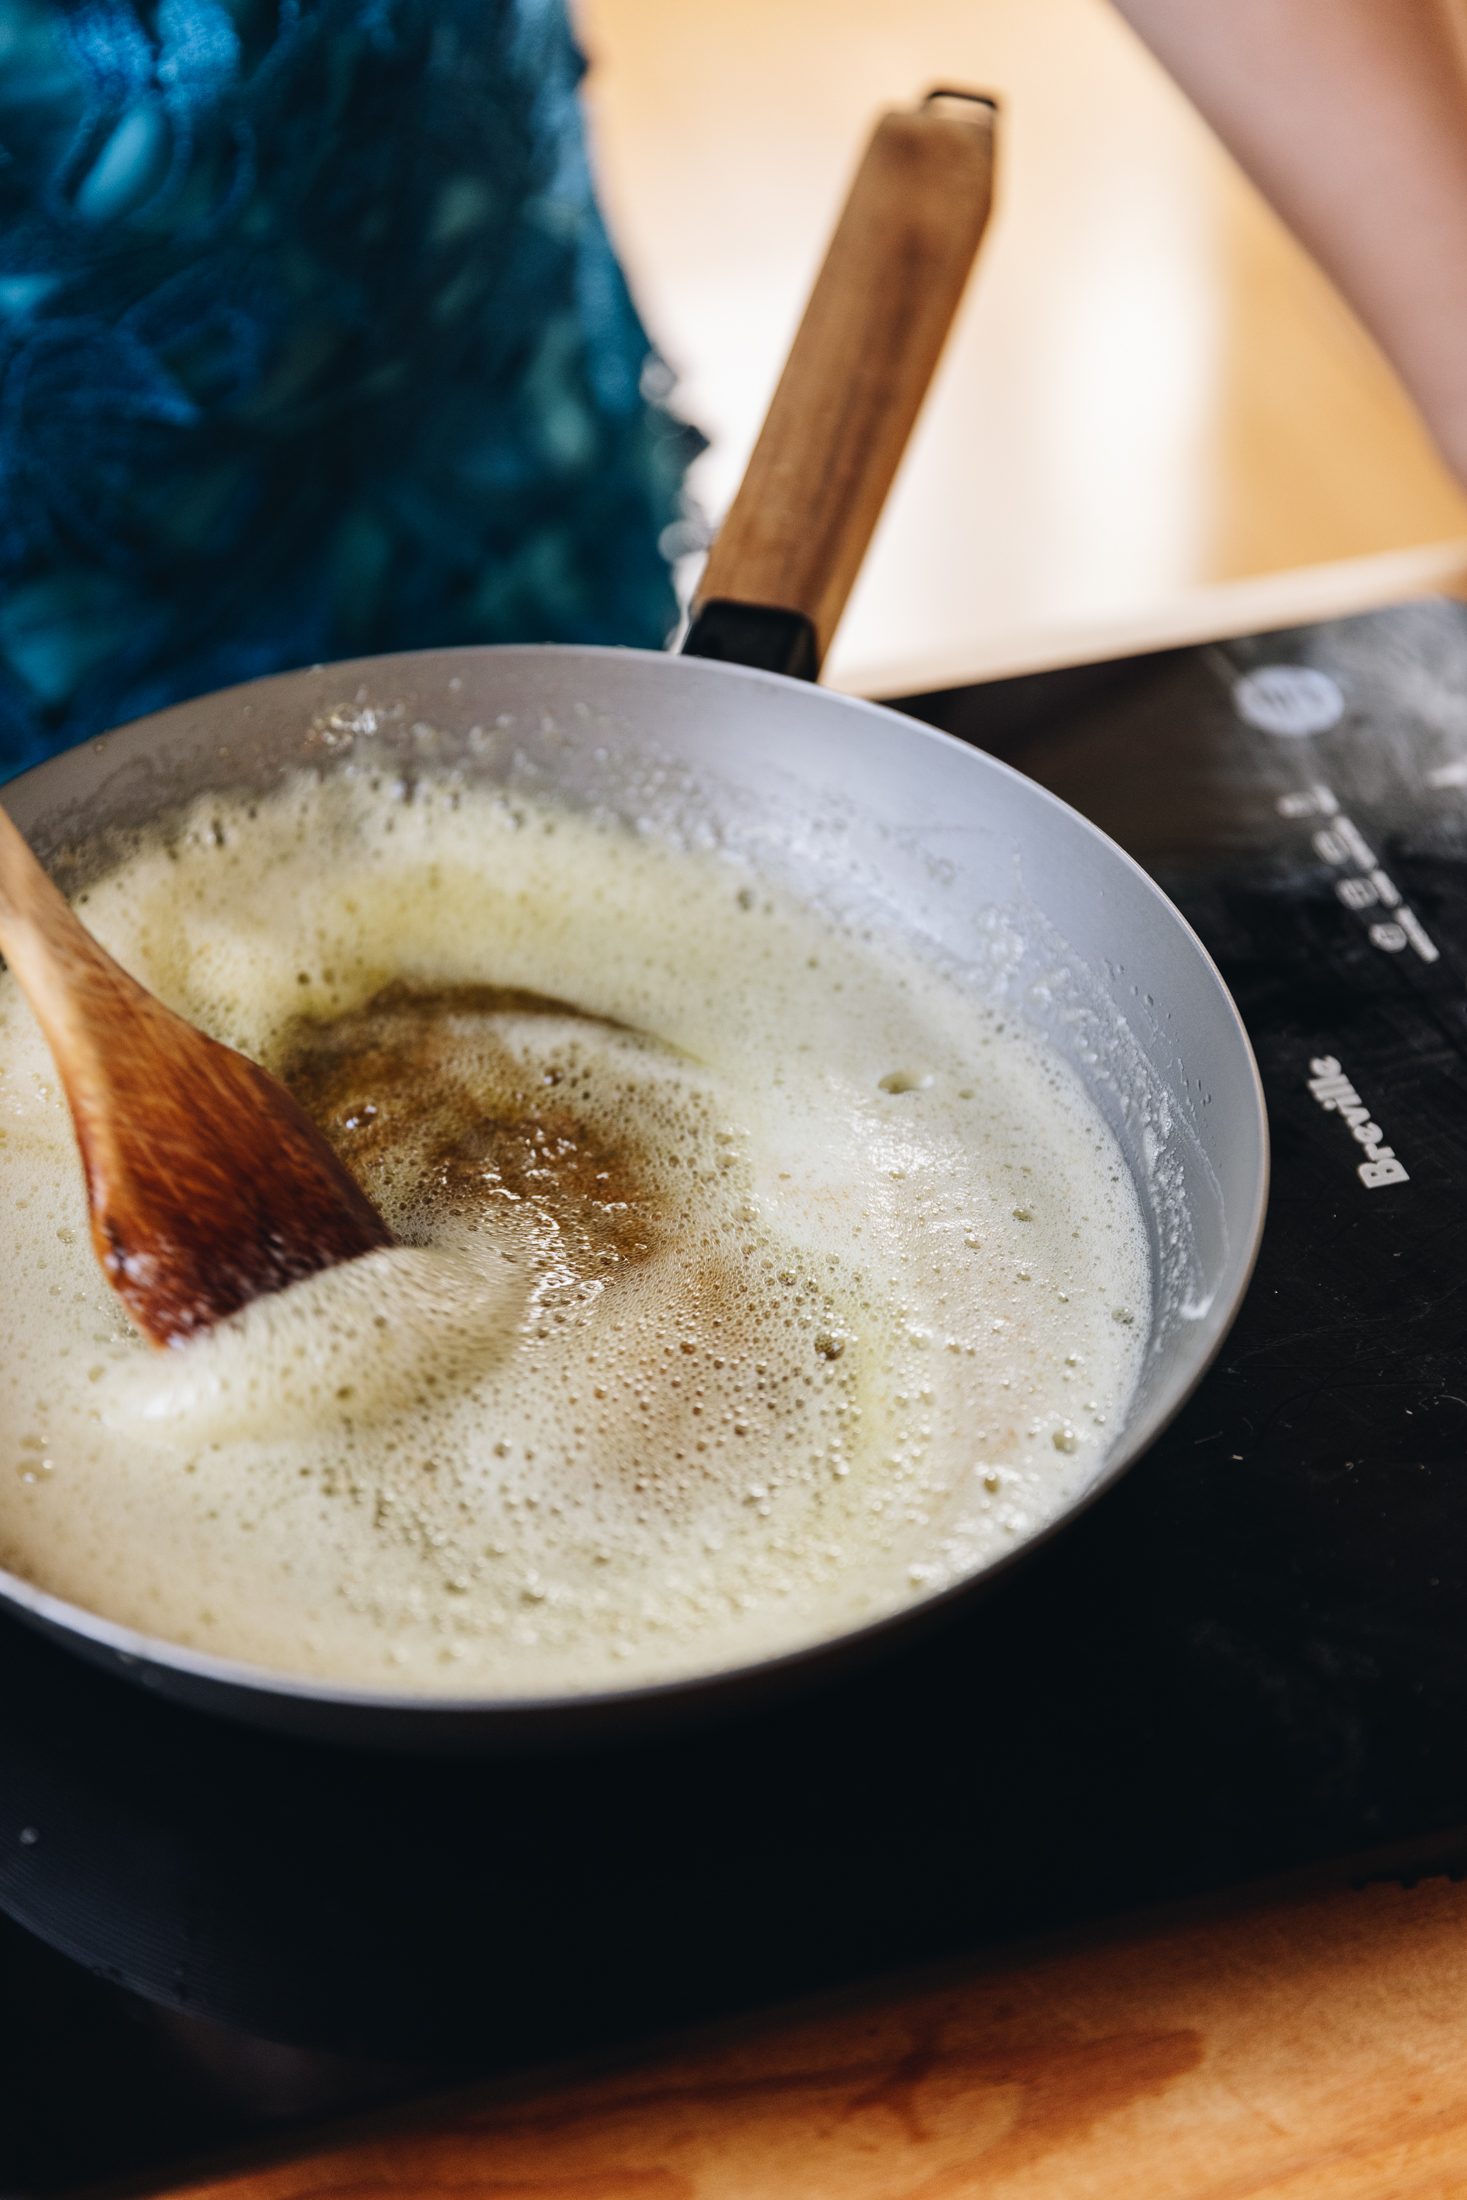
Chop the butter in to cubes. Add the chopped pata (butter) in to a medium sized pot or pan. Set over medium heat.
First melt the butter, stirring occasionally.
As the heat continues the milk fats will start to separate (these are the white, floaty bits). Stir occasionally here so nothing sticks to the bottom of the pot. Keep it on the heat until the butter starts to foam.
3. Brown the Butter
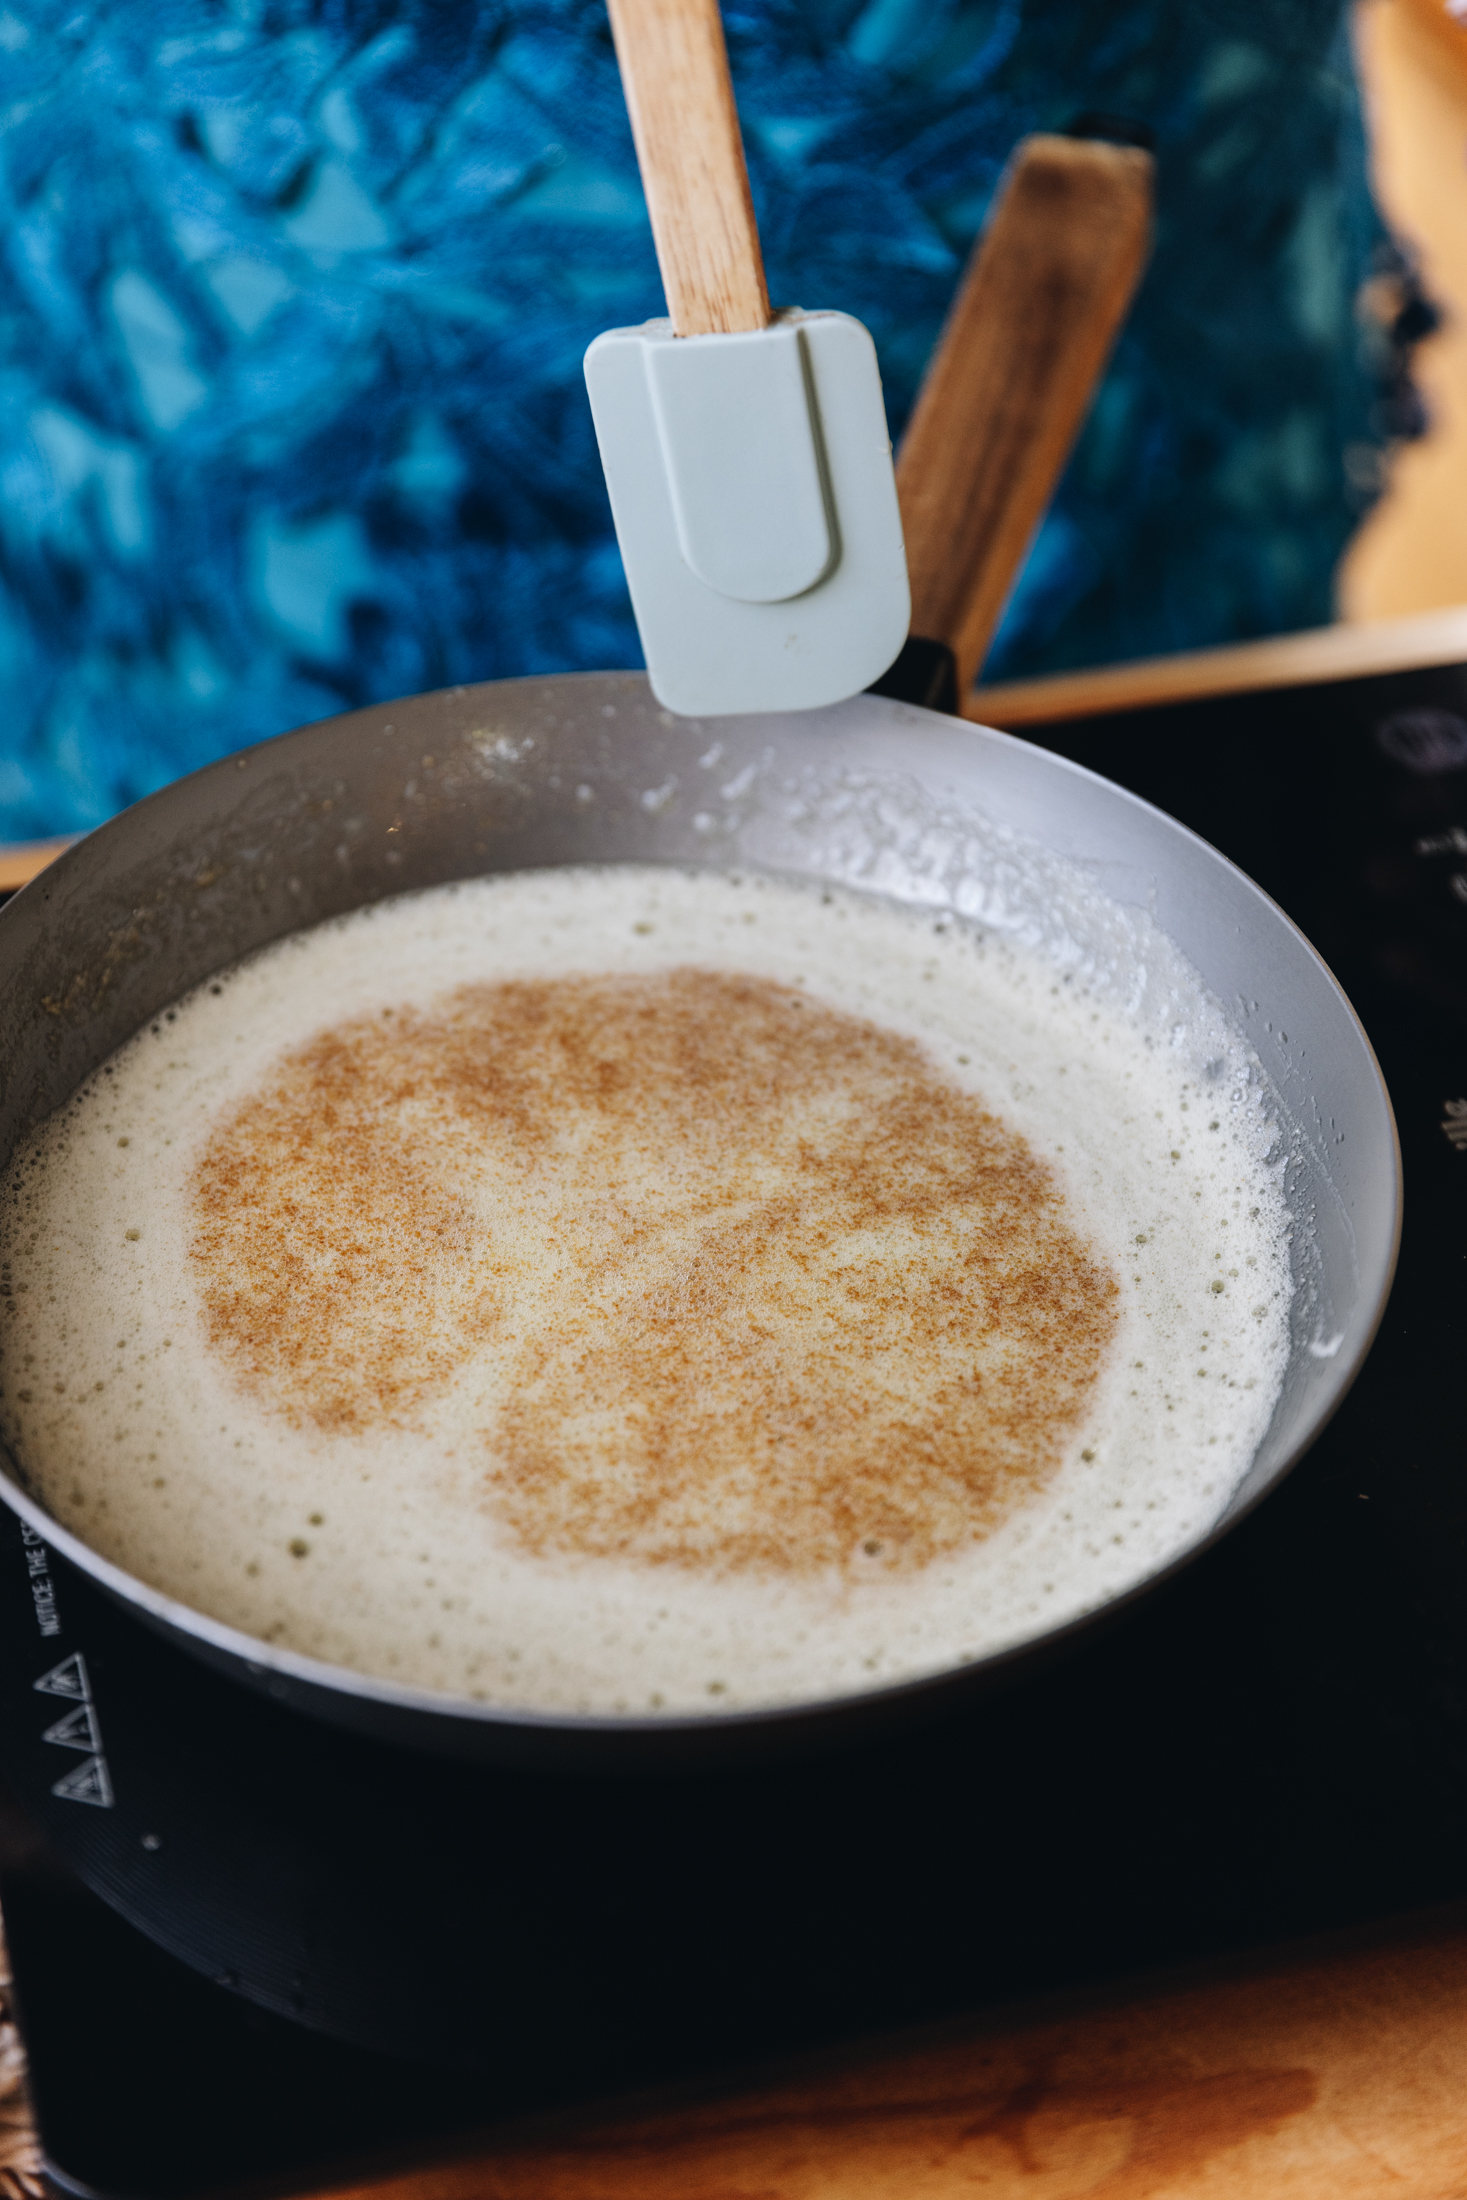
Stir it a little bit until the brown bits float to the top. It should smell nutty. (Use the pictures and video as a guide).
From here, stir it a little for another 30 seconds or so, so the butter browns further. This may smoke a little but a little bit of smoke is ok.
Remove from the heat and pour it straight in to a bowl.
Note: Don't use a glass bowl like I did in the video - I broke mine that way and yes, it was not a bright idea!
Leave it to cool for 10 minutes.
4. Make the Spiced Pecans (Optional).
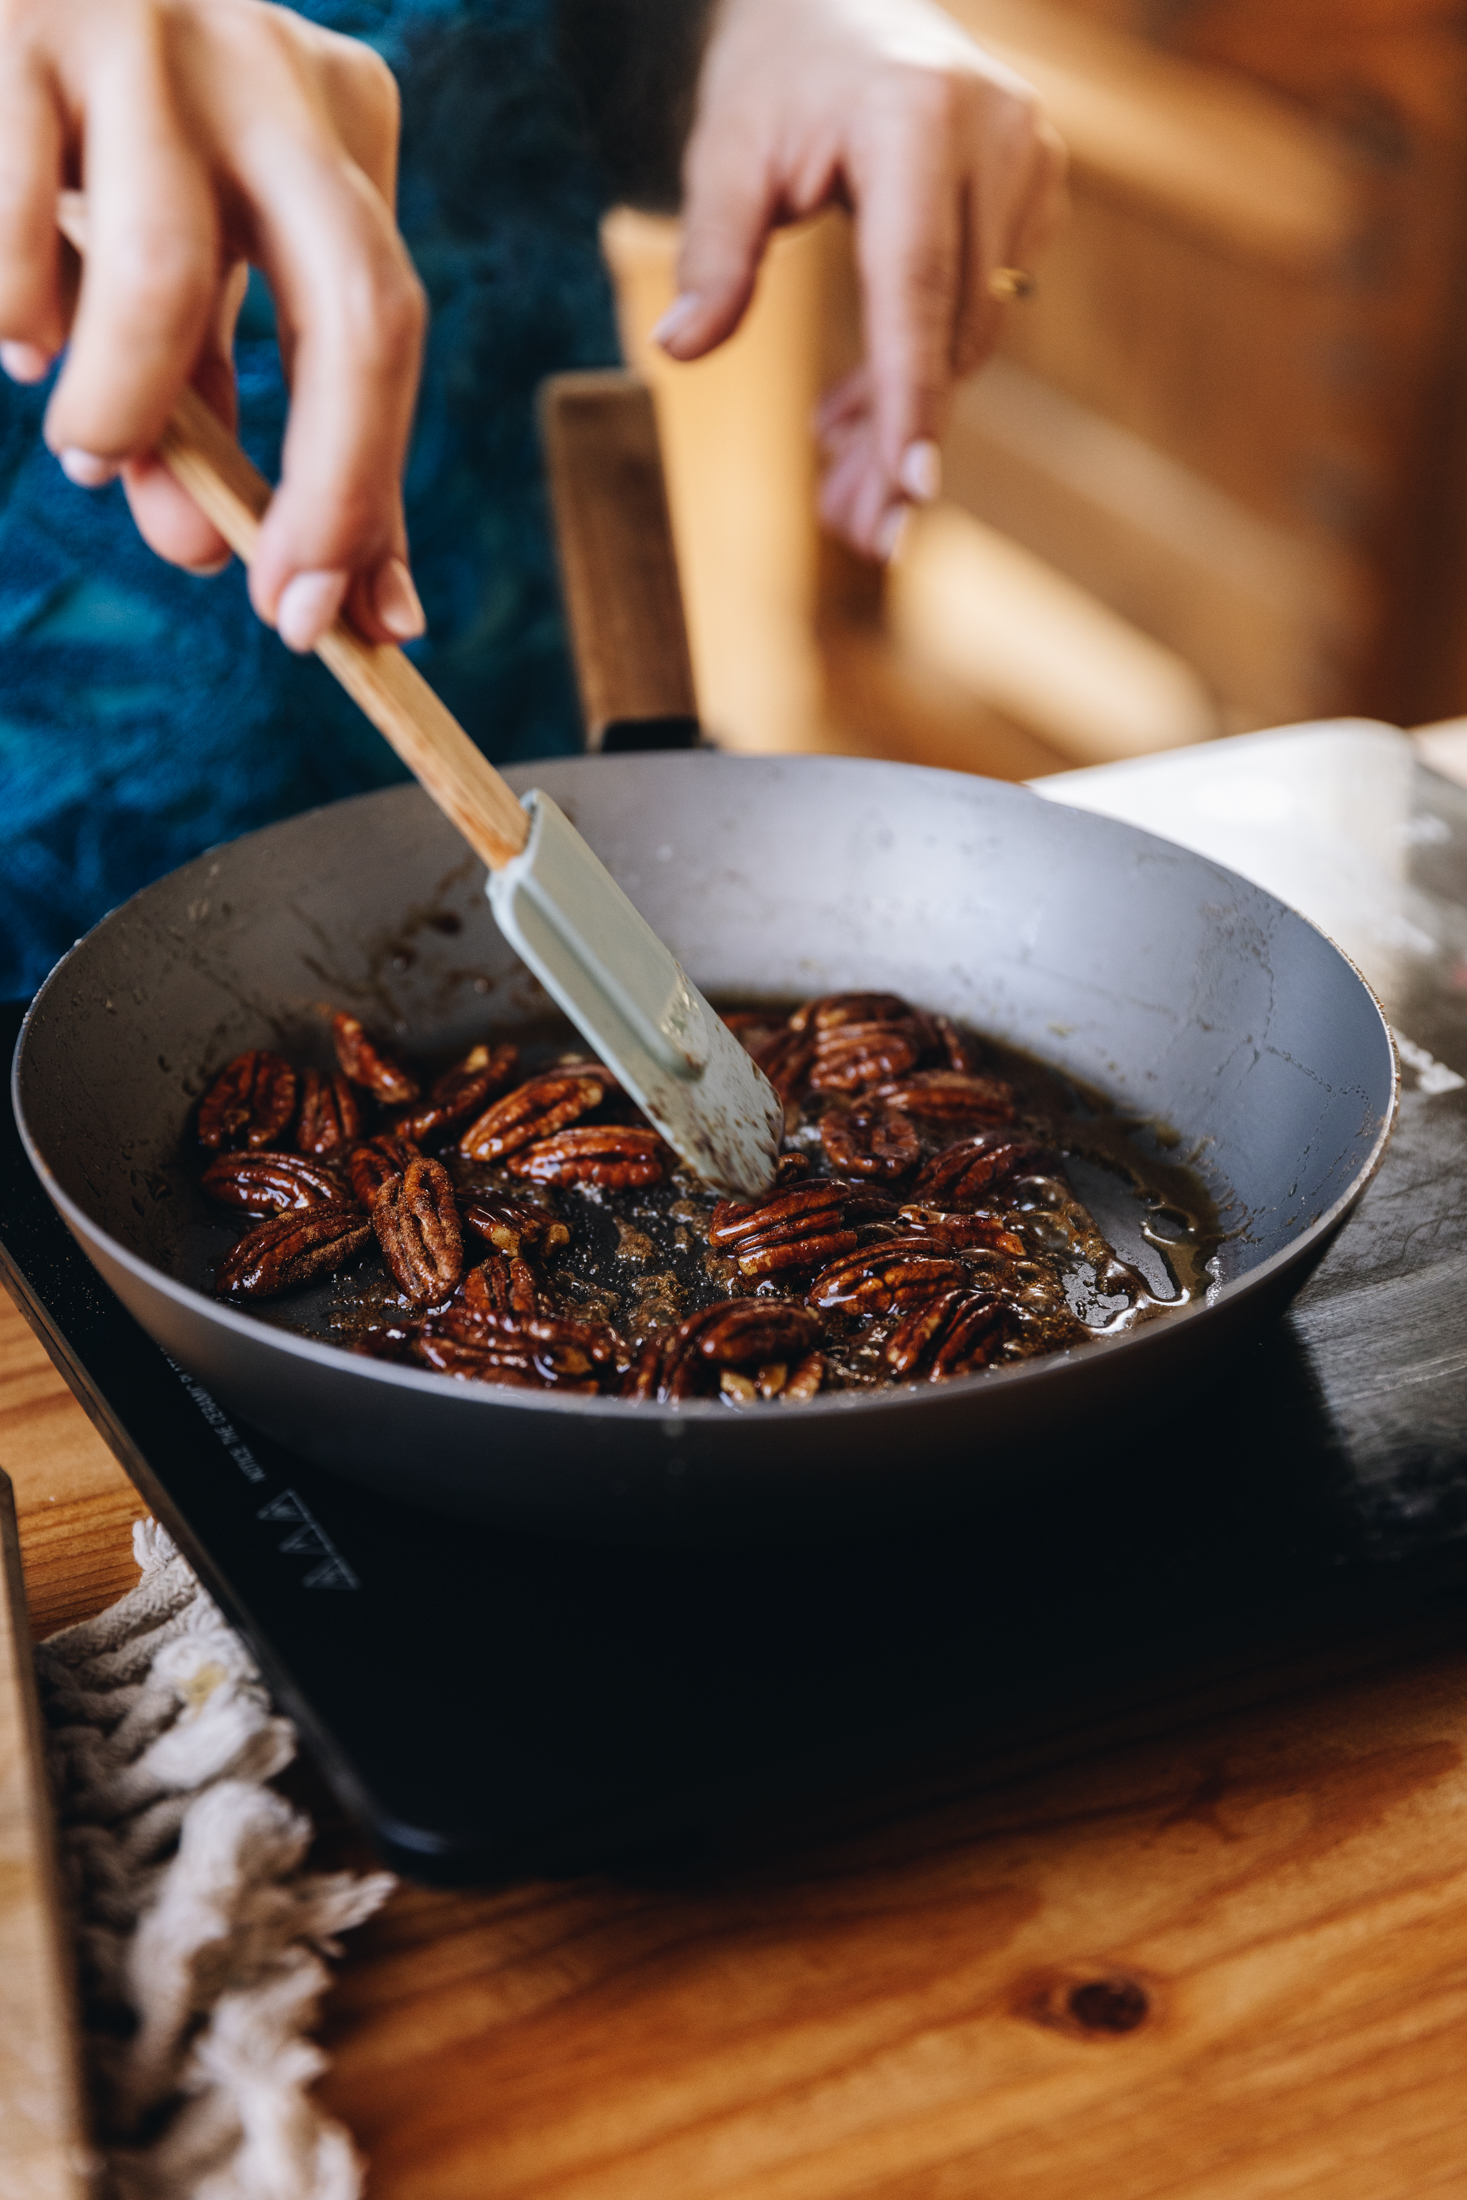
Chop the nati pēkani (pecan nuts) in to small pieces. Add them in to the same pan as the brown butter (no need to clean it). Toast them over medium heat.
Add the marahihi māpere (maple syrup) and hinamona (cinnamon) in to the hot pan.
Stir for 30 seconds on the heat and watch it sizzle.
Remove from the heat and set them aside to cool.
5. Make the Cookie Dough:
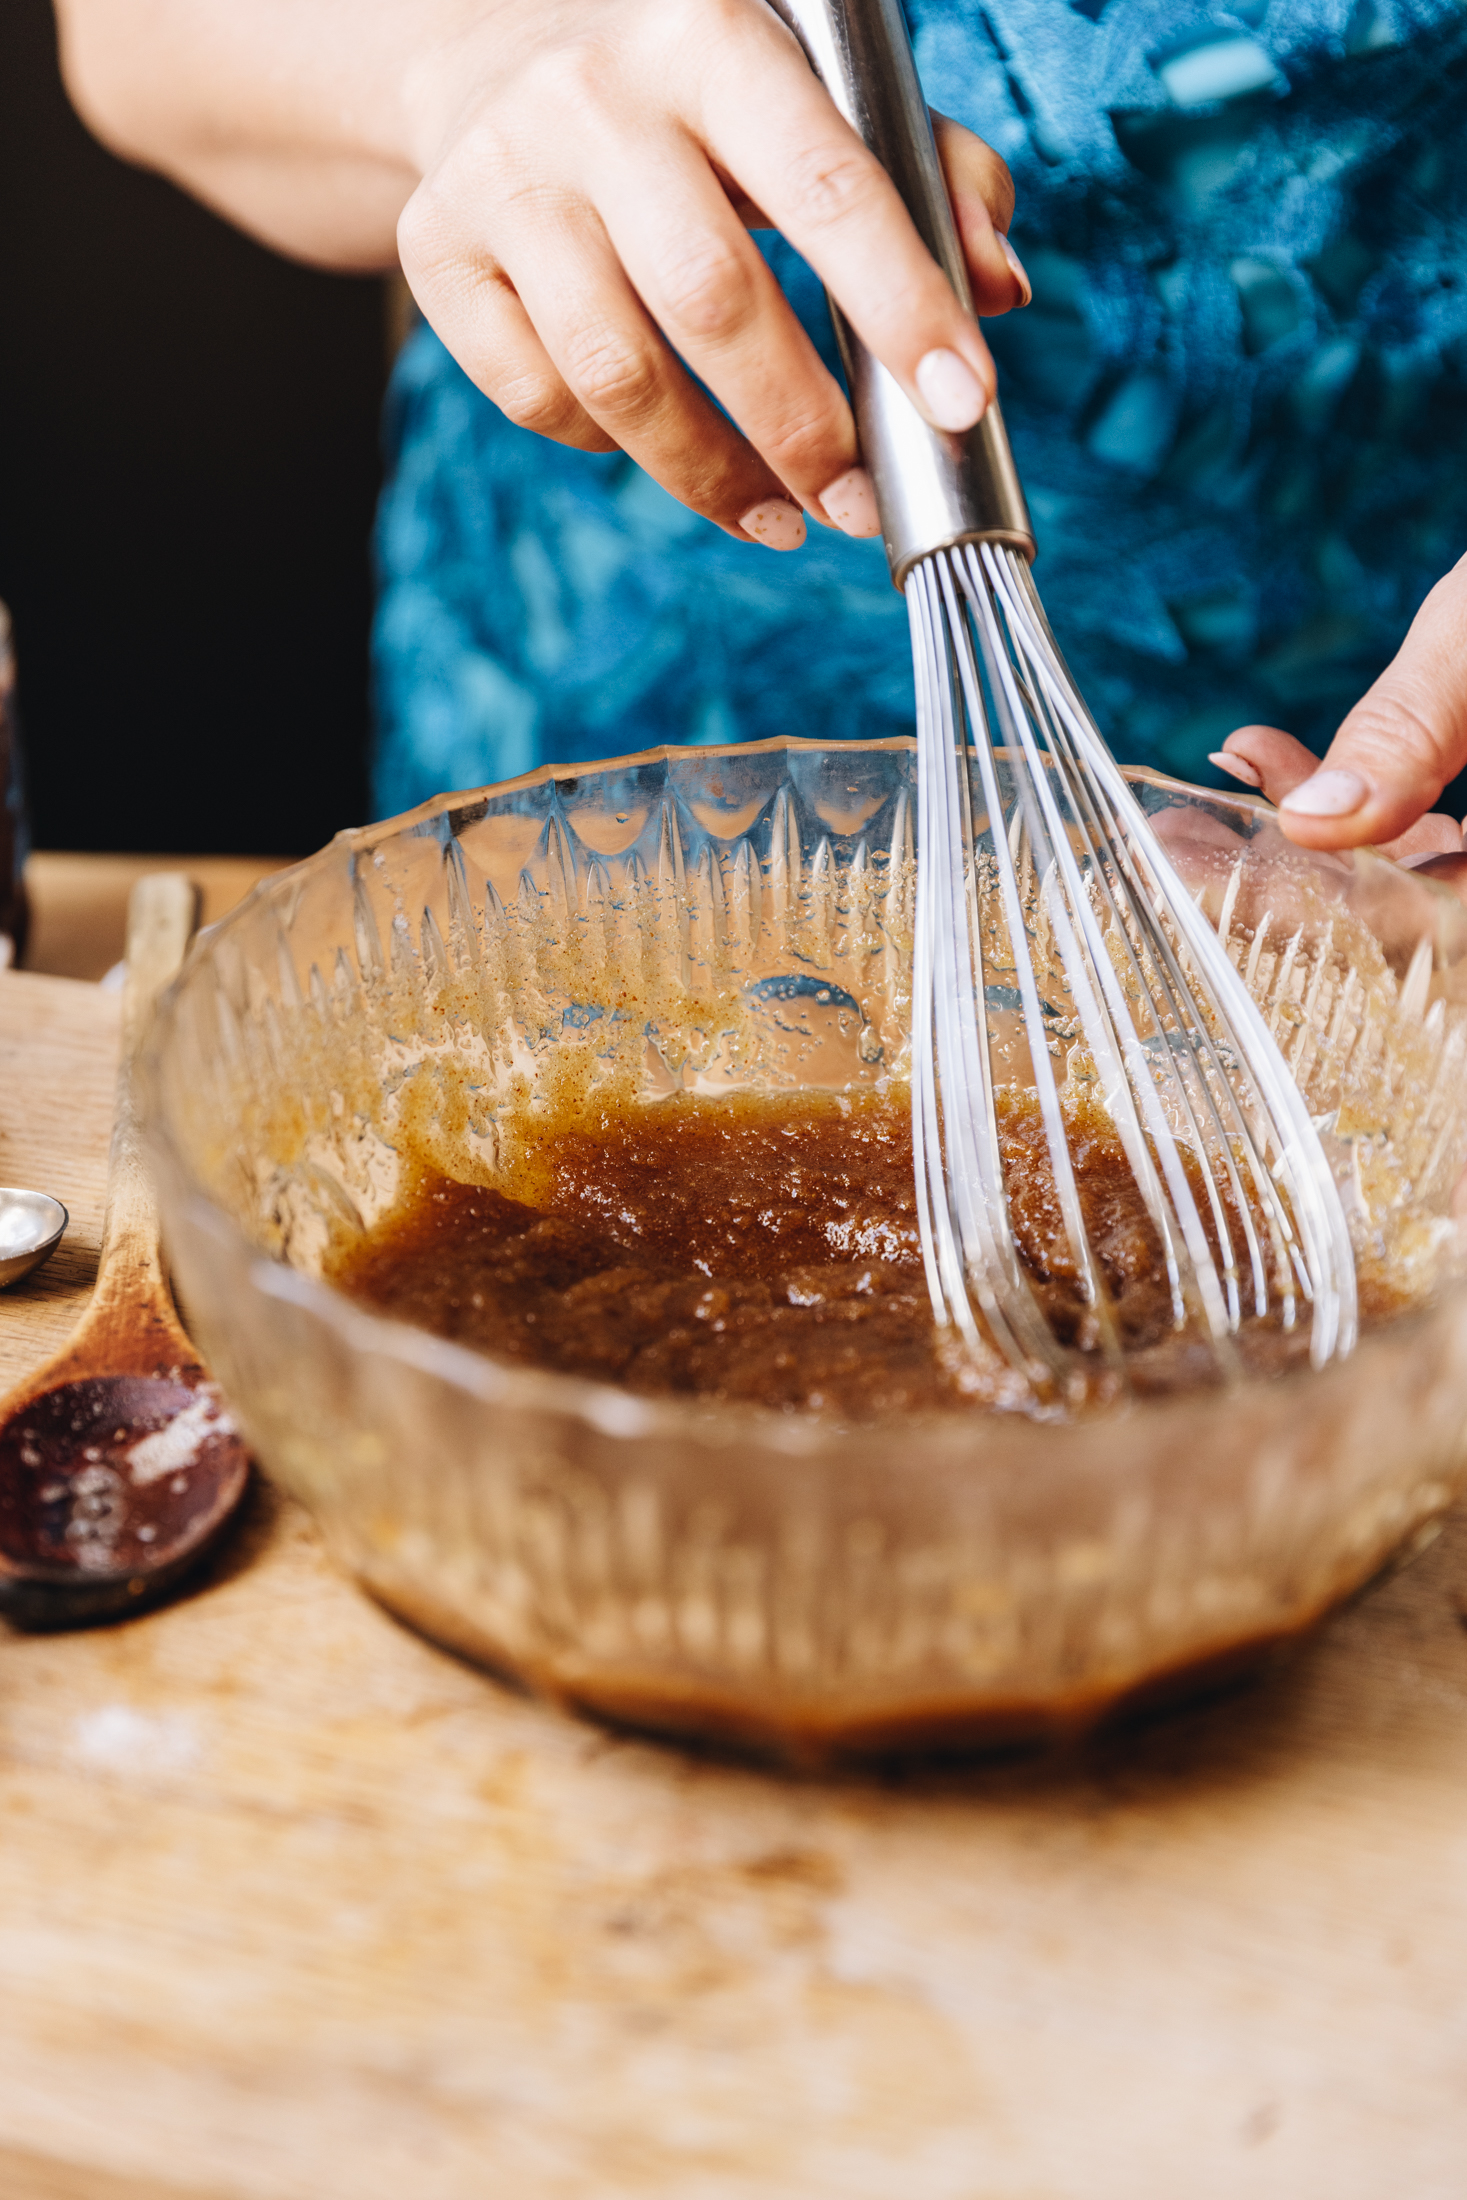
Add the tote (salt), huka hāura (brown sugar), huka one (caster sugar) and iho hūperei (vanilla) in to the slightly cooled brown butter.
Mix together with a whisk for a minute. Don't worry if the mixture looks a little separated, the eggs will fix that.
Add one hēki (egg) and whisk for 20 seconds. Then add the second hēki (egg) and whisk again for 20 seconds.
Add the puehu parāoa (flour), pēkana paura (baking powder) and pēkana houra (baking soda). Mix with a fork until a dough forms.
6. Add the Chocolate:
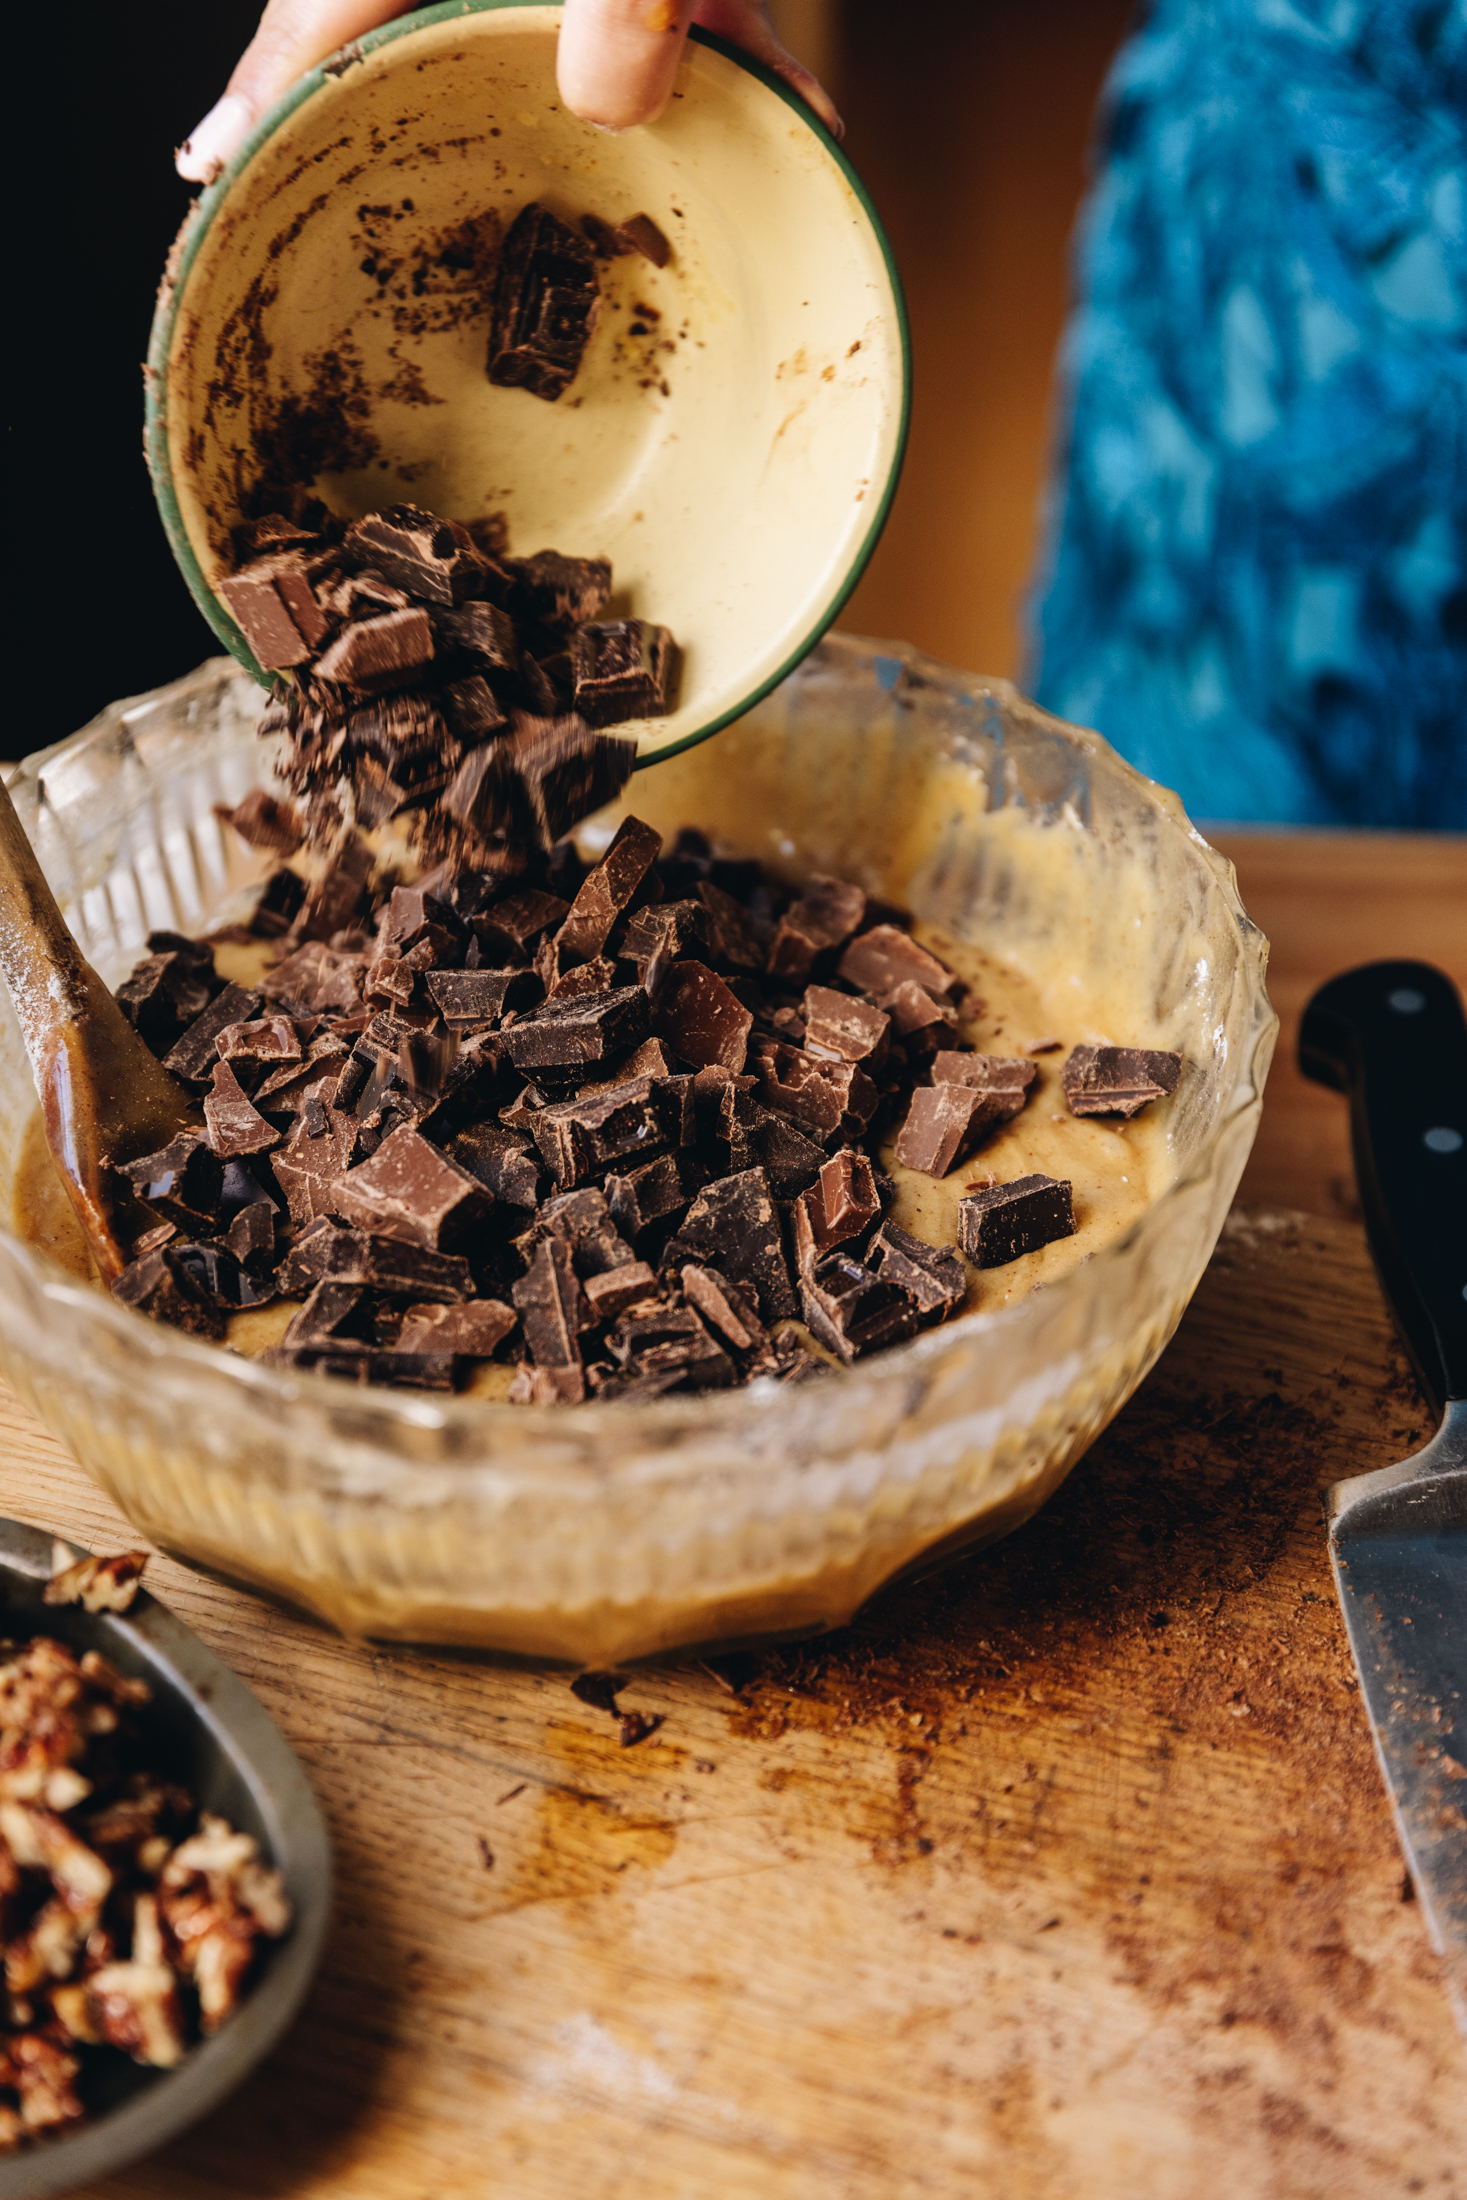
Add the tiakarete (chocolate) to a papa tapatapahi (chopping board) and chop in to chunks.
Reserve the biggest pieces for the centre of the cookie pies so they add to the goo factor.
Add the rest to the cookie dough with the nati pēkani (pecan nuts), if you are using them. Stir everything together.
7. Chill the Dough:
Put the bowl of mixture in the fridge for five minutes to thicken.
8. Make the Gooey Cookie Pies:
As it thickens, grease a 12 capacity muffin tray with butter.
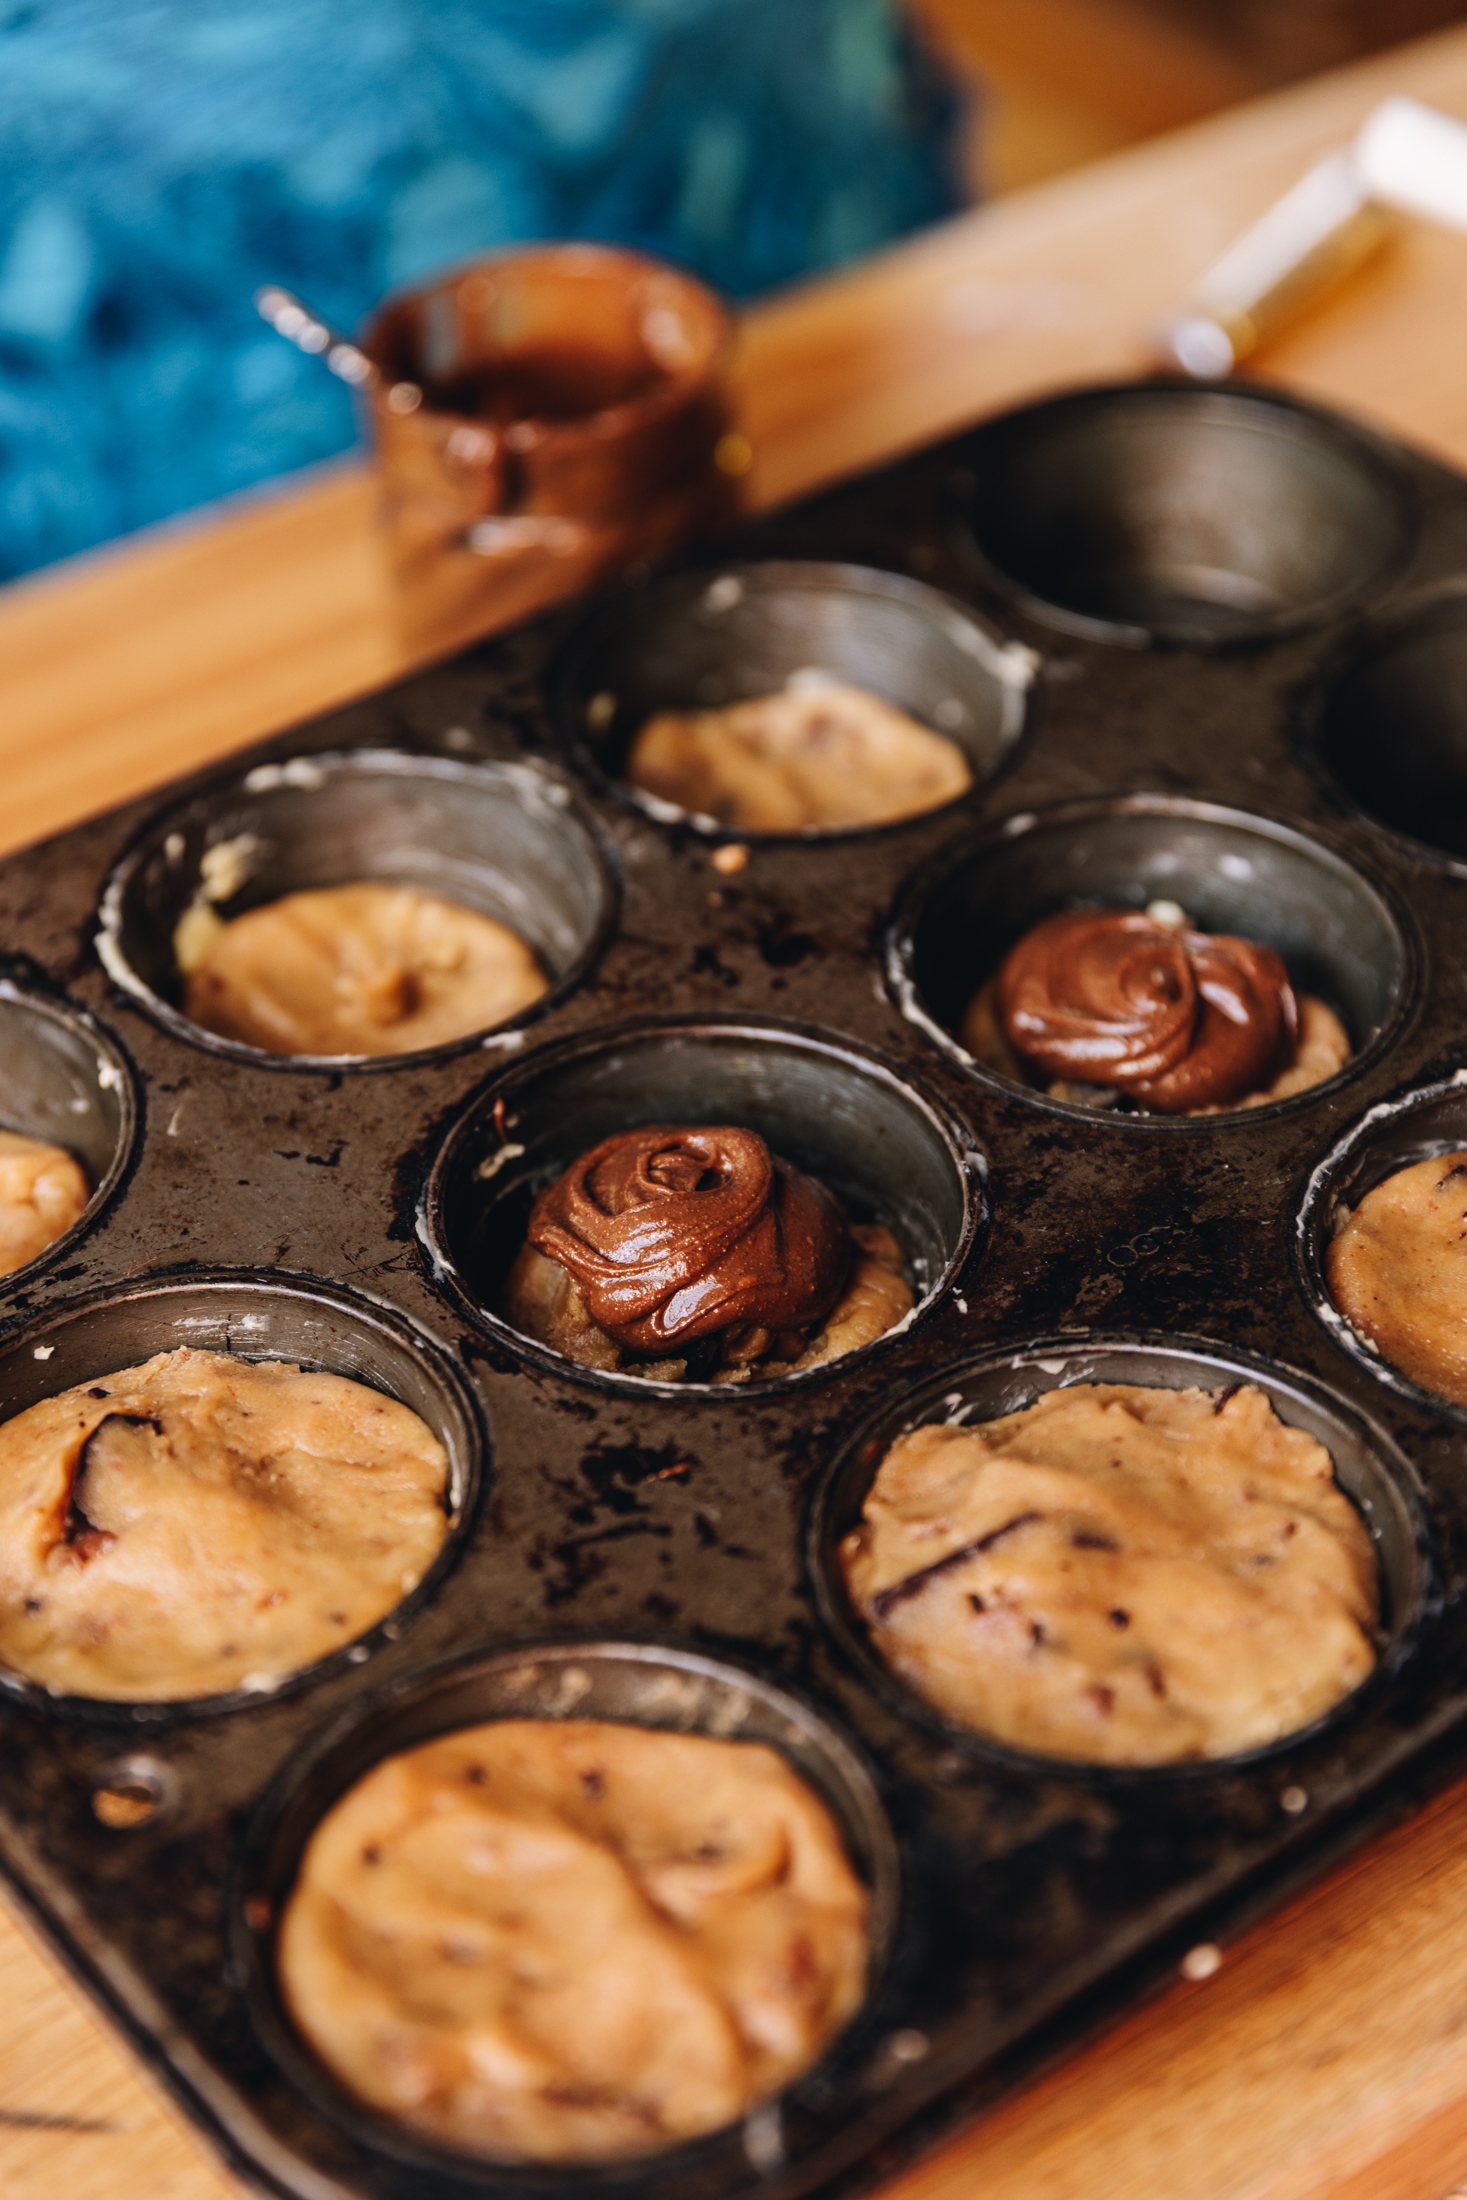
Use ⅔'s of the dough to press in to the muffin tins. Make sure you press it firmly in the bottom of the trays and up the sides so it holds the filling.
Divide the reserved tiakarete (chocolate) in to the centre of each cookie pie.
Now add a teaspoon of pani tiakarete hānati (chocolate hazelnut spread) on top of the tikarete (chocolate).
Divide the remaining ⅓ of the mixture in to 12 pieces to create the lids. Spread out each piece and press it firmly on the top and down the sides of the tin.
9. Bake the Gooey Cookie Pies:
Bake for 18 minutes until they are golden and perfect.
10. Decorate (Optional):
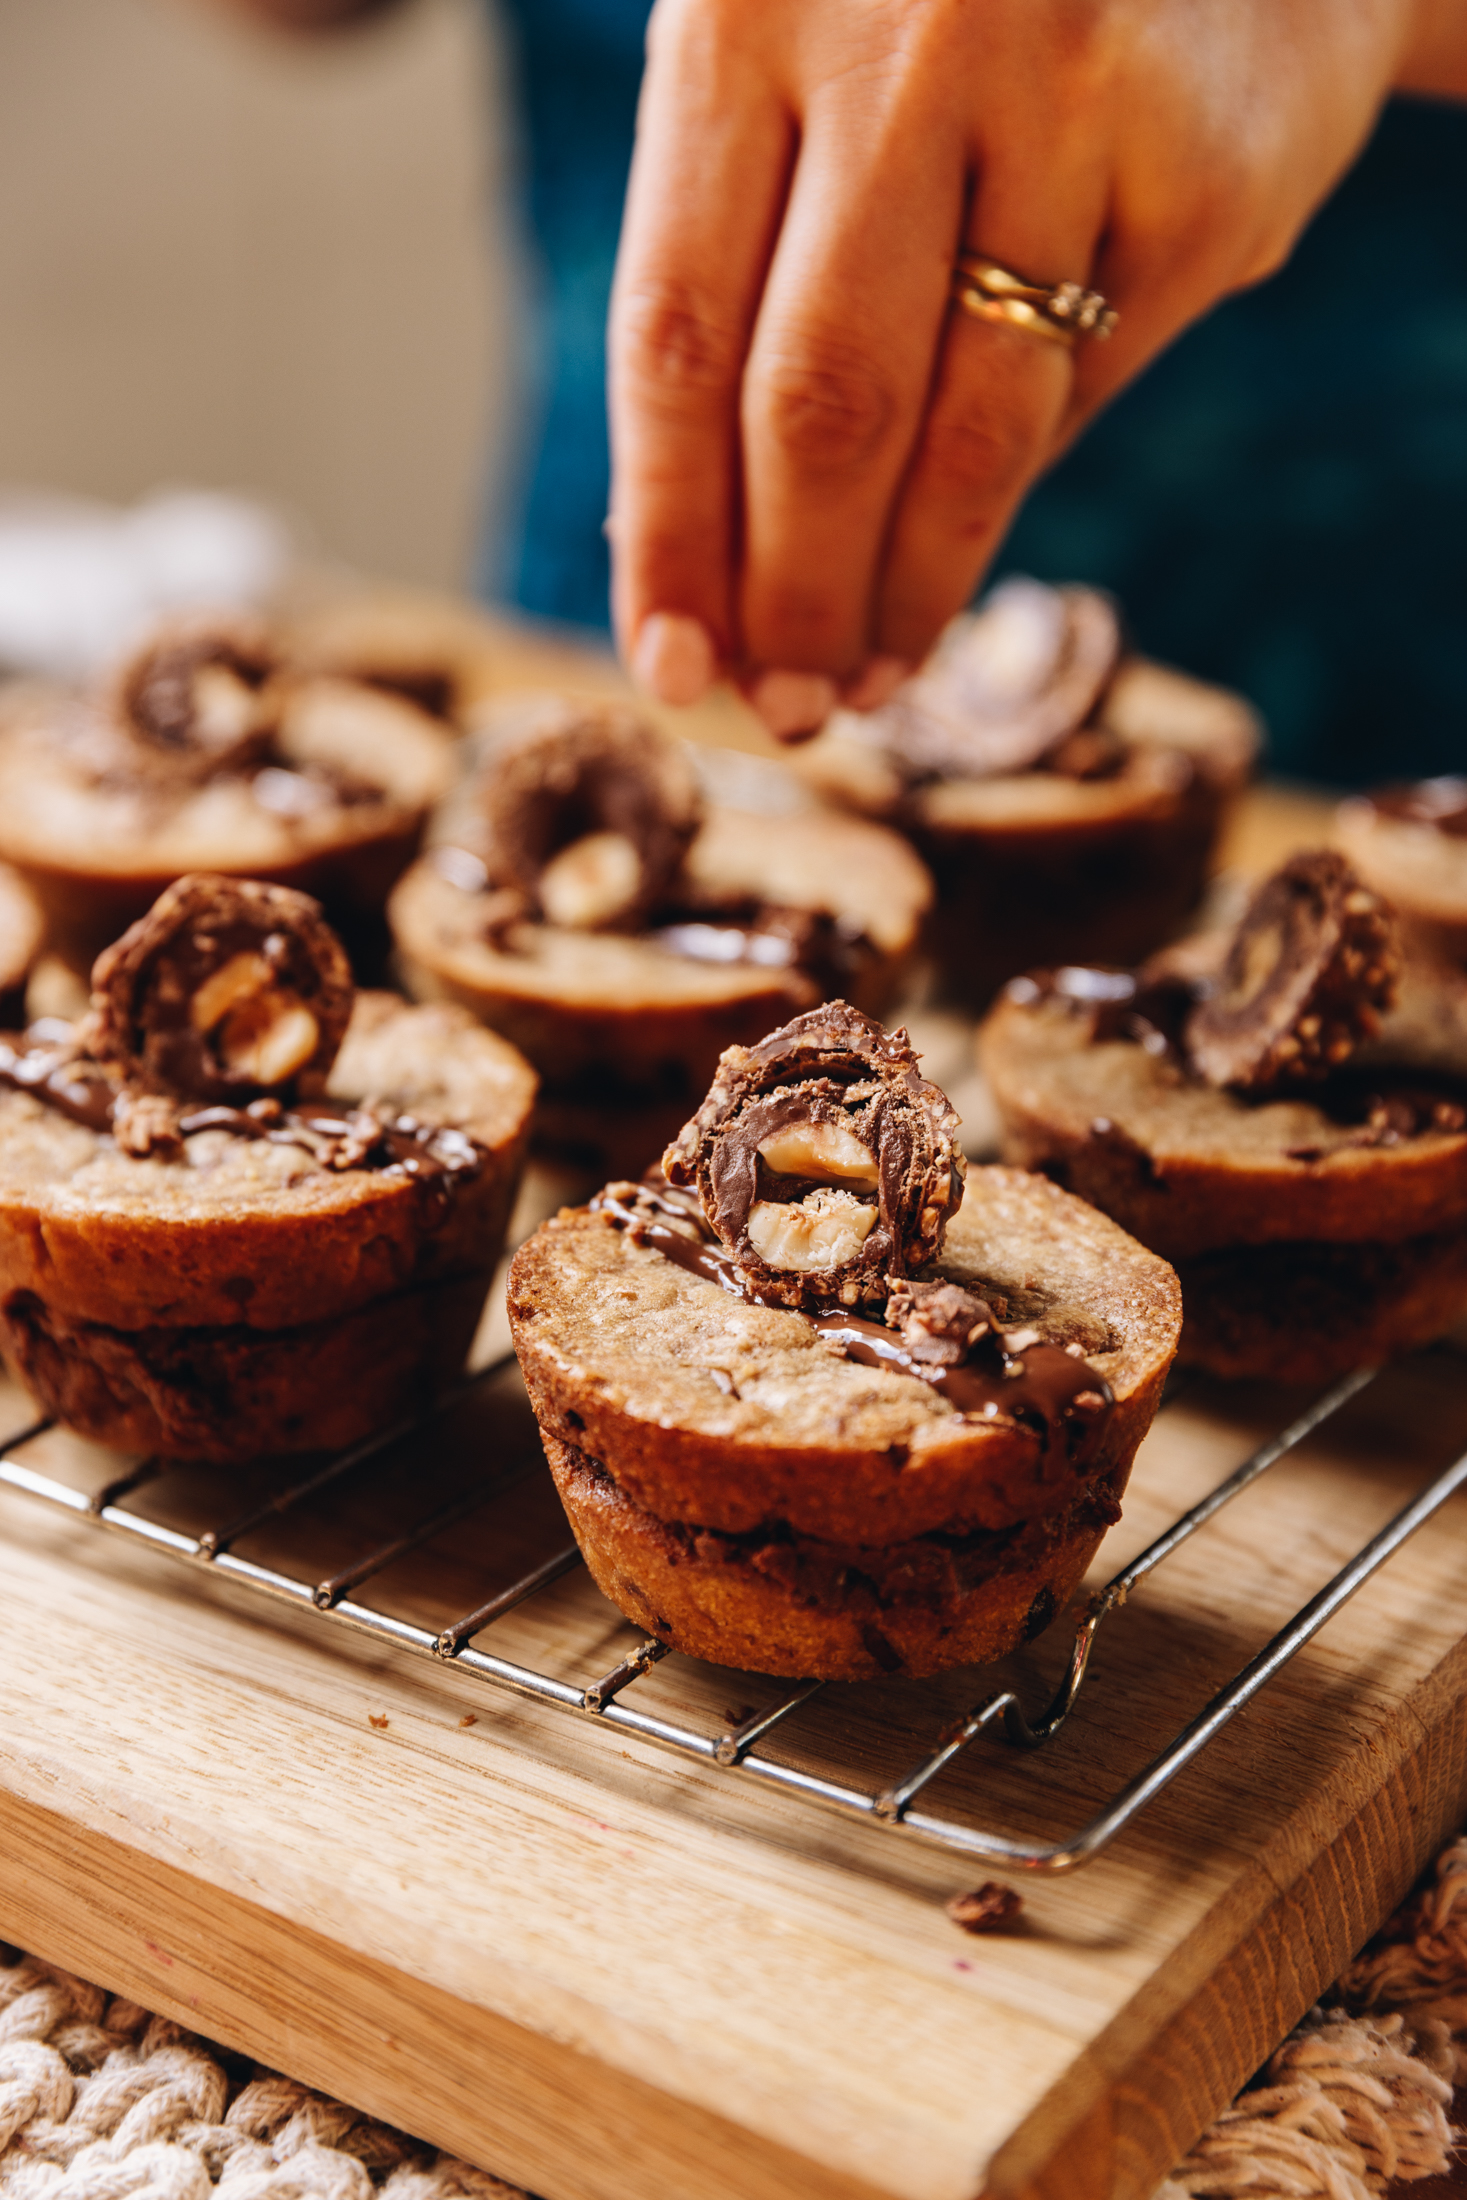
If you want to give them a bit of extra love, drizzle over the tiakarete kua rewaina (melted chocolate) and top each cookie pie with half a Forrero Rocher.
Titiro mai - look here, there are more
Biscuit Recipes
Small morsels of goodness and love that are best shared.
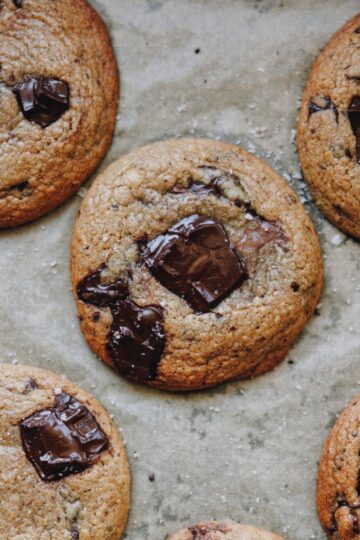

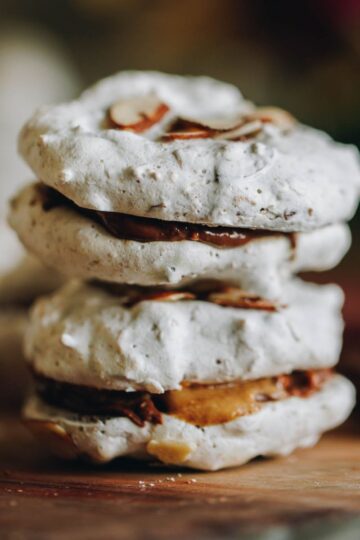
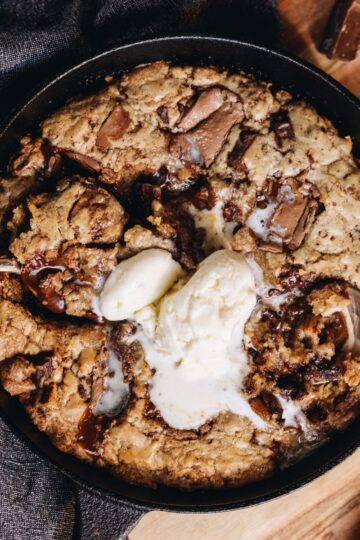

DID YOU ENJOY THIS RECIPE?
It would be so awesome if you could please leave a review/comment by clicking the “leave a comment” section at the top of the page.
I love seeing you all make my creations, so send a whakaahua (photo) or kiriata (video) to my Instagram and show me what you made. Let me know if you have any pātai (questions) too, I would love to help.
Gooey Cookie Pies - Pae Pata Parauri
Equipment
- 1 x Standard 12 capacity muffin tin
Ingredients
The Brown Butter - Te Pata Parauri
- 210 g pata (butter, cut in to cubes)
Spiced Pecan Nuts - Nati Pēkani (optional add ins, skip if you want to)
- ⅓ C (50 g) nati pēkani (pecan nuts)
- 2 tablespoon marahihi māpere (maple syrup)
- 1 teaspoon hinamona (cinnamon)
Te Pokenga - The Dough
- ½ teaspoon tote (salt, fine)
- ¾ C (150 g) huka hāura (brown sugar)
- ⅓ C (75 g) huka one (caster sugar)
- 2 teaspoon (10 ml) iho hūperei (vanilla essence)
- 2 hēki (eggs, size 6)
- 2 C (300 g) puehu parāoa noa (plain flour)
- ¼ teaspoon pēkana paura (baking powder)
- ¼ teaspoon pēkana houra (baking soda)
- 150 g tiakarete parauri (dark chocolate). Use whatever mix of chocolate you want - this is a guide.
- 100 g tiakarete miraka (milk chocolate)
- 12 teaspoon pani tiakarete hānati (chocolate hazelnut spread, this is not essential to the recipe, omit if you want to).
The Decorations - Ngā whakarākei (optional)
- 50 g tiakarete paruari kua rewaina (melted chocolate)
- 6 Forrero Rocher chocolates (cut in half)
Instructions
Preheat the Oven:
- Pre-heat the oven to 165 °C.
Brown the Butter:
- Add the chopped pata (butter) in to a medium sized pot or pan. Set over medium heat.
- First, melt the butter, stirring occasionally.
- As the heat continues the milk fats will start to separate (these are the white, floaty bits). Stir occasionally here so nothing sticks to the bottom of the pot. Keep it on the heat until the butter starts to foam.
- Stir it a little bit until the brown bits float to the top. It should smell nutty. (Use the pictures and video as a guide). From here, stir it a little for another 30 seconds or so, so the butter browns further. This may smoke a little but a little bit of smoke is ok.
- Remove from the heat and pour it straight in to a bowl. Note: Don't use a glass bowl like I did in the video - I broke mine that way and yes, it was not a bright idea!
- Leave it to cool for 10 minutes.
Make the Spiced Pecans (Optional).
- Chop the nati pēkani (pecan nuts) in to small pieces. Add them in to the same pan as the brown butter (no need to clean it). Toast them over medium heat.
- Add the marahihi māpere (maple syrup) and hinamona (cinnamon) in to the hot pan. Stir for 30 seconds on the heat and watch it sizzle. Remove from the heat and set them aside to cool.
Make the Cookie Dough:
- Add the tote (salt), huka hāura (brown sugar), huka one (caster sugar) and iho hūperei (vanilla) in to the slightly cooled brown butter.
- Mix together with a whisk for a minute. Don't worry if the mixture looks a little separated, the eggs will fix that.
- Add one hēki (egg) and whisk for 20 seconds. Add the second hēki (egg) and whisk again for 20 seconds.
- Add the puehu parāoa (flour), pēkana paura (baking powder) and pēkana houra (baking soda). Mix with a fork until a dough forms.
Add the Chocolate:
- Add the tiakarete to a papa tapatapahi (chopping board) and chop in to chunks.
- Reserve the biggest pieces for the centre of the cookie pies. Add the rest to the cookie dough with the nati pēkani (pecan nuts), if you are using them. Stir everything together.
Chill the Dough:
- Put the bowl of mixture in the fridge for five minutes to thicken.
Make the Cookie Pies:
- As it thickens, grease a 12 capacity muffin tray with butter.
- Use ⅔'s of the dough to press in to the muffin tins. Make sure you press it firmly in the bottom of the trays and up the sides.
- Divide the reserved tiakarete (chocolate) in to the centre of each cookie pie. Now add a teaspoon of pani tiakarete hānati (chocolate hazelnut spread) on top of the tikarete (chocolate).
- Divide the remaining ⅓ of the mixture in to 12 pieces to create the lids. Spread out each piece and press it firmly on the top and down the sides of the tin.
Bake the Cookie Pies:
- Bake for 18 minutes until they are golden and perfect.
Decorate (Optional):
- If you want to give them a bit of extra love, drizzle over the tiakarete kua rewaina (melted chocolate) and top each cookie pie with half a forrero rocher.
Video
Expert Tips for the best Gooey Cookie Pies:
How to Brown Butter for Gooey Cookie Pies:
Keep the heat at medium when browning your butter. This allows the pata paruari (brown butter) to develop slowly, creating a deep, nutty flavour without burning. For more guidance, check out my How to Brown Butter post.
Cool Brown Butter Before Mixing Your Cookie Pie Dough:
Let the pata paruari (brown butter) cool for at least 10 minutes before adding the remaining ingredients—this helps avoid any unwanted scrambled egg situations.
Why Your Brown Butter Cookie Dough Might Look Split:
When the pata paruari (brown butter) and huka (sugar) are combined, the mixture may look slightly split—don’t worry. Once the hēki (egg) is added, it will come together smoothly.
Chill Your Dough for Texture:
The pokenga (dough) will be quite soft after adding the chocolate, but a quick 5-10 minute chill in the fridge will firm it up and make it easier to work with.
Variations:
Swap the Chocolate Fillings:
Switch out the tiakarete (chocolate) and chocolate hazelnut spread for white chocolate or even a pata pīnati (peanut butter) centre for a different twist on these gooey cookie pies.
Swap the Nuts:
Fold in chopped hānati (hazelnuts), wōnati (walnuts), or aramona (almonds) instead of nati pēkani (pecan nuts).
Try Different Cookie Bases:
Use this method with your favourite brown butter cookies or even a classic vanilla dough to create different styles of cookie pies.
Storage Tips:
How to Store Gooey Cookie Pies at Room Temperature:
Store your gooey cookie pies in an airtight container at room temperature for 3 - 5 days. This keeps the edges soft and the centres deliciously gooey.
Can You Refrigerate the cookies?
Yes, you can store these brown butter cookie pies in the fridge for up to 5 days. Just note that the centres will firm up so warm them up in the ngaruiti (microwave) or air fryer to bring the gooey centre back.
How to Freeze Brown Butter Cookie Pies:
These gooey cookie pies freeze beautifully. Wrap each cookie pie individually and store in an airtight container for up to 3 months. Defrost at room temperature or warm gently in the microwave for that fresh-baked feel.
FREQUENTLY ASKED QUESTIONS:
Yes, you can prepare the pokenga (dough) ahead of time and store it in the fridge, in a sealed container for up to a week. This can even enhance the flavour of your brown butter cookies.
Browning the pata (butter) adds a deep, nutty flavour that makes these gooey cookie pies extra speciaL. You can use regular melted butter if you’re short on time but reduce the amount to 180 g.
Āe mārika (absolutely). A quick 10–15 seconds in the microwave will bring back that warm, gooey centre and make them taste freshly baked again.
Naomi Toilalo WhānauKai
Woo hoo!!!! That is so good to hear that you love the recipe! Thanks for the awesome feedback!
Sian
Made these with all dark choc and a Biscoff centre. Out of this world!!! Not sure they’ll last till my shared Kai tomorrow lol
Naomi Toilalo WhānauKai
Woo hoo - so fun with the dark chocolate and Biscoff centre, that sounds so delicious!
Debs
We loved them. So warm and yummy on a drizzly, cold day!
Naomi Toilalo WhānauKai
Yay, the perfect combination of a cold day and warm cookie pies! 😍
Kim
Made these for my son’s 14th birthday instead of a cake!! We filled some with cream cheese whipped with melted chocolate and others with extra chocolate 🍫 😍 served with ice cream!! They were Devine and we are obsessed! Thank you ❤️✨
Naomi Toilalo WhānauKai
Kia ora Kim and what a fun recipe to make for your son's birthday. I love the adaptions you made too, how fun. Thanks for the awesome review!