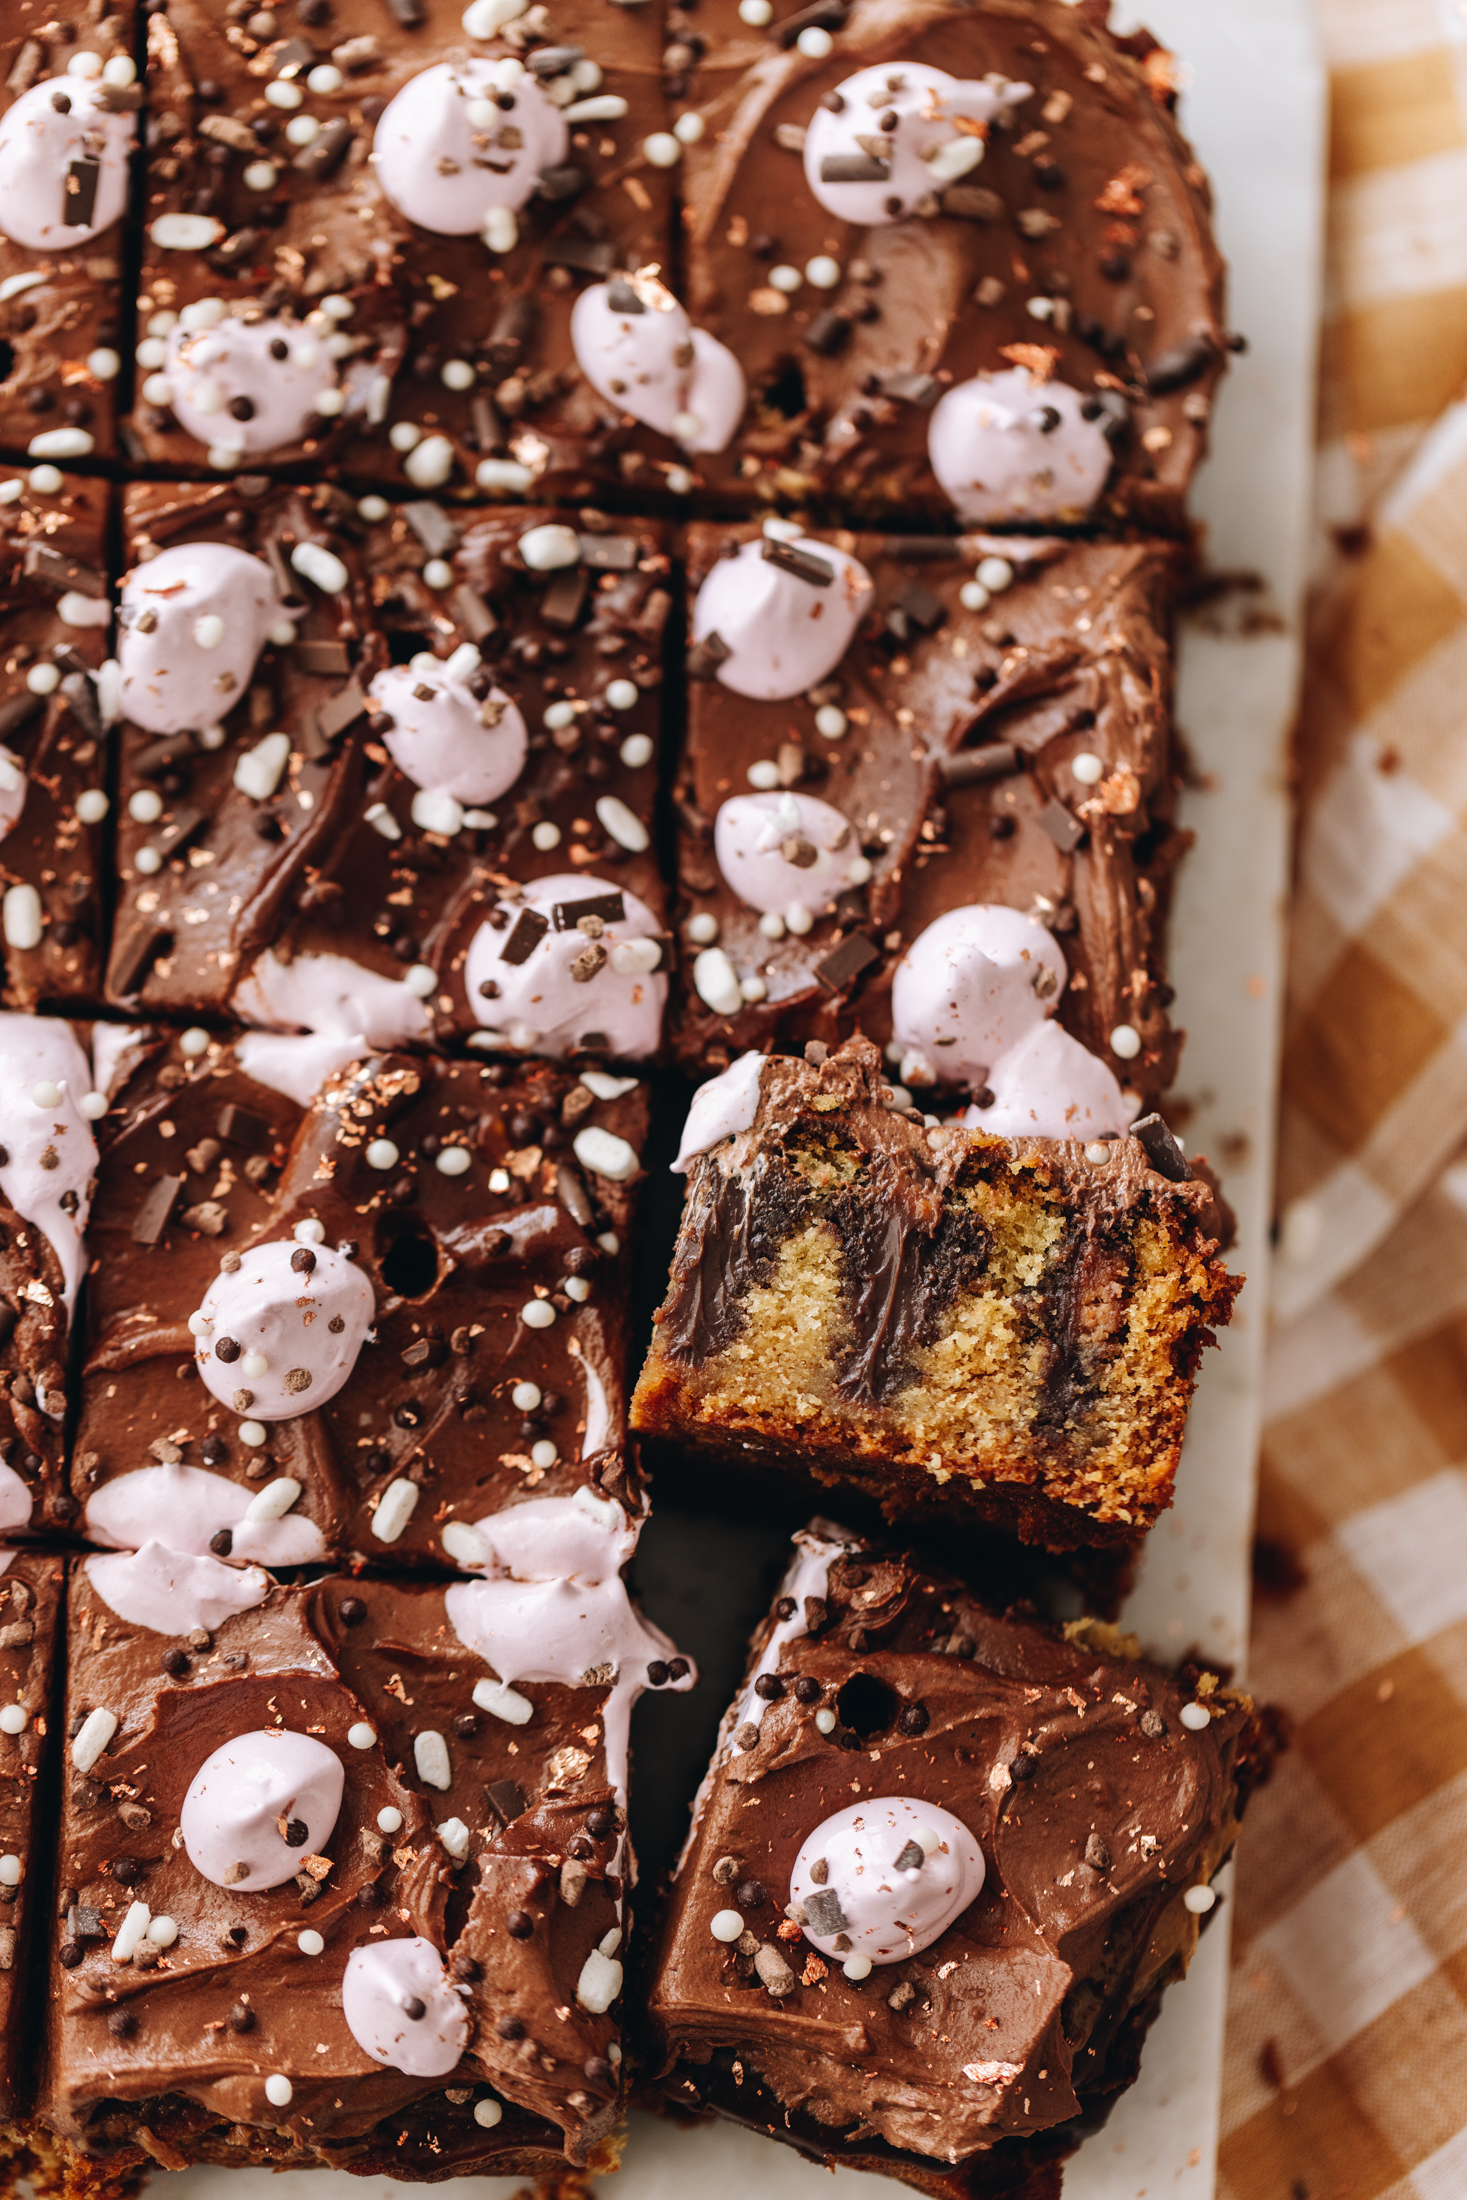
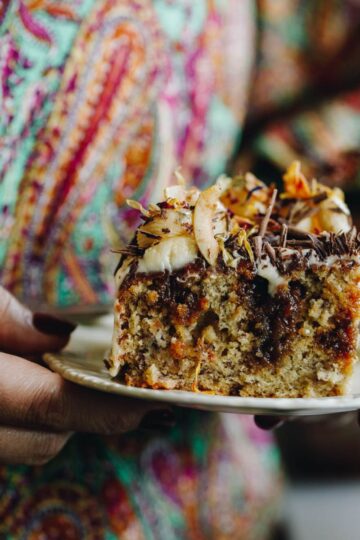
Introducing my Chocolate Ganache Poke Cake, a true eating delight. What is a poke cake you may ask? It is a cake that you bake and poke deep holes in to it. Then fill those holes with whatever you like and in this case, we are adding a creamy chocolate ganache. You will be the talk of the party so let's get baking!
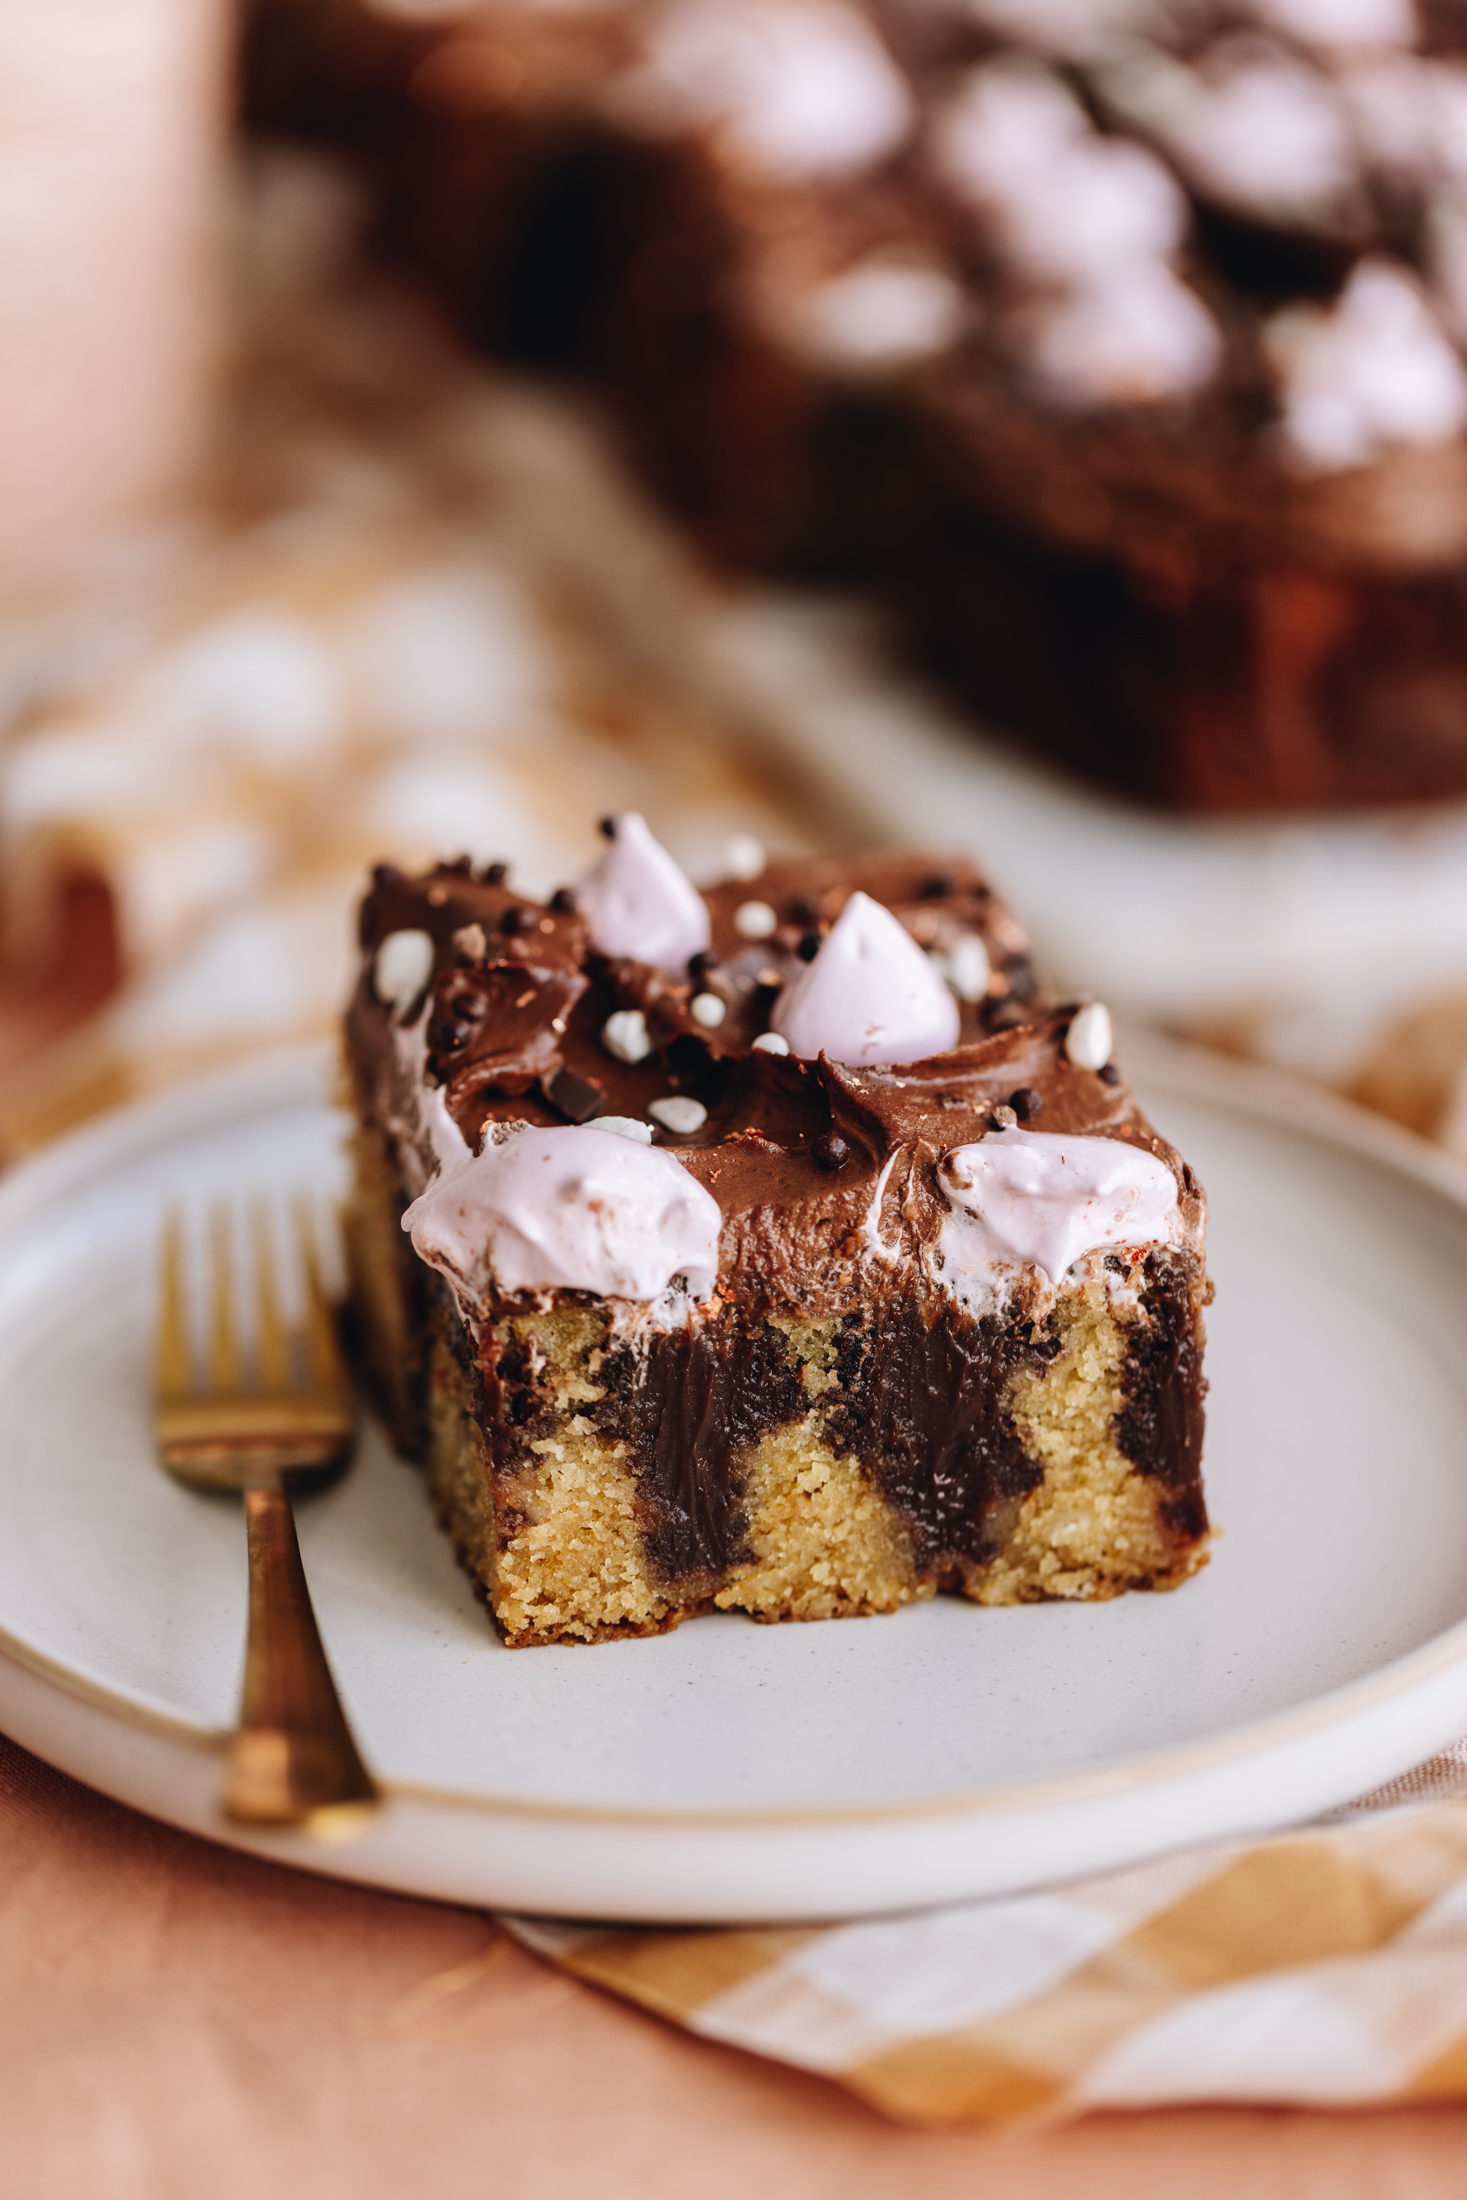
I made this super tasty keke (cake) a couple of years ago for Whittaker's chocolate and this is a slightly adapted cake from the original. For this version I bake a moist keke wanira (vanilla cake), poke deep holes in to the cake and fill them with a creamy chocolate ganache. Top it with a simple chocolate buttercream, pink French meringue and ruireka (sprinkles) for a joyful old time!
Are you a Peanut Butter Fan?
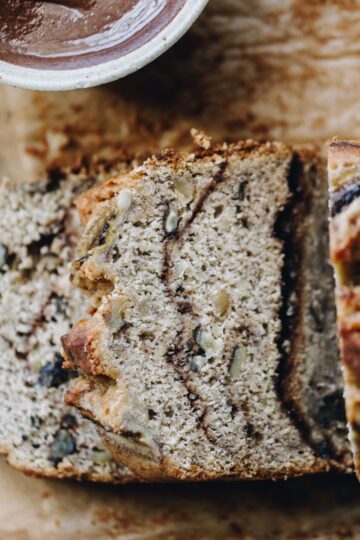
If your favourite combination is chocolate and peanut butter like me, then the original Chocolate Peanut Butter Poke Cake is the one for you! Or if you want a different flavoured poke cake, try this Banana and Caramel Poke Cake.
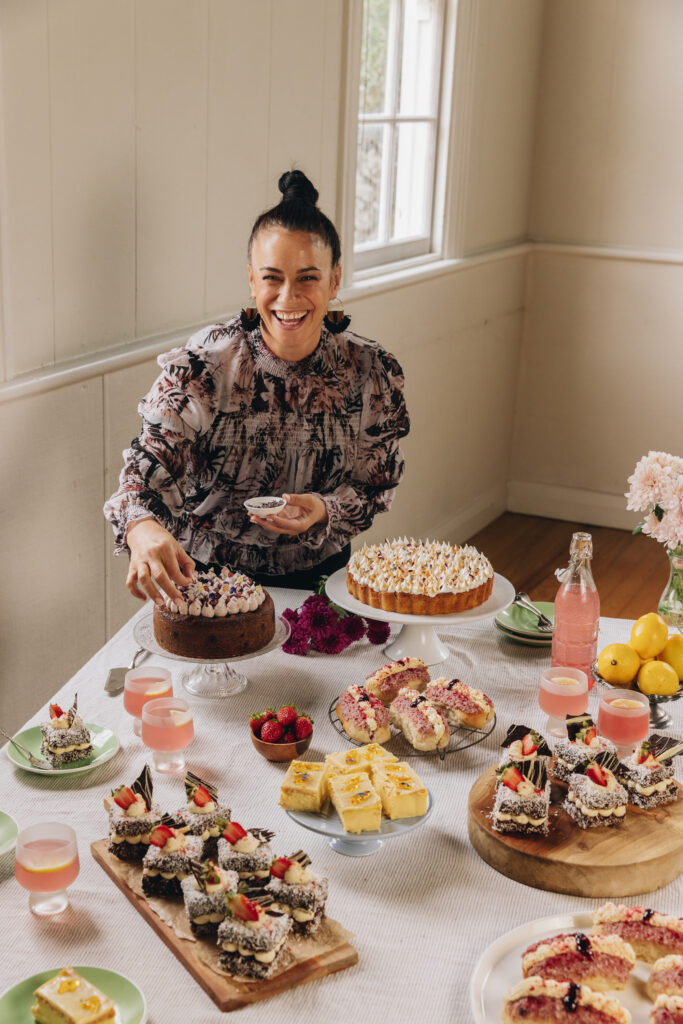
Videography and photography by Sarah Henderson.
Ingredient Tips for the Chocolate Ganache Poke Cake:
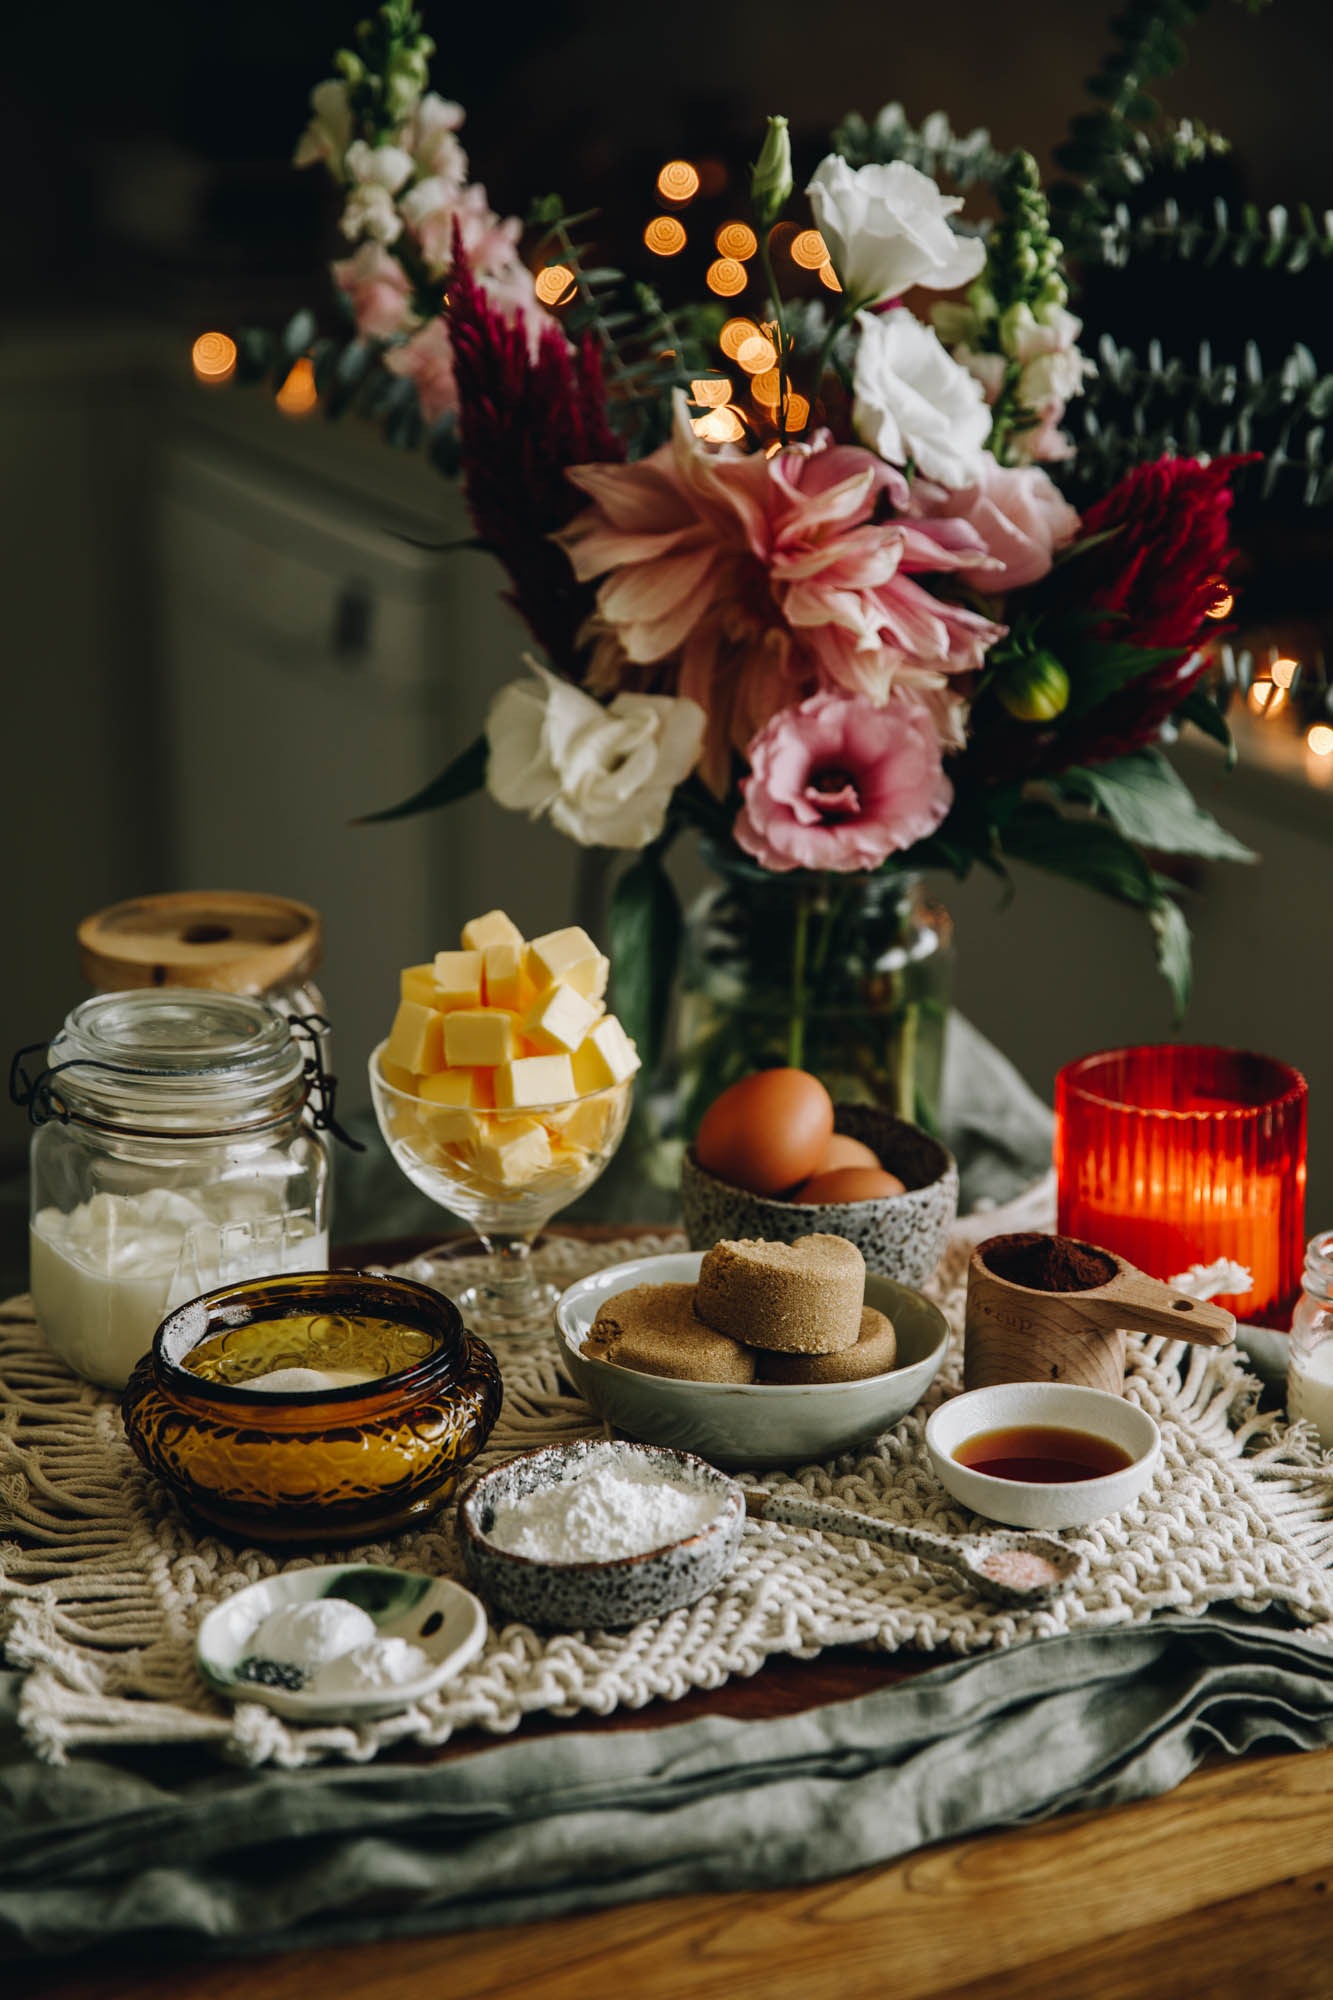
- Milk: Use full-fat miraka (milk) but trim will also work.
- Vinegar: I add vinegar to milk to make buttermilk in this recipe. Any vinegar will do but lemon juice works as well. If you want to replace the homemade buttermilk with the store bought version, go for it!
- Butter: I prefer salted pata (butter) because of the deep flavour but unsalted works.
- Eggs: I prefer free-range hēki (eggs) but use what you have.
- Vanilla: Use a good quality vanilla so the vanilla flavour is pronounced in the cake.
- Flour: Plain or high grade flour will work in this recipe.
- Chocolate: Any smooth milk chocolate will work for the chocolate ganache filling.
- Dark Chocolate: I used a 62% dark chocolate for the buttercream but use what you love or have.
EXPERT TIPS:
Take the time to whip the pata (butter) and huka (sugar) for the specified time. You want this mixture to be light in colour and super fluffy. If after 5 minutes it hasn't reached that state, whip for a couple more minutes. This is important because it helps the cake rise well when baking.
Make sure the baking tin as close to a 20 cm x 25 cm rectangle or 23 cm cake tin as possible so the cake is thick enough when baked.
Bake the cake gently in a low oven, this gentle heat creates an even bake of the cake without doming.
When making the holes, use the end of a wooden spoon (2 cm wide) to poke deep holes around 2 cm apart all over the cake, going ¾'s of the way in. Do this gently but twisting the handle side to side to help it move cleanly in and out of the cake. (Refer to the video for a visual aid).
STEP BY STEP INSTRUCTIONS FOR THE CHOCOLATE GANCHE POKE CAKE:
Note: The full recipe card with the full list of ingredients, instructions and step by step video are found at the bottom of this page.
1. PREHEAT THE OVEN:
Preheat the oven to 145 °C bake setting, 135 °C fan bake setting.
Grease a 20 x 25 cm rectangle tin with 5 cm high sides or a 23 cm cake tin and line it with baking paper on the base and sides.
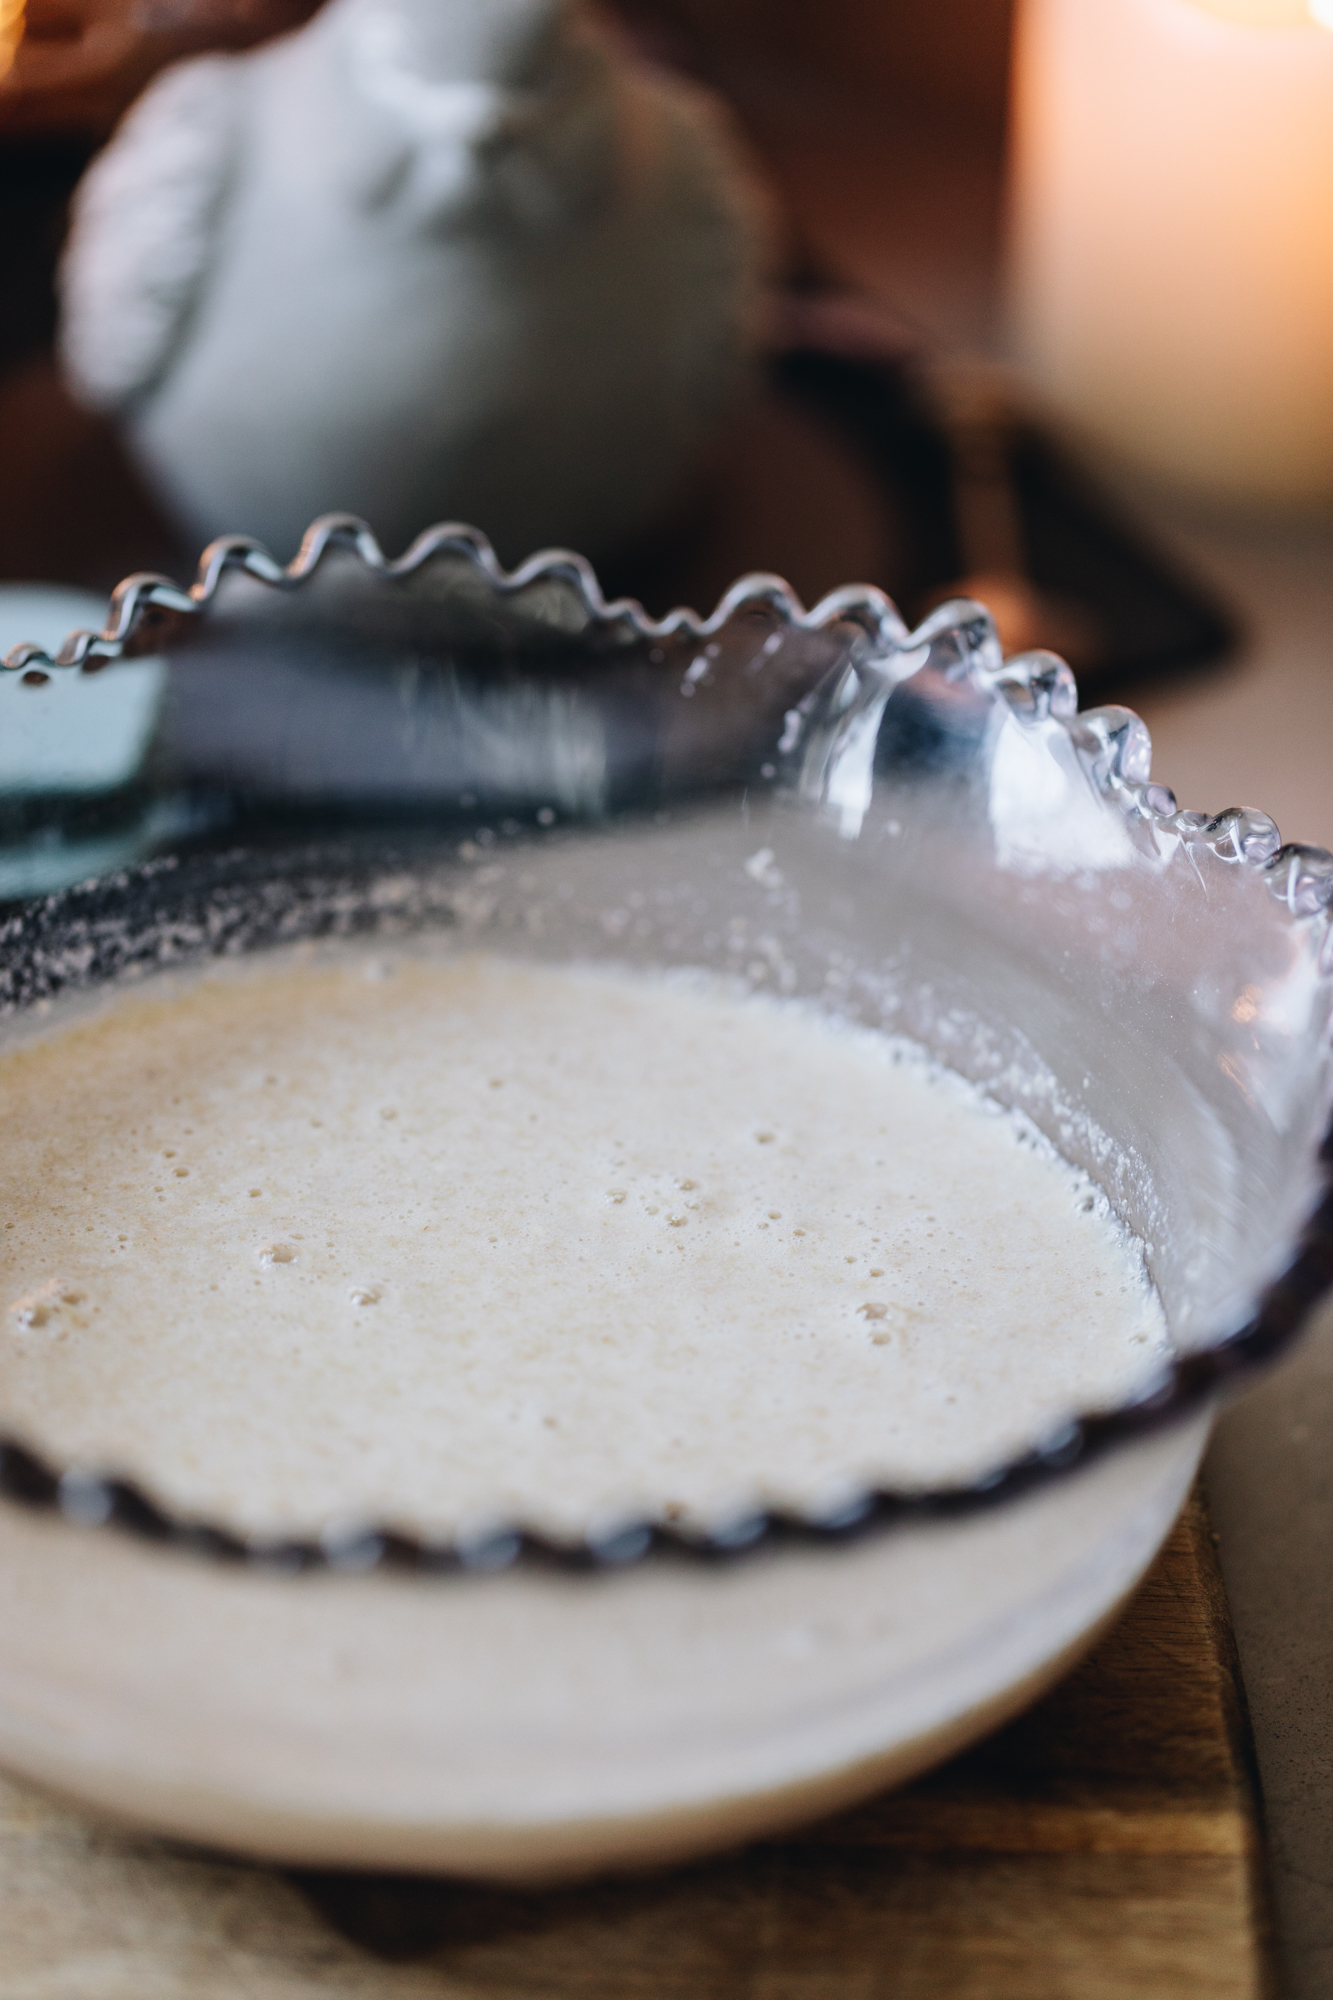
2. CREATE HOMEMADE BUTTERMILK:
Add the miraka (milk) and winika (vinegar) or wai rēmana (lemon juice) in to a jug.
Give it a good stir and leave it aside to turn in to buttermilk.

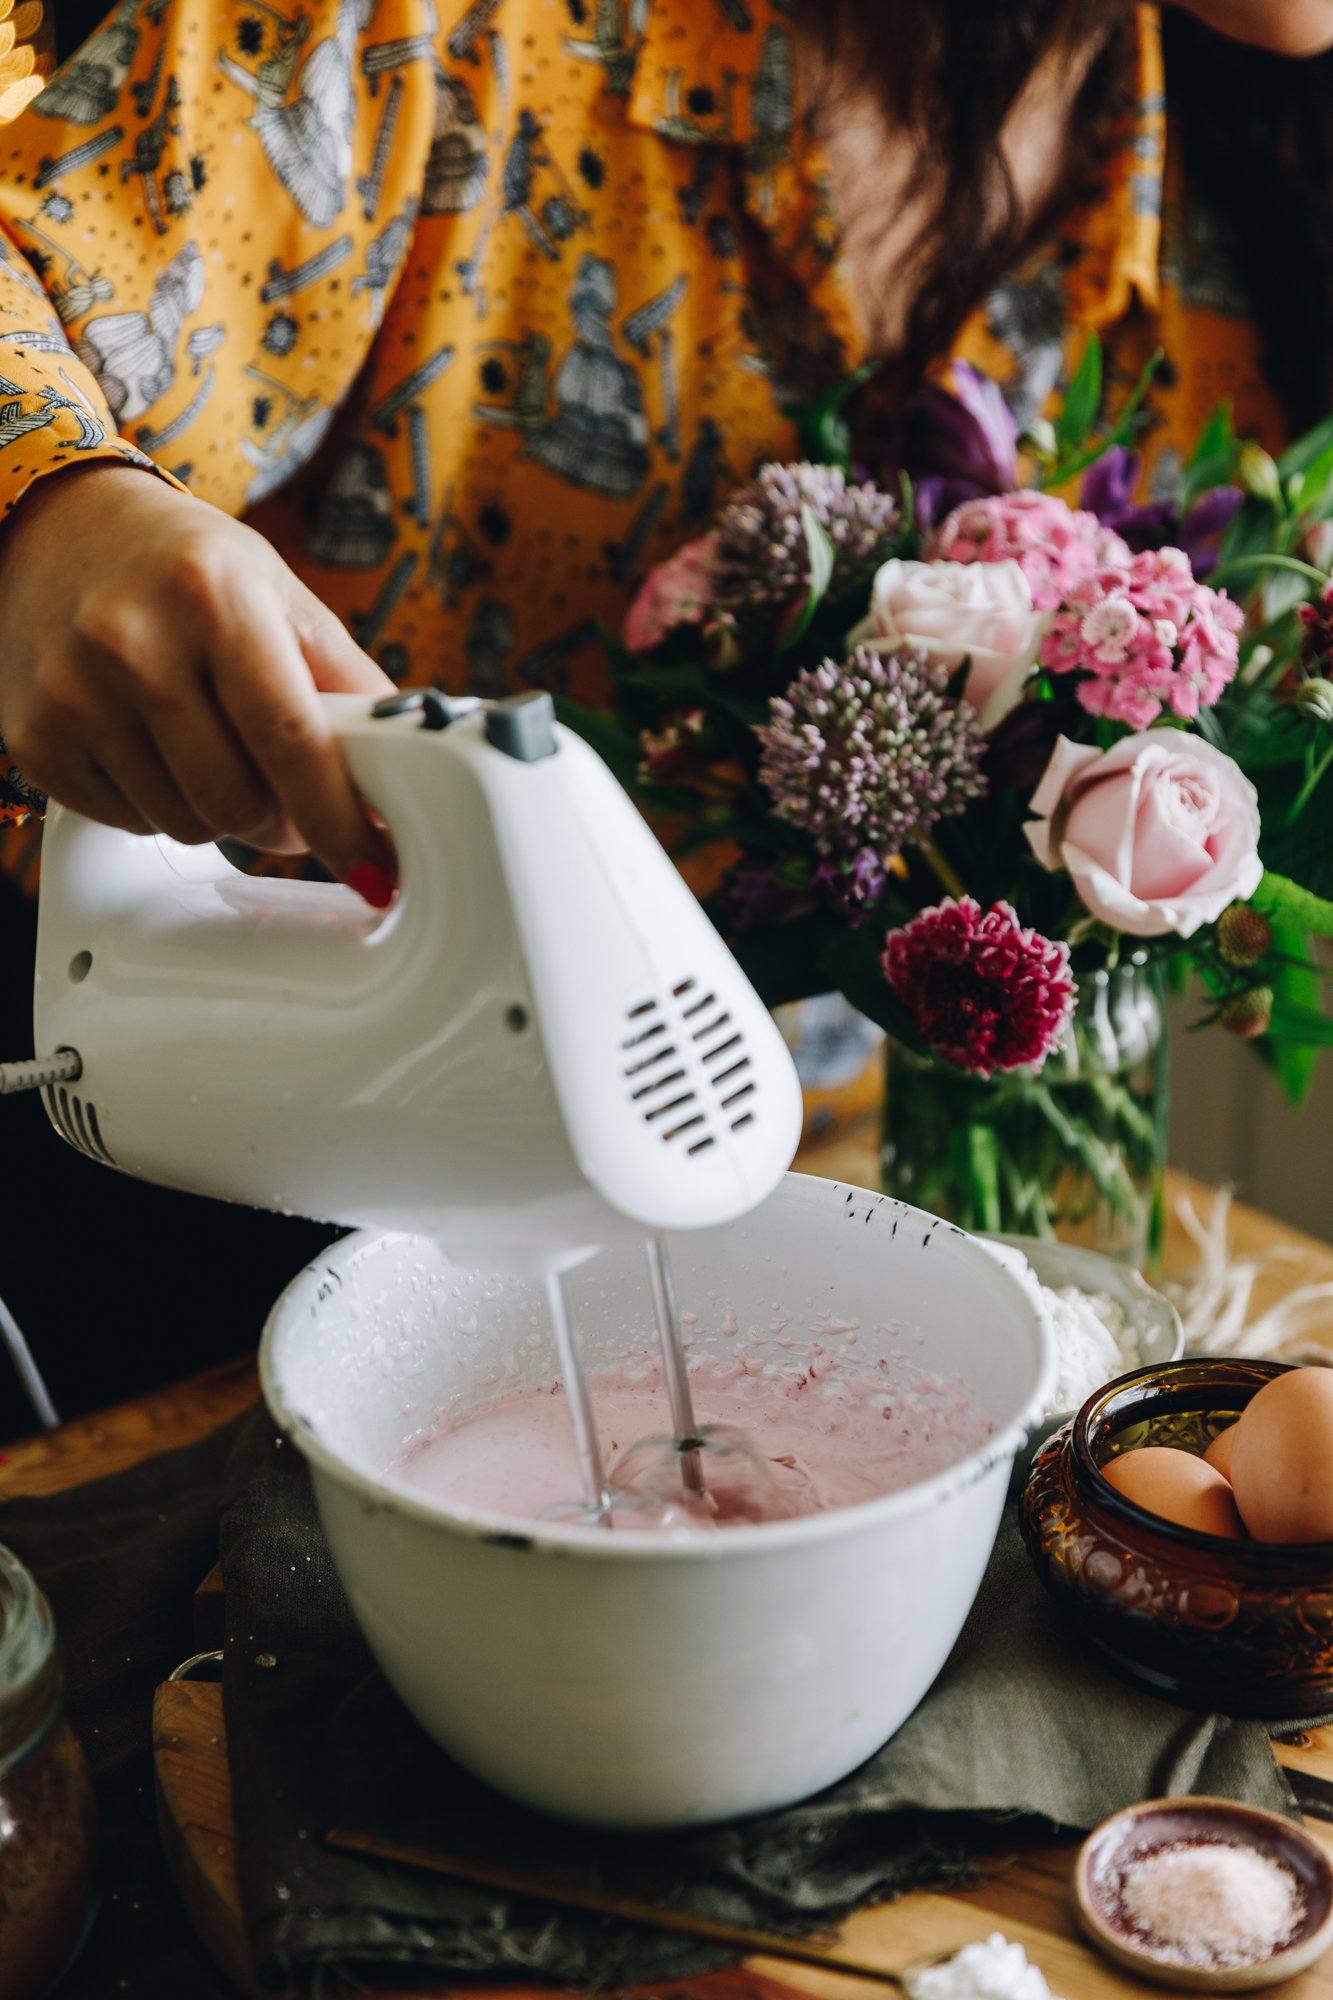
3. WHIP THE BUTTER AND SUGAR:
Add the pata kūteretere (softened butter), huka hāura (brown sugar), puehu huka (icing sugar), tote (salt) and wanira (vanilla) in to a large bowl.
Tāwhiuwhiua mō te 5 mīniti - whip it (on high) for 5 minutes. You want this mixture to be light in colour and super fluffy.
If after 5 minutes it hasn't reached that state, whip for a couple more minutes.
4. WHIP IN THE EGGS:
Add a hēki (egg) at a time, whipping for 20 seconds after each egg.
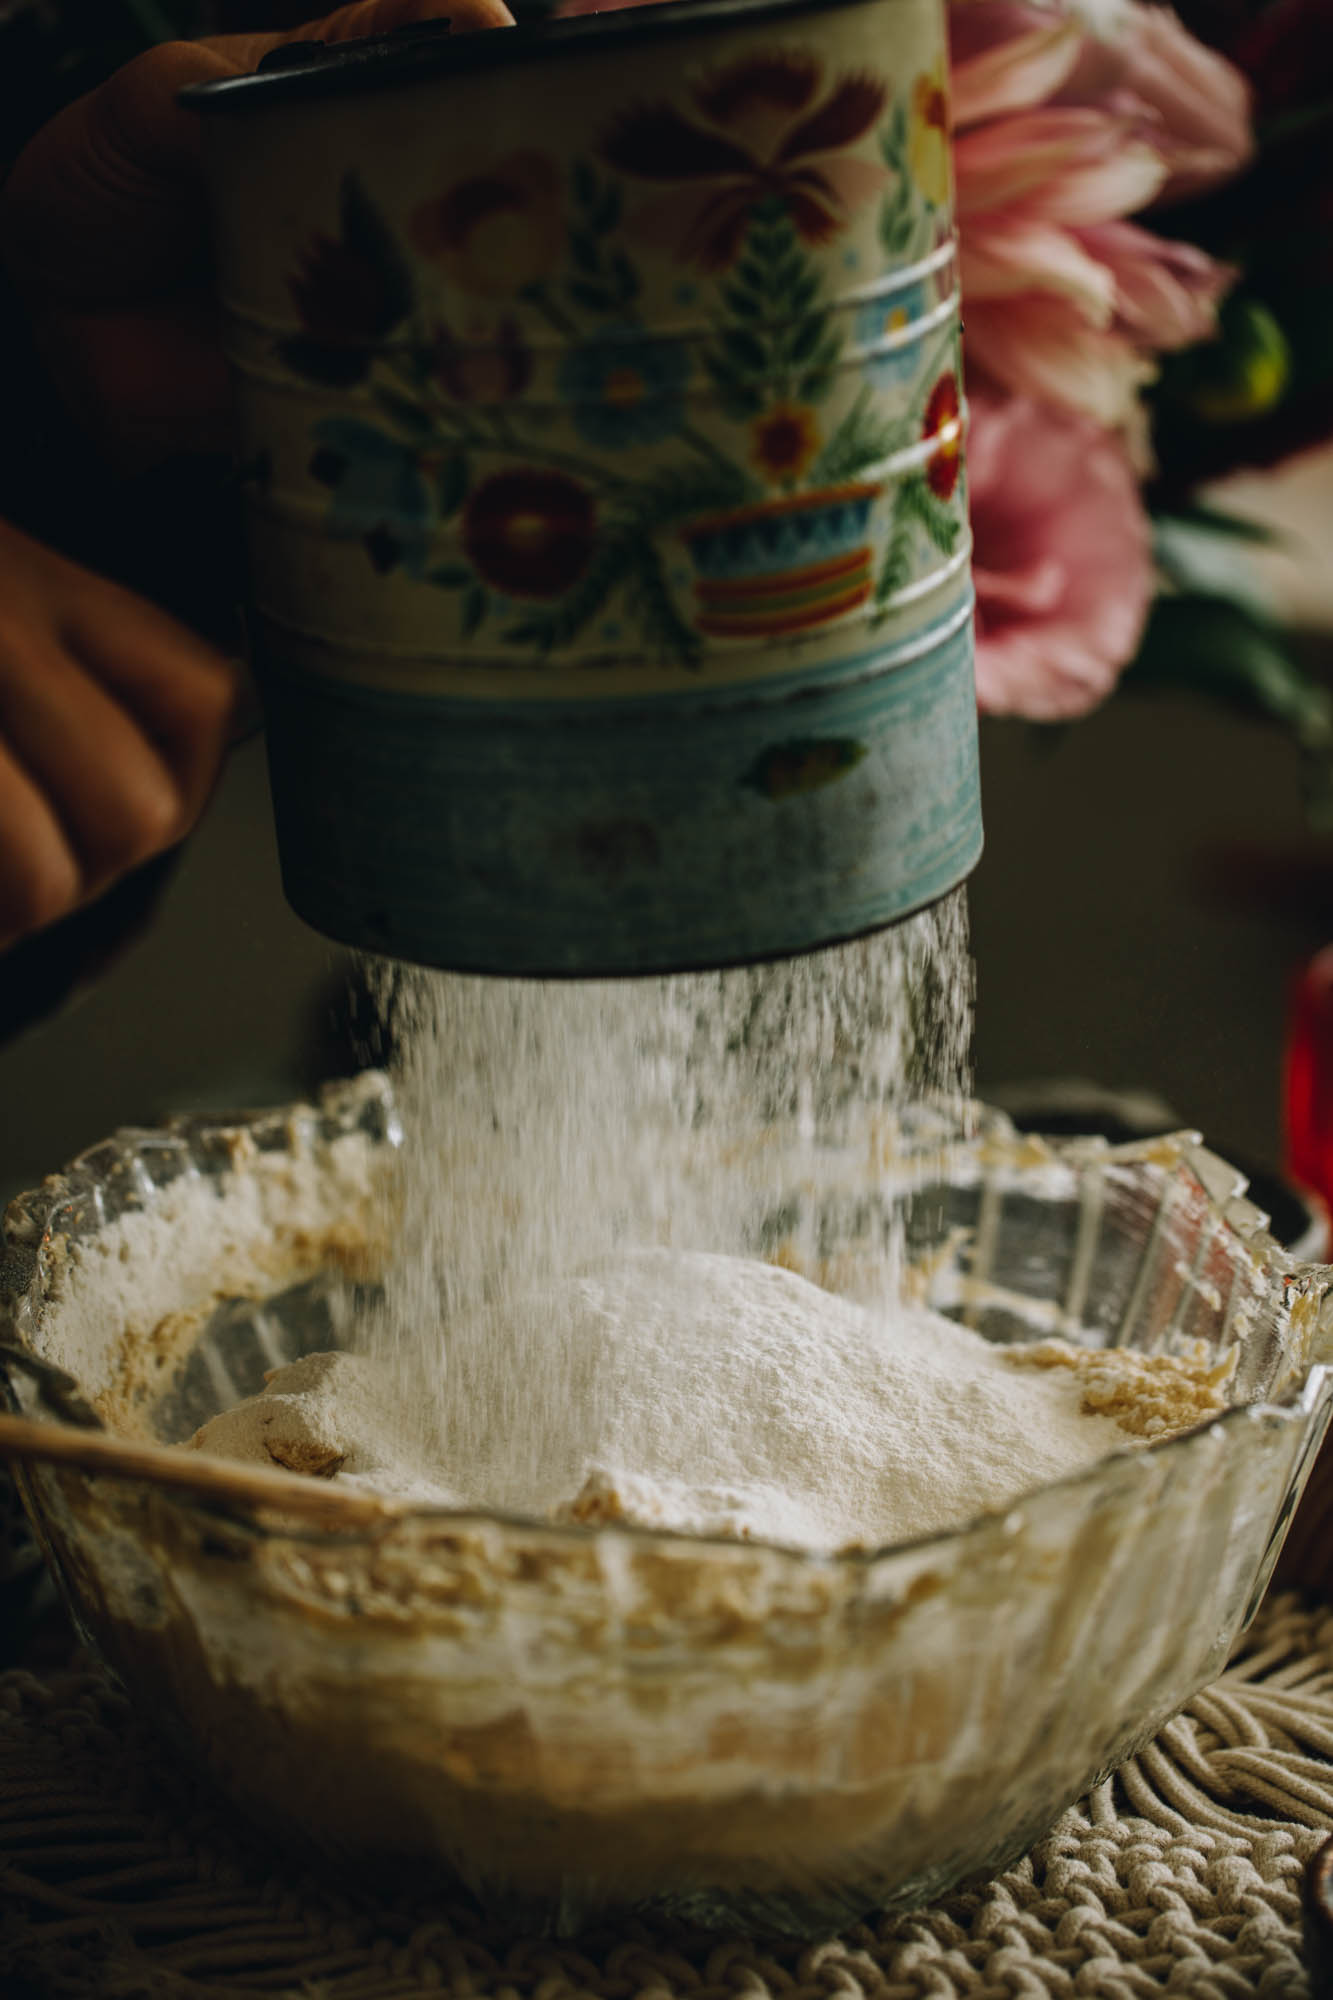
5. ADD THE DRY INGREDIENTS AND BUTTERMILK:
Sift in half of the puehu parāoa (flour), and all of the pēkana paura (baking powder) and pēkana houra (baking soda).
Then pour in half of the buttermilk mixture on top.
Āta whētuihia (gently fold it together).
Sift in the remaining puehu parāoa (flour) and the rest of the buttermilk mixture.
Whētuihia anō kia māene (fold it again until smooth).
6. BAKE the Chocolate Ganache Poke Cake:
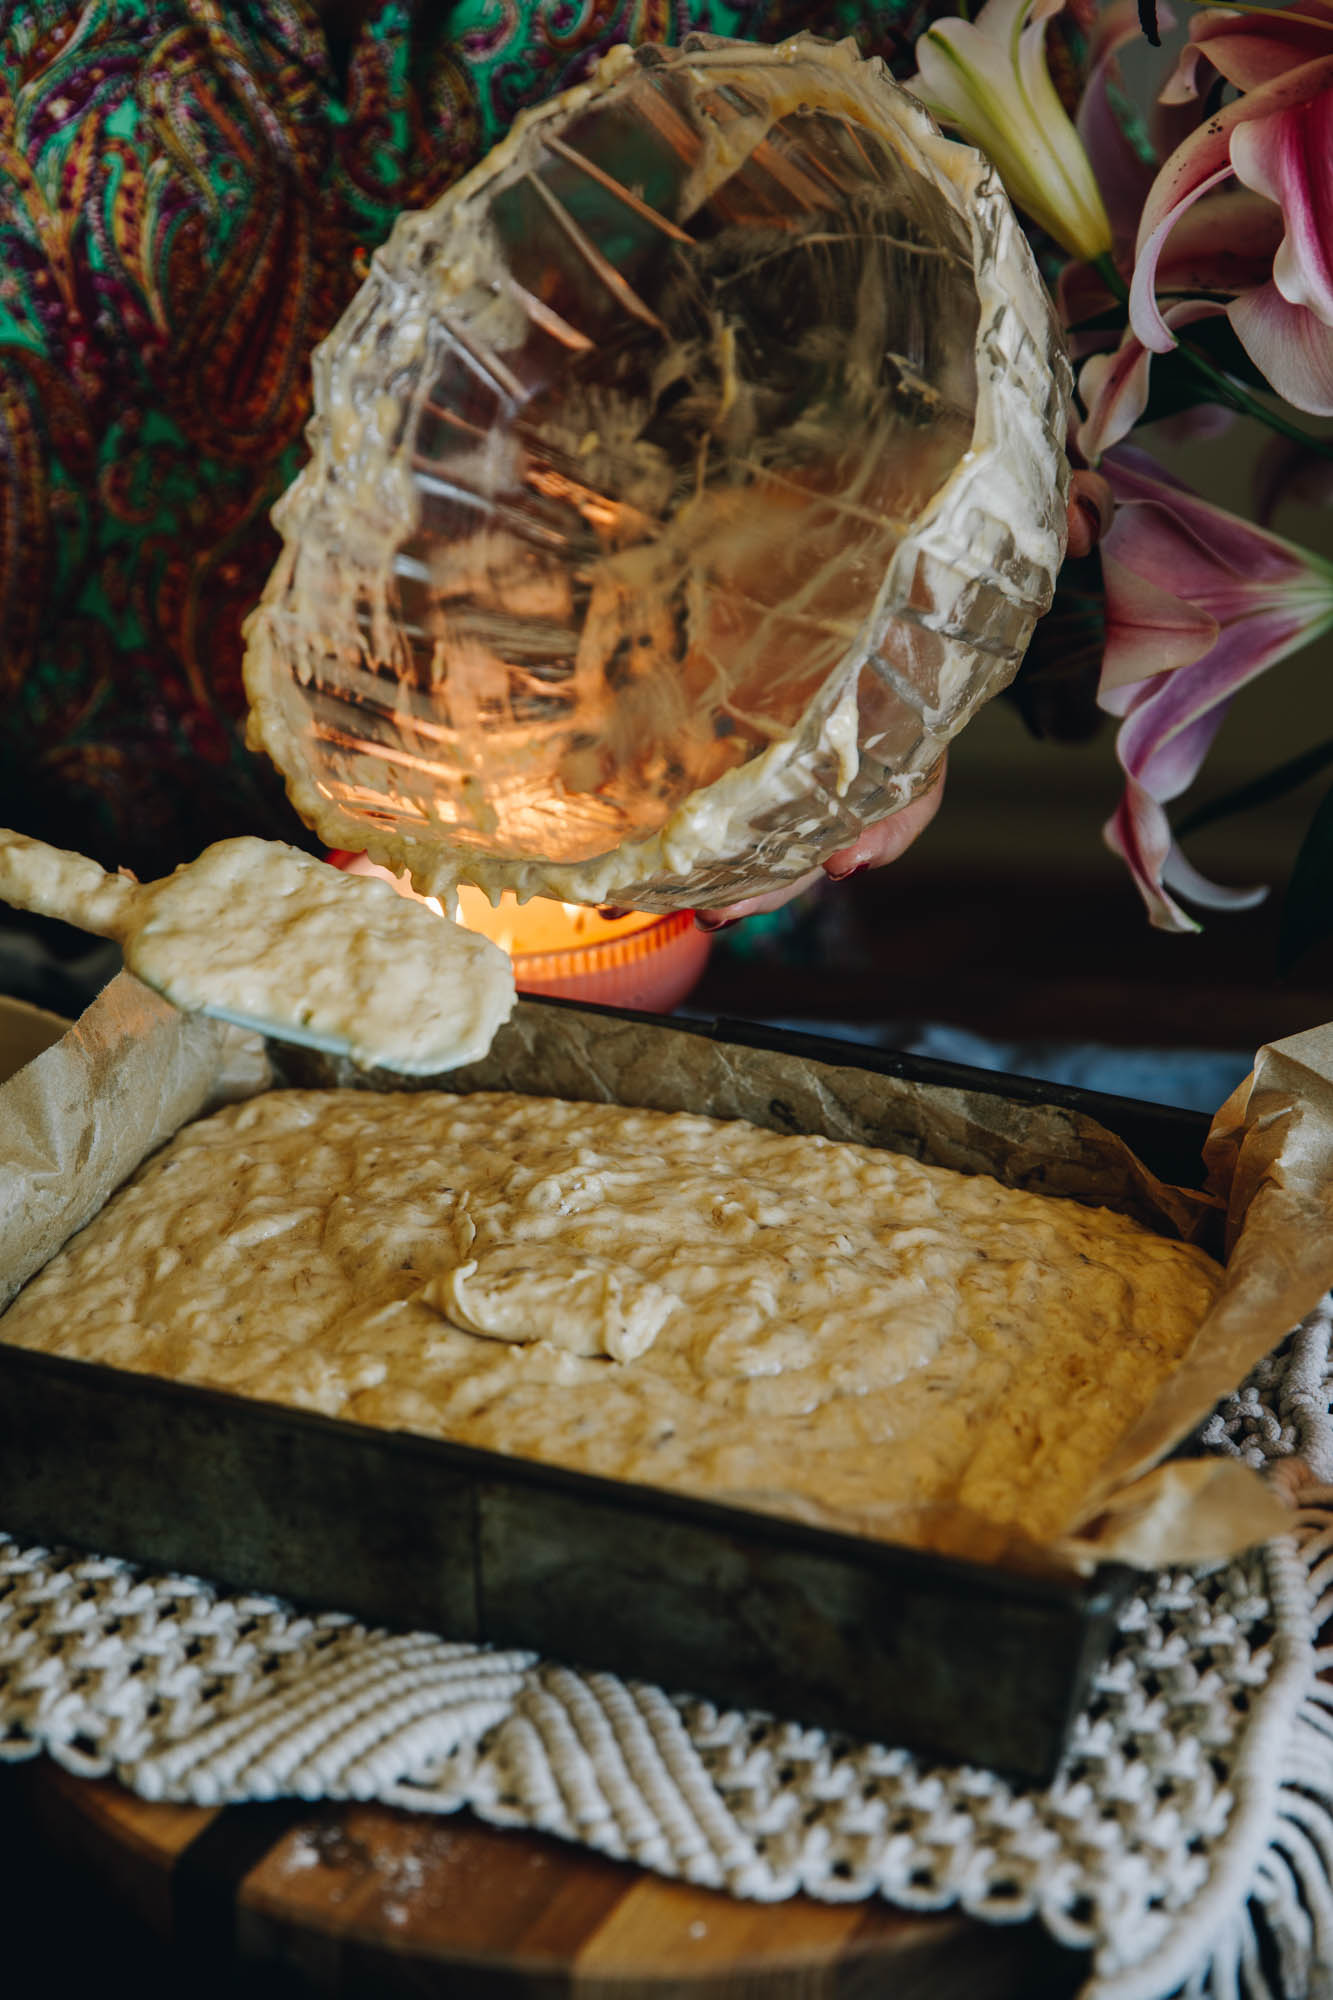
Pour the ranunga (mixture) in to your prepared tin. Smooth out the mixture with a spatula and then bake it gently.
If you are baking it as a sheet cake it will take 40-45 minutes to bake.
If you are baking it in a cake tin it will take 45-55 minutes to bake.
Check the keke (cake) at the 45 minutes mark. The cake is ready when it springs back in the middle when pressed.
As it bakes, prepare the peanut butter chocolate ganache so it is ready to add as soon as the cake has baked.
7. Prepare the Chocolate Ganache:
Pour around 4 cm of water in to the bottom of a medium pot. Bring it to a simmer over a low heat, you don't want a wild boil here, just a smooth simmer.
Chop the tiakarete (chocolate) into small pieces.
Add the tiakarete (chocolate) and kirīmi (cream) in to a heat proof bowl.
Place the bowl on top of the pot of simmering water. Make sure the bottom of the bowl is not touching the water.
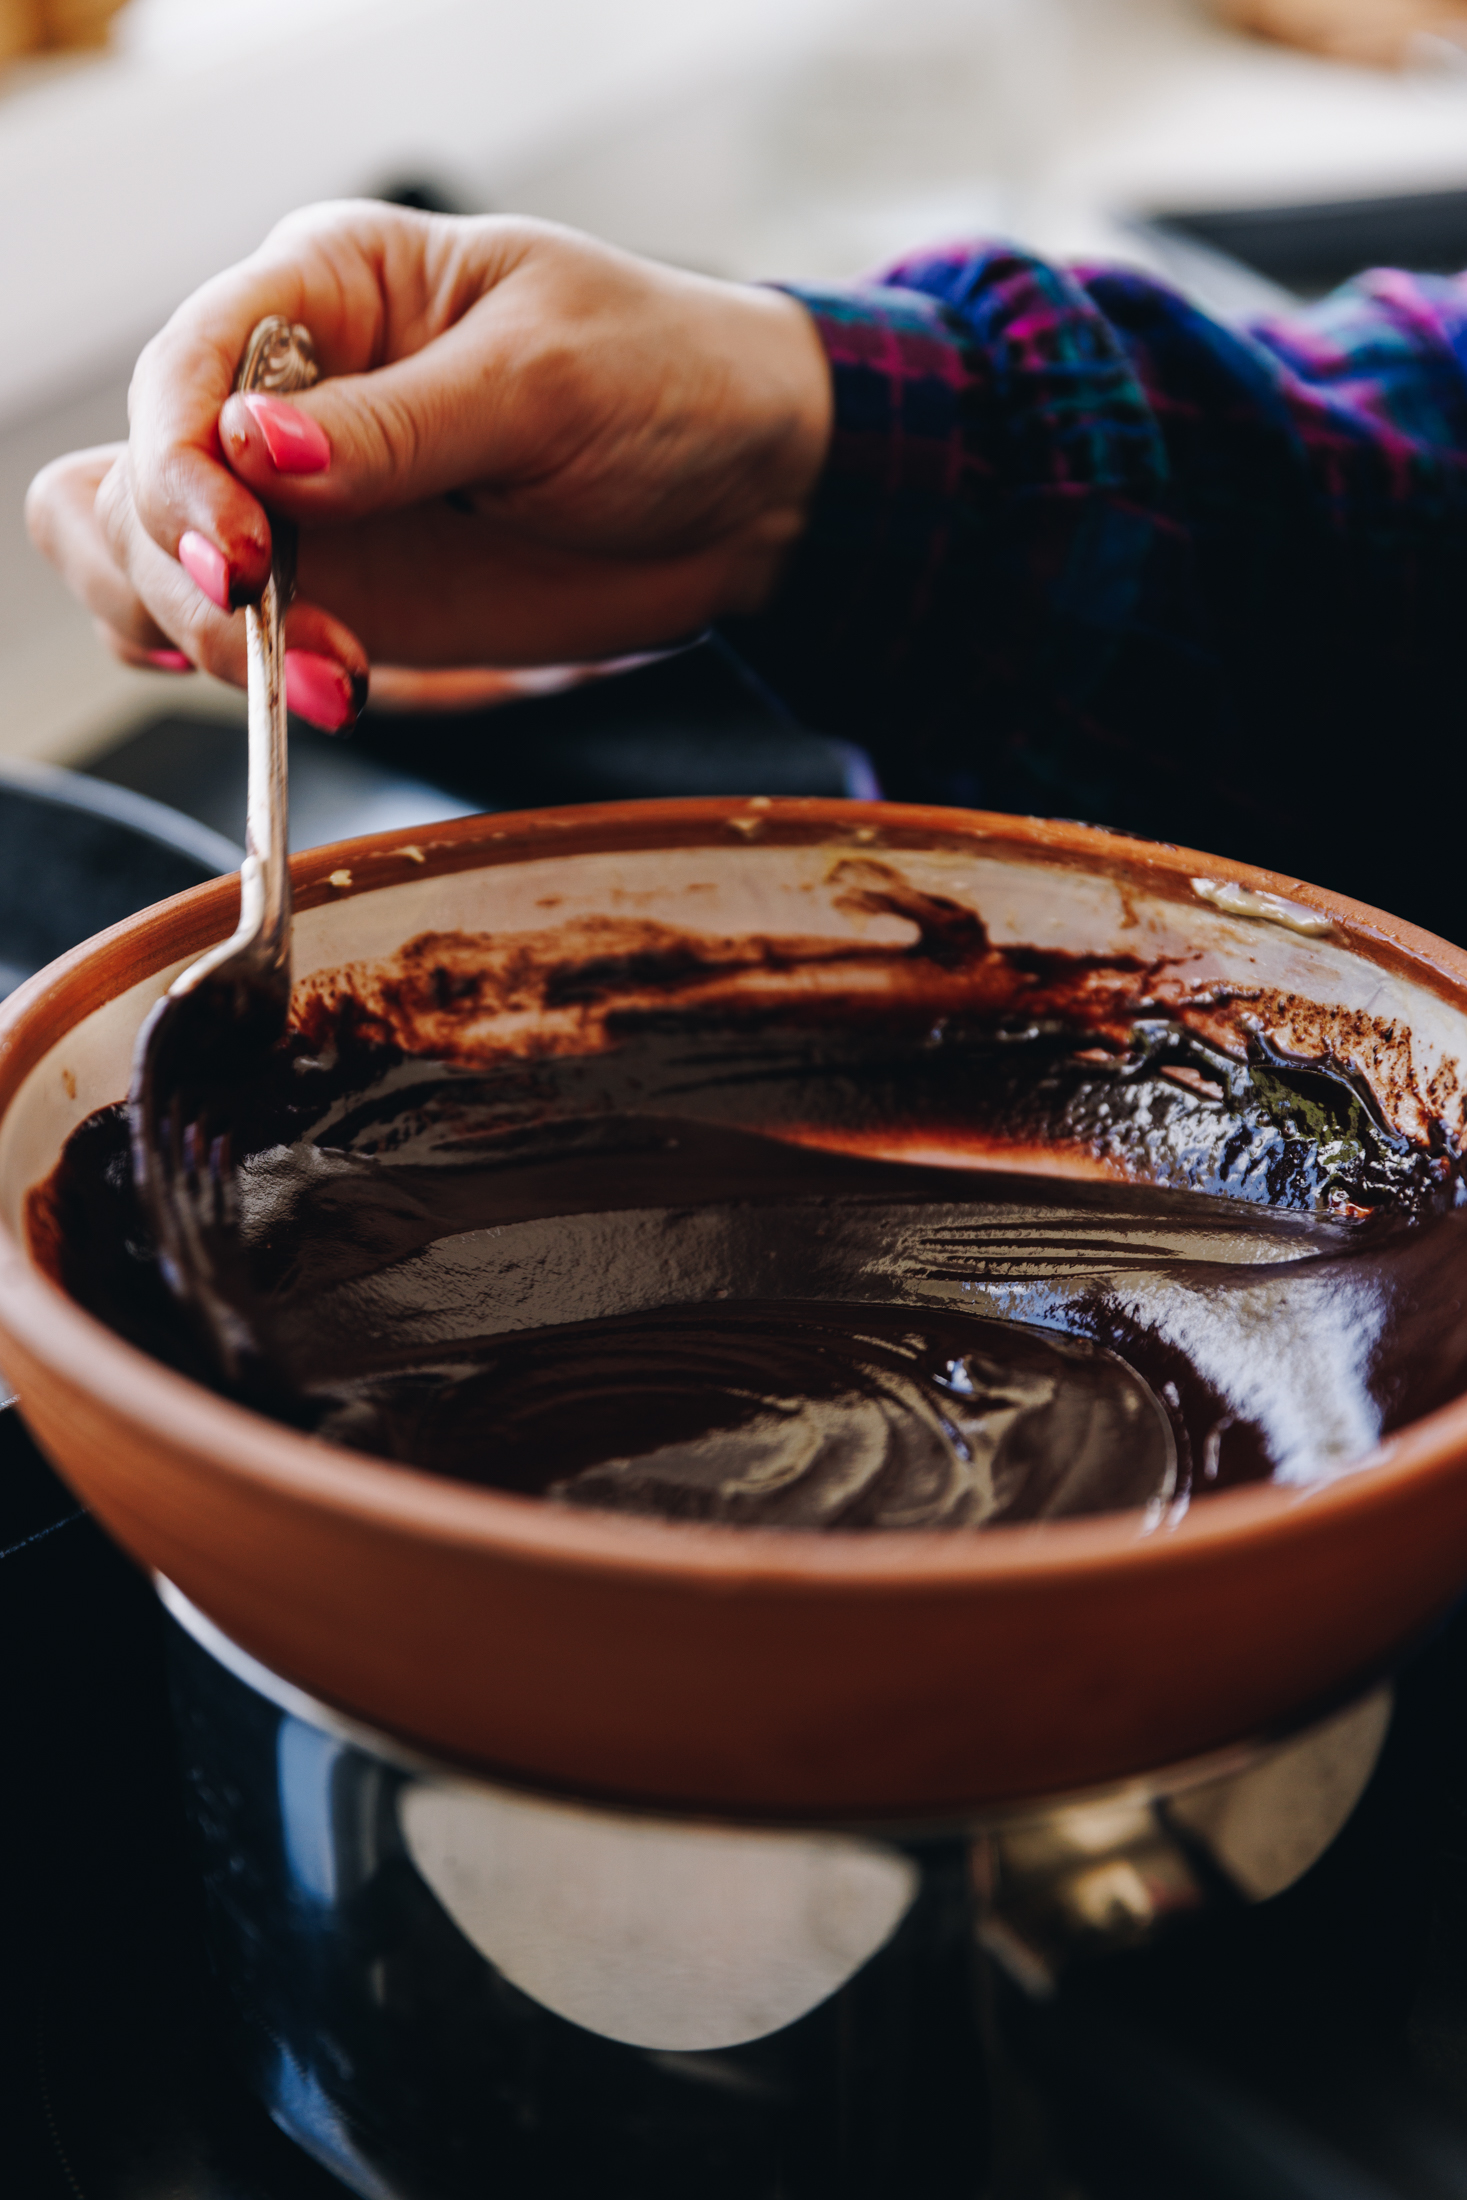
Melt all of the ingredients together, stirring occasionally until a smooth glossy ganache forms. Then remove it from the heat and set aside.
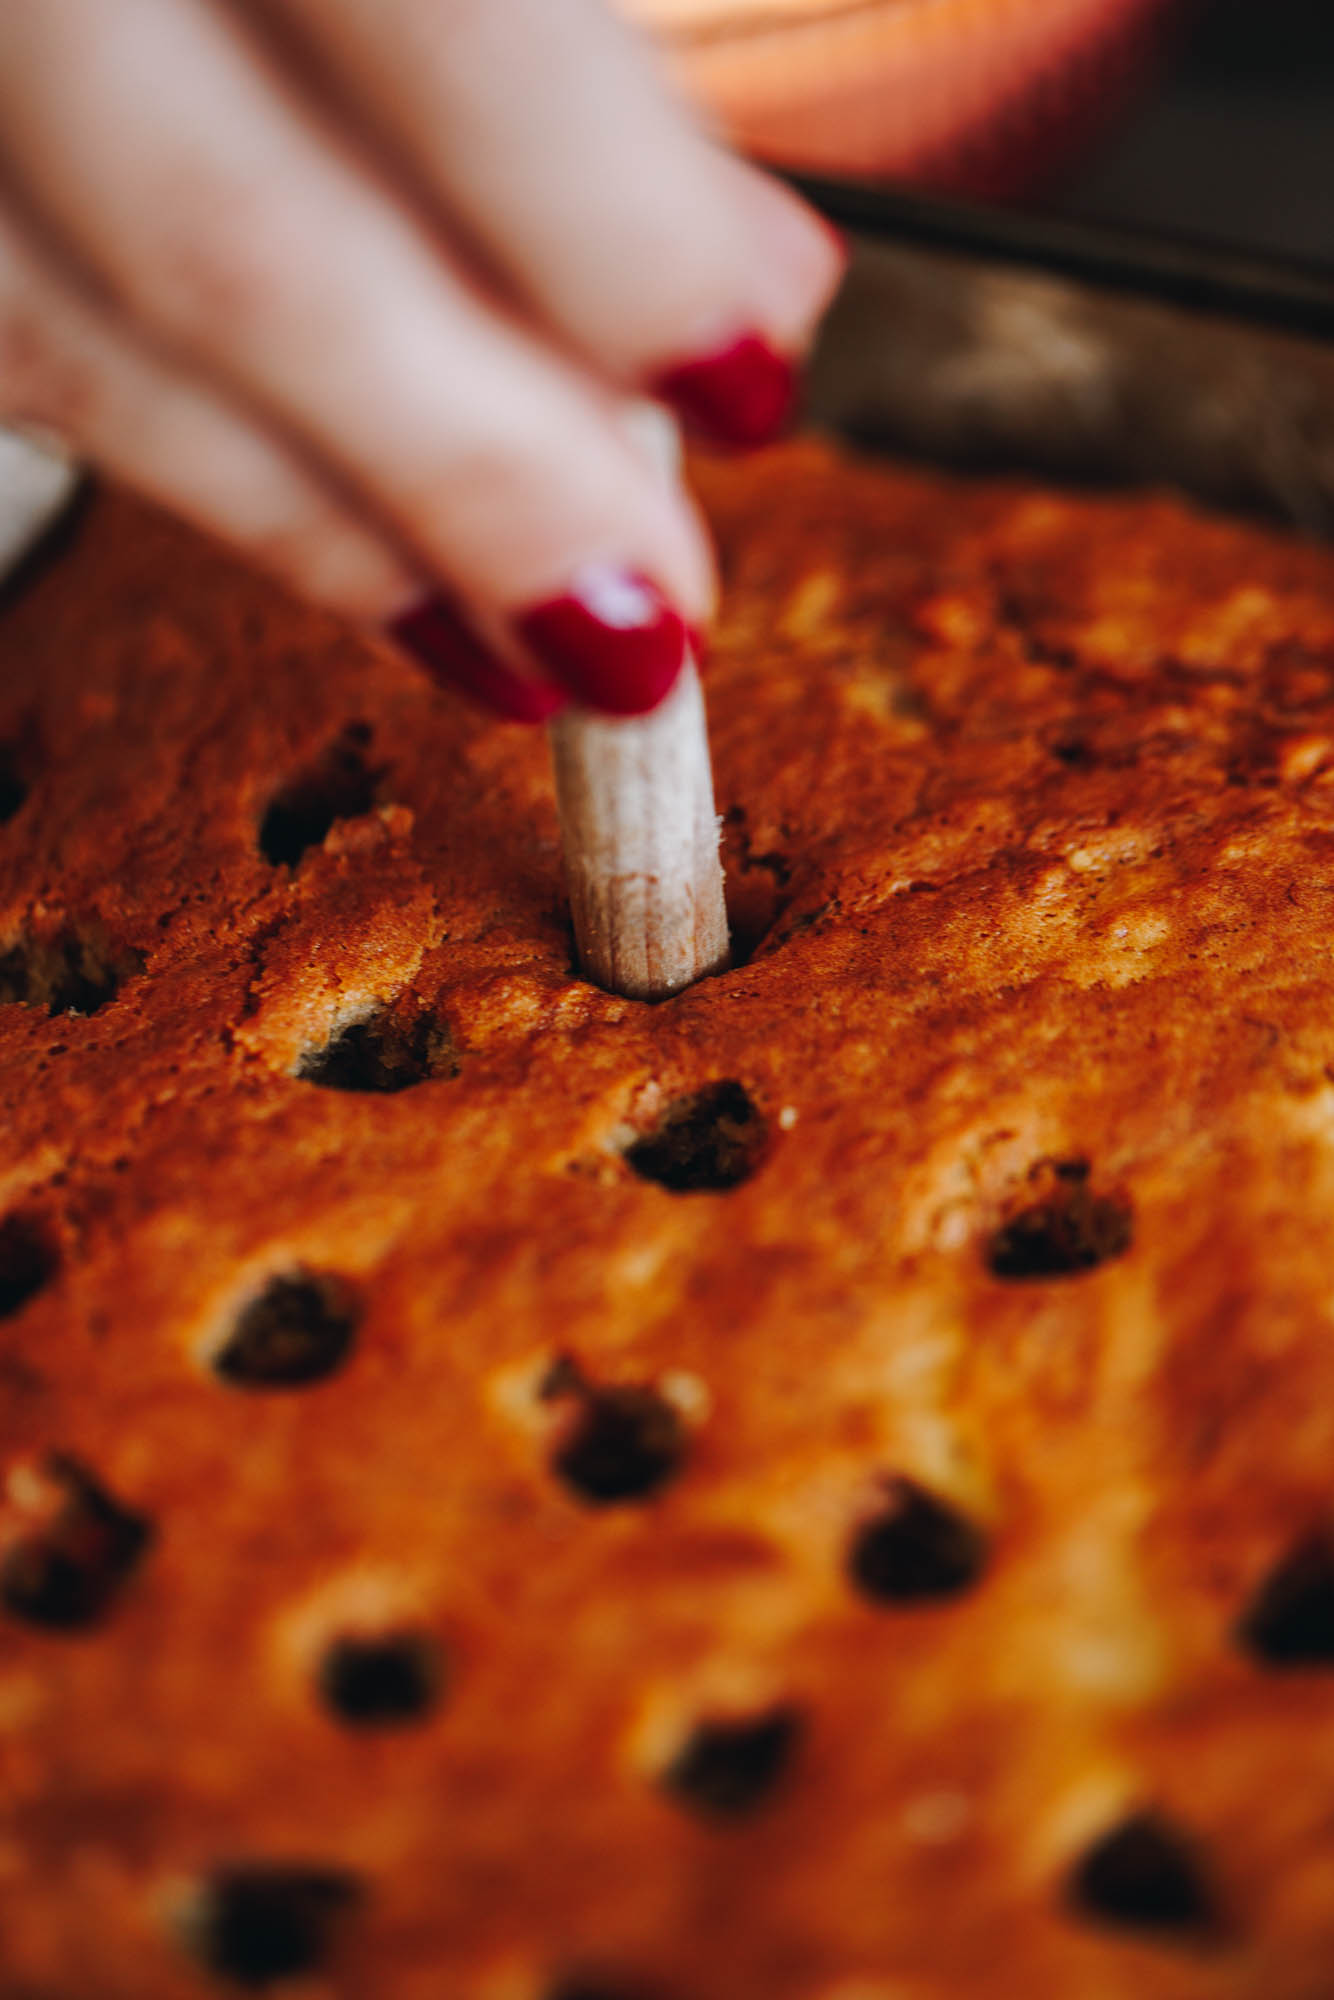
8. Poke Holes in to the Baked Cake:
Remove the cooked cake from the oven and cool for 10 minutes in the tin.
Using the end of a wooden spoon (2 cm wide) gently poke deep holes around 2 cm apart all over the cake. Do this gently but twisting the handle side to side to help it move cleanly in and out of the cake (refer to the video for this).
9. Add the Chocolate Ganache:
When the holes are created, pour the chocolate ganache all over the cake.
Using a spatula, smear it all over the cake making sure it goes in to all of the holes.
10. Cool the Cake:
Leave the cake in the tin to completely cool before adding the pani reka tiakarete (chocolate icing).
11. Make the Chocolate Buttercream:
Chop the tiakarete (chocolate) in to fine pieces. Add the pata (butter) and chocolate in to a small pot and gently melt it over low heat on the stove. Remove from the heat and cool it for 5 minutes.
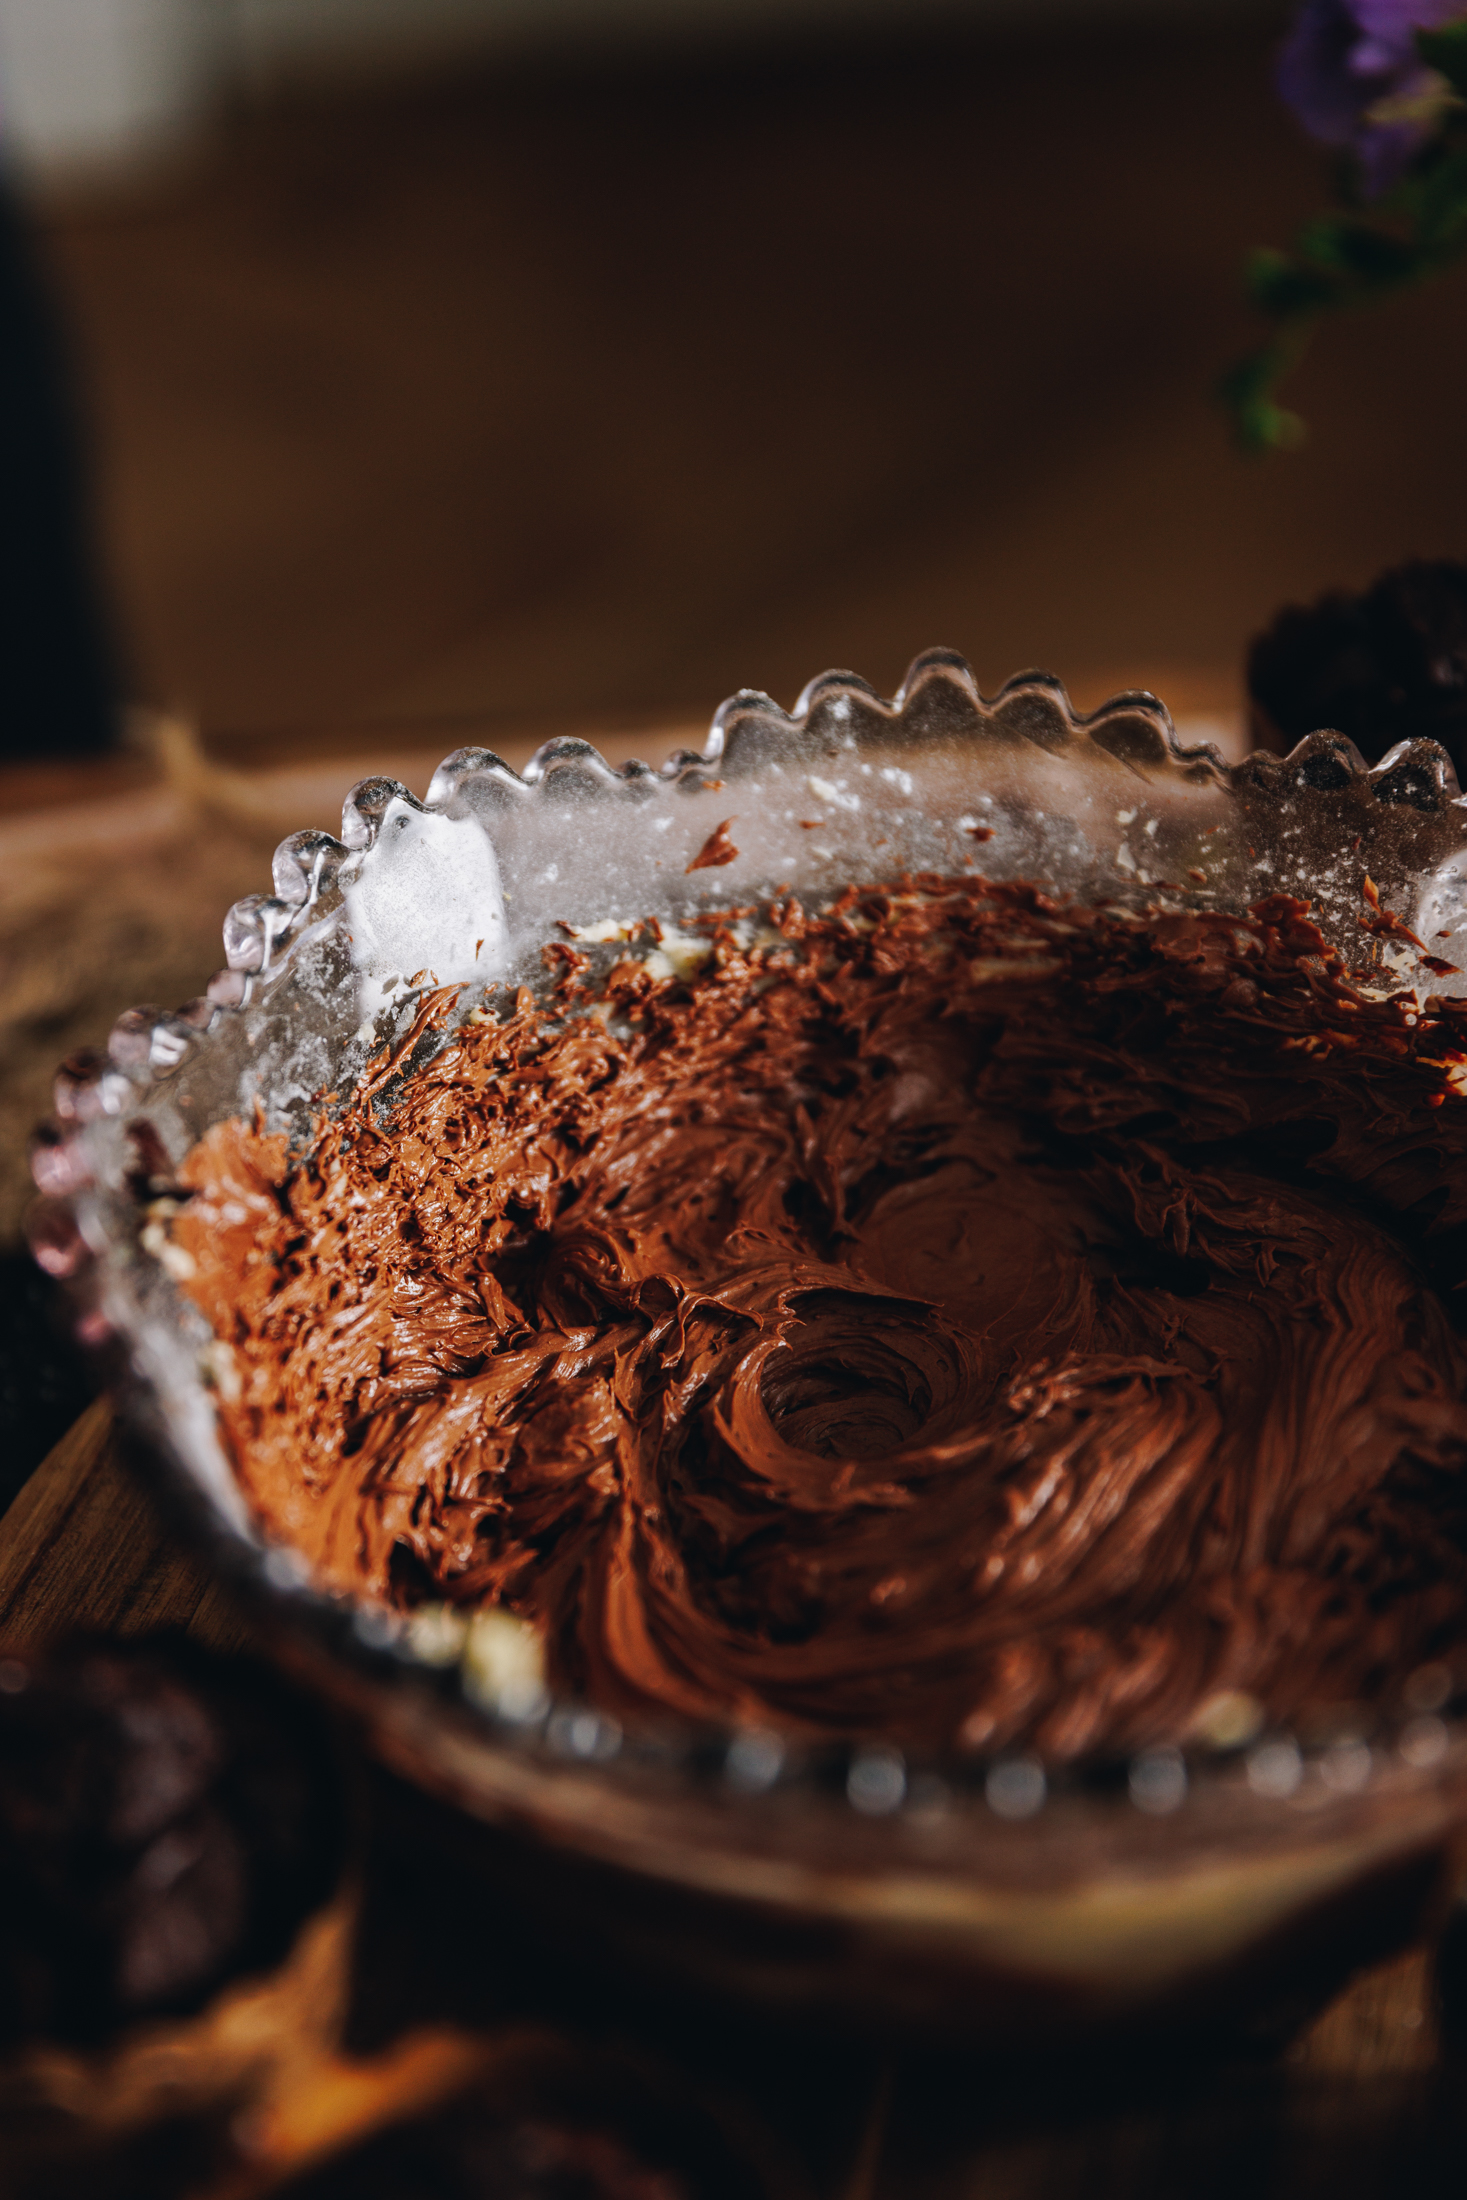
Add the pata kūteretere (softened butter), puehu huka (icing sugar) and wanira (vanilla) in a medium bowl. Whip it on high for 4 -5 minutes until light and fluffy in colour and texture.
Add the cooled tiakarete (chocolate) a tablespoon at a time, whipping well after each addition until it is smooth and fluffy.
12. Make the Pink Meringue (Optional):
If you want to add a bit more flare, make a ⅔ batch of my French meringue recipe using the measurements below on the recipe.
Although the quantities are different, the recipe method remains the same.
Add the pink gel colouring when you are adding the wanira (vanilla).
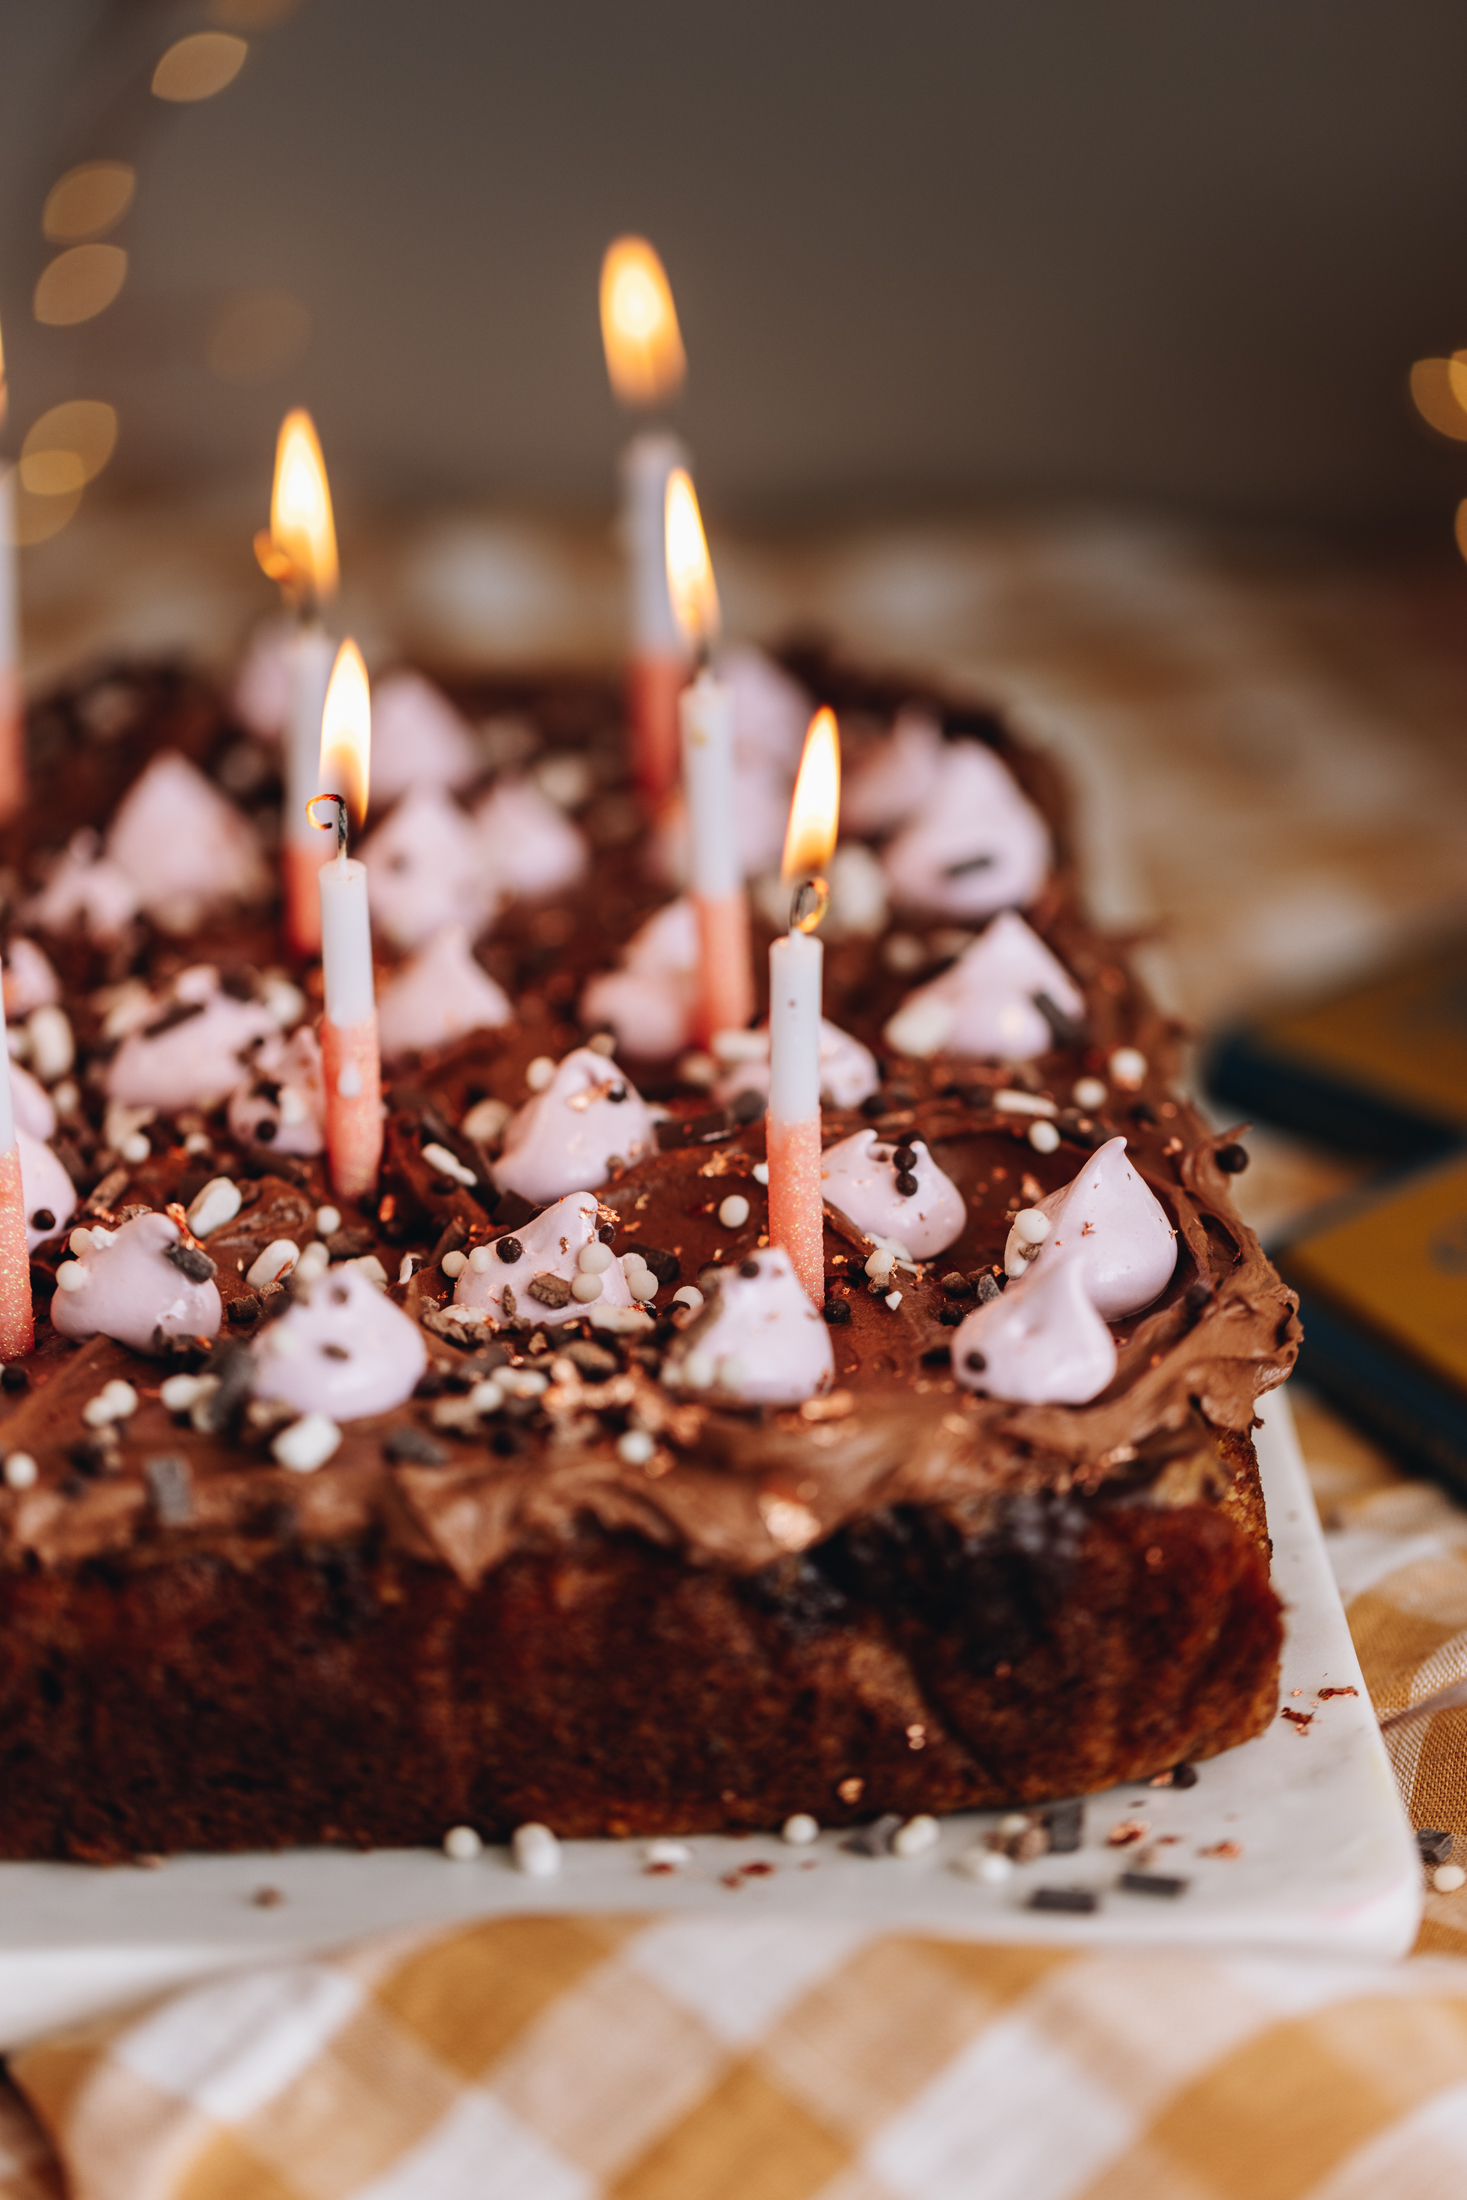
13. Decorate the Chocolate Ganache Poke Cake:
Spread the buttercream over the cooled cake with the back of the spoon to create a wispy effect.
Pipe on the merenge (meringue) if you are using it in whatever fashion you want.
Sprinkle with a handful of ruireka (sprinkles) and rau koura (gold leaf).
14. Store the Chocolate Peanut Butter Poke Cake:
Store this keke (cake) in a sealed container in a cool place.
It will develop in flavour as it sits and in my opinion is even better a few days after it is baked. It will keep well for up to 5 days.
In the hotter months you can store the decorated and uncut cake it in the refrigerator but bring it to room temperature before eating.
Once it is cut, don't keep it in the fridge as the cake will dry out.
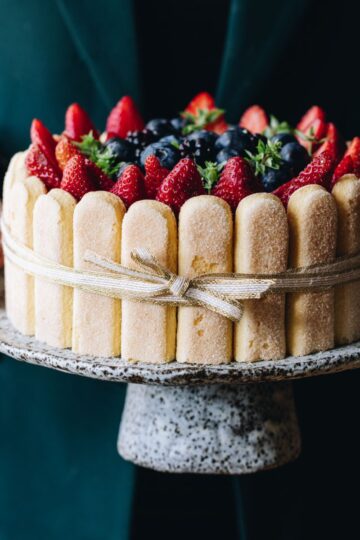
Need more cake? No worries, check out these
Keke (Cake) Recipes
Whatever the flavour or shape, we have you covered.

DID YOU ENJOY THIS RECIPE?
It would be so awesome if you could please leave a review/comment by clicking the “leave a comment” section at the top of the page.
I love seeing you all make my creations, so send a whakaahua (photo) or kiriata (video) to my Instagram and show me what you made. Let me know if you have any pātai (questions) too, I would love to help.

Vanilla and Chocolate Poke Cake - Keke Wanira Me Te Tikarete
Equipment
- 1 x 20 x 25 cm rectangle tin with 5 cm high sides or a 23 cm cake tin
Ingredients
The Vanilla Cake - Te Keke Wanira
- 1 ¼ C 1 ¼ C (310 ml) miraka (milk)
- 1 ½ (22 ml) winika, wai rēmana rānei (vinegar or lemon juice)
- 200 g pata kūteretere (softened butter)
- 1 C (200 g) huka hāura (brown sugar)
- ½ C (85 g) puehu huka (icing sugar)
- 1 teaspoon tote (salt, fine)
- 1 tablespoon (15 ml) wanira (vanilla)
- 2 hēki (eggs, size 7)
- 2 ¼ C (335 g) puehu parāoa noa (plain flour)
- 1 ½ teaspoon pēkana paura (baking powder)
- 1 teaspoon pēkana houra (baking soda)
The Chocolate Ganache - Te Ranu Tiakarete
- 220 g tiakarete (chocolate, I recommend a caramel filled chocolate or any chocolate that will melt smooth)
- ⅔ C (165) kirīmi (cream)
Chocolate Icing - Pani Reka Tiakarete
- 100 g tiakarete tote (I used sea salt chocolate, 62% with saffron but use what you want)
- 125 g pata kūteretere (softened butter)
- ½ C (85 g) puehu huka (icing sugar)
- 1 teaspoon wanira (vanilla)
French Meringue - Merenge Wīwī (Optional)
- ⅔ quantity of my French meringue recipe
- 2 kahu hēki (egg whites, size 6 eggs)
- ½ C (110 g) huka one (caster sugar)
- ¼ tsp kirīmi tāta (cream of tartar)
- 1 teaspoon (5 ml) wanira (vanilla)
- 3 drops pink food colouring gel
Instructions
Preheat the Oven:
- Preheat the oven to 145 °C bake setting, 135 °C fan bake setting. I know this is a low temperature but trust me, if you bake a little lower, the cake will stay nice and moist and rise evenly.
- Grease a 20 x 25 cm rectangle tin with 5 cm high sides or a 23 cm cake tin and line it with baking paper on the base and sides.
Make the Buttermilk:
- Add the miraka (milk) and winika (vinegar) or wai rēmana (lemon juice) in to a jug. Give it a good stir and leave it aside to turn in to buttermilk.
Whip the Butter and Sugar:
- Add the pata kūteretere (softened butter), huka hāura (brown sugar), puehu huka (icing sugar), tote (salt) and wanira (vanilla) to a large bowl.
- Tāwhiuwhiua mō te 5 mīniti - whip it (on high) for 5 minutes. You want this mixture to be light in colour and super fluffy. If after 5 minutes it hasn't reached that state, whip for a couple more minutes. This is important because it helps the cake rise well when baking.
Whip in the Eggs:
- Add a hēki (egg) at a time, whipping for 20 seconds after each egg.
Add the Dry Ingredients and Buttermilk:
- Sift in half of the puehu parāoa (flour), and all of the pēkana paura (baking powder) and pēkana houra (baking soda). Then pour in half of the buttermilk mixture on top.
- Āta whētuihia (gently fold it together).
- Sift in the remaining puehu parāoa (flour) and the rest of the buttermilk mixture.
- Whētuihia anō kia māene (fold it again until smooth).
Bake the Chocolate Ganache Poke Cake:
- Pour the ranunga (mixture) in to your prepared tin.Smooth out the mixture with a spatula and then bake it gently.
- If you are baking it as a sheet cake it will take 40-45 minutes to bake. If you are baking it in a cake tin it will take 45-55 minutes to bake.
- Check the keke (cake) at the 45 minutes mark. The cake is ready when it springs back in the middle when pressed. As it bakes, prepare the peanut butter chocolate ganache so it is ready to add as soon as the cake has baked.
Prepare the Chocolate Ganache:
- Pour around 4 cm of water in to the bottom of a medium pot. Bring it to a simmer over a low heat, you don't want a wild boil here, just a smooth simmer.
- Chop the tiakarete (chocolate) in to small pieces.Add the tiakarete (chocolate) and kirīmi (cream) in to a heat proof bowl.
- Place the bowl on top of the pot of simmering water. Make sure the bottom of the bowl is not touching the water.
- Melt all of the ingredients together, stirring occasionally until a smooth glossy ganache forms. Then remove it from the heat and set aside.
Poke Holes in to the Baked Cake:
- Remove the cooked cake from the oven and cool for 5 minutes.
- Using the end of a wooden spoon (2 cm wide) gently poke deep holes around 2 cm apart all over the cake going ¾'s of the way in to the cake. Do this gently but twisting the handle side to side to help it move cleanly in and out of the cake. (Refer to the video for a visual aid).
Add the Chocolate Ganache:
- When the holes are created, pour the chocolate ganache all over the cake. Using a spatula, smear it all over the cake making sure it goes in to all of the holes.
Cool the Chocolate Ganache Poke Cake:
- Leave the cake in the tin to completely cool before adding the pani reka tiakarete (chocolate icing).
Make the Chocolate Buttercream:
- Chop the tiakarete (chocolate) in to fine pieces.
- Add the pata (butter) and chocolate in to a small pot and gently melt it over low heat on the stove.Remove from the heat and cool it for 5 minutes.
- Add the pata kūteretere (softened butter), puehu huka (icing sugar) and wanira (vanilla) in a medium bowl. Whip it on high for 4 -5 minutes until light and fluffy in colour and texture.
- Add the cooled tiakarete (chocolate) a tablespoon at a time, whipping well after each addition until it is smooth and fluffy.
Make the French Meringue (Optional):
- If you want to add a bit more flare, make a ⅔ batch of my French meringue recipe using the measurements above.
- Although the quantities are different, the recipe method remains the same. Add the pink gel colouring when you are adding the wanira (vanilla).
Decorate the Chocolate Ganache Poke Cake:
- Spread the buttercream over the cooled cake with the back of the spoon to create a wispy effect. Pipe on the merenge (meringue) if you are using it.
- Sprinkle with a handful of ruireka (sprinkles) and rau koura (gold leaf).
Store the Chocolate Ganache Poke Cake:
- Store this keke (cake) in a sealed container in a cool place. It will develop in flavour as it sits and in my opinion is even better a few days after it is baked. It will keep well for up 5 days.
- In the hotter months you can store the decorated and uncut cake in the refrigerator but bring it to room temperature before eating.
- Once it is cut, don't keep it in the fridge as the cake will dry out.


Jacqueline
Such an easy cake to bake and it tasted amazing. I've made it a couple of times as a birthday cake. Everyone loves eating it.
Naomi Toilalo WhānauKai
Yes - this makes me so happy! Poke Cakes are just meant to be aren't they! So awesome to hear!
Caroline
This is such an easy recipe to follow and the cake is lovely and moist! Have made this for almost everyone's birthday in our family!
Naomi Toilalo WhānauKai
Caroline - how fun is a poke cake. I love cutting in the gooey pieces. How wonderful that it has become a staple in your birthday cake baking.
Toni Melanie Wi
Kia Ora, I have made this keke so many times & every time it is loved. It’s so easy, moist & delicious. Ngā mihi ⭐️
Naomi Toilalo WhānauKai
Kia ora Toni - I love this cake too and I'm so glad to hear you enjoy it! Thanks for leaving a review!