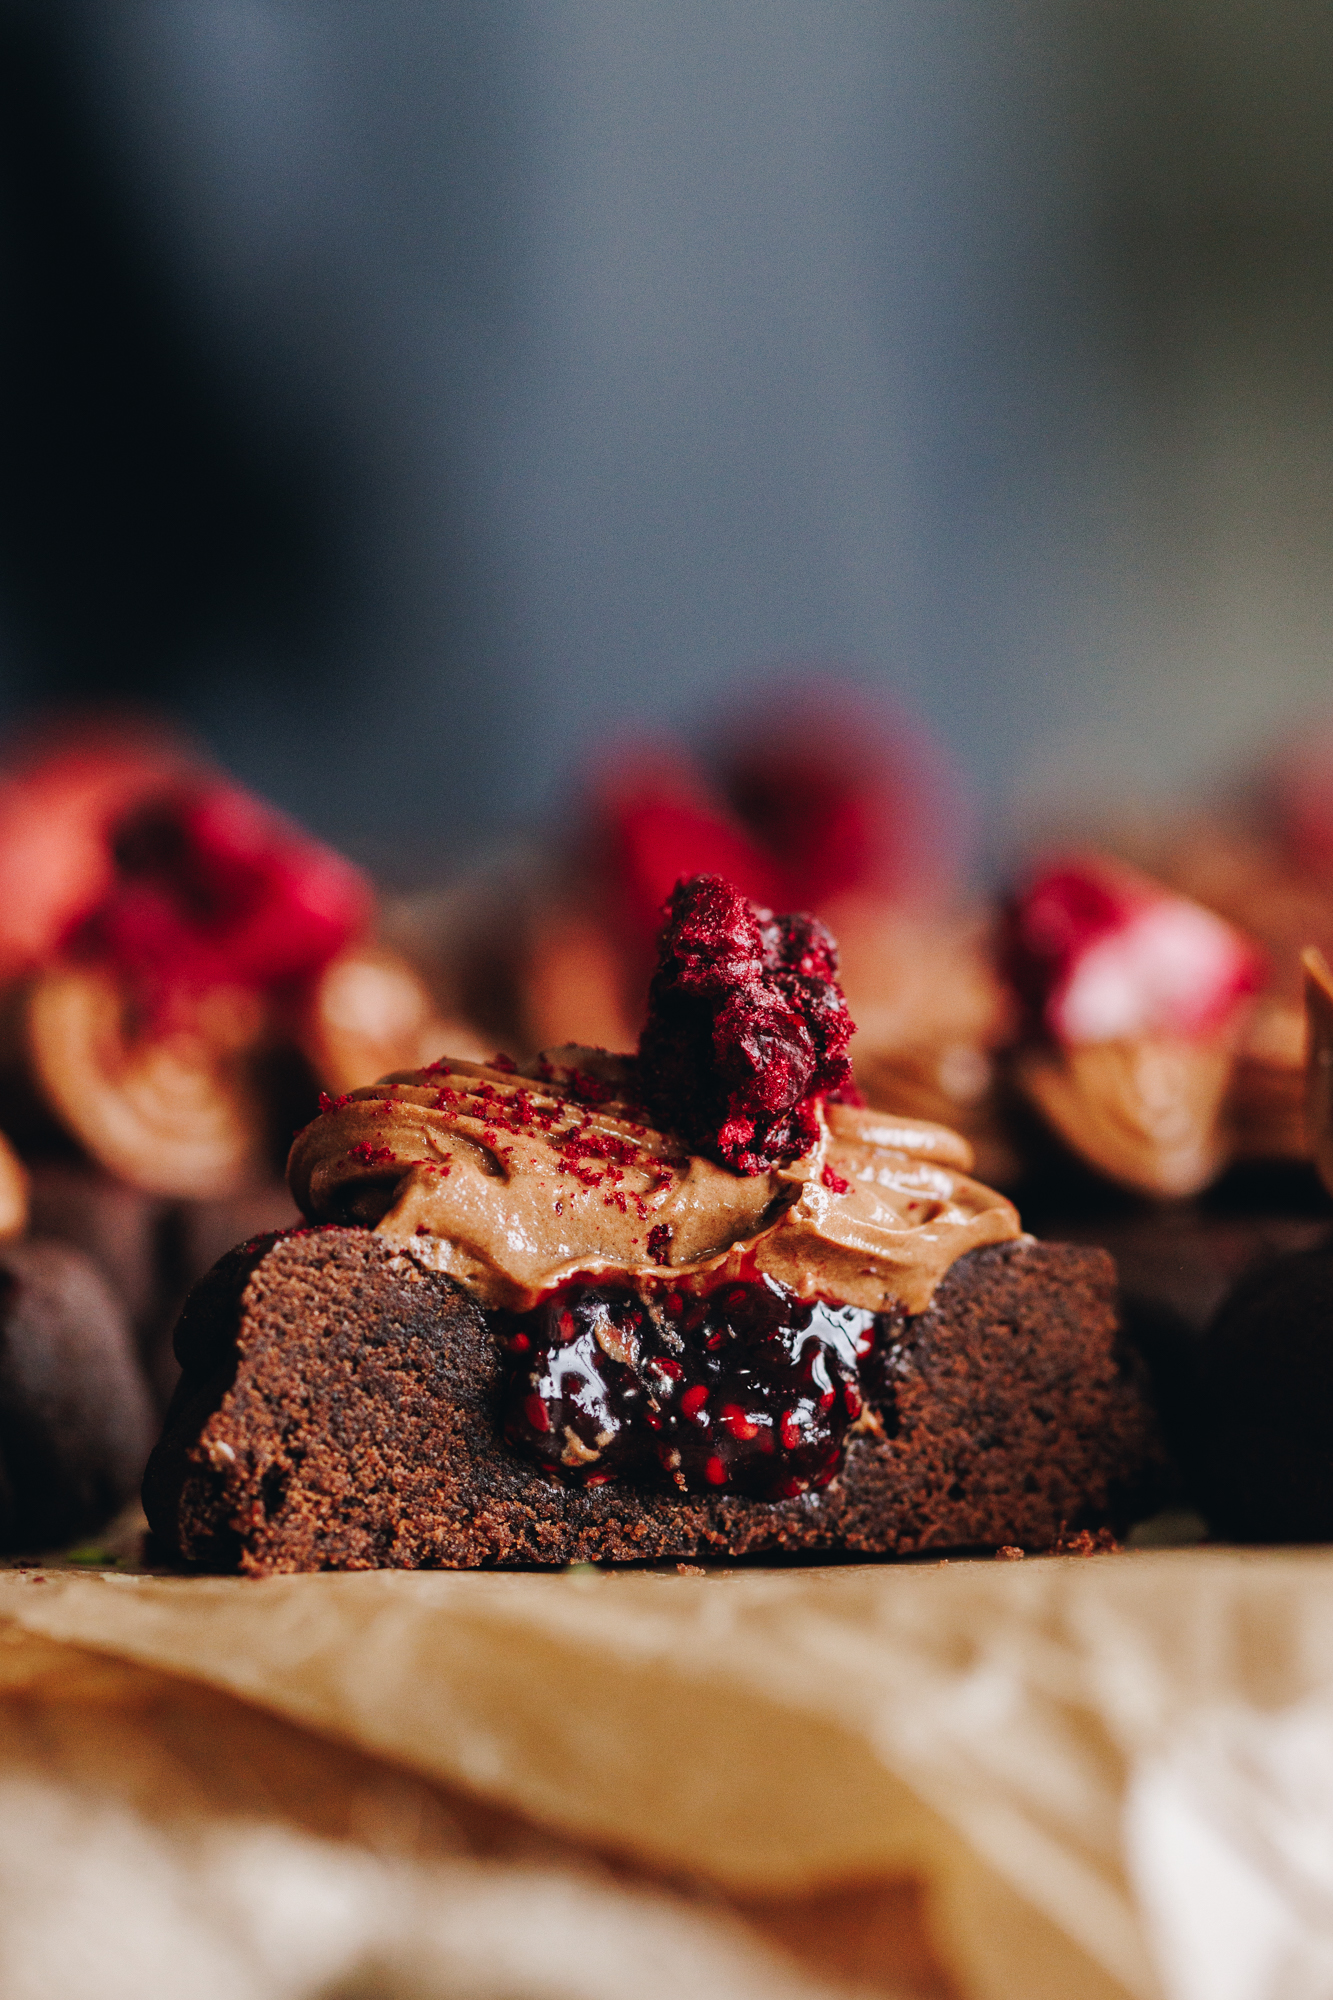
These Chocolate and Raspberry Cookies are so delicious e hoa mā (friends)! The cookies themselves only have 5 ingredients in them and take under 10 minutes to bake. Fill these fudgy chocolate thumbprint cookies with raspberry jam and as an option, adorn them with a chocolate frosting.
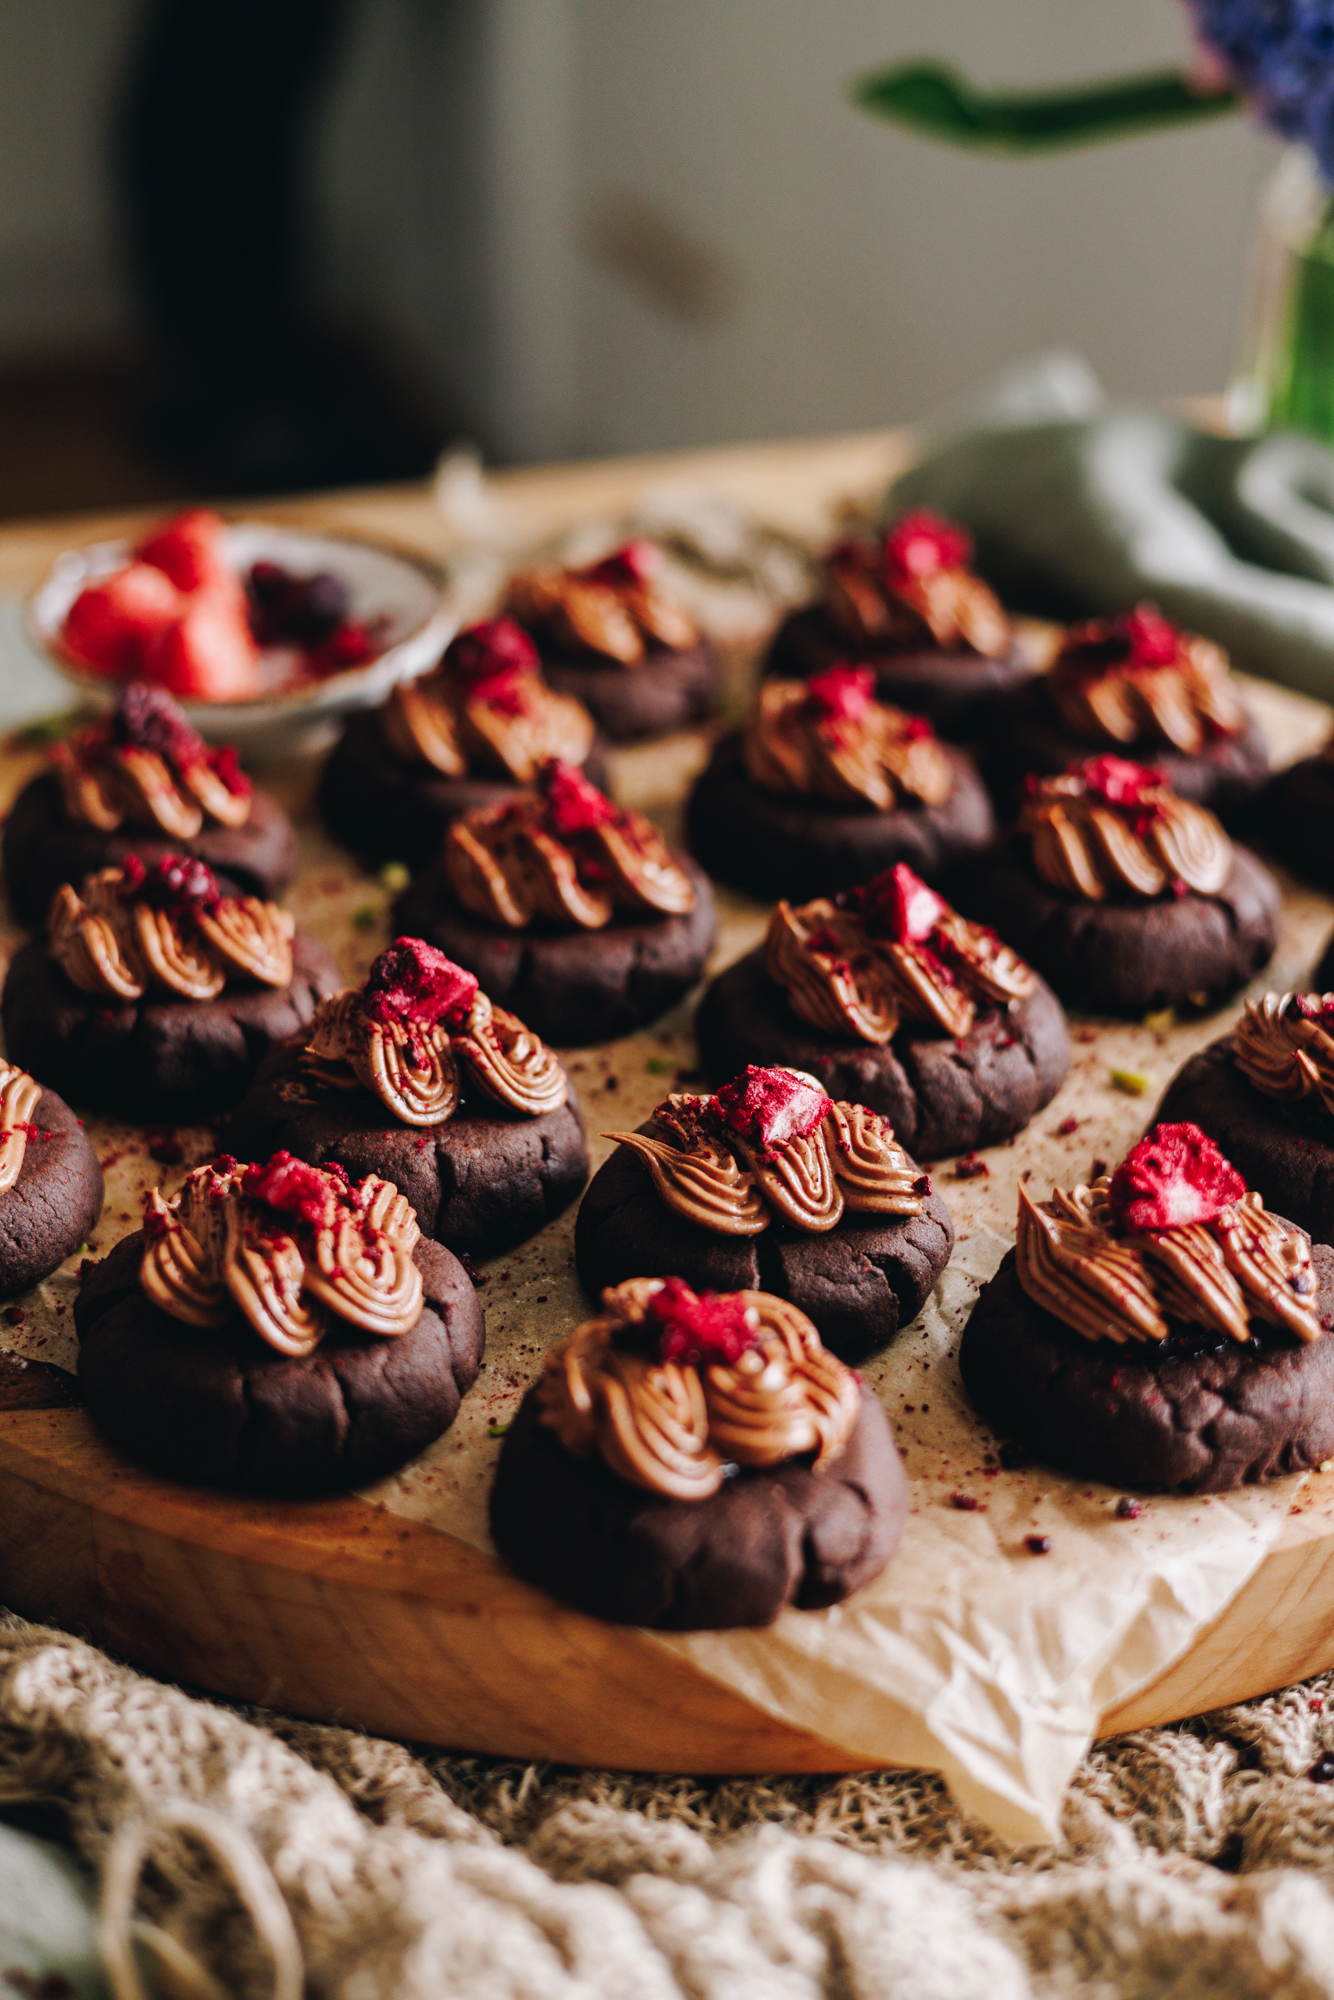
I originally made these pihikete (cookies) for The Giving Series so they needed to be decorated with the full bling factor. However, you take these pihikete as far as you want them to go because they are super delicious without the decorations too.
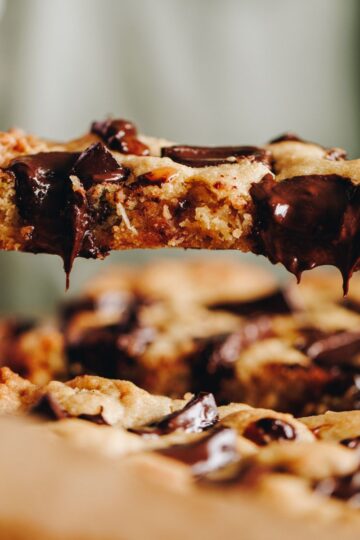
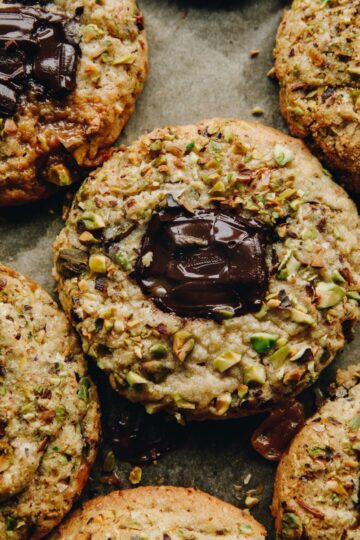
More options using the same base cookie:
If you prefer a karamea (caramel) version, then make these Chocolate and Caramel Cookies. If you want a similar cookie with peanut butter goodness instead, check out my Buckeye Cookies.
Videography and photography by Sarah Henderson.
Ingredient Tips for these Chocolate and Raspberry Cookies:
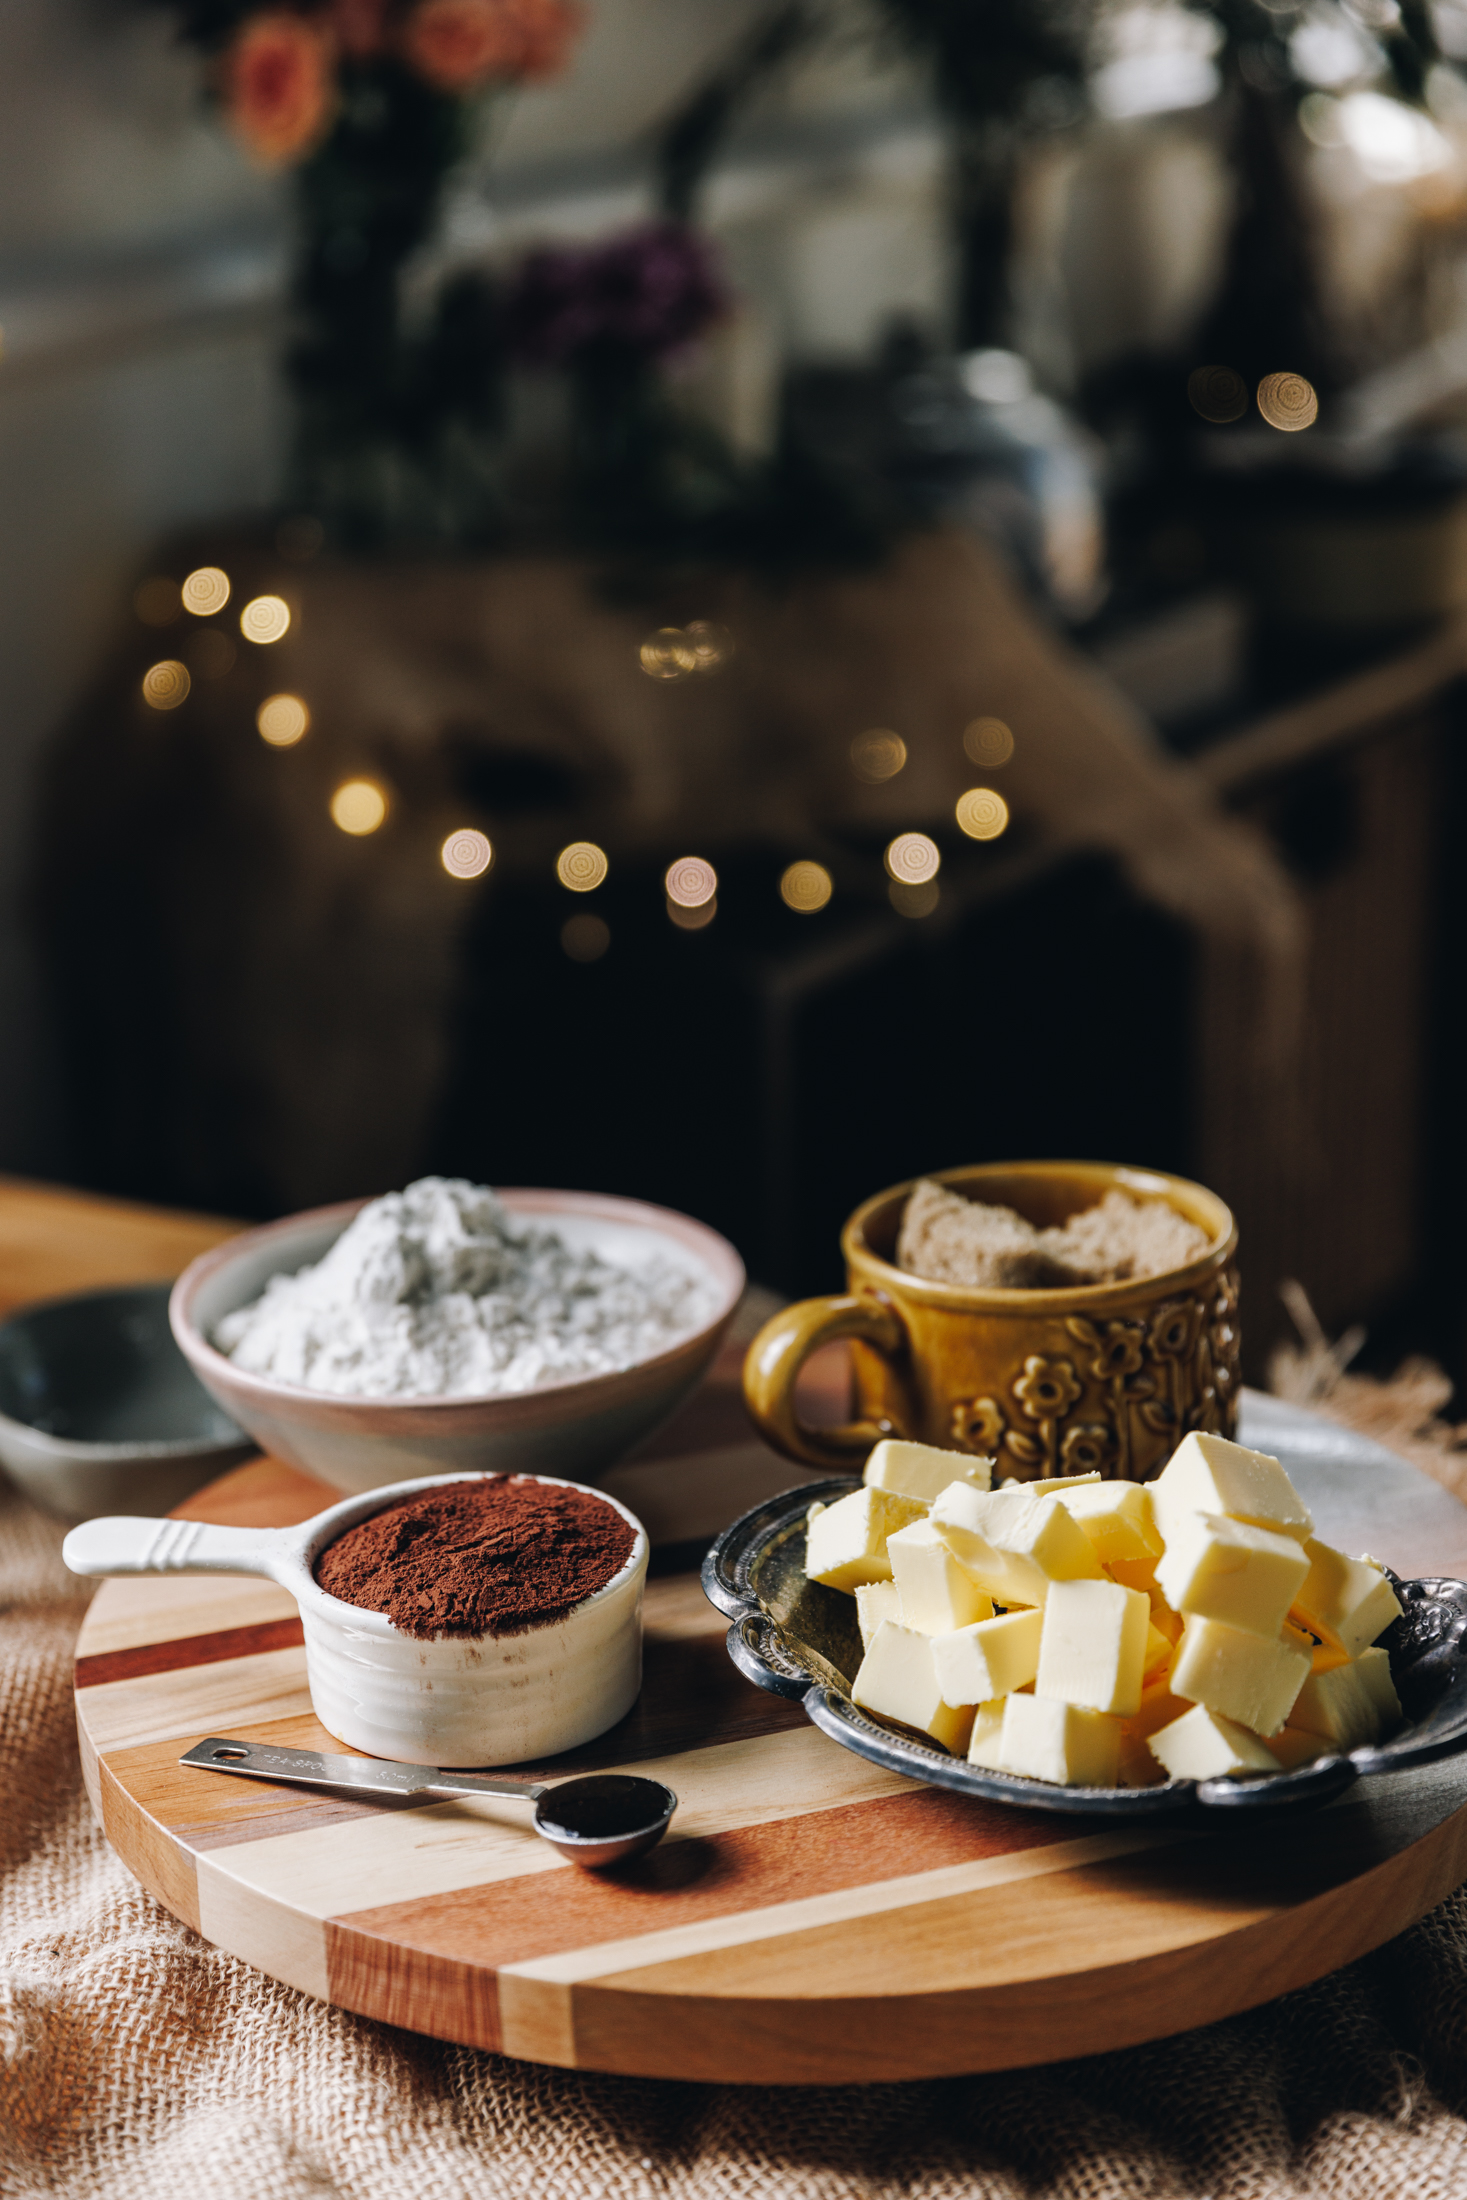
- Butter: I prefer salted pata (butter) but unsalted works so just use what you have.
- Brown sugar: Adds a delicious caramel flavour and softness to the cookies but huka one (caster sugar) also works.
- Flour: Plain flour or high grade flour both work in these cookies.
- Cocoa: I prefer Dutch cocoa in my baking but use what you have.
- Jam: Either make my Raspberry Jam or use your favourite store-bought tiamu (jam) to fill the pihikete (biscuits). Feel free to switch up the tāwara (flavour) to any berry you prefer as well.
- Dark Chocolate: I love tiakarete parauri (dark chocolate) in the pani reka tiakarete (chocolate buttercream) but any chocolate will be delicious.
Expert Tips:
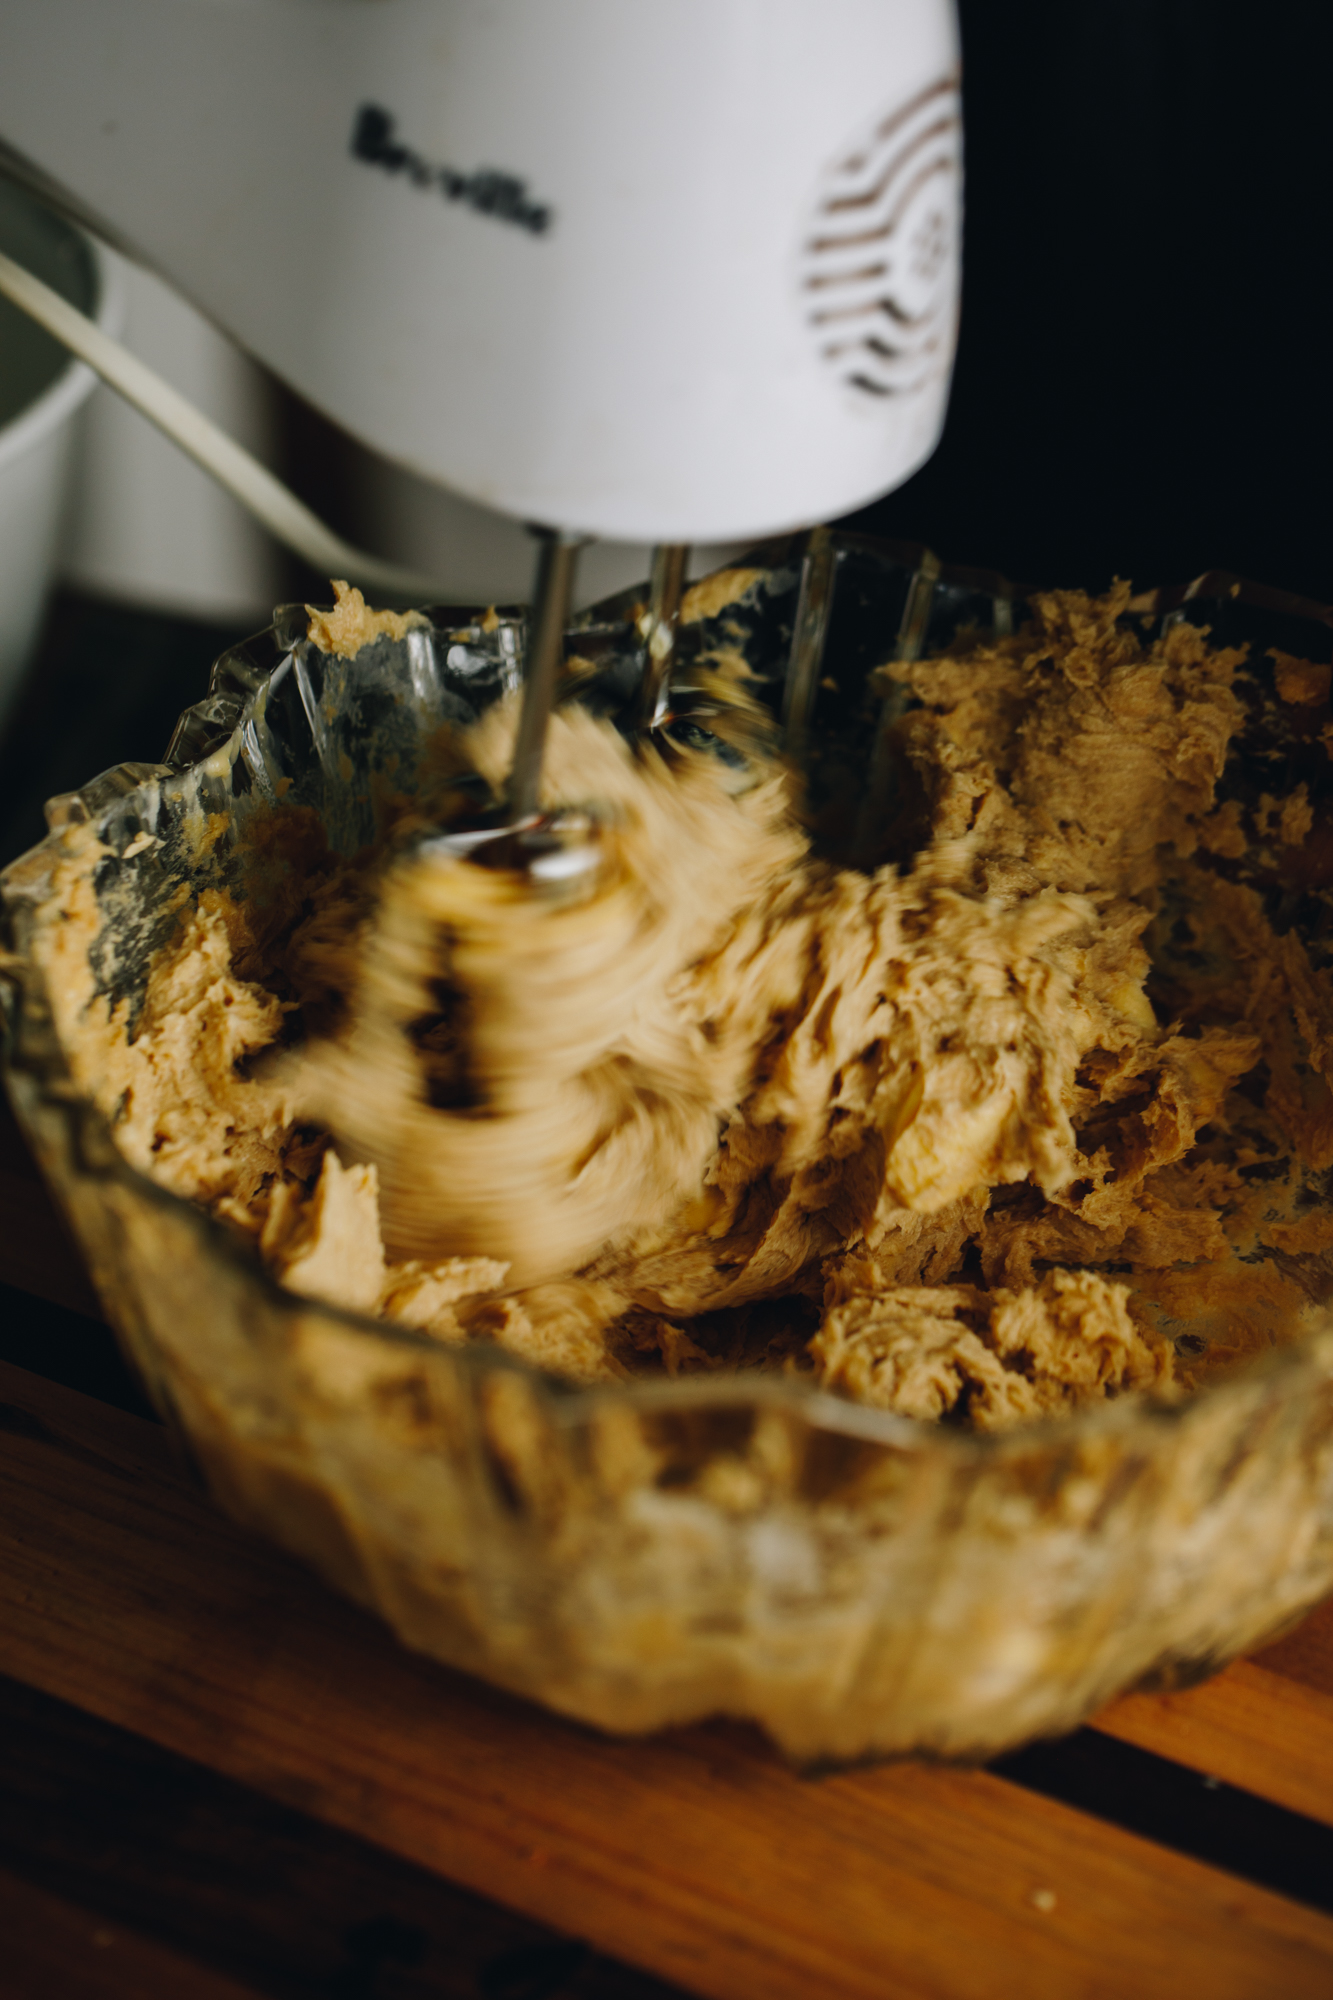
Take the time to whip the pata (butter) and huka (sugar) for the specified time. This will ensure a nice rise to the cookies and give the sugar time to dissolve into the butter.
To make it easier when making the thumbprint holes in the pihikete (cookies), rotate the handle side to side and it will glide in easier.
If you want to use store-bought tiamu (jam) but find it too sweet, either find a reduced sugar version or mix through a tablespoon of fresh wai rēmana (lemon juice) to help cut through it.
When you are piping the pihikete (cookies), top up the piping bag as you go. Adding a little bit at a time helps the buttercream not to melt too much as you are piping.
STEP BY STEP INSTRUCTIONS FOR THE CHOCOLATE AND RASPBERRY COOKIES:
Note: The full recipe card with the full list of ingredients, instructions and step by step video are found at the bottom of this page.
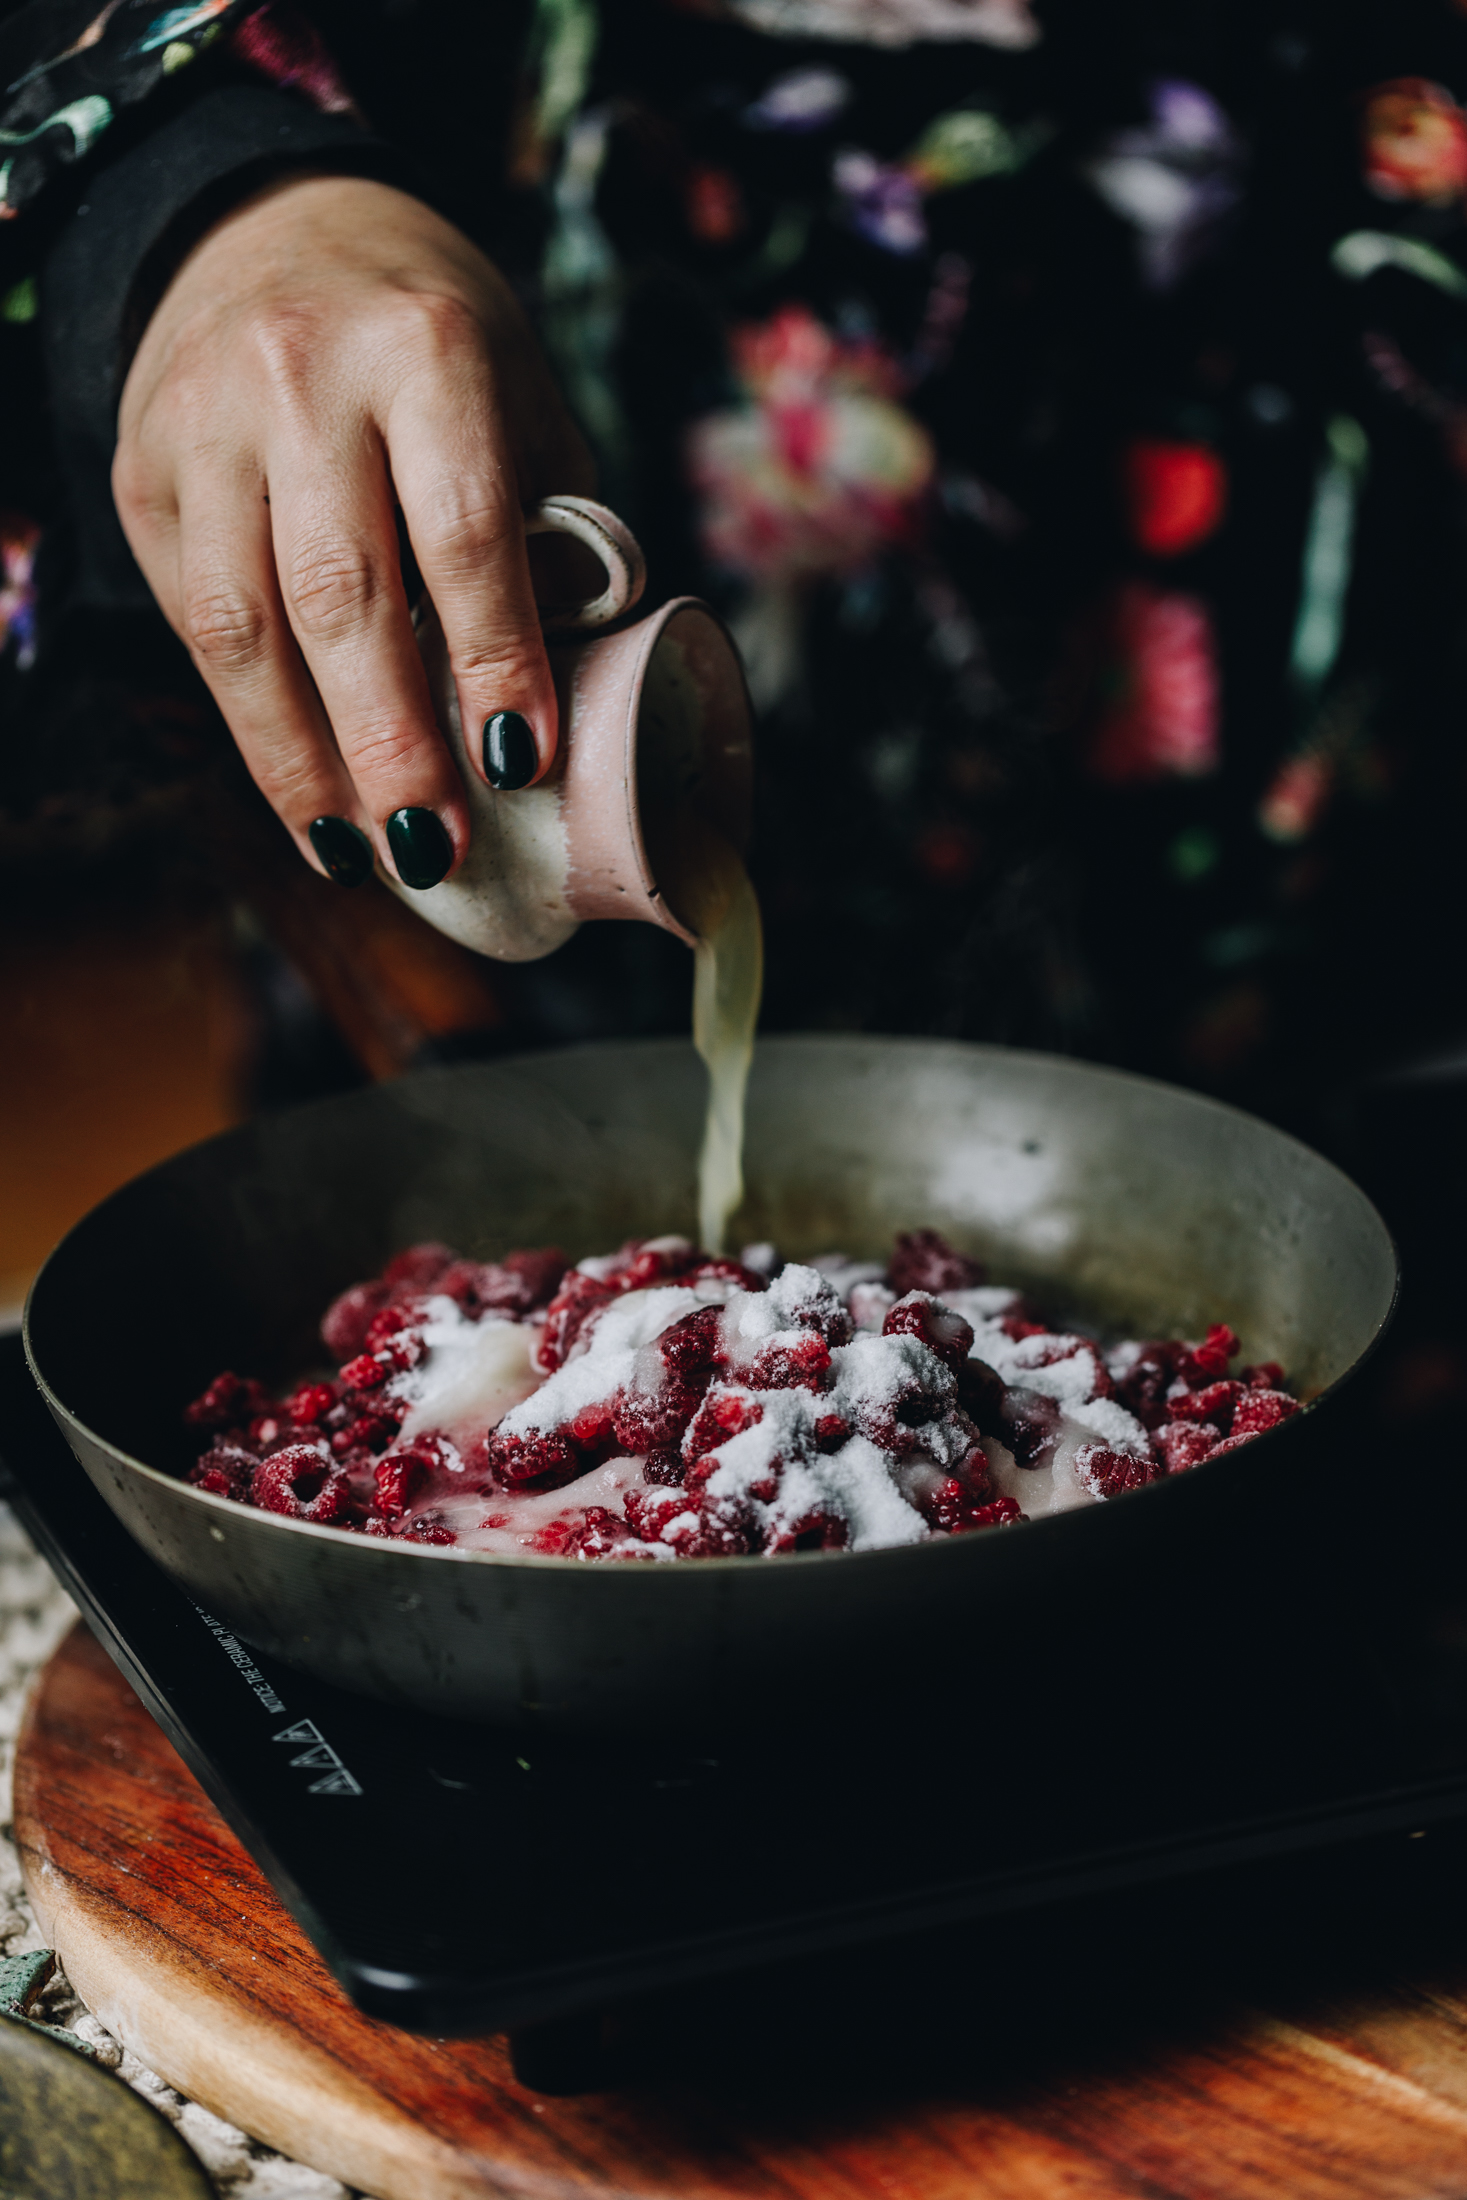
1. Make the Chia Jam (Optional):
If you are making the homemade jam, simply follow the instructions for my chia raspberry jam and set it aside to cool and thicken.
If you are using store-bought jam, skip this step.
2. Preheat the Oven:
Preheat your oven to 170 °C on the bake setting or 160 °C fan bake setting.
3. Whip the Butter and Sugar:
In a large bowl, whip the pata kūteretere (softened butter), huka hāura (brown sugar) and wanira (vanilla) for 4-5 minutes until light and fluffy in colour and texture.
4. Add the Dry Ingredients:
Stir through the kōkō (cocoa).
Add the puehu parāoa (flour). Stir until a dough forms.
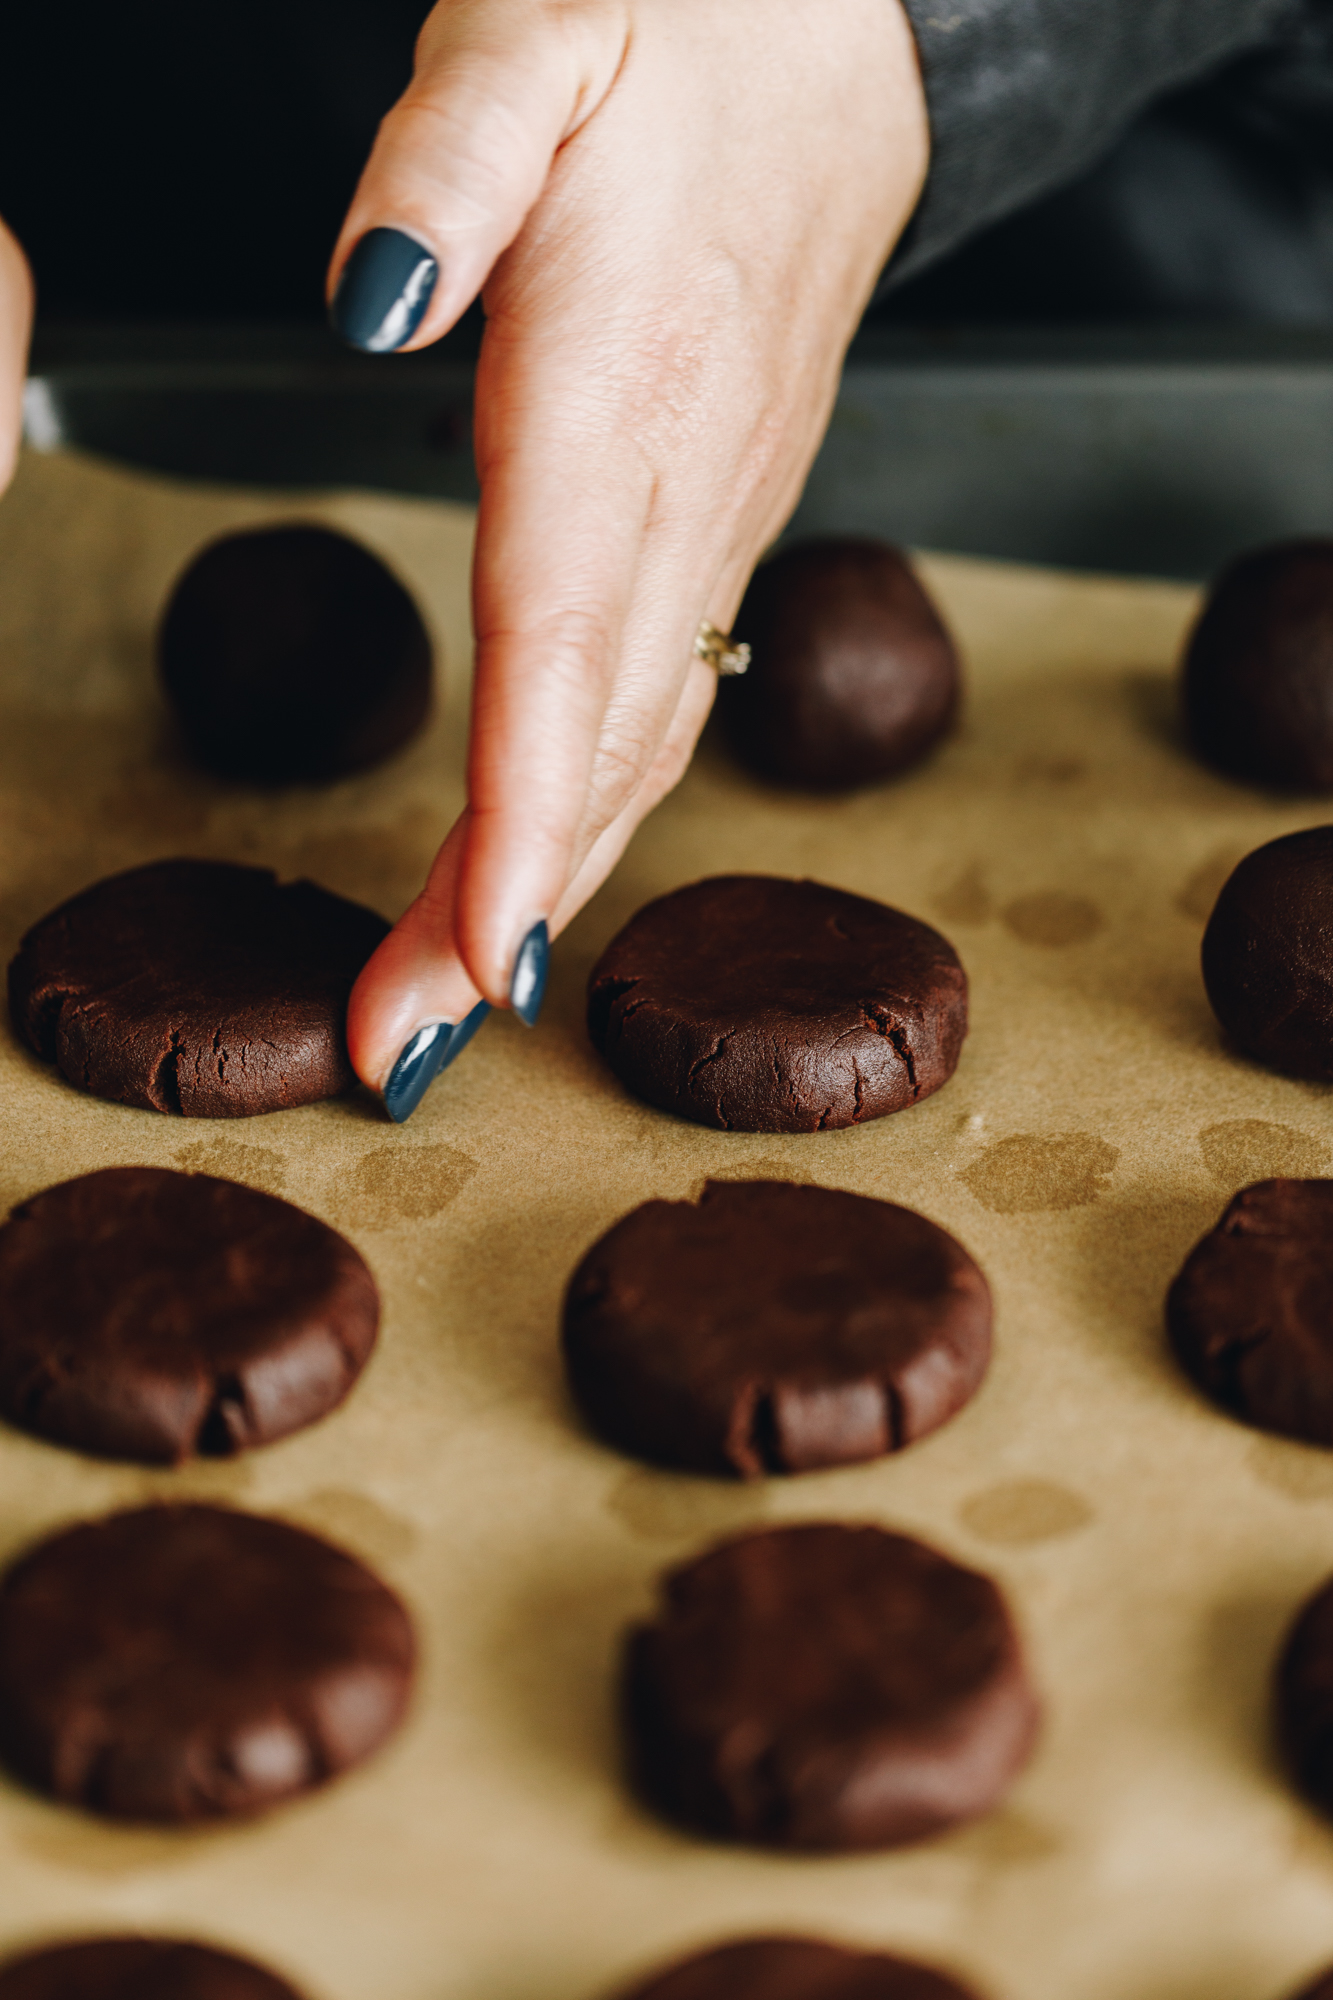
5. Roll the Biscuits:
Roll the mixture in to 20 equal balls.
Place them on to a baking tray and press them down until they are 2 cm high (these biscuits melt down when they bake so don't squash them down too much).
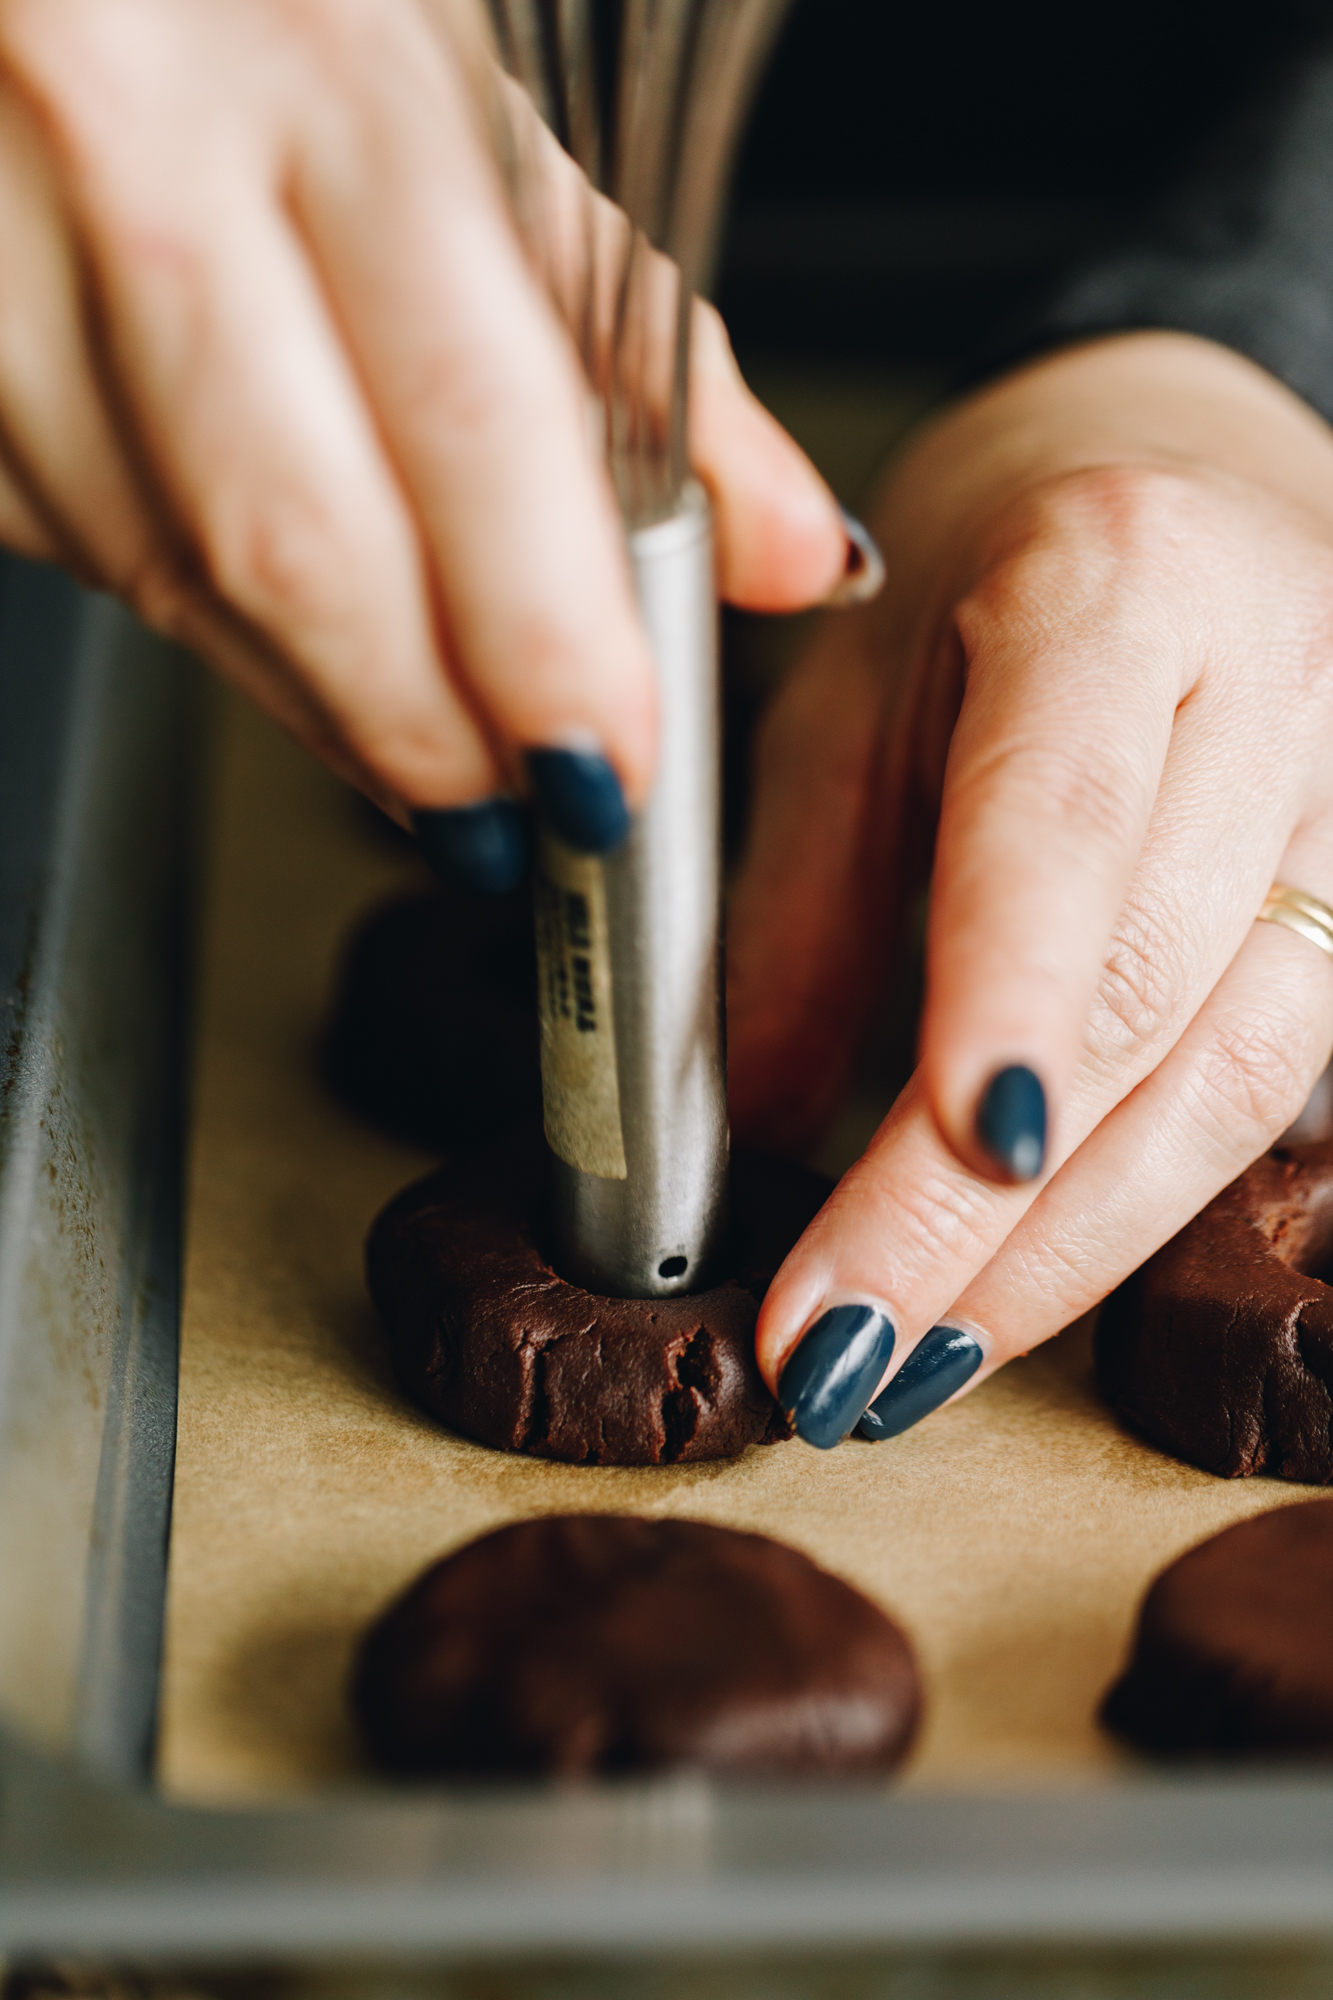
6. Create the Thumbprints:
Then use a 2 cm wide handle to gently create holes in to each pihikete (biscuit), go as deep as you can.
If they crack, smooth them out by pressing the sides together.
7. Bake the Cookies:
Bake in the preheated oven for 9 minutes.
Remove from the oven and gently press down the holes again to create deep holes for the tiamu (jam) to go in.
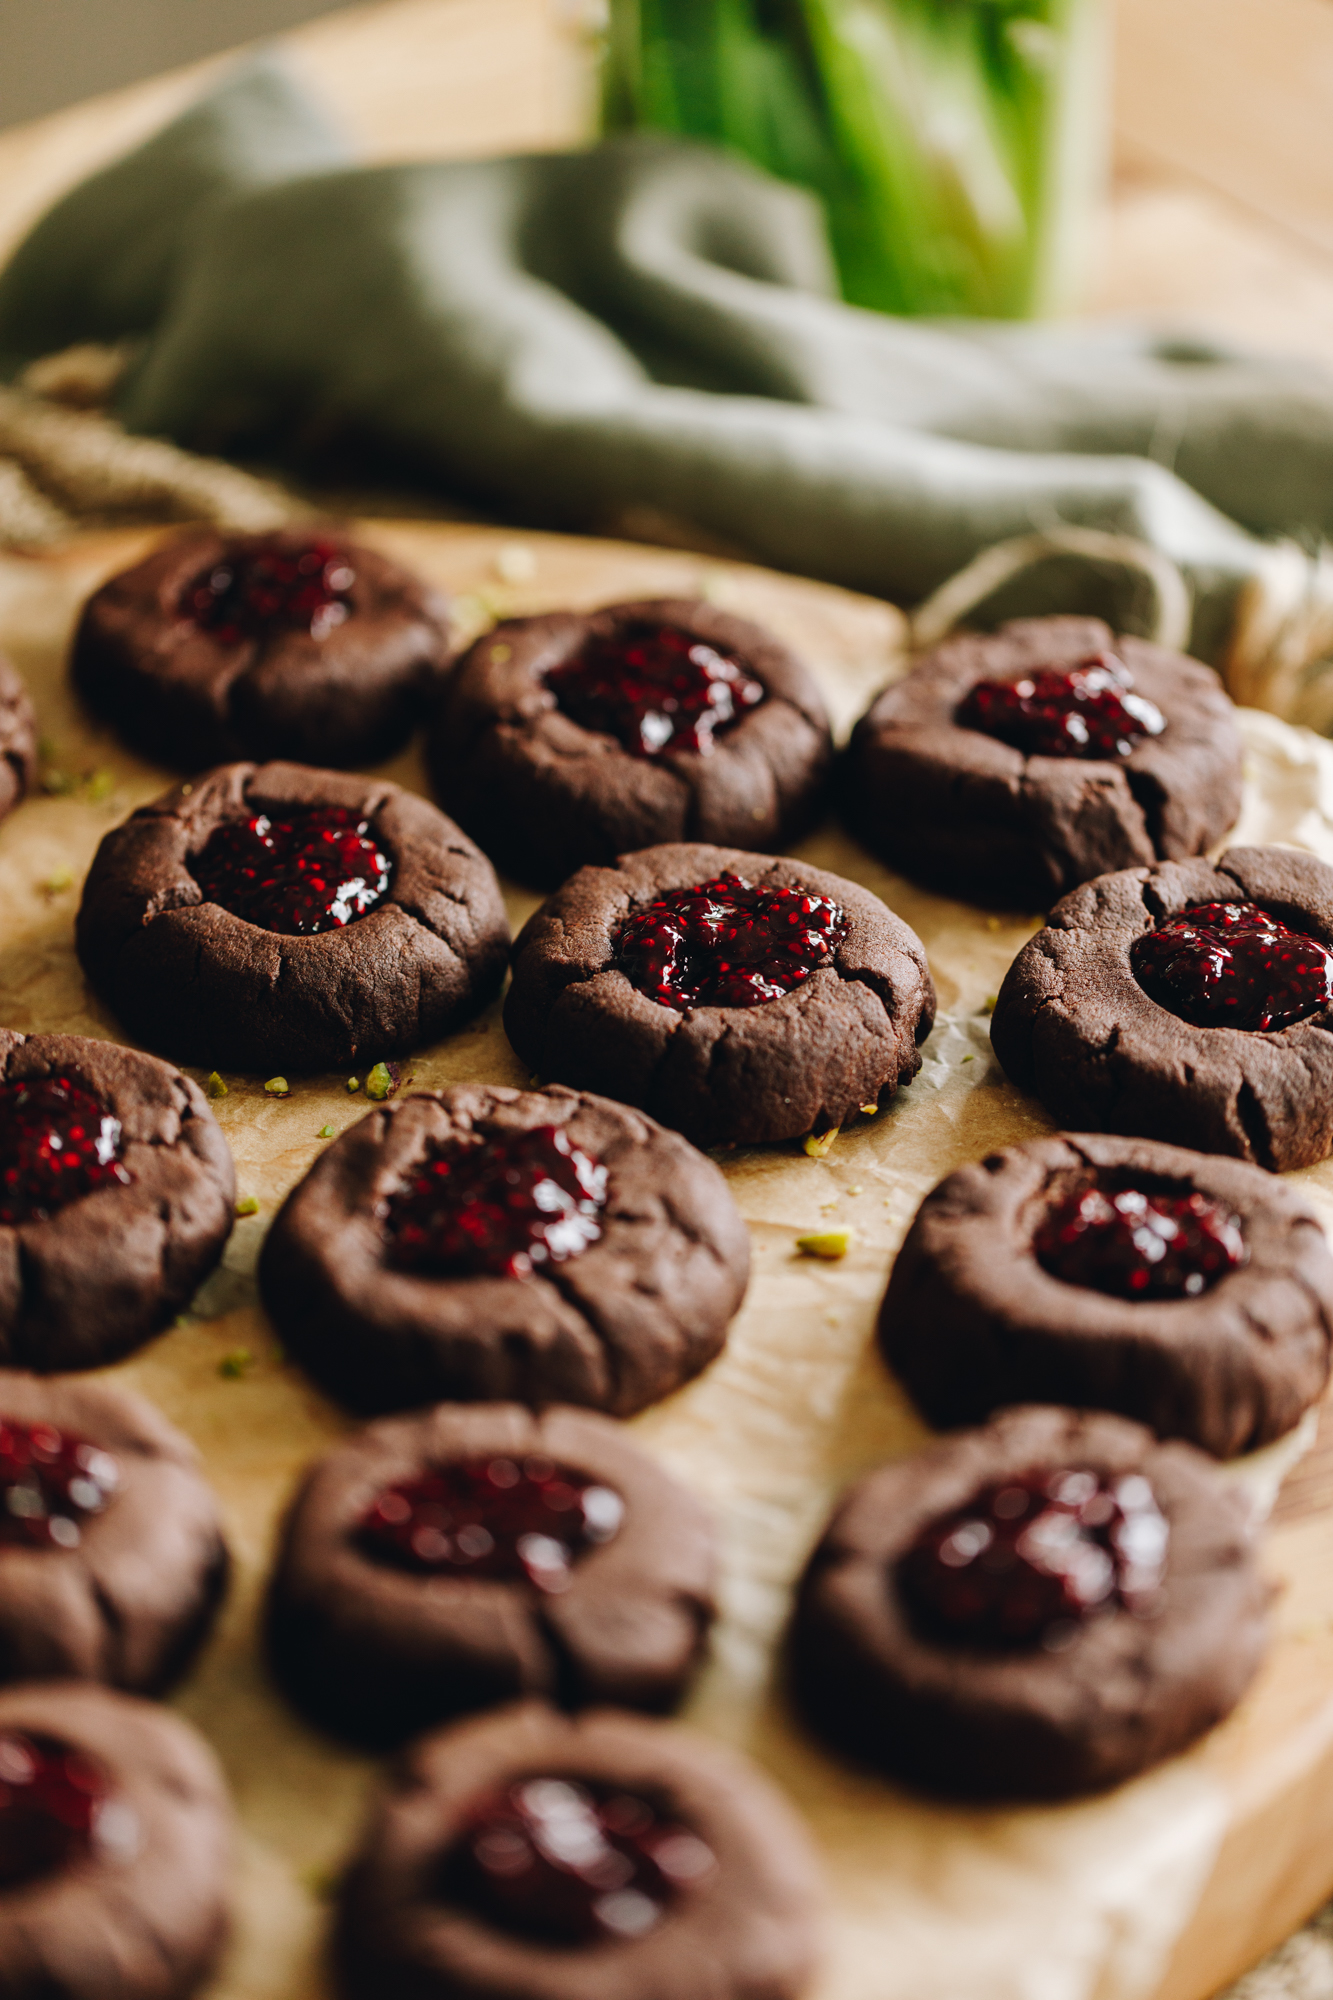
8. Add the Raspberry Jam:
Now for the fun part, spoon a good teaspoon of the homemade or store-bought tiamu (jam) in to each pihikete (cookie). I like to top them up as much as I can.
If you are only going to this step, it is time for a cuppa because your cookies (biscuits) are ready like this.
Ka mau te wehi (fantastic)!
If you are decorating them, go to the next step.

9. Make the Chocolate Buttercream (Optional):
Whip up a half quantity of my chocolate buttercream following the measurements in the recipe below.
Even though the quantities are different, the process is exactly the same.
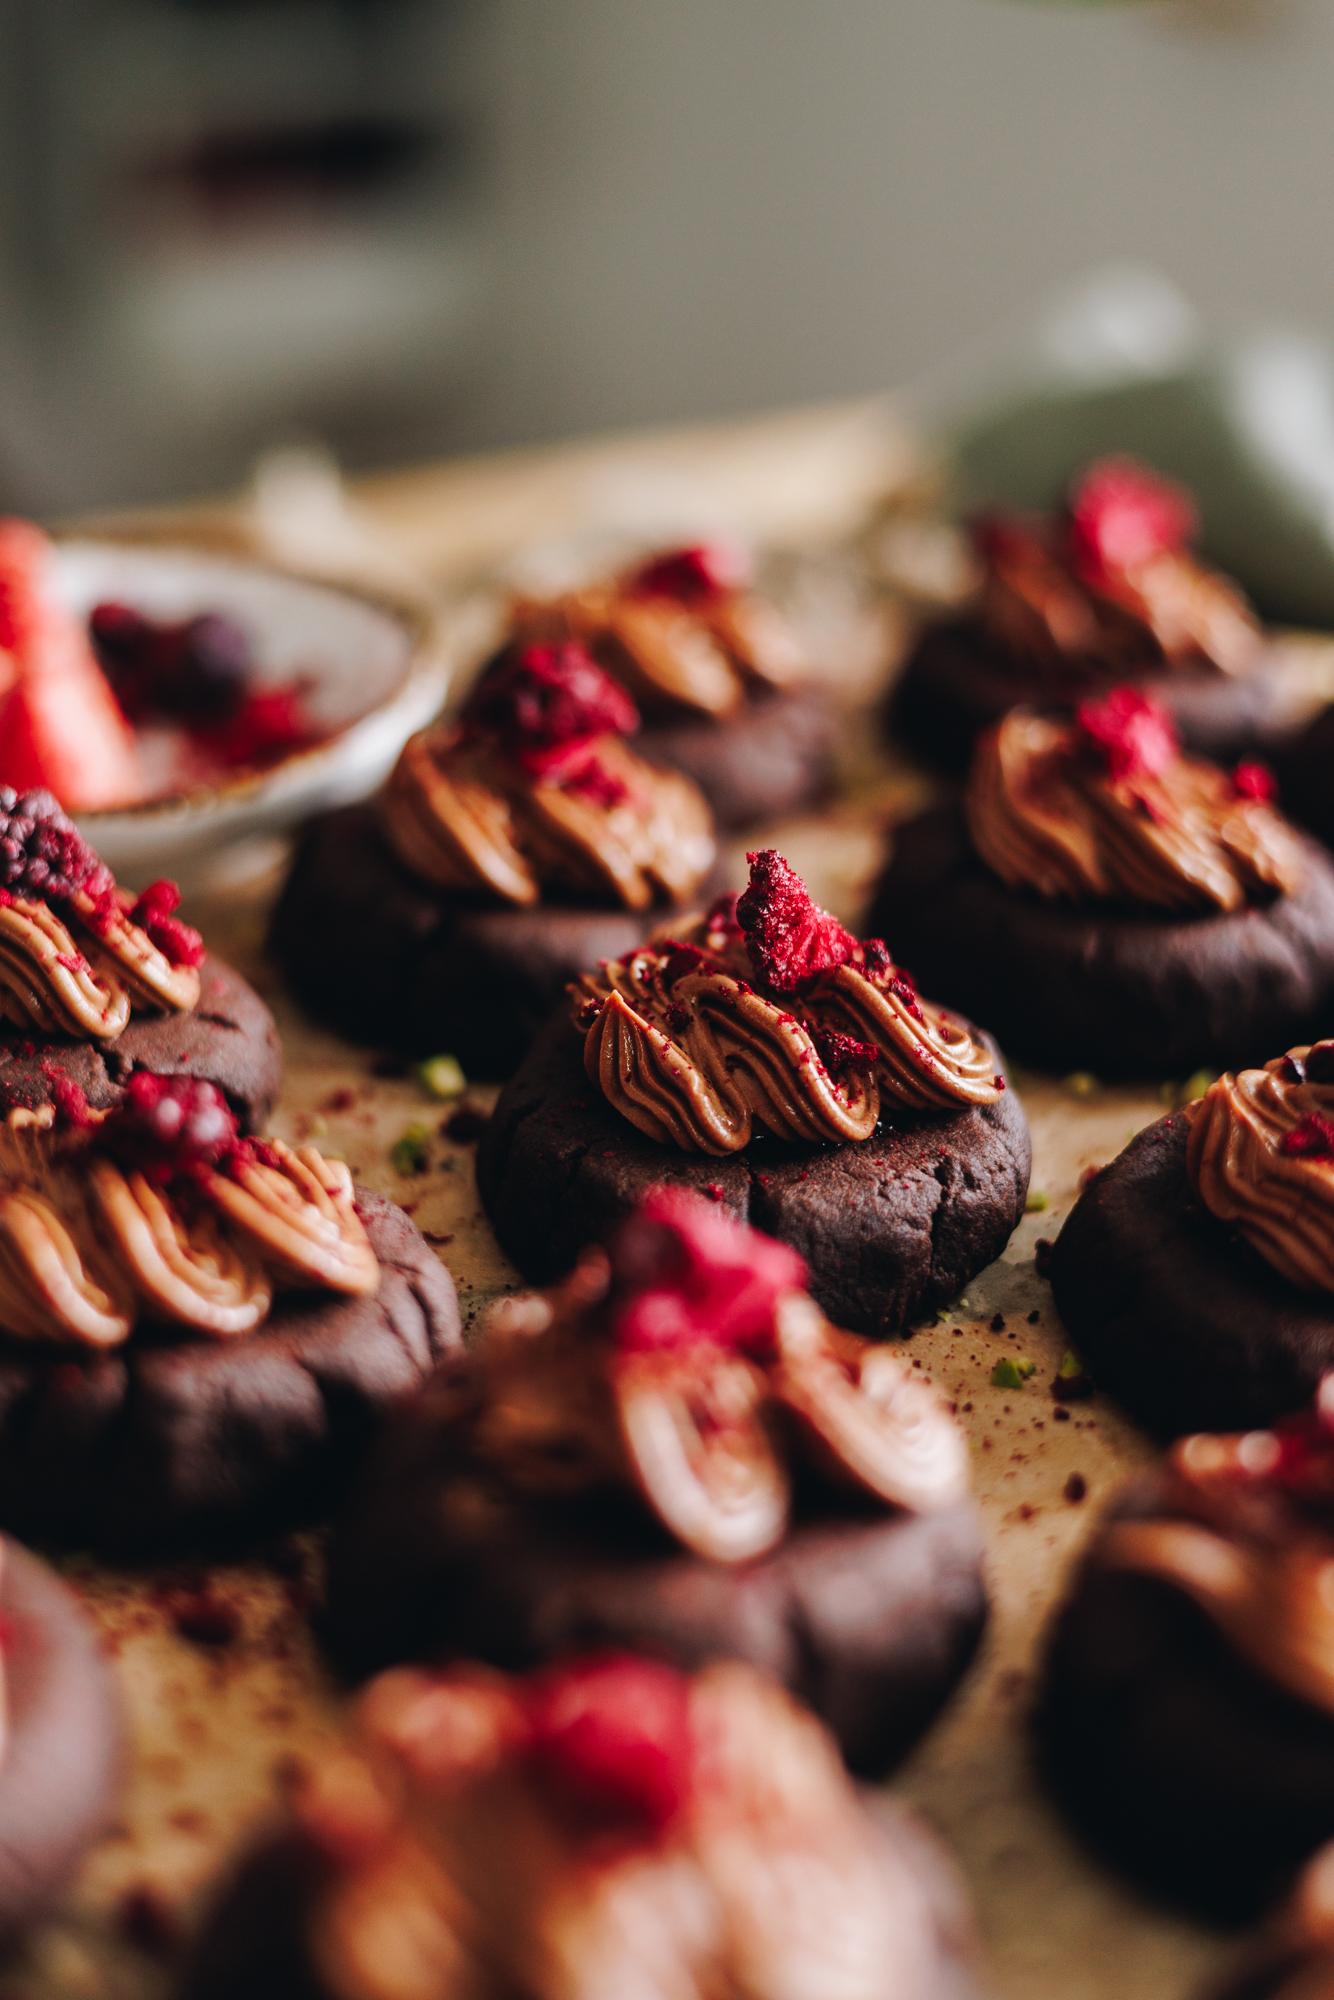
10. Decorate the Cookies:
If you are piping it on: Add around ½ cup of pani reka (buttercream) in to a piping bag with a small basket weave nozzle tip.
Top up the piping bag as you go, adding a little bit at a time helps the buttercream not to melt too much as you are piping.
Use the piping tip to create a pattern that conceals the tiamu (jam) inside the pihikete (cookie).
If you are not piping: Add a teaspoon of pani reka (buttercream) on to each cooled pihikete (cookie) and smooth it over as you go.
Sprinkle with a touch of rahipere tauraki-tio (freeze-dried raspberries) or whatever takes your fancy!
11. Refrigerate:
Whakamātaohia mō te 20 miniti (refrigerate for 20 minutes).
Store the Cookies:
Store these in a sealed container in the fridge or in a cool cupboard.
They will keep well like this for up to 5 days.
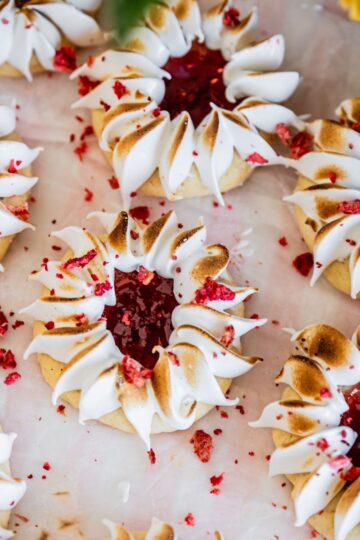
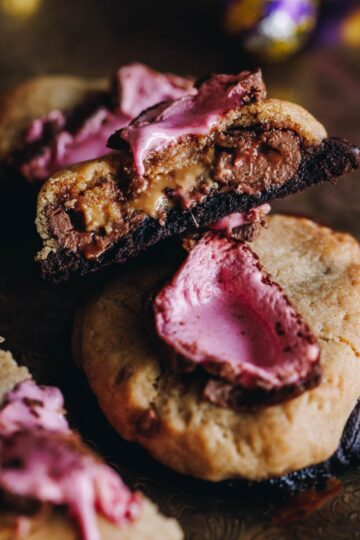
Take a little peek at some more
Pihikete (Biscuit) Recipes
These handheld morsels of deliciousness are awaiting you.

DID YOU ENJOY THIS RECIPE?
It would be so awesome if you could please leave a review/comment by clicking the “leave a comment” section at the top of the page.
I love seeing you all make my creations, so send a whakaahua (photo) or kiriata (video) to my Instagram and show me what you made. Let me know if you have any pātai (questions) too, I would love to help.

Chocolate and Raspberry Thumbprint Cookies - Pihikete Tapukara Tiakarete me Te Rahipere
Ingredients
Raspberry Jam - Tiamu Rahipere (Homemade Option)
- 1 quantity chia raspberry jam (you don't need the whole quantity but why not make a little extra for your toast).
Raspberry Jam - Tiamu Rahipere (Store bought Option)
- ⅔ C tiamu rahipere (store bought, do this option if you do not want to make the chia raspberry jam)
Chocolate Biscuits - Pihikete Tiakarete
- 200 g pata kūteretere (softened butter)
- ¾ C (150 g) huka hāura (brown sugar)
- 2 teaspoon (10 ml) wanira (vanilla)
- ½ C (50 g) kōkō (cocoa, dutch is best)
- 1 ¾ C (260 g) puehu parāoa noa (plain flour)
Chocolate Buttercream - Pani reka Tiakarete (Optional)
- ½ quantity of my dark chocolate buttercream
- 90 g tiakarete parauri (dark chocolate)
- 1 ½ tablespoon (20 ml) miraka (milk)
- 95 g pata kūteretere (softened butter)
- ¼ C (40 g) puehu huka (icing sugar)
- 1 tso (5 ml) wanira (vanilla)
Decoration - Whakarākei (optional)
- 4 rahipere tauraki-tio (freeze-dried raspberries)
Instructions
Make the Chia Jam (Optional):
- If you are making the homemade jam: Follow the instructions for my chia raspberry jam using the quantities above and set it aside to cool and thicken.
- If you are use store-bought jam, skip this step.
Preheat the Oven:
- Preheat your oven to 170 °C on the bake setting or 160 °C fan bake setting.
Whip the Butter and Sugar:
- In a large bowl, whip the pata kūteretere (softened butter), huka hāura (brown sugar) and wanira (vanilla) for 4-5 minutes until light and fluffy in colour and texture.
Add the Dry Ingredients:
- Stir through the kōkō (cocoa).
- Add the puehu parāoa (flour) and then stir it until a dough forms.
Roll the Biscuits:
- Roll the mixture in to 20 equal balls.
- Place them on to a baking tray and press them down until they are 2 cm high (these biscuits melt down when they bake so don't squash them down too much).
Create the Thumbprints:
- Then use a 2 cm wide handle to gently create holes in to each pihikete (biscuit), go as deep as you can. If they crack, smooth them out by pressing the sides together.
Bake the Cookies:
- Bake in the preheated oven for 9 minutes.
- Remove from the oven and gently press down the holes again to create deep holes for the tiamu (jam) to go in.
Add the Raspberry Jam:
- Now for the fun part, spoon a good teaspoon or so of the homemade or store-bought tiamu (jam) in to each pihikete. I like to top them up as much as I can.
- If you are only going to this step, it is time for a cuppa because your cookies (biscuits) are ready like this. Ka mau te wehi (fantastic)!
- If you are decorating them, go to the next step.
Make the Chocolate Buttercream (Optional):
- Whip up a half quantity of my chocolate buttercream following the measurements above.Even though the quantities are different, the process is exactly the same.
Decorate the Cookies:
- If you are piping it on: Add around ½ cup of pani reka (buttercream) in to a piping bag with a small basket weave nozzle tip. Top up the piping bag as you go, this helps the buttercream not to melt too much as you are piping it. Use the piping tip to create a pattern that conceals the tiamu (jam) inside the pihikete (cookie).
- If you are not piping: Add a teaspoon of pani reka (buttercream) on to each cooled pihikete (cookie) and smooth it over as you go.
- Sprinkle with a touch of rahipere tauraki-tio (freeze-dried raspberries) or whatever takes your fancy!
Refrigerate:
- Whakamātaohia mō te 20 miniti (refrigerate for 20 minutes).
Store the Cookies:
- Store these in a sealed container in the fridge or in a cool cupboard. They will keep well like this for up to 5 days.


Leave a Review