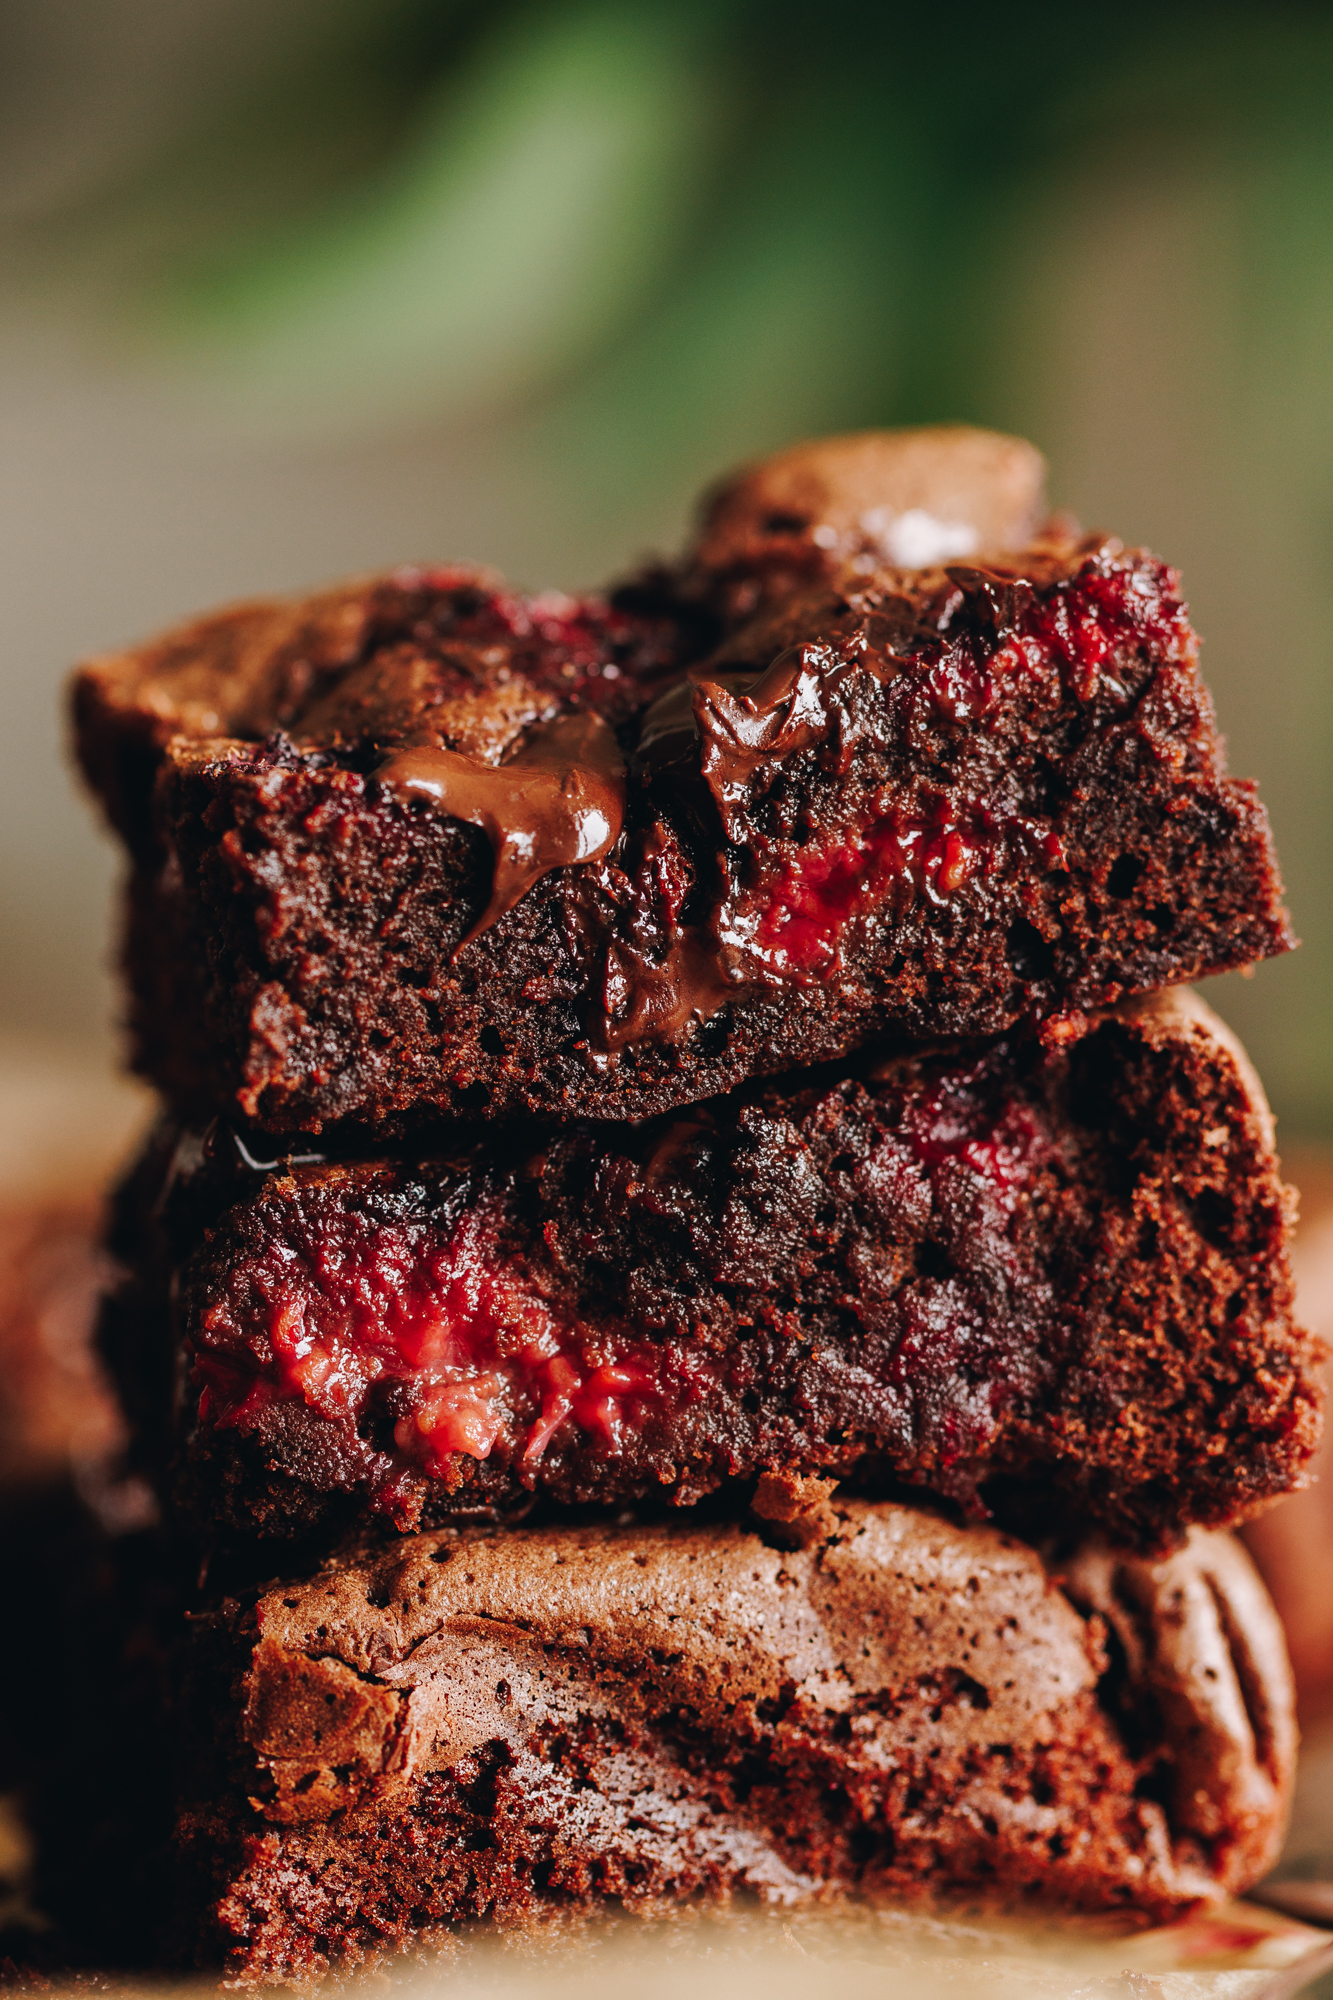
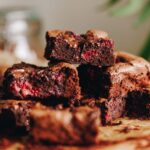
This Chocolate and Raspberry Brownie is perfectly balanced. The tartness of the rahipere tio (frozen raspberries) cuts through the richness of the chocolate, creating a beautifully fudgy brownie with bursts of fresh rahipere (raspberries) throughout. The result is gently sweet, rich, and deeply chocolatey. Te reka hoki — so delicious!
Why you will love this chocolate and raspberry brownie:
I have received such wonderful feedback on this brownie, and it makes me so happy. This keke (cake) has the perfect balance of sweetness from the huka (sugar), richness from the tiakarete (chocolate), and tartness from the rahipere (raspberries), creating a true party in the mouth. 🎉
More baking inspiration:
Feel like baking something a little extra today? Try my Chocolate Raspberry Brownie with Marshmallow — it is absolutely divine. If you are after a classic Kiwi slice, my Louise Cake is always a favourite.
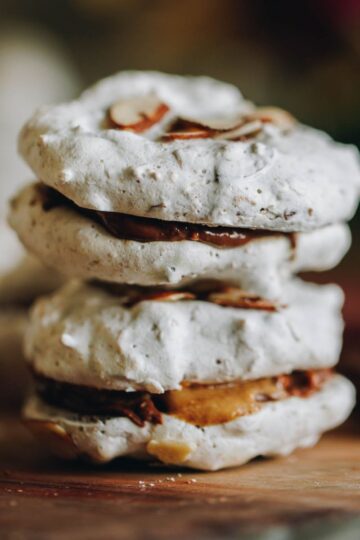
Looking for a pihikete (biscuit) instead? These Hundreds and Thousands Biscuits or Hundreds and Thousands Marshmallow Biscuits might be just the thing. 🍪
Videography and photography by Sarah Henderson.
Ingredients:
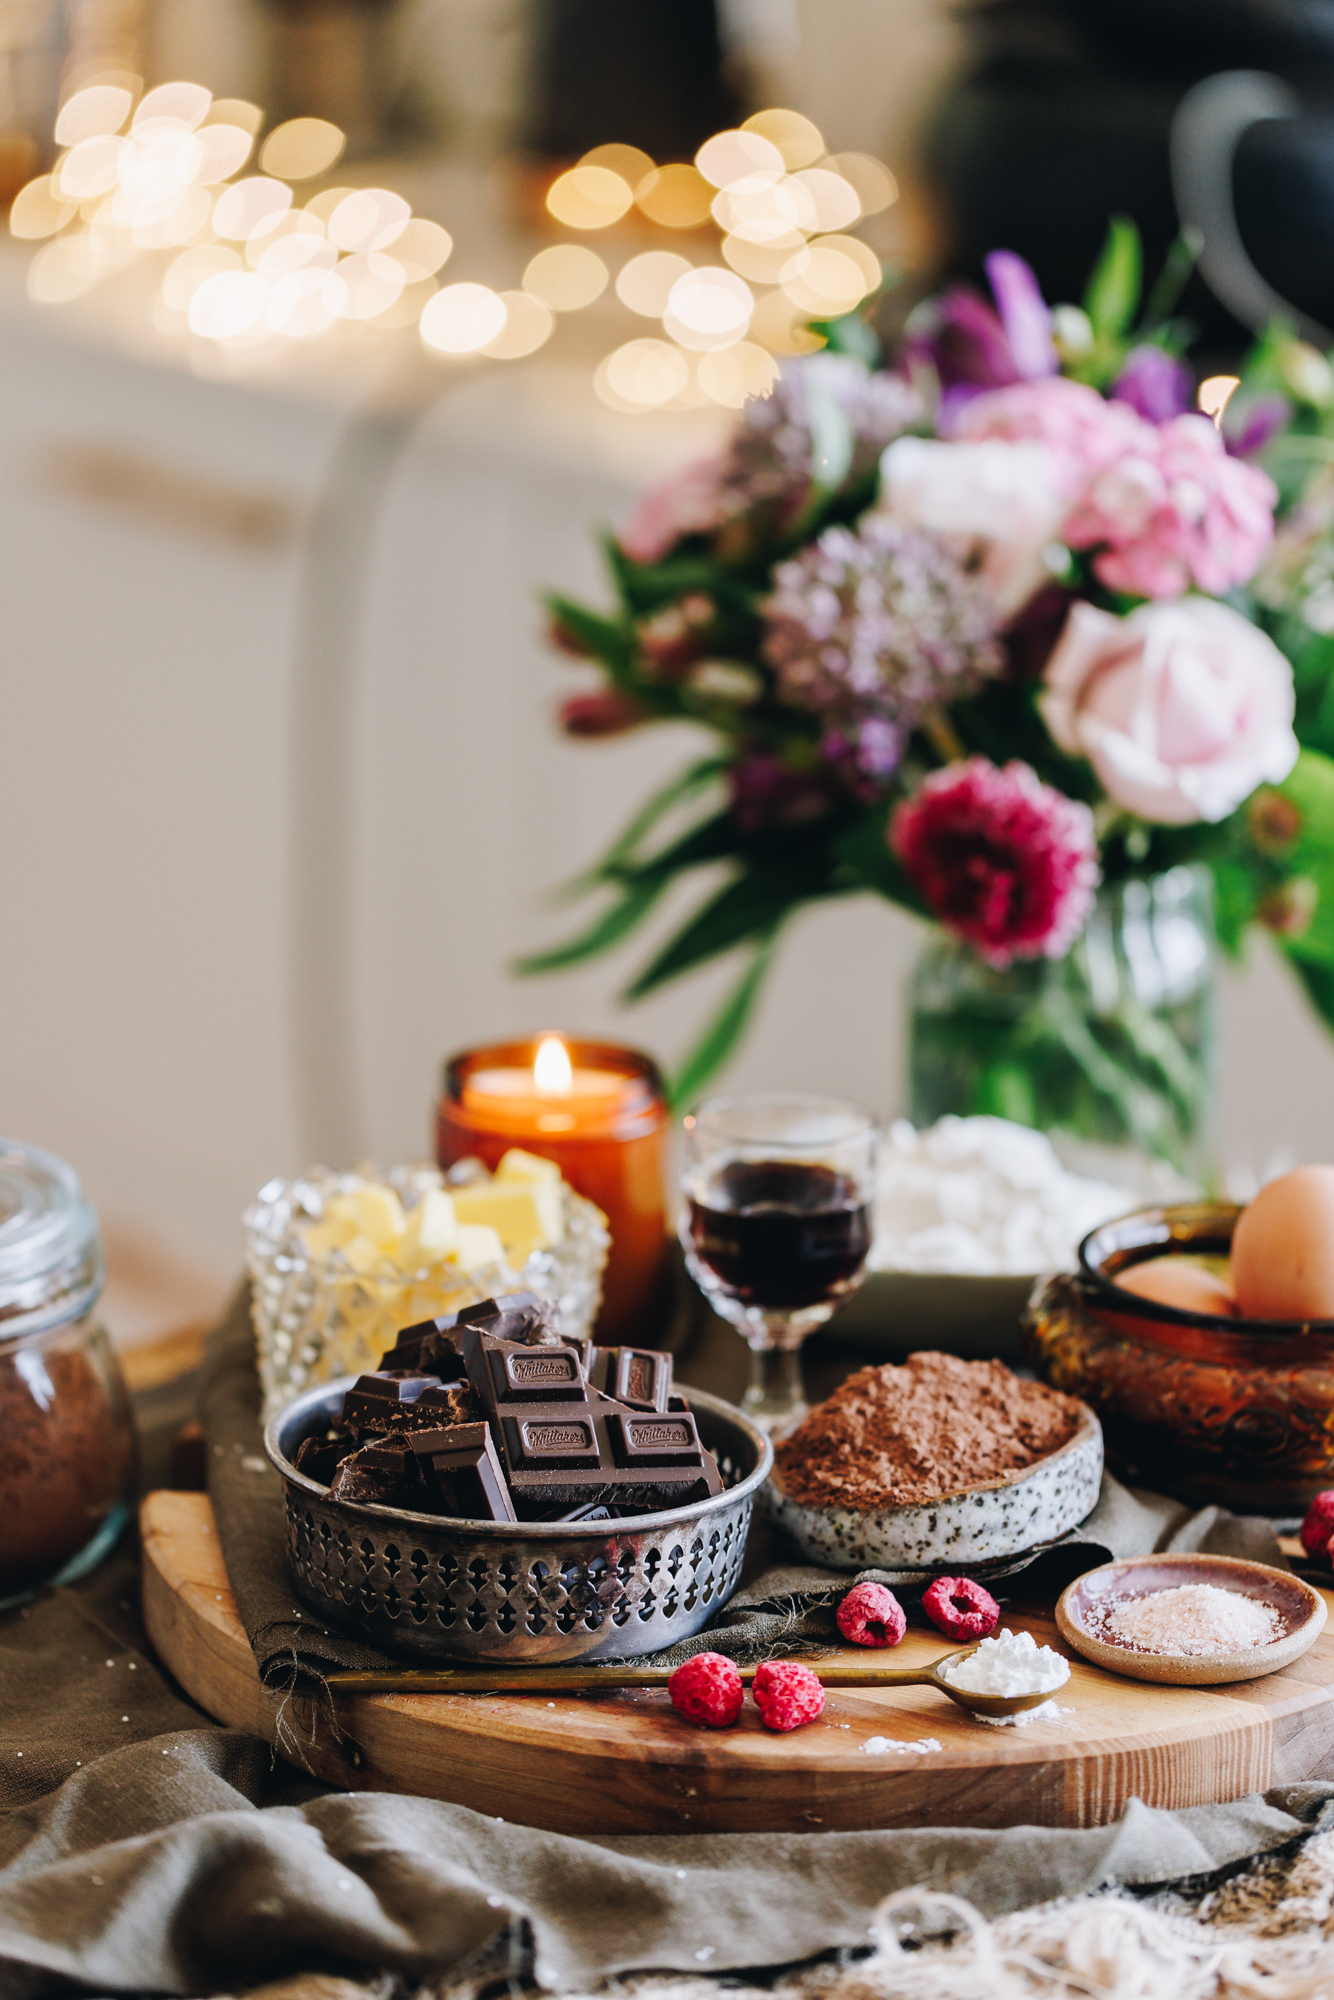
- Chocolate: I use 50% tiakarete parauri (dark chocolate) for this recipe because it pairs perfectly with the rahipere (raspberries).
- Butter: I prefer salted butter in my baking but feel free to use unsalted.
- Cocoa: Dutch cocoa is my favourite for this recipe but it can be expensive so just use what you have.
- Flour: High grade or plain flour will both work in this recipe.
HOW TO MAKE THIS FUDGY BROWNIE:
Note: The full recipe card with the full list of ingredients, instructions and step by step video are found at the bottom of this page.
1. Preheat the Oven:
Preheat the oven to 165 °C bake setting or 155 °C fan bake setting.
Grease a 20 cm x 25 cm tin with high sides with butter. (Make sure the tin is as close to this size as possible).
Line with baking paper, making sure there is a large over hang.
2. Melt the Chocolate and Butter:
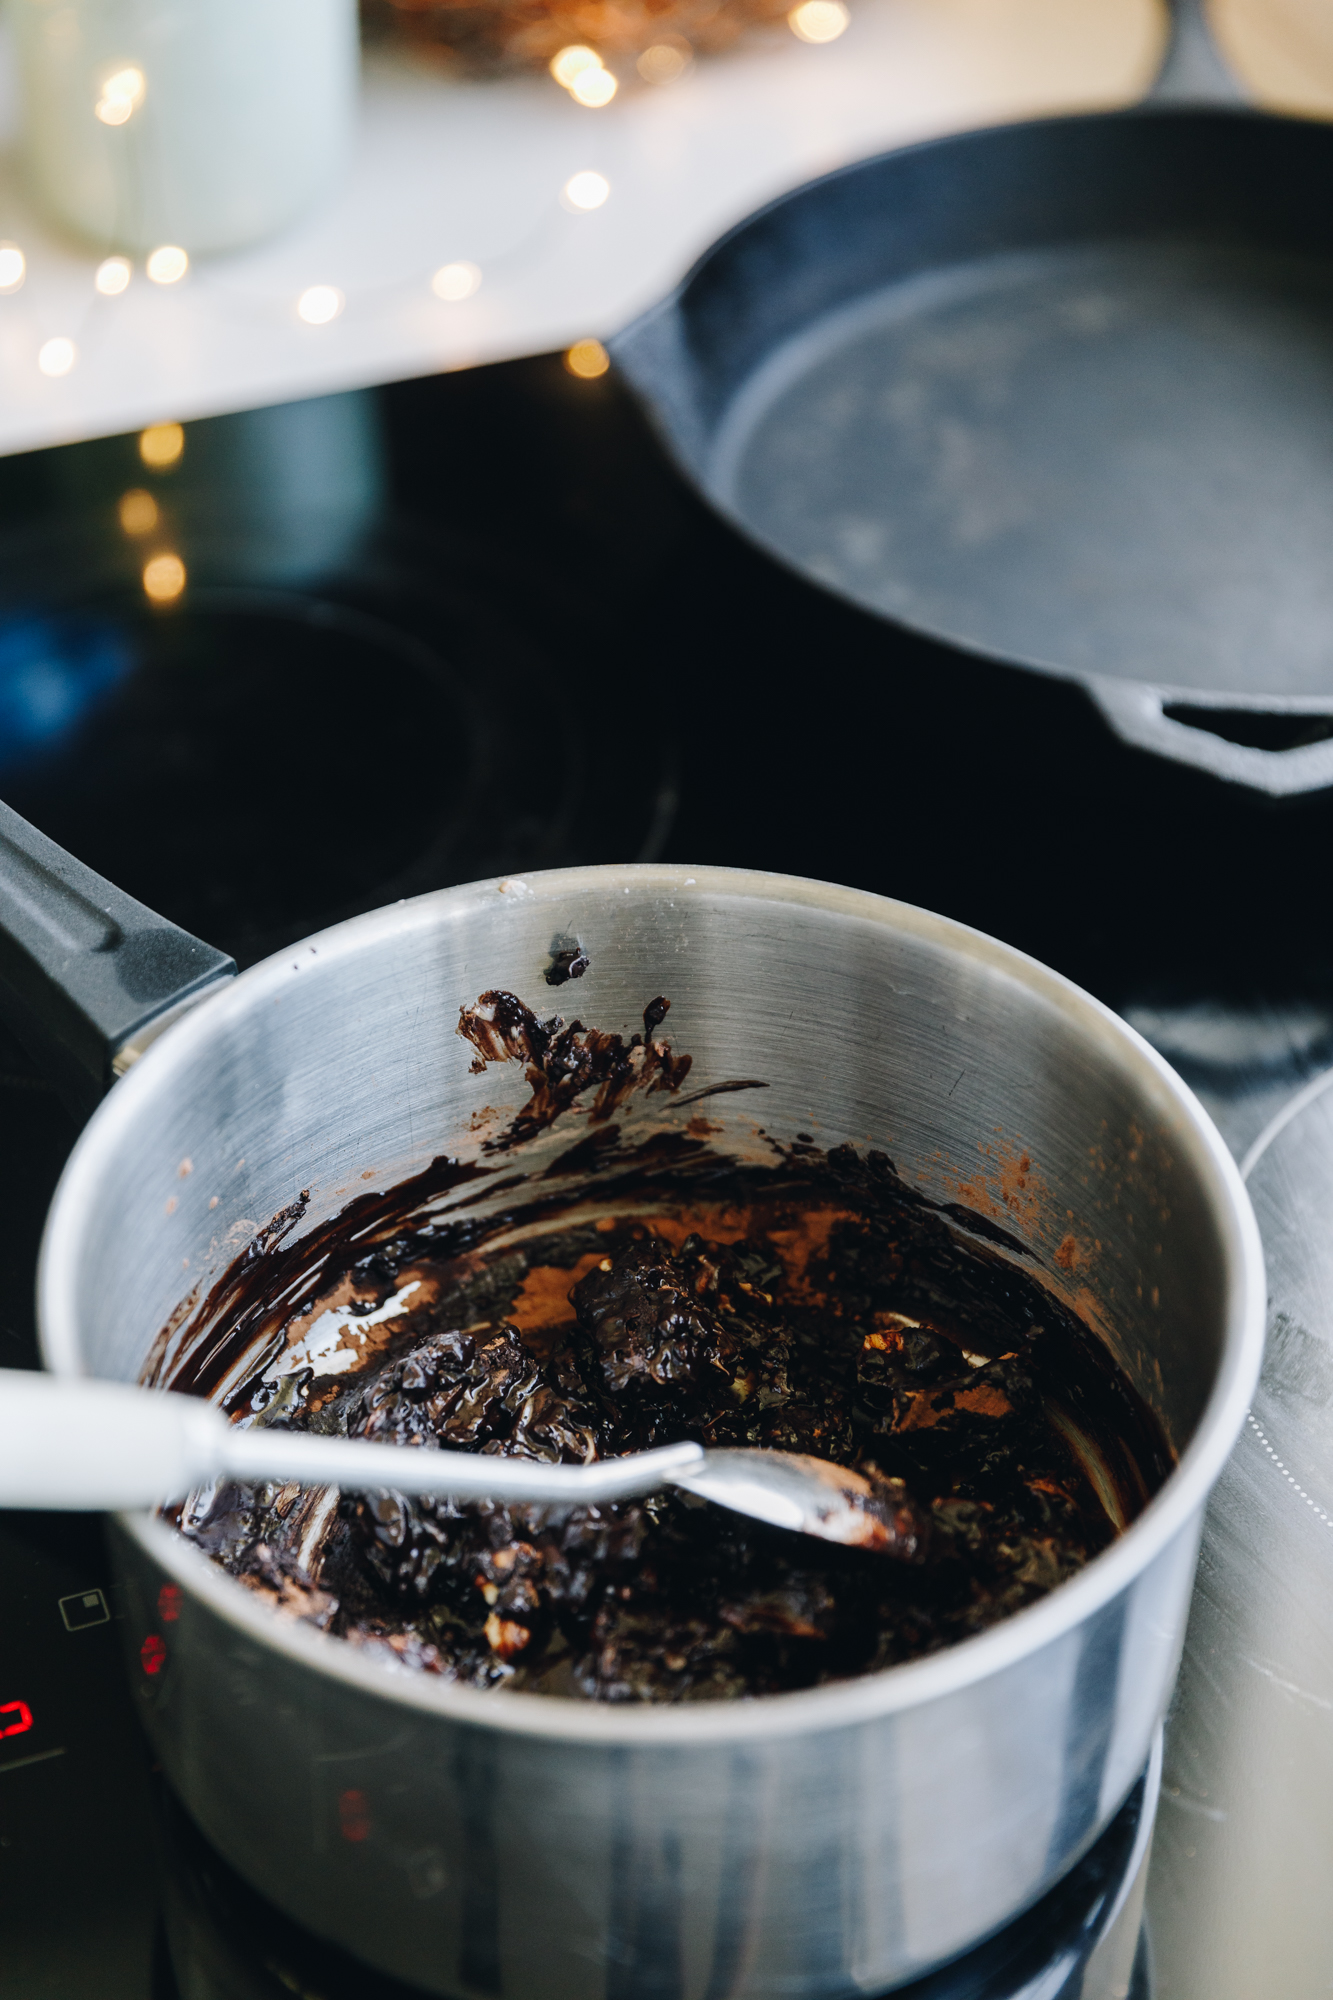
Chop the first measure of tiakarete parauri (dark chocolate) in to small pieces.
Add the chopped tiakarete parauri (dark chocolate), pata (butter), kōkō (cocoa) and tote (salt) in to a pot.
Gently melt it over low heat, stirring as you go. Remove from the heat and set aside to cool slightly.
3. Whip the Eggs and Sugar:
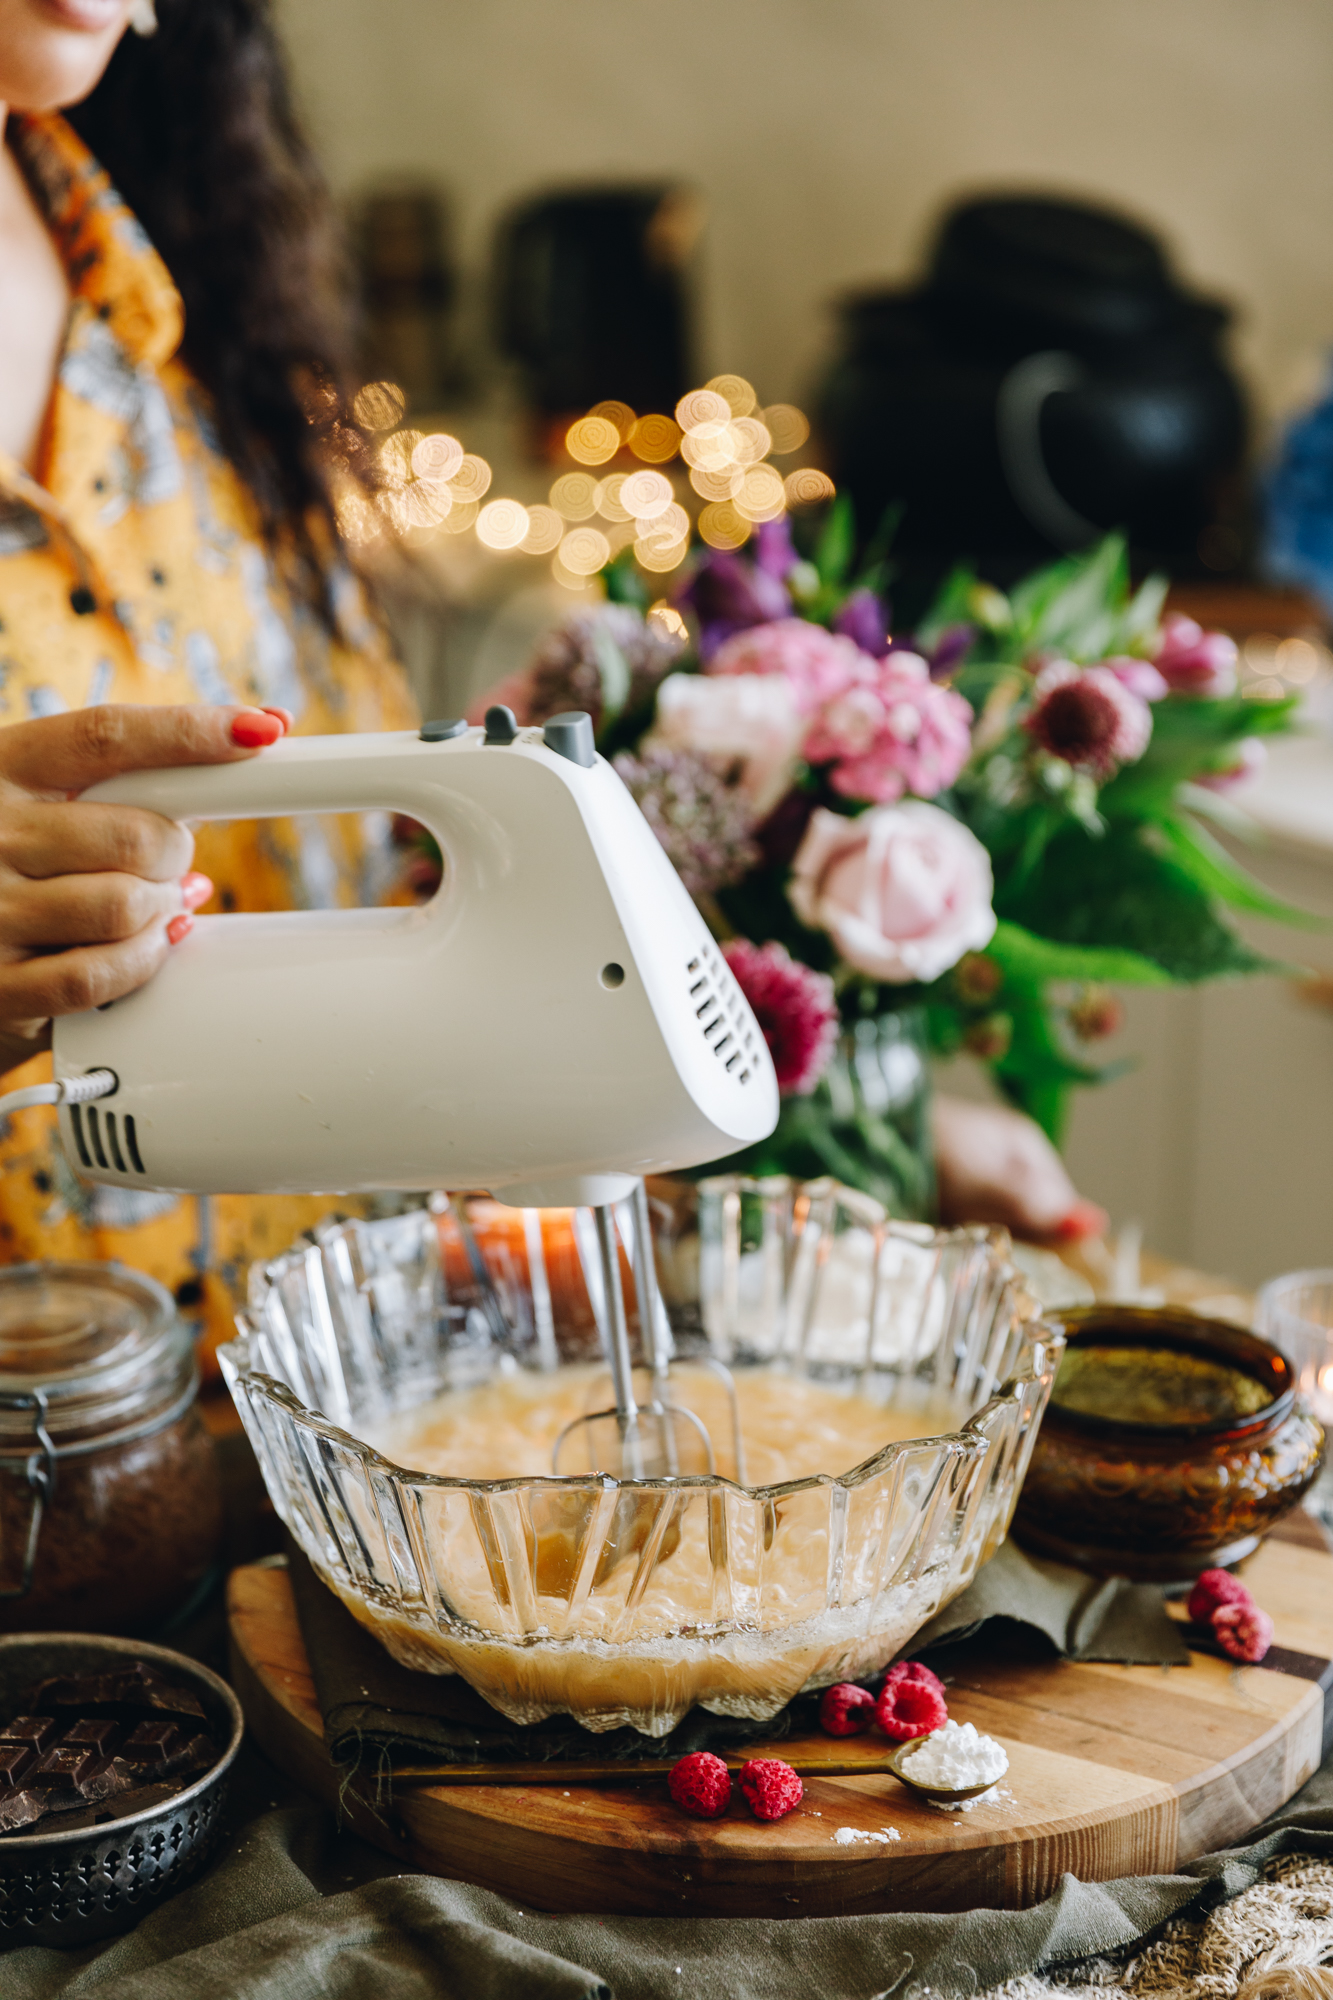
Add the hēki (eggs), huka one (caster sugar) and wanira (vanilla) in to a large bowl.
Whip on high for 3 minutes until the hēki (eggs) are light and fluffy in colour and texture.
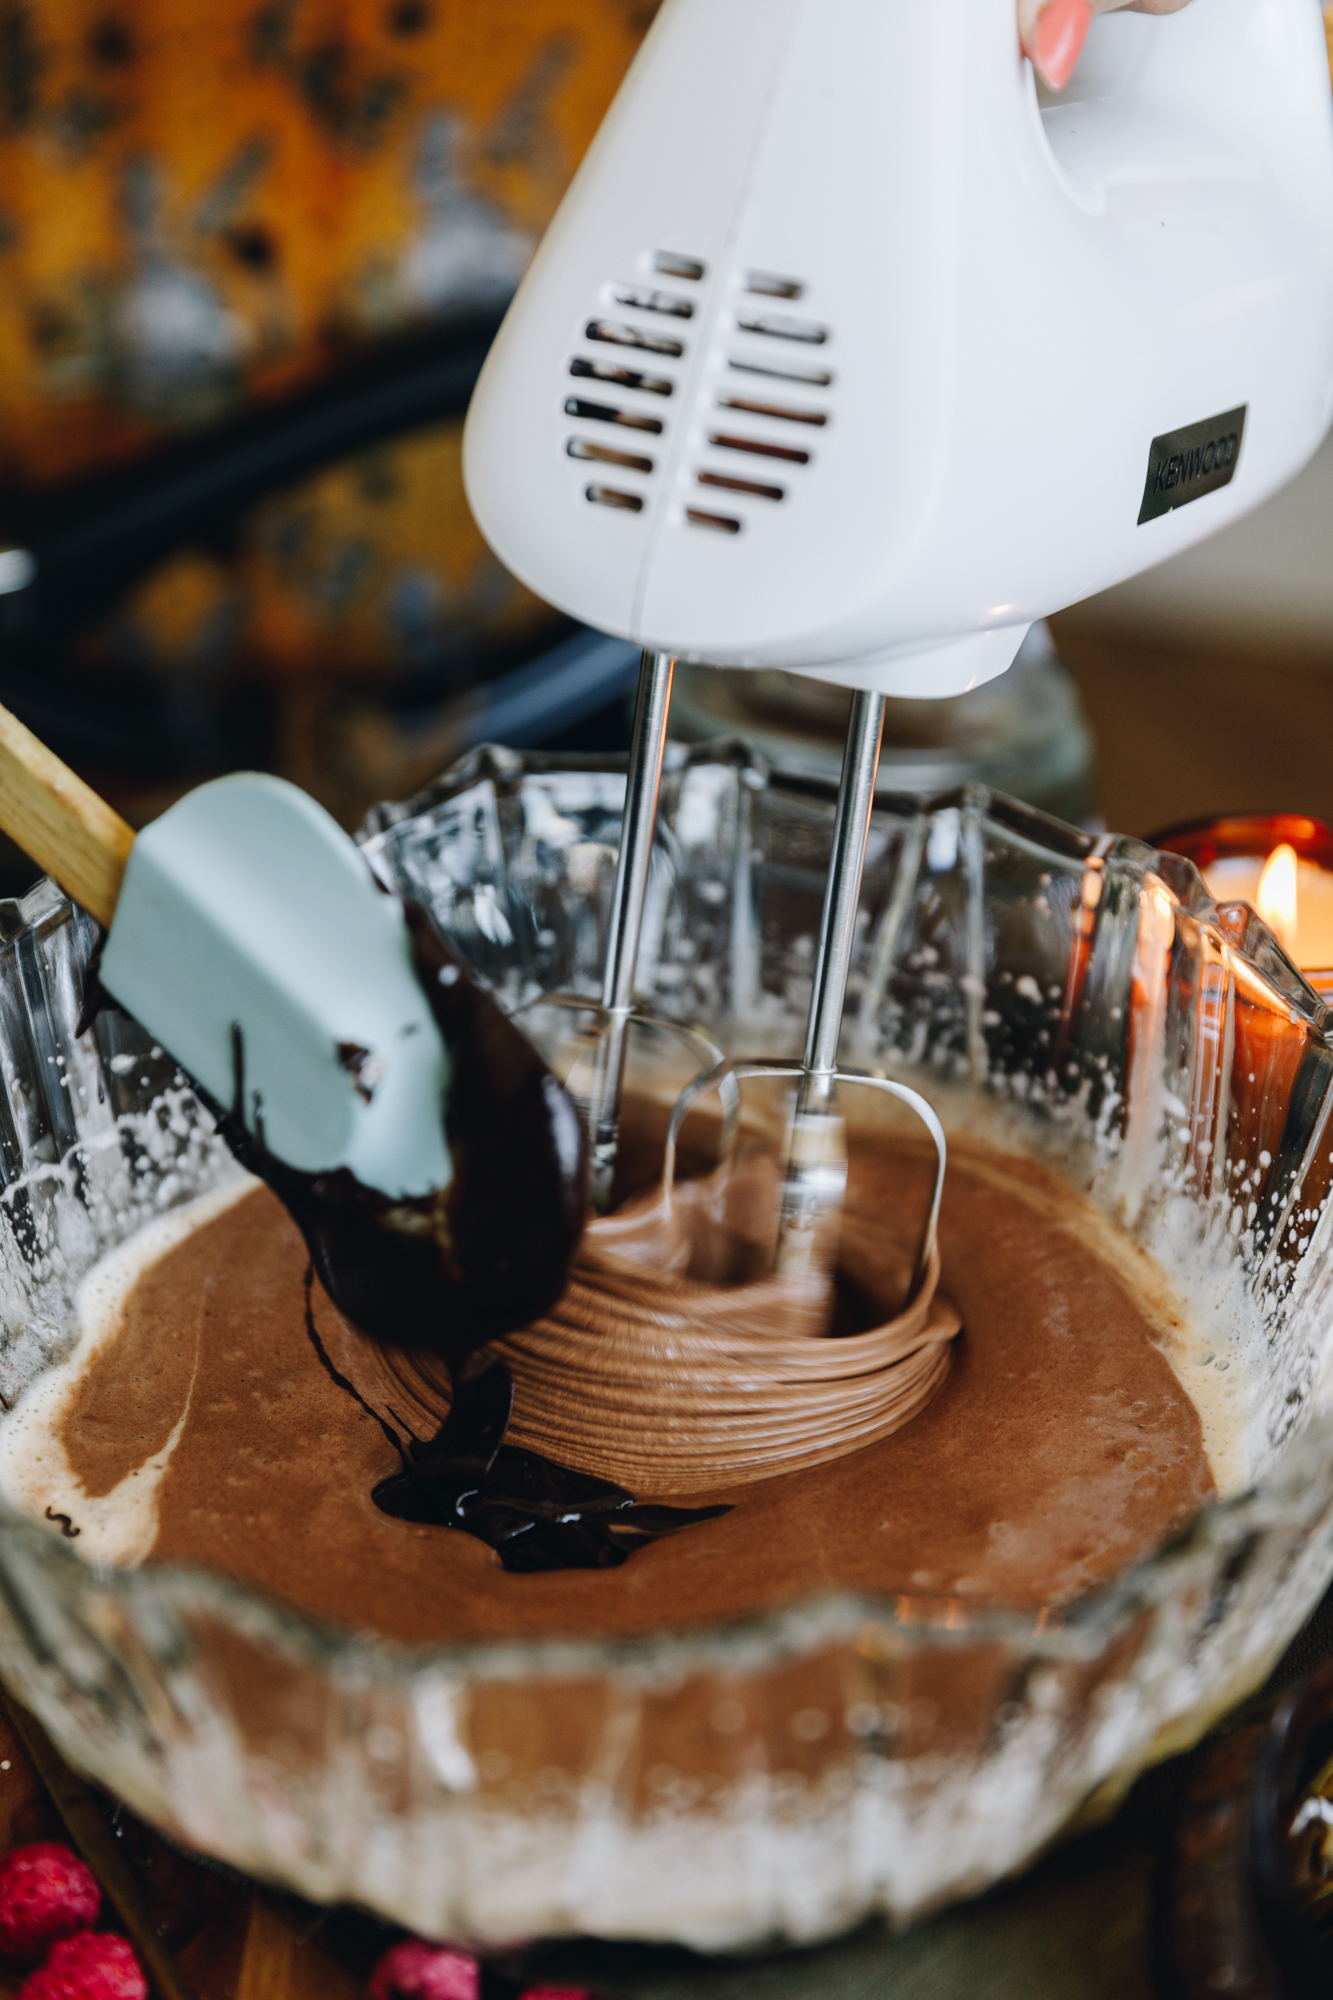
4. Pour in the Chocolate Mixture:
Slowly drizzle in the ranunga tiakarete a bit at a time (chocolate mixture) as you whip for another minute.
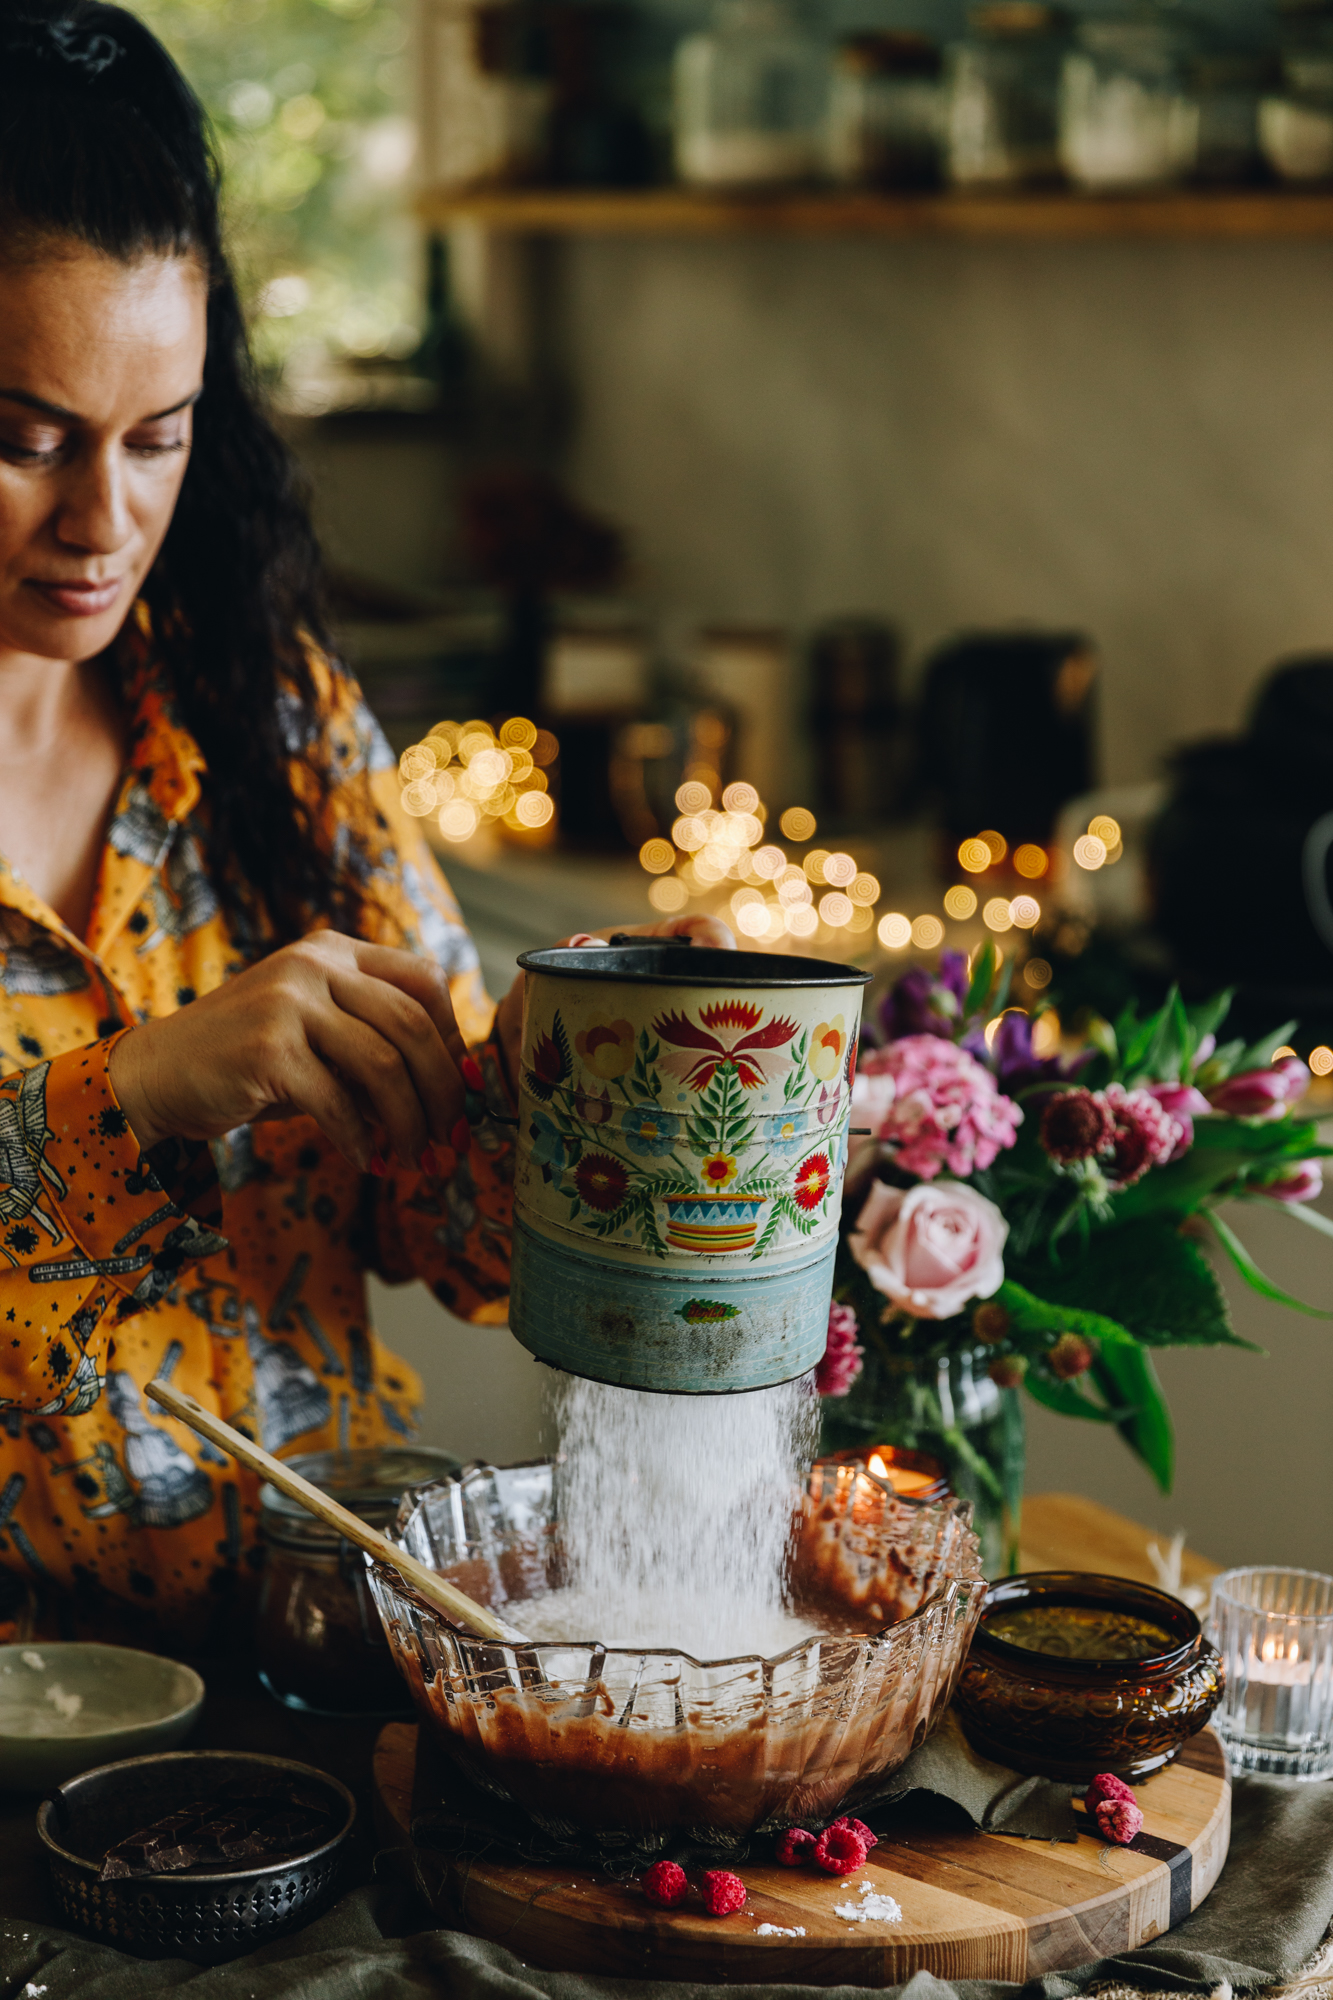
5. Add the Dry Ingredients:
Sift in the puehu parāoa (flour) and pēkana paura (baking powder).
Whētuihia (fold it together).
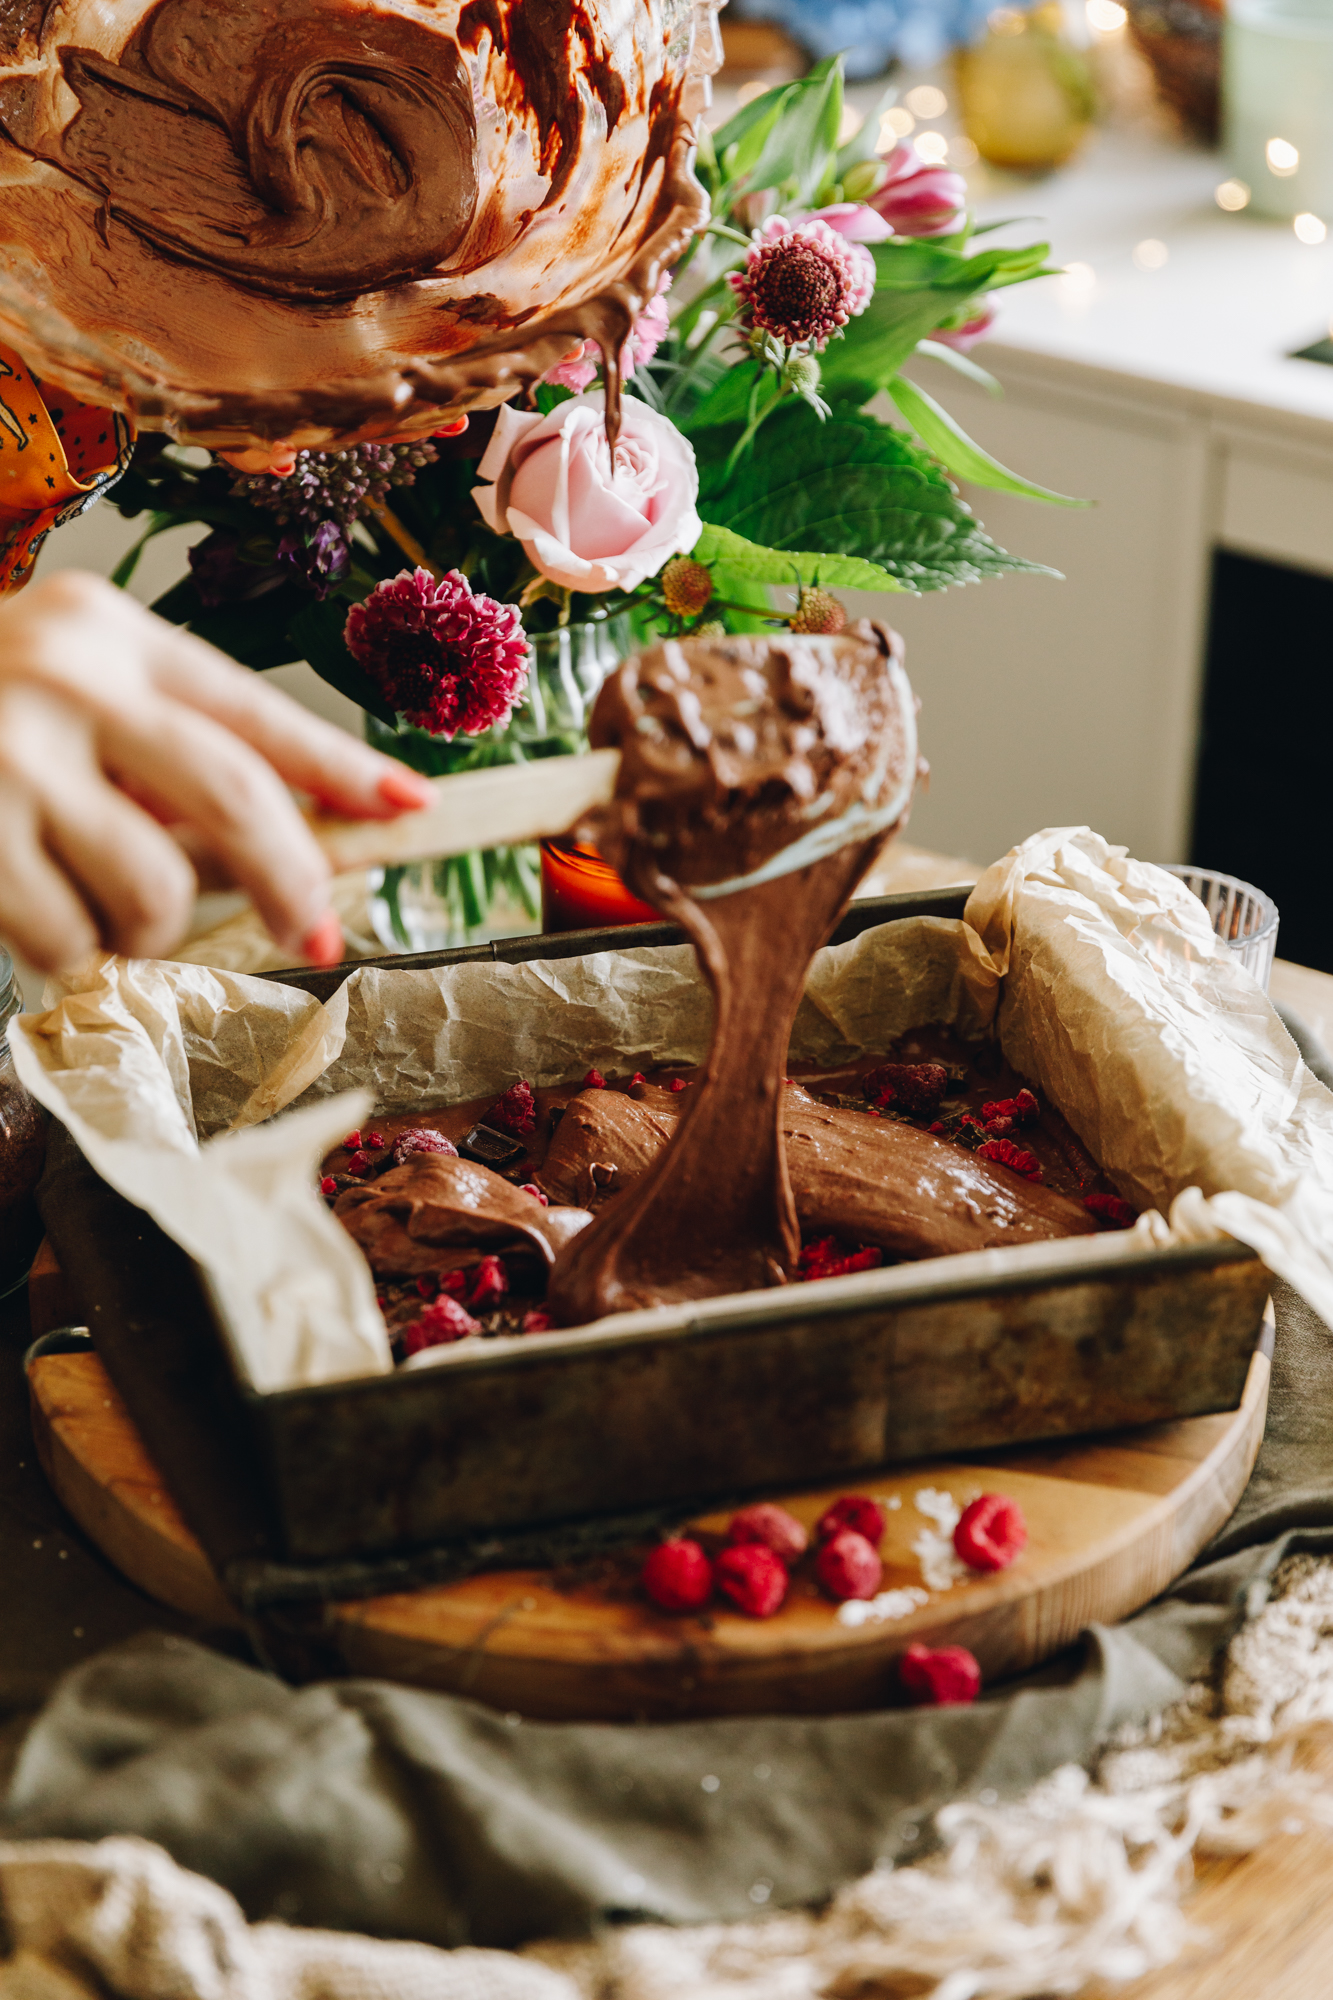
6. Layer the Mixture in the Tin:
Pour half of the brownie mix in to the prepared tin.
Chop the second measure of tiakarete parauri (dark chocolate) in to chunks.
Sprinkle over half of the tiakarete parauri (dark chocolate) and rahipere tio (frozen berries). I break up the rahipere (raspberries) in to smaller sizes but this is optional.
Pour over the rest of the batter.
Sprinkle over the remaining tiakarete parauri (dark chocolate) and rahipere tio (frozen berries).
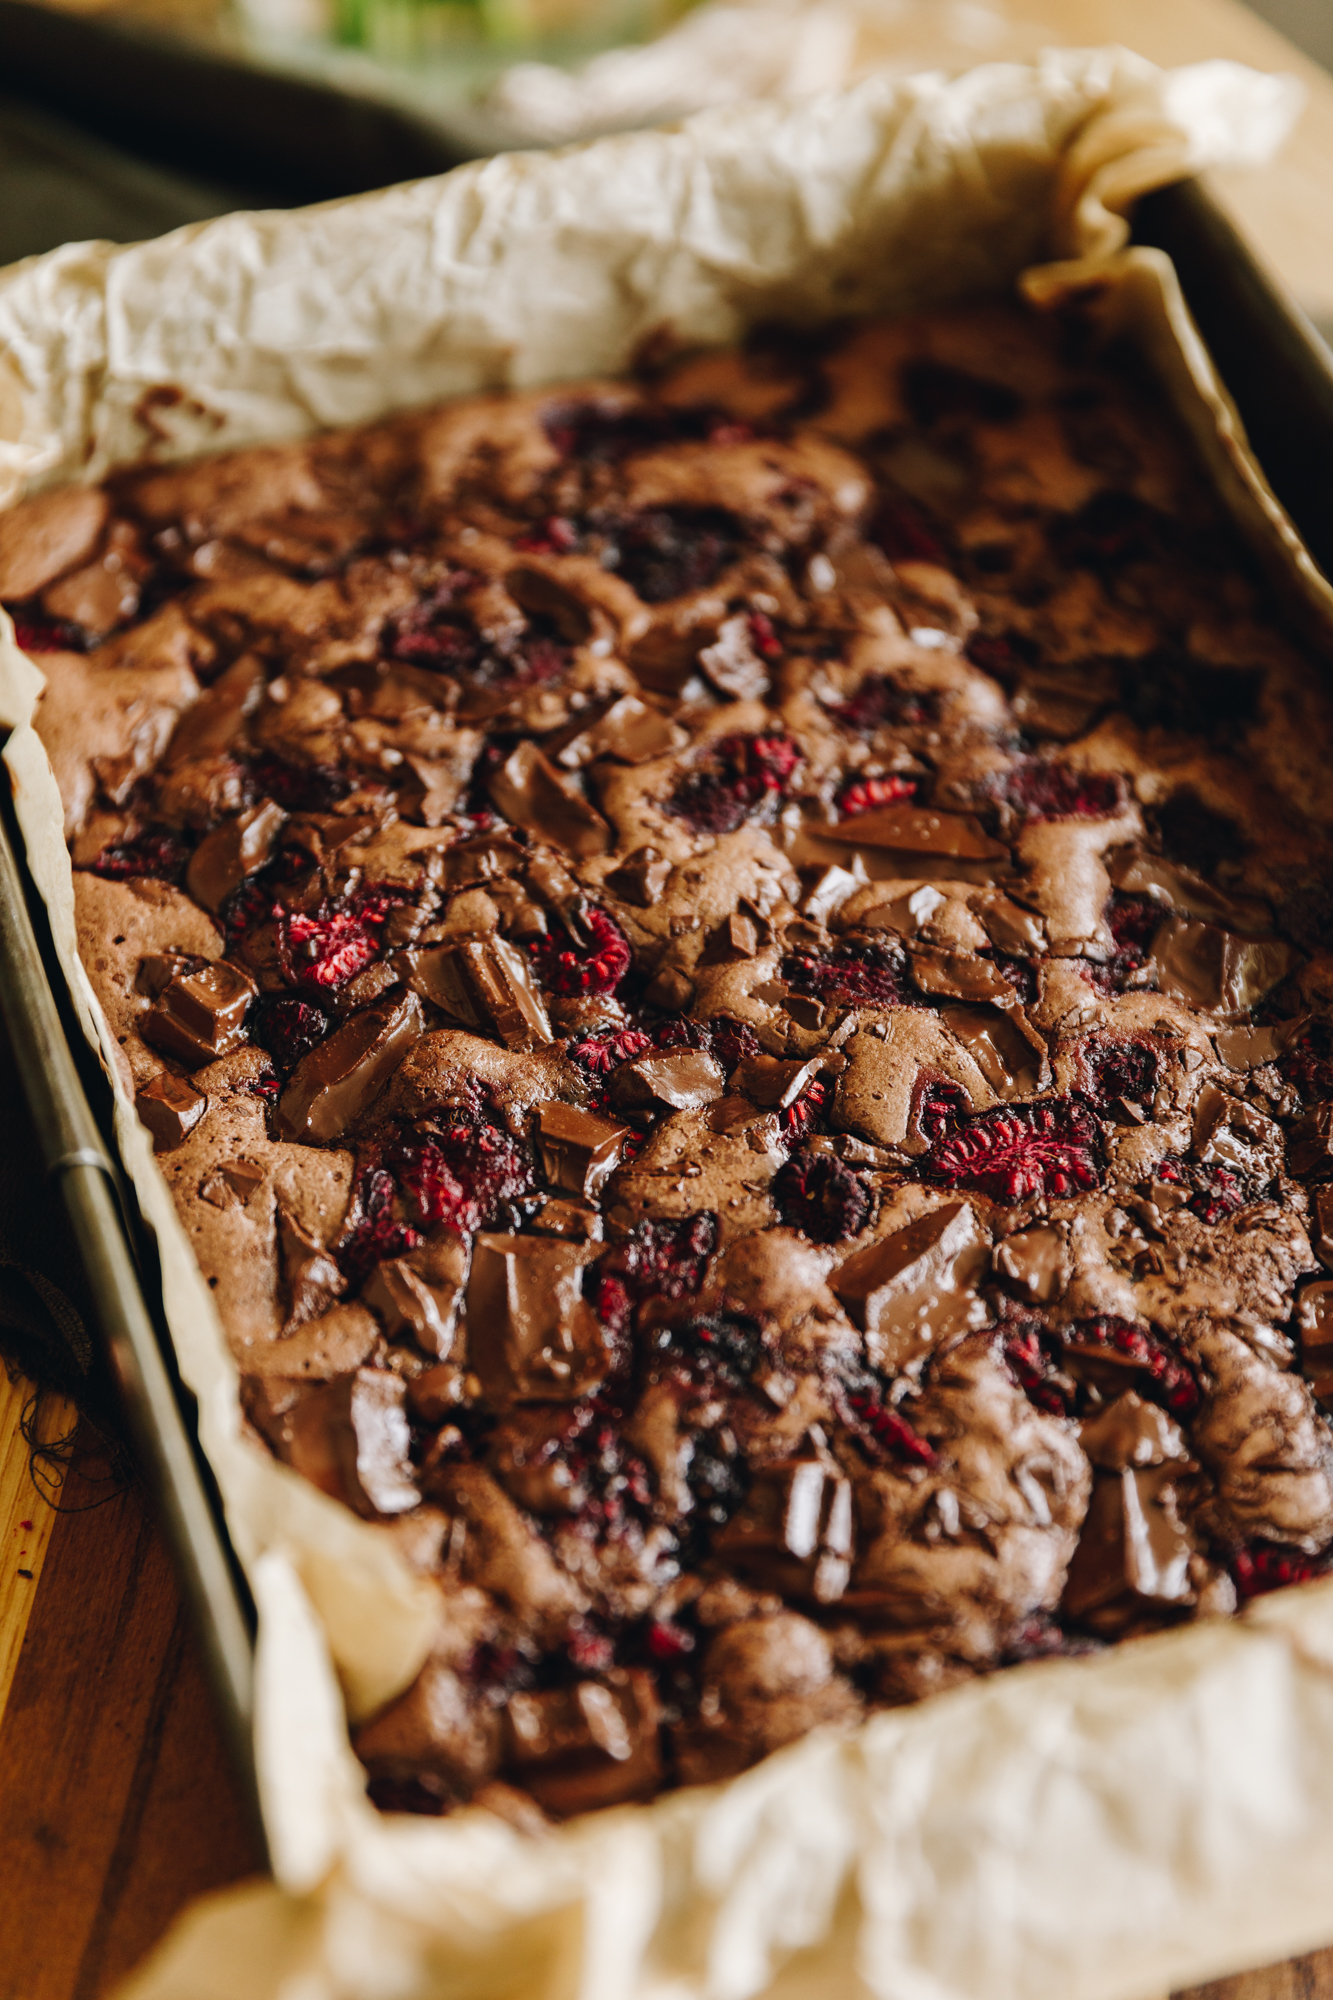
7. Bake the Chocolate and Raspberry Brownie:
Bake for 35 minutes in the preheated oven.
If you want a really gooey brownie, remove it from the oven after 35 minutes.
If you want a slightly more set brownie, bake it for 35 minutes and turn off the oven and let it bake a little more for 5 minutes in the residual heat.
Then remove it from the oven.
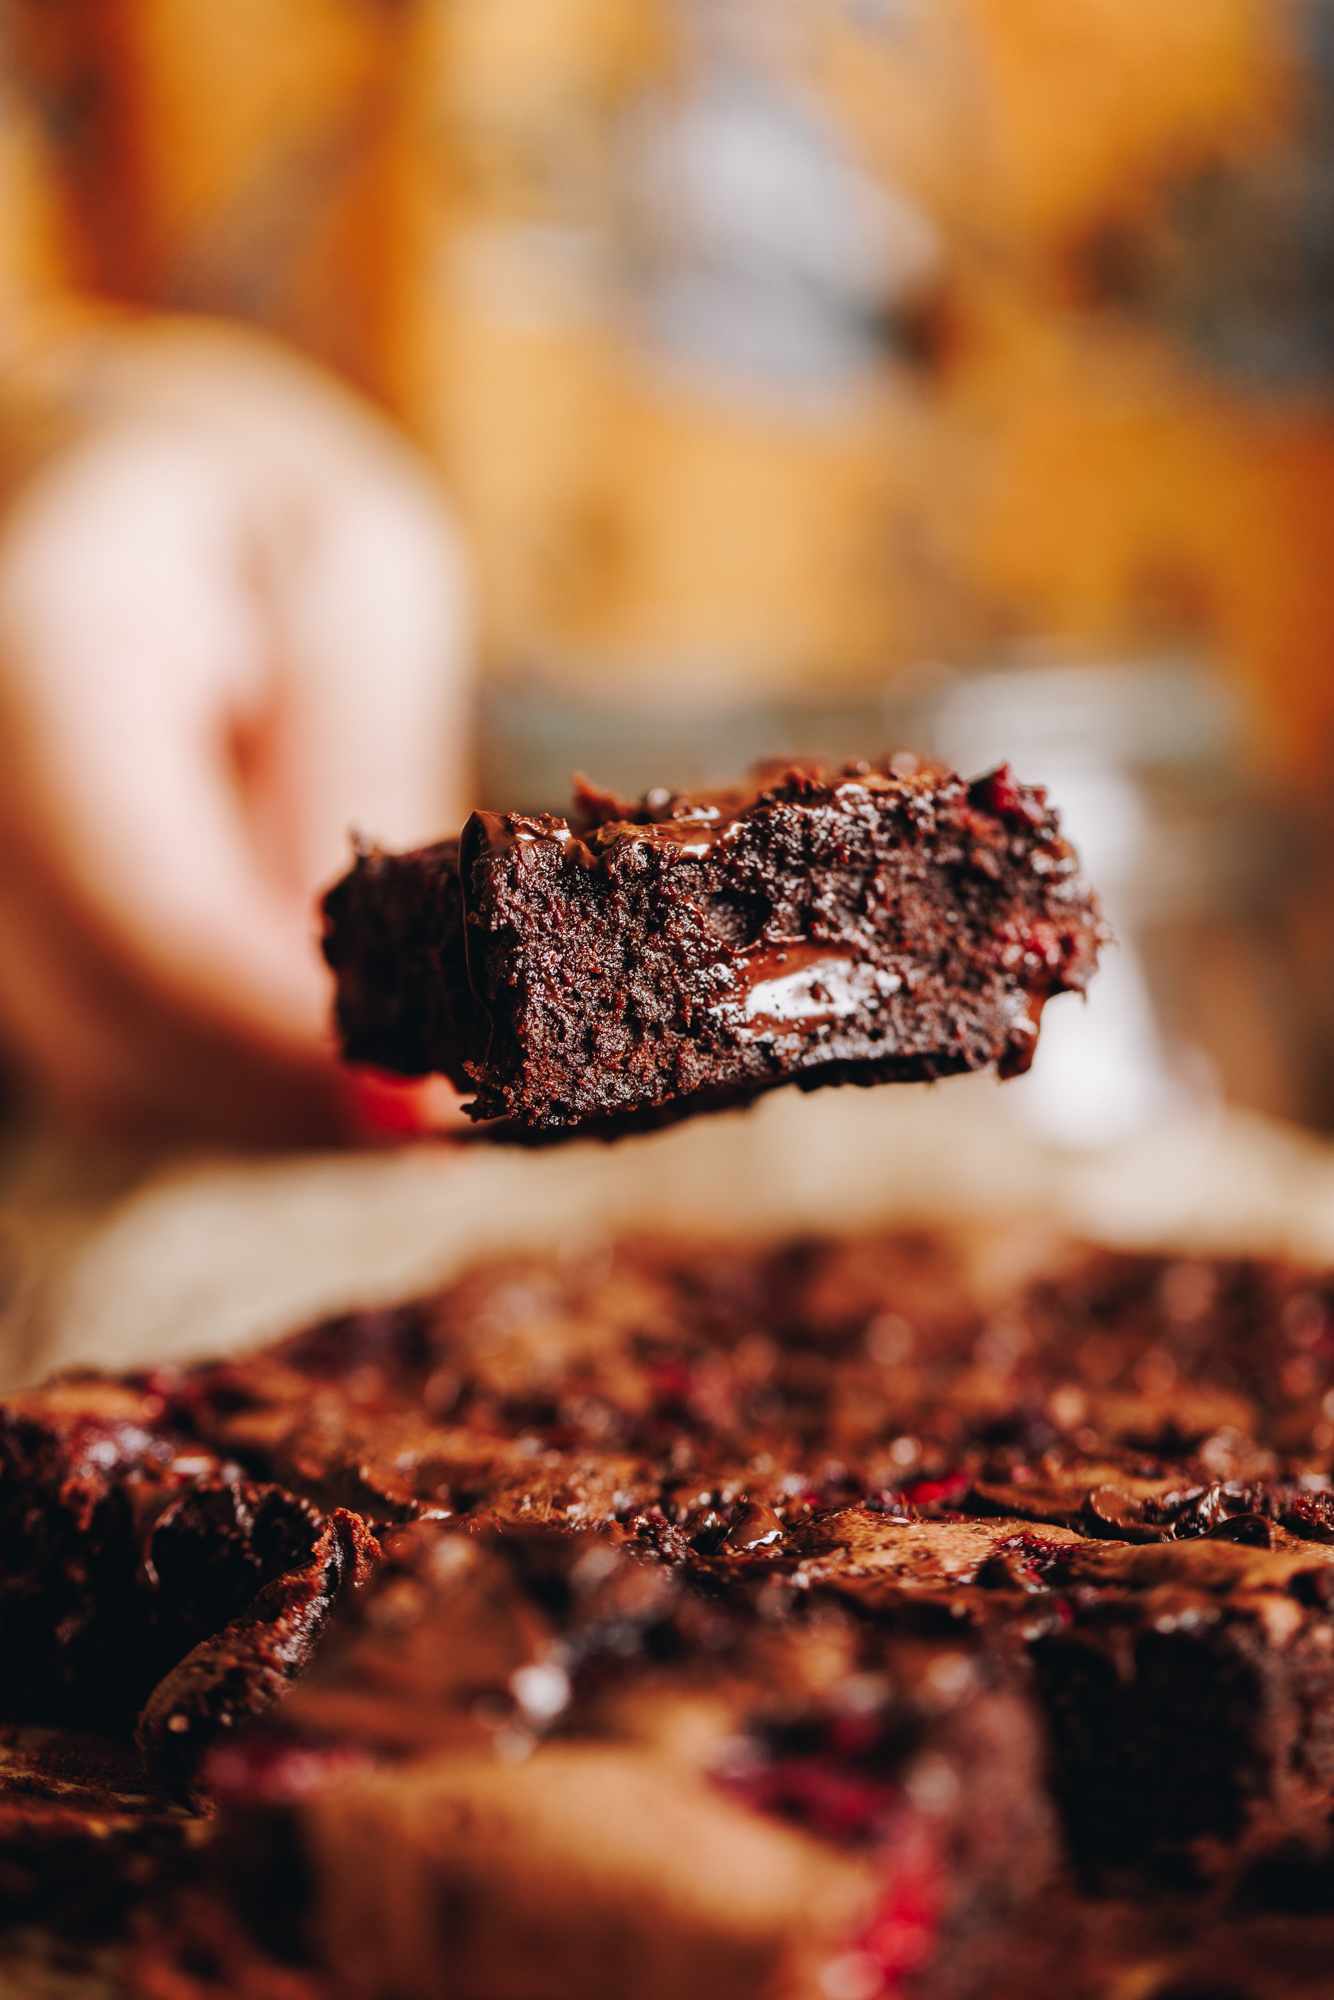
8. Serve the Chocolate and Raspberry Brownie:
If you want to eat them warm, allow them to cool for 15 minutes. Then spoon out the brownie and drizzle with pouring kirīmi (cream) or serve with aihikirīmi (ice cream).
If you want to cut them in to slices, allow the brownies to cool in the tin for at least 30 minutes.
You can also refrigerate the brownie to speed up the process. Once cool, cut them in to the size you want with a large knife.
Store the Brownie:
For any that are left over (this goes very quickly in our whānau), store it in a sealed container either in a cool cupboard or the fridge for up to five days.
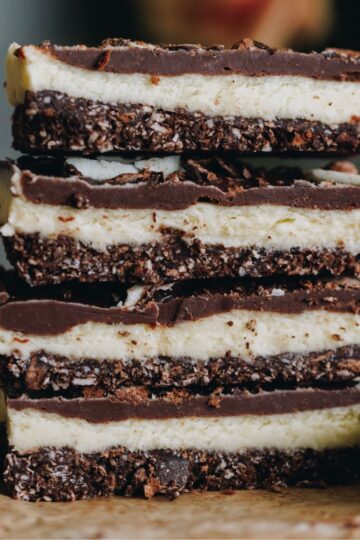
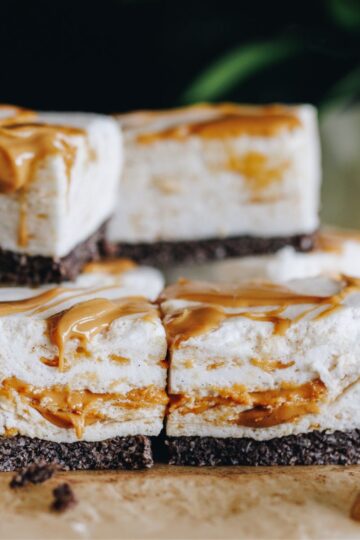
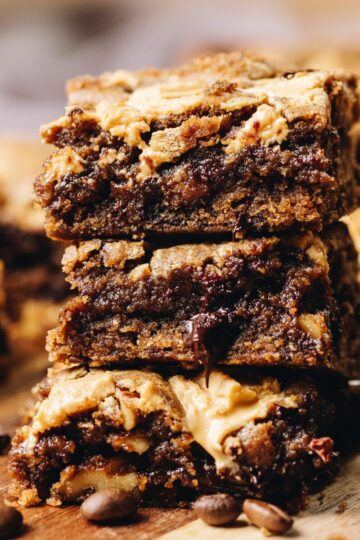
Make sure you take a look at these
Slice Recipes.
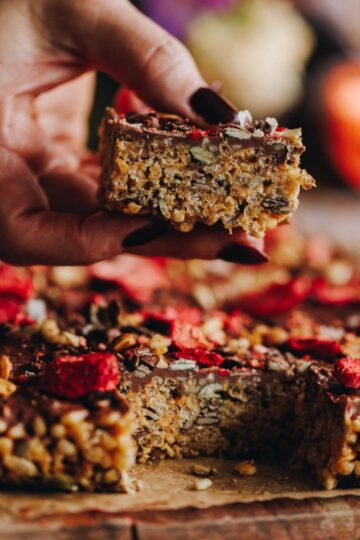
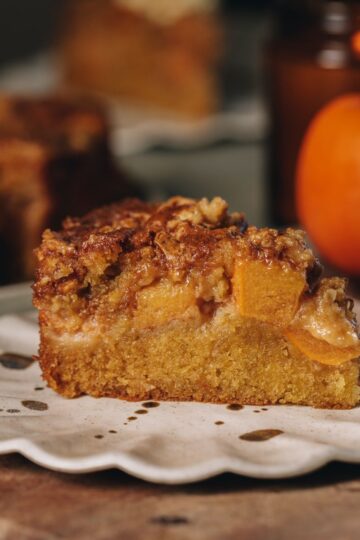
A slice of this and a slice of that. Which one will you choose?

DID YOU ENJOY THIS RECIPE?
It would be so awesome if you could please leave a review/comment by clicking the “leave a comment” section at the top of the page.
I love seeing you all make my creations, so send a whakaahua (photo) or kiriata (video) to my Instagram and show me what you made. Let me know if you have any pātai (questions) too, I would love to help.
Chocolate and Raspberry Brownie - Keke Tiakarete me te Rahipere
Equipment
- 1 x 20 cm x 25 cm Baking Tin with high sides.
Ingredients
Chocolate Brownie - Te Keke Tiakarete
- 130 g tiakarete parauri (dark chocolate, I use 50%)
- 90 g pata (butter, chopped roughly)
- ½ C (45 g) kōkō (cocoa, dutch or dark cocoa is best here but use what you have)
- ¾ teaspoon tote (salt, fine)
- 3 hēki (eggs, size 6)
- 1 C + 2 tablespoon (250 g) huka one (caster sugar)
- 2 teaspoon wanira (vanilla)
- ⅔ C (100 g) C puehu parāoa noa (plain flour)
- ¼ teaspoon pēkana paura (baking powder)
- 120 g tiakarete (chocolate, I used 50 % but you can use any tiakarete here)
- 150 g (1 ½ C) rahipere tio (frozen raspberries)
Instructions
Preheat the Oven:
- Preheat the oven to 165 °C bake setting or 155 °C fan bake setting.
- Grease a 20 cm x 25 cm tin with high sides with butter. (Make sure the tin is as close to this size as possible)Line with baking paper, making sure there is a large over hang.
Melt the Chocolate and Butter:
- Chop the first measure of tiakarete parauri (dark chocolate) in to small pieces.
- Add the chopped tiakarete parauri (dark chocolate), pata (butter), kōkō (cocoa) and tote (salt) in to a pot.
- Gently melt it over low heat, stirring as you go.
- Once it is melted, remove it from the heat and set aside to cool slightly.
Whip the Eggs and Sugar:
- Add the hēki (eggs), huka one (caster sugar) and wanira (vanilla) in to a large bowl.
- Whip on high for 3 minutes until the hēki (eggs) are light and fluffy in colour and texture.
Pour in the Chocolate Mixture:
- Slowly drizzle in the ranunga tiakarete (chocolate mixture) a little bit at a time as you whip for another minute.
Add the Dry Ingredients:
- Sift in the puehu parāoa (flour) and pēkana paura (baking powder).
- Whētuihia (fold it together).
Layer the Mixture in the Tin:
- Pour half of the brownie mix in to the prepared tin.
- Chop the second measure of tiakarete parauri (dark chocolate) in to chunks.
- Sprinkle over half of the tiakarete parauri (dark chocolate) and rahipere tio (frozen berries). I break up the rahipere (raspberries) in to smaller sizes but this is optional.
- Pour over the rest of the batter.
- Sprinkle over the remaining tiakarete parauri (dark chocolate) and rahipere tio (frozen berries).
Bake the Chocolate and Raspberry Brownie:
- Bake for 35 minutes in the preheated oven.
- If you want a really gooey brownie, remove from the oven after 35 minutes. If you want a slightly more set brownie, bake it for 35 minutes and turn off the oven and let it bake a little more for 5 minutes in the residual heat. Then remove it from the oven.
Serve the Chocolate and Raspberry Brownie:
- If you want to eat them warm, allow them to cool for 15 minutes. Then spoon out the brownie and drizzle with pouring kirīmi (cream) or serve with aihikirīmi (ice cream).
- If you want to cut them in to slices, allow the brownies to cool in the tin for at least 30 minutes. You can also refrigerate the brownie to speed up the process. Once cool, cut them in to the size you want with a large knife.
Store the Brownie:
- For any that are left over (this goes very quickly in our whānau), store in a sealed container either in a cool cupboard or the fridge.
Video
Tips for the best Chocolate and Raspberry Brownie:
Use the Right Tin:I use a 20 cm x 25 cm tin with high sides for this brownie, so try to use a tin close to this size for the best result.Melt the Chocolate Gently:Gently melt the first measure of tiakarete (chocolate) and pata (butter) to avoid burning. Chocolate is sensitive to heat, so take your time with it.Adjust the Bake to Your Preference:Baking times will vary depending on your preferred texture. For a rich, gooey brownie, bake for 35 minutes. If you prefer a slightly more set brownie, turn the oven off after 35 minutes and leave the brownie inside for a further 5 minutes using the residual heat.Let the Brownie Set Before Slicing:If you would like neat slices, allow the brownie to sit for around 30 minutes after baking so it has time to set properly. Serving it warm? Simply scoop it into bowls and serve with aihikirīmi (ice cream).
Variations:
This brownie is delicious as written, but there are a few easy ways to change it up:
Change the Berries:
Swap the rahipere (raspberries) for boysenberries or cherries for a different berry twist.
Swap the Chocolate:
Change the tiakarete parauri (dark chocolate) to chopped tiakarete miraka (milk chocolate) or tiakarete mā (white chocolate) for a slightly sweeter flavour.
Add some Nuts:
Stir through a handful of toasted nuts like wōnati (walnuts) or nati pēkani (pecans) for crunch.
Grate in some Orange Zest:
Chocolate and orange are best friends so add a pop of ārani (orange). Finely grate in the zest of half an orange in to the batter.
Storage:
Store the brownie in an airtight container at room temperature for up to 3 days. If your kitchen is warm, you can store it in the fridge, but bring it back to room temperature before serving for the best texture.
For longer storage, the brownie can be frozen (in an airtight container) for up to 2 months. Thaw at room temperature and warm slightly before serving if you prefer it fudgy and soft.
Frequently Asked Questions:
Yes, fresh rahipere (raspberries) work well, but frozen berries hold their shape slightly better during baking and create those lovely pockets of fruit. Frozen are also much cheaper and are available all year round.
This usually happens if it’s overbaked or if too much air is incorporated when mixing. For a fudgier texture, take it out closer to the 35-minute mark and avoid overmixing once the flour is added.
E mea ana koe - you bet! Use a good-quality gluten-free flour blend as a direct replacement and add an extra quarter of a cup than regular flour. The texture may be slightly softer but still delicious.
Nic
Made this recipe yesterday and it was easy to follow and the result was DELICIOUS highly recommend can't wait to try some more recipes 🤩
Naomi Toilalo WhānauKai
Yay, I love this recipe too. So glad to hear you enjoyed it. 🥰
Tamara
Tried this recipe since I lost my old one and this one is sooo much better. So simple and tasty! I’ve added it to my recipe book to make over and over again.
Naomi Toilalo WhānauKai
Oh wow - that is so awesome to hear Tamara. So glad you enjoy this recipe and it is good enough to add to your recipe book! Woo hoo.
Āku mihi nui, Naomi
Andrea
I made this recipe yesterday. We used boysenberries instead of raspberries (we had some in the freezer) and it turned out great. Soooo yum! Delicious warm out of the oven and just as good the next day too. Good gooey texture.
Ngā mihi nui! I need to try some more of your recipes now. 😊
Naomi Toilalo WhānauKai
Kia ora Andrea, thank you for the awesome review and how delicious to use boysenberries, that sounds perfect.
Jen
I've lost a recipe I used to use years ago when I had a hyper-fixation with brownies and since whenever I have made brownies, I've tried various "gooey brownie" recipes but this one is the only one so far that's actually GOOEY!!! I'm glad I came across it and now the hunt for another gooey brownie recipe is over. As a Chinese speaker who is trying to learn basic te reo with my son, I really loved being able to recognise some Māori words as I went along with the recipe. Looking forward to now trying more recipes 🙂
Naomi Toilalo WhānauKai
Woo hoo! Best review ever. So glad you enjoyed the recipe Jen and the fact that you are learning te reo with your son is just so beautiful.
Ngā mihi nui, Naomi
Anna
I made this recipe to take to a wedding yesterday in England. I was a bit nervous trying a recipe I'd never done before on the morning of the wedding (with my past experience of failed brownies). I shouldn't have worried. This recipe was easy and the end result looked (and tasted) amazing. I had to give mine a bit longer in the oven. I then cut it into many bite-sized pieces and it ended up being displayed on an old-fashioned layered plate stand. I saw many people go back for more. I love that it is written in Te Reo and English in a way that it is quite easy to pick up a few words that you can still remember the next day. 🙂 This is the second recipe of yours I've tried. The first was the chocolate star bread for Matariki. ❤️🧡💛
Naomi Toilalo WhānauKai
Wow Anna - I loved reading this review, that sounded like the perfect treat to share at a wedding. Thank you so much for sharing with my and I am glad people enjoyed the recipe.
Naomi