
No-knead Bread – Parāoa Kore-poke (Cast Iron Pot Version)
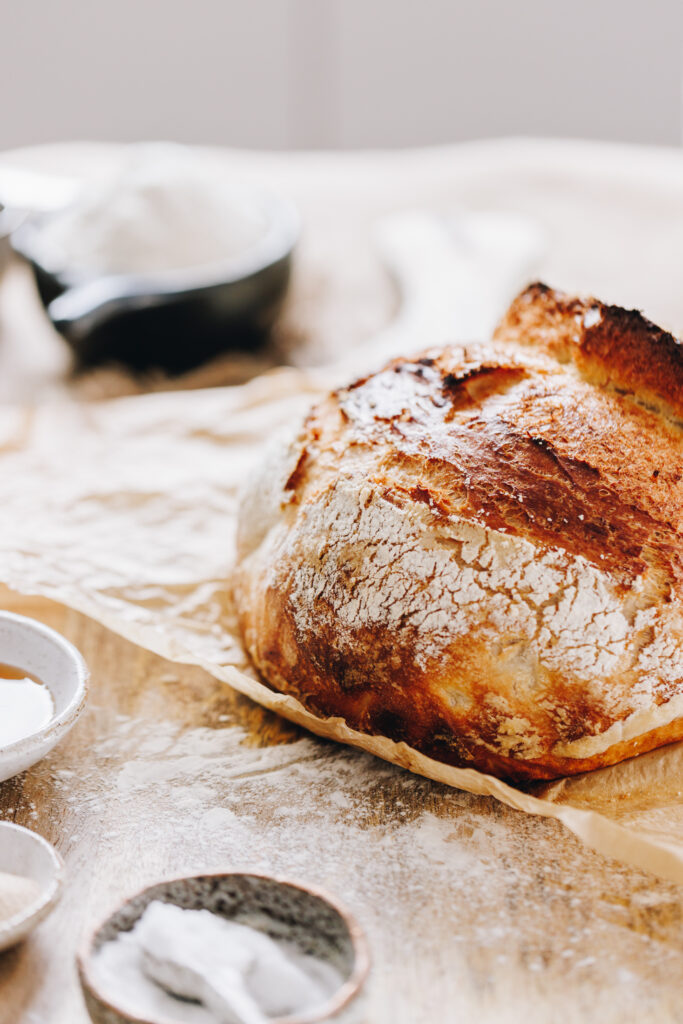
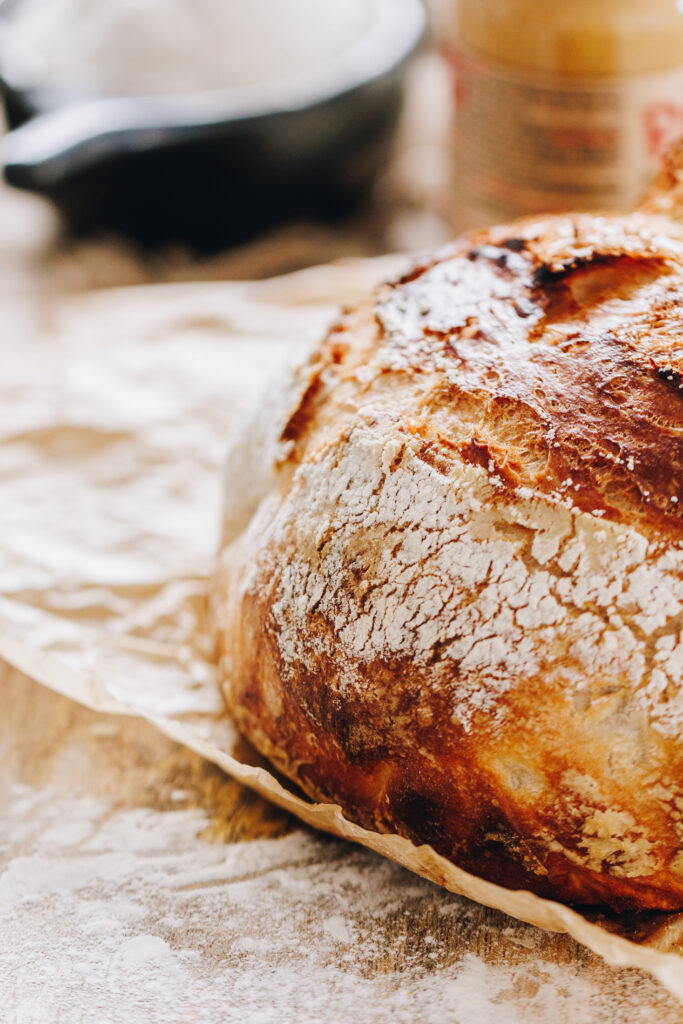
Who doesn’t love the look of a rustic bread loaf? I am a sucker for them and what I love about this one is, even though it looks like it is straight out of a sourdough catalogue, it simply isn’t. It is my No-knead Bread Loaf but baked in a cast iron pot. It gives a slightly crunchy crust and a more rustic ascetic. I have added instructions on how to make this bread the same day or an overnight version. For a more thorough breakdown of this recipe, and questions you may have check out my no-knead bread loaf post. Kia tunu parāoa tātou – let’s bake some bread.
What size cast iron pot do I need to bake this loaf?
I use a 3.6 Litre cast iron pot but it still has some room to grow when it bakes. Anything that is 3 Litres and bigger should be fine for this loaf. If anyone uses a smaller cast iron pot out there and it works, please let me know so I can inform the rest of the whānau (family).

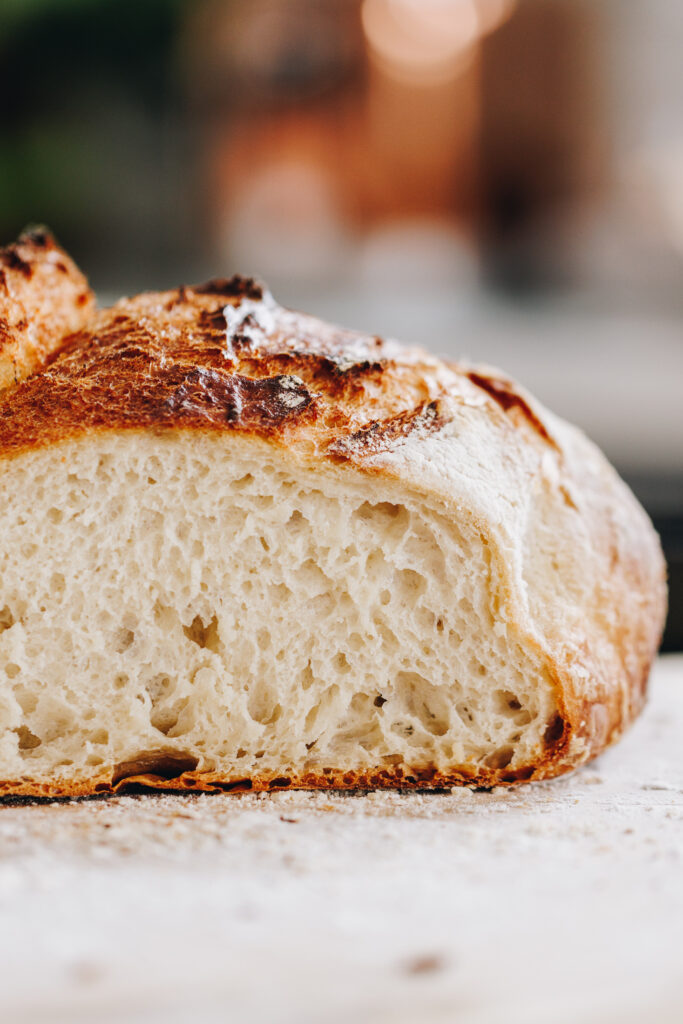
No-knead Bread – Parāoa Kore-poke (Cast Iron Version)
Ingredients
The Dough – Te Pokenga
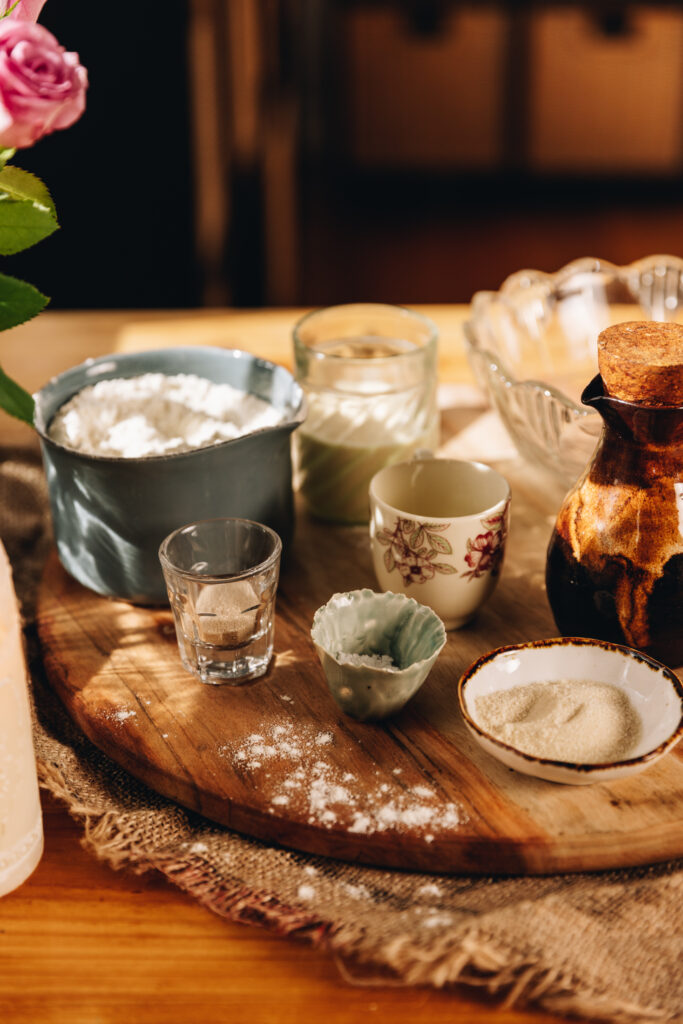
- 2 C (500 ml) wai aromahana (lukewarm water)
- 2 tbsp mīere (honey, you can also use maple syrup or any type of sugar here)
- 1 sachet īhi tere (instant yeast, 7g) OR 16 g (2 tbsp) Surebake/breadmakers yeast. (Note: I prefer instant yeast for this recipe, use surebake as the last resort).
- 3 ¾ C (550g) puehu parāoa kounga (high grade flour)
- 2 tsp tote (salt, fine)
Instructions
Te Pokenga – The Dough
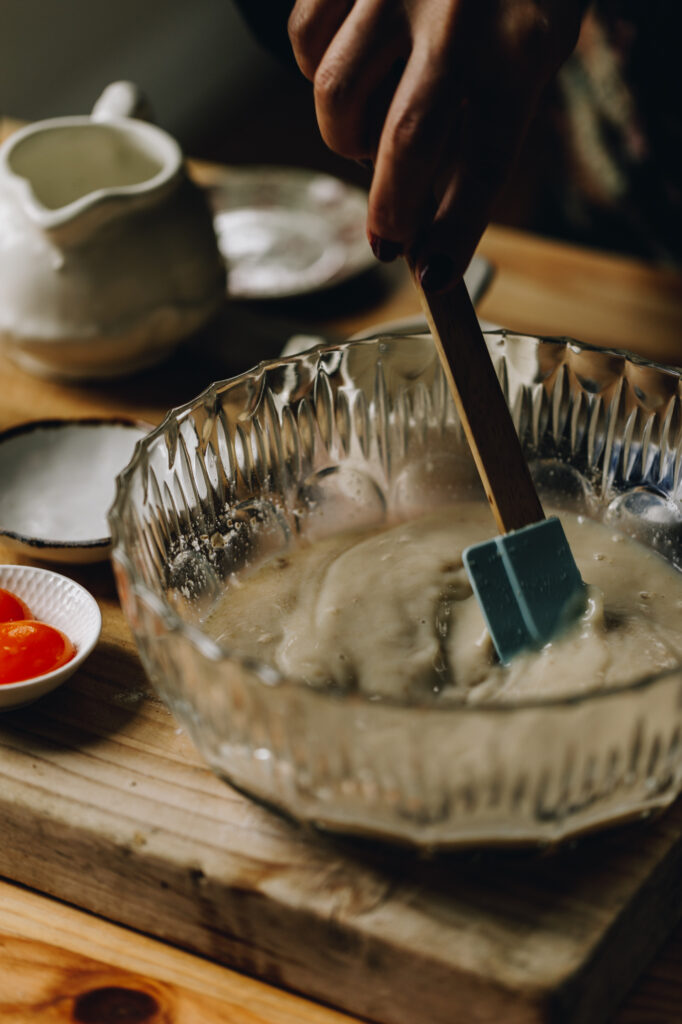
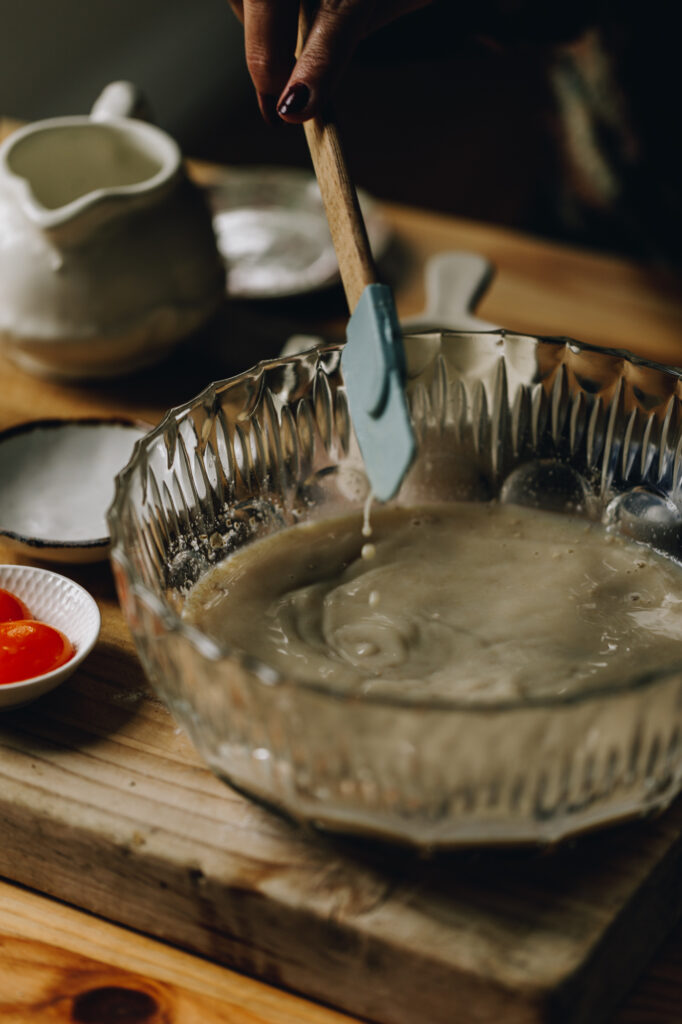
- Add the wai (water) and mīere (honey) in to a large bowl. Stir it until the mīere (honey) is dissolved. Sprinkle over the īhi tere (instant yeast), stir again and leave until foamy for 5 minutes.
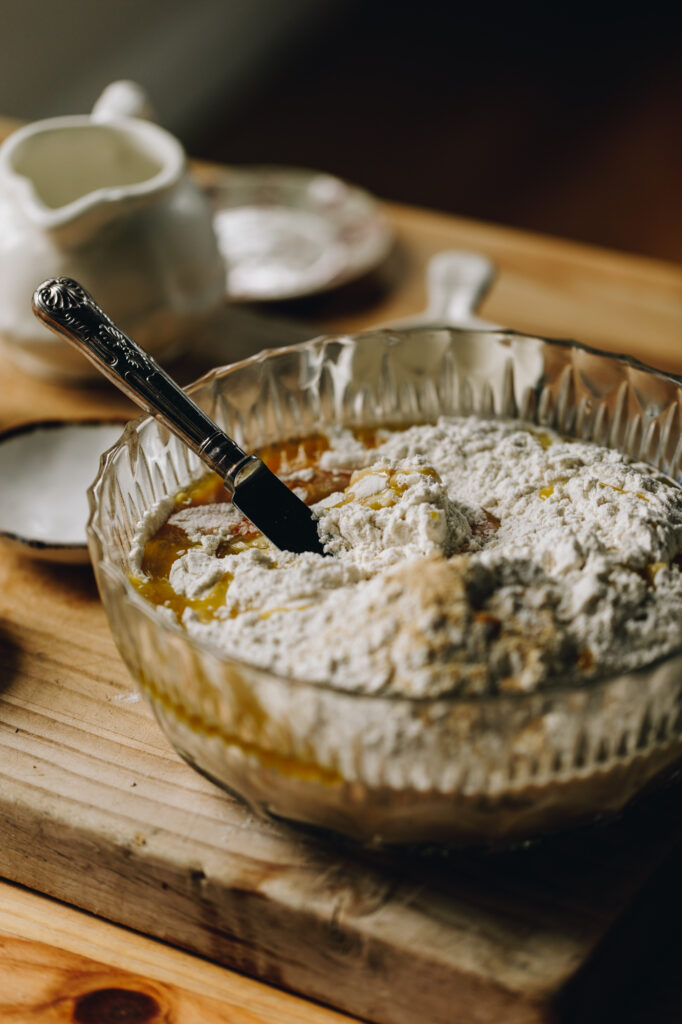
- Add the puehu parāoa (flour) and the tote (salt). Stir it all together with a bread knife for 1-2 minutes until combined. It will be sticky, don't add any more flour.
- Cover the bowl with a bowl cover or tea towel. Leave to rise for 30 minutes.
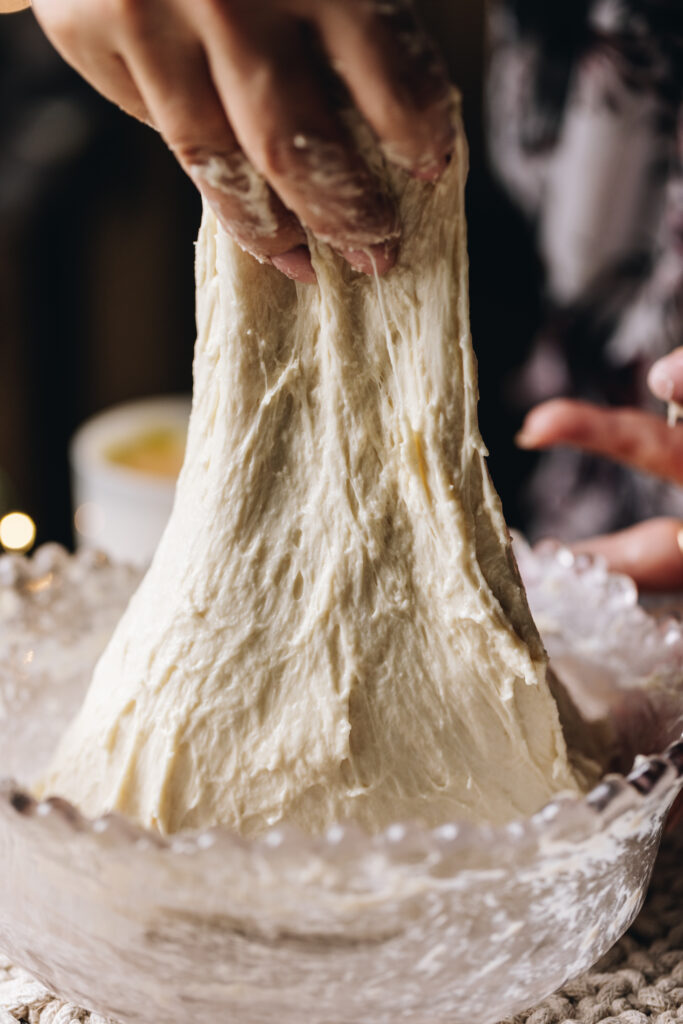
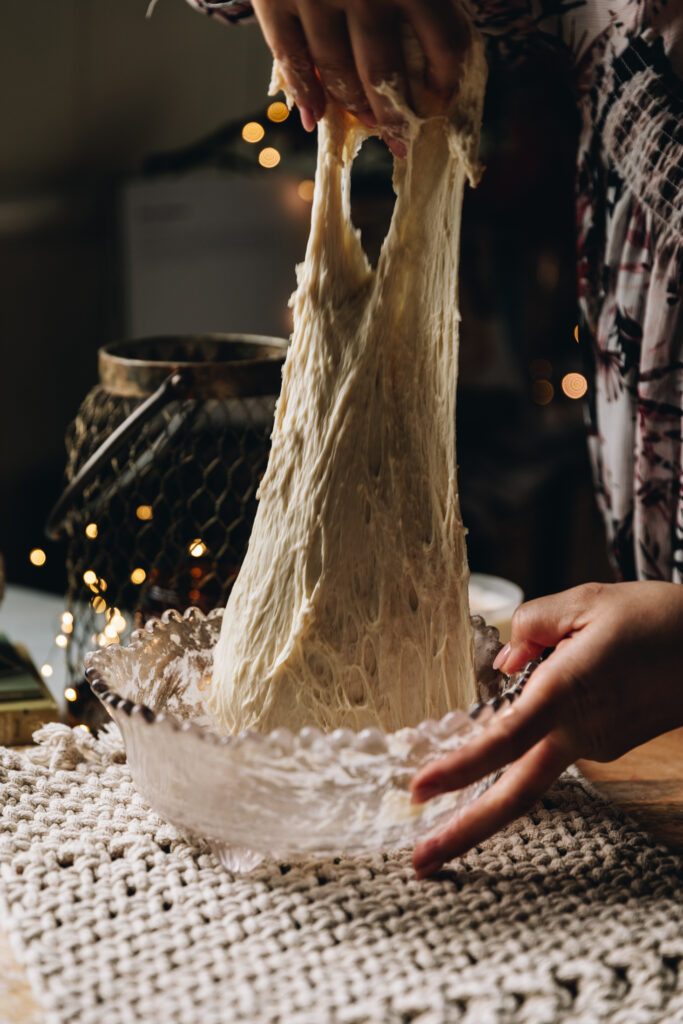
- After 30 minutes, it is time to stretch and fold the dough. With wet hands, take a handful of dough from the side of the bowl, pull it high in the air (see video for reference) and then place it in to the centre of the bowl. Turn the bowl a quarter turn and repeat that process. Every time you place the dough in to the centre it is one count. In total do 26-30 stretch and folds. This should take 1-2 minutes.
- Cover the bowl again. Leave to rise for 30 minutes.Repeat the stretch and fold process for the second time. This time do 20-25 stretch and folds in the bowl.
Same Day Version
- After you have completed the second round of stretch and folds, cover and leave to rise for 30 minutes.
- Then tip the dough on to a very lightly floured bench. Don't handle the dough too much here.
- Fold the dough in to the centre from the top and each side. Then take the bottom piece and flip it forward, over the dough. Tuck your hands underneath the dough and pull it towards yourself a couple of times to create tension.
- Place the dough (seam side up) in to a well oiled bowl that is the same shape as your cast iron pot or in to a sourdough banneton that has been dusted heavily with cornflour.
- Once the dough is in the bowl or banneton, pull the dough from the sides in to the middle and pinch the seams together to create a tight dough. Cover lightly with a tea towel. Let the dough rise for 25-30 minutes. Note: In the warmer months you may only need to rise it for 20-25 minutes.
- Place a 3.6 Litre cast iron pot and lid in to the oven. Heat the oven and pot to 205 °C for 20 minutes before baking.
- Cover a large plate or a chopping board with a piece of baking paper that will overlap the sides of the cast iron pot. Flip the dough on to the plate or chopping board. Dust it with flour or fine semolina. Score it with a sharp knife.
- If you want a crusty crust to you parāoa (bread), add a few ice cubes in to the bottom of the pre-heated pot before lowering the bread in. If you don't have ice, no worries. Lower the parāoa (bread) in to the pot using the baking paper to help you. Put the lid on.
- Bake it for 23 minutes. Remove the lid and bake for a further 22 minutes.
- Remove from the oven. Leave to cool for 10 minutes and then remove it. Slice and eat with lashing of pata (butter).
Overnight Version
- After you have completed the second stretch and fold process, cover the bowl and leave it on the bench for 15 minutes. Then refrigerate for 2 – 20 hours.
- When you are ready to bake, remove the dough from the fridge. Tip it straight on to a bench with no flour.
- Fold the dough in to the centre from the top and each side. Then take the bottom piece and flip it forward, over the dough. Tuck your hands underneath the dough and pull it towards yourself a couple of times.
- Place the dough (seam side up) in to a well oiled bowl that is the same shape as your cast iron pot or in to a sourdough banneton that has been dusted heavily with cornflour.
- Once the dough is in the bowl or banneton, pull the dough from the sides in to the middle and pinch the seams together to create a tight dough. Cover lightly with a tea towel.
- If the dough has risen in the fridge for 2-6 hours, rise the dough for 45 minutes. If it has risen for 7-15 hours, rise the dough for 1 hour.If it has risen for 16 – 24 hours, rise for 1 hour and 15 minutes.
- Place a 3.6 Litre cast iron pot and lid in to the oven. Heat the oven and pot to 205 °C for 20 minutes before baking.
- Cover a large plate or a chopping board with a piece of baking paper that will overlap the sides of the cast iron pot. Flip the dough on to the plate or chopping board. Dust it with flour or fine semolina. Score it with a sharp knife.
- If you want a bit of crusty crust to you parāoa (bread), add to ice cubes in to the bottom of the pre-heated pot before lowering the bread in. If you don't have ice, no worries Lower the parāoa (bread) in to the pot using the baking paper to help you. Put the lid on.
- Bake it for 25 minutes. Remove the lid and bake for a further 22 minutes.
- Remove from the oven. Leave to cool for 5 minutes in the pot and then remove it! Slice and eat with lashing of pata (butter)!

Leave a Reply