This Key Lime Pie Recipe is sooo delicious. Simply put, this humble creamy pie celebrates the stunning flavour of raimi (limes) and you must make it immediately! Let's walk through each step together.

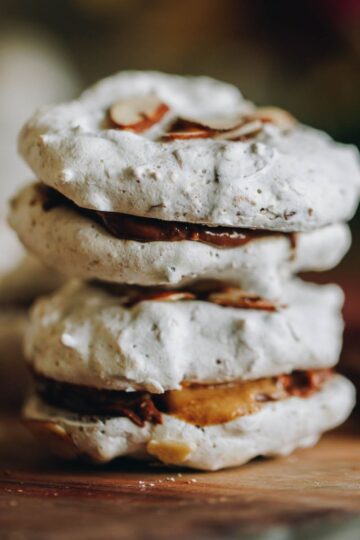
Serve this pie with a dollop of miraka tepe (yogurt) and a scattering of berries or bling it out like I did. If that is you, finish it by piping on some French meringue and adding these dramatic meringue shards. So which path will you choose?
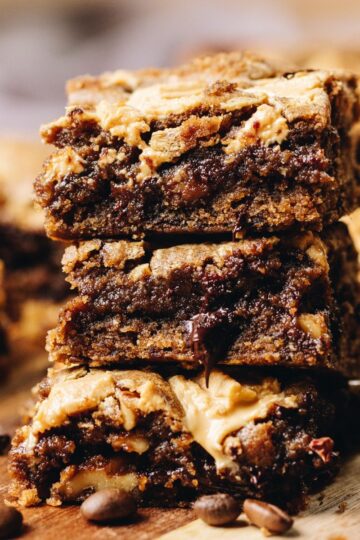
More purini (desserts) to try:
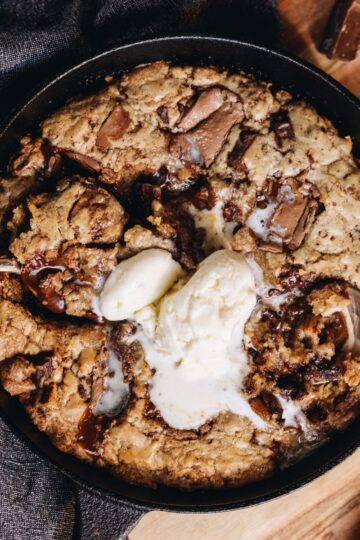
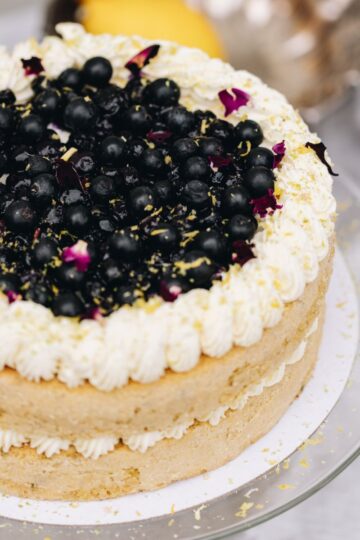
Do you need a delicious purini (dessert)? Then try my Lemon and White Chocolate Cheesecake, it is full of creamy lemon flavour. Do you want a chocolate cheesecake? Then, you must try this S’mores No-bake Chocolate Cheesecake because it has layers of fun in every bite. 🎈
Videography and photography by Sarah Henderson.
Ingredient Tips for this Key Lime Pie Recipe:

- Limes: Use fresh limes and check to see if you they are good ones before you buy them, I definitely learnt this lesson the hard way (when making this pie) 👀 .
- Sweetened Condensed Milk: Use the full fat version for the best final result.
- Eggs: I always prefer using free-range eggs but use what you have.
- Biscuits: Use your favourite pihikete wīti (wheat biscuits).
- Coconut: Desiccated coconut defiantly works in the base but if you don't want to use it, replace the coconut with 2 extra biscuits.
- Butter: I always use salted butter in my baking but unsalted will work too.
Expert Tips:
Limes can be a little right sometimes so give the limes a hard rub on the bench to help release the juice before juicing.
If you need to, substitute a touch of the wai raimi (lime juice) for wai rēmana (lemon juice). However, use at least half of the wai raimi (lime juice) and all of the (kiri raimi) lime zest recommended in this recipe to retain the lime hit.
The kahitete (custard) is baked 140 °C bake setting or 130 °C fan bake setting. This cooler temperature gently cooks the filling to produce a super creamy kahitete (custard).
When the kahitete (custard) has baked it will still have some wobble in it, this creates a creamy finished product so don't worry. It will set further in the fridge.
STEP BY STEP INSTRUCTIONS FOR THE KEY LIME PIE RECIPE:
Note: The full recipe card with the full list of ingredients, instructions and step by step video are found at the bottom of this page.
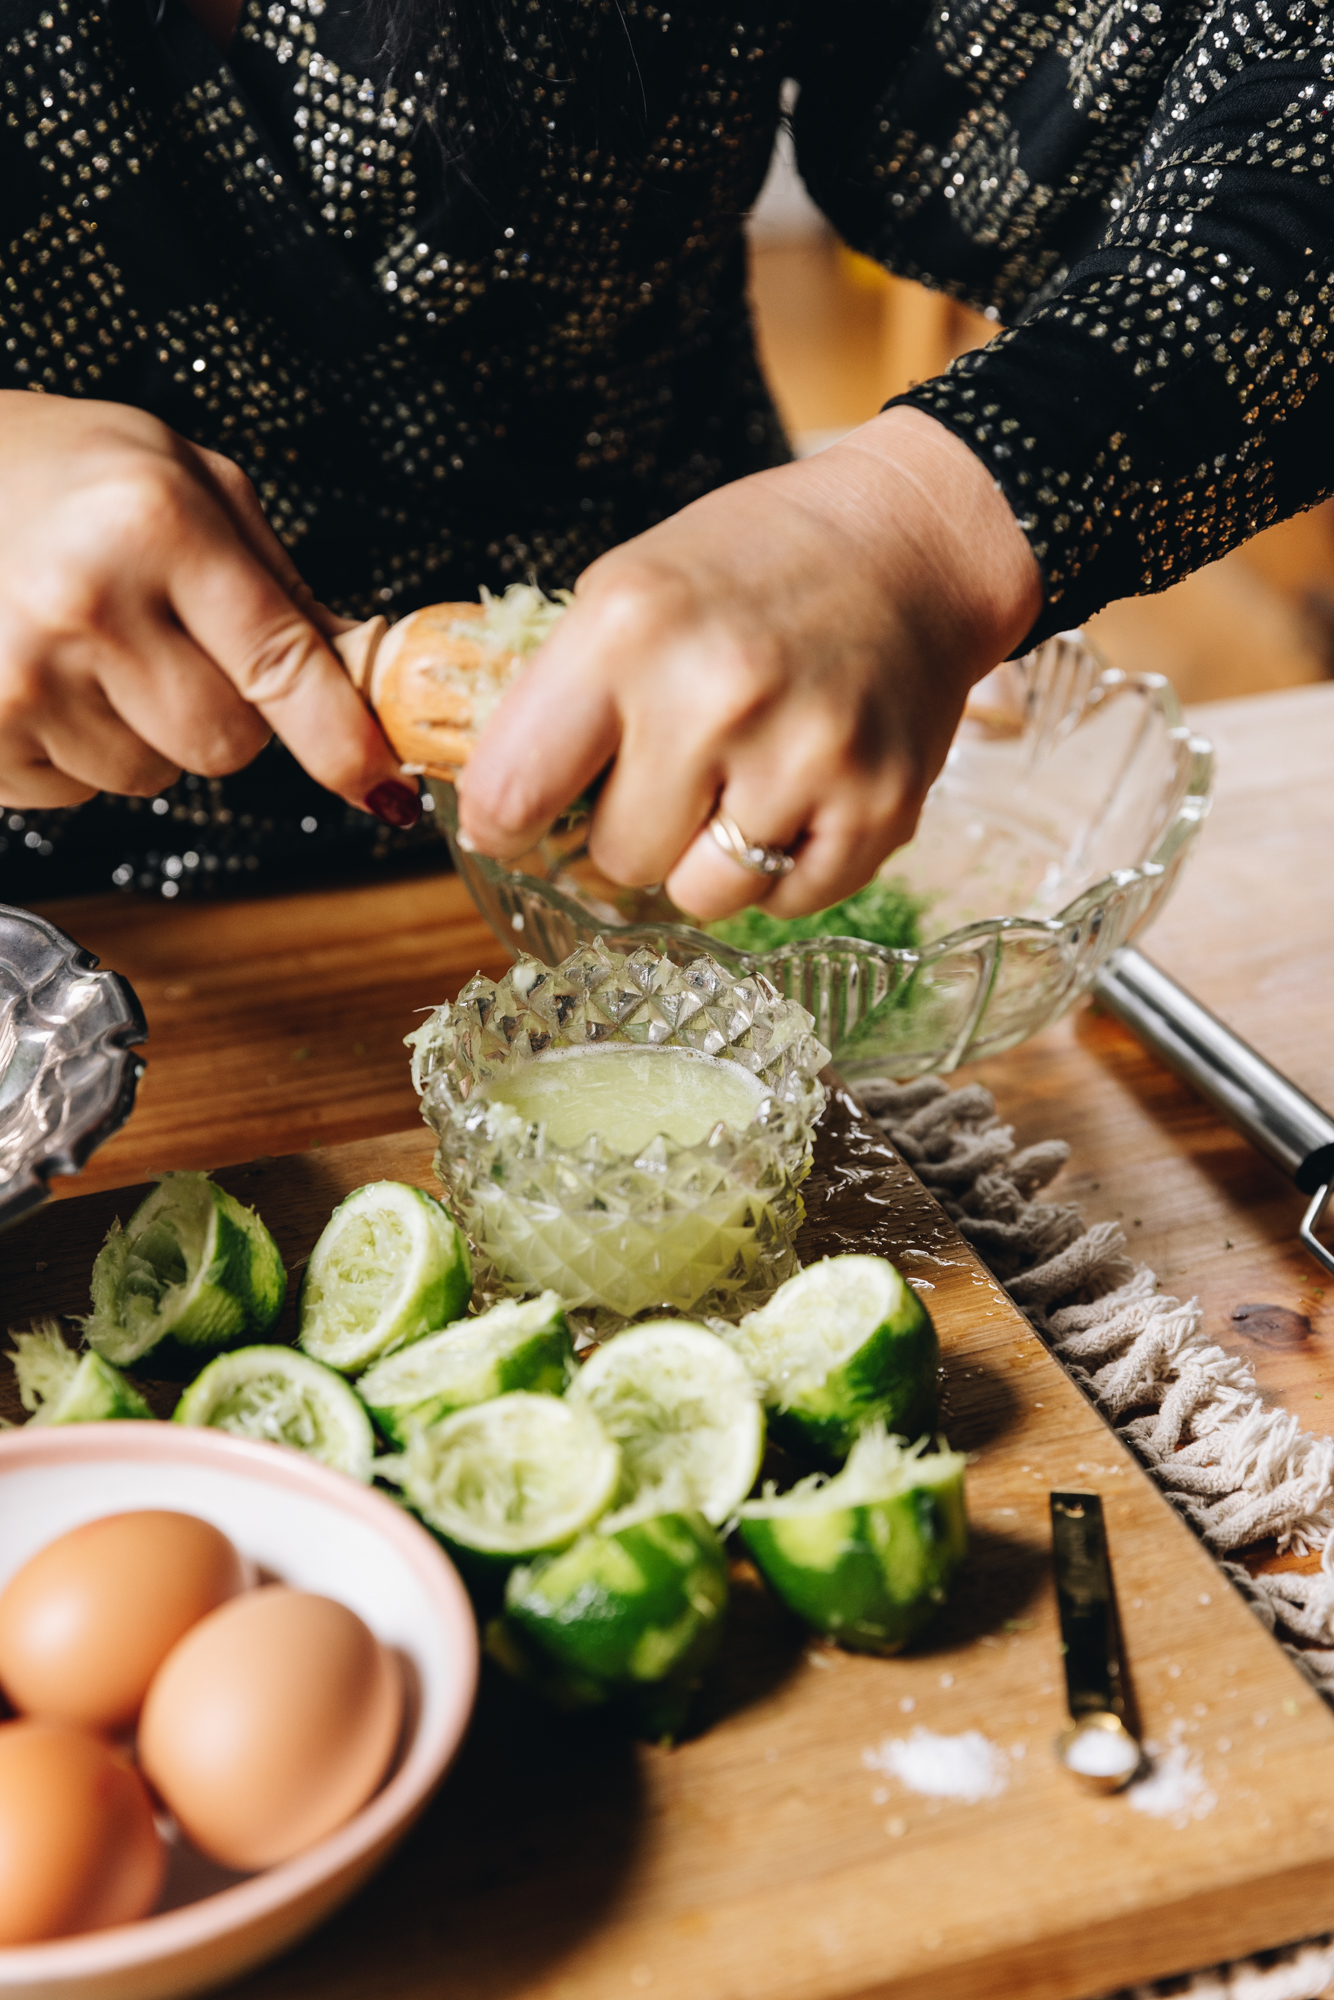
1. Prepare the Limes:
Finely zest the kiri raimi (lime zest) in to a large bowl.
Give the limes a hard rub on the bench to help release the juice before juicing.
Juice the raimi (limes) to equal ⅔ cup and add it to the bowl with the kiri raimi (lime zest).
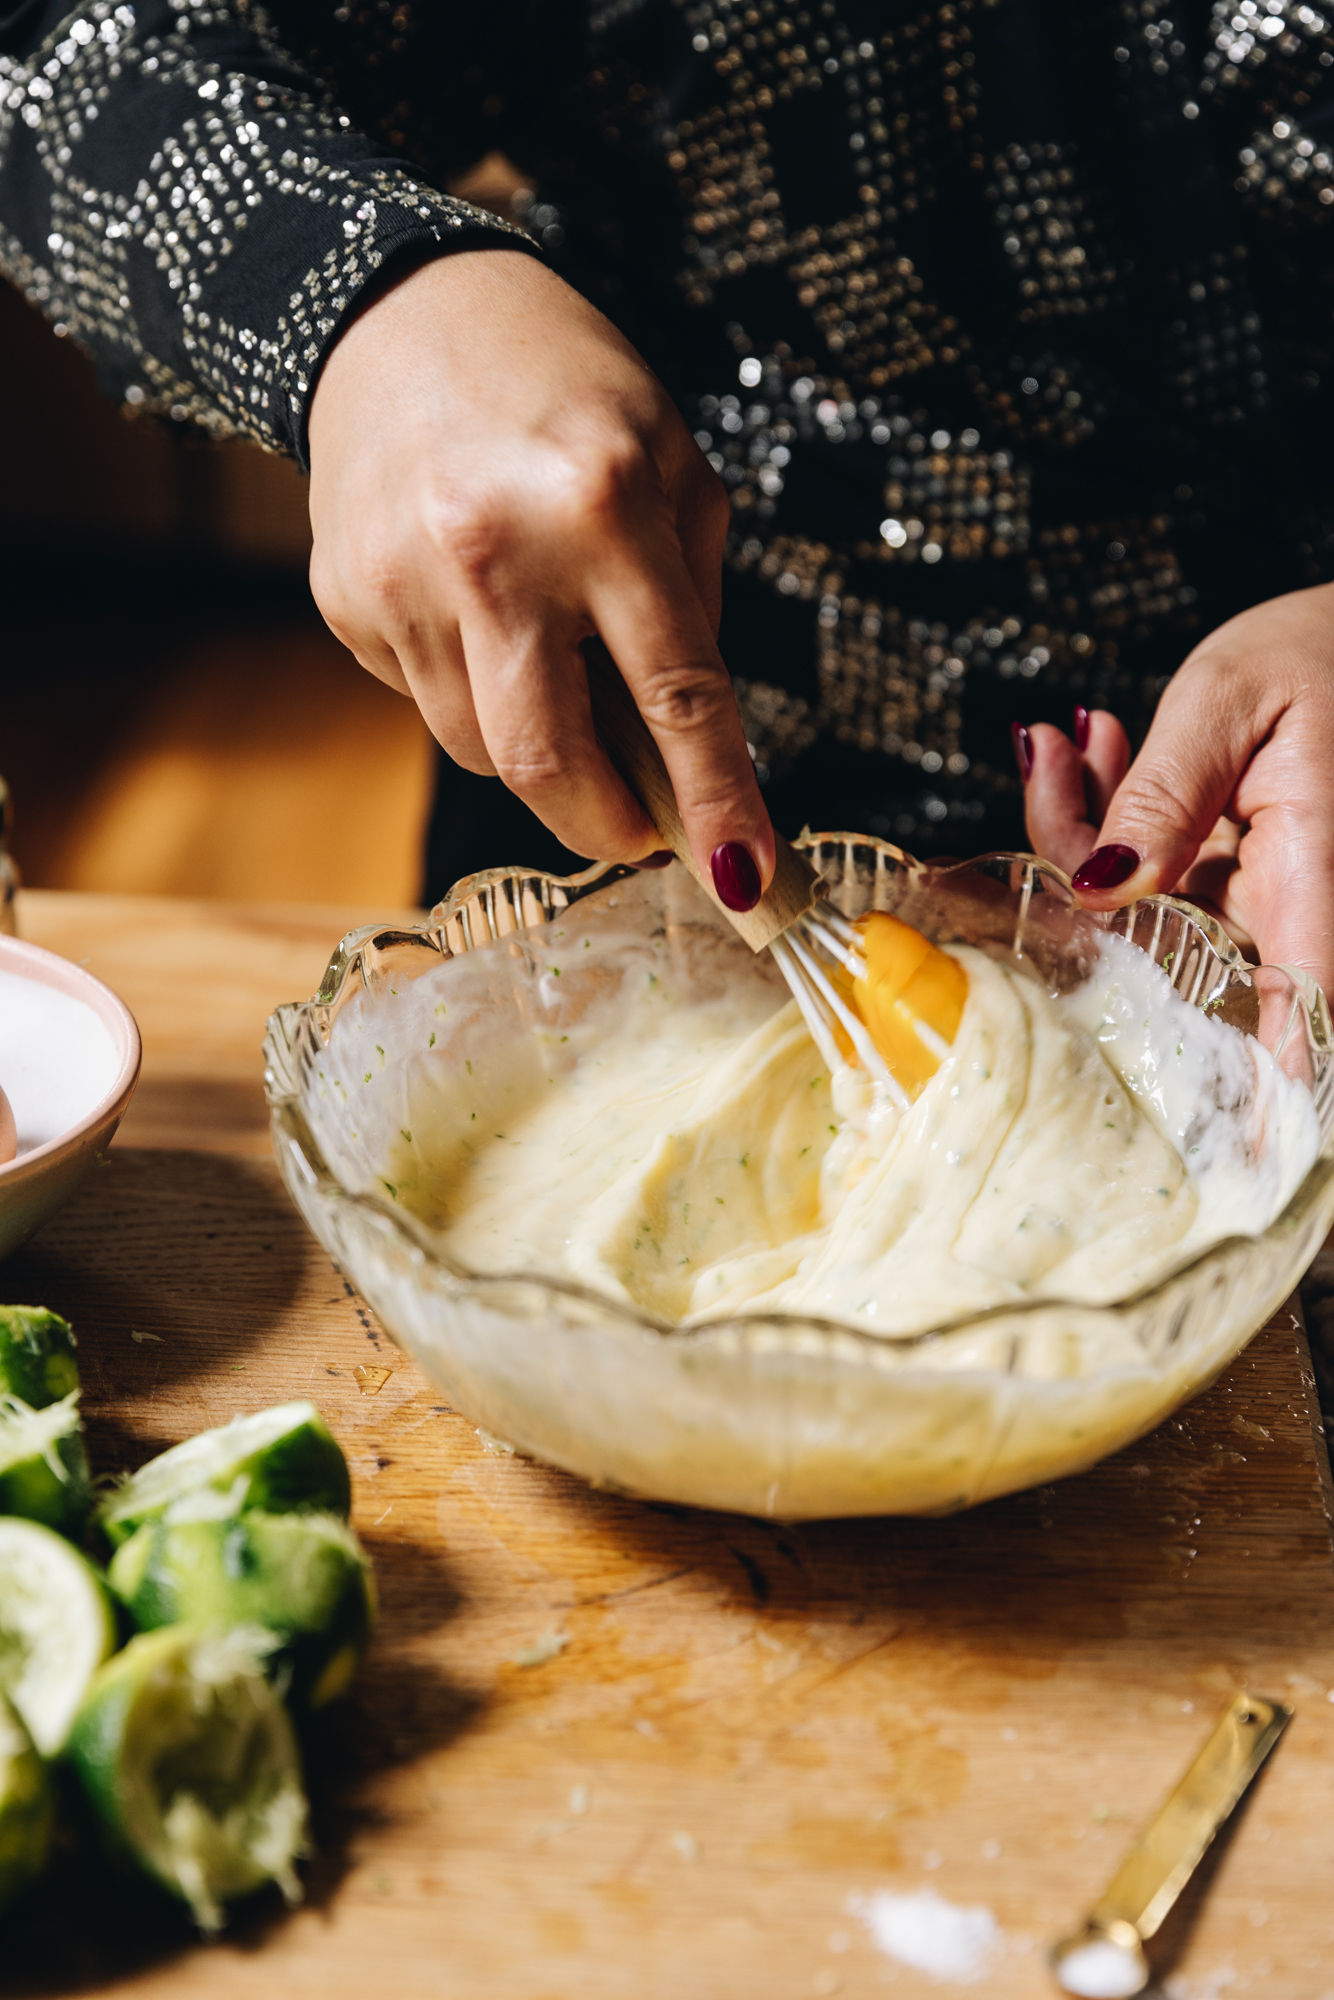
2. Combine the Condensed Milk and Lime:
Pour in the miraka kukū reka (condensed milk) and stir with a whisk until it is all combined.
Add the tote (salt) and two hēki (eggs). Kaurorihia anō (stir it again).
3. Seperate the Extra Eggs:
Seperate the extra 2 hēki (2 eggs).
Add the kahu hēki (egg whites) in to a seperate bowl and set it aside for the meringue topping.
Add the tōhua hēki (egg yolks) in to the main mixture.
Stir it all together and leave it to the side to thicken and develop a little in flavour. As it sits, make the simple base.

4. Preheat the Oven:
Preheat the oven to 170 °C bake setting or 160 °C fan bake setting.
5. Process the Biscuits and Coconut:
Add the pihikete wīti (wheat biscuits) and kokonati pūtī (desiccated coconut) in to a tāwhirowhiro (food processor) or crush it in a bowl with a rolling pin or something similar.
Whizz or crush it all together until you get a fine-ish crumb.
Add in the pata kua rewaina (melted butter) and pulse or stir for 10 seconds until combined.
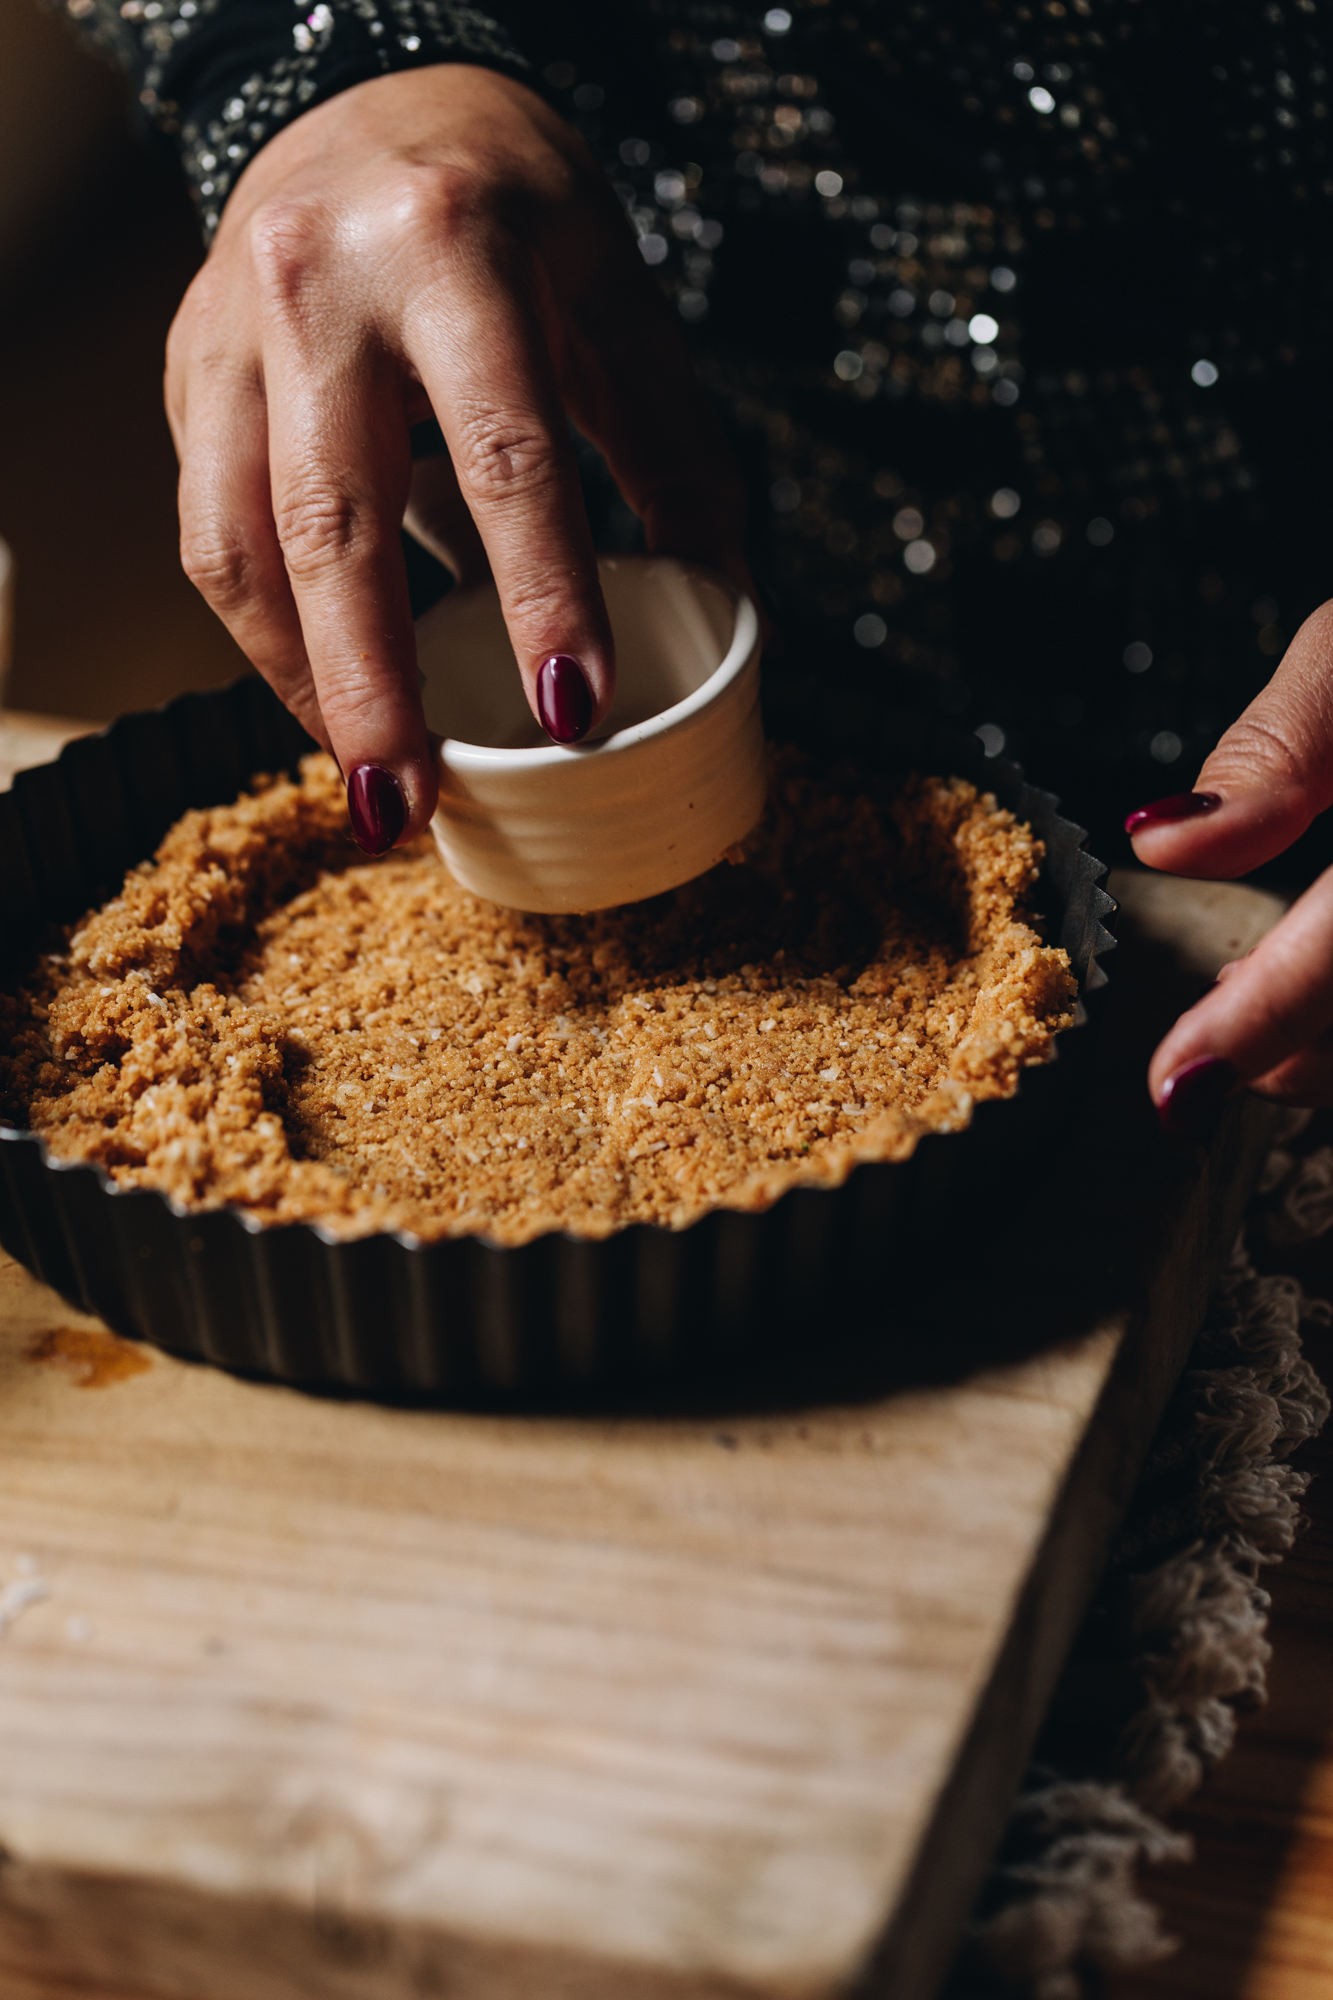
6. Press the Crumb in to the Tin:
Using a measuring cup, press the kongakonga pihikete (biscuit crumb) firmly in to a 20 cm tart tin.
Bake the base for 10 - 12 minutes in the preheated oven until lovely and golden.
Cool the base for 5 minutes.
7. Reduce the Temperature of the Oven:
Turn the oven down to 140 °C bake setting or 130 °C fan bake setting.
This cooler temperature gently cooks the filling to produce a super creamy kahitete (custard).
8. Pour the Lime Custard in to the Base:
After the base has cooled slightly, gently stir the kahitete raimi (lime custard) and then pour it in to the base.
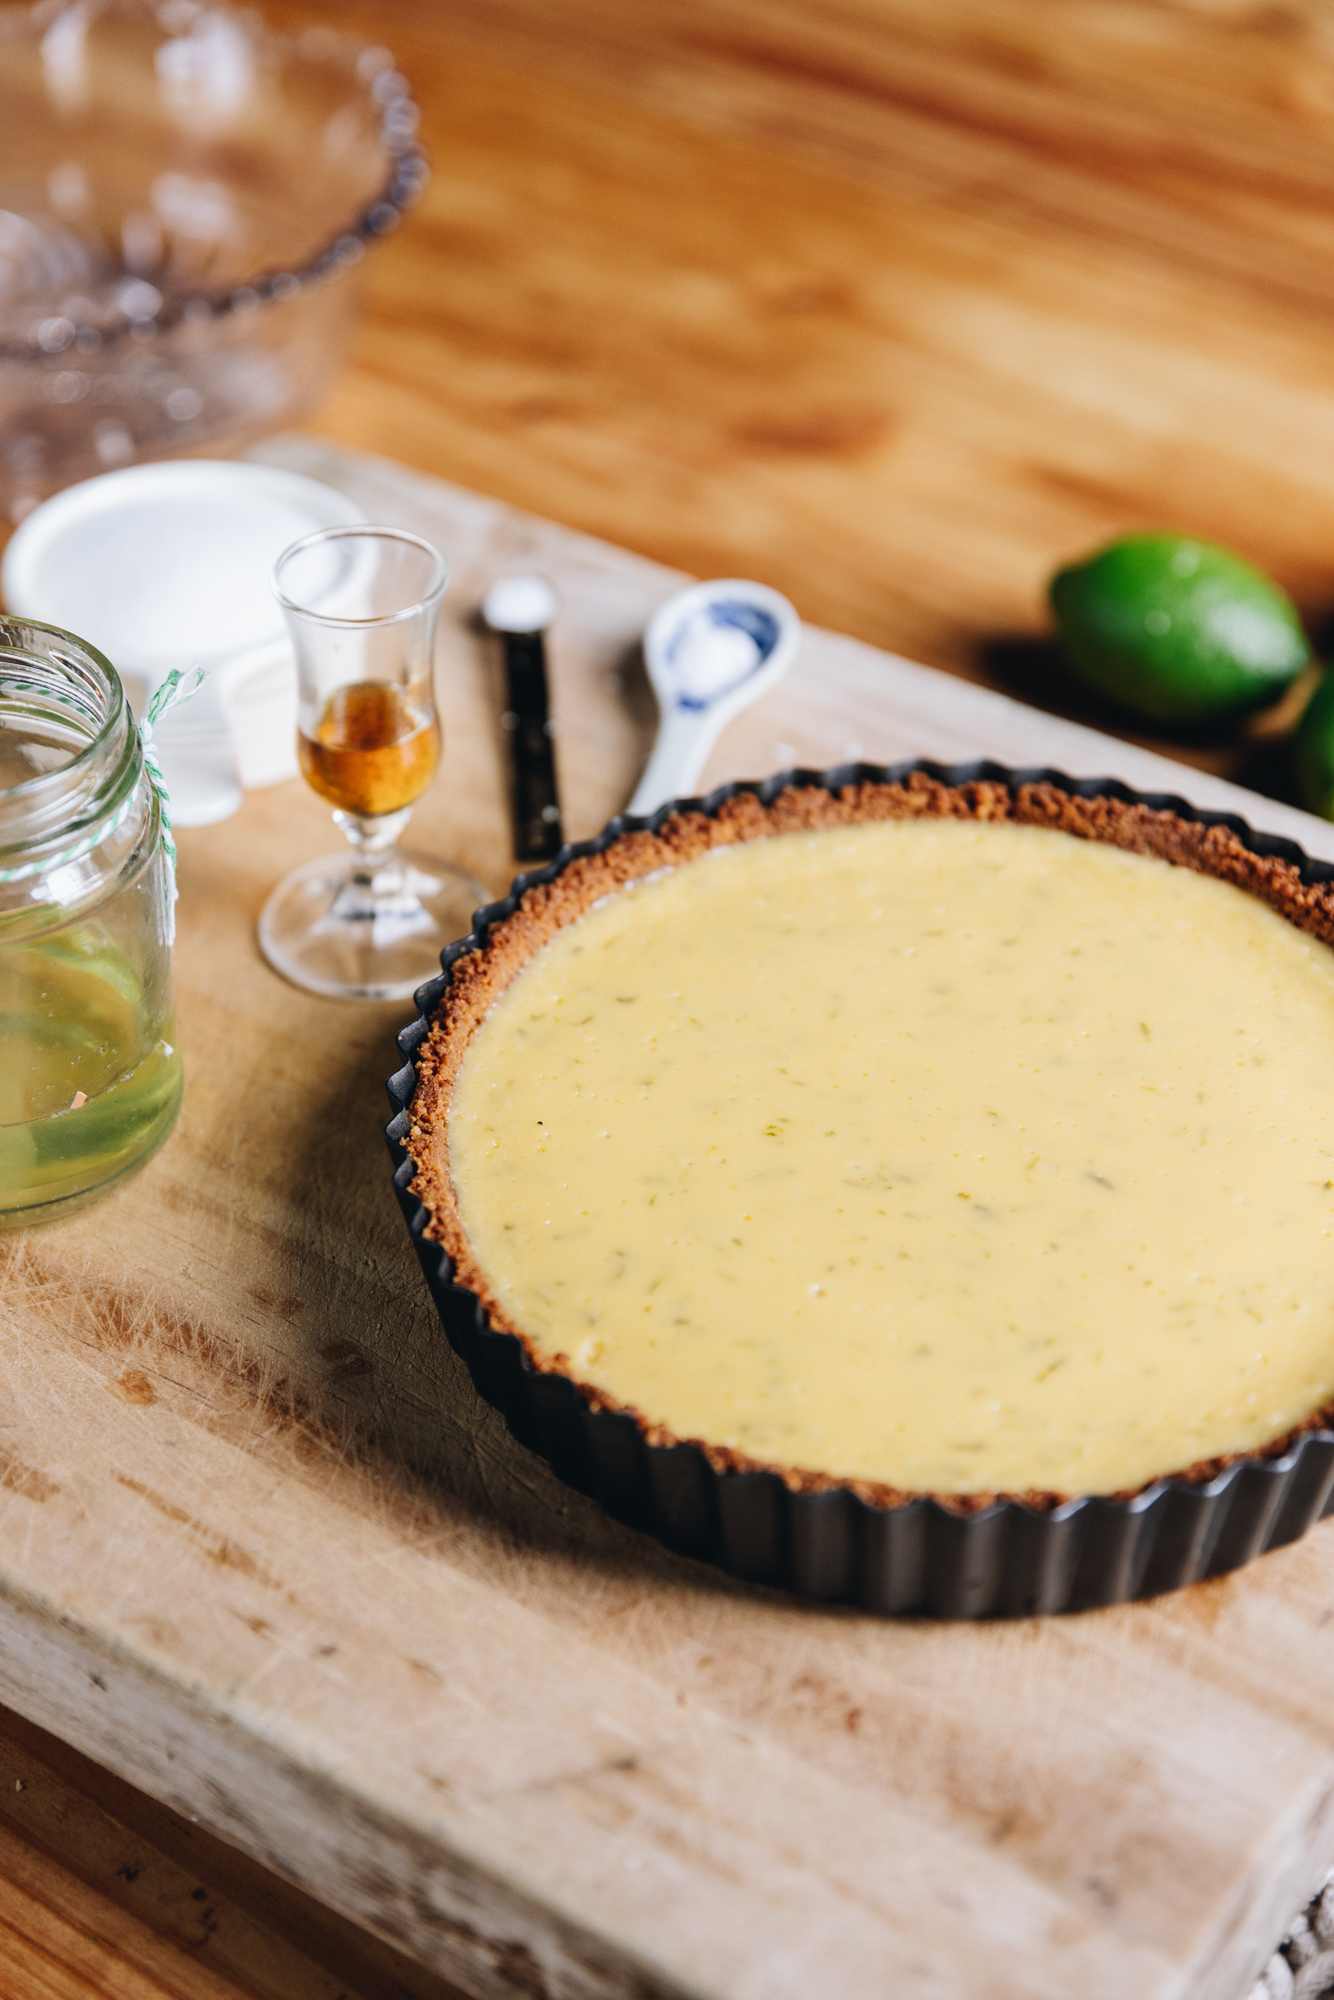
9. Bake the Pie:
Bake for 30 minutes. If at the 30 minute mark there is still heaps of wobble in the custard, bake for 5 more minutes.
Remove from the oven and cool. The custard will still have some wobble in it, this creates a creamy finished product so don't worry. It will set further in the fridge.
10. Cool the Key Lime Pie:
Cool for 20 minutes on the bench and then transfer the pie to the fridge. Chill for at least four hours. The baked pie will keep well in the fridge for up to 5 days.
For a simple option, leave it plain and serve it with your favourite berries or a dollop of kirīmi tāwhiuwhiu (whipped cream) or miraka tepe (yogurt). If you want it decorated, move to the next step.
11. Make the French Meringue:
Follow the instructions for my simple French meringue recipe but use the quantities below on the recipe.
Two thirds of the meringue are for the topping and the remaining third of the merenge (meringue) is used for the shards. If you don't want to make the shards, simply use all of the merenge (meringue) on top of the pie.
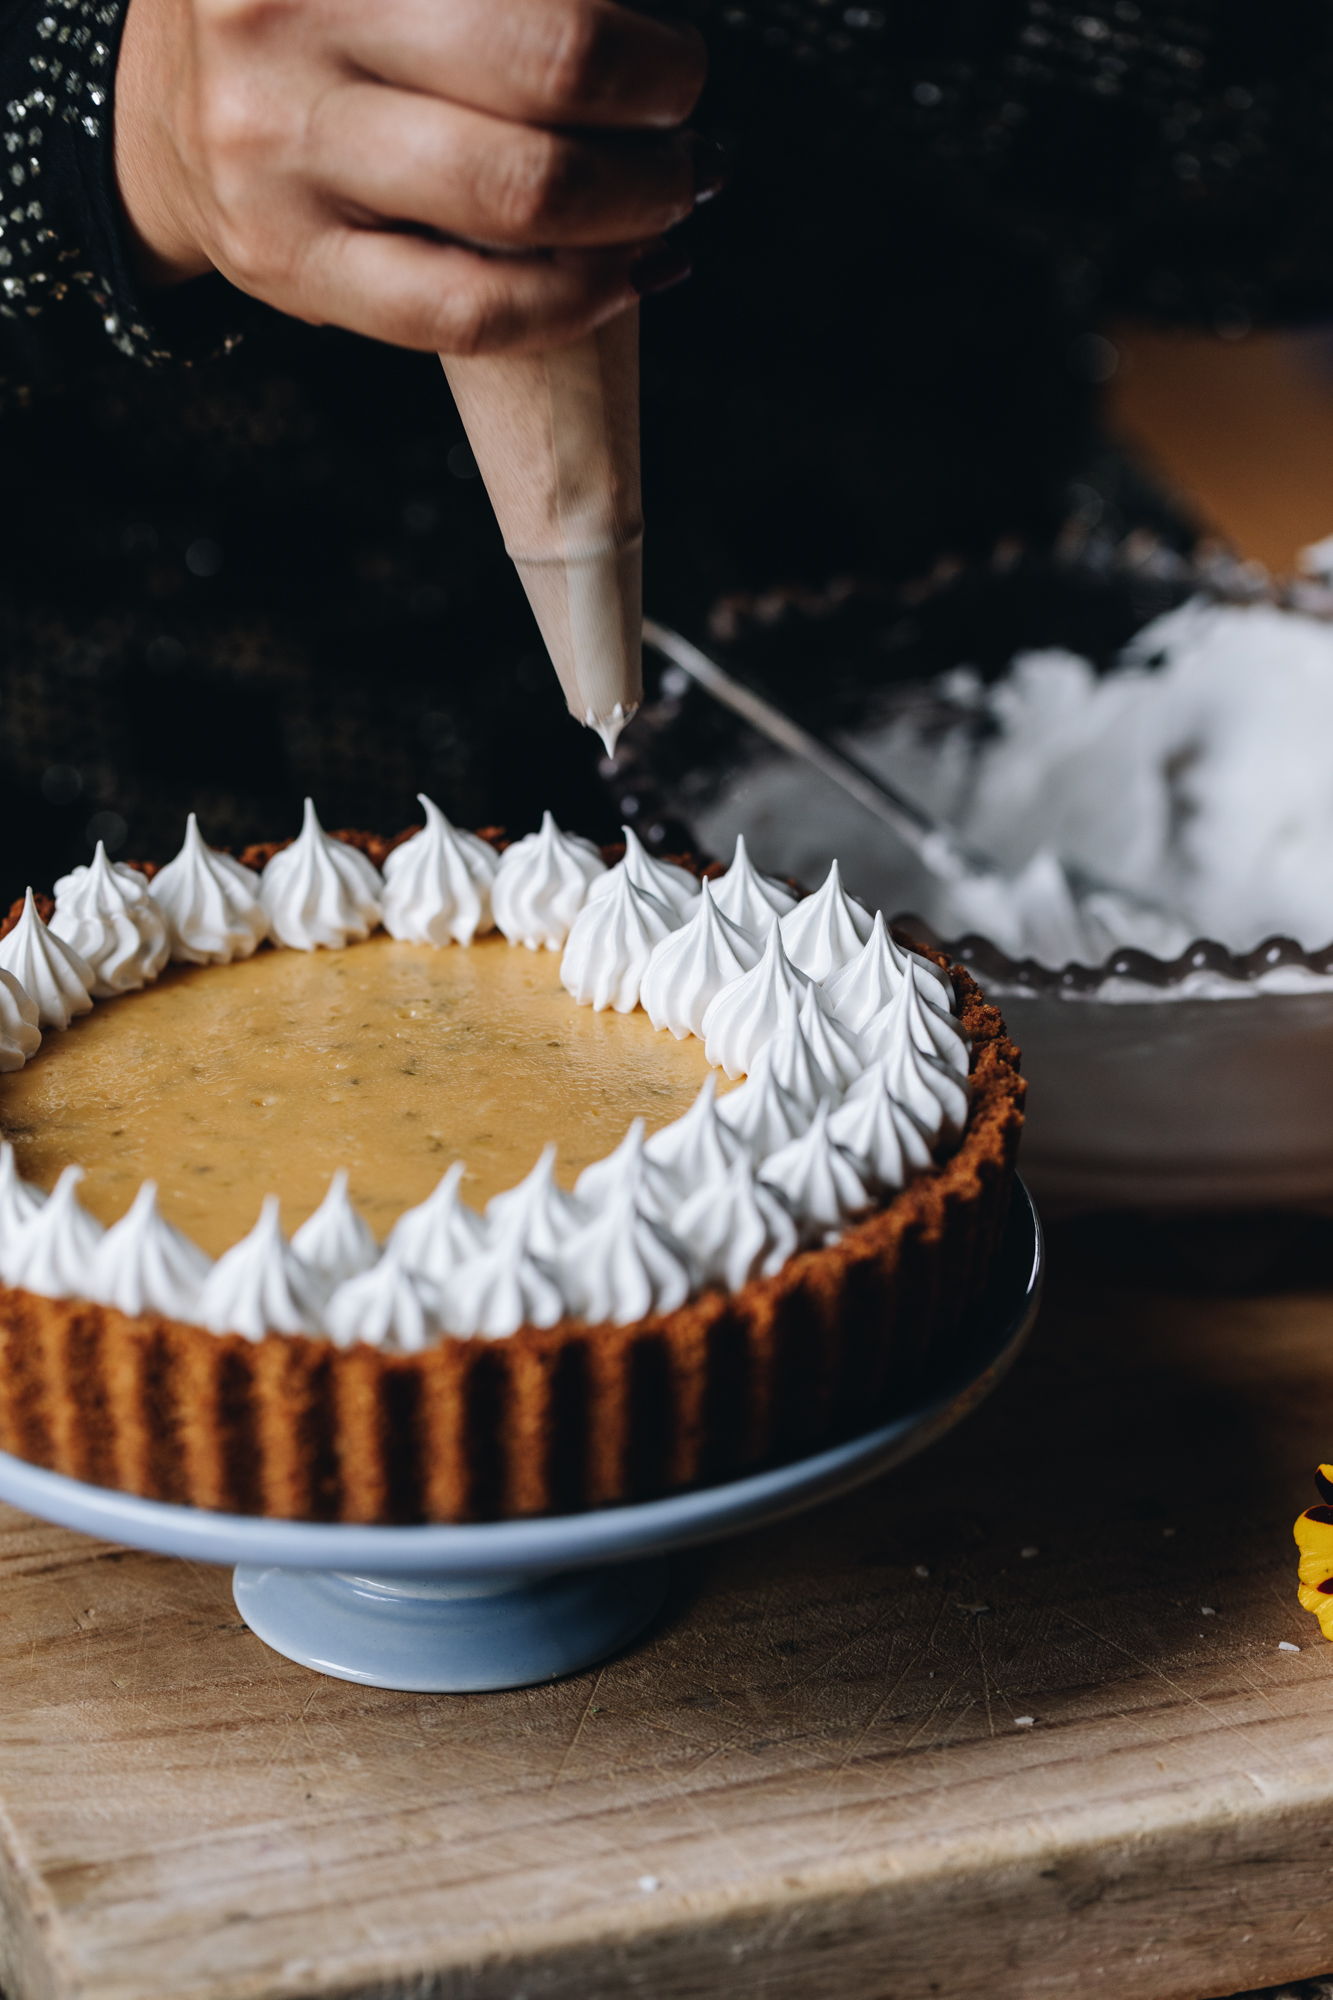
12. Pipe on the Meringue:
Add two thirds of the meringue to a piping bag and pipe it on to the chilled lime pie or just smear it on with a spoon.
13. Toast the Meringue:
Torch the meringue with a blow torch or place it under a super hot grill if you want to toast it. Return it to the fridge until you want to serve.

14. Preheat the Oven:
Preheat the oven to 80 °C bake setting or 70 on fan bake setting.
15. Make Meringue Shards:
Use the remaining one third of the meringue to make shards. Watch the meringue shards video for reference.
Simply spread the meringue on to a flat tray, lined with baking paper.
Bake the merenge (meringue) in the preheated oven for 1 ½ hours and then turn the oven off and leave it to cool completely in the oven.
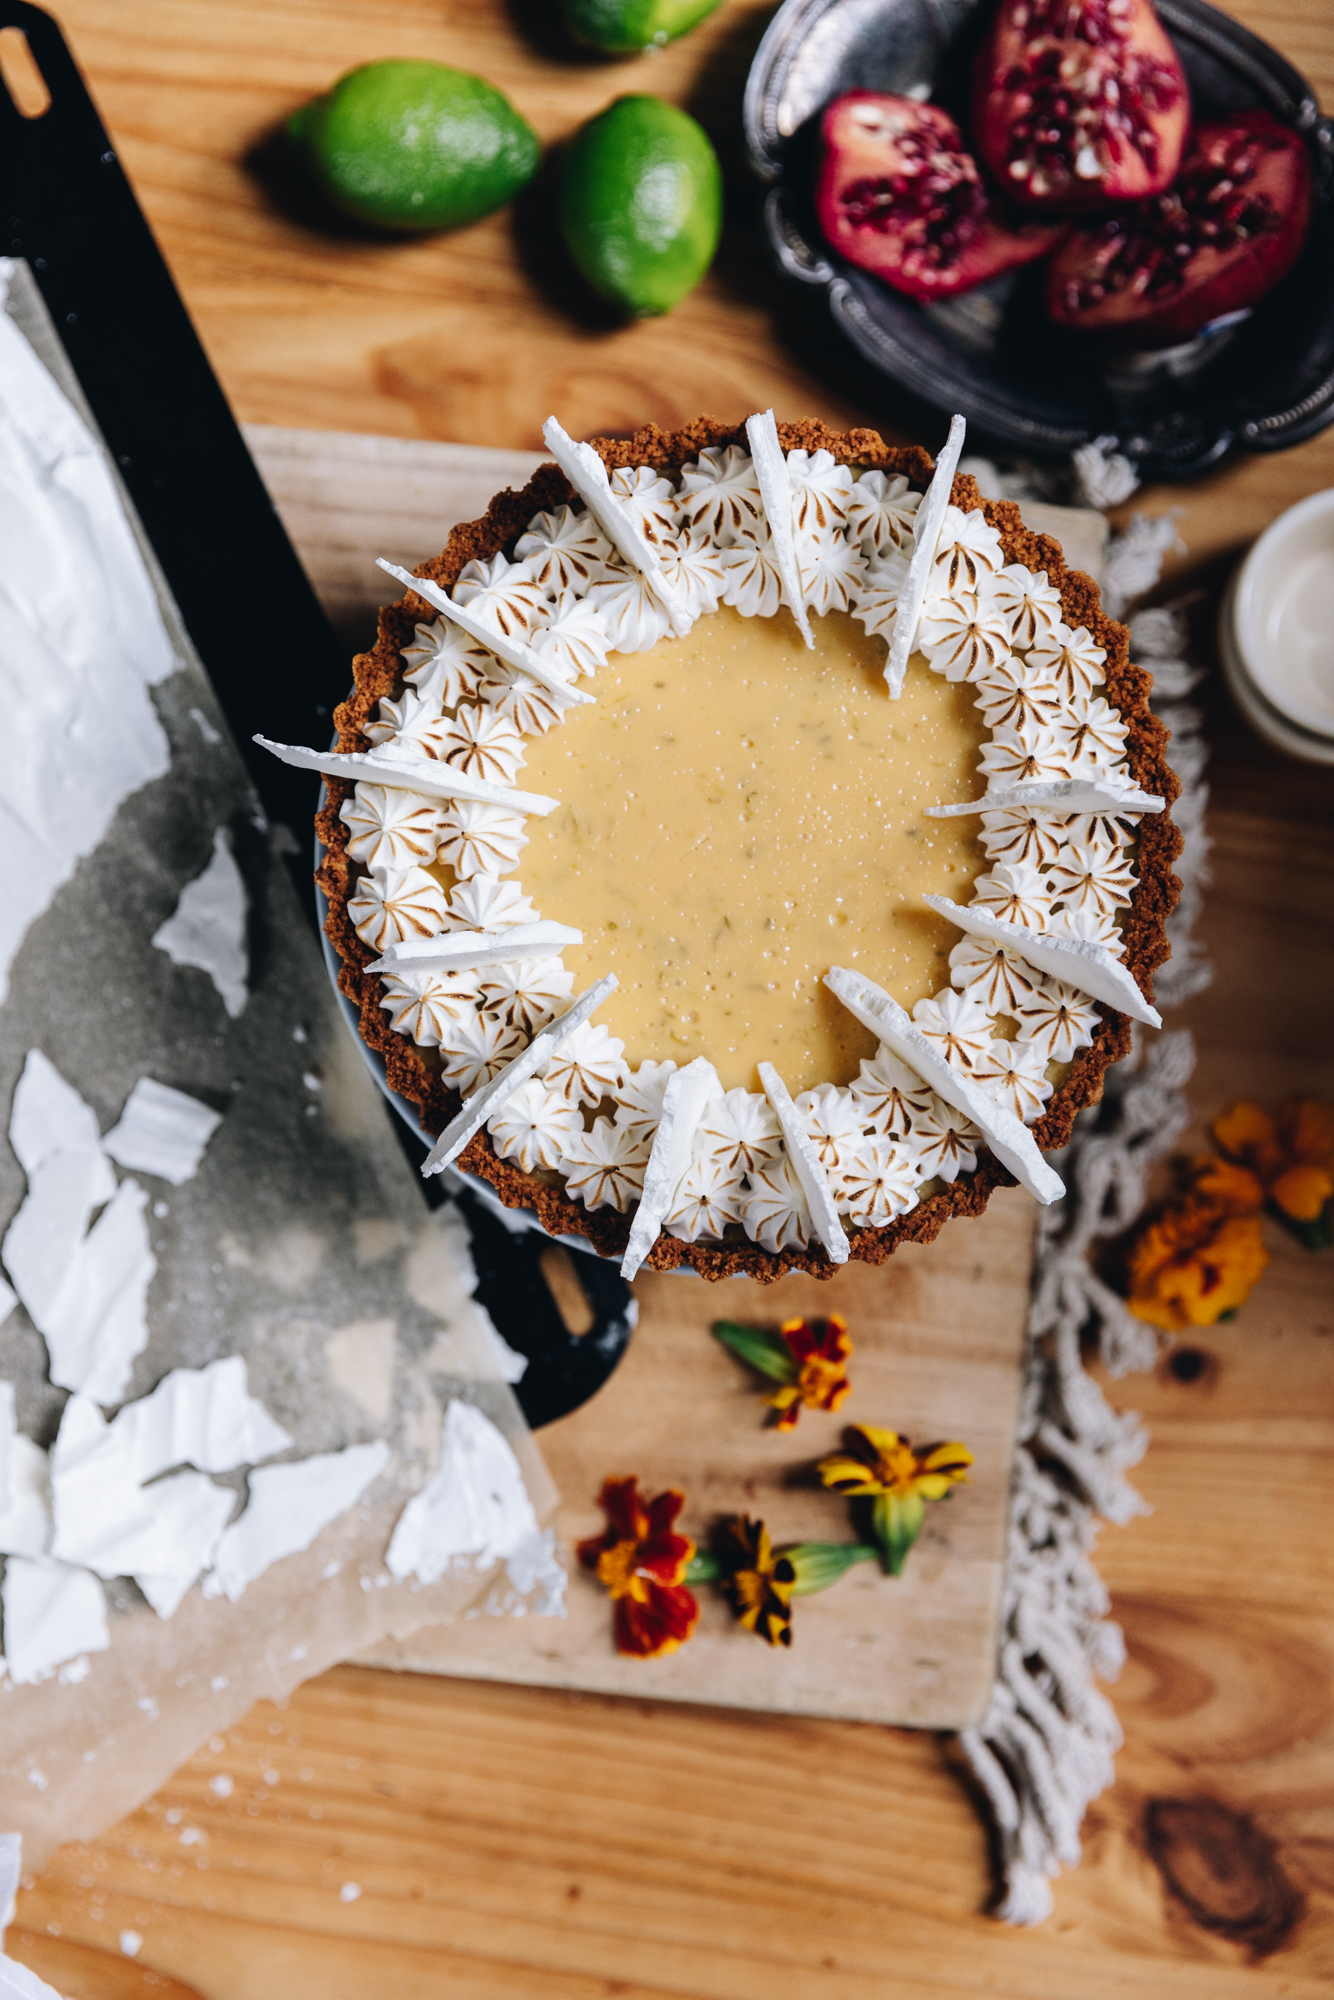
16. Add the Shards to the Pie:
When you are ready to serve your pie, break the baked meringue in to shards and add them to the pie.
The shards need to added just before serving otherwise they will lose their crunch.
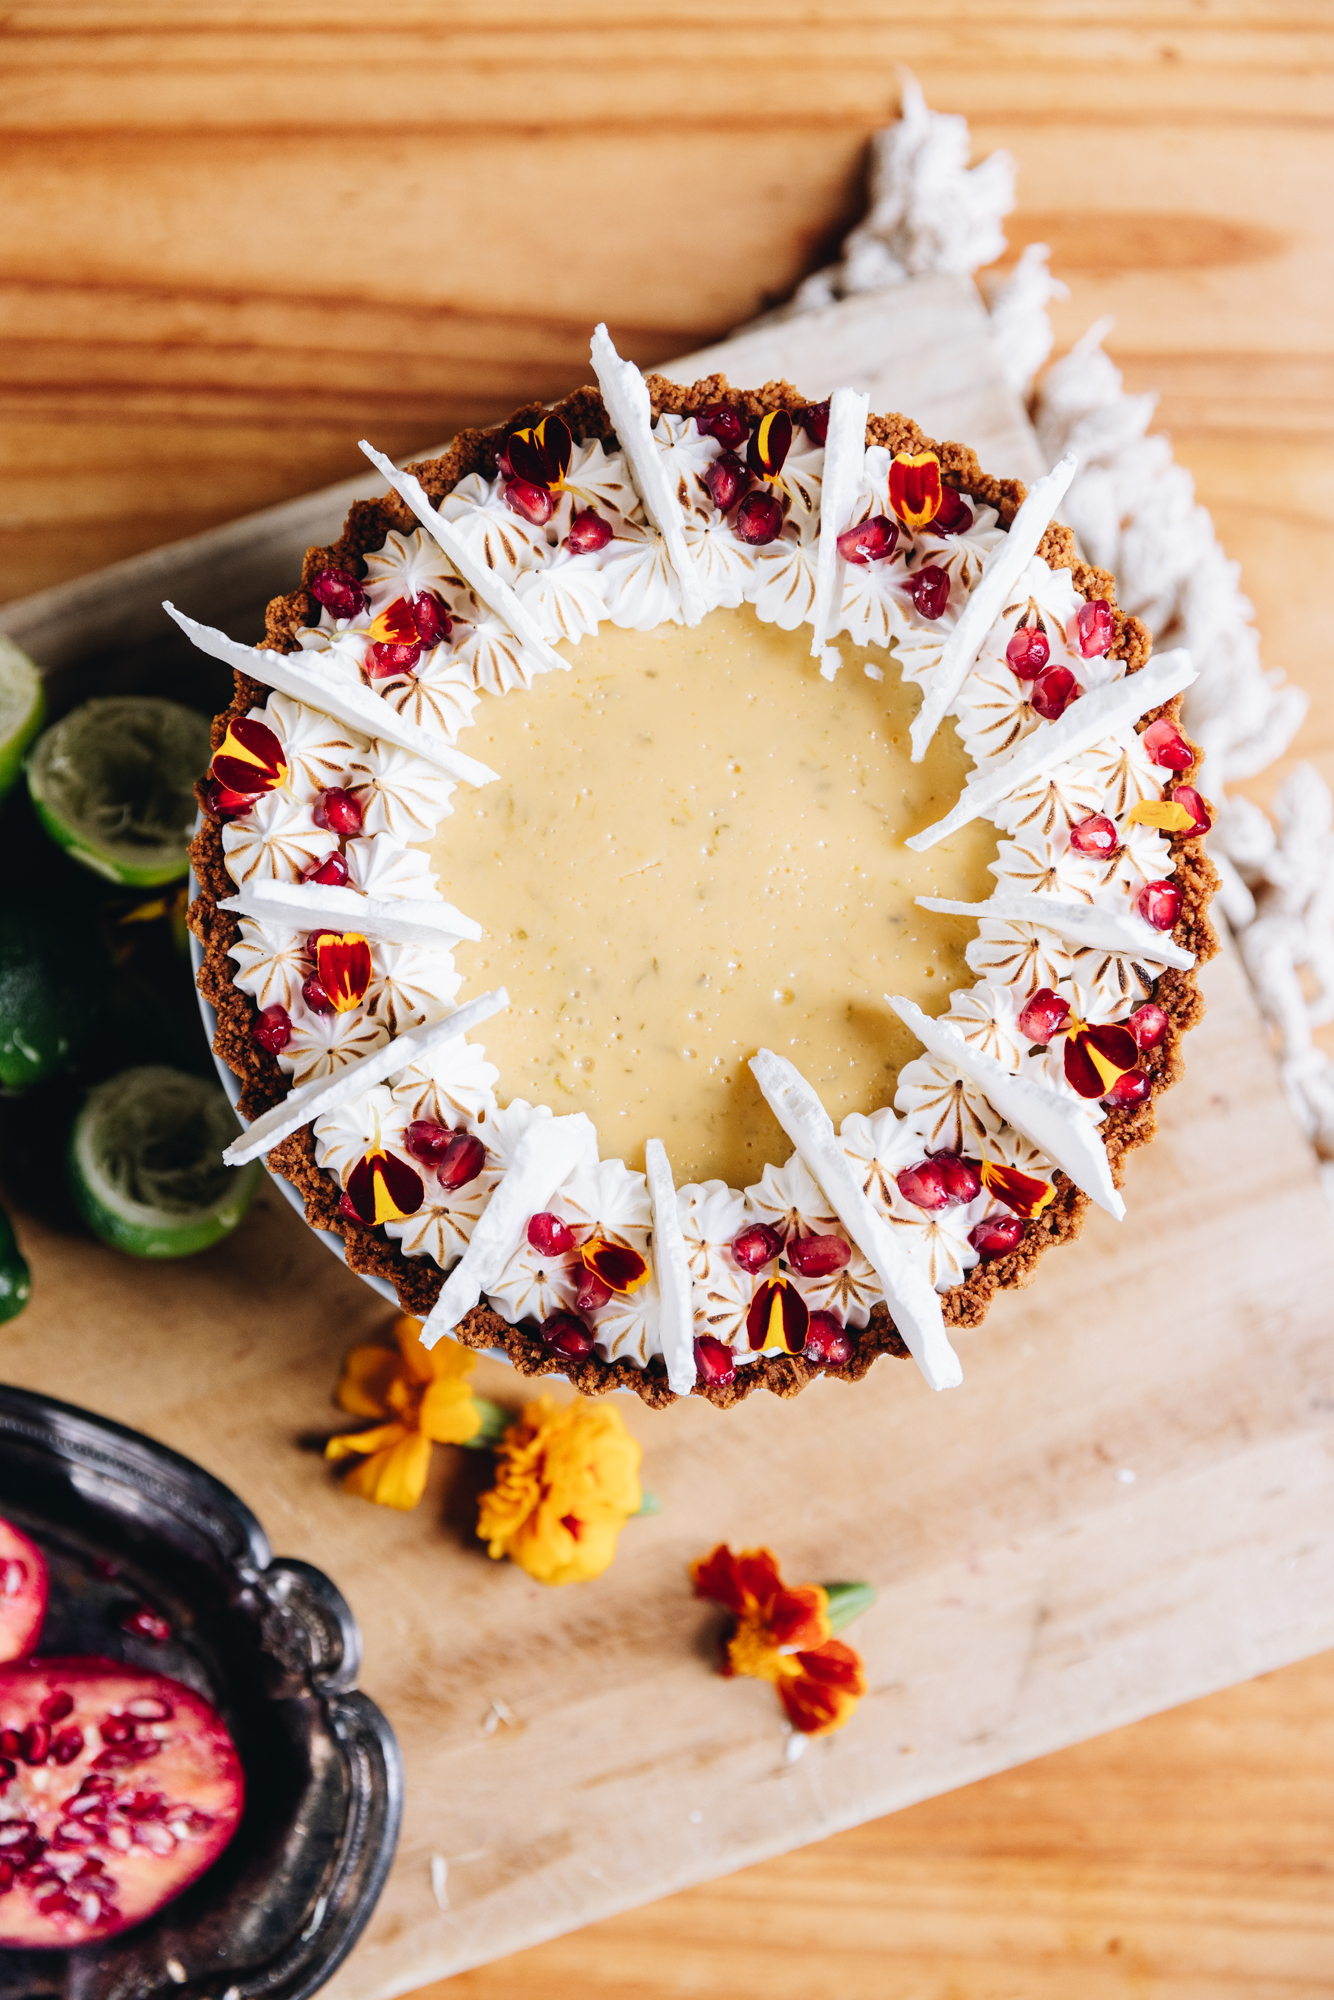
17. Decorate the Key Lime Pie Recipe (Optional):
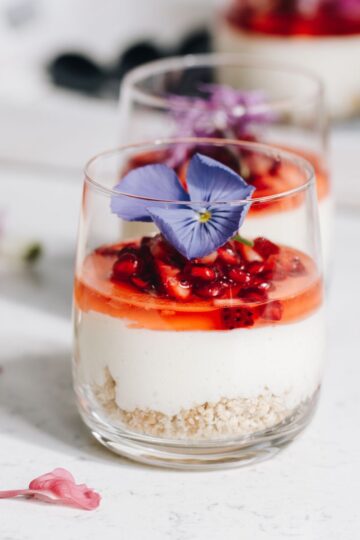
Finish the pie with kākano pamakaranete (pomegranate seeds) and some raupua putiputi (flower petals).
Once the meringue shards are added, the pie should be served immediately otherwise they will lose their crunch.
The pie without the meringue will keep in the fridge for up to 5 days.
Love this recipe? There are so many more
Purini (Dessert) Recipes
Finish off a meal with a little slice of magic, made with your hands.


DID YOU ENJOY THIS RECIPE?
It would be so awesome if you could please leave a review/comment by clicking the “leave a comment” section at the top of the page.
I love seeing you all make my creations, so send a whakaahua (photo) or kiriata (video) to my Instagram and show me what you made. Let me know if you have any pātai (questions) too, I would love to help.

Key Lime Pie Recipe - Pae Raimi
Equipment
- 1 x 20 cm Tart Tin with 3 cm high sides or a 20 cm springform cake tin.
Ingredients
The Lime Custard - Te Kahitete Raimi
- Kiri raimi (lime zest, of 2 limes)
- ⅔ C (165) wai raimi māota (fresh lime juice, approximately 5-6 limes)
- 1 can (395 g) miraka kukū reka (can sweetened condensed milk)
- ¼ teaspoon tote (salt, fine)
- 2 hēki iti (small eggs, size 6)
- 2 hēki iti anō (extra small eggs, size 6)
The Biscuit Base - Te Paparanga Pihikete
- 125 g pihikete wīti (wheat biscuits)
- ¼ (20 g) kokonati pūtī (desiccated coconut)
- 50 g pata kua rewaina (melted butter)
- 1 teaspoon (5 ml) wanira (vanilla)
The French Meringue and Meringue Shards - Te Tāhungagunga Wīwī me Ngā Ngota Tāhungahunga
- 2 kahu hēki (egg whites, reserved from the custard ingredients)
- ¼ teaspoon kirīmi tāta (cream of tartar)
- ½ C (110 g) huka one (caster sugar)
- 1 teaspoon (5 ml) wanira (vanilla)
- He kini tote (a pinch of salt)
The Decorations - Ngā whakarākei
- ¼ C kākano pamakaranete (pomegranate seeds)
- 12 raupua putiputi (flower petals, edible)
Instructions
Prepare the Limes:
- Finely zest the kiri raimi (lime zest) in to a large bowl.
- Give the limes a hard rub on the bench to help release the juice before juicing. Juice the raimi (limes) so you have ⅔ cup and add it to the bowl.
Combine the Condensed Milk and Lime:
- Pour in the miraka kukū (condensed milk) and stir with a whisk until it is all combined.
- Add the tote (salt) and two hēki (eggs). Kaurorihia anō (stir it again).
Seperate the Extra Eggs:
- Seperate the extra 2 hēki (2 eggs). Add the kahu hēki (egg whites) in to a seperate bowl and set it aside for the meringue topping.
- Add the tōhua hēki (egg yolks) in to the main mixture.
- Stir it all together and leave it to the side to thicken and develop a little in flavour. As it sits, make the simple base.
Preheat the Oven:
- Preheat the oven to 170 °C bake setting or 160 °C fan bake setting.
Process the Biscuits and Coconut:
- Add the pihikete wīti (wheat biscuits) and kokonati pūtī (desiccated coconut) in to a tāwhirowhiro (food processor) or crush it in a bowl with a rolling pin or something similar.
- Whizz it all together until you get a fine-ish crumb.
- Add in the pata kua rewaina (melted butter) and pulse or stir for 10 seconds until combined.
Press the Crumb in to the Tin:
- Using a measuring cup, press the kongakonga pihikete (biscuit crumb) firmly in to a 20 cm tart or cake tin.
- Bake the base for 10 - 12 minutes in the preheated oven until lovely and golden.
- Cool the base for 5 minutes.
Reduce the Temperature of the Oven:
- Turn the oven down to 140 °C bake setting or 130 °C fan bake setting. This cooler temperature is going to gently cook the filling to produce a super creamy set kahitete (custard).
Pour the Lime Custard in to the Base:
- After the base has cooled slightly, gently stir the kahitete raimi (lime custard) and then pour it in to the base.
Bake the Pie:
- Bake for 30 minutes.If at the 30 minute mark there is still heaps of wobble in the custard, bake for 5 more minutes.
- Remove from the oven and cool. Please note - The custard will still have some wobble in it, this creates a creamy finished product so don't worry. It will set further in the fridge.
Cool the Key Lime Pie:
- Cool for 20 minutes on the bench and then transfer the pie to the fridge.
- Cool for at least four hours but overnight is better for the flavours to deepen.
- The baked Key Lime Pie will keep well in the fridge for up to 5 days. I cover mine with a bowl cover or a plate to protect it.
Serve the Key Lime Pie:
- For a simple option, leave it plain and serve it with your favourite berries or a dollop of kirīmi tāwhiuwhiu (whipped cream) or miraka tepe (yogurt).
Make the French Meringue:
- Follow the instructions for my simple French meringue recipe but use the quantities above.
- Two thirds of the meringue is for the topping and the remaining third of the is used for the shards. If you don't want to make the shards, simply use it all of the meringue on top of the pie.
Pipe on the Meringue:
- Add two thirds of the meringue to a piping bag and pipe it on to the chilled lime pie or just smear it on with a spoon.
Toast the Meringue:
- Torch the meringue with a blow torch or place it under a super hot grill for a few minutes if you want to toast it.
- Return it to the fridge until you want to serve. The piped meringue will be at its best for up to 12 hours in the fridge.
Preheat the Oven:
- Preheat the oven to 80 °C bake setting or 70 on fan bake setting.
Make Meringue Shards:
- Use the remaining one third of the meringue to make the shards. If you want to see a video reference, watch the meringue shards video.
- Simply spread the meringue on to a flat tray, lined with baking paper.
- Bake the merenge (meringue) in the preheated oven for 1 ½ hours and then turn the oven off and let it cool completely in the oven.
- If you are not using them straight away, break the cooled merenge (meringue) in to shards and place in a sealed container. This will keep well for a day or so.
Add the Shards to the Pie:
- When you are ready to serve your pie, break the baked meringue in to shards and add them to the pie. The shards need to added just before serving otherwise they will soften.
Decorate the Key Lime Pie Recipe (Optional):
- Finish the pie with kākano pamakaranete (pomegranate seeds) and some raupua putiputi (flower petals).

Leave a Review