Do you want to know how to brown butter but don't know where to start? Does seeing it in a recipe put you off making it? I get it, I felt the same way before I gave it a go but it is so much simpler than you think. The bonus is, it really does add a beautiful depth of flavour to so many recipes. So join me as we look at the different stages it goes through and how to spot the desired, final result.
There are simple steps that make it super easy to brown butter and the simple recipe below guides you through each phase. After a couple of times you will browning butter with your eyes closed. These simple toppings transform your baking in a
Brown Butter recipes:
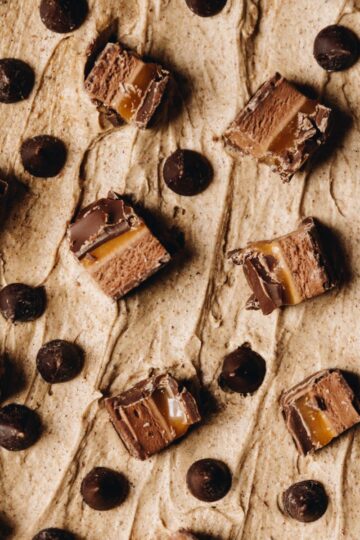
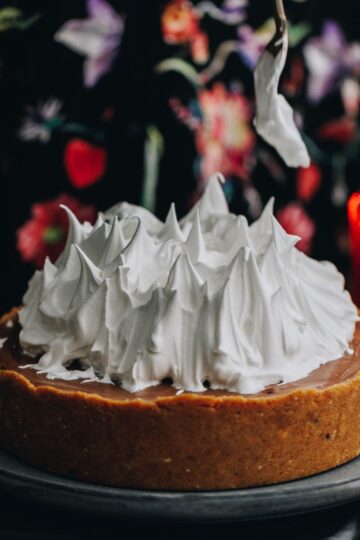
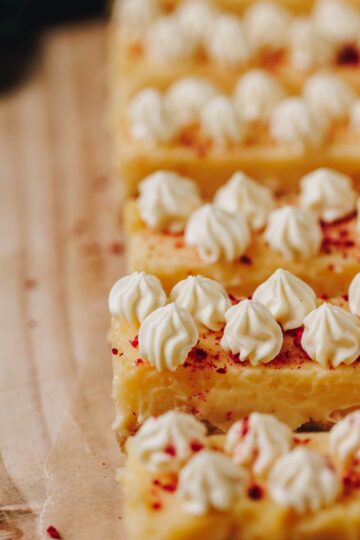
The first recipe I created using pata parauri (brown butter) were my Brown butter Chocolate Chip Cookies and Gooey Cookie Pies and what a triumph they were. These Vanilla Cupcakes also use the same technique. Whipped Brown Butter is also divine spread on my Date and Orange Scones.
Videography and photography taken by Sarah Henderson.
Ingredient Tips for How to Brown Butter:
- Butter: I always use salted butter in all of my recipes because of the superior flavour but if you enjoy unsalted, go for it.
Expert Advice:
Do not turn up the heat too much when you are browning butter. A medium heat will slowly brown the butter and add a deep savoury note. If you need more tips, check out my How to Brown Butter post.
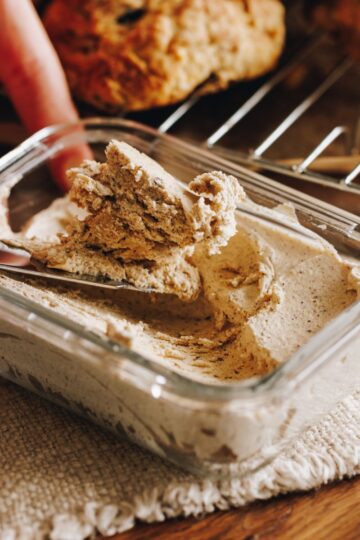
Adhere to the 10 minute cooling time of the pata paruari (brown butter) if you are adding it to baking with eggs. This will ensure that there is no unnecessary scrambled egg situation.
Step by Step Brown Butter Instructions:
Note: The full recipe card with the full list of ingredients, instructions and step by step video are found at the bottom of this page.
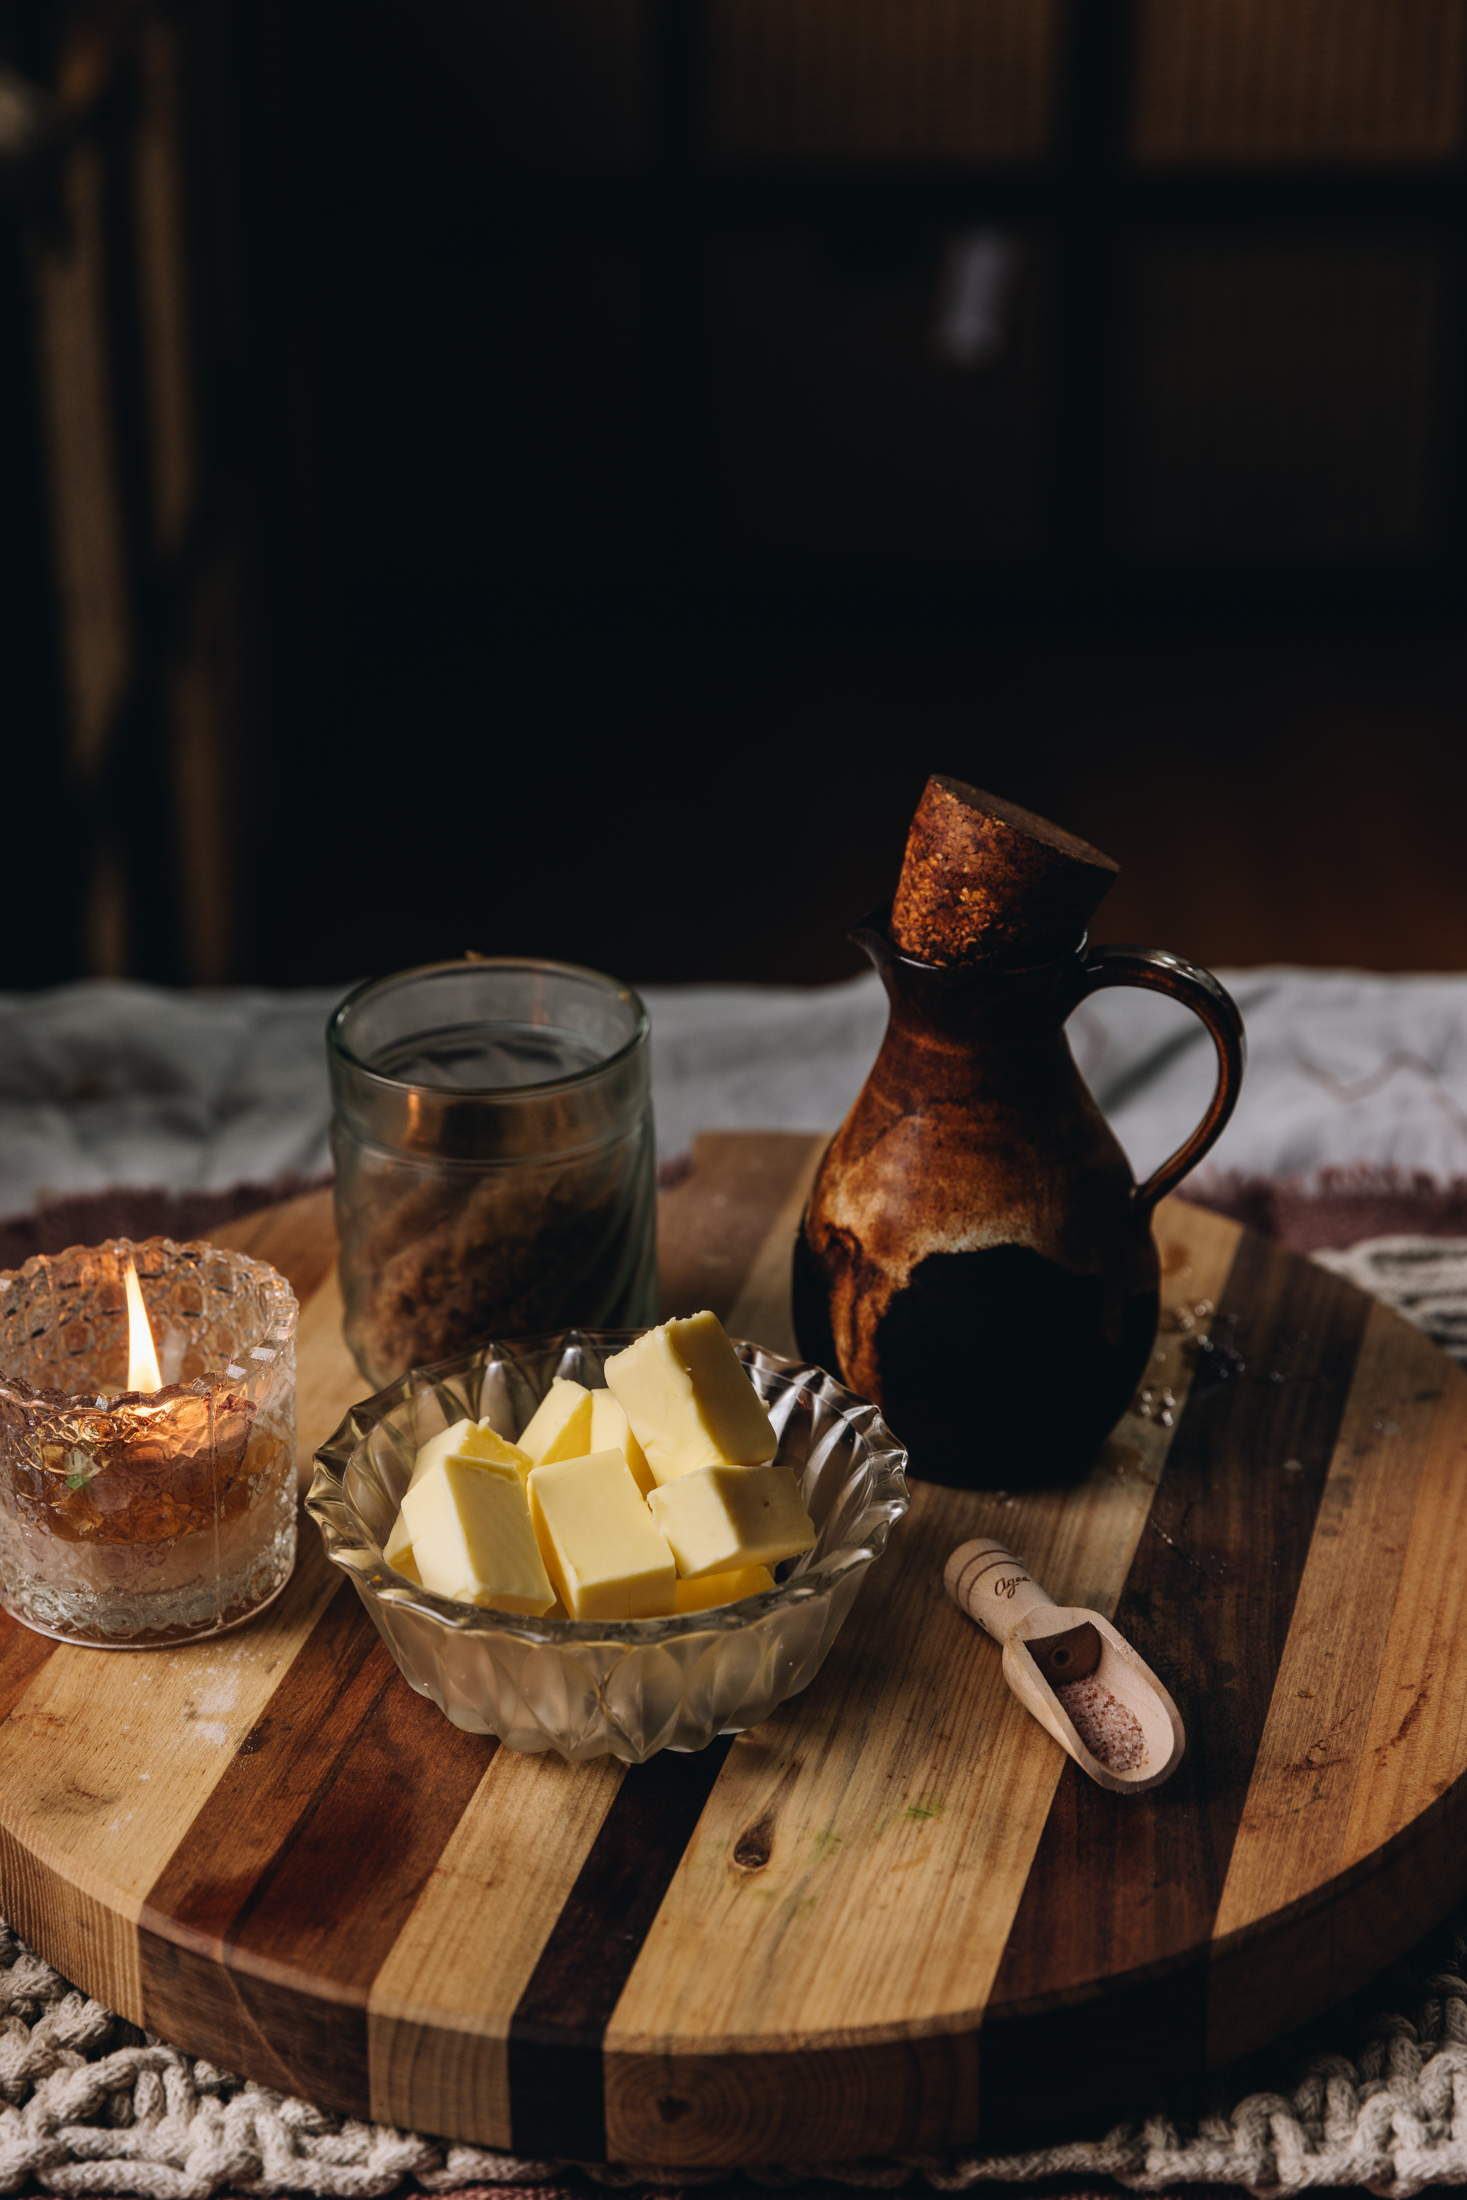
1. Chop the Butter:
Chop the butter in to cubes.
Add the chopped pata (butter) in to a medium sized pot or pan. Set over medium heat.
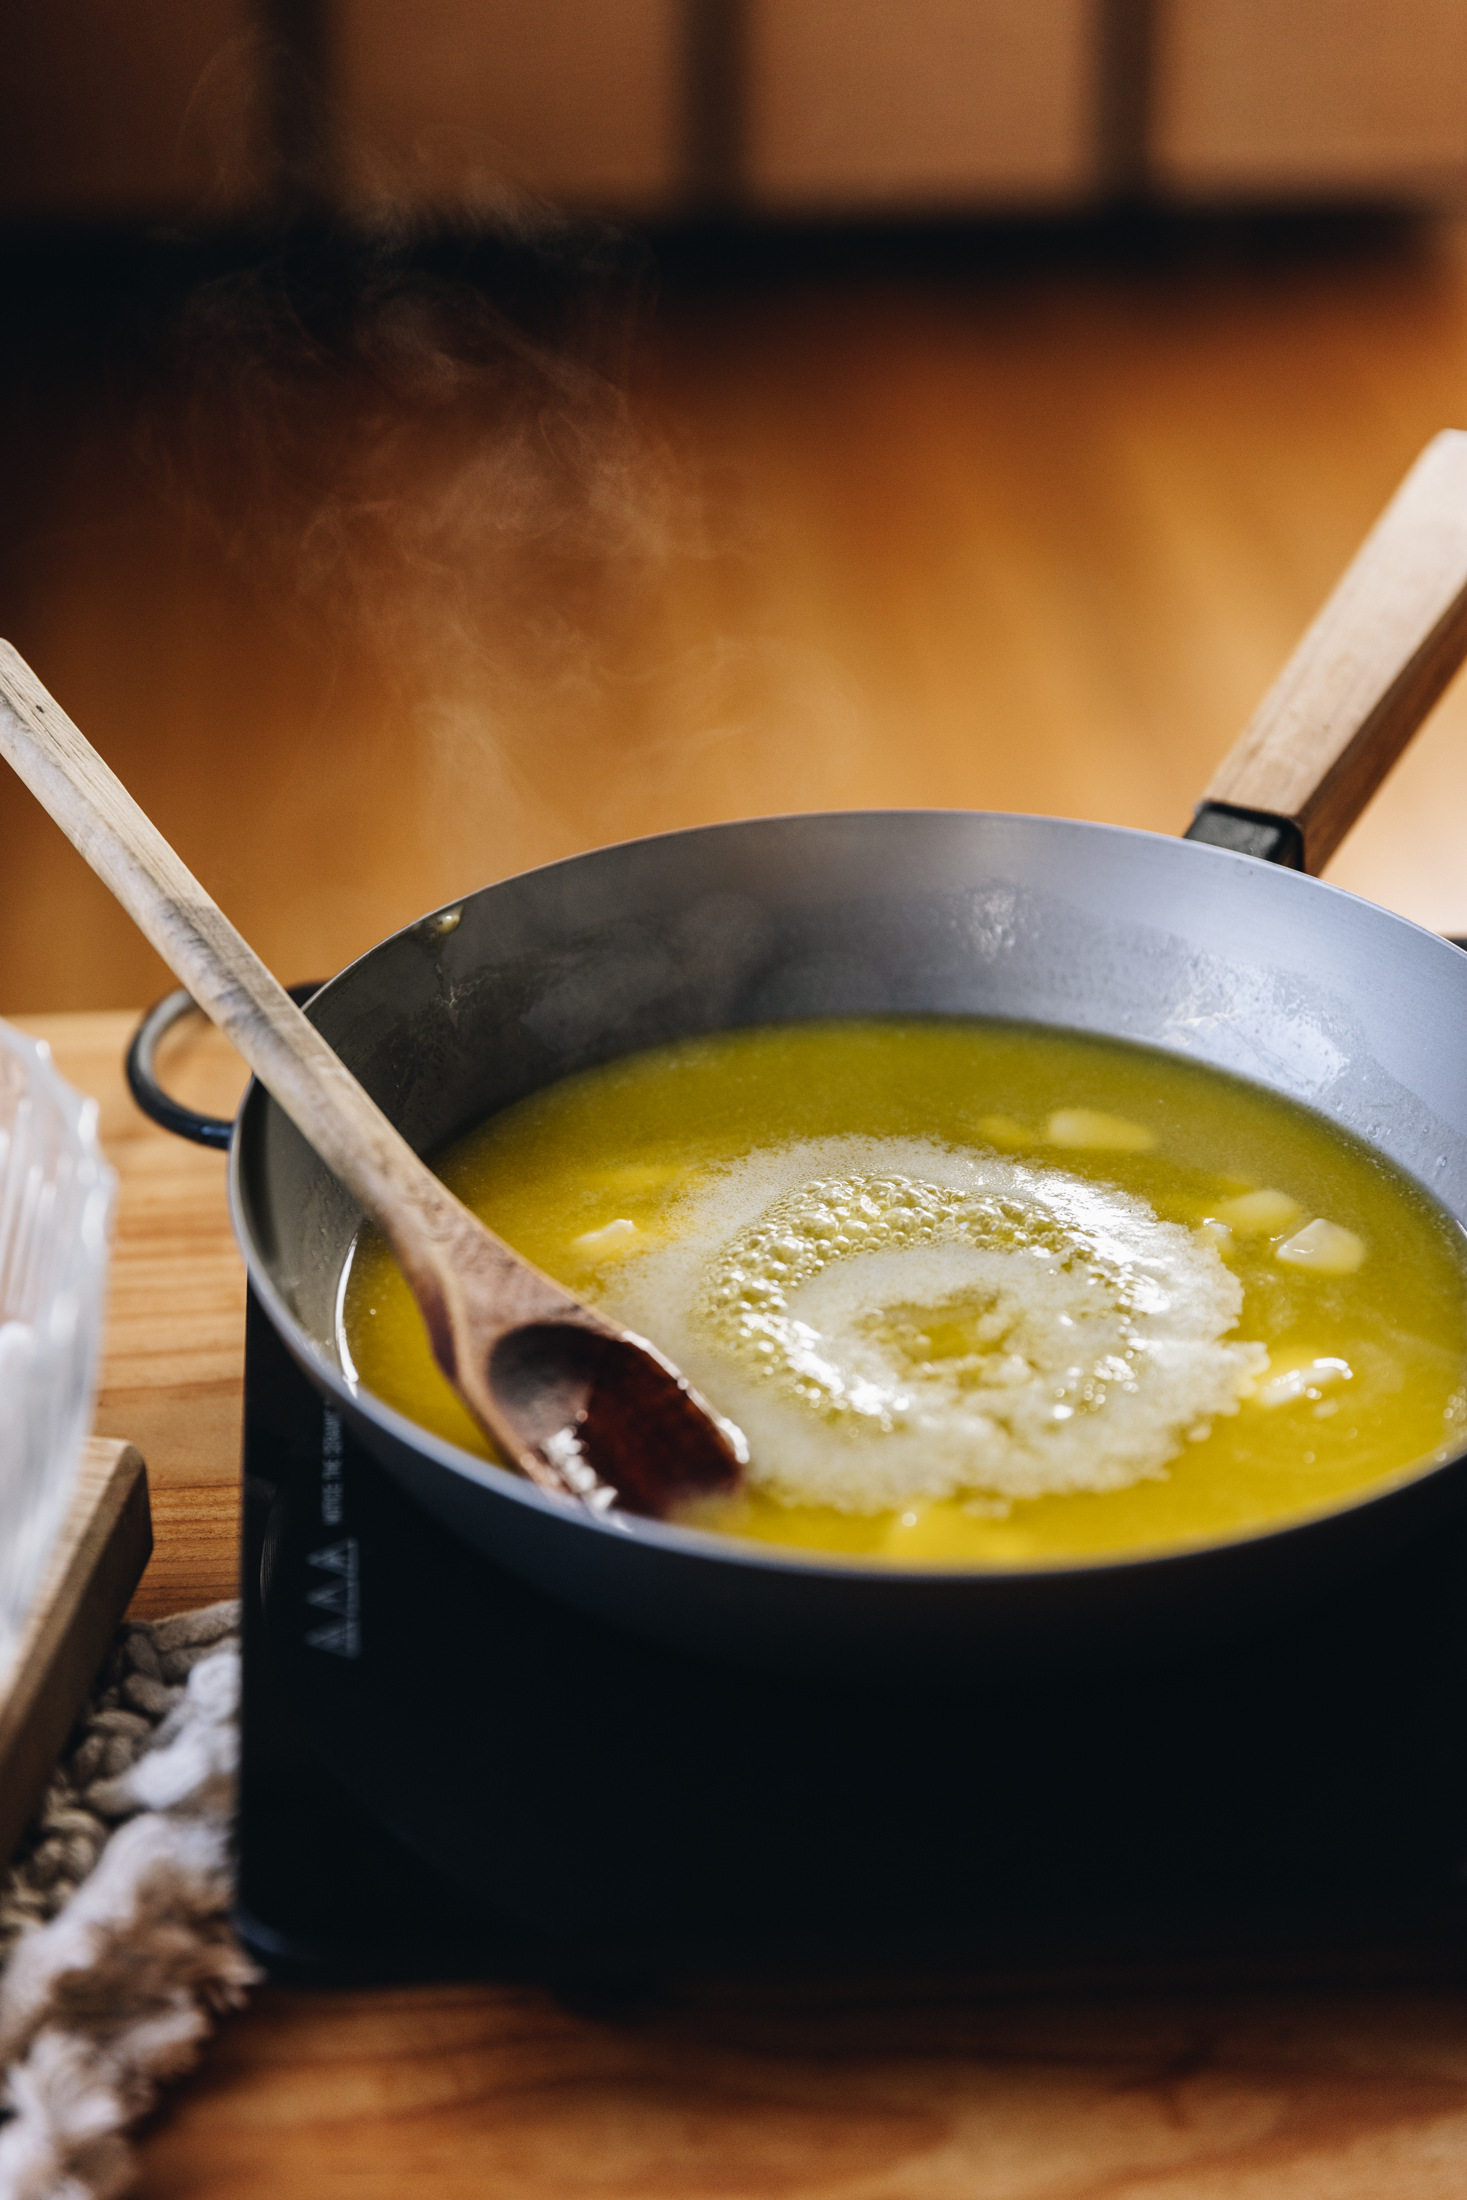
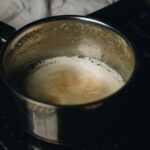
First melt the butter, stirring occasionally.
2. The Fats will Seperate:
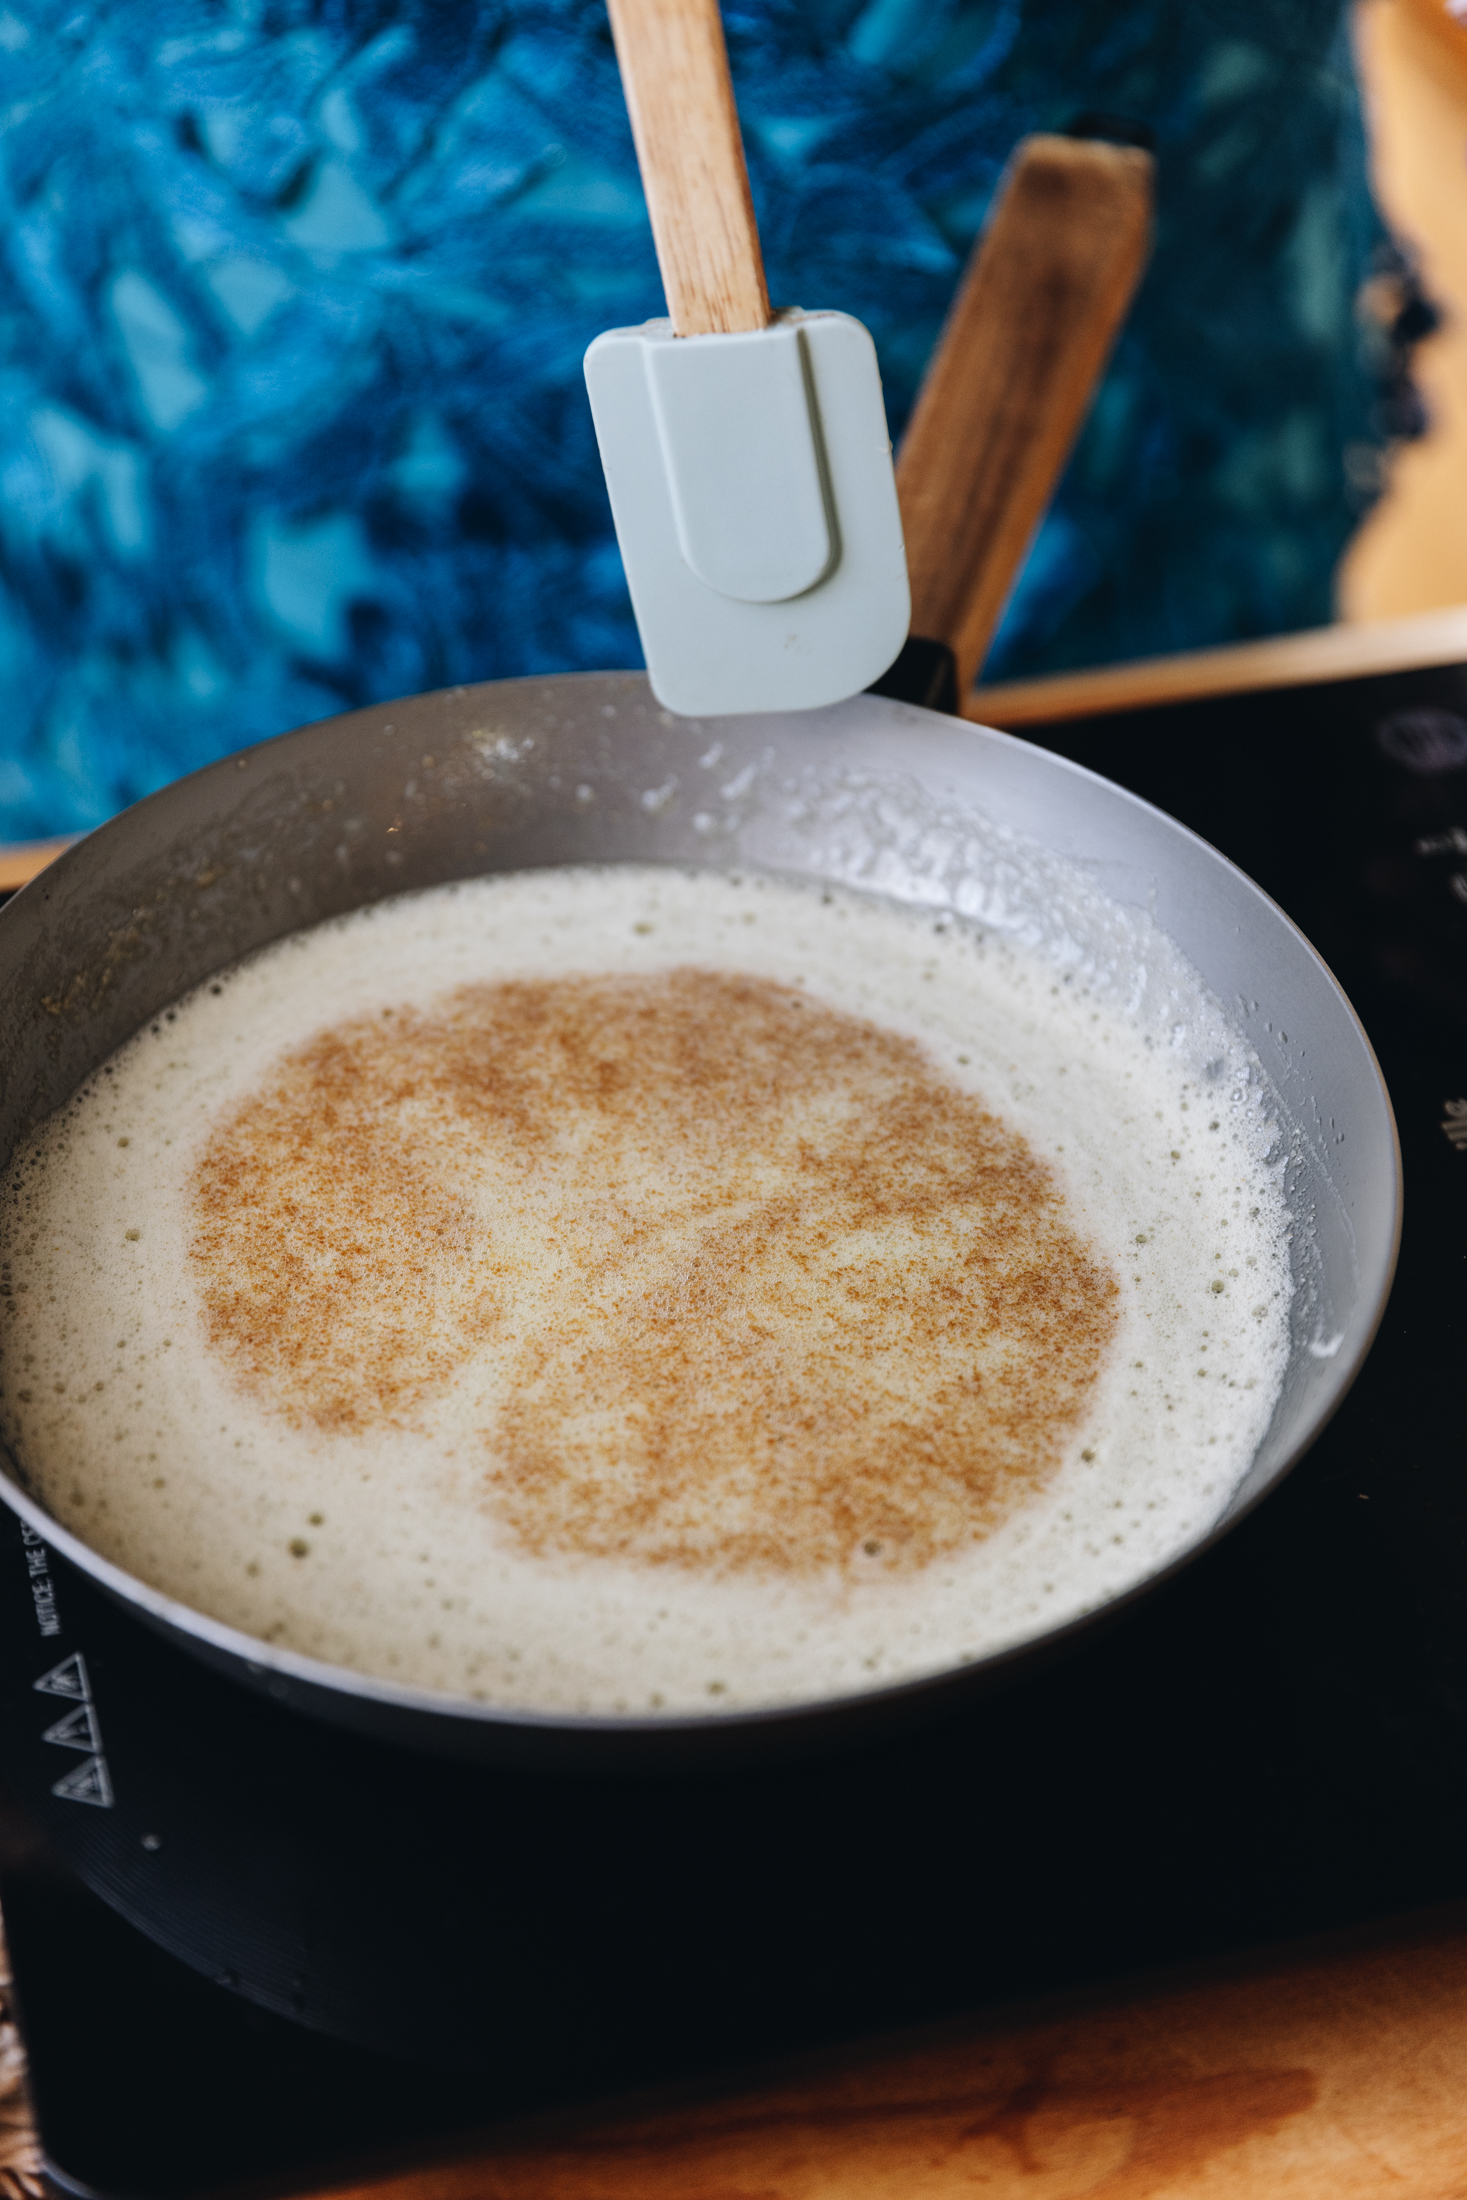
As the heat continues the milk fats will start to separate (these are the white, floaty bits).
Stir occasionally here so nothing sticks to the bottom of the pot. Keep it on the heat until the butter starts to foam.

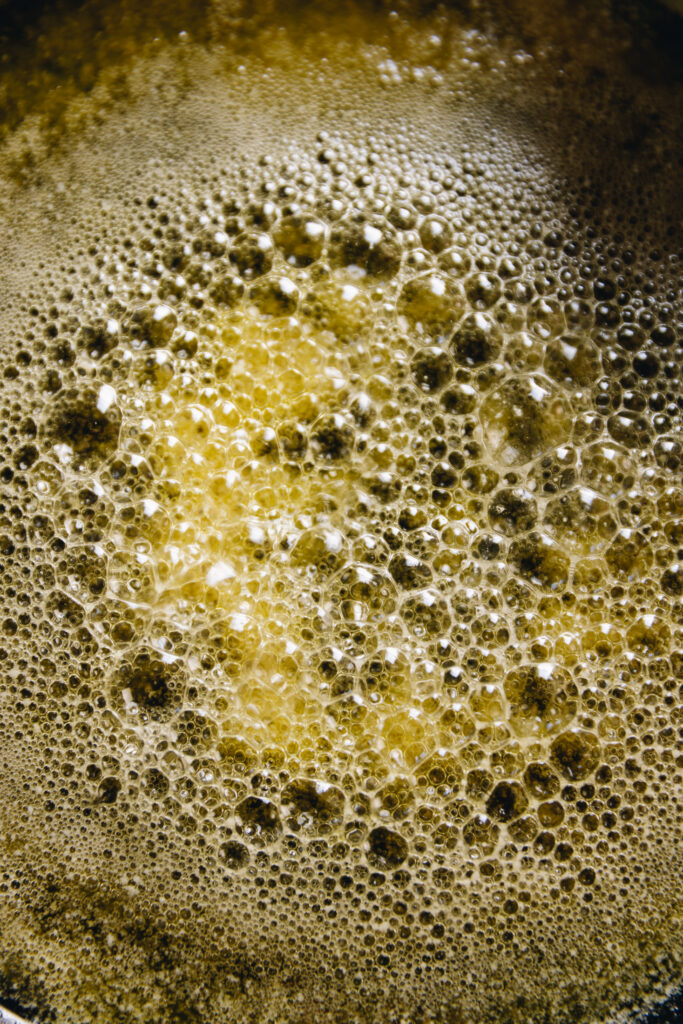
3. Brown bits float to the top:
Stir it a little bit until the brown bits float to the top. It should smell nutty. (Use the pictures and video as a guide).
From here, stir it a little for another 30 seconds or so, so the butter browns further. This may smoke a little but a little bit of smoke is ok.
Remove from the heat and pour it straight in to a bowl.
It is now ready to use in so many different ways.
Take a look at more
Toppings
These little tips and tricks make your baking flawless every time!

How to Brown Butter - Te Mahi Pata Parauri
Equipment
- 1 x Frying Pan or Pot
Ingredients
Brown Butter - Pata Parauri
- Pata (butter). I always prefer using salted for brown butter but salted works too.
Instructions
Chop the Butter:
- Chop the butter in to cubes.
- Add the chopped pata (butter) in to a medium sized pot or pan. Set over medium heat.
Melt the Butter:
- First melt the butter, stirring occasionally.
The Fats will seperate:
- As the heat continues the milk fats will start to separate (these are the white, floaty bits). Stir occasionally here so nothing sticks to the bottom of the pot. Keep it on the heat until the butter starts to foam.
Brown Bits float to the top:
- Stir it a little bit until the brown bits float to the top. It should smell nutty. (Use the pictures and video as a guide). From here, stir it a little for another 30 seconds or so, so the butter browns further. This may smoke a little but a little bit of smoke is ok.
Remove from the heat:
- Remove from the heat and it is now ready to use.
- Some recipes will leave the pata parauri (brown butter) just as it is like this, like my Brown butter Chocolate Chip Cookies and Gooey Cookie Pies recipes.
- Other recipes will cool the pata parauri (brown butter) and will cool it down over ice, this can be used as a spread for toast or it can be whipped again for other recipes. This process is used in my Lemon, Raspberry & White Chocolate Biscuits

Leave a Review