This heavily spiced Sticky Caramel Date Cake is loaded with mushy dates with a homemade caramel is baked in to it. It is then covered in a cream cheese frosting and more caramel is added. The result is a moist cake that will dance on your tastebuds and warm the cockles of your heart.
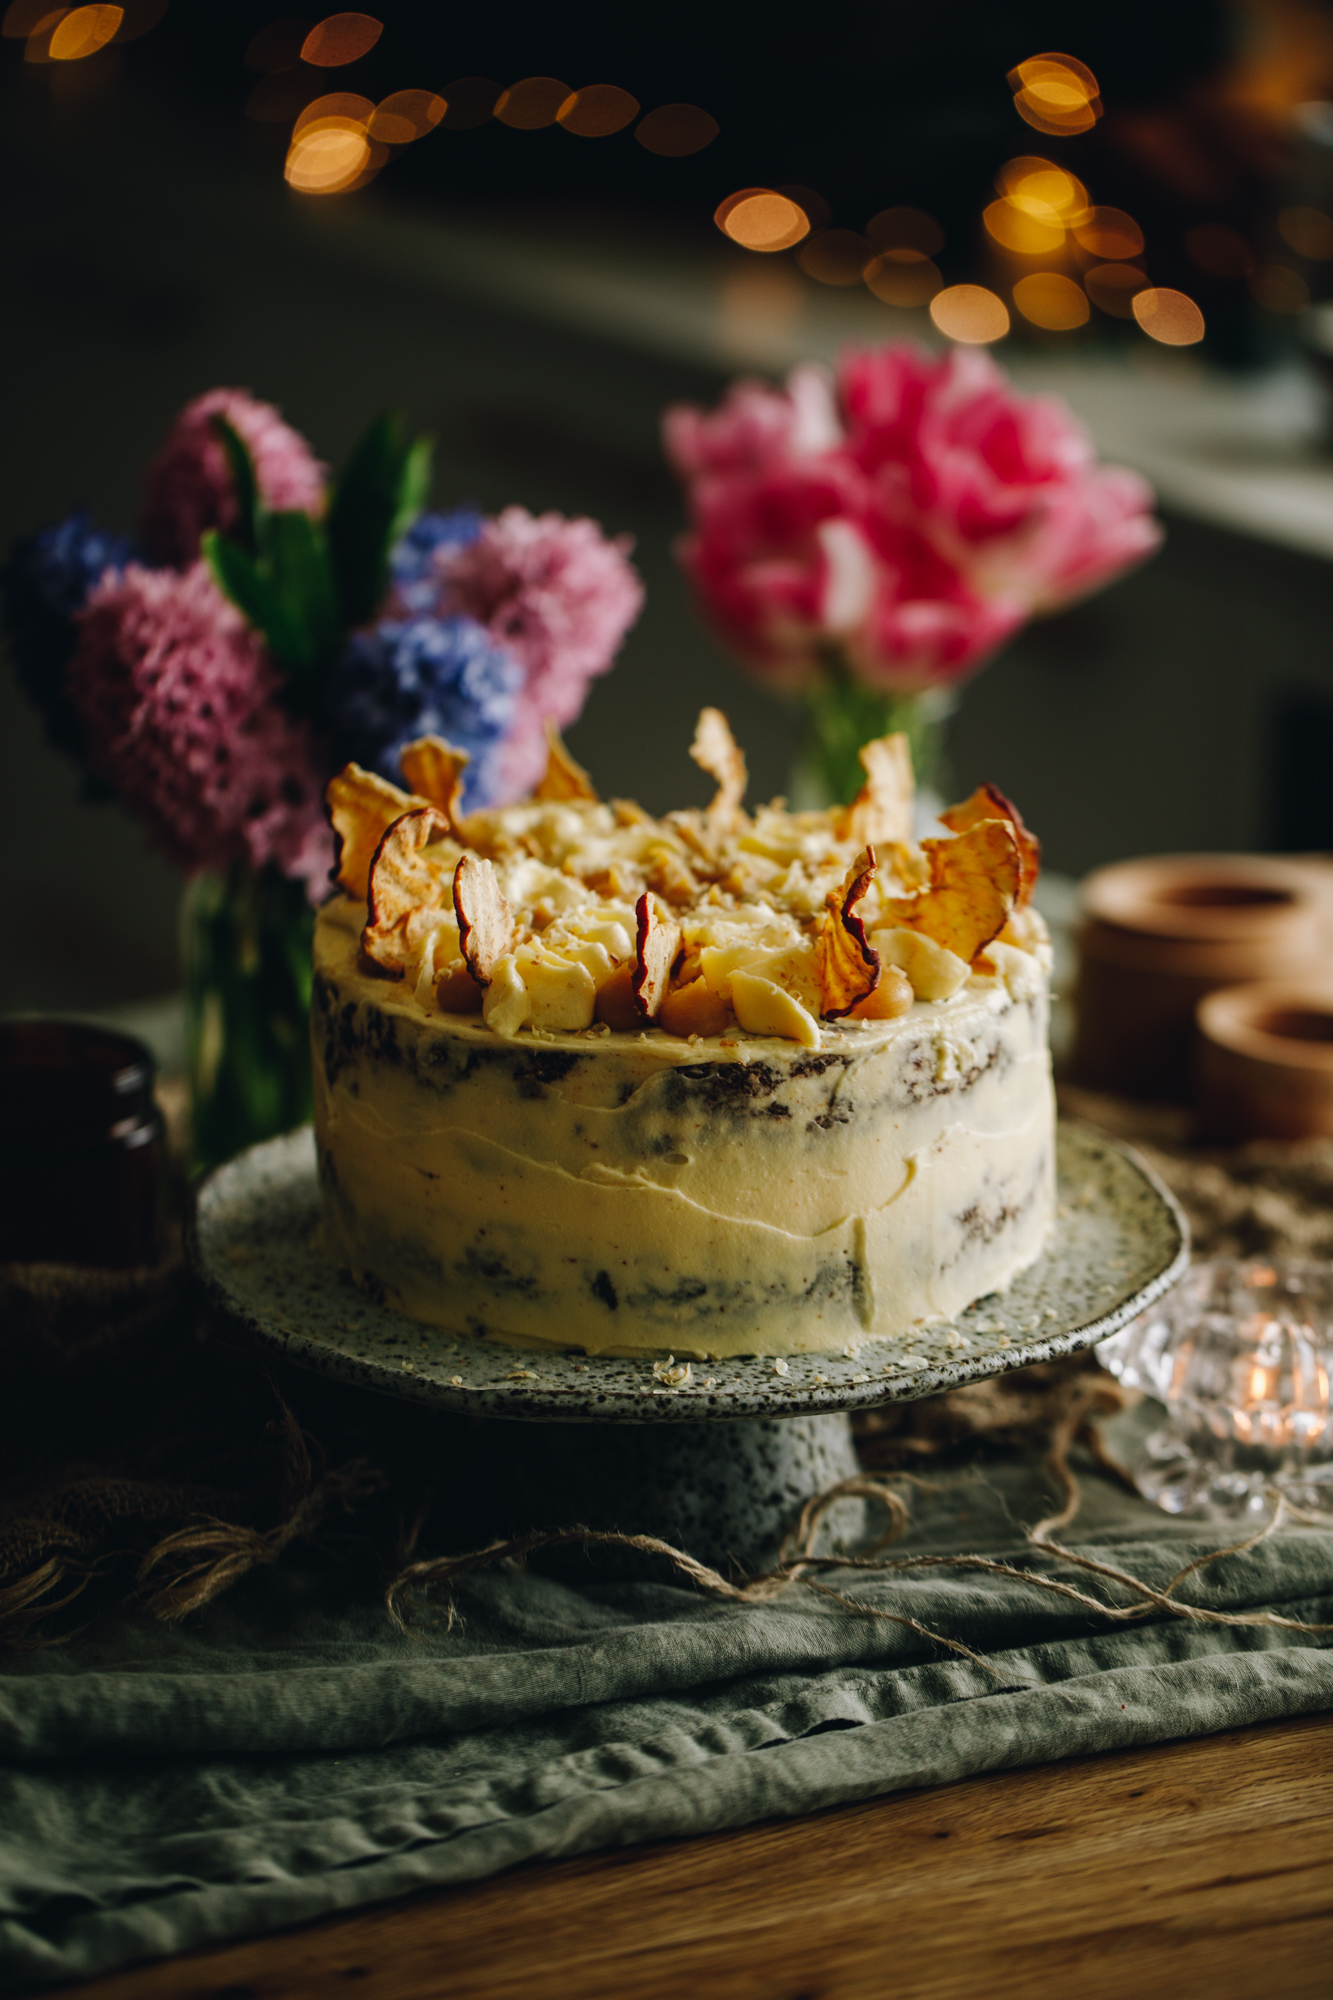
This Sticky Caramel Date Cake recipe has been in my mind for such a long time. I wanted to make a cake that mimics a sticky date pudding and I believe I have achieved that. It is rich in spices, super moist with dates and has the dreamy caramel that binds it all together. Kia tunu keke tātou (let's bake some cake).
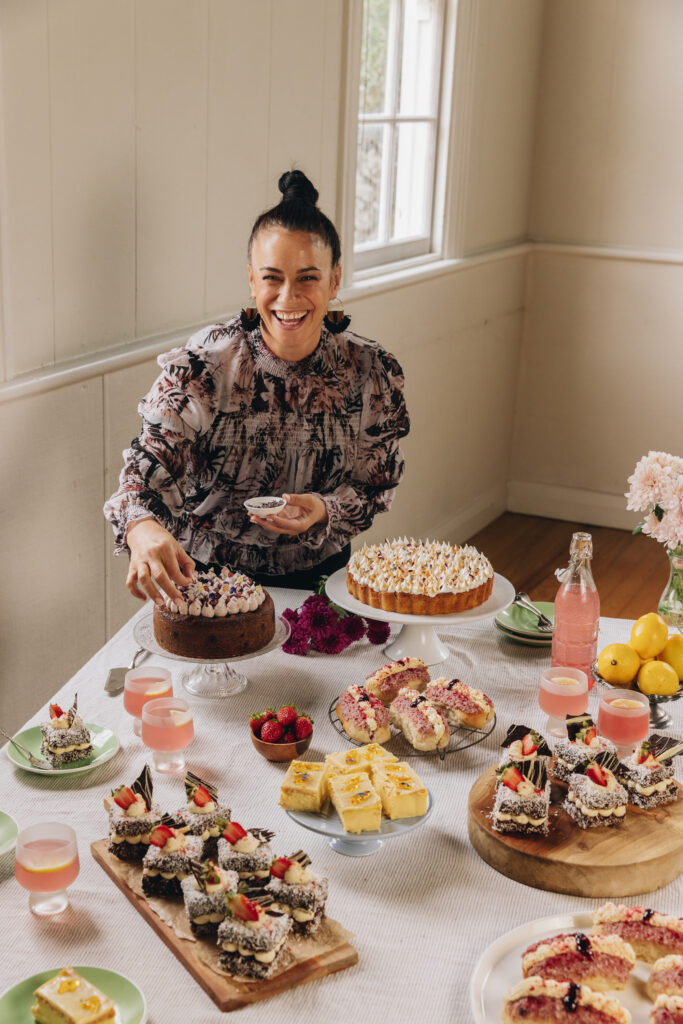
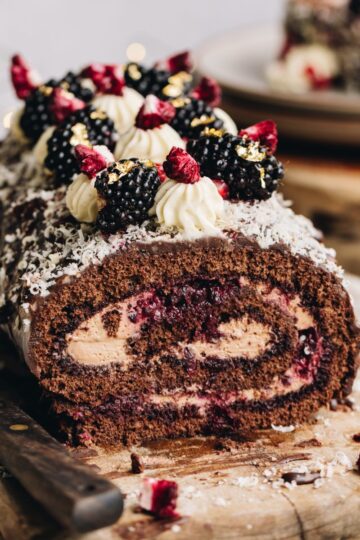
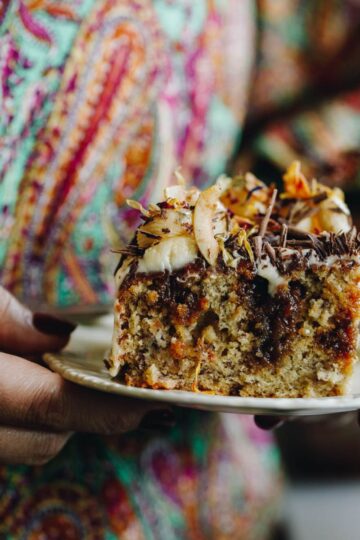
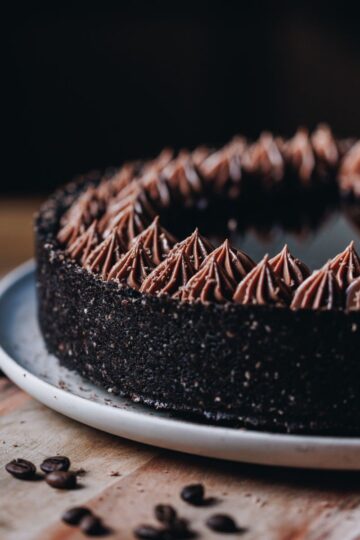
More recipes to try:
If you love a banana loaf, this Spiced Banana Loaf is absolutely divine. If you want to try a keke (cake) that is jam packed with orange flavour, try my Whole Orange Almond Cake or Plum and Almond Cake.
Videography and photography taken by Sarah Henderson.
Ingredient Tips for the Sticky Caramel Date Cake:

- Dates: The teiti (dates) in this cake will be turned in to a puree so just use standard pitted dates.
- Butter: I prefer salted pata (butter) because of the deep flavour but unsalted works.
- Brown sugar: Huka hāura (brown sugar) in the keke (cakes) helps to emphasise the caramel flavour and keeps the cakes moist.
- Eggs: I always use free-range hēki (eggs) but use what you have.
- Cocoa: A touch of kōkō (cocoa) is used like a spice in this cake to give another subtle layer of flavour.
- Spices: What would a keke teiti (date cake) be without spices? Nothing I tell ya.
- Flour: I prefer puehu parāoa whakatipu (self-raising flour) in this recipe but you can swap it for 1 ½ C (225 g) plain flour and add 2 teaspoon baking powder.
Expert Tips:
Take the time to whip the pata (butter) and huka (sugar) for the specified time. This will ensure a nice rise to the cakes and give the sugars time to dissolve into the butter.
Don't worry if it looks a bit split after the third hēki (egg) has been added in to the butter mixture, it will all come back together once the other ingredients have been added.
Bake the cake gently on 150 degrees celsius, this gentle heat creates an even bake of the cakes with no doming. This means the keke (cakes) do not need to be trimmed after baking.
If your oven naturally runs hot or only has a fan bake setting, turn the oven down by 20 degrees.
I always use two cake tins when I am baking a layered cake, this helps bake the cakes evenly and also cuts down on baking time.
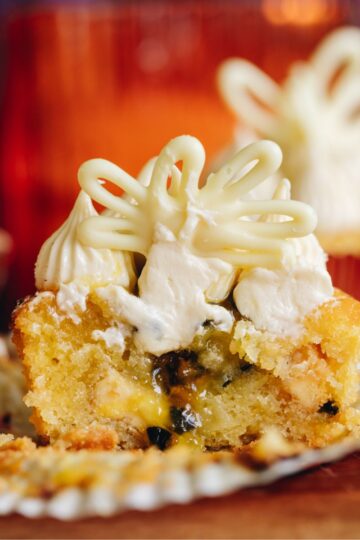
When decorating this cake, use my decorations as a guide but use whatever makes you happy. You can pipe the karamea (caramel) like I did or gently warm it and use it as a pouring sauce instead.
STEP BY STEP INSTRUCTIONS FOR THE STICKY CARMAEL DATE CAKE:
Note: The full recipe card with the full list of ingredients, instructions and step by step video are found at the bottom of this page.
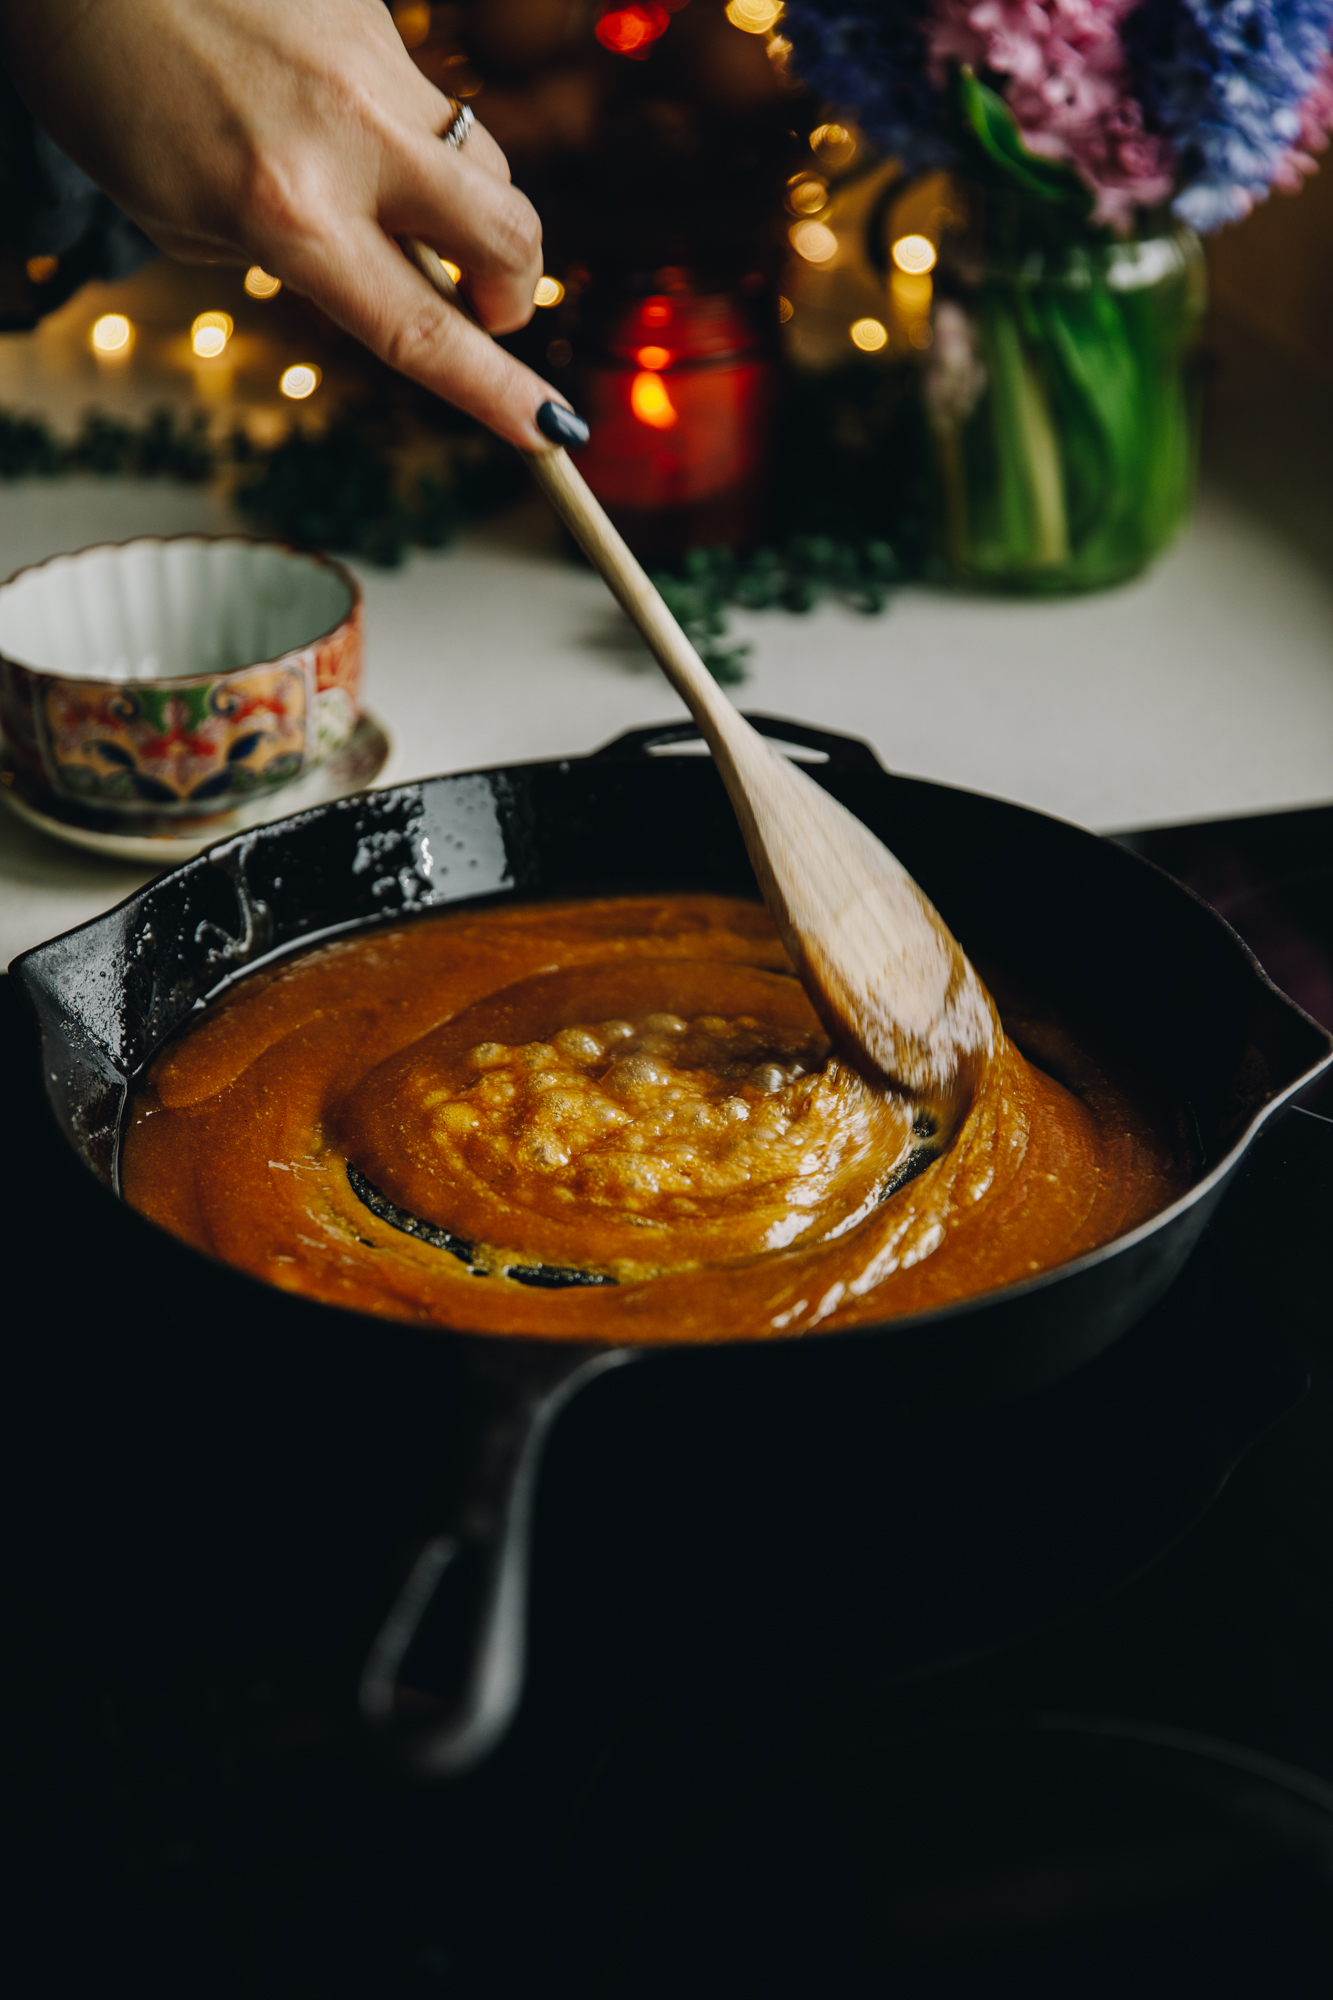
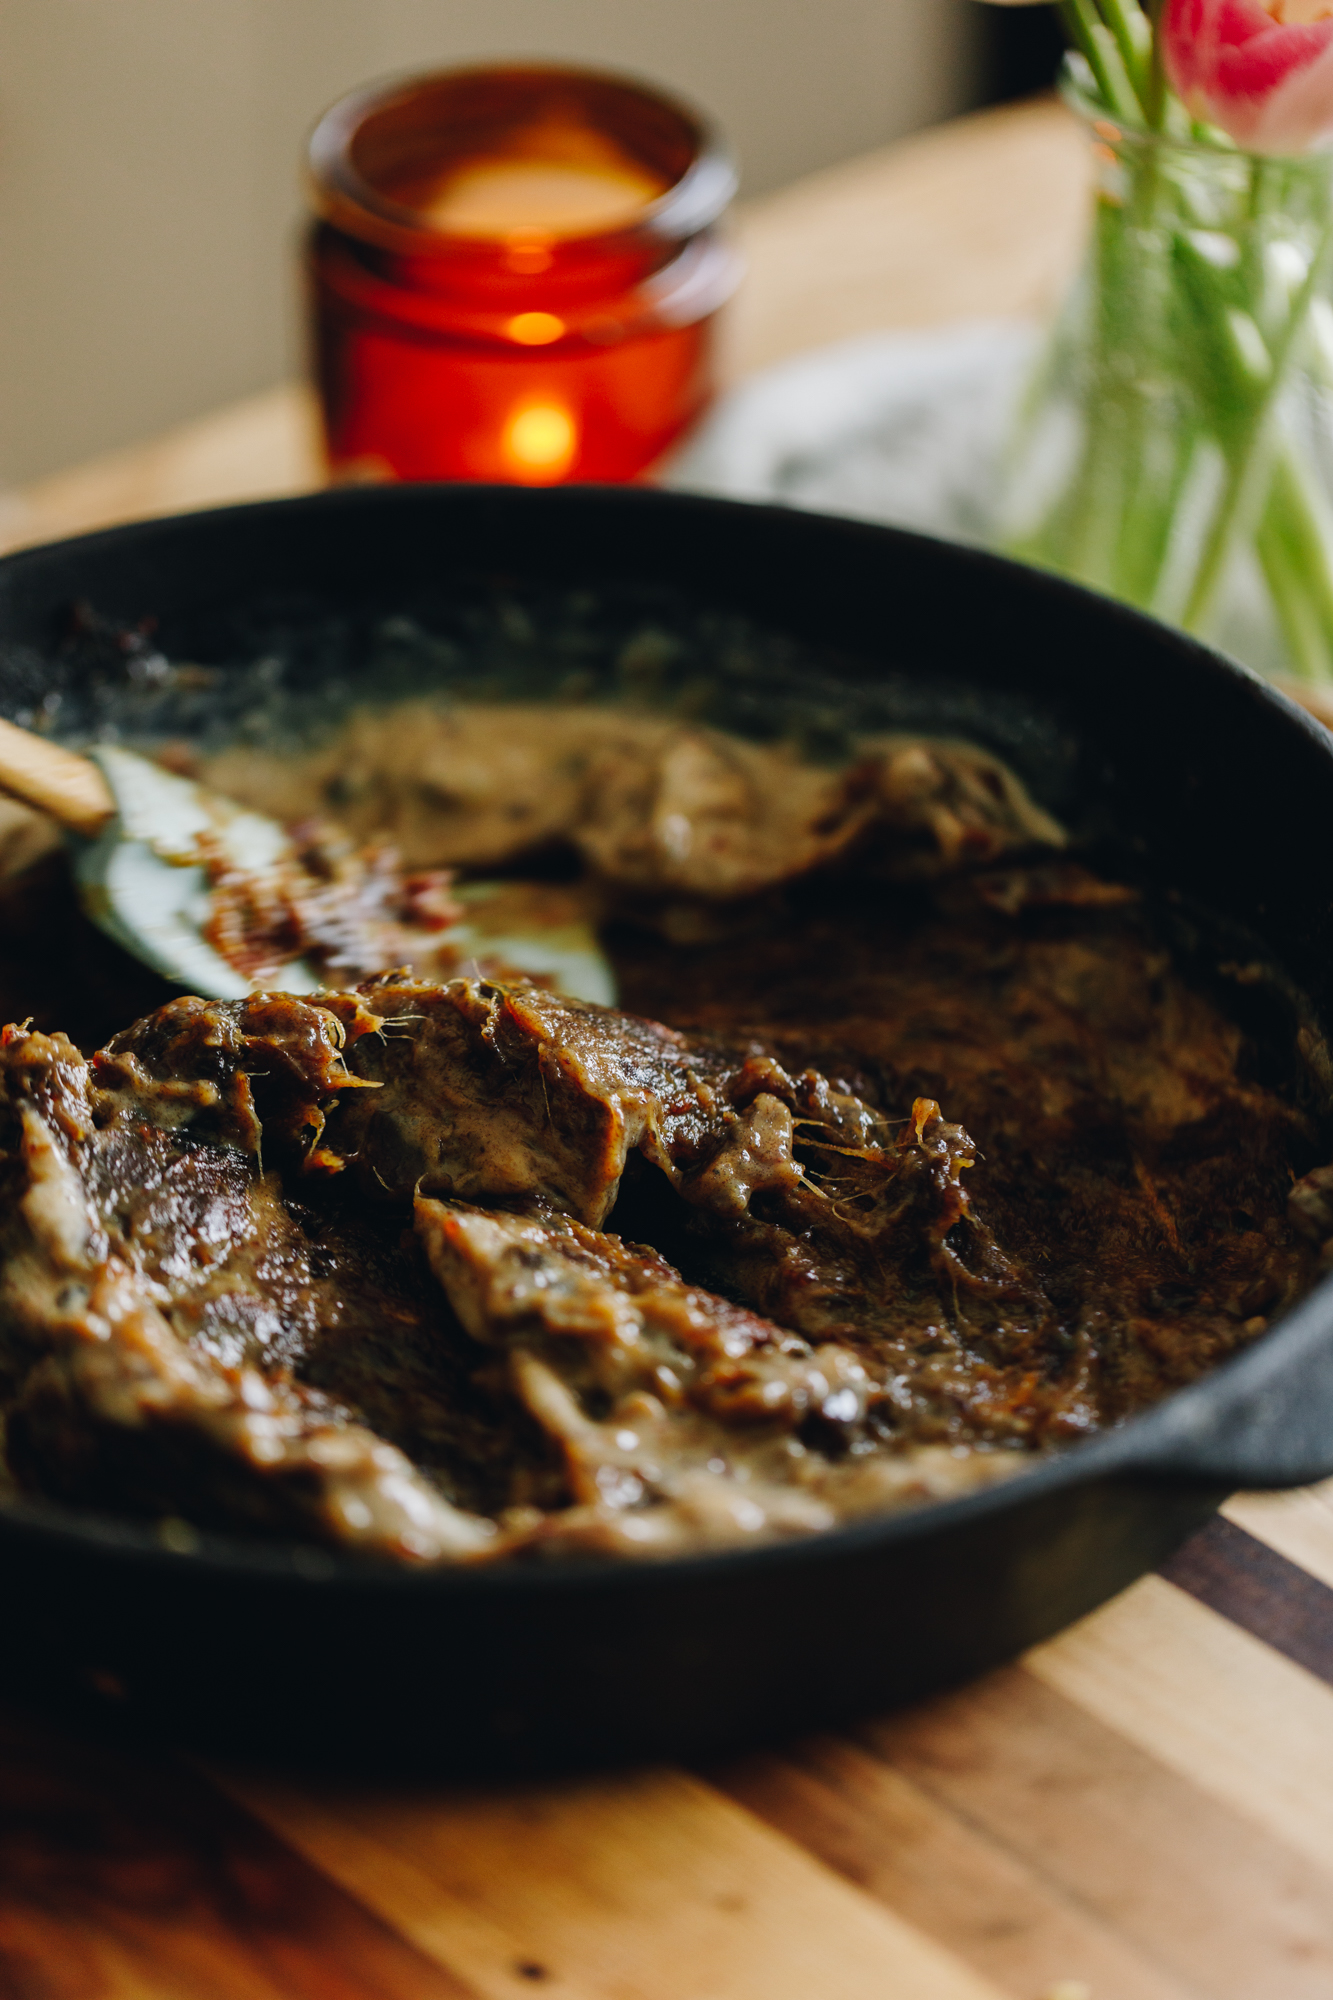
1. Make the Caramel:
Make the easy caramel recipe according to instructions.
The reason we make this first is so that we can bake some of it in to the keke (cake) and the rest is used for decorating.
Once you have made the caramel, leave it to cool.
2. Preheat the Oven:
Preheat the oven to 150 °C, fan bake setting or 160 °C bake setting.
Grease two 19 cm or 20 cm spring form cake tins with butter.
Add baking paper to the base with a large over hang on the outside of the tin.
3. Prepare the Dates:
Add the teiti (dates), wai wera (hot water) and tote (salt) in to a pot or a medium sized heat proof bowl.
If you are using the stove, bring the mixture to a boil and boil on high for 6 minutes.If you are using the microwave, heat it on high for 4 minutes.
Remove from the heat and mash the dates until a smooth paste forms.
Leave the mixture to the side to cool slightly.
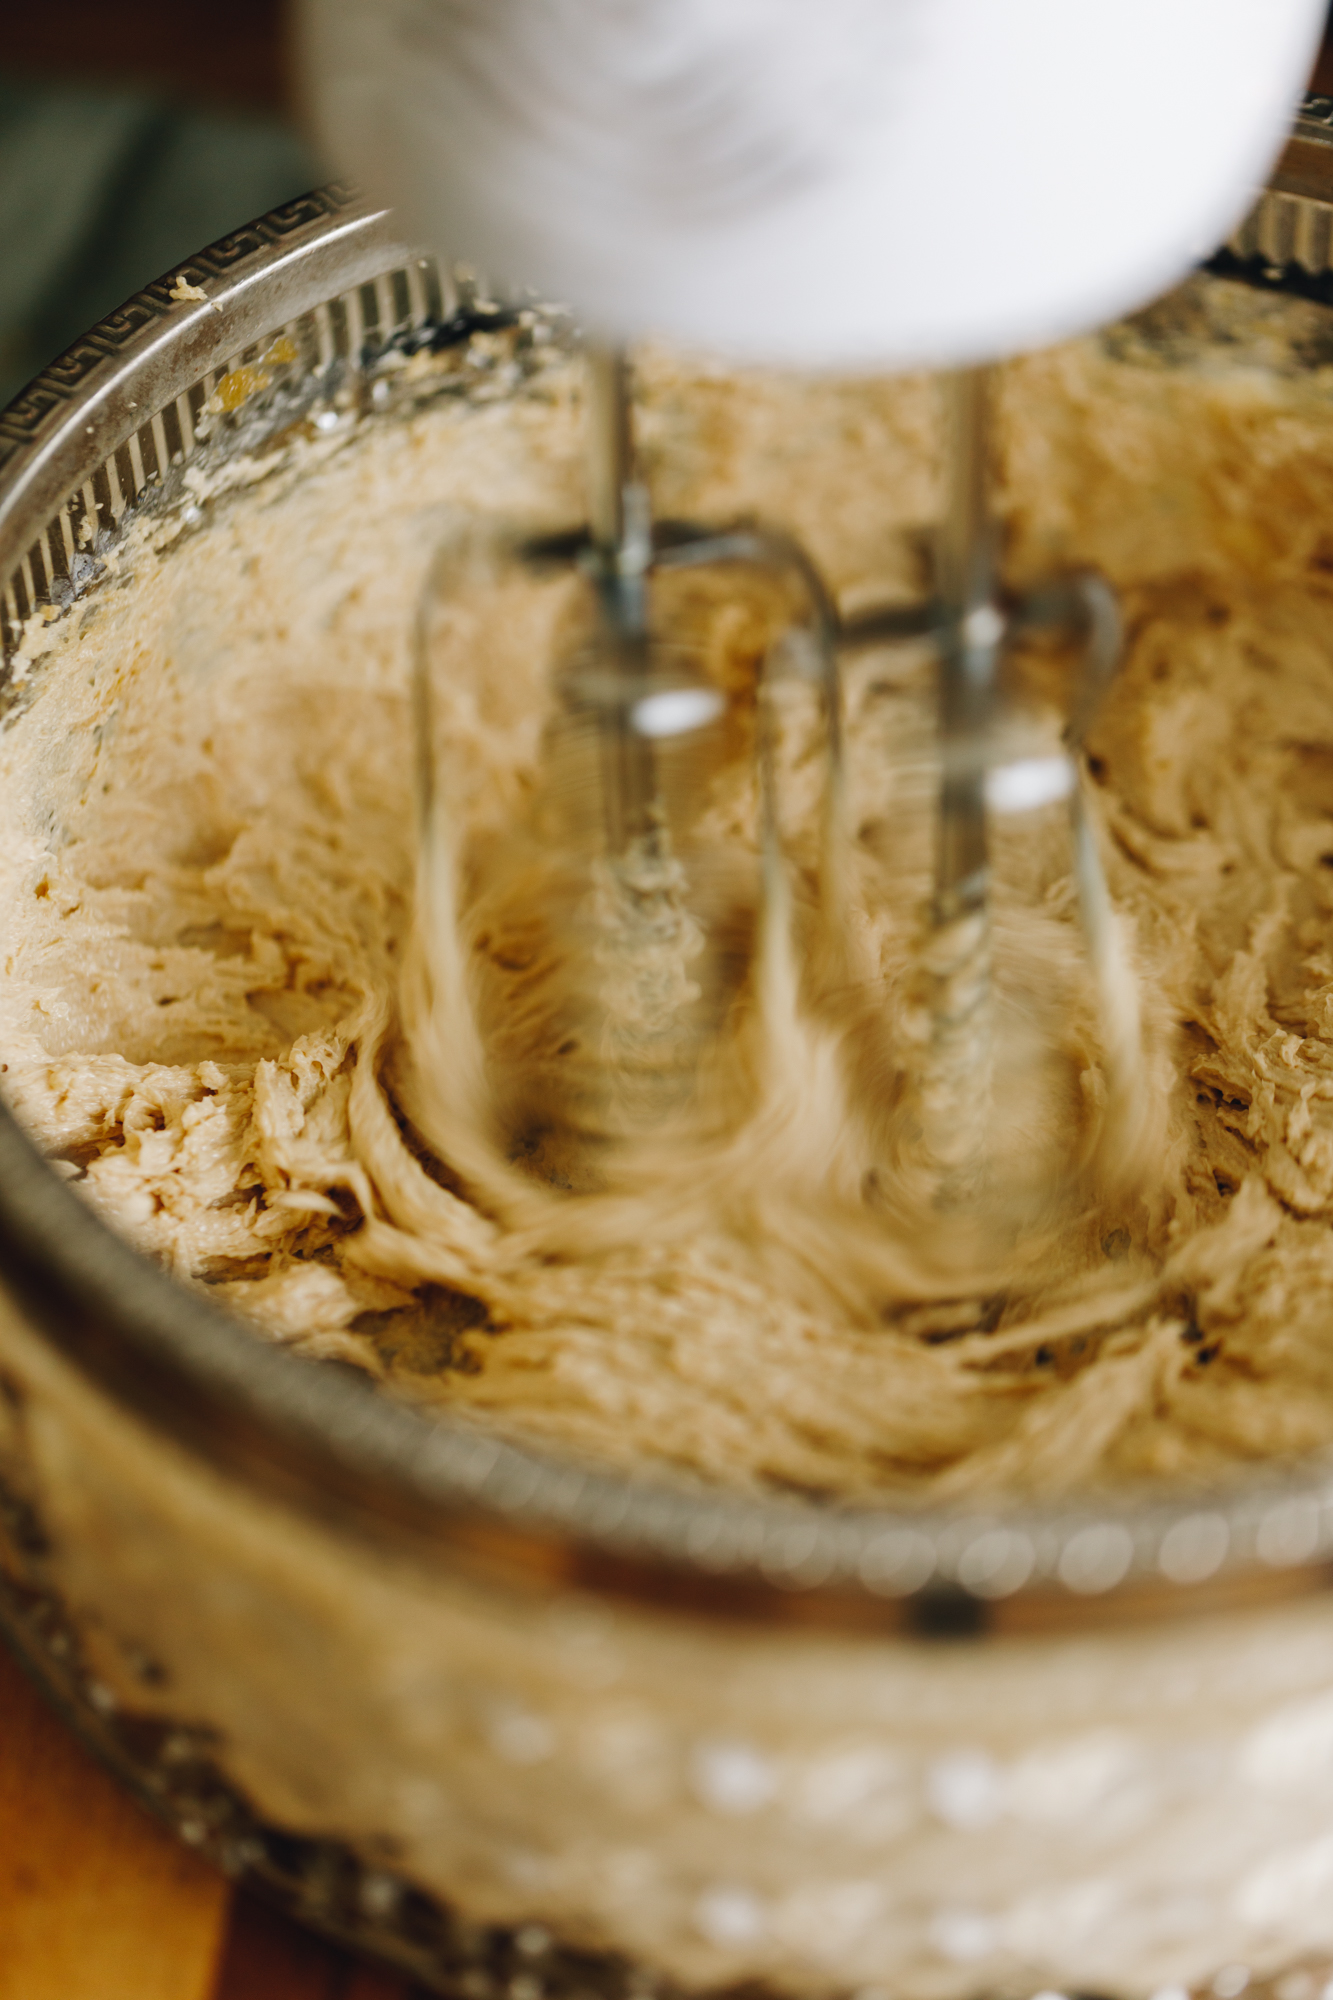
4. Whip the Butter and Sugar:
Add the pata kūteretere (softened butter), huka hāura (brown sugar) and iho hūperei (vanilla essence) to a large bowl.
Whip on high for five minutes until the butter it is pale in colour and fluffy in texture.
Add an egg at a time and beat for 15 seconds after each addition. Don't worry if it looks a bit split after the third hēki (egg), it will all come back together.
5. Add the Dry Ingredients:
Add the kōkō (cocoa), raukikini whakauruuru (mixed spice) and hinamona (cinnamon) in to the butter mixture. Whakaranuhia (mix to combine).
6. Mix through the Date Mixture:
Stir the miraka (milk) in to the slightly cooled date mixture.
Add it to the butter mixture. Whētuihia kia māene (fold it together until smooth).
7. Fold in the Flour:
Add the puehu parāoa whakatipu (self-raising flour). Whētuihia kia māene (fold it together until smooth).
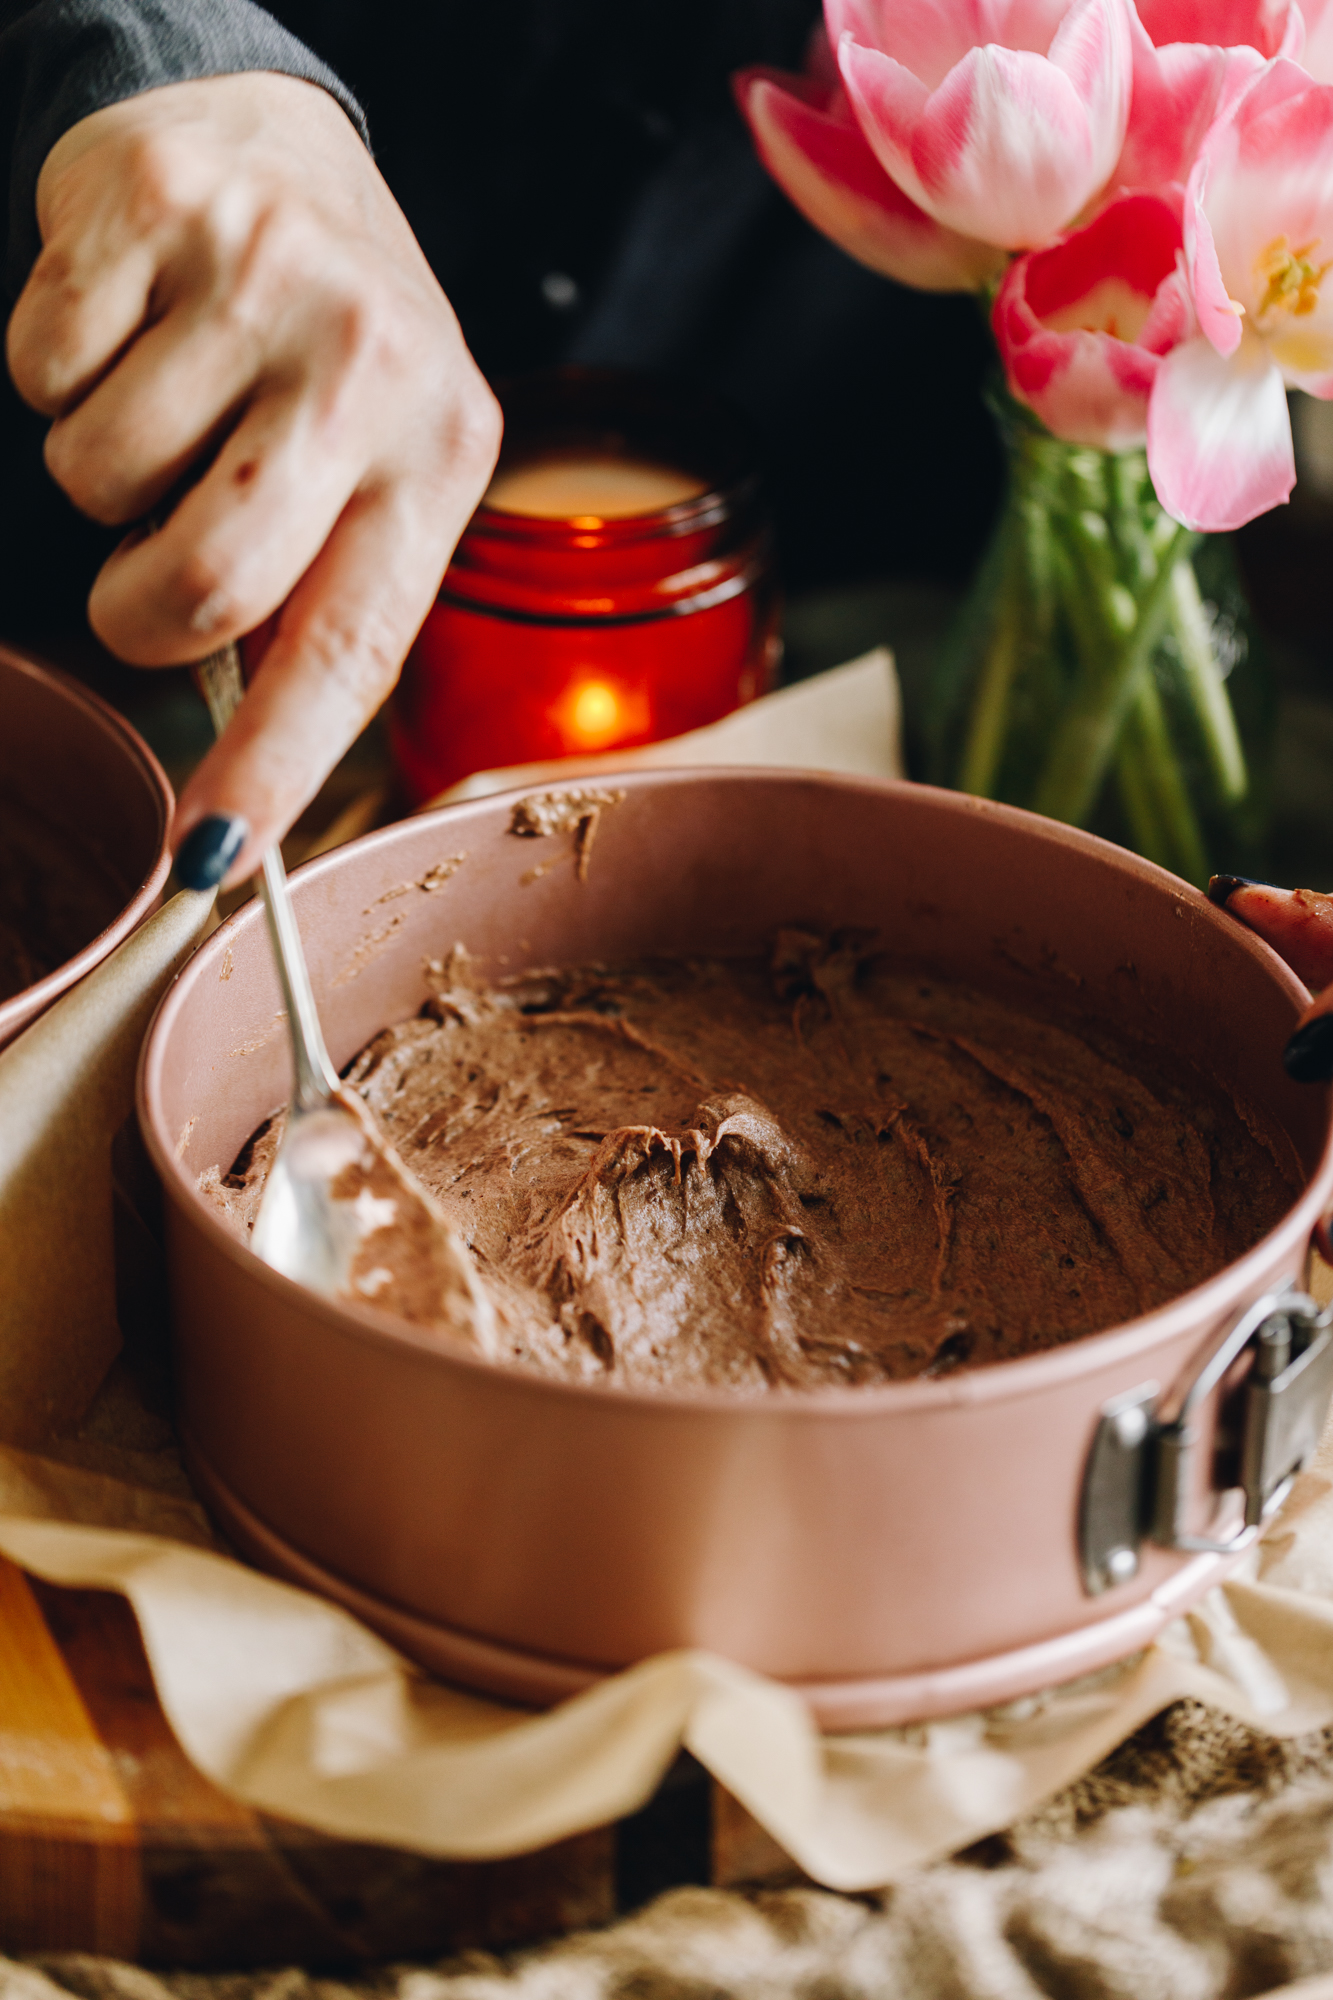
8. Add the Caramel on to the Cakes:
Divide the mixture between the two cake tins.
Spread ⅓ C of the caramel sauce on top of each of the cakes.
Reserve the remaining caramel sauce for decorating the keke (cakes). Leave it at room temperature.
9. Bake the Cakes:
Bake for 40 minutes until the cakes spring back in the middle when pressed.
Once the cakes have finished baking, remove from the oven and allow them cool in the tins for 5 minutes before flipping them out.
Cool completely before decorating.

10. Whip up the Cream Cheese Frosting:
Make the simple cream cheese frosting according to the recipe.

11. Decorate the First Cake Layer:
Once the cakes are cool, add one of the keke (cakes) to a plate or cake stand.
Add around half a cup of the frosting on to the cake and spread out.
Pipe a border around the edge of the keke (cake) or make a border with a spoon (like I did in the video).
Add around half a cup or so of the karamea (caramel) and smooth it out.
12. Add the Second Cake:
Add the second cake and cover the whole thing with more frosting.
You can use it all to cover the cake or reserve half a cup for some decorating on top.
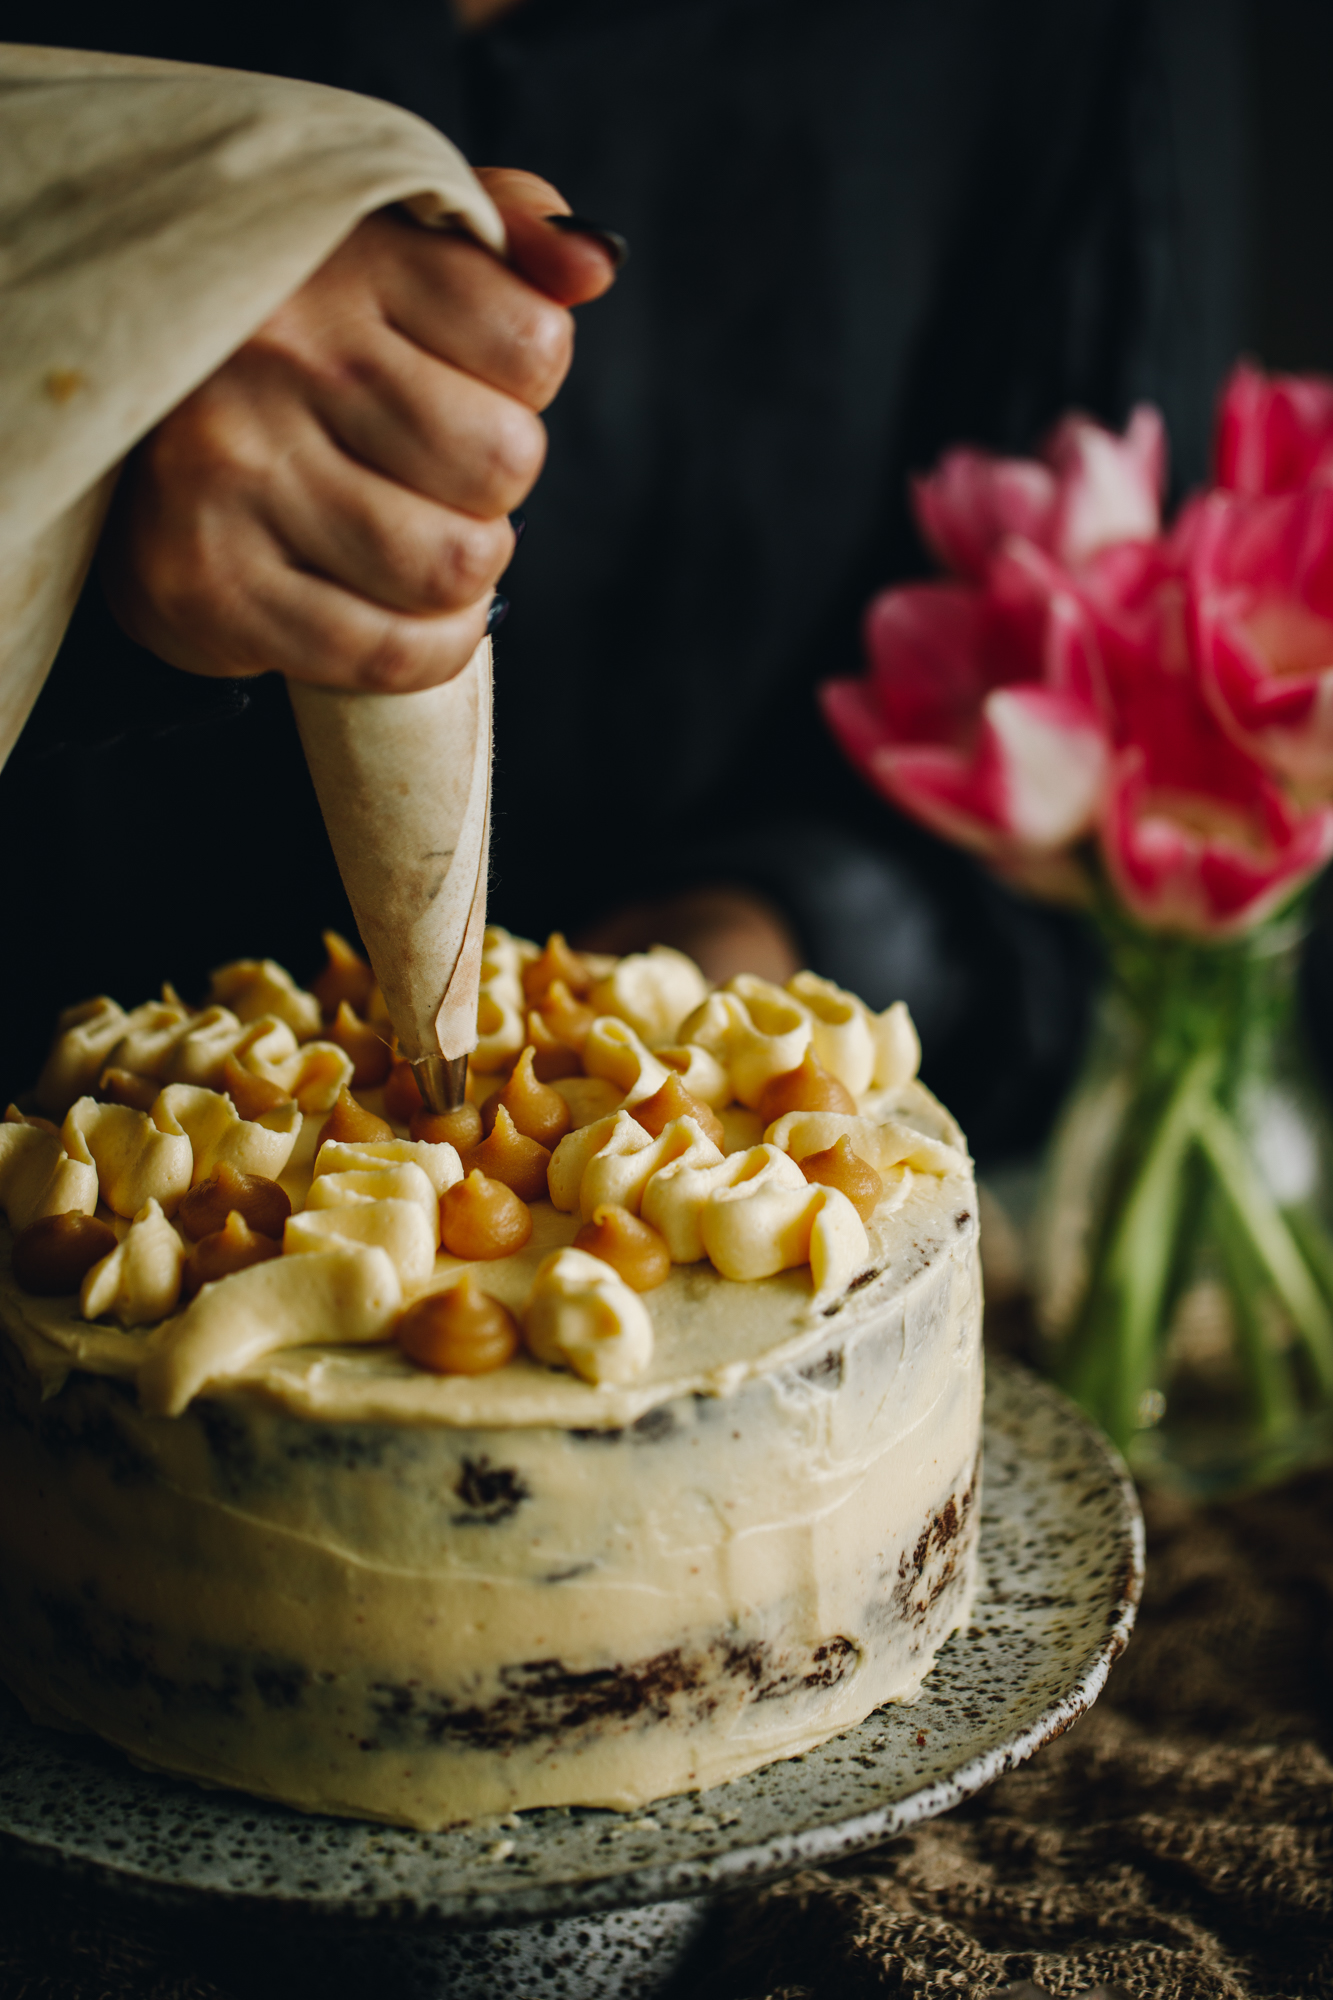
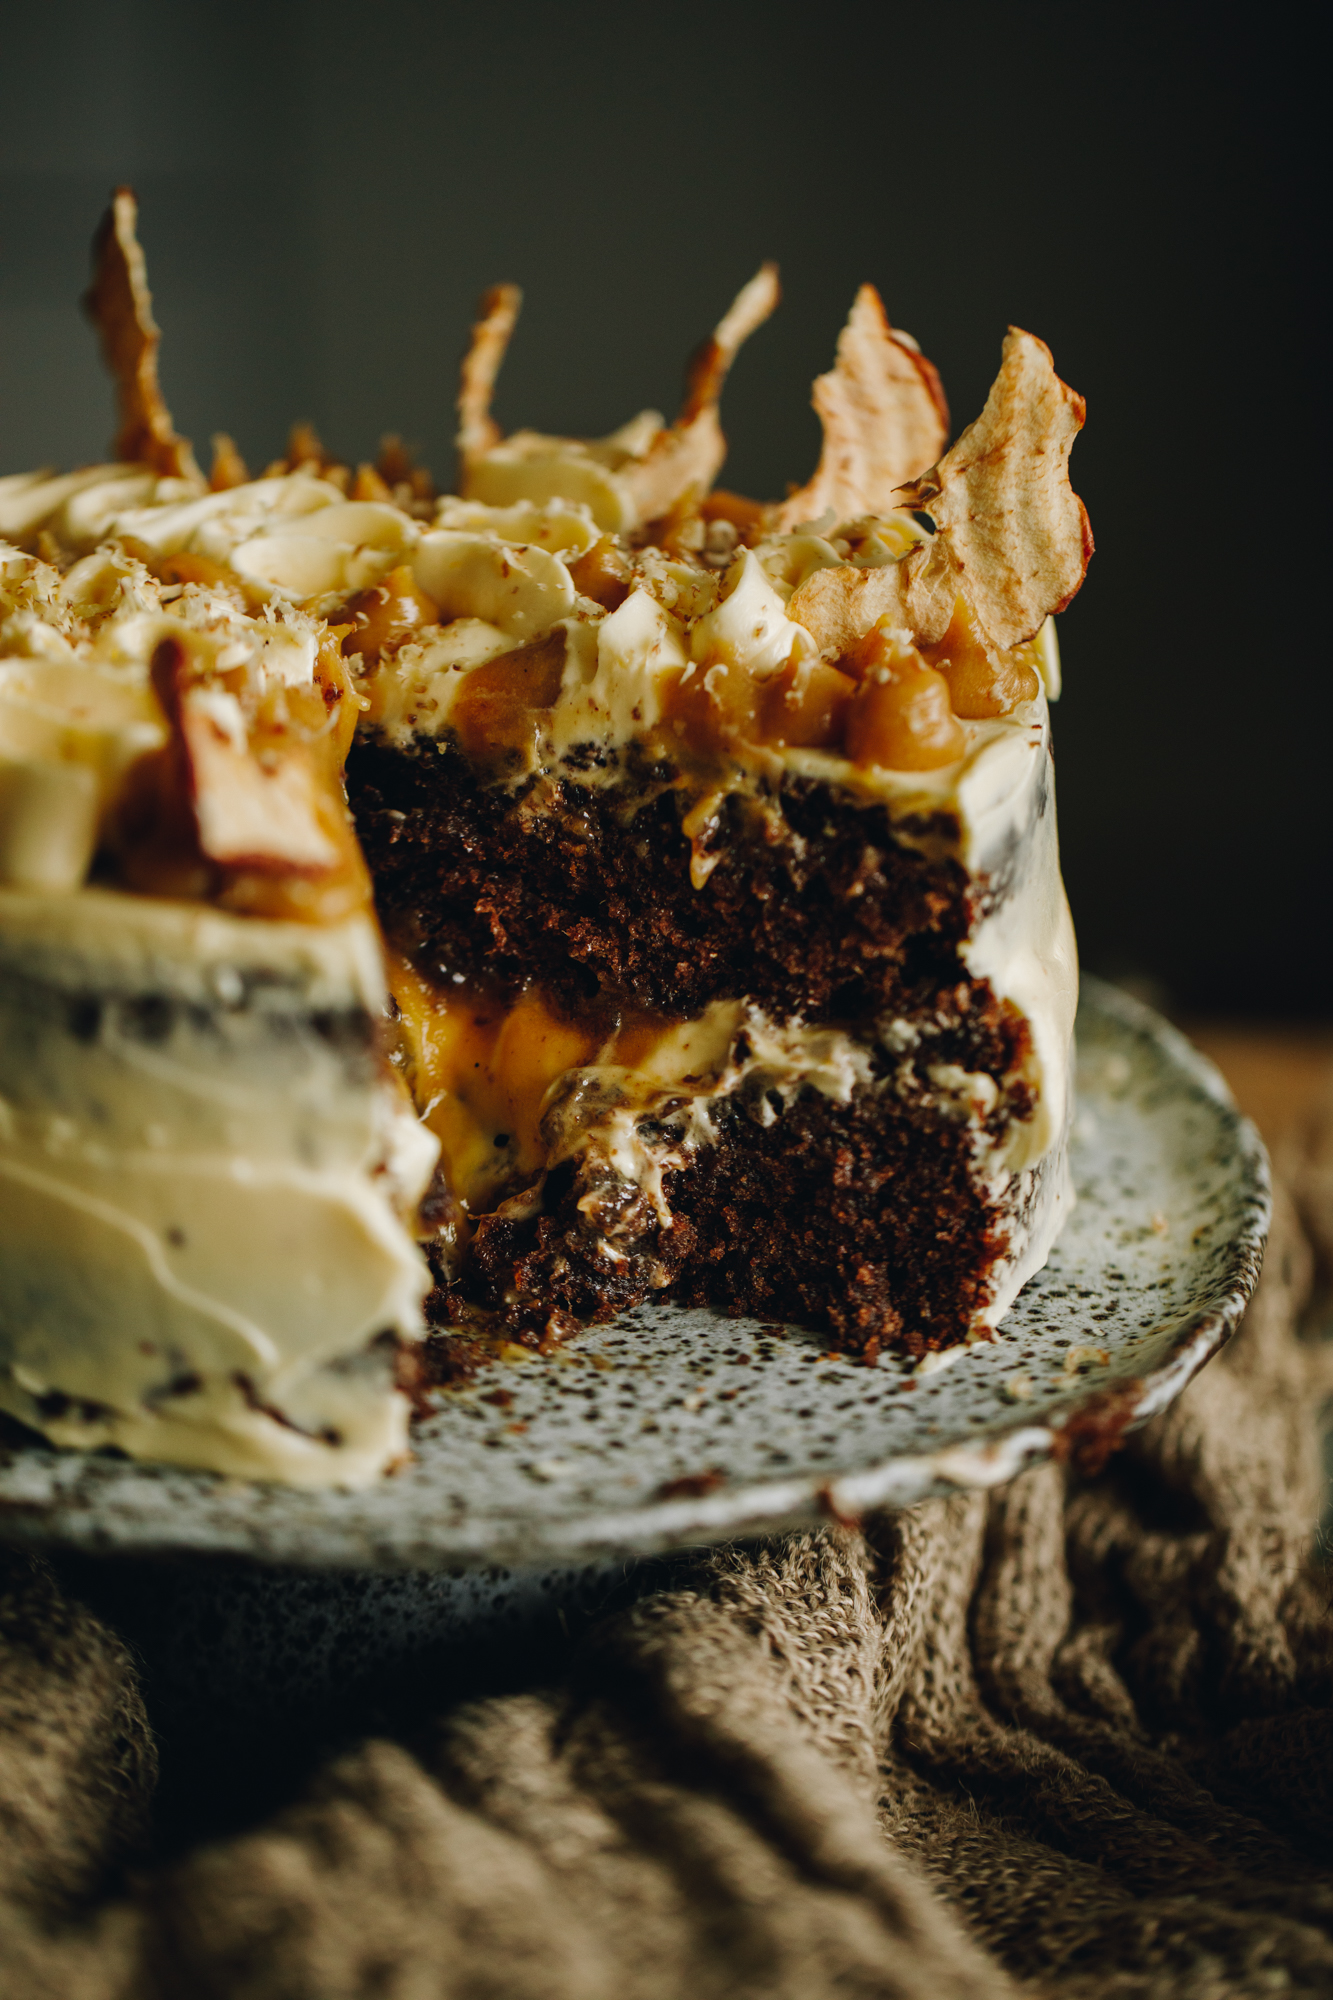
13. Decorate the Cake with Caramel:
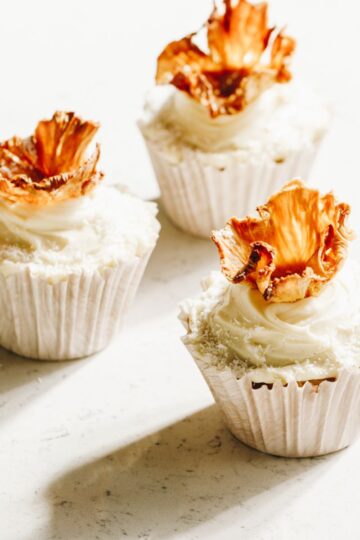
Pipe the remaining karamea (caramel) on to the top of the cake and then add som titipi āporo (apple chips) for some rustic drama.
14. Use the Caramel as a Sauce instead:
You can also leave the caramel off the top of the cake if you want to.
When you are ready to serve it, melt the karamea (caramel) back down over a gentle heat and drizzle it over the keke (cake) as you serve each piece.
Store the Cake:
Store this keke (cake) in a sealed container in a cool place. It will develop in flavour as it sits and in my opinion is even better a few days after it is baked.
It will keep well for up 5 days.
In the hotter months you can store the decorated and uncut cake it in the refrigerator but bring it room temperature before eating.
Once it is cut, don't keep it in the fridge as the cake will dry out.
Take a little peek at some more of our favourite
Keke (Cake) Recipes
A cake decorated with love and pizzaz is the heart of any celebration.
DID YOU ENJOY THIS RECIPE?
It would be so awesome if you could please leave a review/comment by clicking the “leave a comment” section at the top of the page.
I love seeing you all make my creations, so send a whakaahua (photo) or kiriata (video) to my Instagram and show me what you made. Let me know if you have any pātai (questions) too, I would love to help.

Sticky Date Cake - Keke Teiti Mōhinuhinu
Equipment
- 1 x 19 cm or 20 cm spring-form cake tins
Ingredients
The Caramel - Te Karamea
- 1 quantity Easy Caramel
- 125 g pata (butter)
- 1 C (200 g) huka hāura (brown sugar)
- ½ teaspoon tote (salt, fine)
- 1 C (250 ml) kirīmi (cream)
The Date Cake - Te Keke Teiti
- 2 C (280 g) teiti (dates, tightly packed)
- 1 C (250 ml) wai wera (hot water, from the tap)
- ½ teaspoon tote (salt, fine)
- 170 g pata kūteretere (softened butter)
- 1 C (200 g) huka hāura (brown sugar)
- 1 tablespoon (15 ml) iho hūperei (vanilla essence)
- 3 hēki (eggs, size 6)
- 2 ½ tablespoon kōkō (cocoa, dutch is best)
- 1 tablespoon raukikini whakauruuru (mixed spice)
- 2 tsp hinamona kuoro (ground cinnamon)
- 1 ½ C (225 g) puehu parāoa whakatipu (self-raising flour)
- ½ C (125 ml) miraka (milk)
Pani reka Kirīmi Tīhi - Cream Cheese Frosting
- 1 quantity simple cream cheese frosting
- 120 g pata kūteretere (softened butter)
- ⅔ C 110 g) puehu huka (icing sugar)
- 2 teaspoon (10 ml) wanira (vanilla)
- 250 g kirīmi tīhi (cream cheese, room temperature)
- 10 titipi āporo (apple chips, I used the Fruit Hitz ones)
Instructions
Make the Caramel:
- Make the easy caramel recipe according to instructions. The reason we make this first is so that we can bake some of it in to the keke (cake) and the rest is used for decorating.
- Once you have made the caramel, leave it to cool.
Preheat the Oven:
- Preheat the oven to 150 °C, fan bake setting or 160 °C bake setting.
- Grease two 19 cm or 20 cm spring form cake tins with butter.
- Add baking paper to the base with a large over hang on the outside of the tin.
Prepare the Dates:
- Add the teiti (dates), wai wera (hot water) and tote (salt) in to a pot or a medium sized heat proof bowl.
- If you are using the stove, bring the mixture to a boil and boil on high for 6 minutes.If you are using the microwave, heat it on high for 4 minutes.
- Remove from the heat and mash the dates until a smooth paste forms.
- Leave the mixture to the side to cool slightly.
Whip the Butter and Sugar:
- Add the pata kūteretere (softened butter), huka hāura (brown sugar) and iho hūperei (vanilla essence) to a large bowl.
- Whip on high for five minutes until the butter it is pale in colour and fluffy in texture.
- Add an egg at a time and beat for 15 seconds after each addition. Don't worry if it looks a bit split after the third hēki (egg), it will all come back together.
Add the Dry Ingredients:
- Add the kōkō (cocoa), raukikini whakauruuru (mixed spice) and hinamona (cinnamon) in to the butter mixture. Whakaranuhia (mix to combine).
Mix through the Date Mixture:
- Stir the miraka (milk) in to the slightly cooled date mixture.
- Add it to the butter mixture. Whētuihia kia māene (fold it together until smooth).
Fold in the Flour:
- Add the puehu parāoa whakatipu (self-raising flour). Whētuihia kia māene (fold it together until smooth).
Add the Caramel on to the Cakes:
- Divide the mixture between the two cake tins.
- Spread ⅓ C of the caramel sauce on top of each of the cakes.
- Reserve the remaining caramel sauce for decorating the keke (cakes). Leave it at room temperature.
Bake the Cakes:
- Bake for 40 minutes until the cakes spring back in the middle when pressed.
- Once the cakes have finished baking, remove from the oven and allow them cool in the tins for 5 minutes before flipping them out.
- Cool completely before decorating.
Whip up the Cream Cheese Frosting:
- Make the simple cream cheese frosting according to the recipe.
Decorate the First Cake Layer:
- Once the cakes are cool, add one of the keke (cakes) to a plate or cake stand.
- Add around half a cup of the frosting on to the cake and spread out.
- Pipe a border around the edge of the keke (cake) or make a border with a spoon (like I did in the video).
- Add around half a cup or so of the karamea (caramel) and smooth it out.
Add the Second Cake:
- Add the second cake and cover the whole thing with more frosting. You can use it all to cover the cake or reserve half a cup for some decorating on top.
Decorate the Cake with Caramel:
- Pipe the remaining karamea (caramel) on to the top of the cake and then add som titipi āporo (apple chips) for some rustic drama.
Use the Caramel as a Sauce instead:
- You can also leave the caramel off the top of the cake if you want to.
- When you are ready to serve it, melt the karamea (caramel) back down over a gentle heat and drizzle it over the keke (cake) as you serve each piece.
Store the Cake:
- Store this keke (cake) in a sealed container in a cool place. It will develop in flavour as it sits and in my opinion is even better a few days after it is baked. It will keep well for up 5 days.
- In the hotter months you can store the decorated and uncut cake it in the refrigerator but bring it room temperature before eating. Once it is cut, don't keep it in the fridge as the cake will dry out.


Adrienne
Hi there Naomi. I am excited to make this delicious sounding cake. I love your recipes.
I am confused my the cup vs ml measurements. The water quantity with the dates says 1 cup but 225 ml. A NZ standard cup measure is 250 ml. Milk measure is 1/2 c but 120 ml. Please can you confirm the actual measurements.
Naomi Toilalo WhānauKai
Kia Adrienne, so sorry for the confusion. You are so right, when I wrote this recipe out I had just started using the measurements in ml's etc and wasn't getting the quantities right, so sorry. I have amended the recipe now, thanks so much for letting me know. That is such a help. I hope you like the recipe. I love this one!
Liv
I made this for my grandfather's 77th birthday - sweet, moist, complex, and balanced by the delicious easy caramel and cream cheese. Seriously good and a real hit with everyone <3
Naomi Toilalo WhānauKai
Love this feedback so much - what a perfect cake to cater to all generations aye. Ngā mihi e hoa - thanks so much.