Do you know how to knead dough? For some, we have seen it growing up and for others, it is a foreign concept. Wherever you sit, I would love to guide through some simple steps that I have learnt.

Kneading dough calms me down, it makes me feel joy and fills me with memories of my late Māmā. The process of kneading dough was one of the last skills my mother taught me. For that, I am always grateful. Now I get to pass that knowledge on to you and once you learn this simple art, you will be hooked too.
My yeast is not activating:
In the cooler months the yeast can take a bit longer to activate, especially for Surebake or bread makers yeast. If the yeast ingredients have been sitting for 10 minutes and still doesn’t looked activated, here is a tip. Quarter fill the sink with hot water (from the tap), place the bowl with the yeast mixture in to the water and cover it with a tea towel. This creates a little bit of humidity and always gets the yeast going. So, give it a whirl and see if that helps.
How long should I knead the dough?
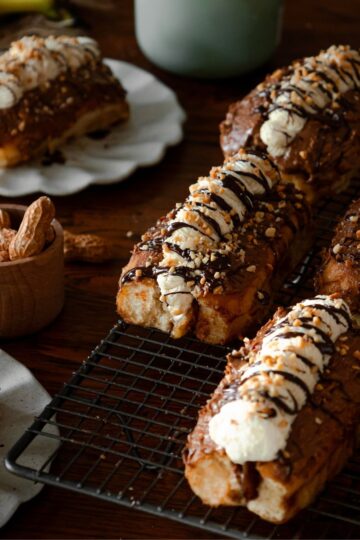
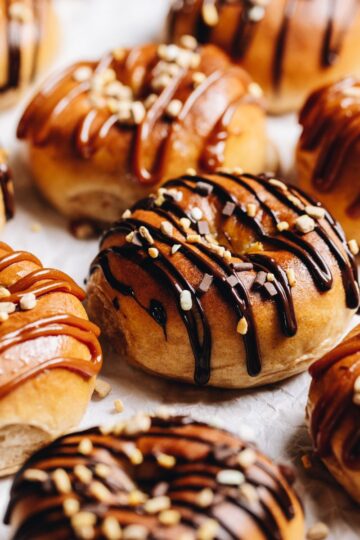
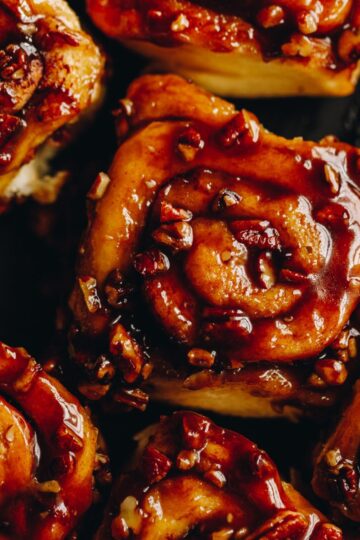
Every recipe is different. Bread doughs like Chocolate Swirl Bread Loaf, Sticky Maple and Pecan Scrolls or Savoury Braided Brioche Bread take a bit longer. Knead this type of dough for around 10 minutes in a stand mixer or 12-15 minutes, by hand. However dough for Homemade Cheese and Onion Pizza or Yeasted Savoury Pastry for Tarts and Pies have a much shorter kneading time. Pay careful attention to the times the recipes specifies as there is always a reason for the length of the kneading.
Can I under knead dough?
Yes you can. I think this is one of the biggest mistakes people make when making bread. Put a timer on and knead it for the time the recipe states. If doing it by hand you can take 10-15 second breaks every couple of minutes and carry on if you want. Knead the dough to the time specified and the result will always be better.
Is hand kneading or kneading in a mixer better?
I heard Paul Hollywood say that you should learn how to make bread with your hands before using a machine. Learning by hand helps you feel when the dough changes, when it needs more time or when it is ready. I often use a mixer for kneading and it does make the job much easier. Be careful if you are using a mixer! I have blown up two of my commercial mixers kneading dough. Be very careful that you keep an eye on what amount of dough your commercial mixer can handle, it can easily over heat! If in doubt, use your hands.
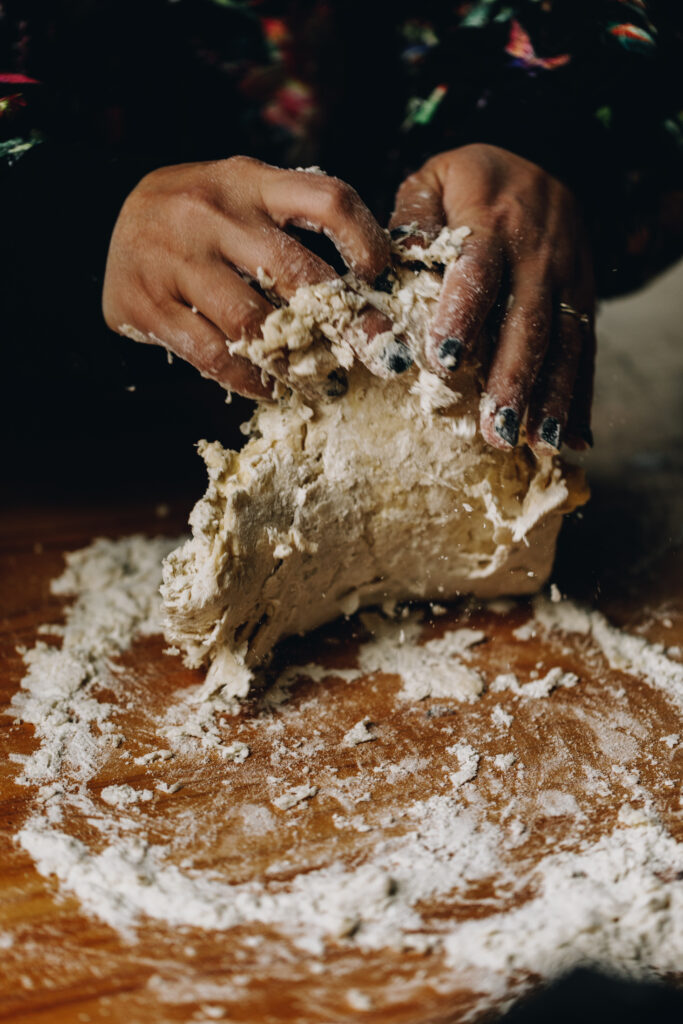
Can I add extra flour to the dough if it is too sticky?
Short answer, yes, but do not stray too far away from what the recipe states. If a dough is particularly sticky I only add a tablespoon of extra flour at a time. Then knead it for 30 seconds and check to see if that helps. As a rule, it is better for your bread dough to be slightly sticky than tough and dry. A tough, dry dough will lead to a crumbly, dense bread.
Can I add more liquid if the dough is too dry?
Yes, you can. However, follow the same technique I gave you as above. Add one tablespoon of liquid at a time, knead for 30 seconds and assess it again.
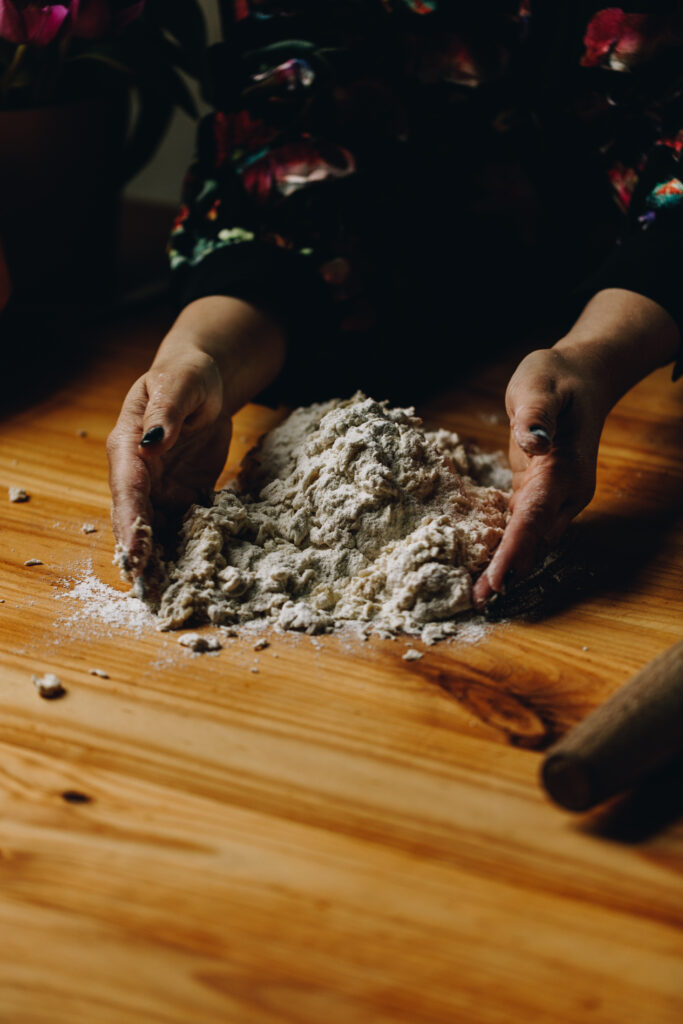
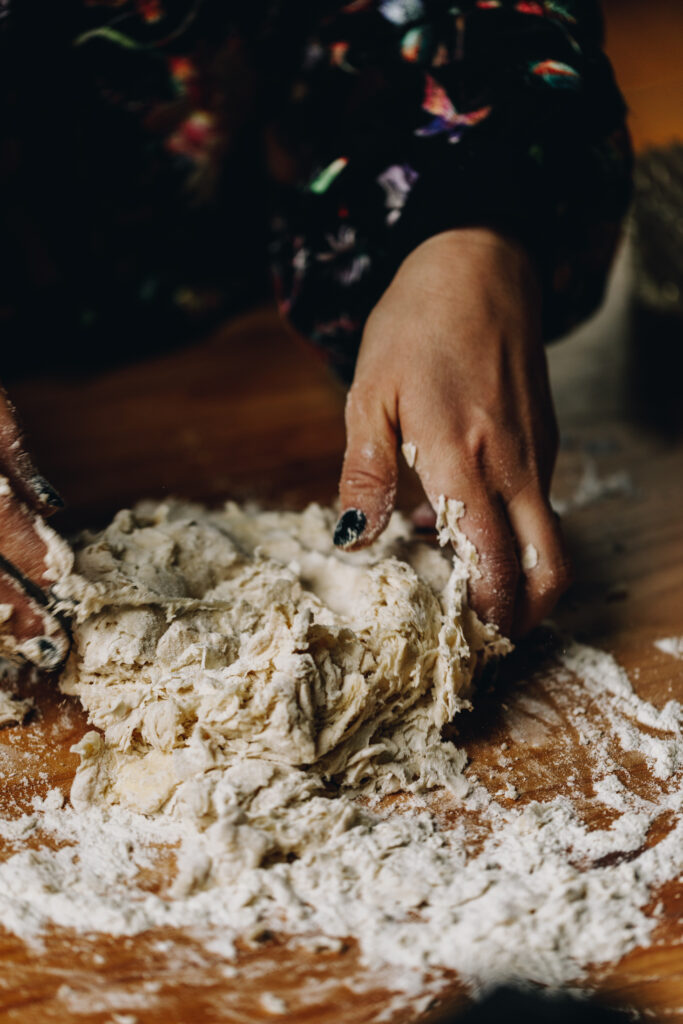
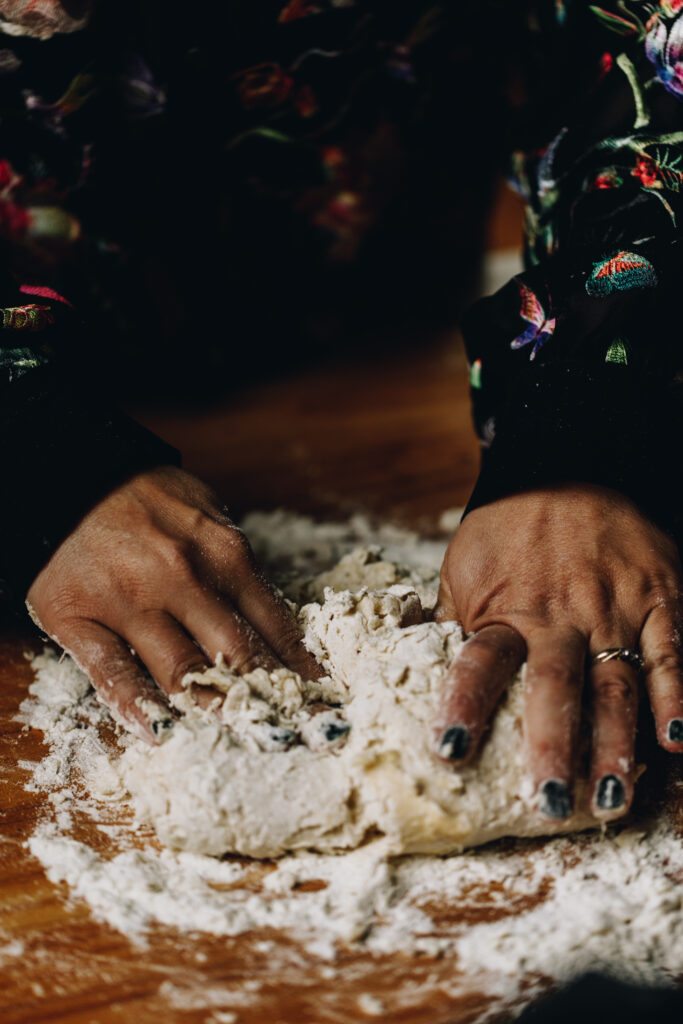
What is the best kneading technique?
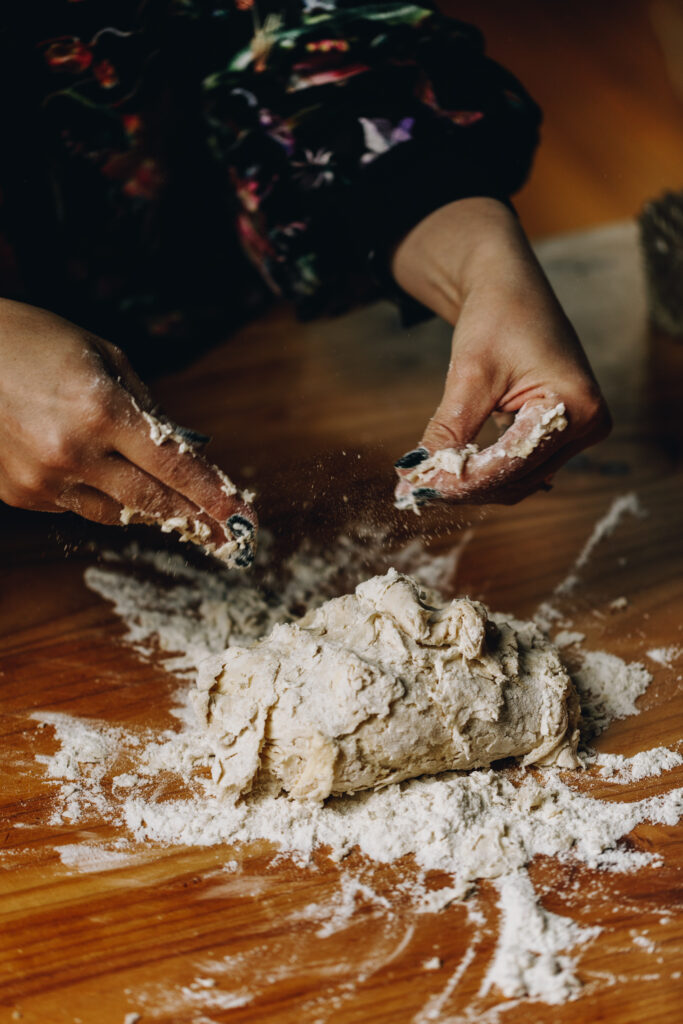
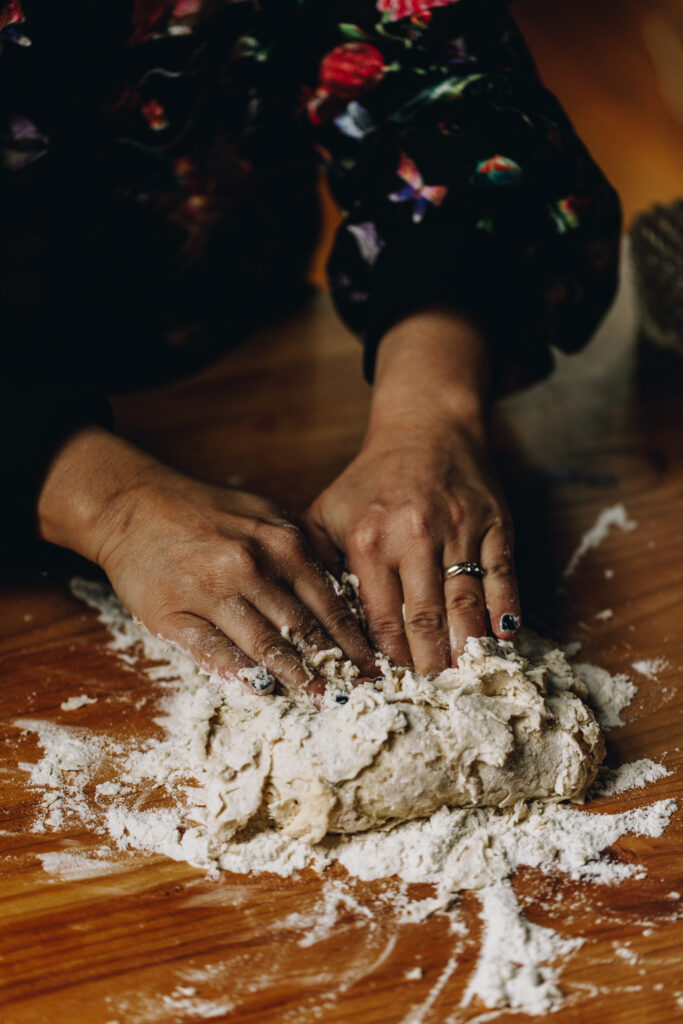
There is no "best way" to knead dough, just create a style that works for you. The main purpose is to develop the gluten in to the dough so you get wonderful parāoa (bread). Follow along as I show you my technique in the video or create your own style. Mix the ingredients until a shaggy dough forms and tip it on to the bench. Press the dough down, fold it in half and push it away from you with the palm of your hands. Don't knead with your fingers as it tends to make the dough stickier. Only use the palm of your hands to stretch it. Turn the dough a ¼ turn and repeat this over and over until the gluten is released and a soft, stretchy dough appears.
What is a simple way to test that the dough is ready?
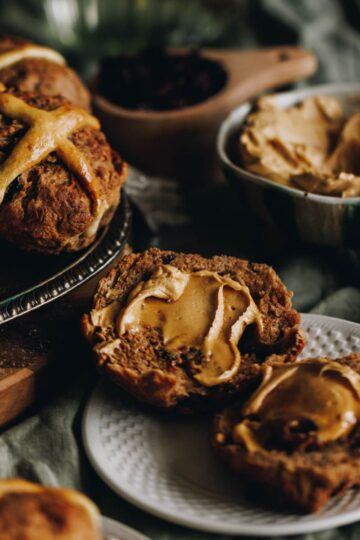
There are two simple ways that I use to test if my dough is ready to prove. One is in the first video, I simply form the dough in to a tight ball and press in to it. If it springs back quickly when I press in to it, it is ready. If it doesn't, it needs more kneading time. The second way is on the second video, this is a window pane test. Take a piece of the kneaded dough and gently stretch it as far as it can go with your fingers. If you can stretch it to the point where you can see through the dough, it is ready for proving. Now that you are here, why not try my Samoan Coconut Buns (Pani Popo) as your first recipe. Remember to have fun and accept that it won't always turn out perfectly.
Videography and photography by Sarah Henderson.

Leave a Review