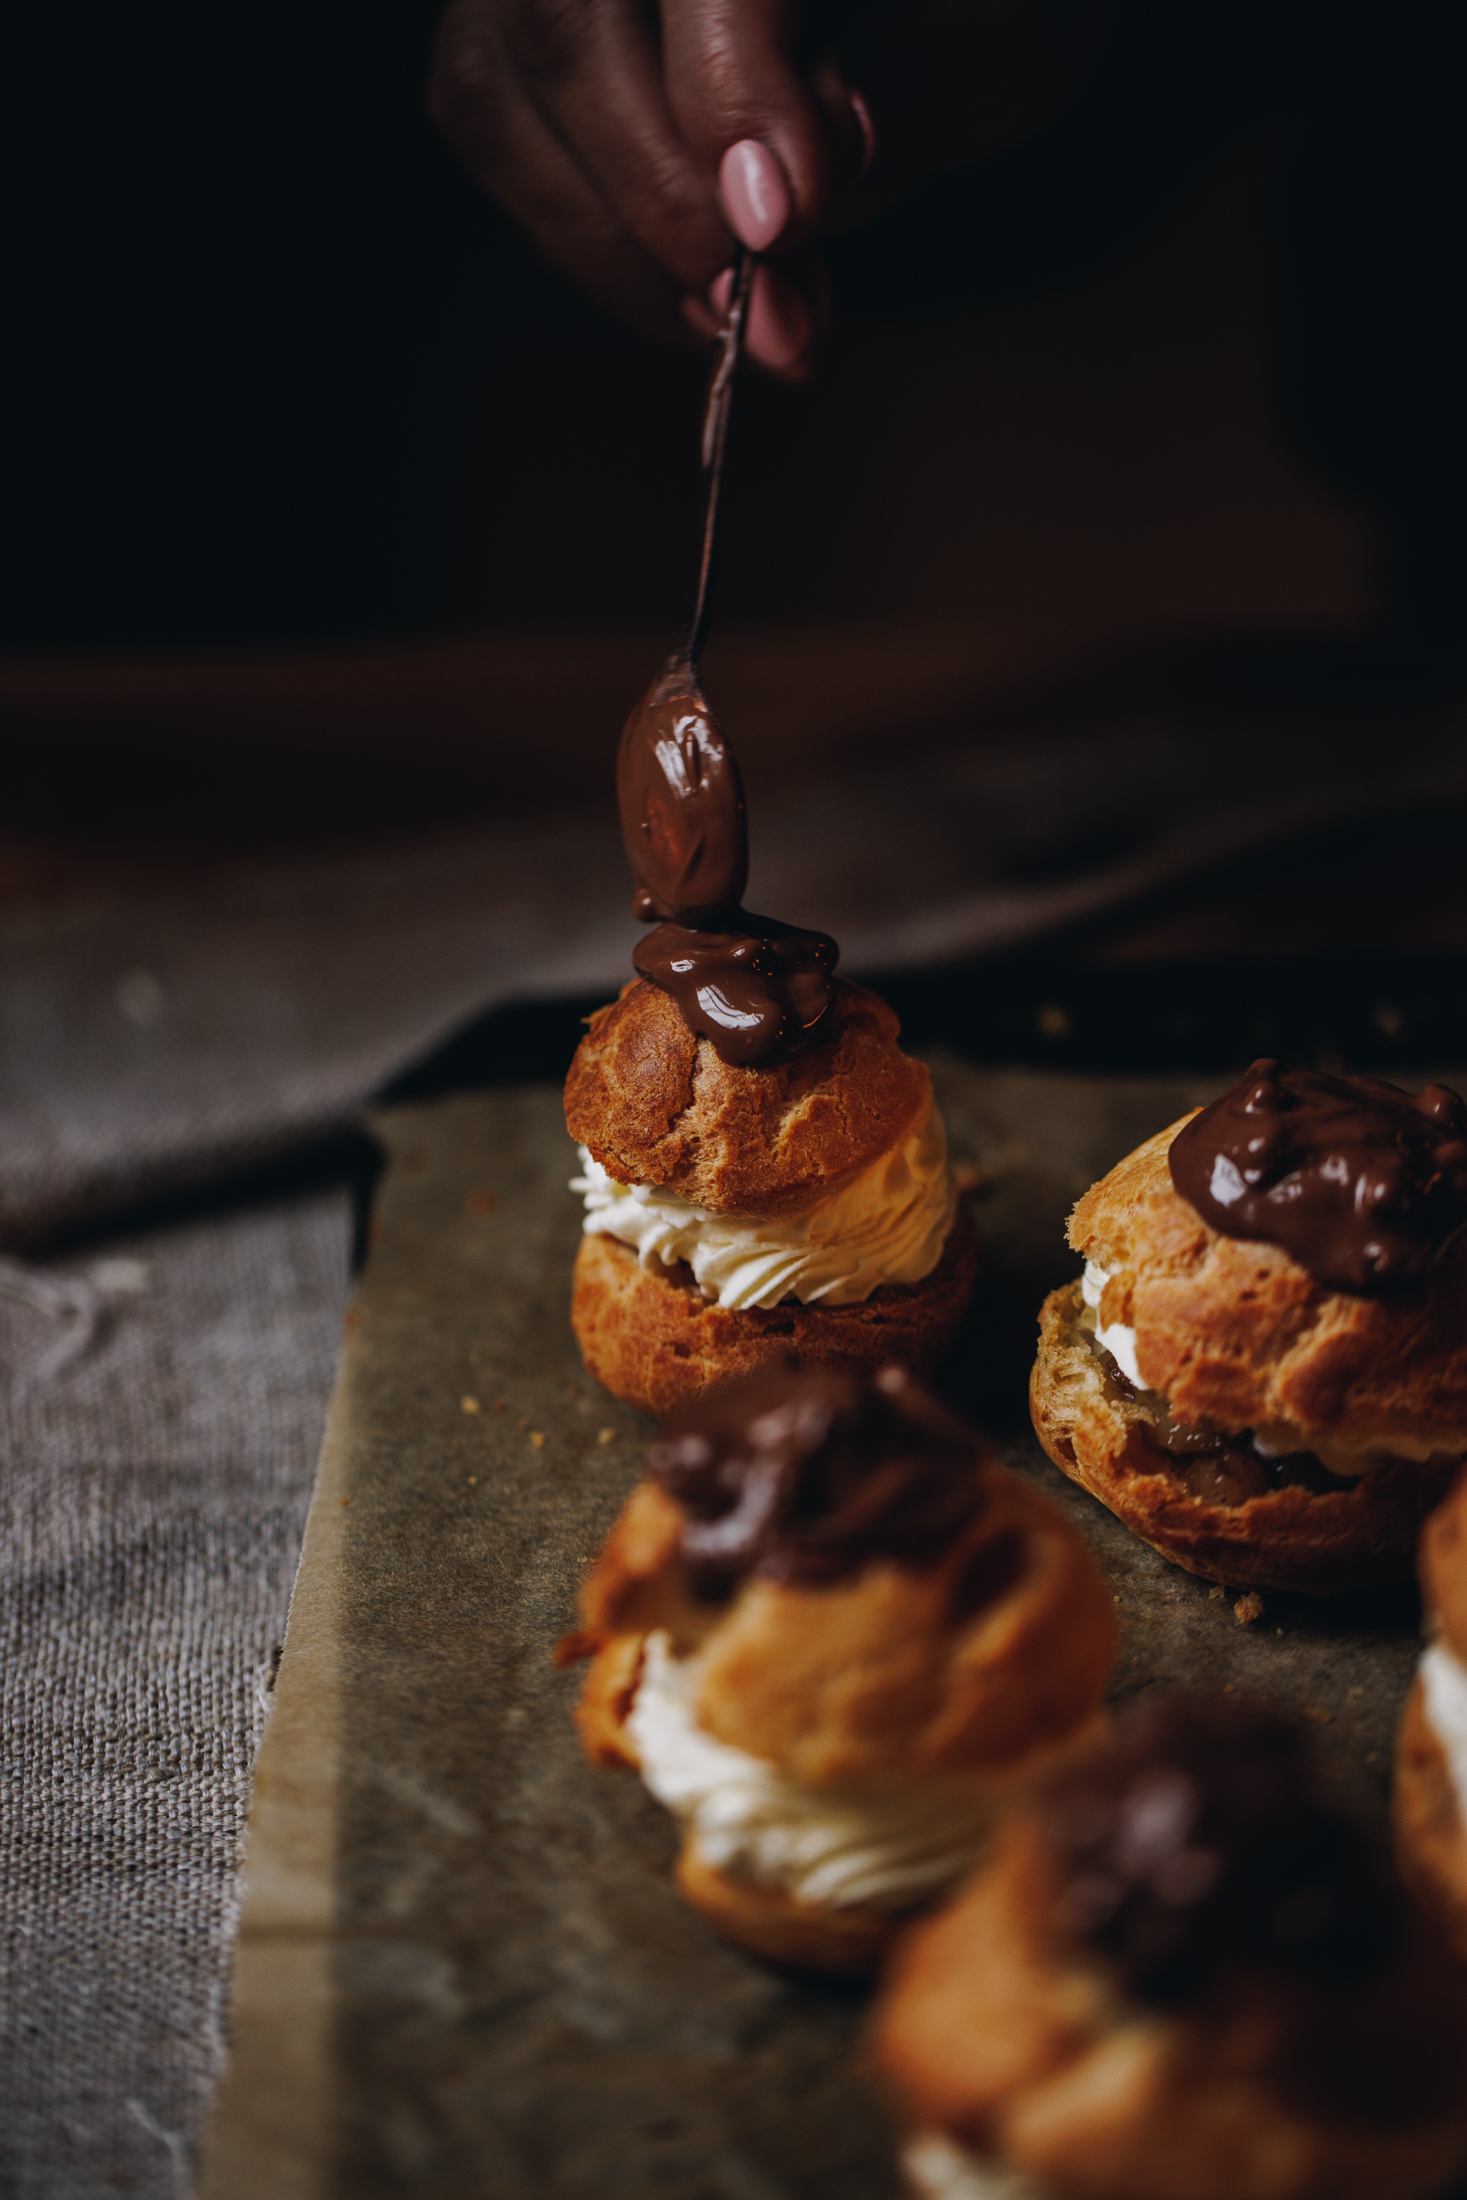
These Spiced Pear Choux Buns are delightful mouthfuls of dreamy goodness. They are packed with a spiced pear compote, whipped cream, store-bought caramel and a touch of chocolate. I have heaps of tips and tricks too so that you can nail this recipe!
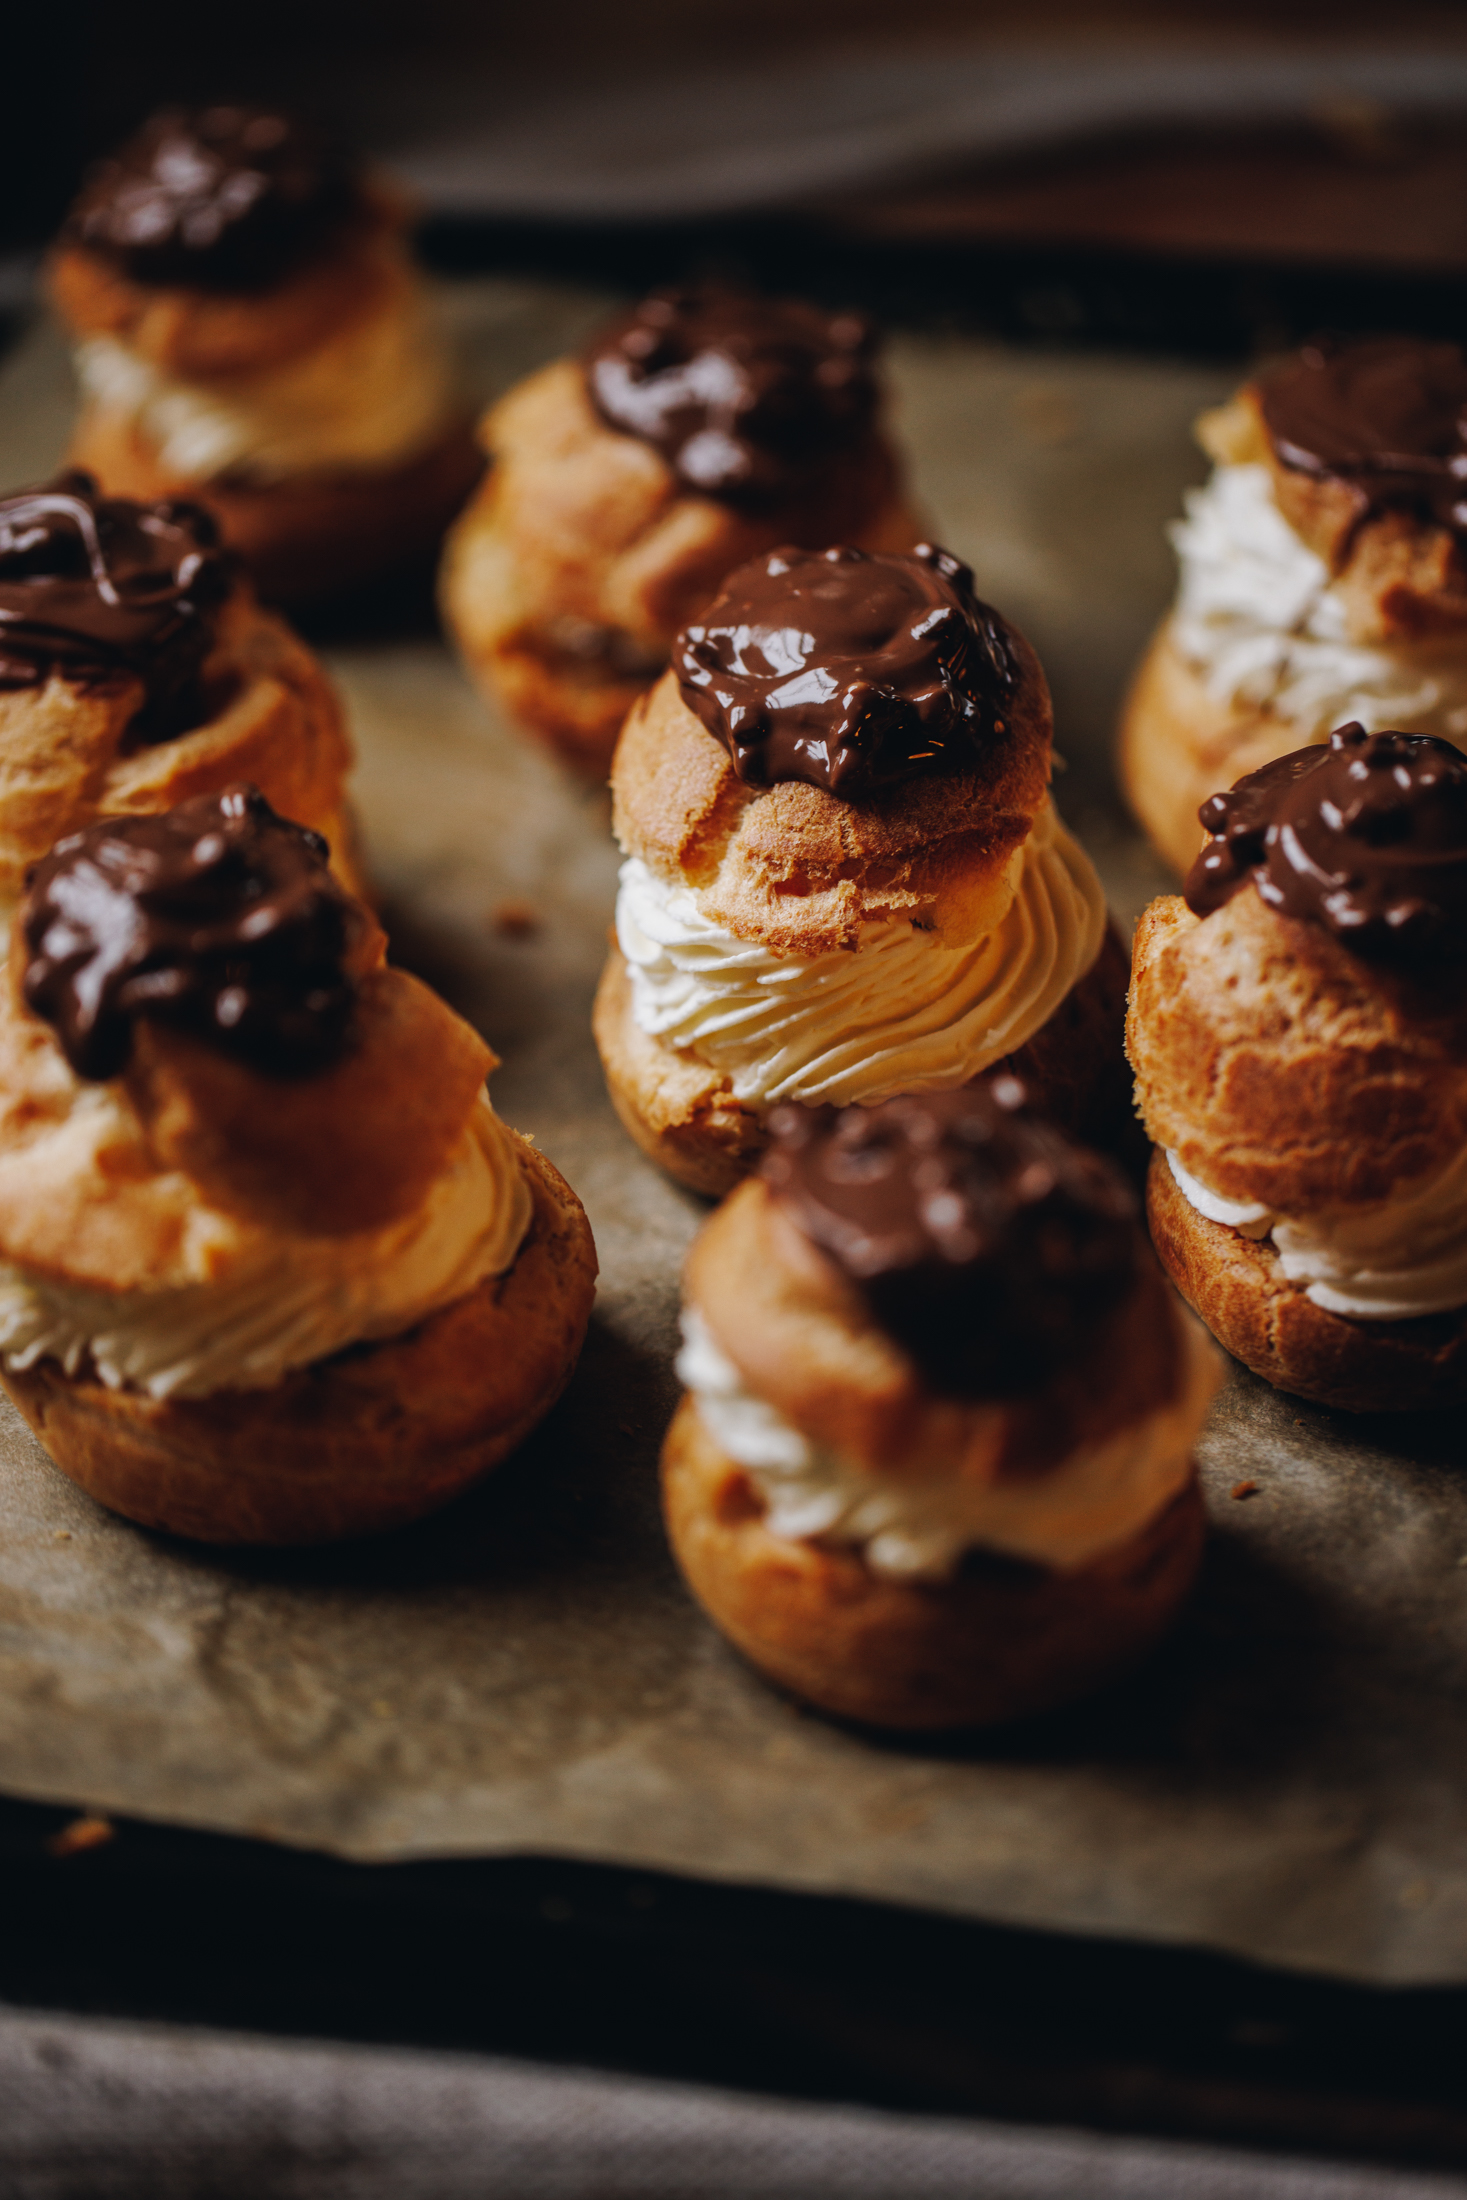
Have you made choux buns before? They are an egg based pastry recipe and they can be somewhat daunting but I know that you can do it! They are the vehicle for so many flavours and these spiced pear compote and caramel ones are just divine. There a few little tricks to making the perfect choux buns so let's break it down step by step.
More purini (desserts):
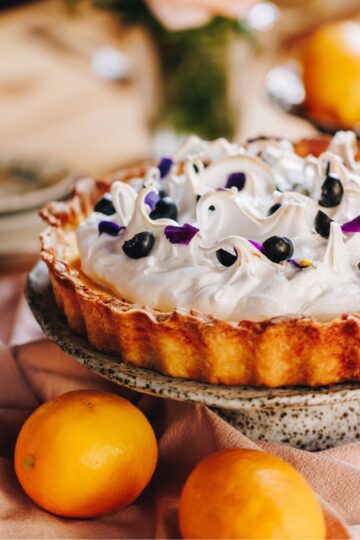
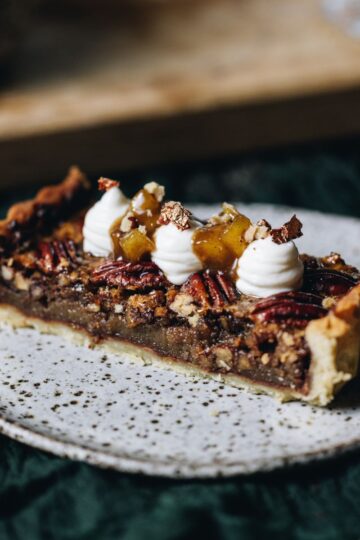
Do you love the idea of a Pecan Pie with Dark Chocolate? What about a pie with fresh rēmana (lemons)? My Homemade Lemon Meringue Pie is one of my favourites of all time and is always served on our tēpu kirihimete (Christmas table).
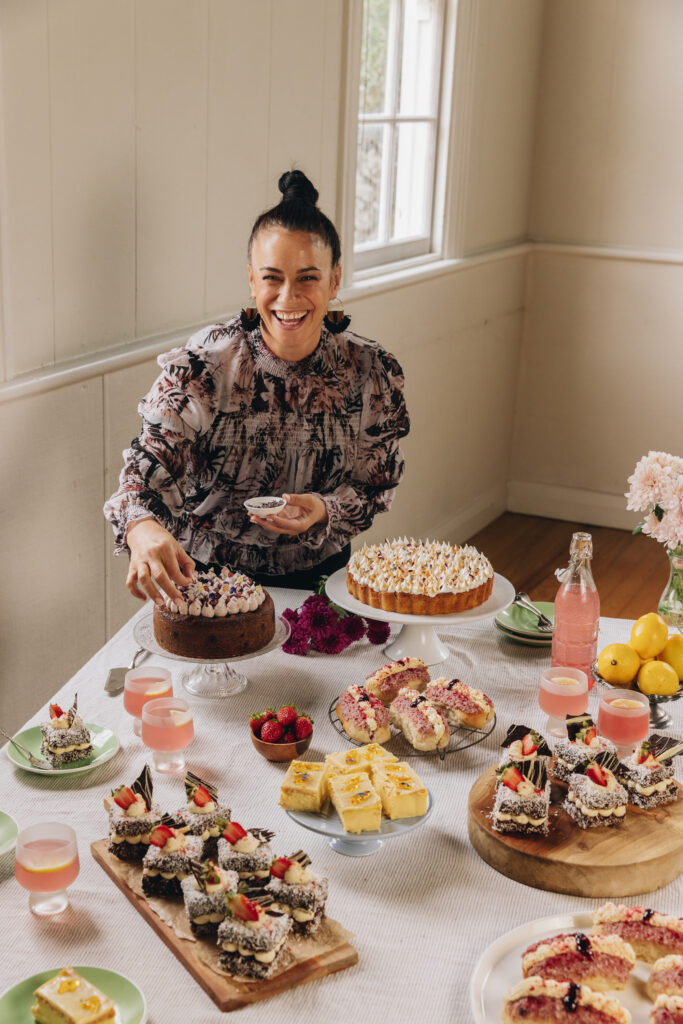
Videography and photography taken by Sarah Henderson.
Ingredient Tips for the Spiced Pear Choux Buns:
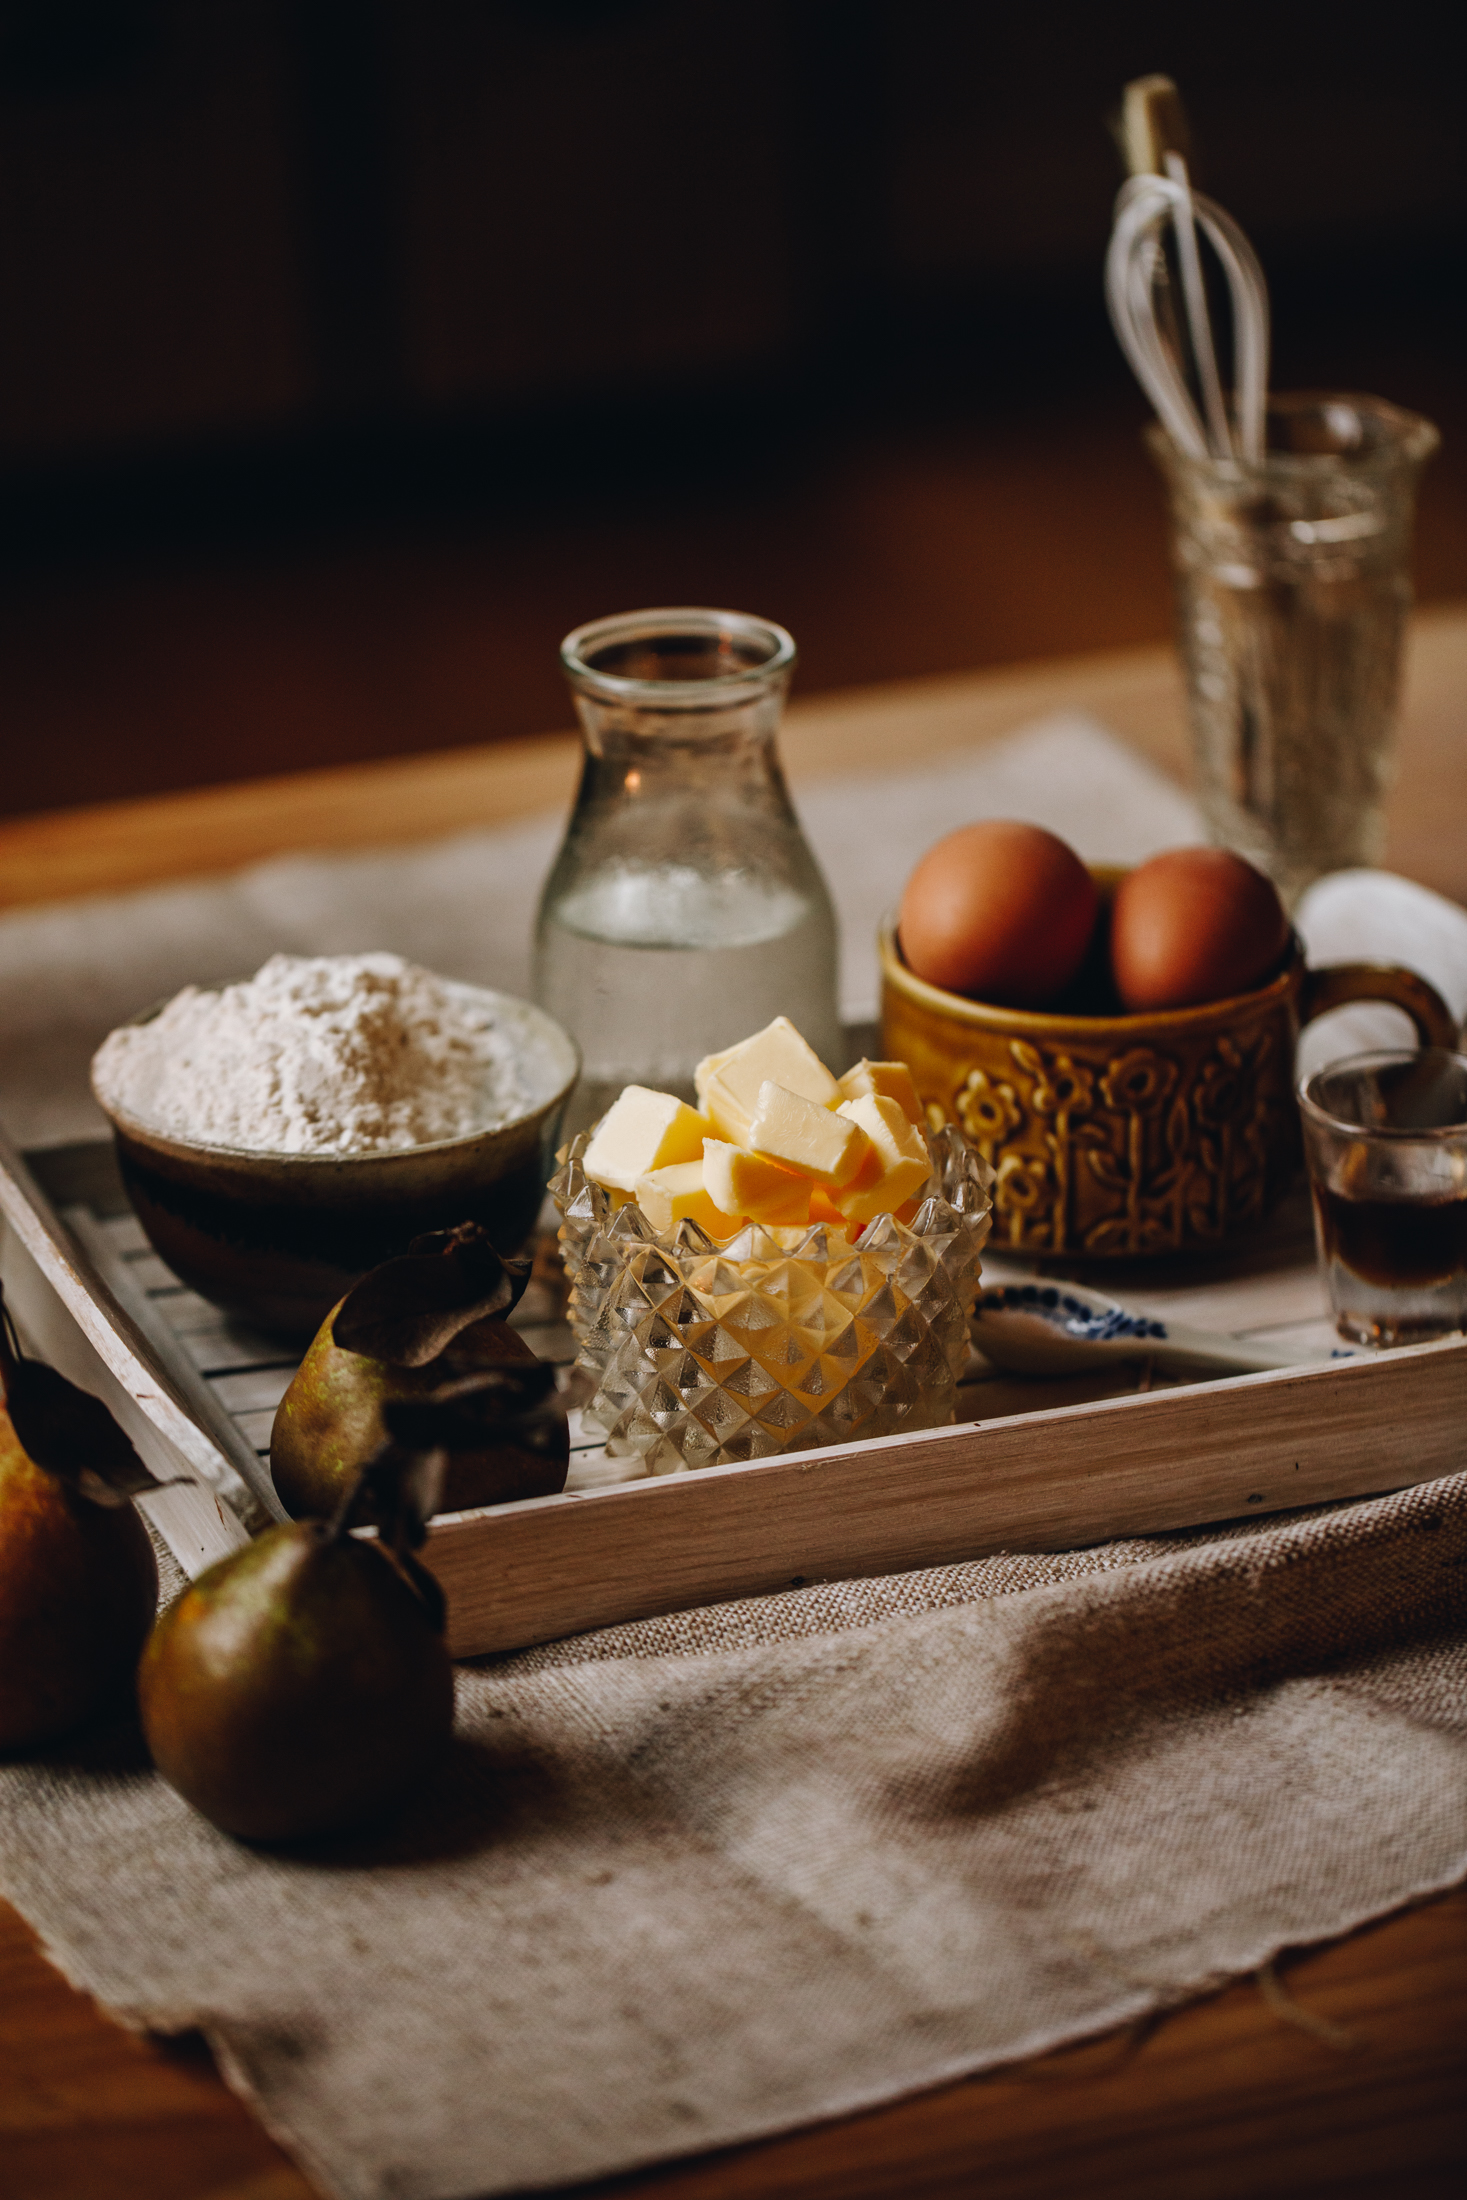
- Butter: Salted or unsalted pata (butter) works for this recipe.
- Flour: Use plain or high grade flour.
- Eggs: I prefer to use free-range hēki (eggs) but use what you have.
- Pears: Check the spiced pear compote recipe for the breakdown of ingredients.
- Cream: Use pouring cream to make the kirīmi tāwhiuwhiu (whipped cream) or check out the Stable Whipped Cream recipe.
- Caramel: I used a store-bough caramel sauce for this recipe but it can be any type you like. If you want to make your own, this Easy Caramel Sauce recipe would be perfect.
- Chocolate: Top the choux buns with whatever delicious tiakarete (chocolate) you liked, I used a 50% dark chocolate.
Expert Tips
Spray the trays with cold water or brush it on with a pastry brush. This part creates steam in the oven and helps the choux buns rise well.
Add enough egg until the point where the mixture holds a V shape. If the V doesn't hold or breaks off too quickly, add a little bit more egg and test it again. See the video below for a reference.
Bake the buns for long enough. You will see in my recipe that I bake them, stab holes through each one and continue to bake. This is not a typo, this process helps the buns stay dry and crisp and stops them from having a soggy interior. If they are not baked for long enough, when they start to cool, they will deflate before your eyes.
If you want to make the choux buns and eat them later, wait to fill them just before eating so they don't go soggy. These buns are best eaten within an hour of assembly.
If you want to store the choux buns unfilled for another day, put them in a sealed container and store in the cupboard for day or so. Do not refrigerate the unfilled buns because they will go soft.
STEP BY STEP INSTRUCTIONS FOR THE SPICED PEAR CHOUX BUNS:
Note: The full recipe card with the full list of ingredients, instructions and step by step video are found at the bottom of this page.
1. Preheat the Oven:
Preheat the oven to 180 °C bake or 170 °C fan bake.
Prepare two large baking trays with baking paper. Spray them with cold water or brush it on with a pastry brush. This part creates steam in the oven and helps the choux buns rise well.
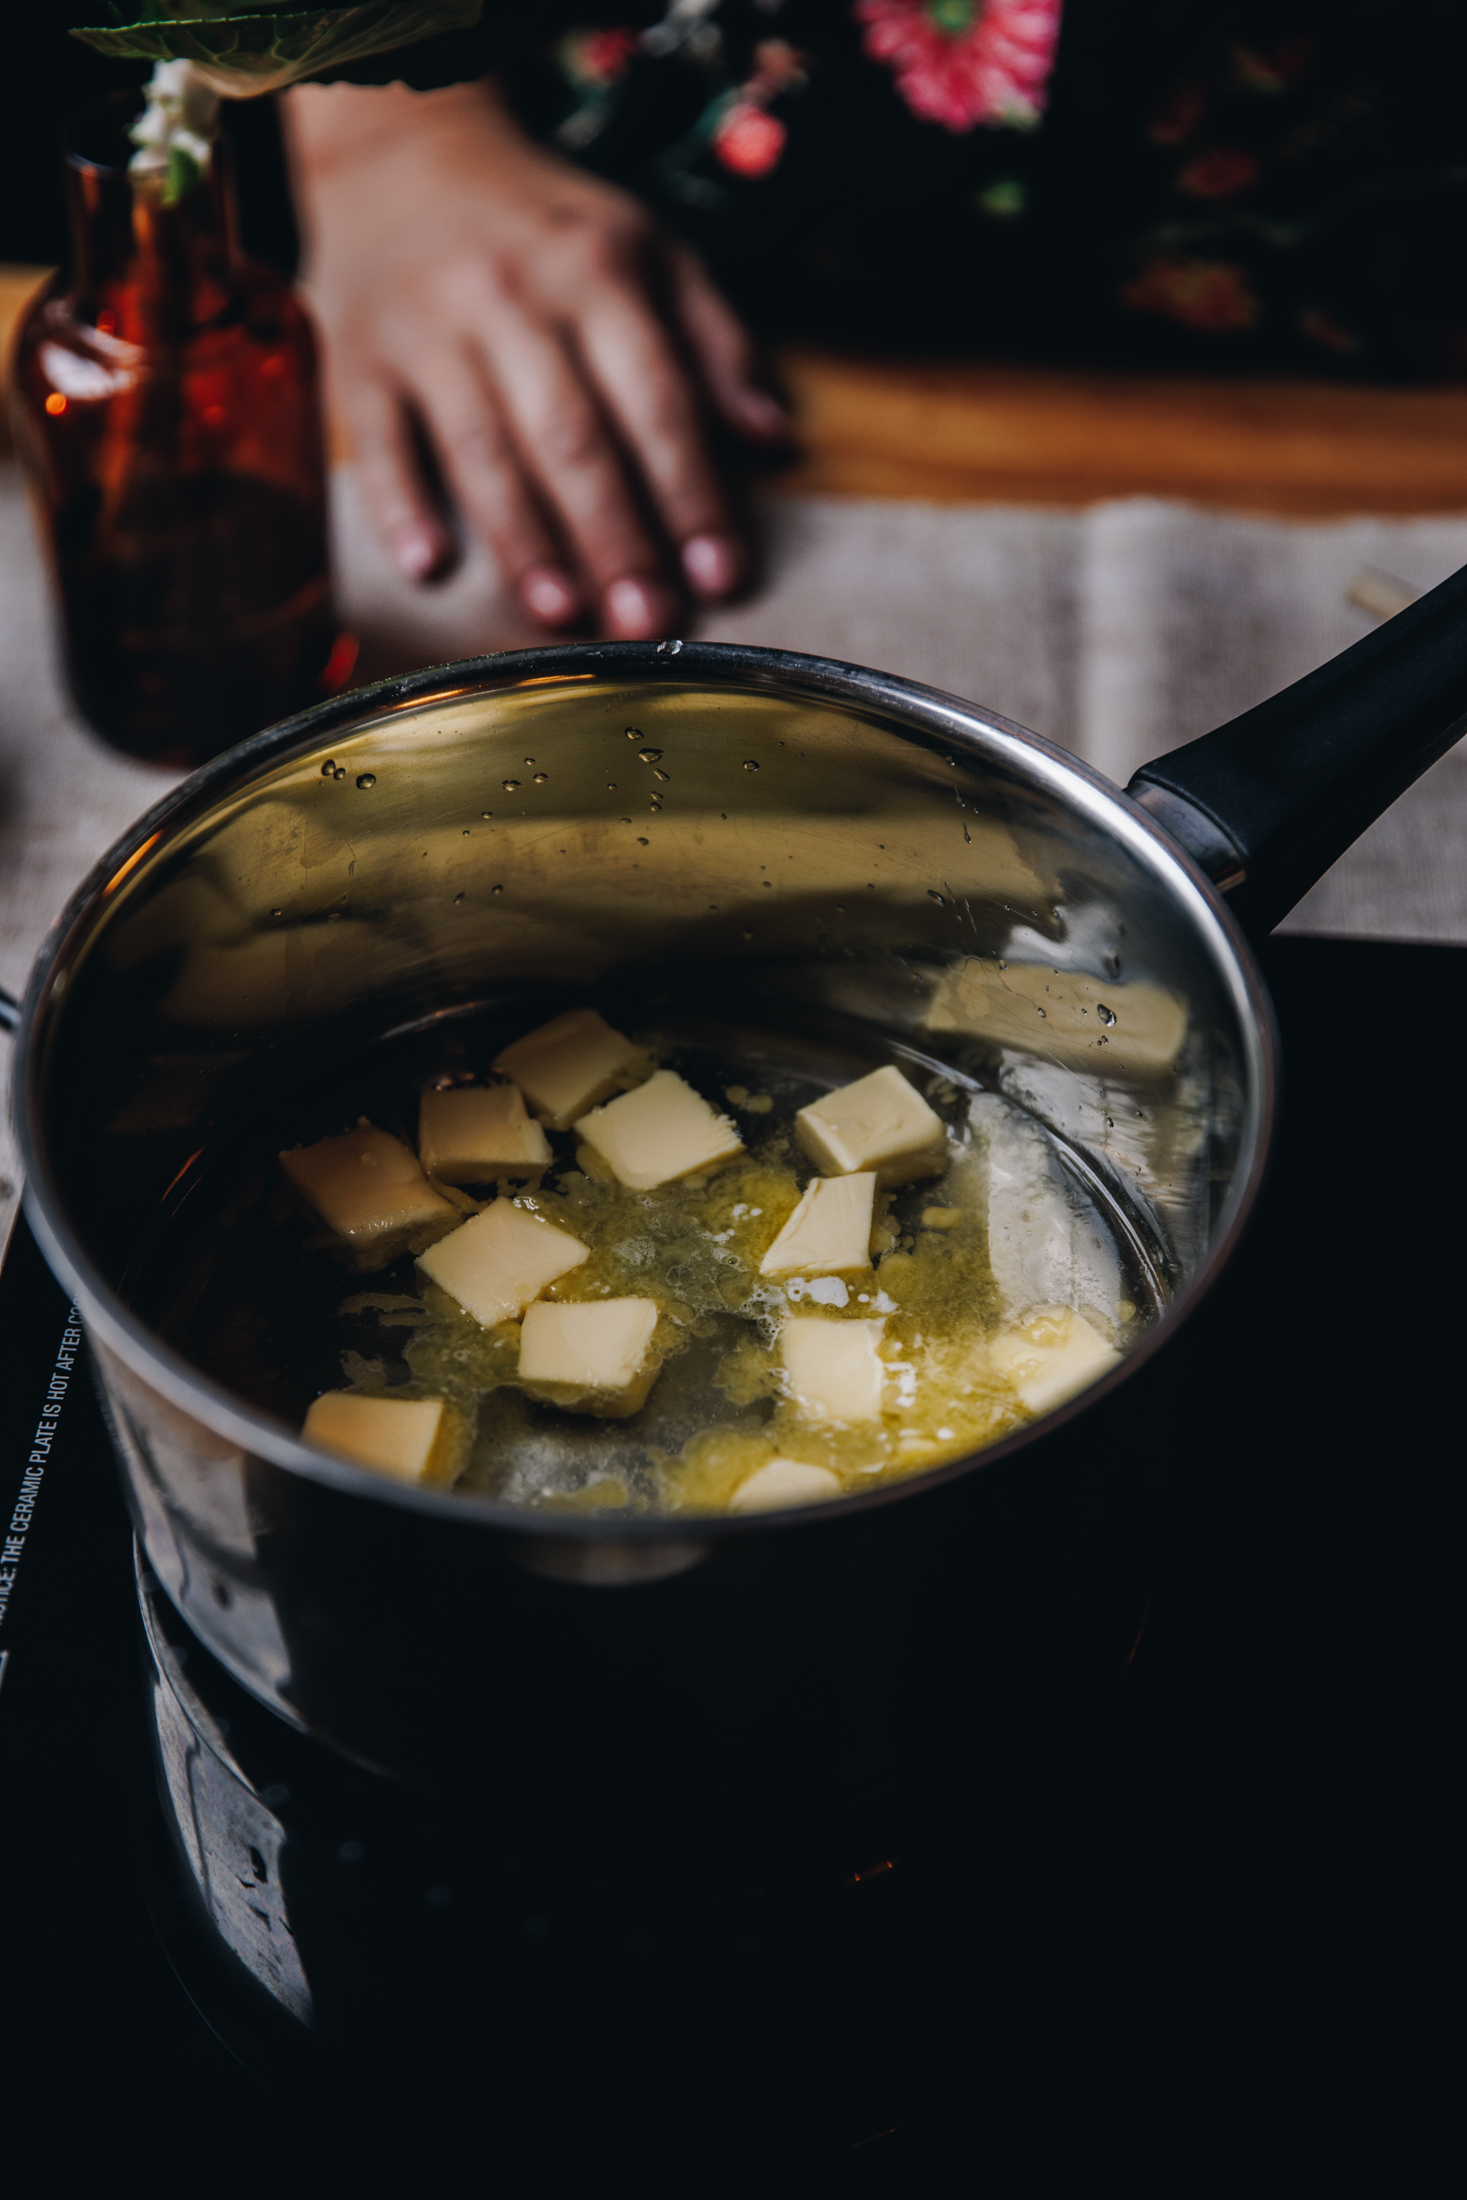
2. Heat the Wet Ingredients of the Choux Pastry:
Add the wai (water), wanira (vanilla), tote (salt) and pata (butter) to a pot.
Bring to a gentle simmer over medium heat and then remove it from the heat.
3. Add the Flour:
Sift the puehu parāoa (flour) directly in to the hot mixture. Give it a really good stir and set it back on to low to medium heat.
Cook the mixture for 3 minutes, continuously stirring. Once a film starts forming on the bottom of the pot, cook it for another 30 seconds and then remove it from the heat.
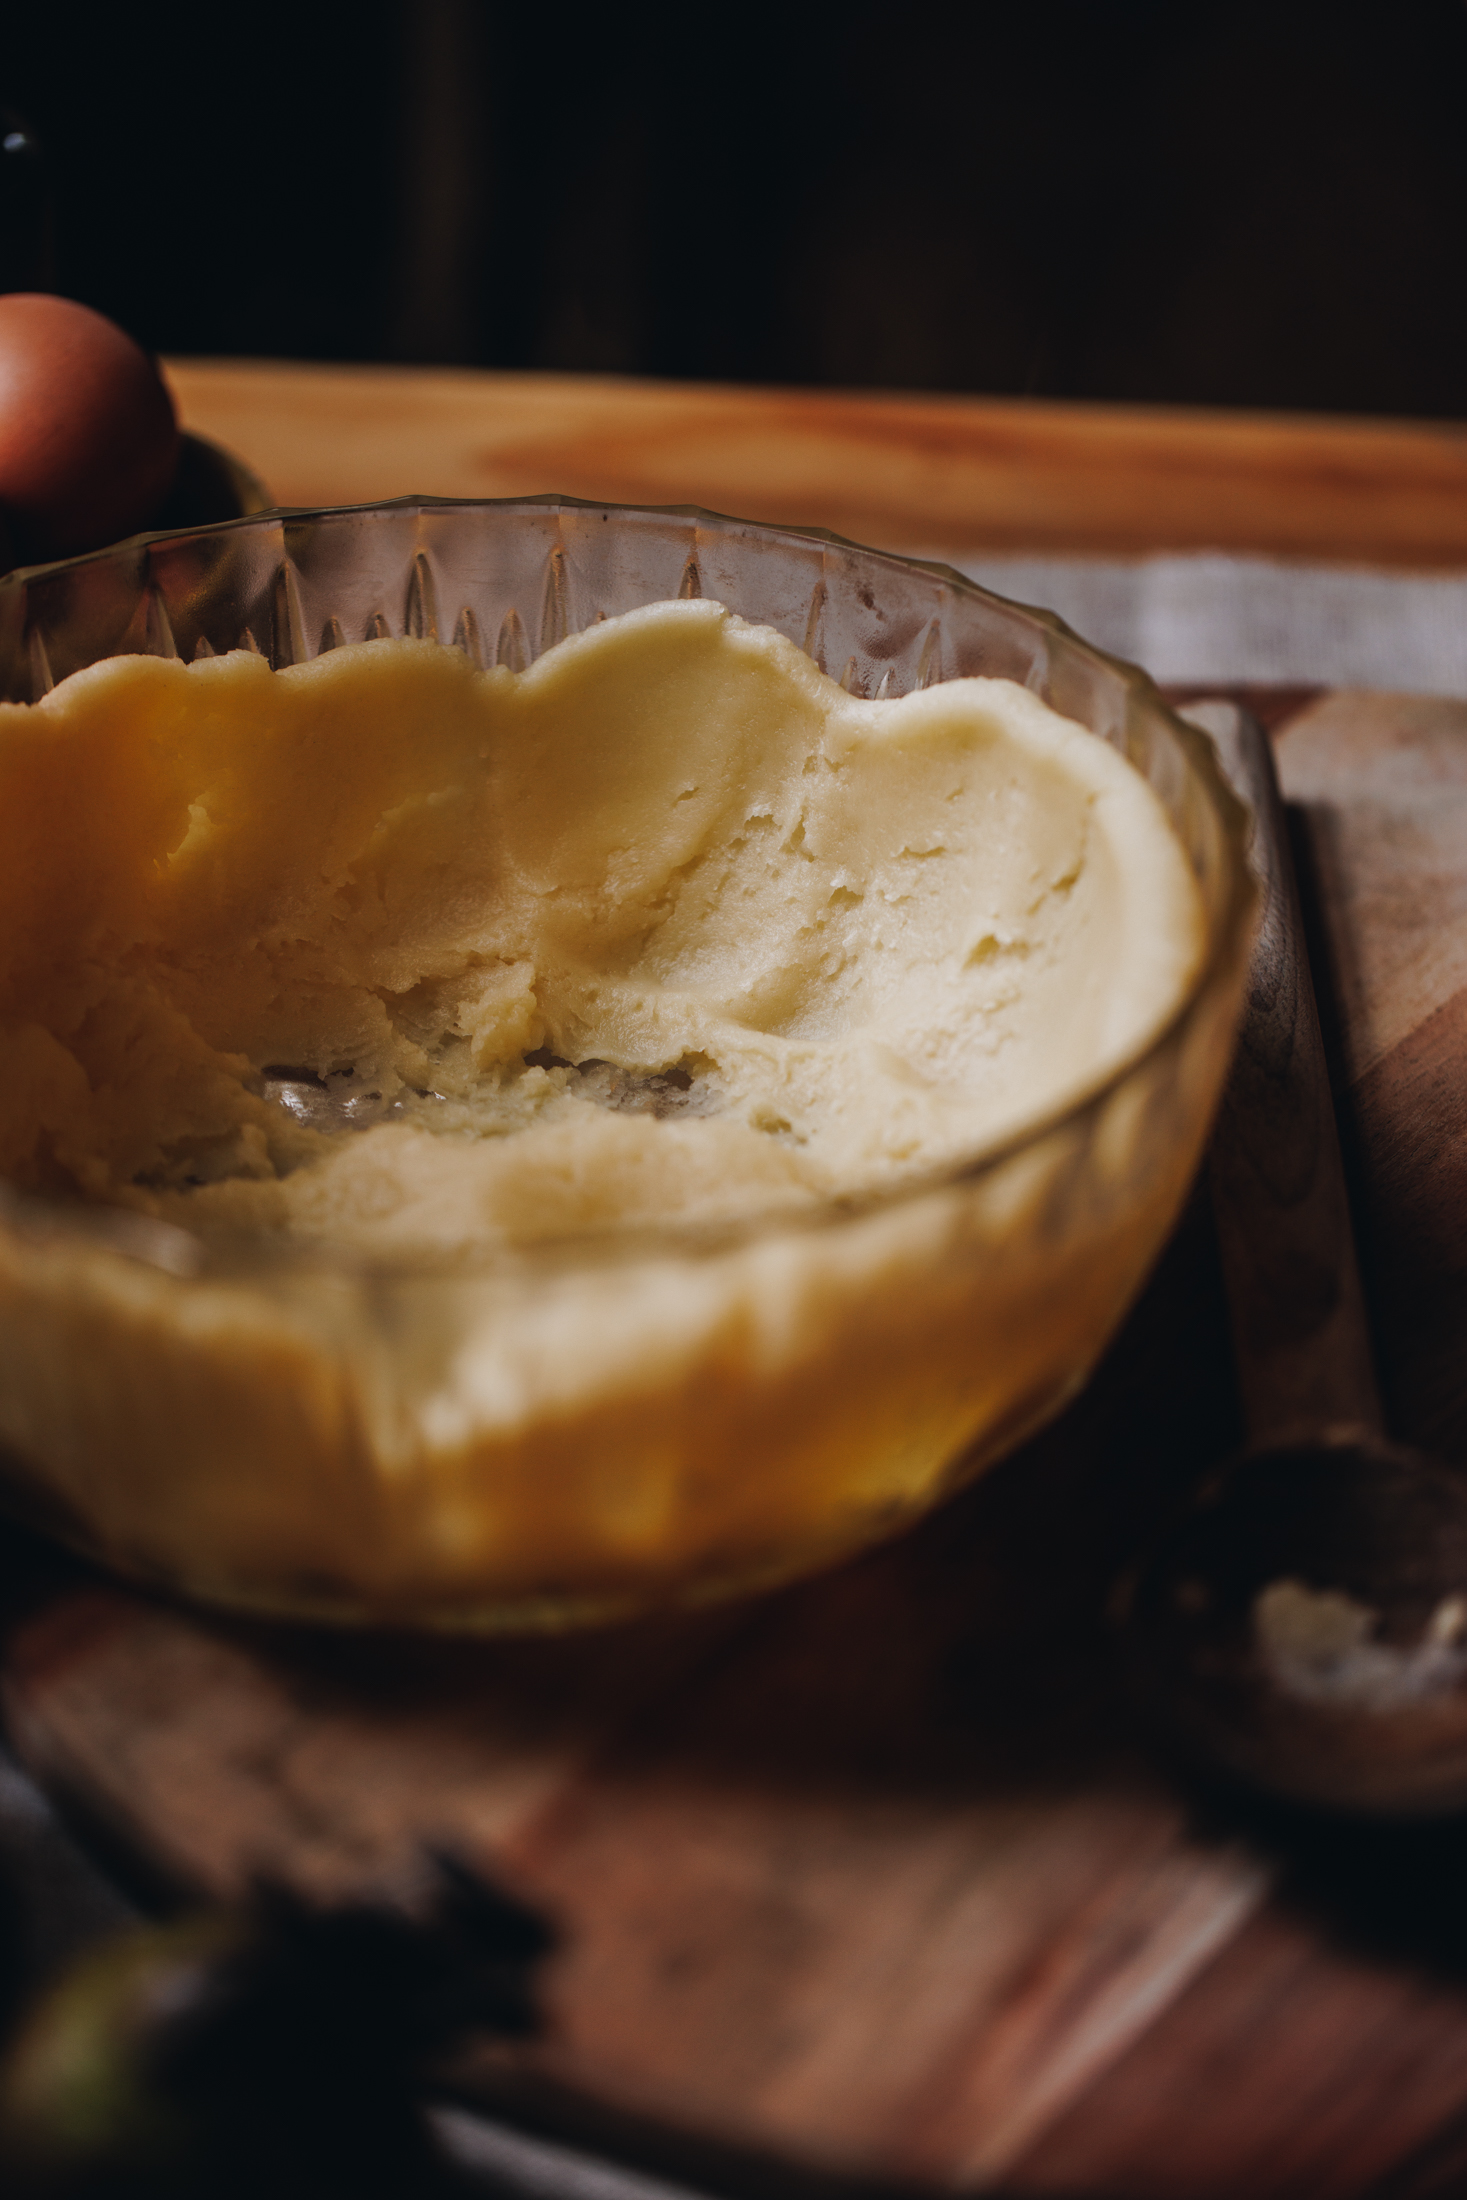
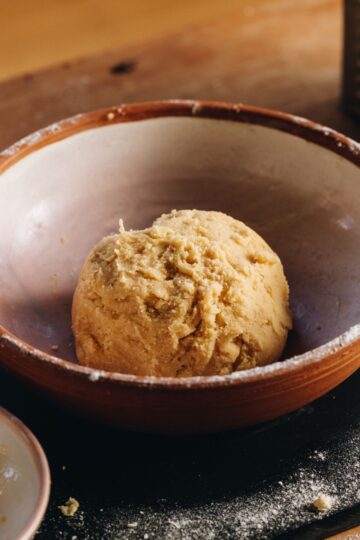
4. Cool the Dough:
Tip all of the pokenga (dough) in to a large bowl.
Push the mixture up the sides of the bowl and leave to cool for 10 minutes. This helps it cool faster.
5. Prepare the Eggs:
As the pokenga (dough) cools, add all of the hēki (eggs) in to medium bowl and whip well.
6. Add the Eggs in to the Dough:
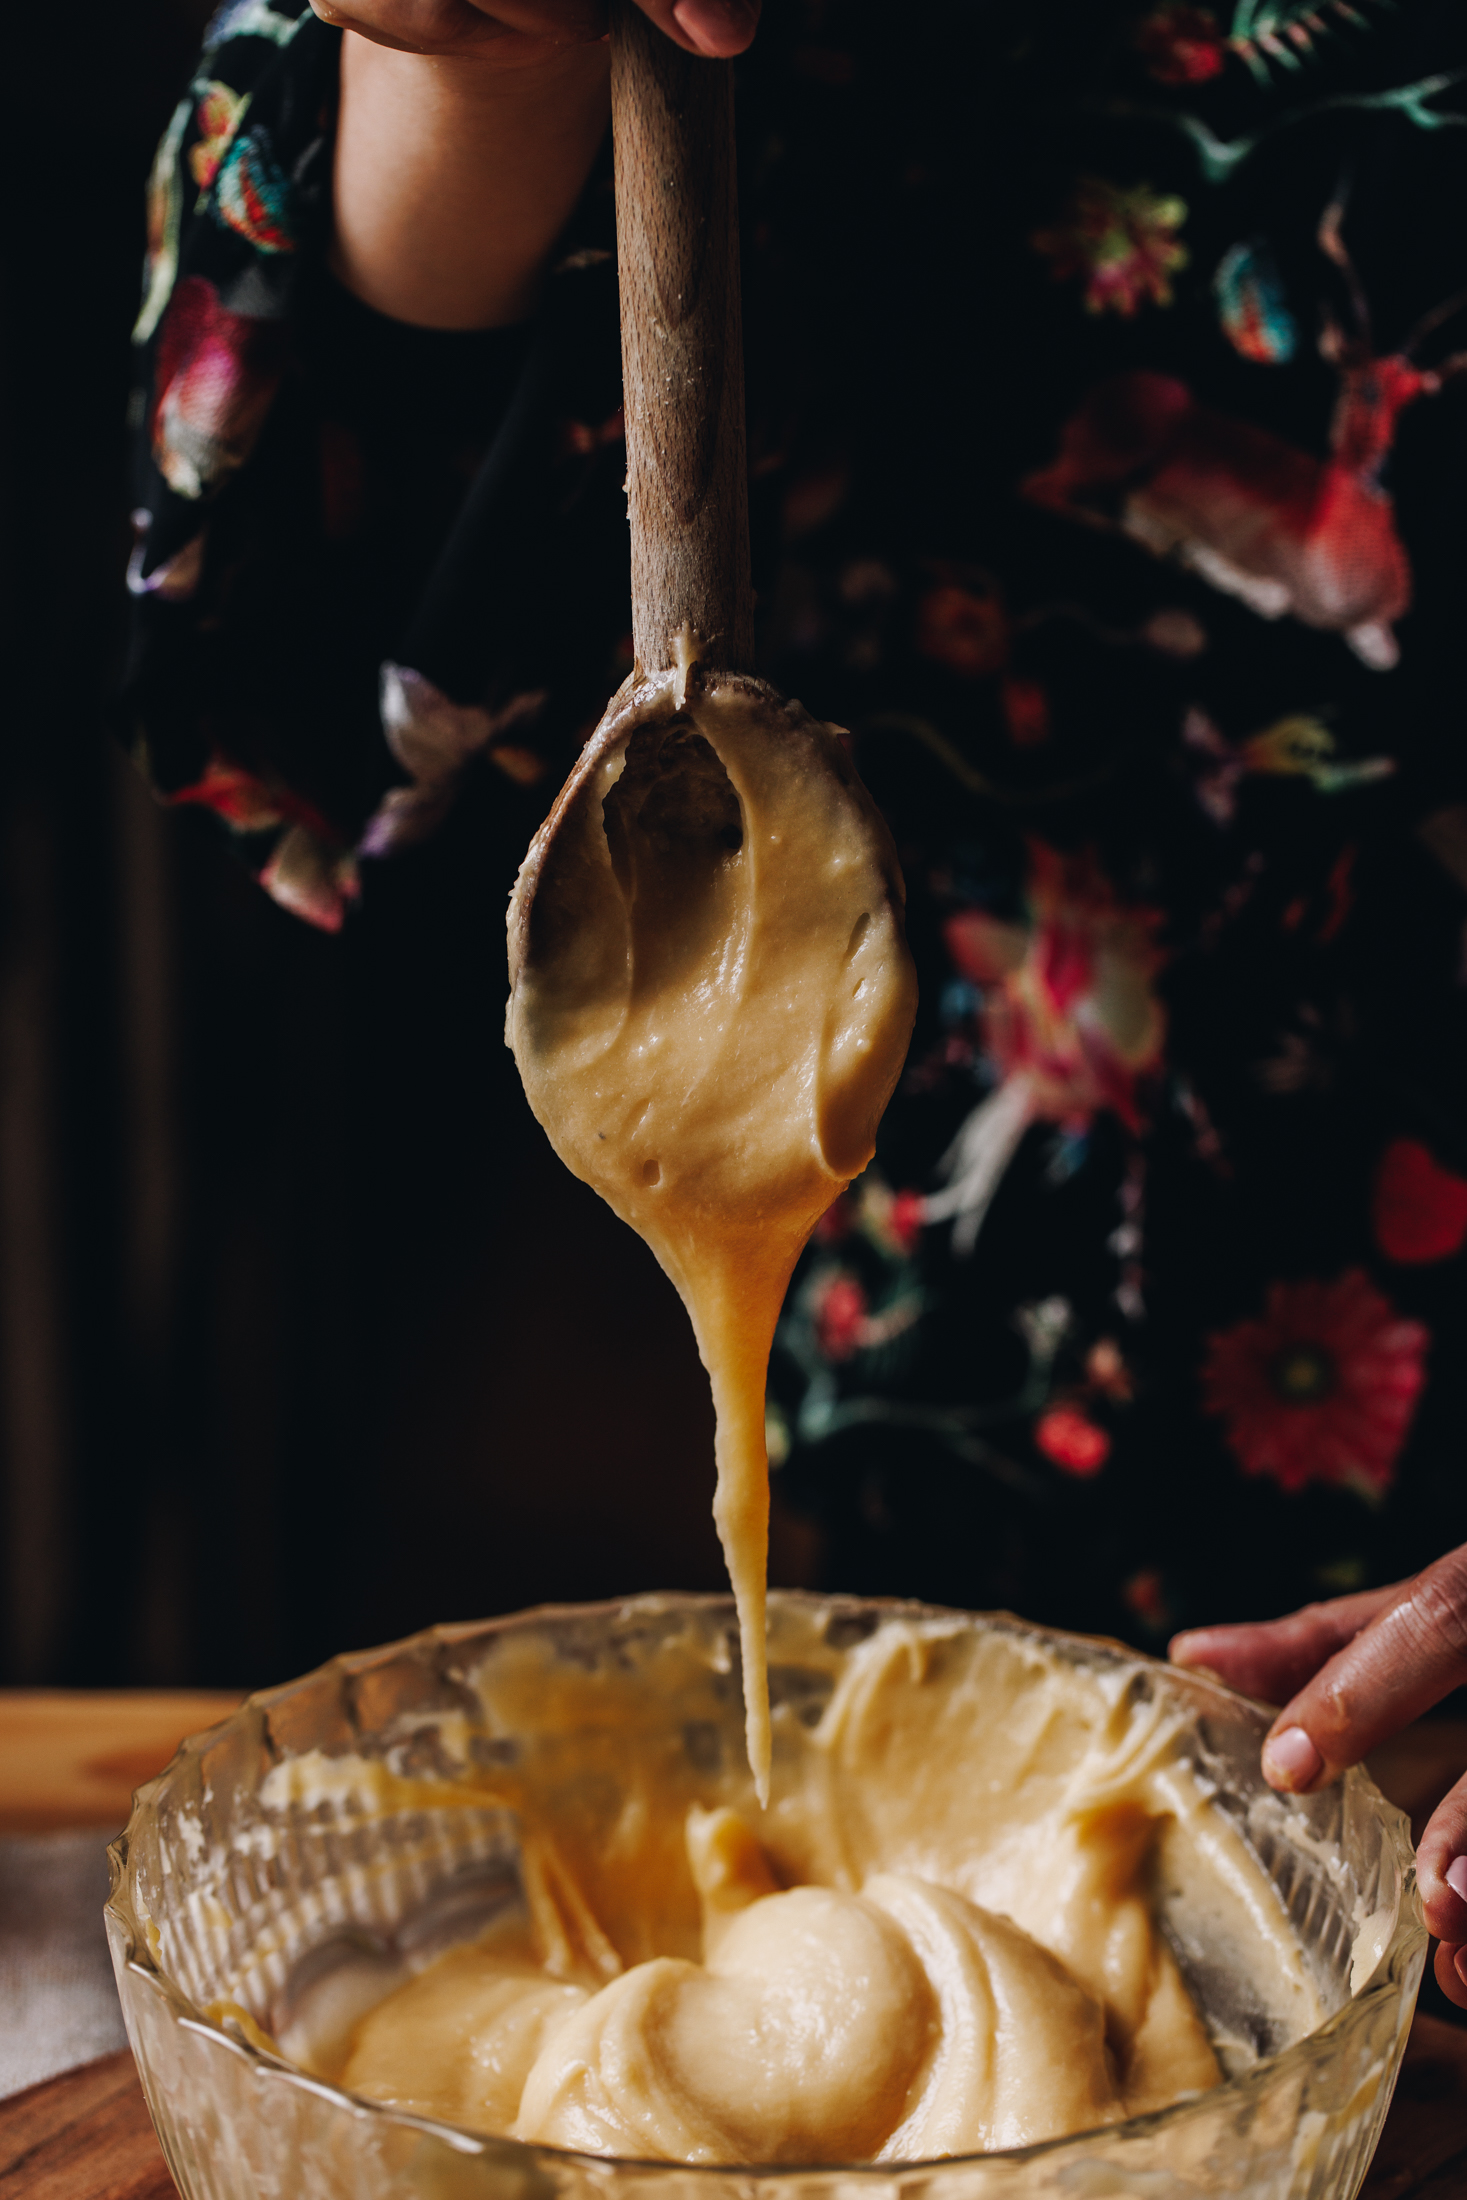
After the dough has cooled for ten minutes, slowly add the hēki (eggs) in to the flour mixture a quarter at a time, mixing well after each addition with a wooden spoon.
Mix it until a smooth paste forms. Keep adding the hēki (egg) and mixing it until it holds a V shape when you pull the spoon out of the mixture.

7. Add the Choux Pastry on to the Trays:
Add the prepared mixture to a piping bag with a small round nozzle.
Pipe around 12 choux buns on to each tray, making 24 buns in total.
If you don't have a piping bag, add the mixture with a teaspoon.
Make sure there is plenty of room for the buns to grow.
8. Soften the Peaks of the Buns:
If you have piped the buns, dip your finger in some water and smoosh the peaks down so they don't get burnt in the oven.
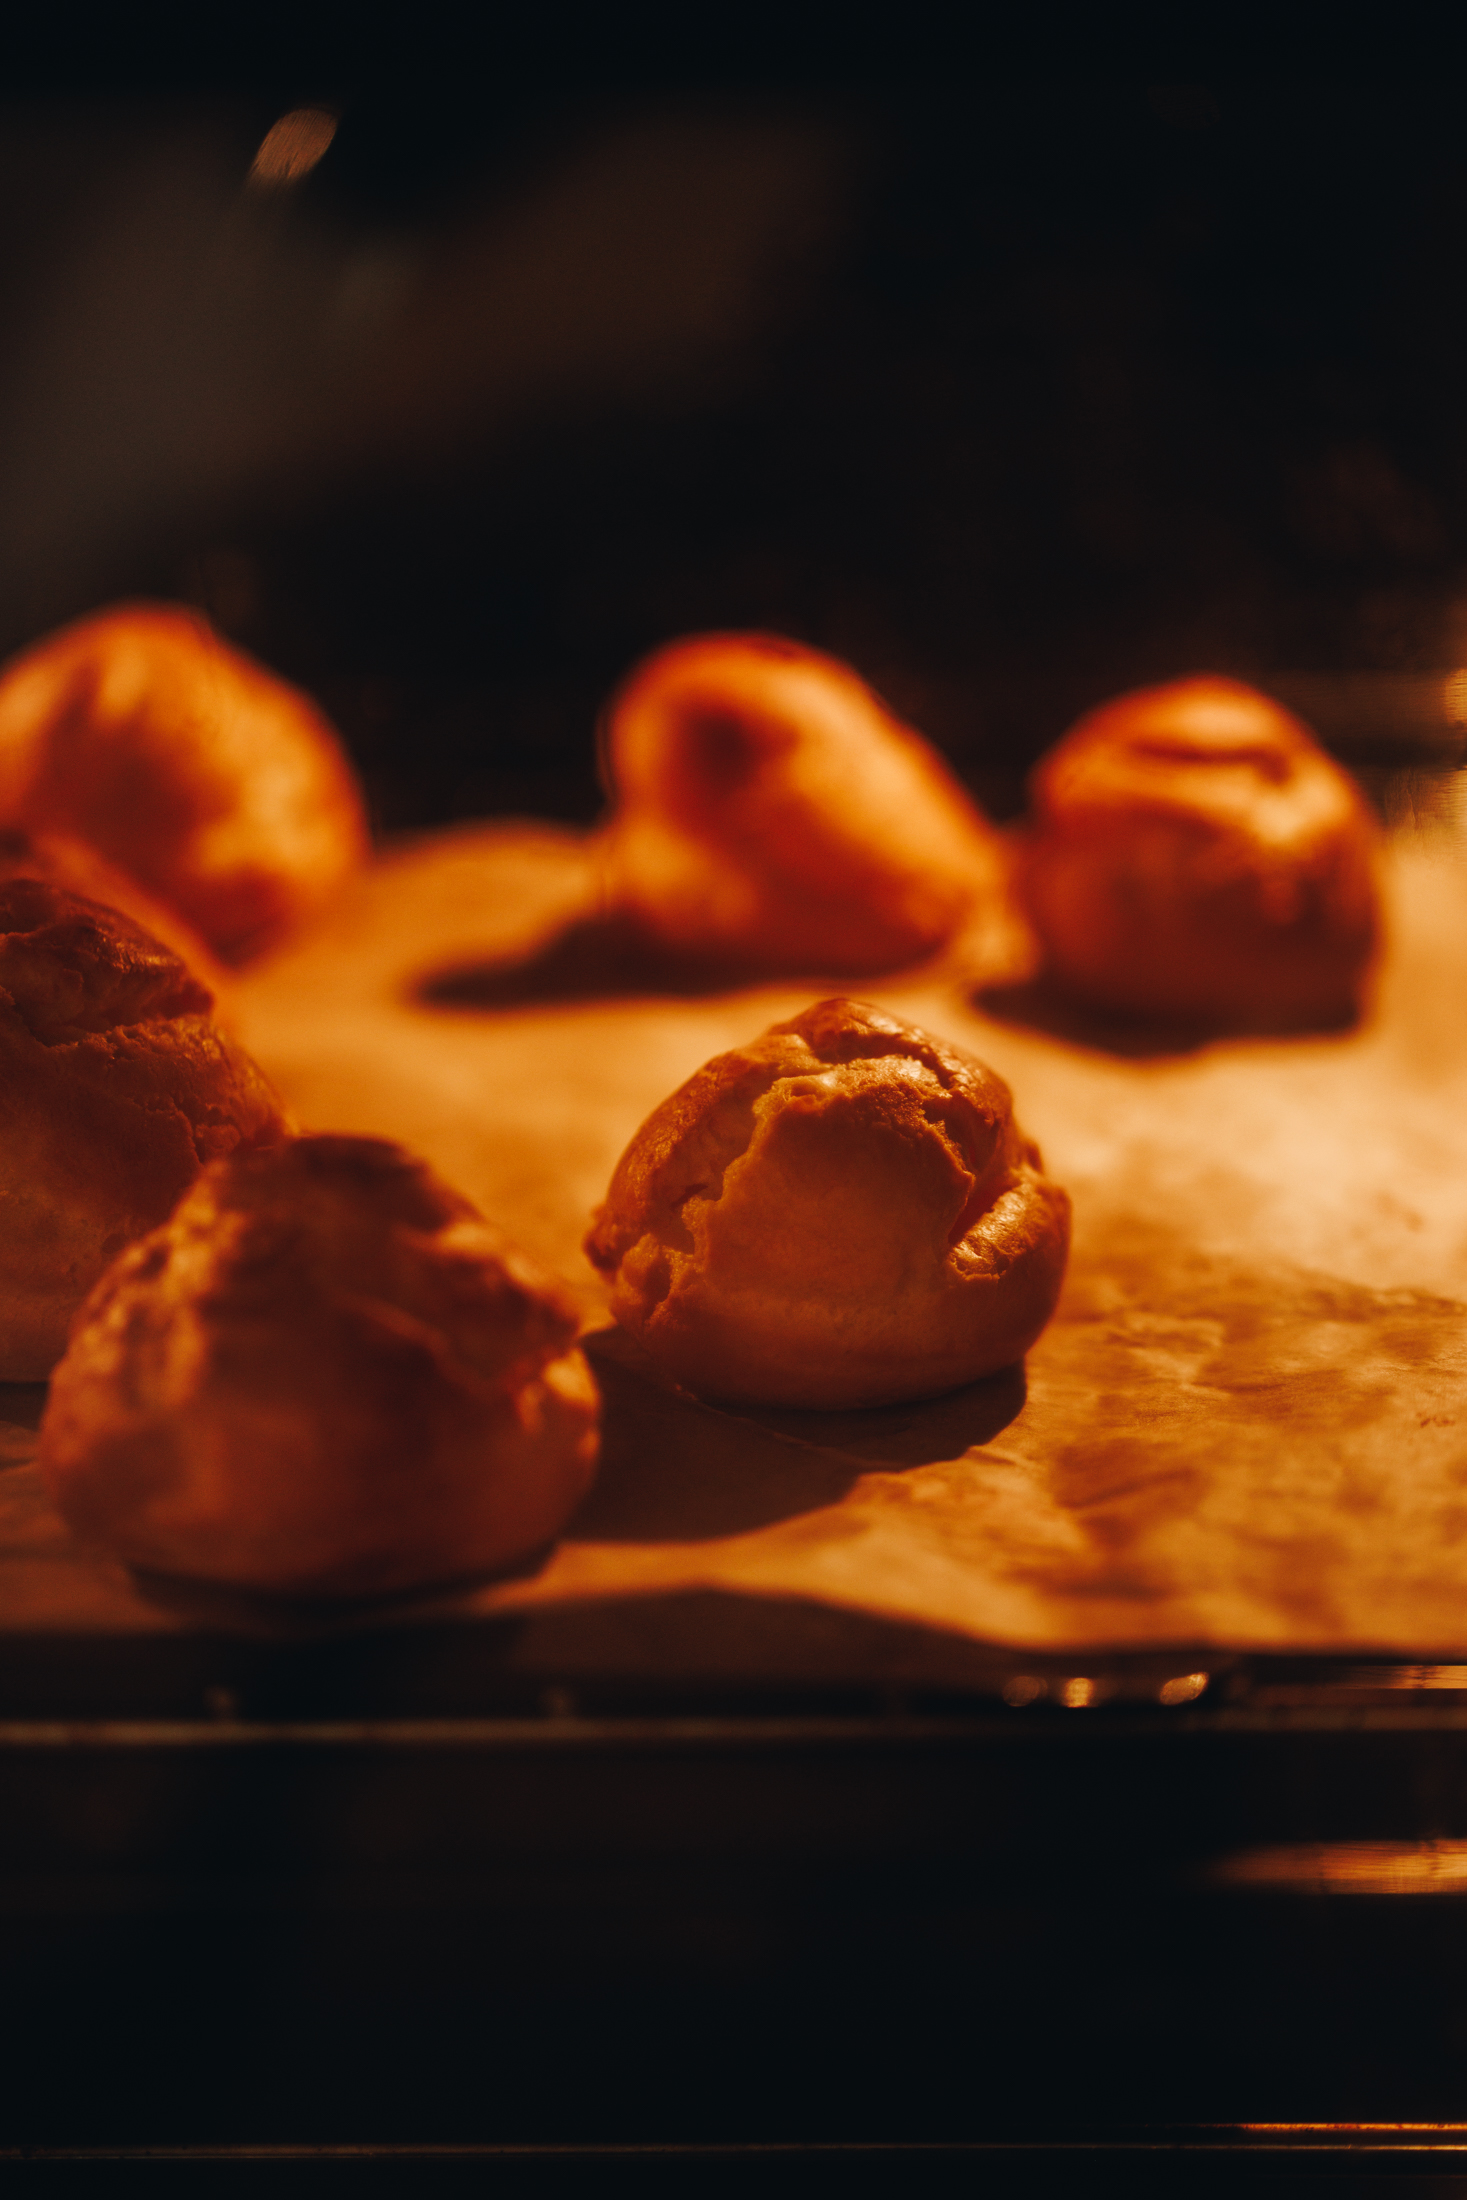
9. Bake the Choux Buns:
Bake them for 20 minutes. Then open the oven and stab through both sides of each bun with a knife. This releases steam and helps them go crisp.
Close the oven again and bake for a further 15 minutes. Turn the oven off at this point and let them cool down in the oven for around 15 - 20 minutes.
This whole process is makes sure the choux buns are dry enough once they have cooled and therefore will hold their shape.
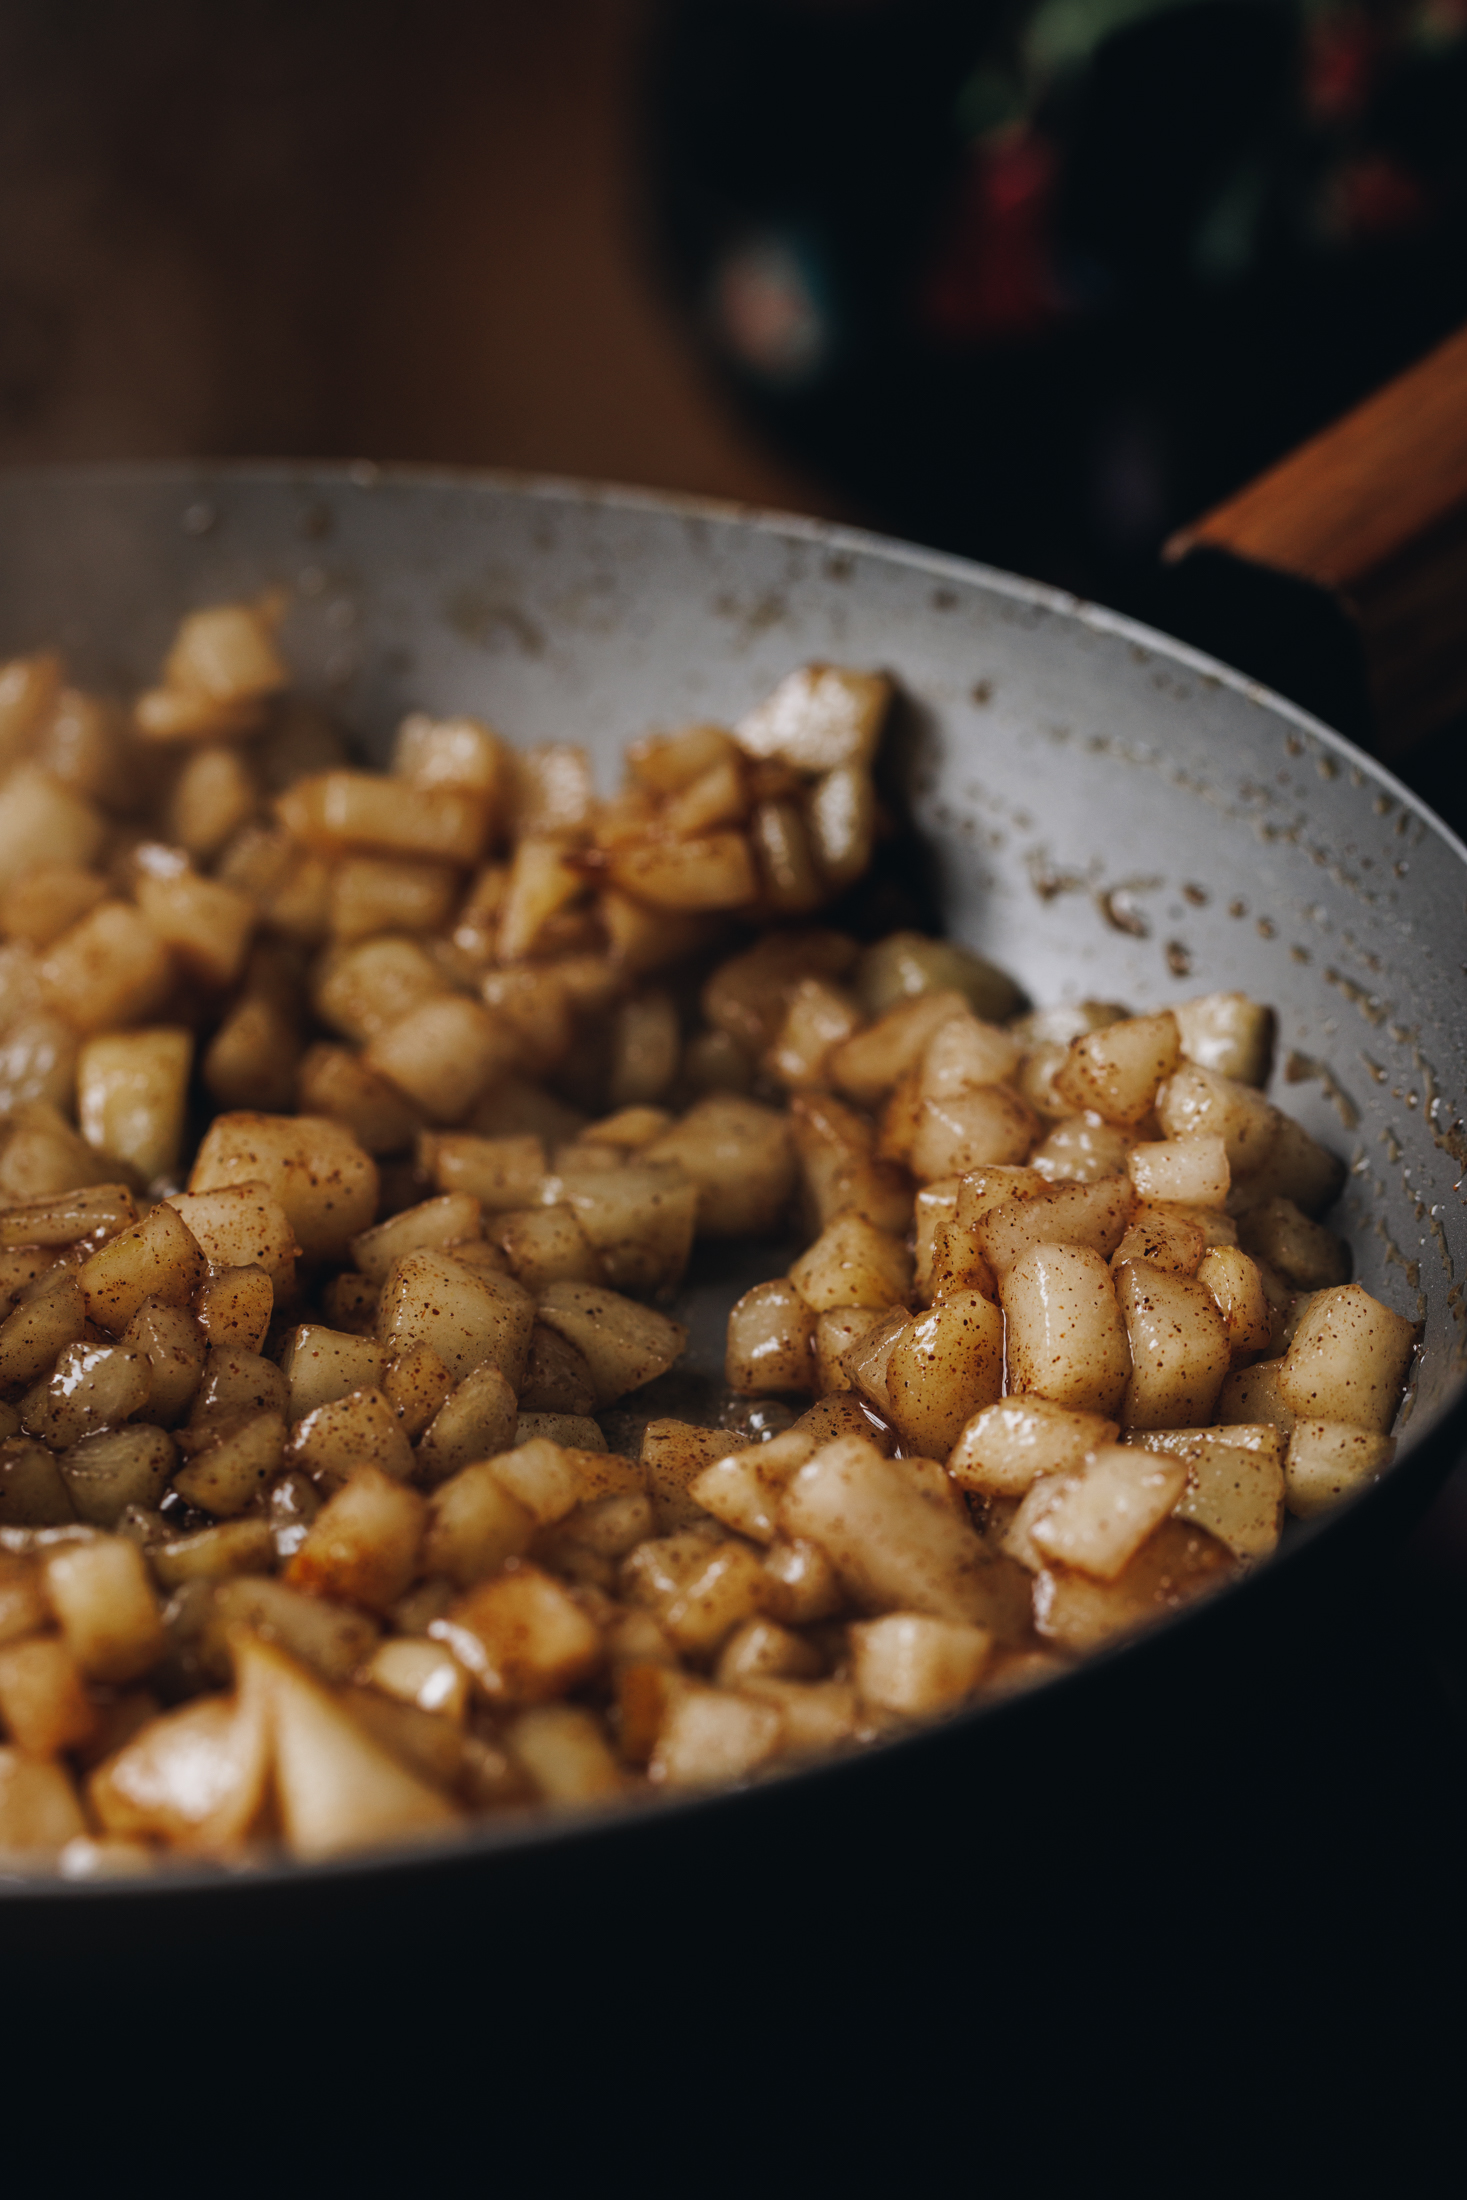
10. Make the Spiced Pear Compote:
As the buns bake, make the spiced pear compote according to instructions and allow it to completely cool.
This can be made up to 3 - 4 days in advanced and kept in a sealed container in the fridge.
11. Prepare the Whipped Cream:
Add the kirīmi (cream) and puehu huka (icing sugar) to the bowl. Whip it until thick and luscious.
If you want a super sturdy cream, use one quantity of my Stable Whipped Cream instead. This version works well if you are not serving the buns immediately.

12. Prepare the Choux Buns:
Once the choux buns have cooled slightly in the oven, remove them.
If you are not serving them today, cool them completely and store them in a sealed container in a cool cupboard for a day or so. Or move on to the next step and fill them up.
13. Fill the Spiced Pear Choux Buns with Cream and Pear:
Using a serrated knife, slice each one horizontally and allow them to cool for around 5 minutes or so.
Once they are cool, pipe or spoon a tablespoon of kirīmi (cream) in to the bottom of each bun.
Add the cooled tiamu pea (pear compote) on top of the kirmi. Top with more kirīmi (cream) in whichever way you want to.
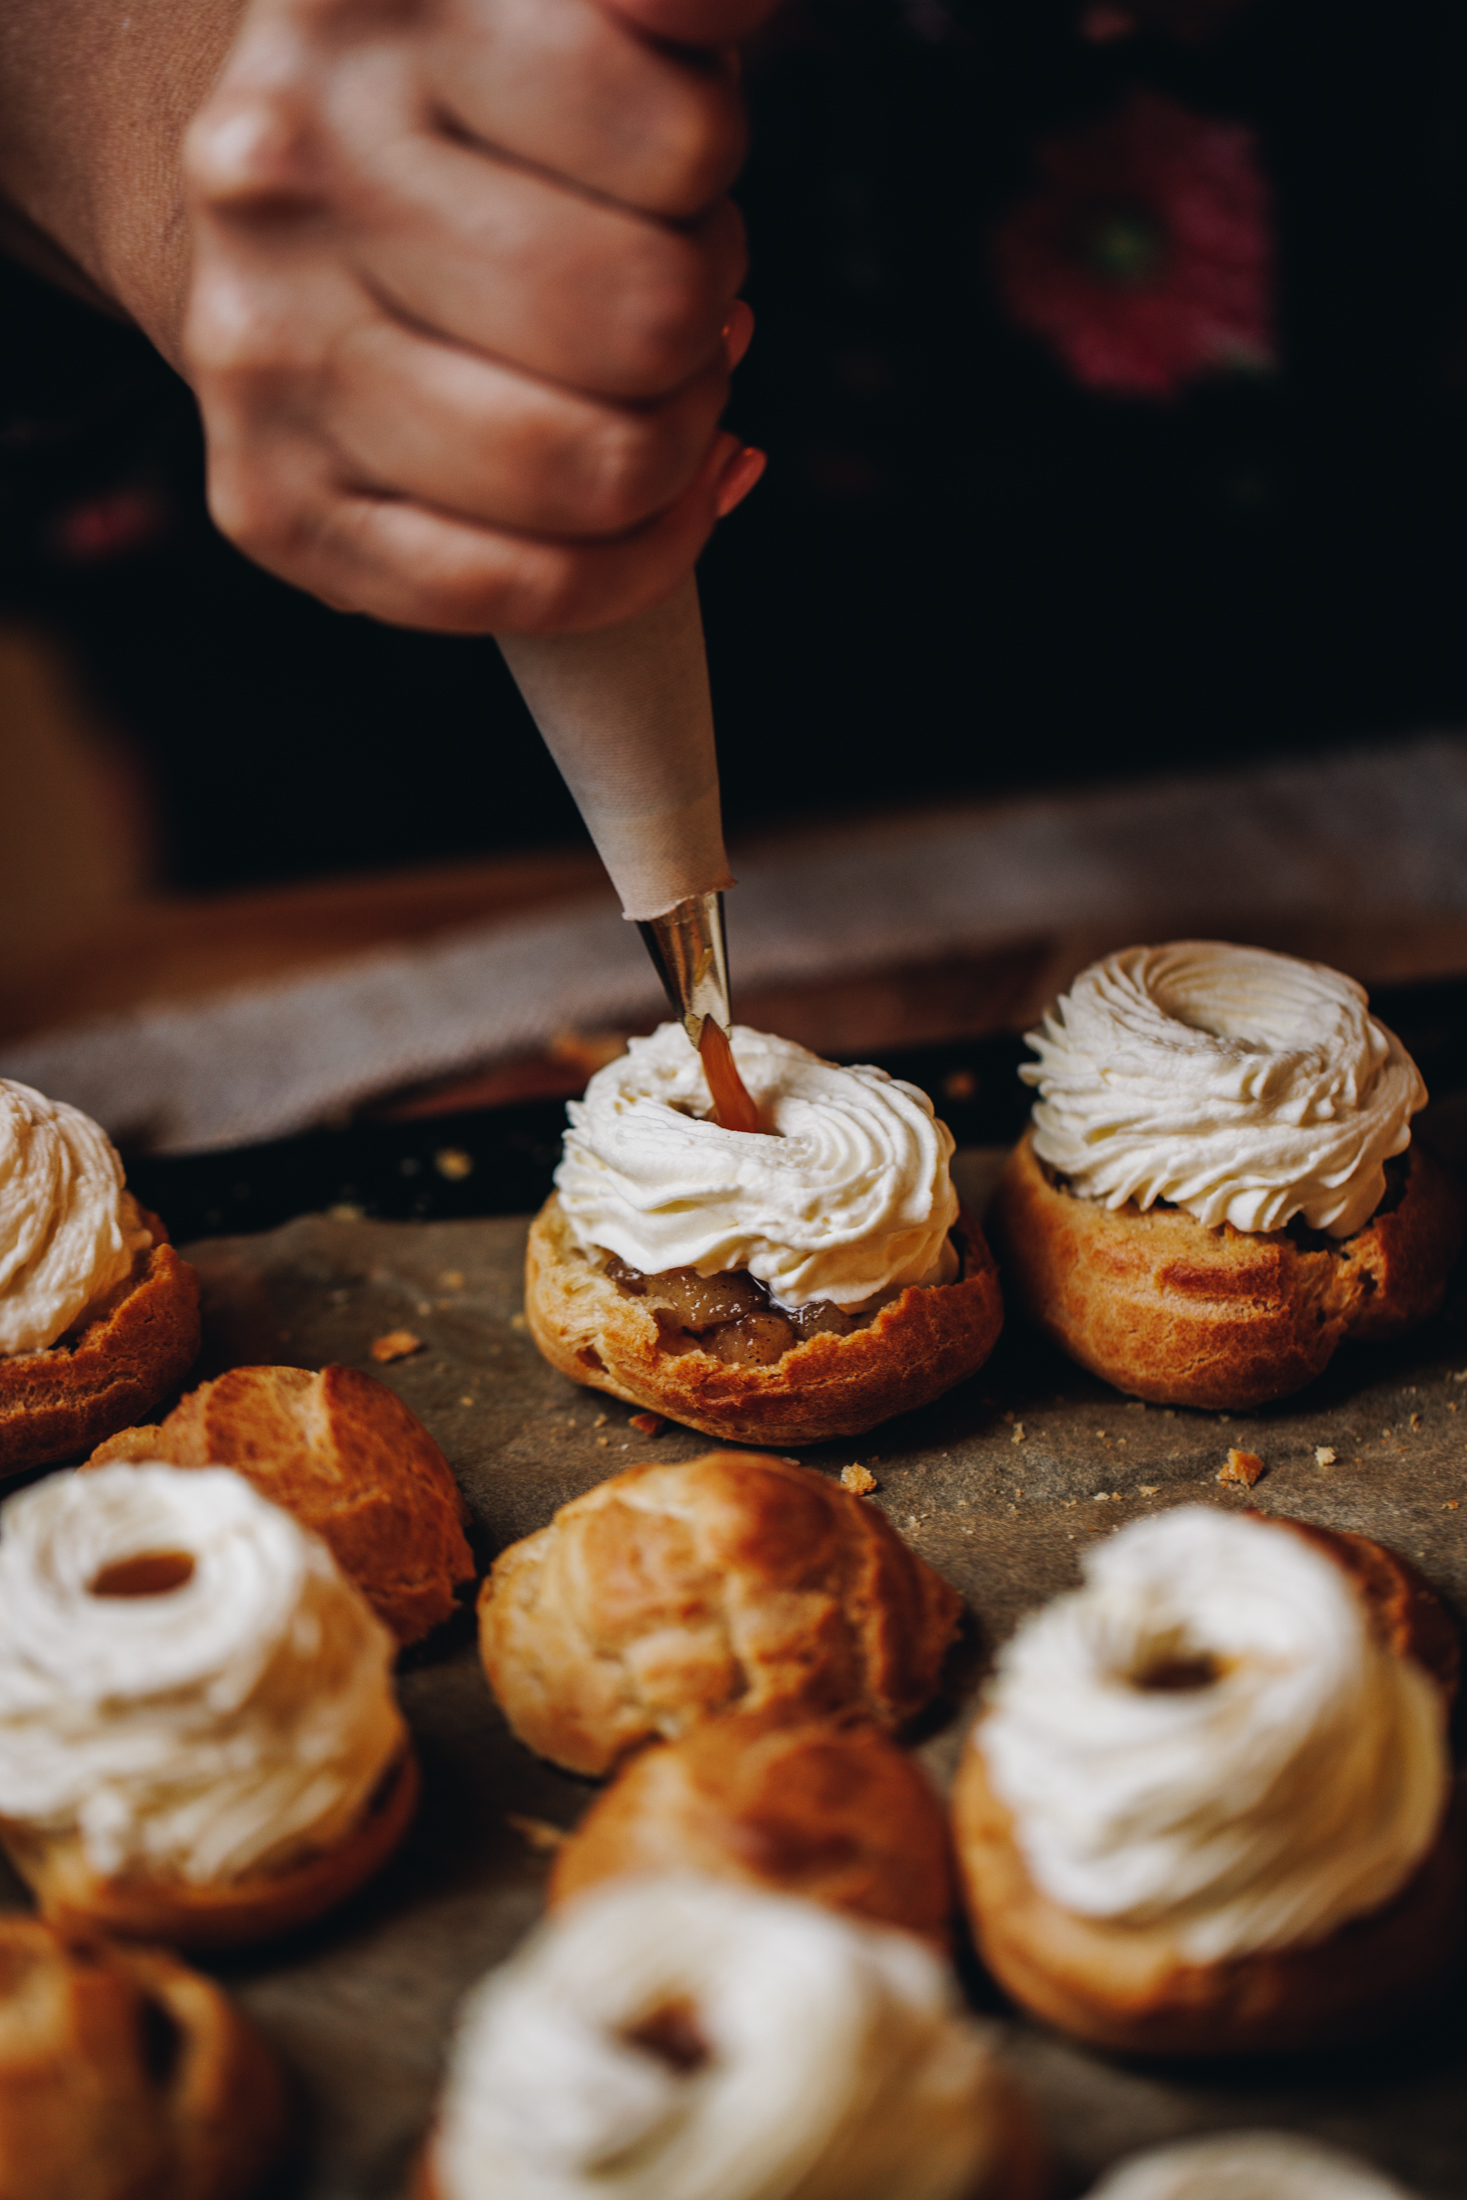
14. Add the Caramel:
If you are using the karamea (caramel), create a small hole in the centre of the cream and add in the karamea (caramel).
15. Add the Lids of the Spiced Pear Choux Buns:
Add the lids on to each bun. At this point you can dust with puehu huka (icing sugar) or follow the tohutohu (instructions) for melted chocolate.
16. Melt the Chocolate:
Chop the tiakarete parauri (dark chocolate) in to small pieces.Add the chopped tiakarete (chocolate) in to a small pot and gently melt it together over low heat.
17. Top the Spiced Pear Choux Buns:
Divide the tiakarete kua rewaina (melted chocolate) between the 20 choux buns.
18. Serve the Spiced Choux Buns:
The filled buns are best served within an hour of filling them or otherwise they risk going soggy.
Love this recipe? Then take a look at these
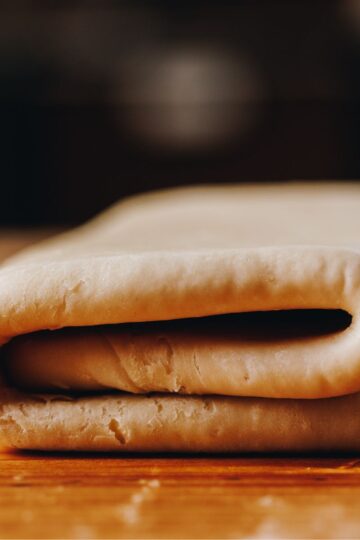
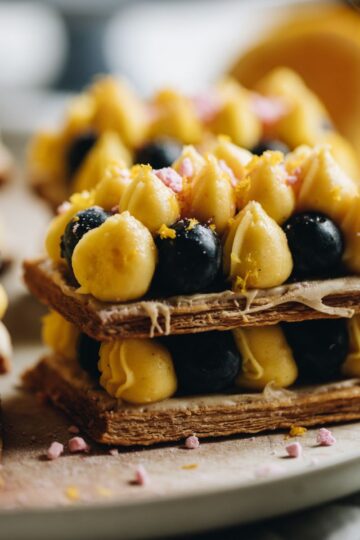
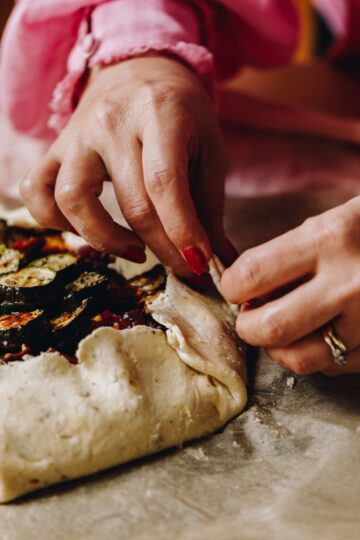
Pastry Recipes
With simple ingredients we can create the most delicious things.
DID YOU ENJOY THIS RECIPE?
It would be so awesome if you could please leave a review/comment by clicking the “leave a comment” section at the top of the page.
I love seeing you all make my creations, so send a whakaahua (photo) or kiriata (video) to my Instagram and show me what you made. Let me know if you have any pātai (questions) too, I would love to help.

Spiced Pear Choux Buns - Pōhā Hēki me te Pea Karamea
Ingredients
The Choux Pastry - Te Pōhā Hēki
- 1 C (250 ml) wai (water)
- 1 teaspoon (5 ml) wanira (vanilla)
- ¼ teaspoon tote (salt, fine)
- 100 g pata (butter)
- 1 C (150 g) puehu parāoa noa (plain flour)
- 4 hēki (eggs, size 6, you may need a little extra)
Spiced Pear Compote - Tiamu Pea Namunamuā
- 1 quantity spiced pear compote
- 4 - 5 pea iti (small pears, beurre bosc are best but use what you have)
- 1 teaspoon hinamona kuoro (ground cinnamon)
- 2 tablespoon (30 ml) wai rēmana (lemon juice)
- ¼ C (85 ml) marahihi māpere (maple syrup)
- 2 tsp (10 ml) wanira (vanilla)
The Cream - Te Kirīmi
- 2 C (500 ml) kirīmi (cream, whipping)
- 3 tablespoon puehu huka (icing sugar)
- If you want a super sturdy cream, use one quantity of my Stable Whipped Cream instead.
Optional Extras (All Optional)
- ½ C (170 g) karamea (caramel, store brought caramel sauce)
- 80 g tiakarete parauri (dark chocolate). Use whatever chocolate you like.
Instructions
Preheat the Oven:
- Preheat the oven to 180 °C bake or 170 °C fan bake.
- Prepare two large baking trays with baking paper. Spray them with cold water or brush it on with a pastry brush. This part creates steam in the oven and helps the choux buns rise well.
Heat the Wet Ingredients of the Choux Pastry:
- Add the wai (water), wanira (vanilla), tote (salt) and pata (butter) to a pot.
- Bring to a gentle simmer over medium heat and then remove it from the heat.
Add the Flour:
- Sift the puehu parāoa (flour) directly in to the hot mixture. Give it a really good stir and set it back on to low to medium heat.
- Cook the mixture for 3 minutes, continuously stirring. Once a film starts forming on the bottom of the pot, cook it for another 30 seconds and then remove it from the heat.
Cool the Dough:
- Tip all of the pokenga (dough) in to a large bowl.
- Push the mixture up the sides of the bowl and leave to cool for 10 minutes. This helps it cool faster.
Prepare the Eggs:
- As the pokenga (dough) cools, add all of the hēki (eggs) in to medium bowl and whip well.
Add the Eggs in to the Dough:
- After the dough has cooled for ten minutes, slowly add the hēki (eggs) in to the flour mixture a quarter at a time, mixing well after each addition with a wooden spoon.
- Mix it until a smooth paste forms. Keep adding the hēki (egg) and mixing it until it holds a V shape when you pull the spoon out of the mixture.
Add the Choux Pastry on to the Trays:
- Add the prepared mixture to a piping bag with a small round nozzle. Pipe around 12 choux buns on to each tray, making 24 buns in total.
- If you don't have a piping bag, add the mixture with a teaspoon. Make sure there is plenty of room for the buns to grow.
Soften the Peaks of the Buns:
- If you have piped the buns, dip your finger in some water and smoosh the peaks down so they don't get burnt in the oven.
Bake the Choux Buns:
- Bake them for 20 minutes. Then open the oven and stab through both sides of each bun with a knife. This releases steam and helps them go crisp.
- Close the oven again and bake for a further 15 minutes. Turn the oven off at this point and let them cool down in the oven for around 15 - 20 minutes.
- This whole process is makes sure the choux buns are dry enough once they have cooled and therefore will hold their shape.
Make the Spiced Pear Compote:
- As the buns bake, make the spiced pear compote according to instructions and allow it to completely cool.
- This can be made up to 3 - 4 days in advanced and kept in a sealed container in the fridge.
Prepare the Whipped Cream:
- Add the kirīmi (cream) and puehu huka (icing sugar) to the bowl. Whip it until thick and luscious.
- If you want a super sturdy cream, use one quantity of my Stable Whipped Cream instead. This version works well if you are not serving the buns immediately.
Prepare the Choux Buns:
- Once the choux buns have cooled slightly in the oven, remove them and place them on the bench.
- If you are not serving them today, cool them completely and store them in a sealed container in a cool cupboard for a day or so. Or move on to the next step and fill them up.
Fill the Spiced Pear Choux Buns with Cream and Pear:
- Using a serrated knife, slice each one horizontally and allow them to cool for around 5 minutes or so.
- Once they are cool, pipe or spoon a tablespoon of kirīmi (cream) in to the bottom of each bun.
- Add the cooled tiamu pea (pear compote) on top of the kirmi. Top with more kirīmi (cream) in whichever way you want to.
Add the Caramel:
- If you are using the karamea (caramel), create a small hole in the centre of the cream and add in the karamea (caramel).
Add the Lids of the Spiced Pear Choux Buns:
- Add the lids on to each bun. At this point you can dust with puehu huka (icing sugar) or follow the tohutohu (instructions) for melted chocolate.
Melt the Chocolate:
- Chop the tiakarete parauri (dark chocolate) in to small pieces.Add the chopped tiakarete (chocolate) in to a small pot and gently melt it together over low heat.
Top the Spiced Pear Choux Buns:
- Divide the tiakarete kua rewaina (melted chocolate) between the 20 choux buns.
Serve the Spiced Choux Buns:
- The filled buns are best served within an hour of filling them or otherwise they risk going soggy.


Leave a Review