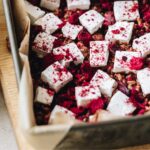
These Easy Homemade Vanilla Marshmallows are super tasty and egg-free. Make them for all sorts of seasons and reasons. Having a s'mores night? Make these instead of buying māngohe (marshmallows). Making a gift? Then make this recipe to pair with my Rocky Road, add it to a second-hand biscuit tin and wrap it brown paper.
If you have followed me for a while, you will already know that I love making māngohe (marshmallow) and other delicious toppings. The magic of seeing a weird looking syrup transform in to fluffy māngohe (marshmallows) never ceases to make me smile. I don't love the store bought ones in the same way though as the sweetness level is at an all time high. The homemade version is full of delicious flavour and the balance of sweetness is perfect!
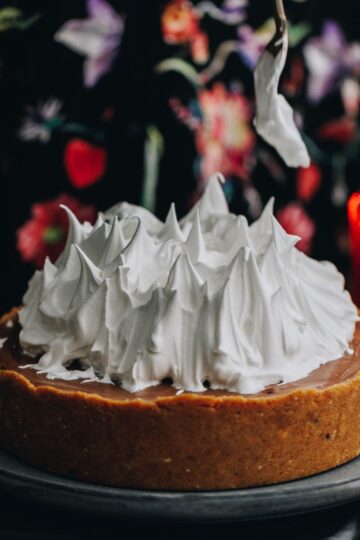
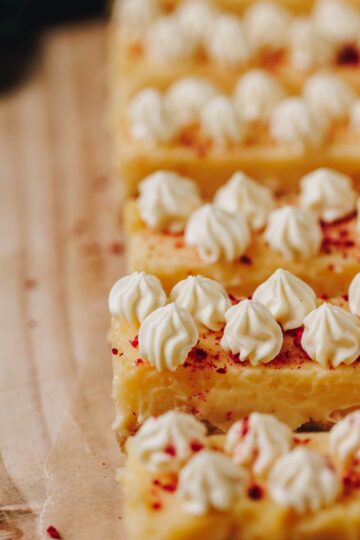
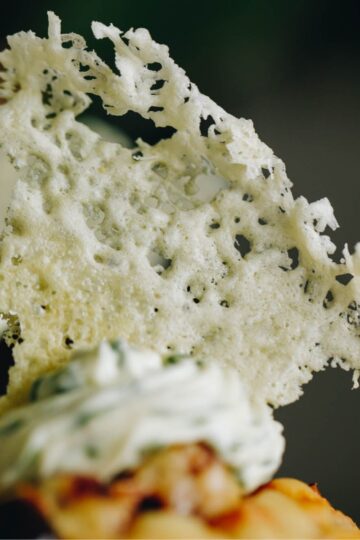
More māngohe (marshmallow):
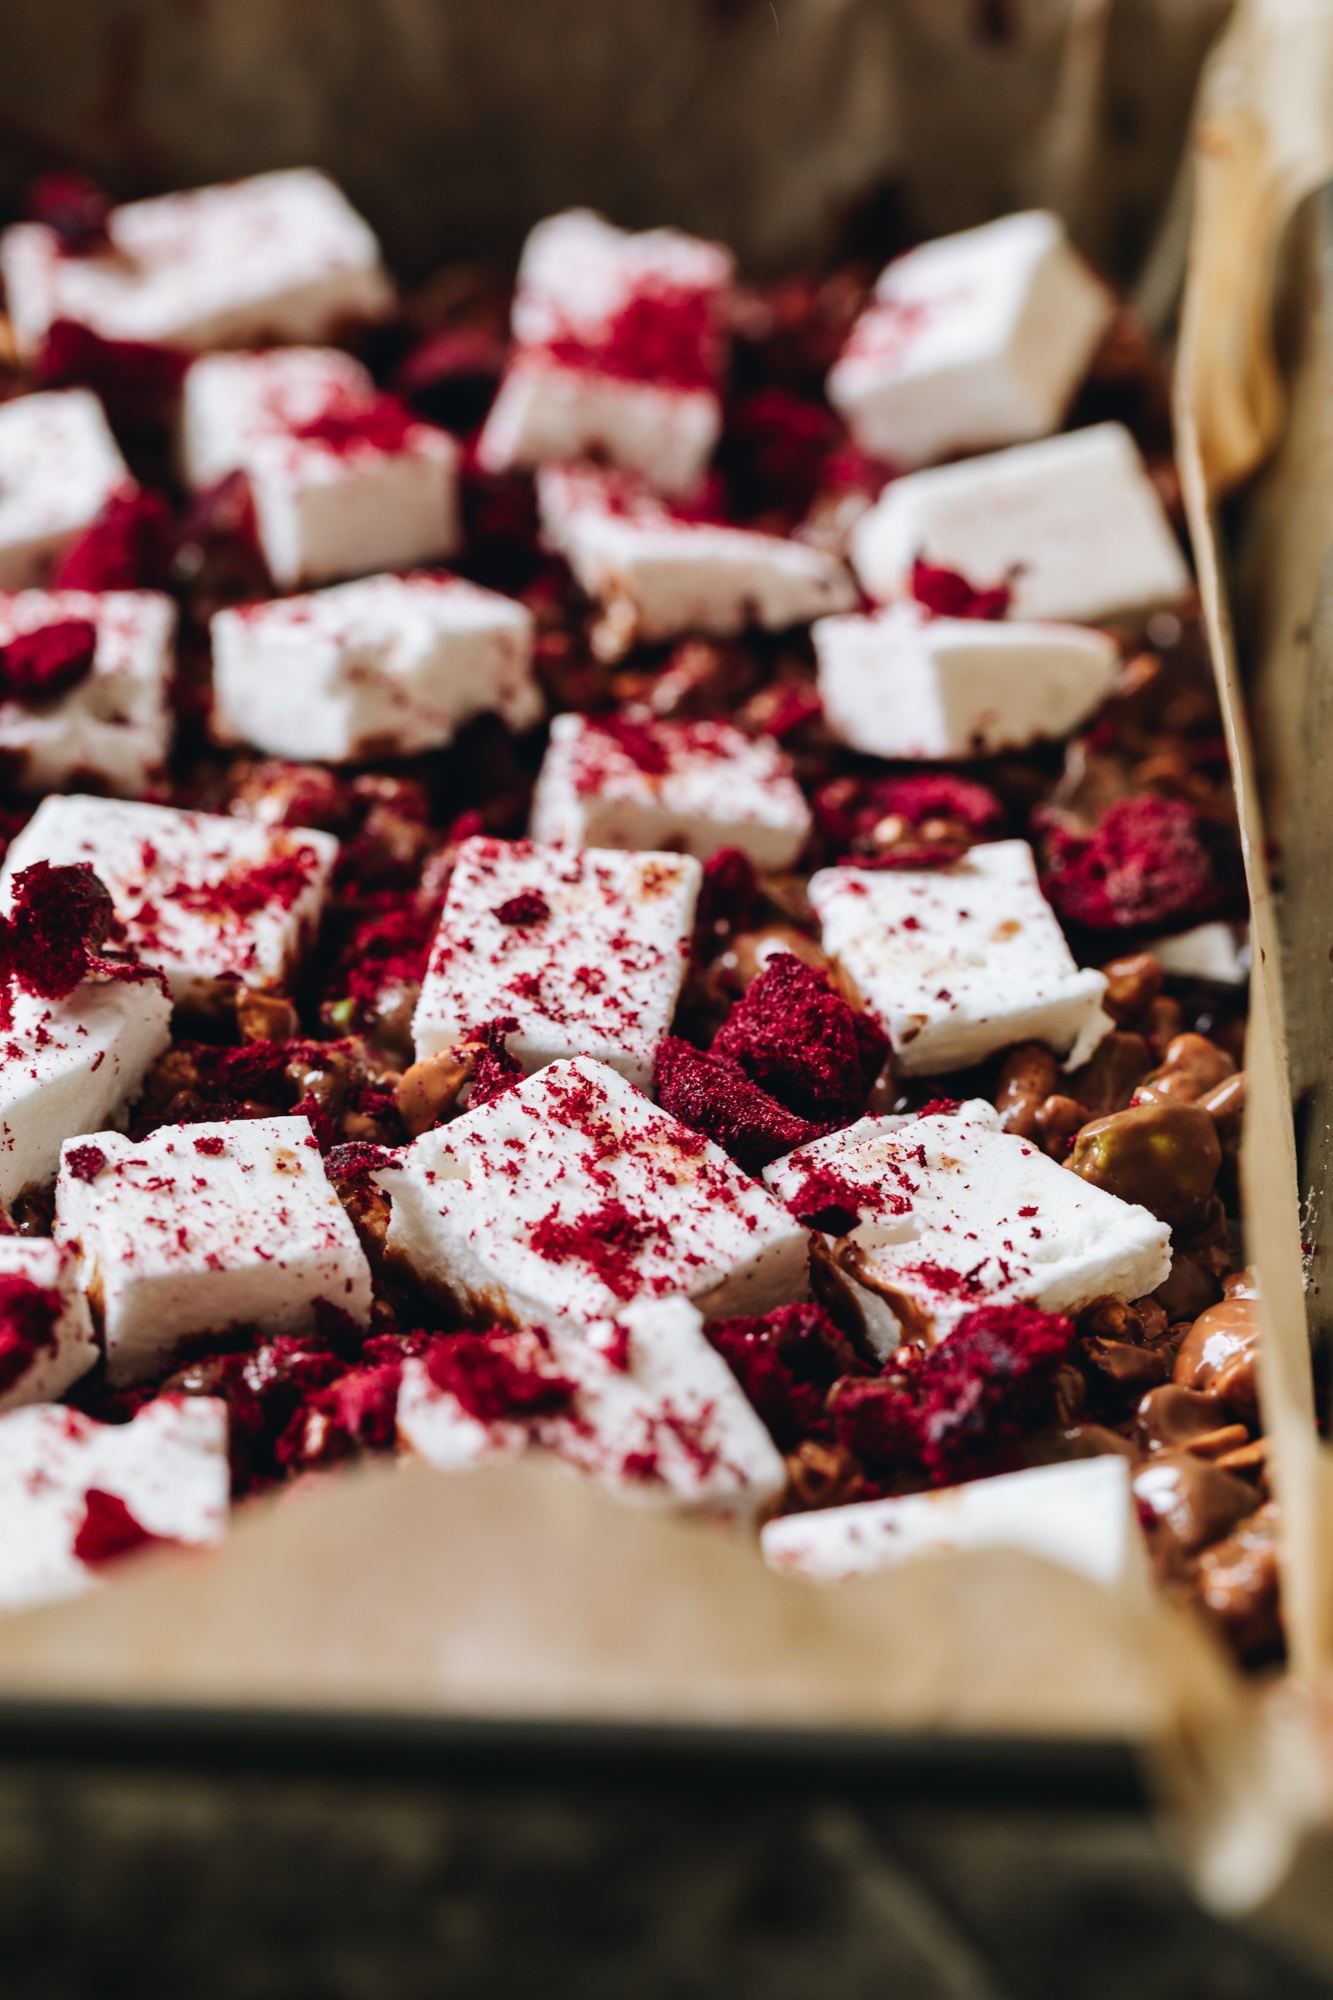
I use a similar recipe to this one in my No-bake Hedgehog Slice with Marshmallow recipe. If you want to level up the flavour profile then try my Raspberry Marshmallow recipe or even better, try it with my Chocolate Brownie with Marshmallow.
Videography and photography by Sarah Henderson.
Ingredient Tips for the Easy Homemade Vanilla Marshmallow:
- Gelatine Powder: This little ingredient helps the māngohe (marshmallow) to set and if you live in NZ, I prefer the Mrs Rogers brand.
- Caster sugar: Huke one (caster sugar) gives the māngohe (marshmallow) a light colour so don't swap it for other sugars.
- Glucose Syrup: This also helps maintain a white colour to the māngohe (marshmallow) but can also be replaced with the same amount of golden syrup which will give a golden hue.
- Vanilla: This gives a delicious flavour but feel free to add a teaspoon of peppermint essence or other flavours.
Expert Tips:
Don't use a tray any bigger than the one specified as the māngohe (marshmallow) will be too flat. If you don't have the right size, a smaller tray is better than bigger in this recipe.
There are two ways to monitor the sugar syrup when it is cooking: If you are using a sugar thermometer, it needs to reach 115 °C. If you are eye balling it, take note of the bubbles. At the beginning of the boiling process the bubbles will be small and rapid, when they transform to slower, bigger bubbles, that is your cue to remove it from the heat. If the syrup starts to go golden, you have taken it too far.
If the meringue mixture gets super tacky at any point when you are whipping the meringue, get it in to the tray immediately because it is starting to set.
STEP BY STEP INSTRUCTIONS FOR THE EASY HOMEMADE VANILLA MARSHMALLOW:
Note: The full recipe card with the full list of ingredients, instructions and step by step video are found at the bottom of this page.
1. Prepare the Baking Tin:
Line a 20 cm square baking tray with baking paper. Don't use a tray any bigger than this as the māngohe (marshmallow) will be too flat. A smaller tray is better than bigger in this recipe.
2. Bloom the Gelatine:
Add the first measure of wai (water) to a large, heatproof bowl.
Sprinkle over the paura tētepe (gelatine powder). Kaurorihia (stir it up) and leave to bloom.
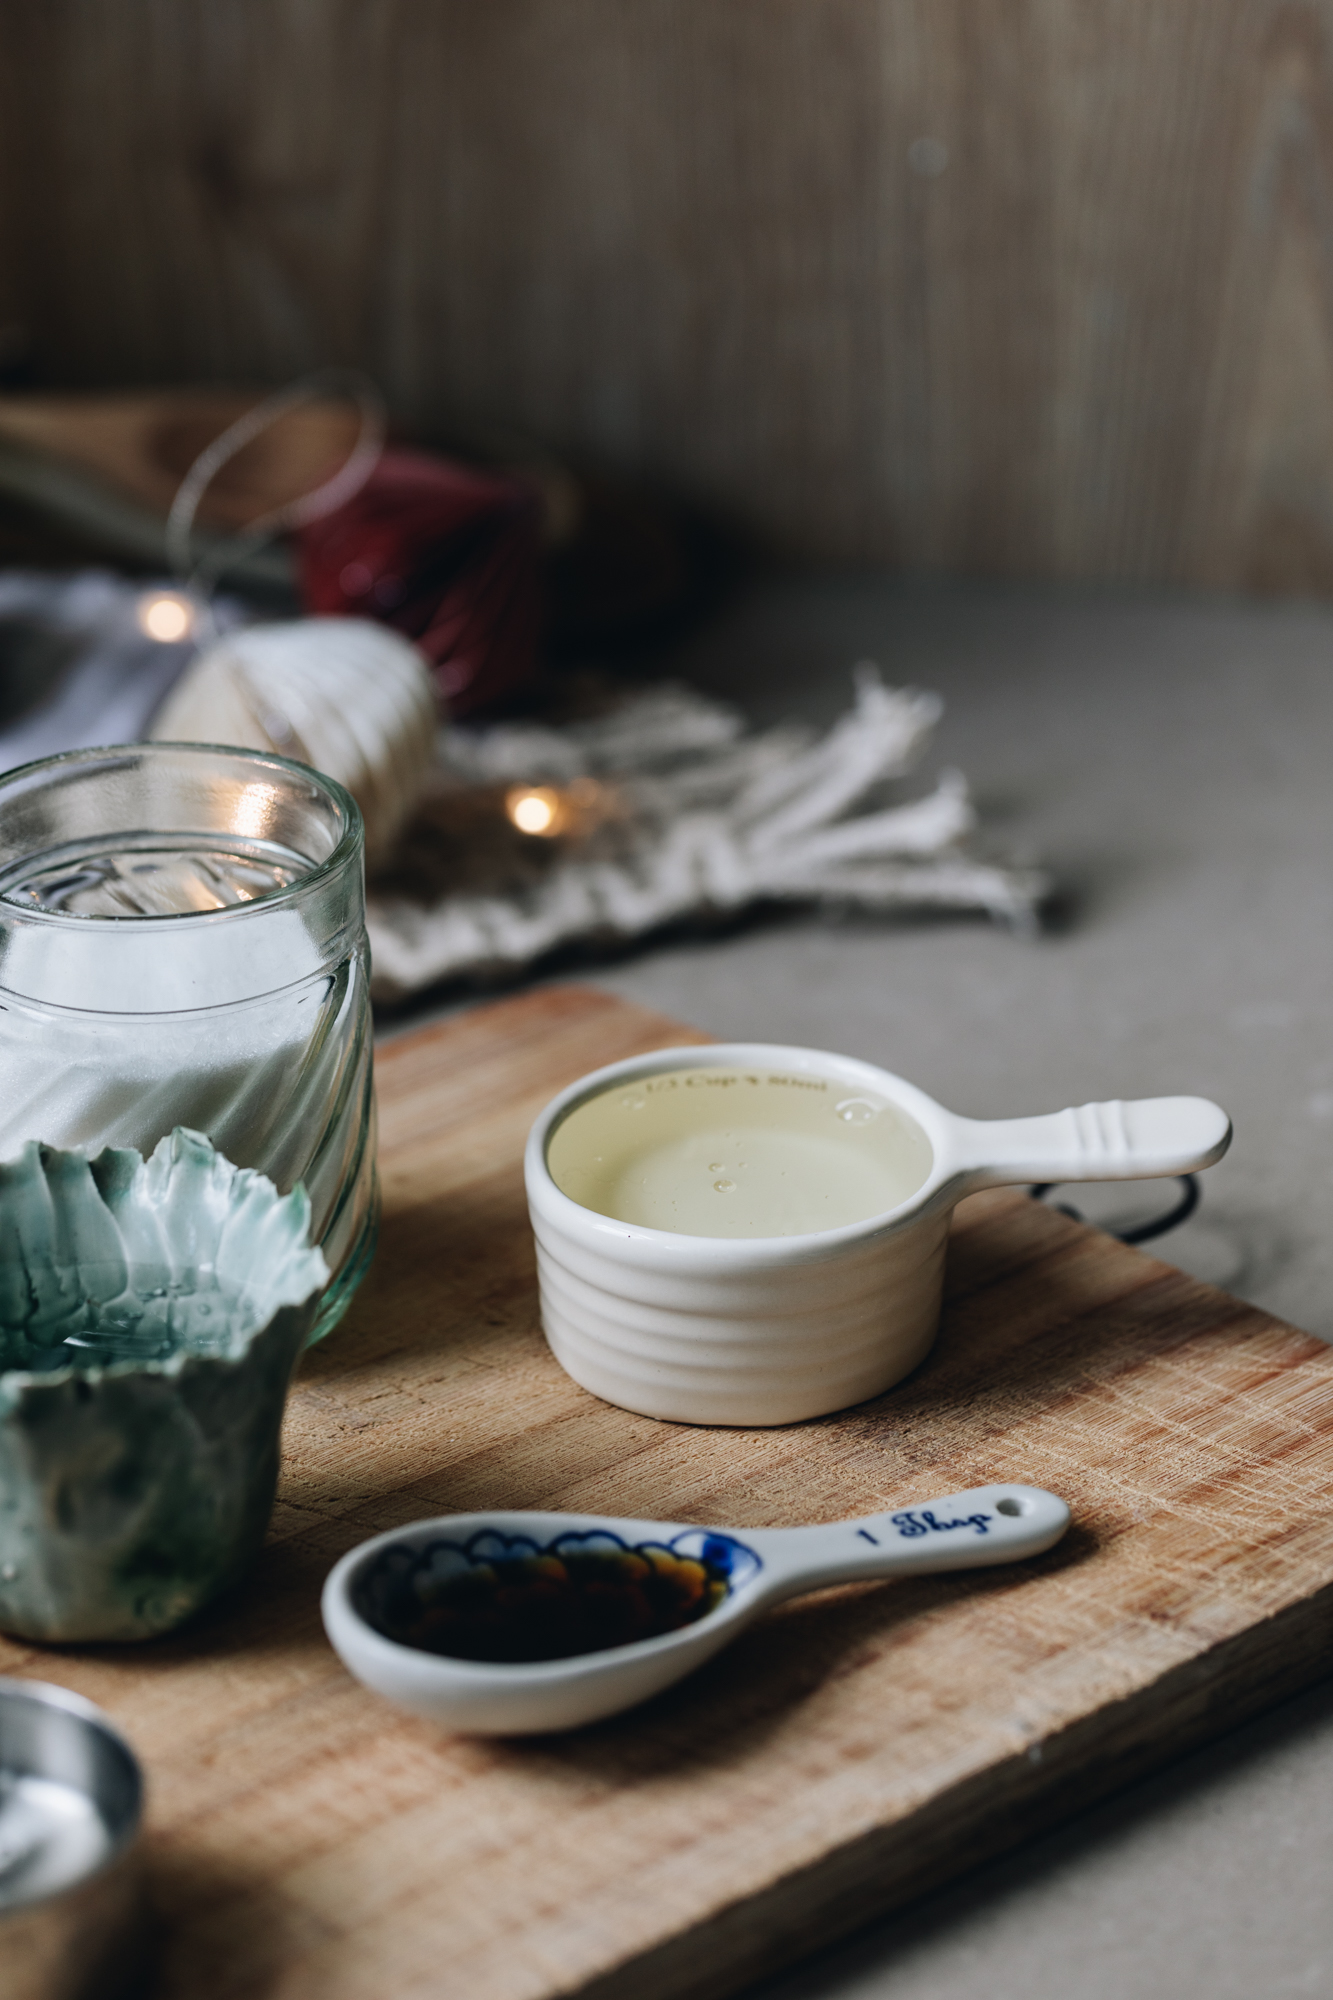
3. Add the Sugar Syrup Ingredients to a pot:
Add the huka one (caster sugar), mīere kūhuka (glucose syrup or golden syrup) and the second measure of wai (water) in to a small pot.
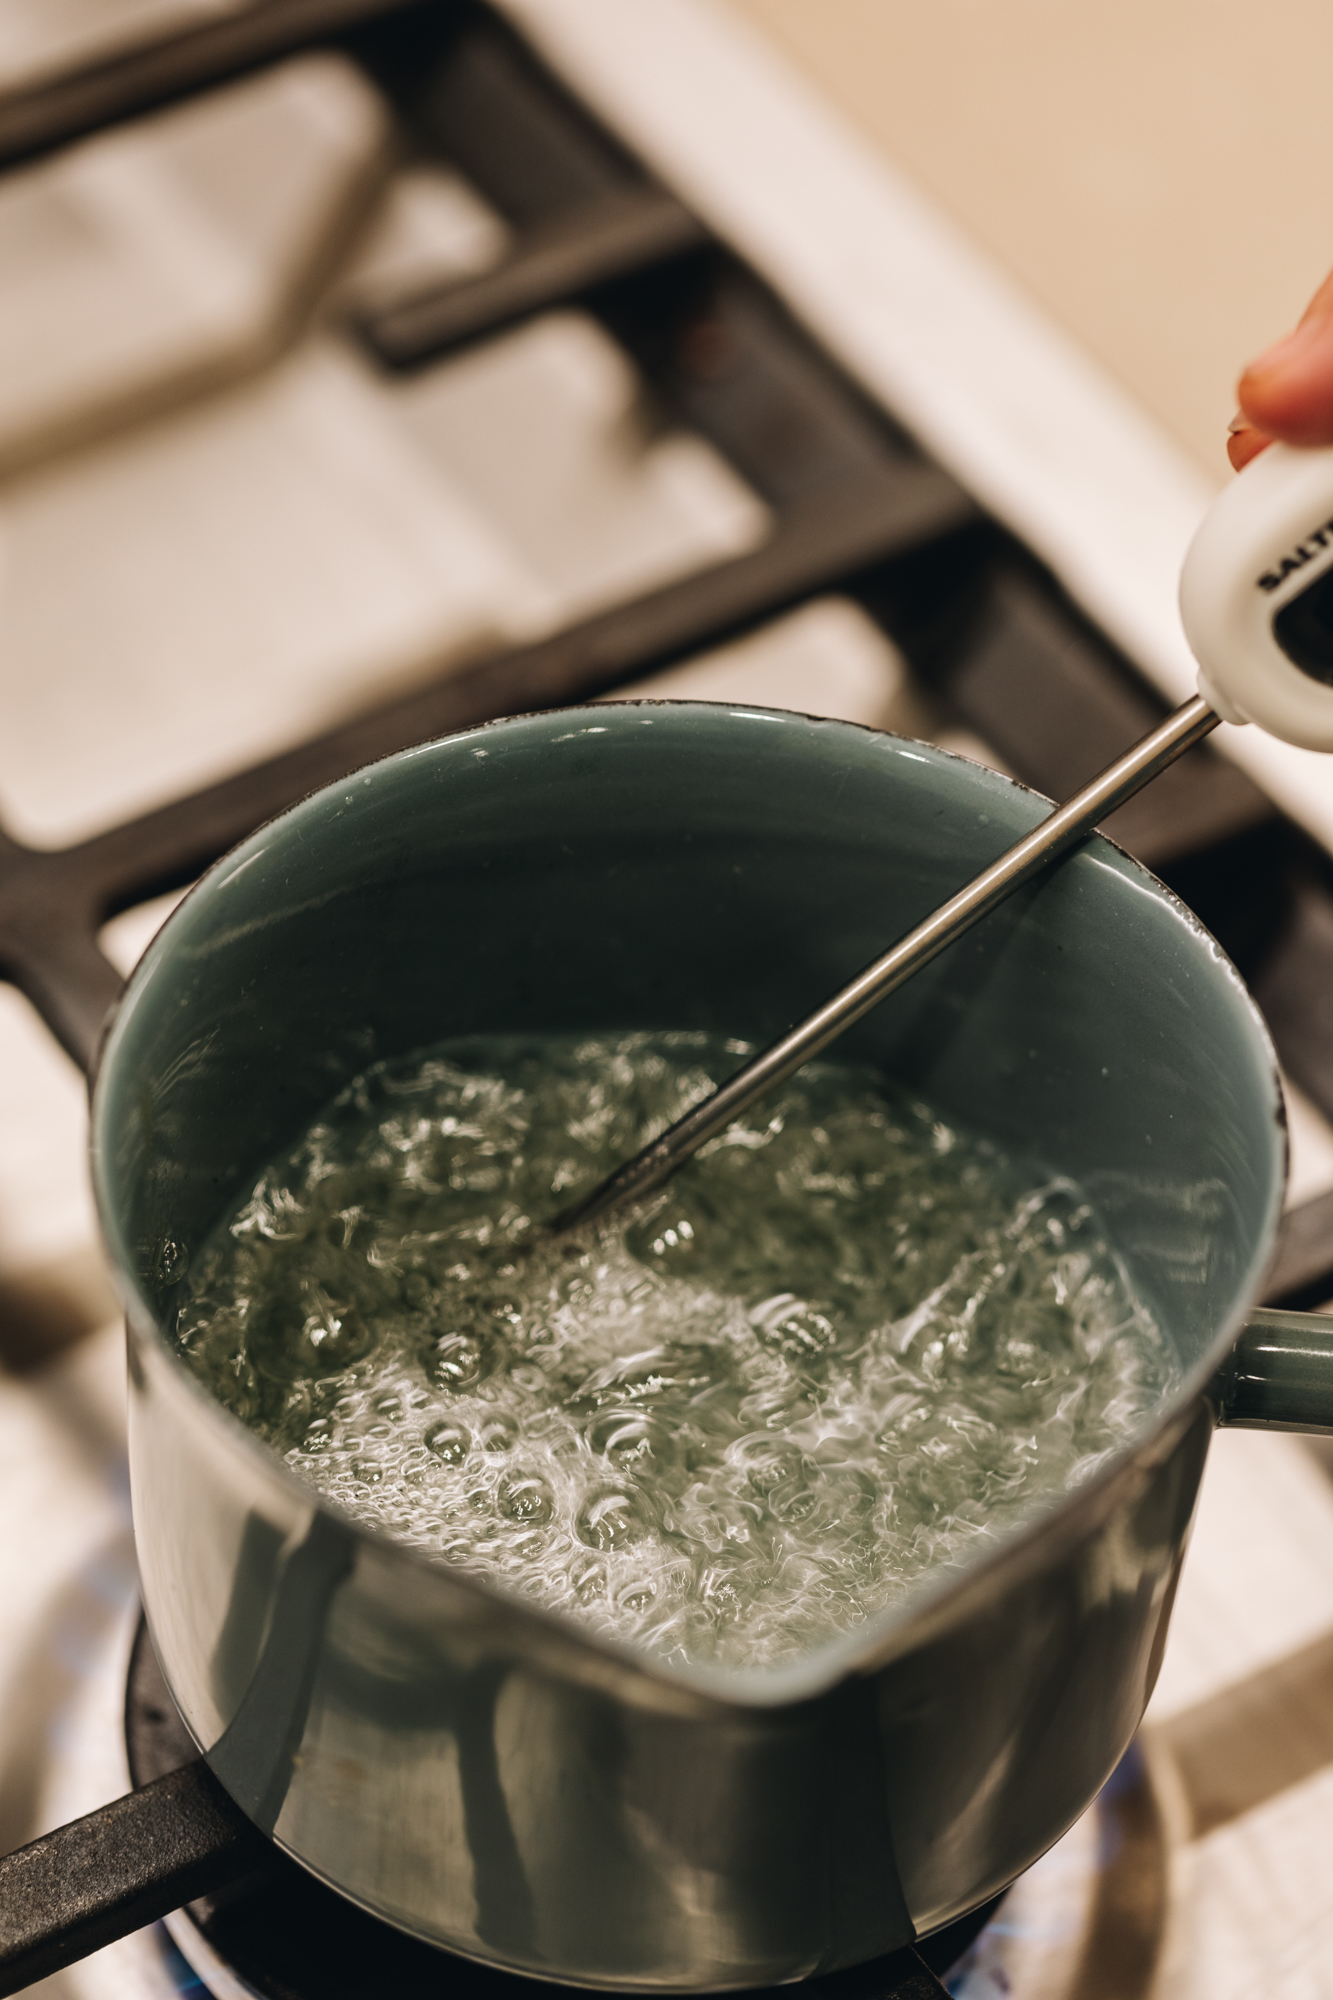
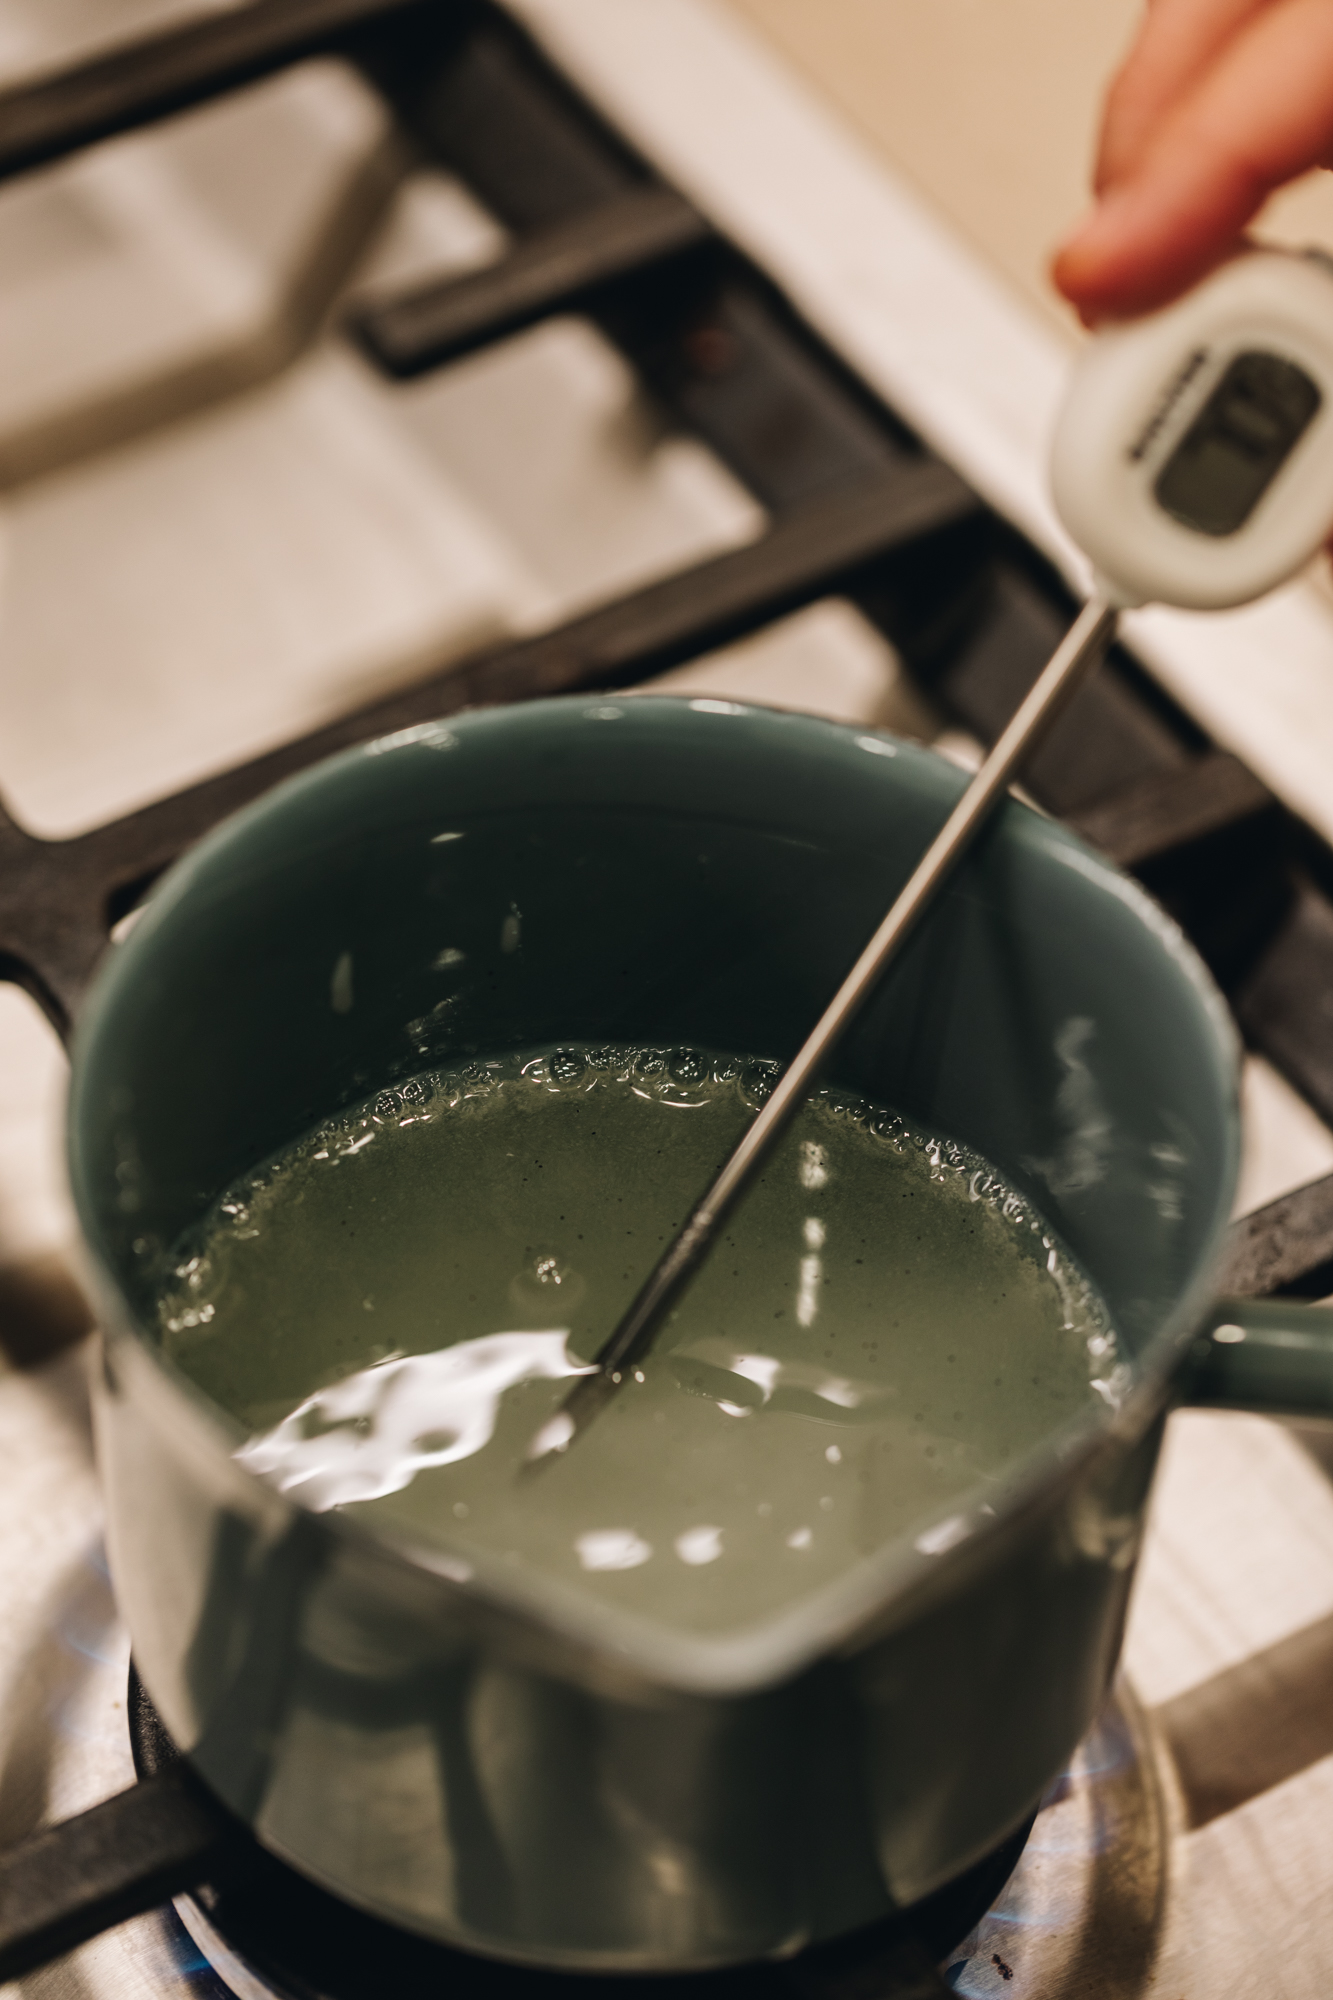
4. Boil the Sugar Syrup:
Place the pot over medium - high heat and bring the sugar mix to a boil.
If you are using a sugar thermometer, it needs to reach 115 °C.
If you are eye balling it, take note of the bubbles. At the beginning of the boiling process the bubbles will be small and rapid, when they transform to slower, bigger bubbles, that is your cue to remove it from the heat. If the syrup starts to go golden, you have taken it too far.
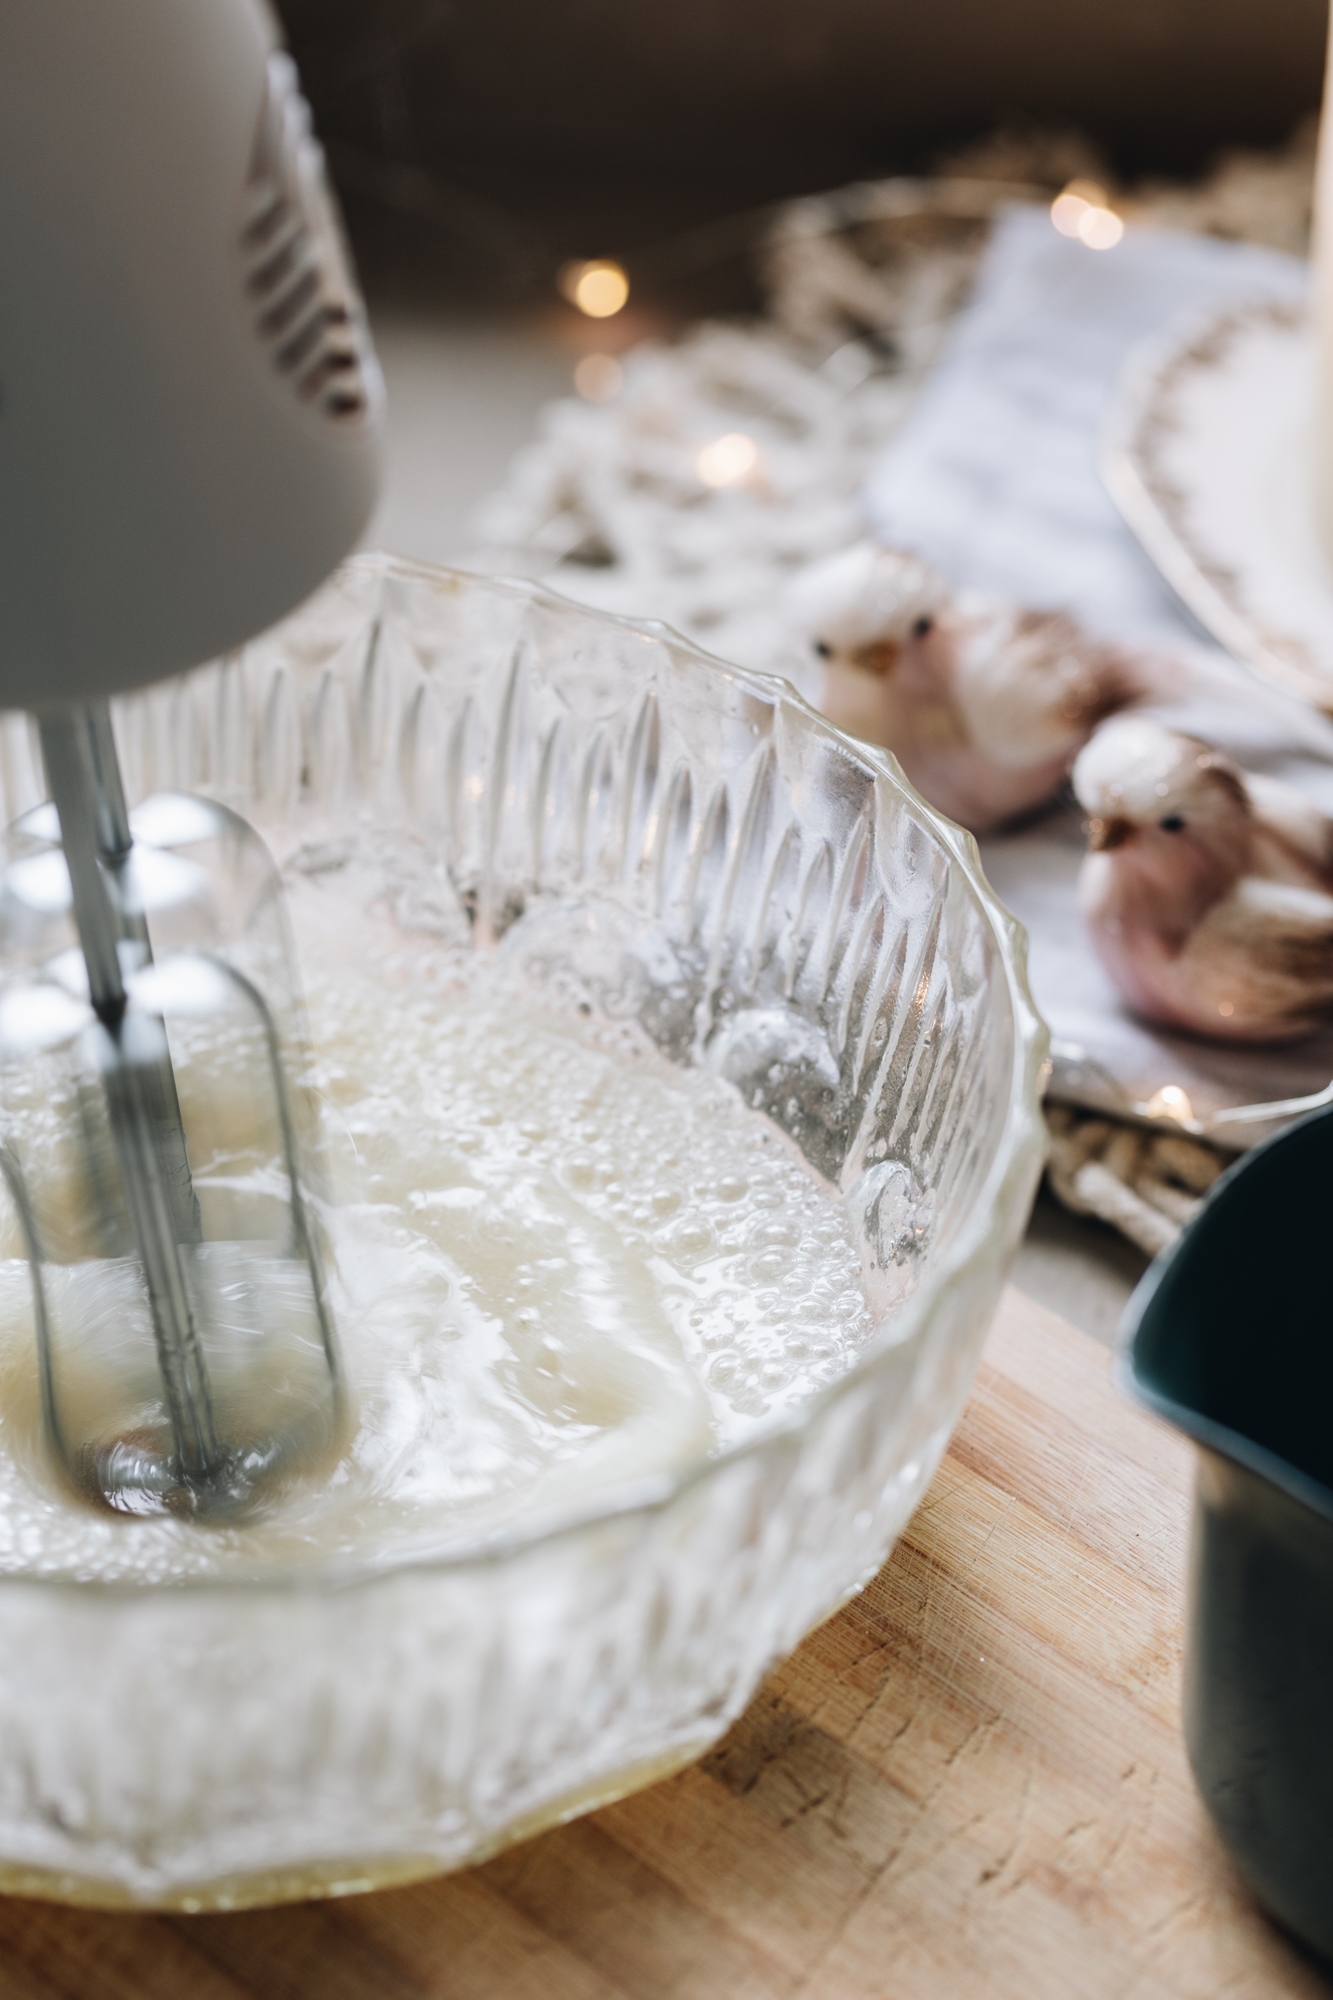
5. Combine the Sugar Syrup and Bloomed Gelatine:
Note: If the mixture is starting to get too tacky at any point, get it in to the tray asap!
Once the sugar syrup is ready, remove it from the heat.
Using a stand or hand mixer, whip the bloomed tetepe (gelatine) on medium speed as you slowly pour in the hot syrup down the side of the bowl.
Once all the sugar syrup is added, whip it on high for 3 minutes. Add the wanira (vanilla) and whip for one more minute.
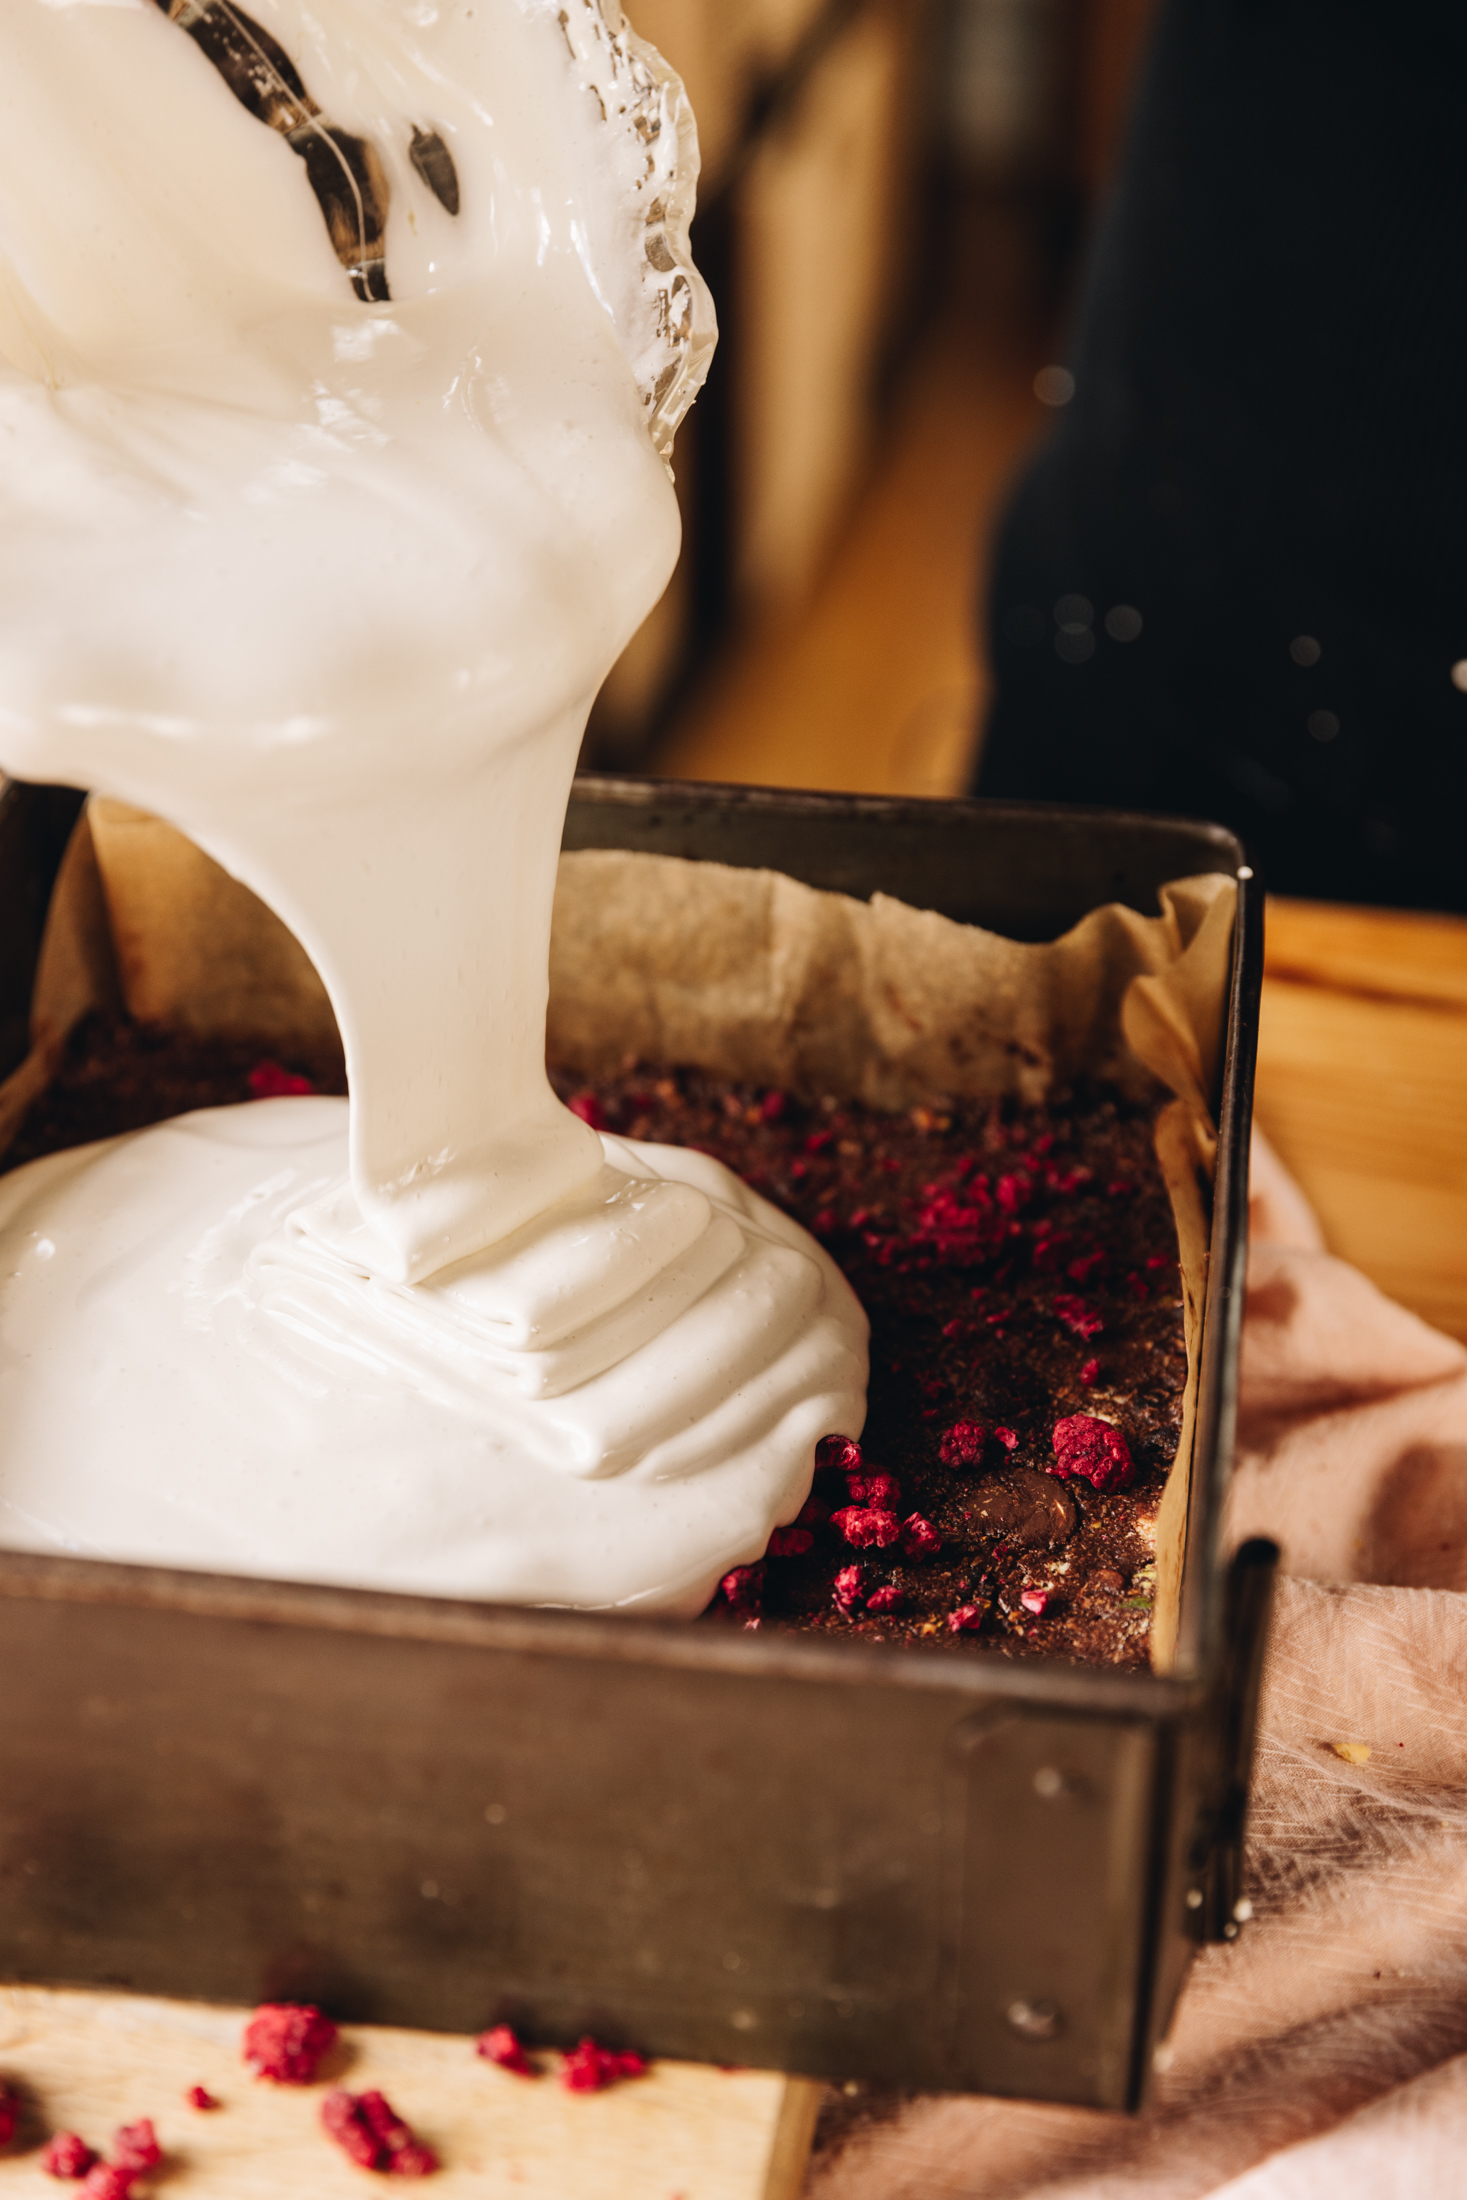
6. Add it to the Prepared Tray:
Pour the entire marshmallow mix in to the prepared tray.
Smooth it out with a spatula.
7. Refrigerate the Homemade Vanilla Marshmallow:
Allow the māngohe (marshmallow) to set for 45 minutes in the fridge.
Sprinkle a dusting of either puehu huka (icing sugar) or puehu kānga (cornflour) on to the tray of māngohe. Transfer it to a chopping board and cut it in to your desired sizes.
Store the Homemade Vanilla Marshmallow:
This will keep well sealed in a container in the fridge for up to 5 days.
Make sure you add the pieces in single layers and add baking paper between each one.
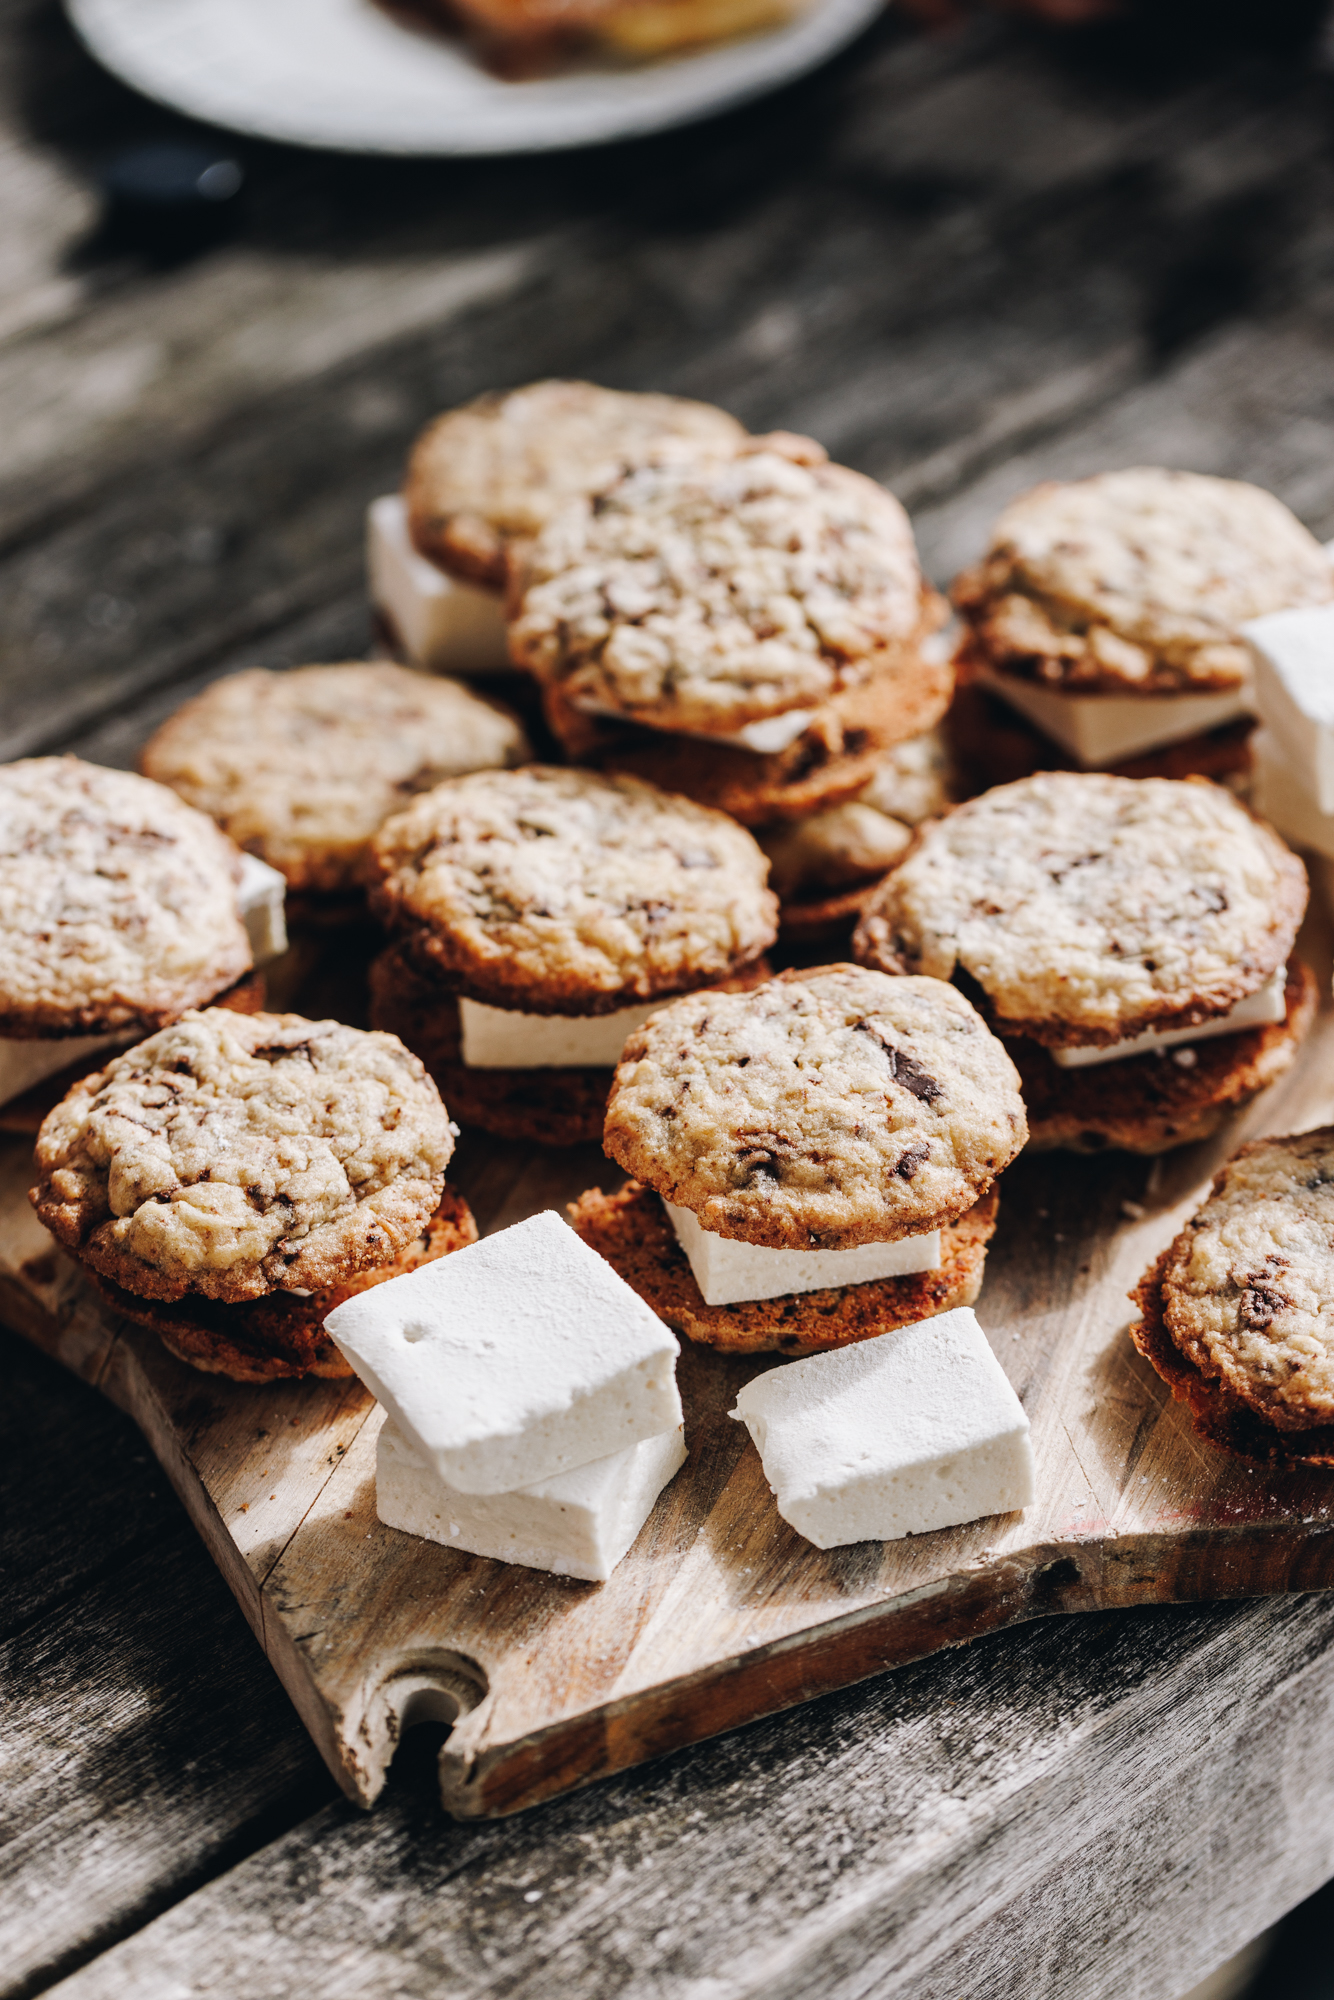
How good do they look sandwiched between homemade cookies? This recipe can be found in my Whānaukai Cookbook.
There are so many more
Simple Toppings
to learn along the way, to elevate your baking.

DID YOU ENJOY THIS RECIPE?
It would be so awesome if you could please leave a review/comment by clicking the “leave a comment” section at the top of the page.
I love seeing you all make my creations, so send a whakaahua (photo) or kiriata (video) to my Instagram and show me what you made. Let me know if you have any pātai (questions) too, I would love to help.
Homemade Vanilla Marshmallow
Equipment
- 1 x 20 cm Square Baking Tin with 3 - 4 high sides.
Ingredients
Vanilla Marshmallow - Māngohe Wanira
- ⅓ C (85 ml) wai (water)
- 1 tablespoon paura tetepe (gelatine powder)
- ¾ C (165 g) huka one (caster sugar)
- ⅓ C (100 g) mīere kūhuka (glucose syrup, or the same amount of golden syrup)
- ⅓ C (85 g) wai (water)
- 1 tablespoon (15 ml) wanira (vanilla)
- A dusting of puehu huka (icing sugar) or puehu kānga (cornflour).
Instructions
Prepare the Baking Tin:
- Line a 20 cm square baking tray with baking paper. Don't use a tray any bigger than this as the māngohe (marshmallow) will be too flat. A smaller tray is better than bigger in this recipe.
Bloom the Gelatine:
- Add the first measure of wai (water) to a large, heatproof bowl. (I used a glass bowl in the video, don't do that).
- Sprinkle over the paura tētepe (gelatine powder). Kaurorihia (stir it up) and leave to bloom.
Combine the Sugar Syrup Ingredients:
- Add the huka one (caster sugar), mīere kūhuka (glucose syrup or golden syrup) and the second measure of wai (water) in to a small pot.
Boil the Sugar Syrup:
- Place the pot over medium - high heat and bring the sugar mix to a boil.
- If you are using a sugar thermometer, it needs to reach 115 °C. If you are eye balling it, take note of the bubbles. At the beginning of the boiling process the bubbles will be small and rapid, when they transform to slower, bigger bubbles, that is your cue to remove it from the heat. If the syrup starts to go golden, you have taken it too far.
Combine the Sugar Syrup and Bloomed Gelatine:
- Once the sugar syrup is ready, remove it from the heat.
- Using a stand or hand mixer, whip the bloomed tetepe (gelatine) on medium speed as you slowly pour in the hot syrup down the side of the bowl.
- Once all the sugar syrup is added, whip it on high for 3 minutes. Add the wanira (vanilla) and whip for one more minute.
- Note: If it is starting to get too tacky, get it in to the tray asap!
Add it to the Prepared Tray:
- Pour the entire marshmallow mix in to the prepared tray. Smooth it out with a spatula.
Refrigerate the Homemade Vanilla Marshmallow:
- Allow the māngohe (marshmallow) to set for 45 minutes in the fridge.
- Sprinkle a dusting of either puehu huka (icing sugar) or puehu kānga (cornflour) on to the tray of māngohe. Transfer it to a chopping board and cut it in to your desired sizes.
Store the Homemade Vanilla Marshmallow:
- This will keep well sealed in a container in the fridge for up to 5 days. Make sure you add the pieces in single layers and add baking paper between each one.

Leave a Review