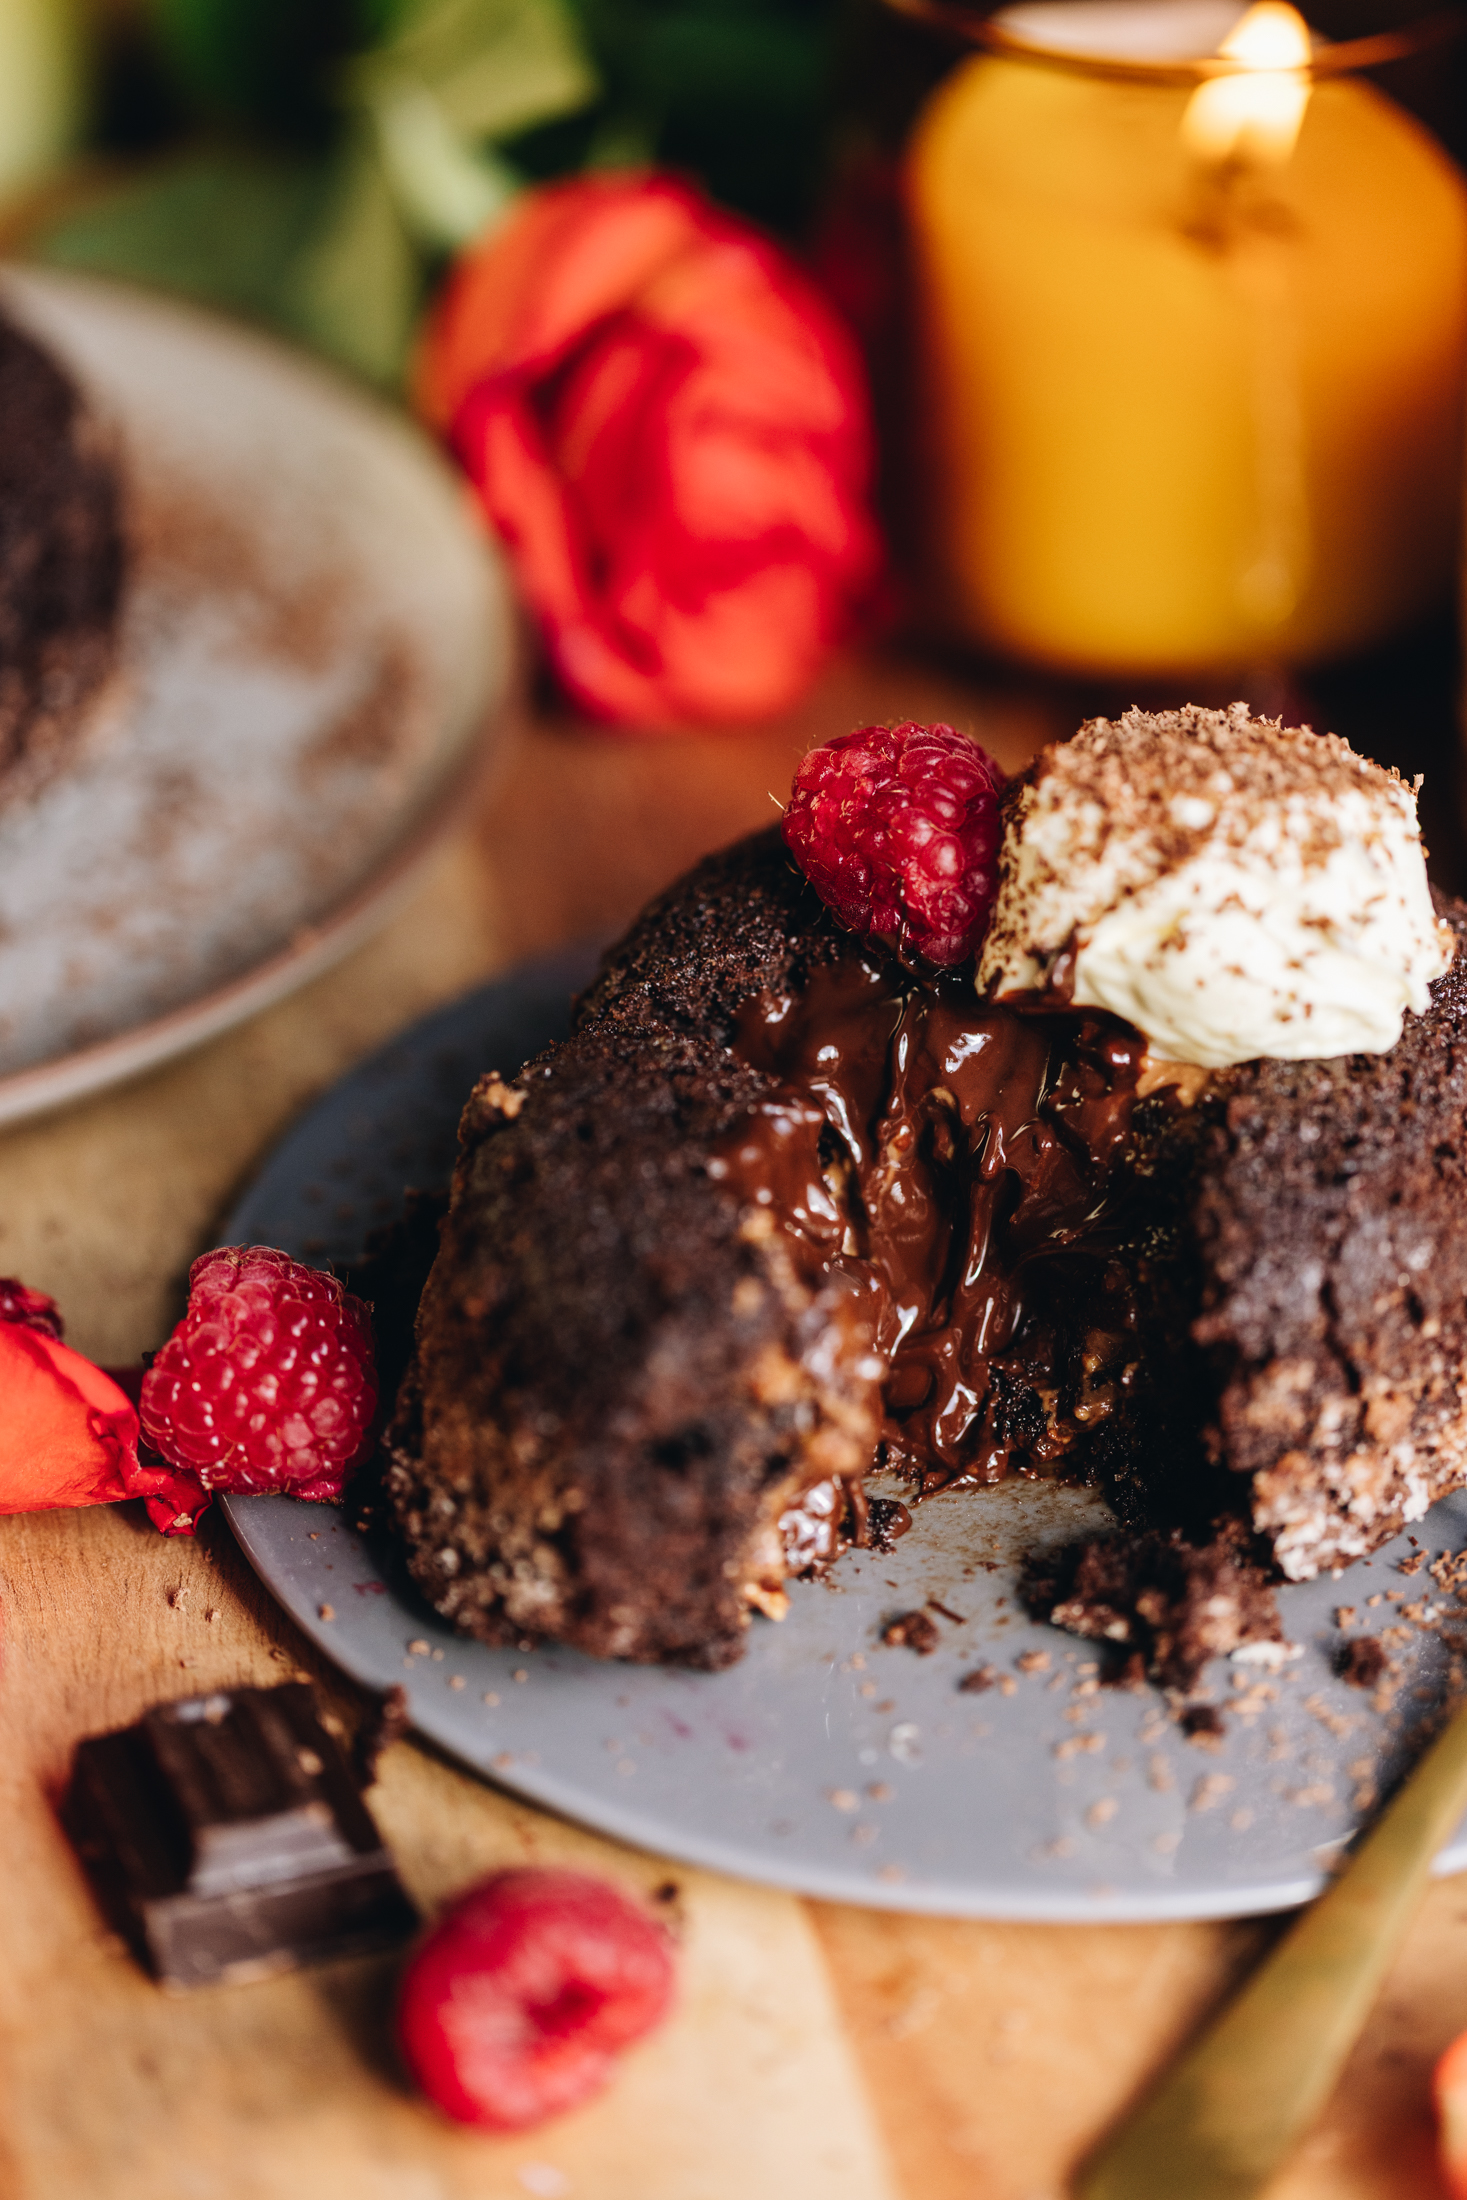
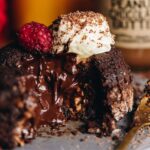
These Gooey Chocolate Lava Cakes have so many different names. Molten chocolate cakes, lava pudding, gooey chocolate pudd, but regardless of the name they are just magical to eat! I add a secret ingredient inside too so follow me and see what it is.
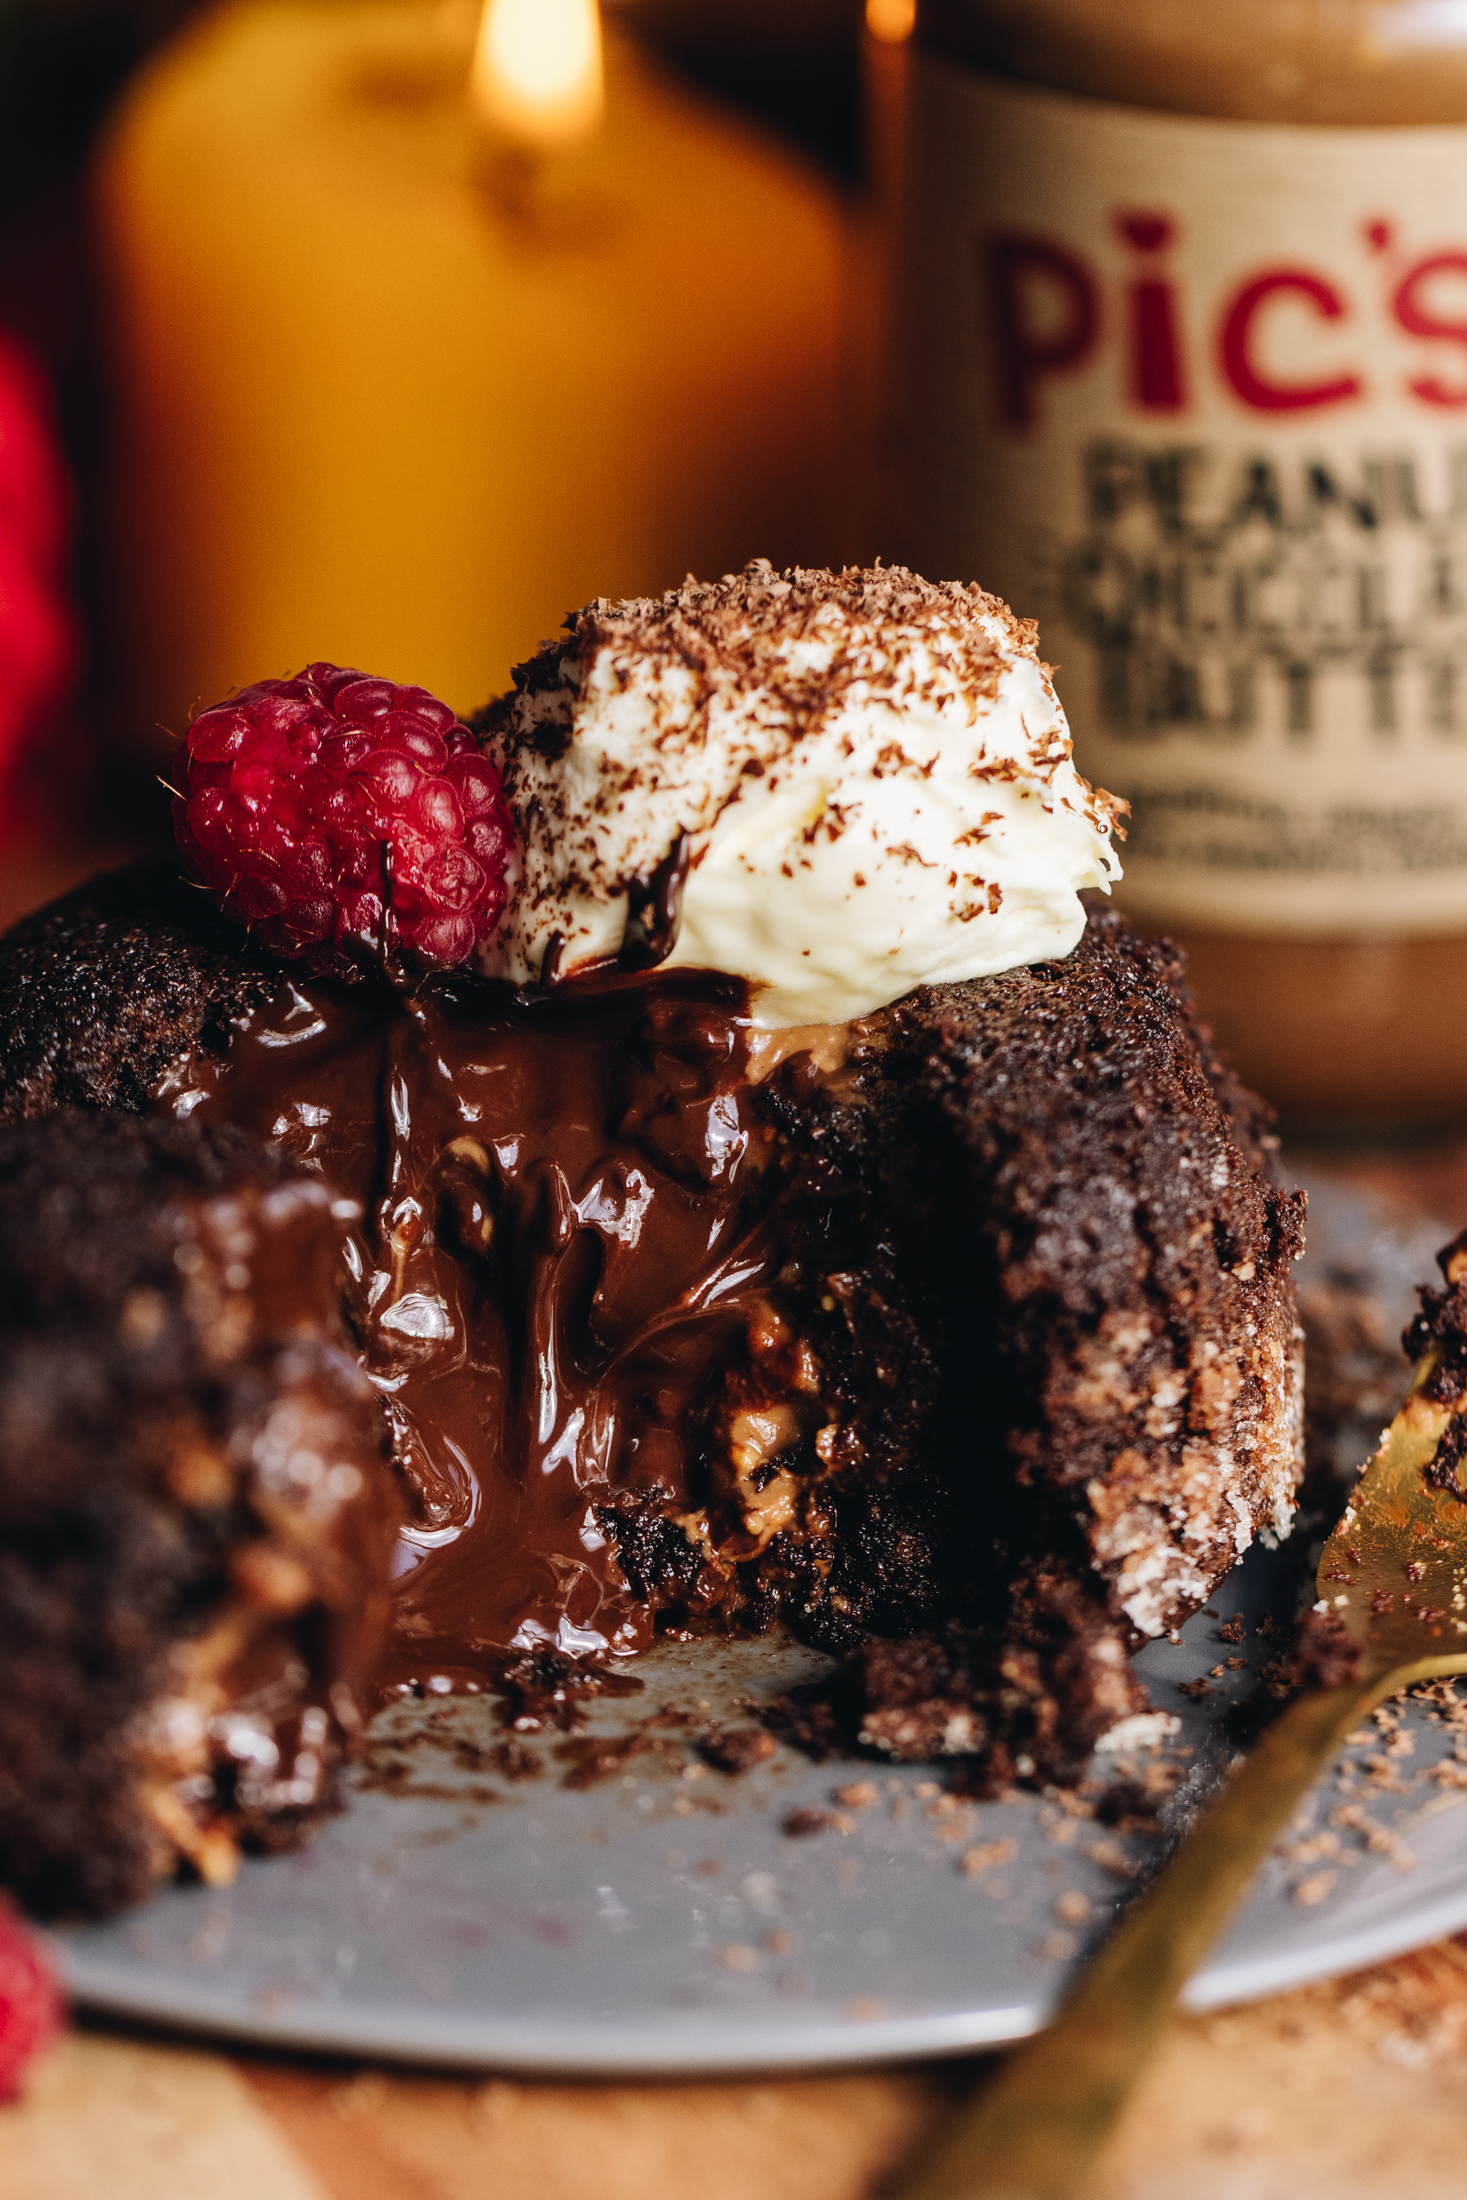
I originally made this epic dessert to celebrate Pic's Pata Pīnati Tiakarete (Chocolate Peanut Butter) during Valentines. It was such a fun recipe to develop and I love that pop of their pata pīnati tiakarete (chocolate peanut butter) inside. It gives a delicious savoury note to the pudding.
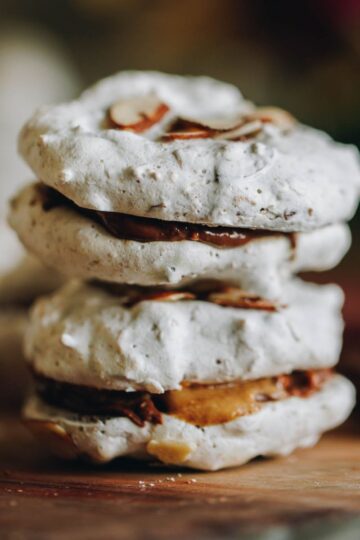
More peanut butter recipes:
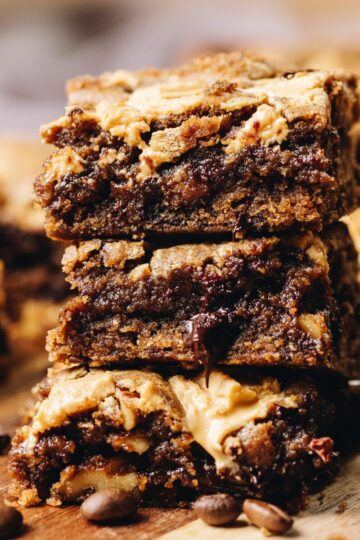
Are you craving a rich pihikete tiakarete (chocolate biscuit)? These Buckeye Cookies might just be the recipe you need. Is it time for a keke rā whānau (a birthday cake)?Then try this beauty: Vanilla, Chocolate and Peanut Butter Poke Cake.
Videography and photography by Sarah Henderson.
Ingredient Tips for the Gooey Chocolate Lava Cakes:

- Chocolate: I definitely prefer a 50% dark chocolate in this recipe for the balance of flavour.
- Butter: Salted or unsalted butter both work in this recipe.
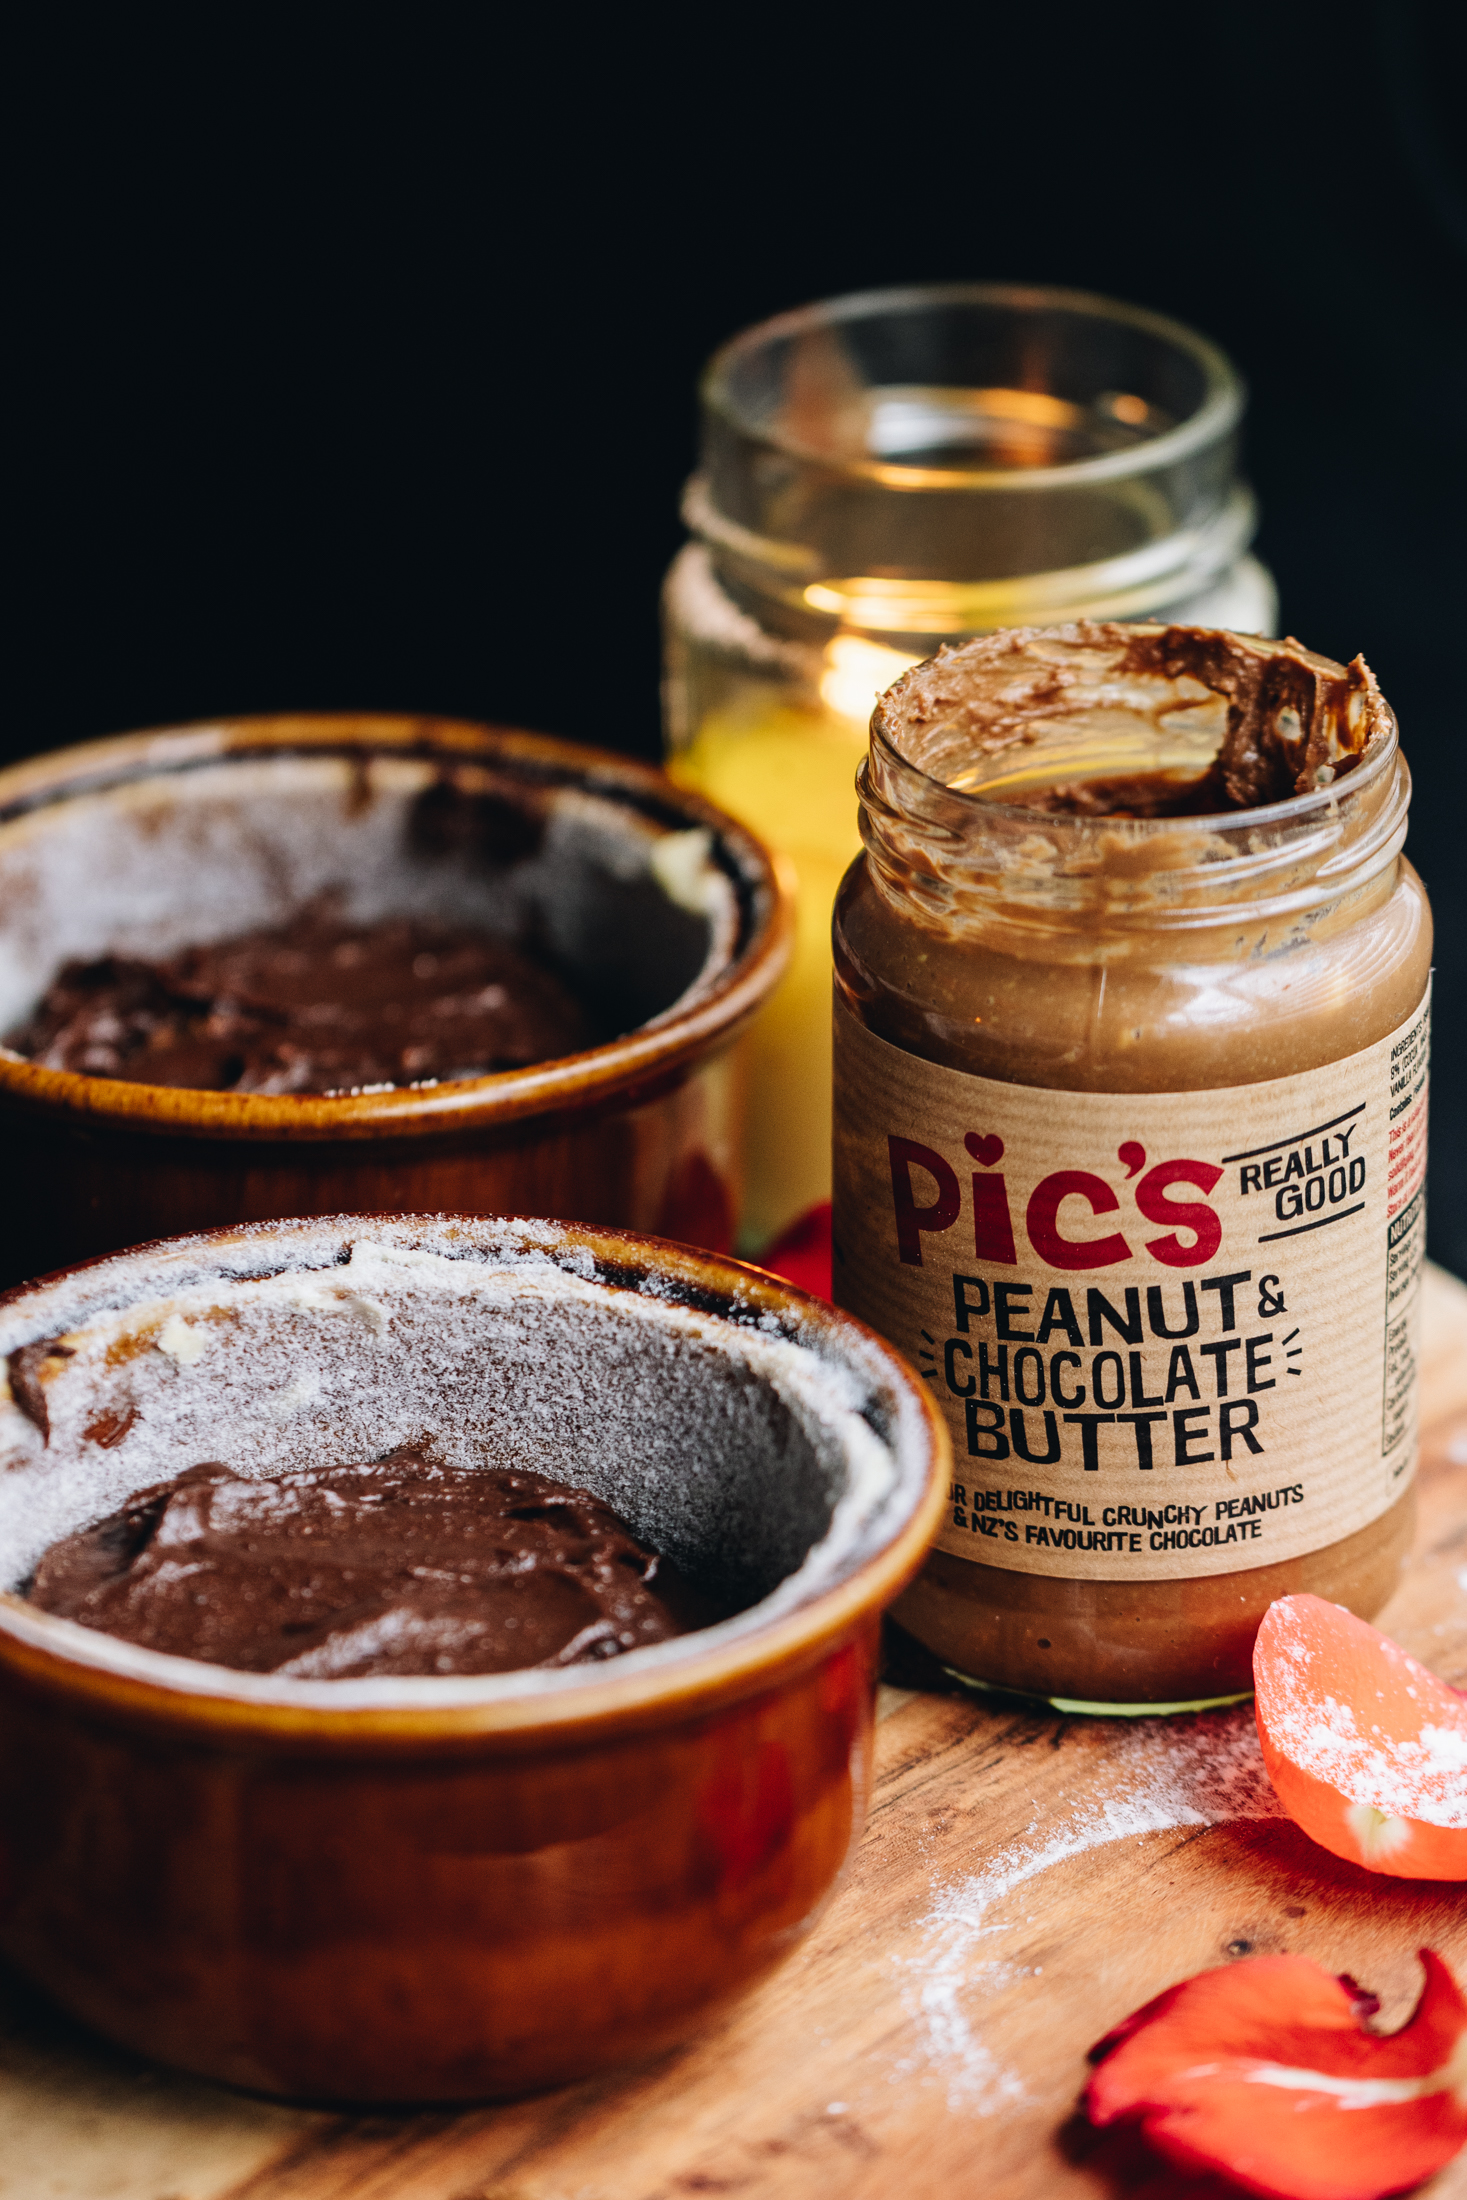
- Chocolate Peanut Butter: The ultimate flavour combination is found when the pata pīnati tiakarete (chocolate peanut butter) and chocolate is used. However if you prefer, leave it out and use an extra piece of chocolate instead.
- Eggs: I prefer to use free-range eggs but use what you have.
- Sugar: I used huka one (caster sugar) but it can be swapped for huka hāura (brown sugar).
Expert Tips:
Take the time to whip the huka one (caster sugar) and hēki (eggs) until light and fluffy. This is the base for the cake and create a light batter.
Gently fold the flour in to the egg mixture. If you can see lumps of puehu parāoa (flour) in the batter, use a whisk to gently fold it around 7 times in the bowl and the lumps will break up.
I have included some different timings for this pudding. This means you can go super gooey or do a slightly more set pudding. Whatever your preference, I have got you covered!
To release the purini (puddings) from the ramekins, run a knife around the edge and flip the hot cakes on to the plates.
STEP BY STEP INSTRUCTIONS FOR THE GOOEY CHOCOLATE LAVA CAKES:
Note: The full recipe card with the full list of ingredients, instructions and step by step video are found at the bottom of this page.
1. Preheat the Oven:
Preheat the oven to 160 °C, bake setting or 150 °C, fan bake setting.
2. Prepare the Ramekins:
Grease 4 x 1 C capacity oven proof ramekins with melted butter.
Sprinkle 1 tablespoon huka one (caster sugar) in to each mould and spread it around so they are evenly coated.
3. Melt the Chocolate:
Pour 3 - 4 cm of water in to a medium pot and bring to a gentle simmer.
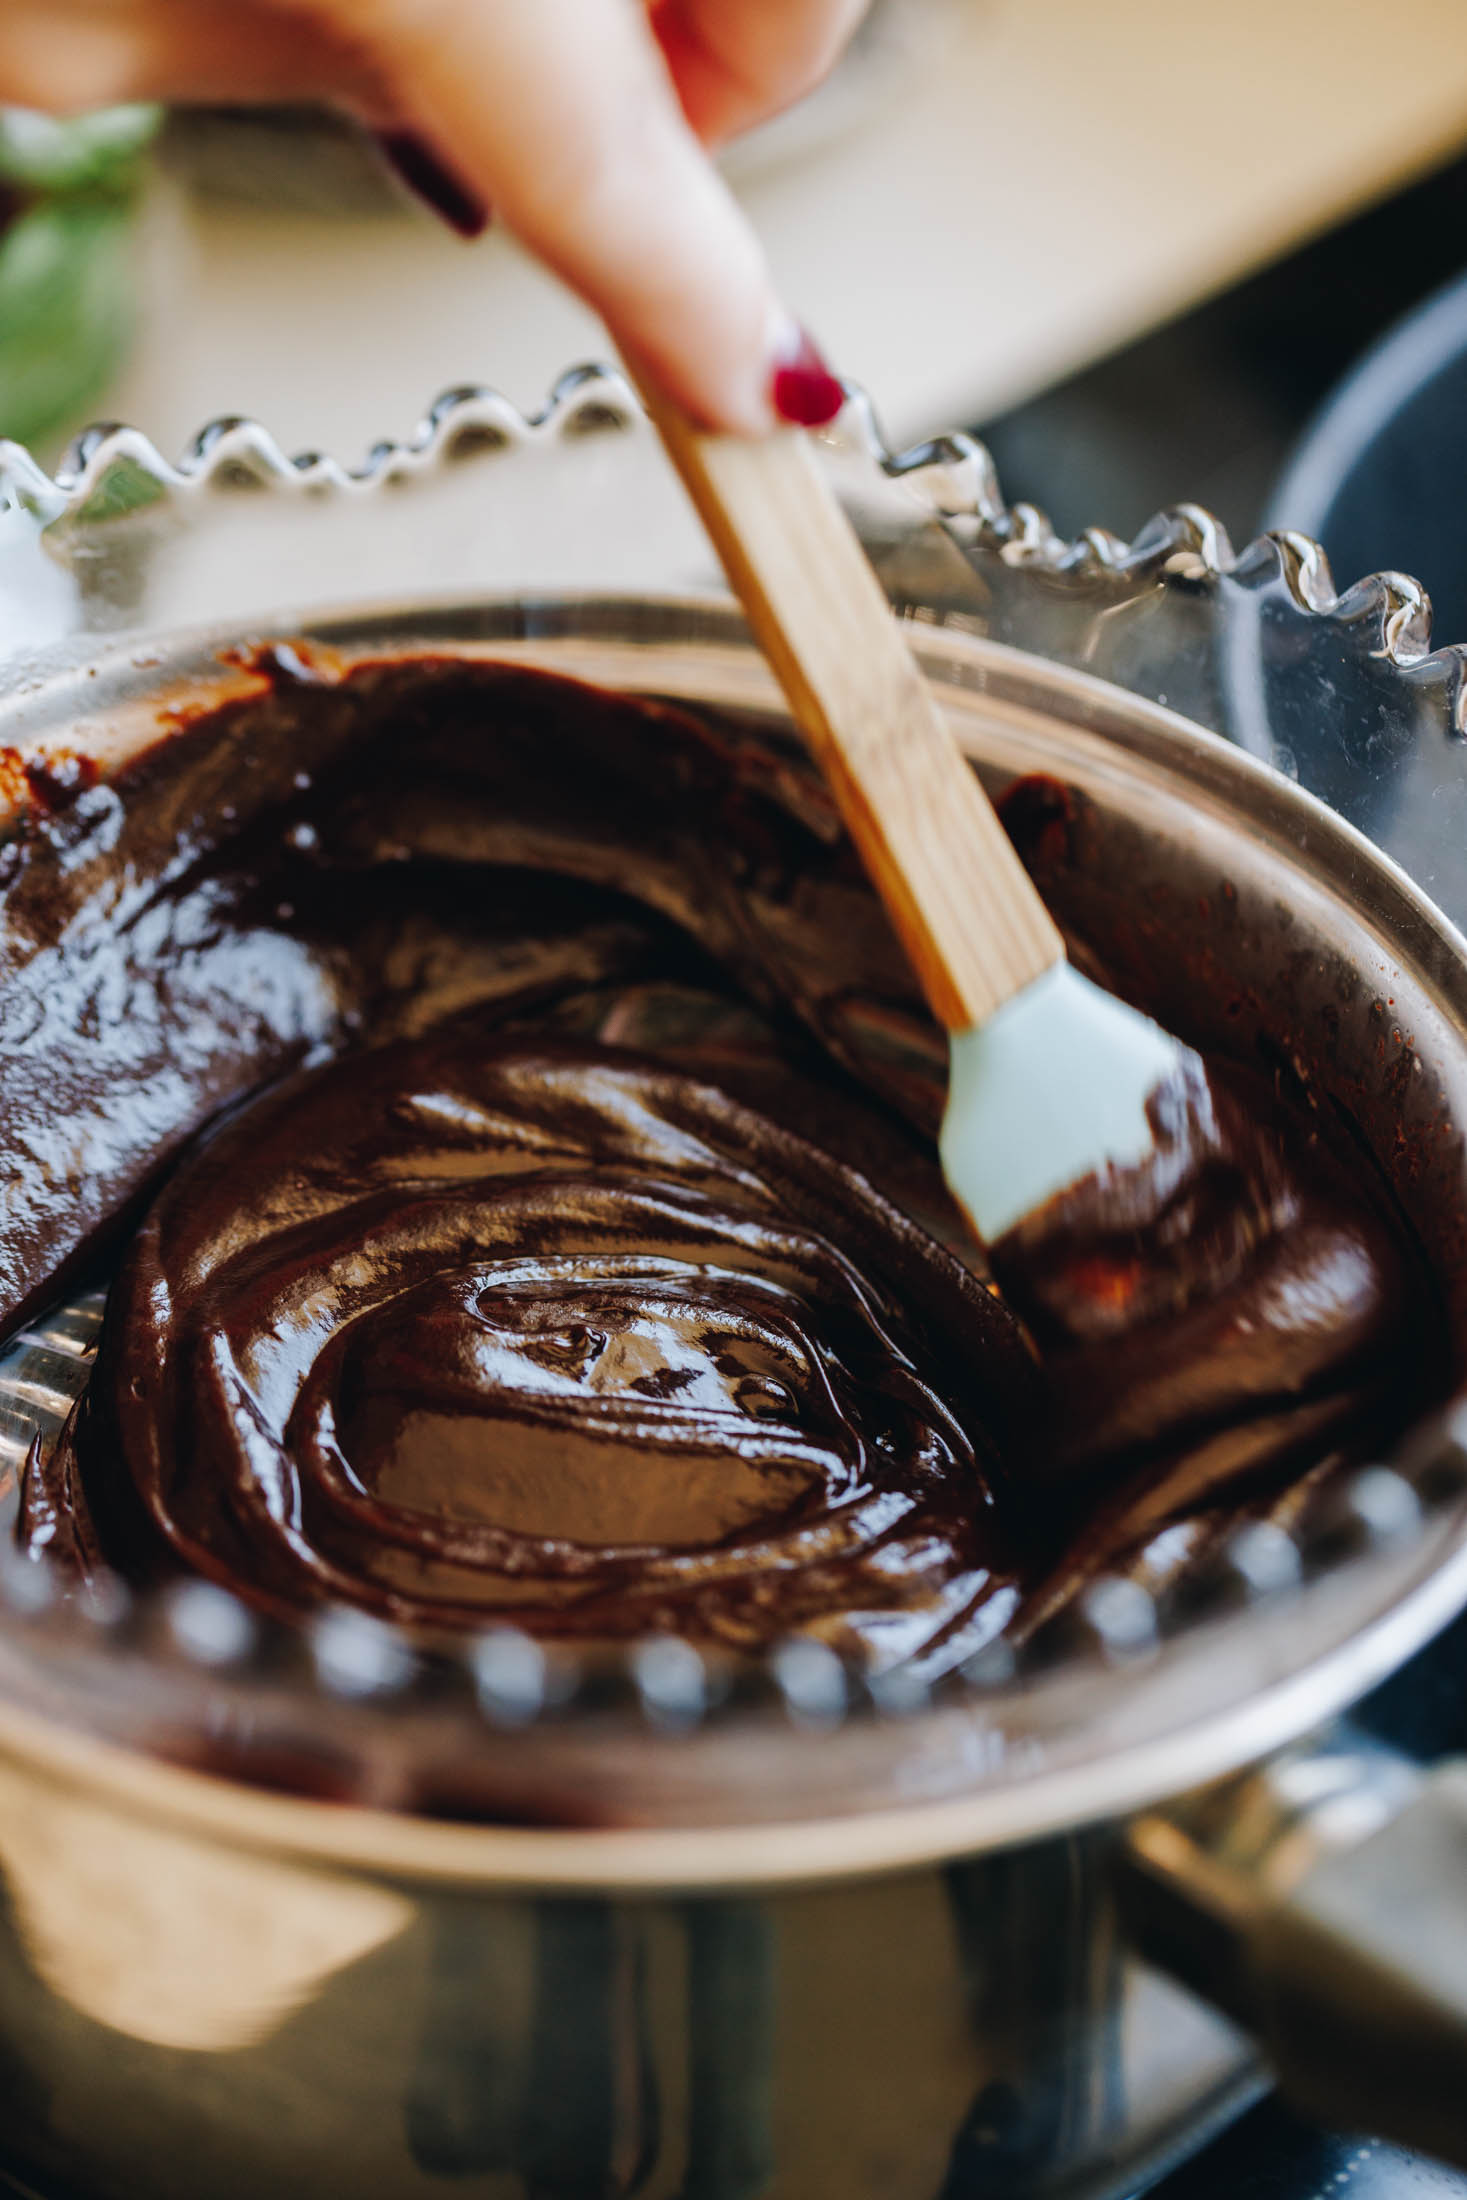
Add the chopped tiakarete parauri (dark chocolate), pata (butter), kōkō (cocoa) and tote (salt) in to the bowl.
Place it on top of the pot of simmering water and stir it until it melts completely.
Leave it aside to cool slightly.
4. Prepare the Chocolate Filling:
If you are not using the pata pīnati tiakarete (chocolate peanut butter) in the centre, skip this step.
Put the 4 tablespoons of pata pīnati tiakarete (chocolate peanut butter) on to a small plate.
Add two pieces of tiakarete parauri (dark chocolate) in to each one.
Mould them in to rounds and then leave them aside.
5. Whip the Eggs and Sugar:
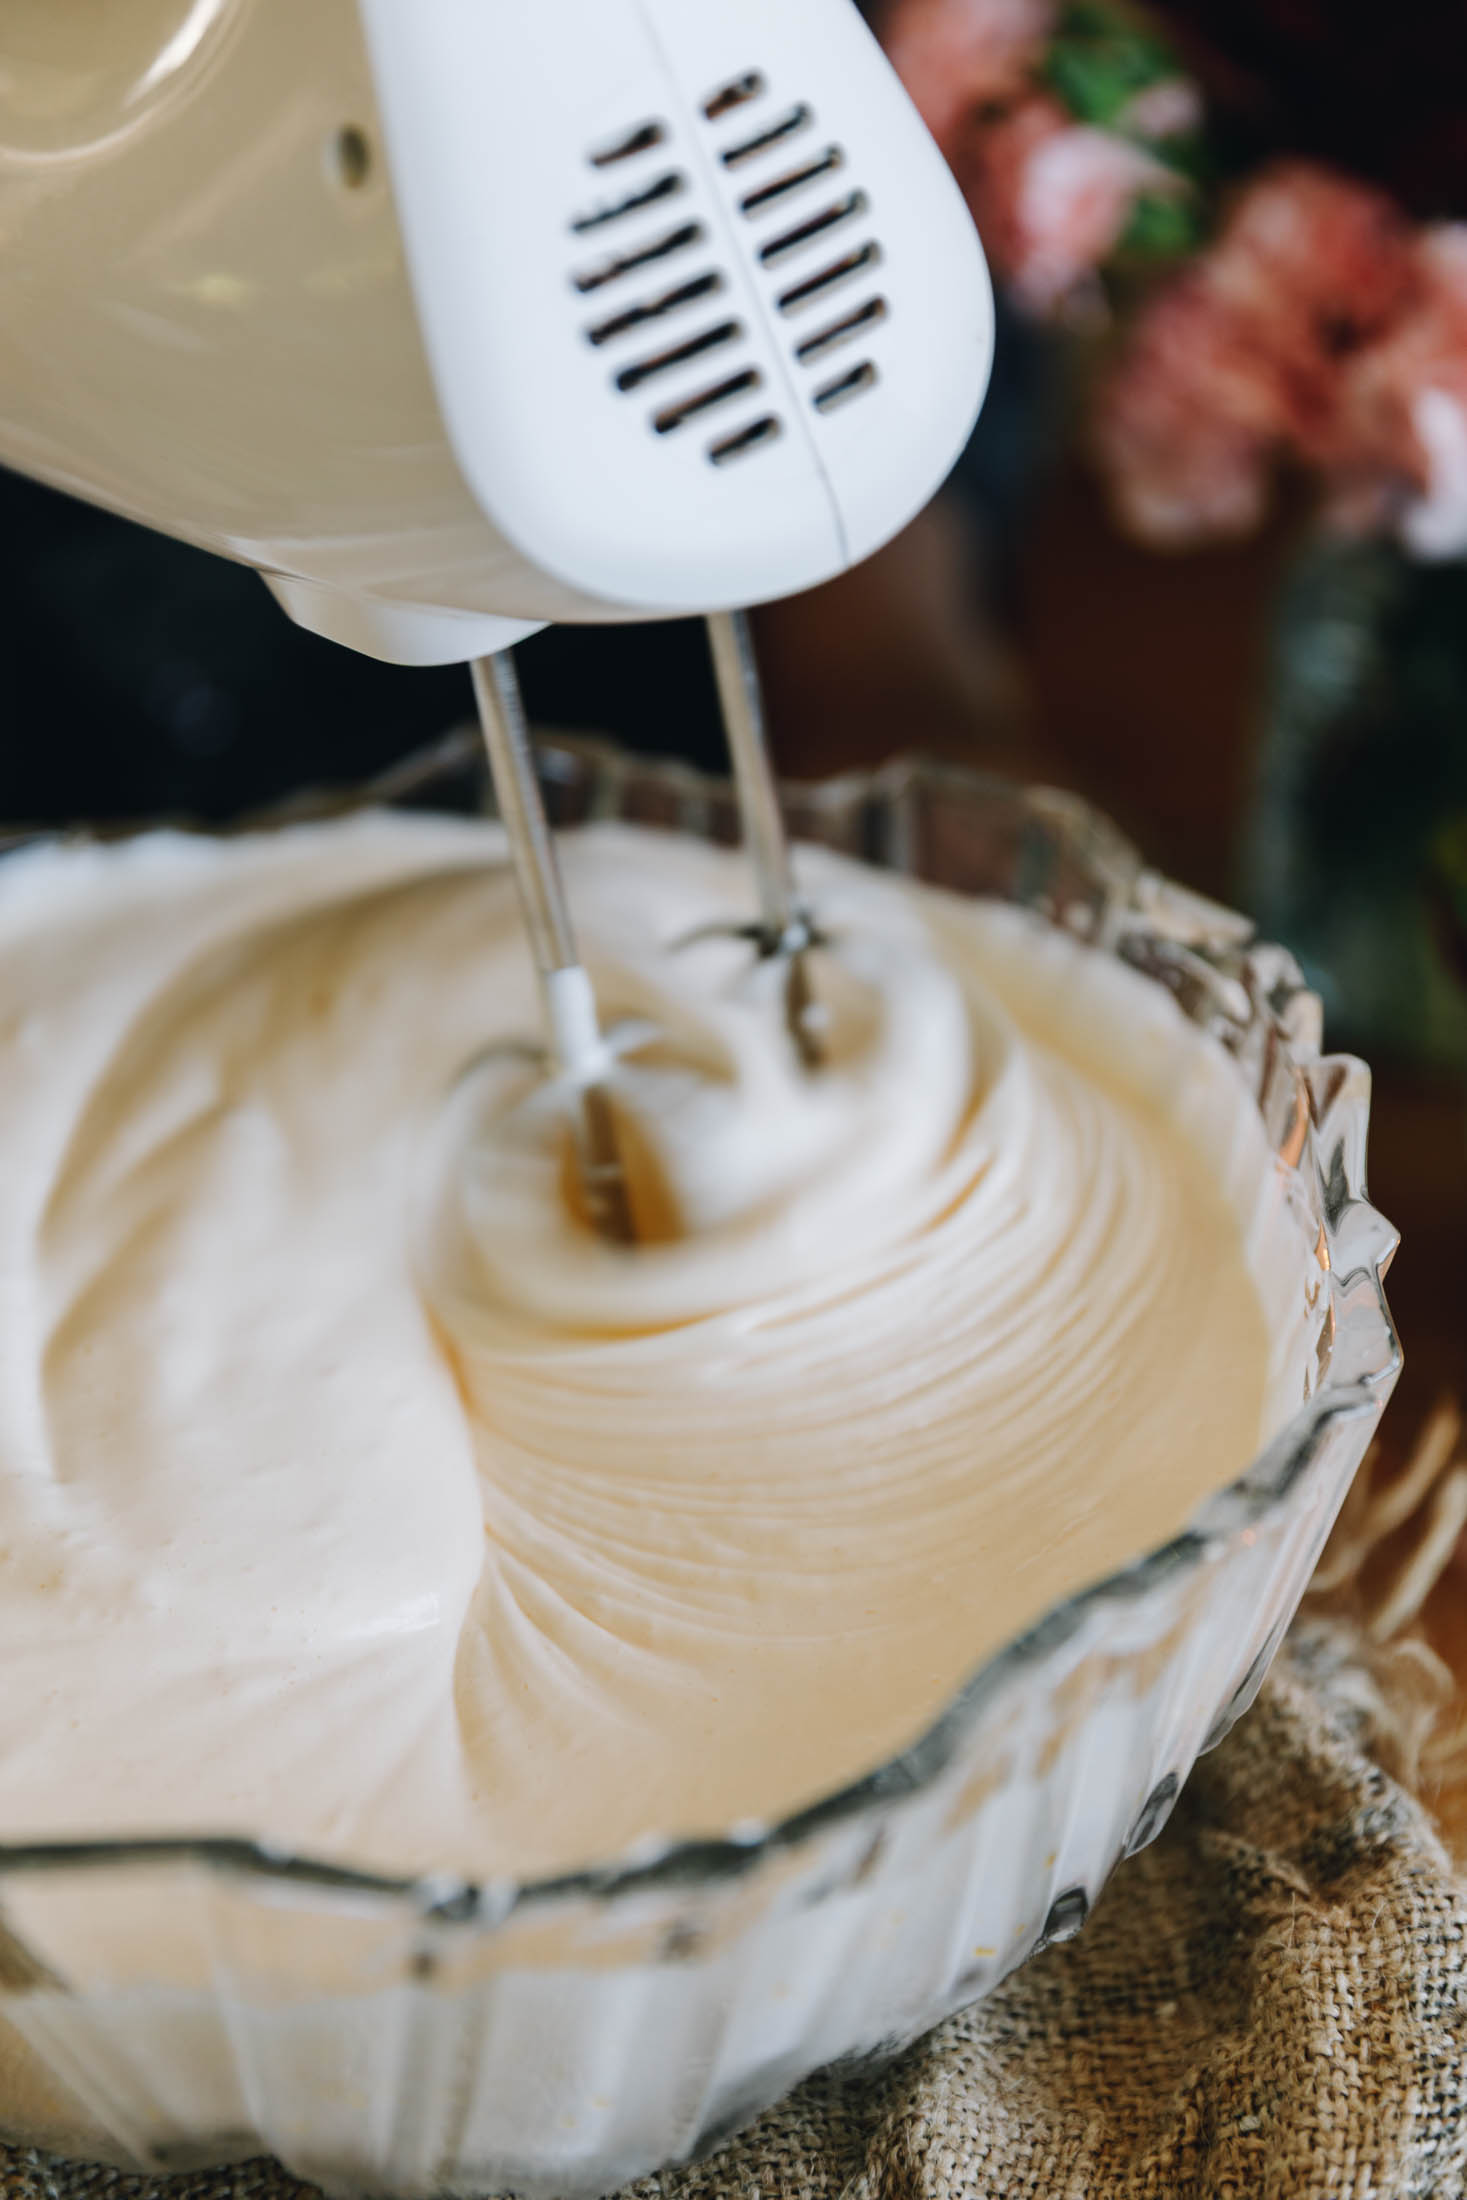
Add the hēki (eggs), huka one (caster sugar) and iho hūperei (vanilla essence) in to a large bowl.
Whip them on high speed for 5 - 7 minutes until the mixture is light in colour and thick in consistency. It should be able to hold a figure 8.

6. Add the Flour:
Sift in the puehu parāoa noa (plain flour) and very gently fold it in until all the flour is incorporated.
Keep a light hand here so the air stay in the mixture, creating a light purini (pudding).
7. Combine the Eggs and Chocolate:
Add a quarter of the cooled ranunga tiakarete (chocolate mixture) in to the egg mixture.
Āta whētuihia (gently fold it in).
Add the next quarter and gently fold it in. Repeat this process until all of the chocolate mix is incorporated.
8. Layer the Gooey Chocolate Lava Cakes:
Spread a large tablespoon of the mixture in to the bottom of each of ramekin.
Add one of the prepared pata pīnati (peanut butter) and tiakarete (chocolate) rounds to the centre of each ramekin.
If you are just using chocolate, add three pieces in to the centre of each ramekin.
Divide the rest of the chocolate batter between the ramekins to finish off the puddings.

9. Bake the Gooey Chocolate Lava Cakes:
Place the purini (puddings) on to a tray and slide them in the oven.
If you want an ultra gooey pudding bake for 20 minutes.
Bake for 25 minutes if you like a slightly gooey pudding. (This is my preference).
If you like the pudding part set and just the centre melty, bake for 30 minutes.
10. Prepare the Cream:
While the keke (cakes) are baking whip the kirīmi (cream) until soft peaks are reached.
Refrigerate until needed.
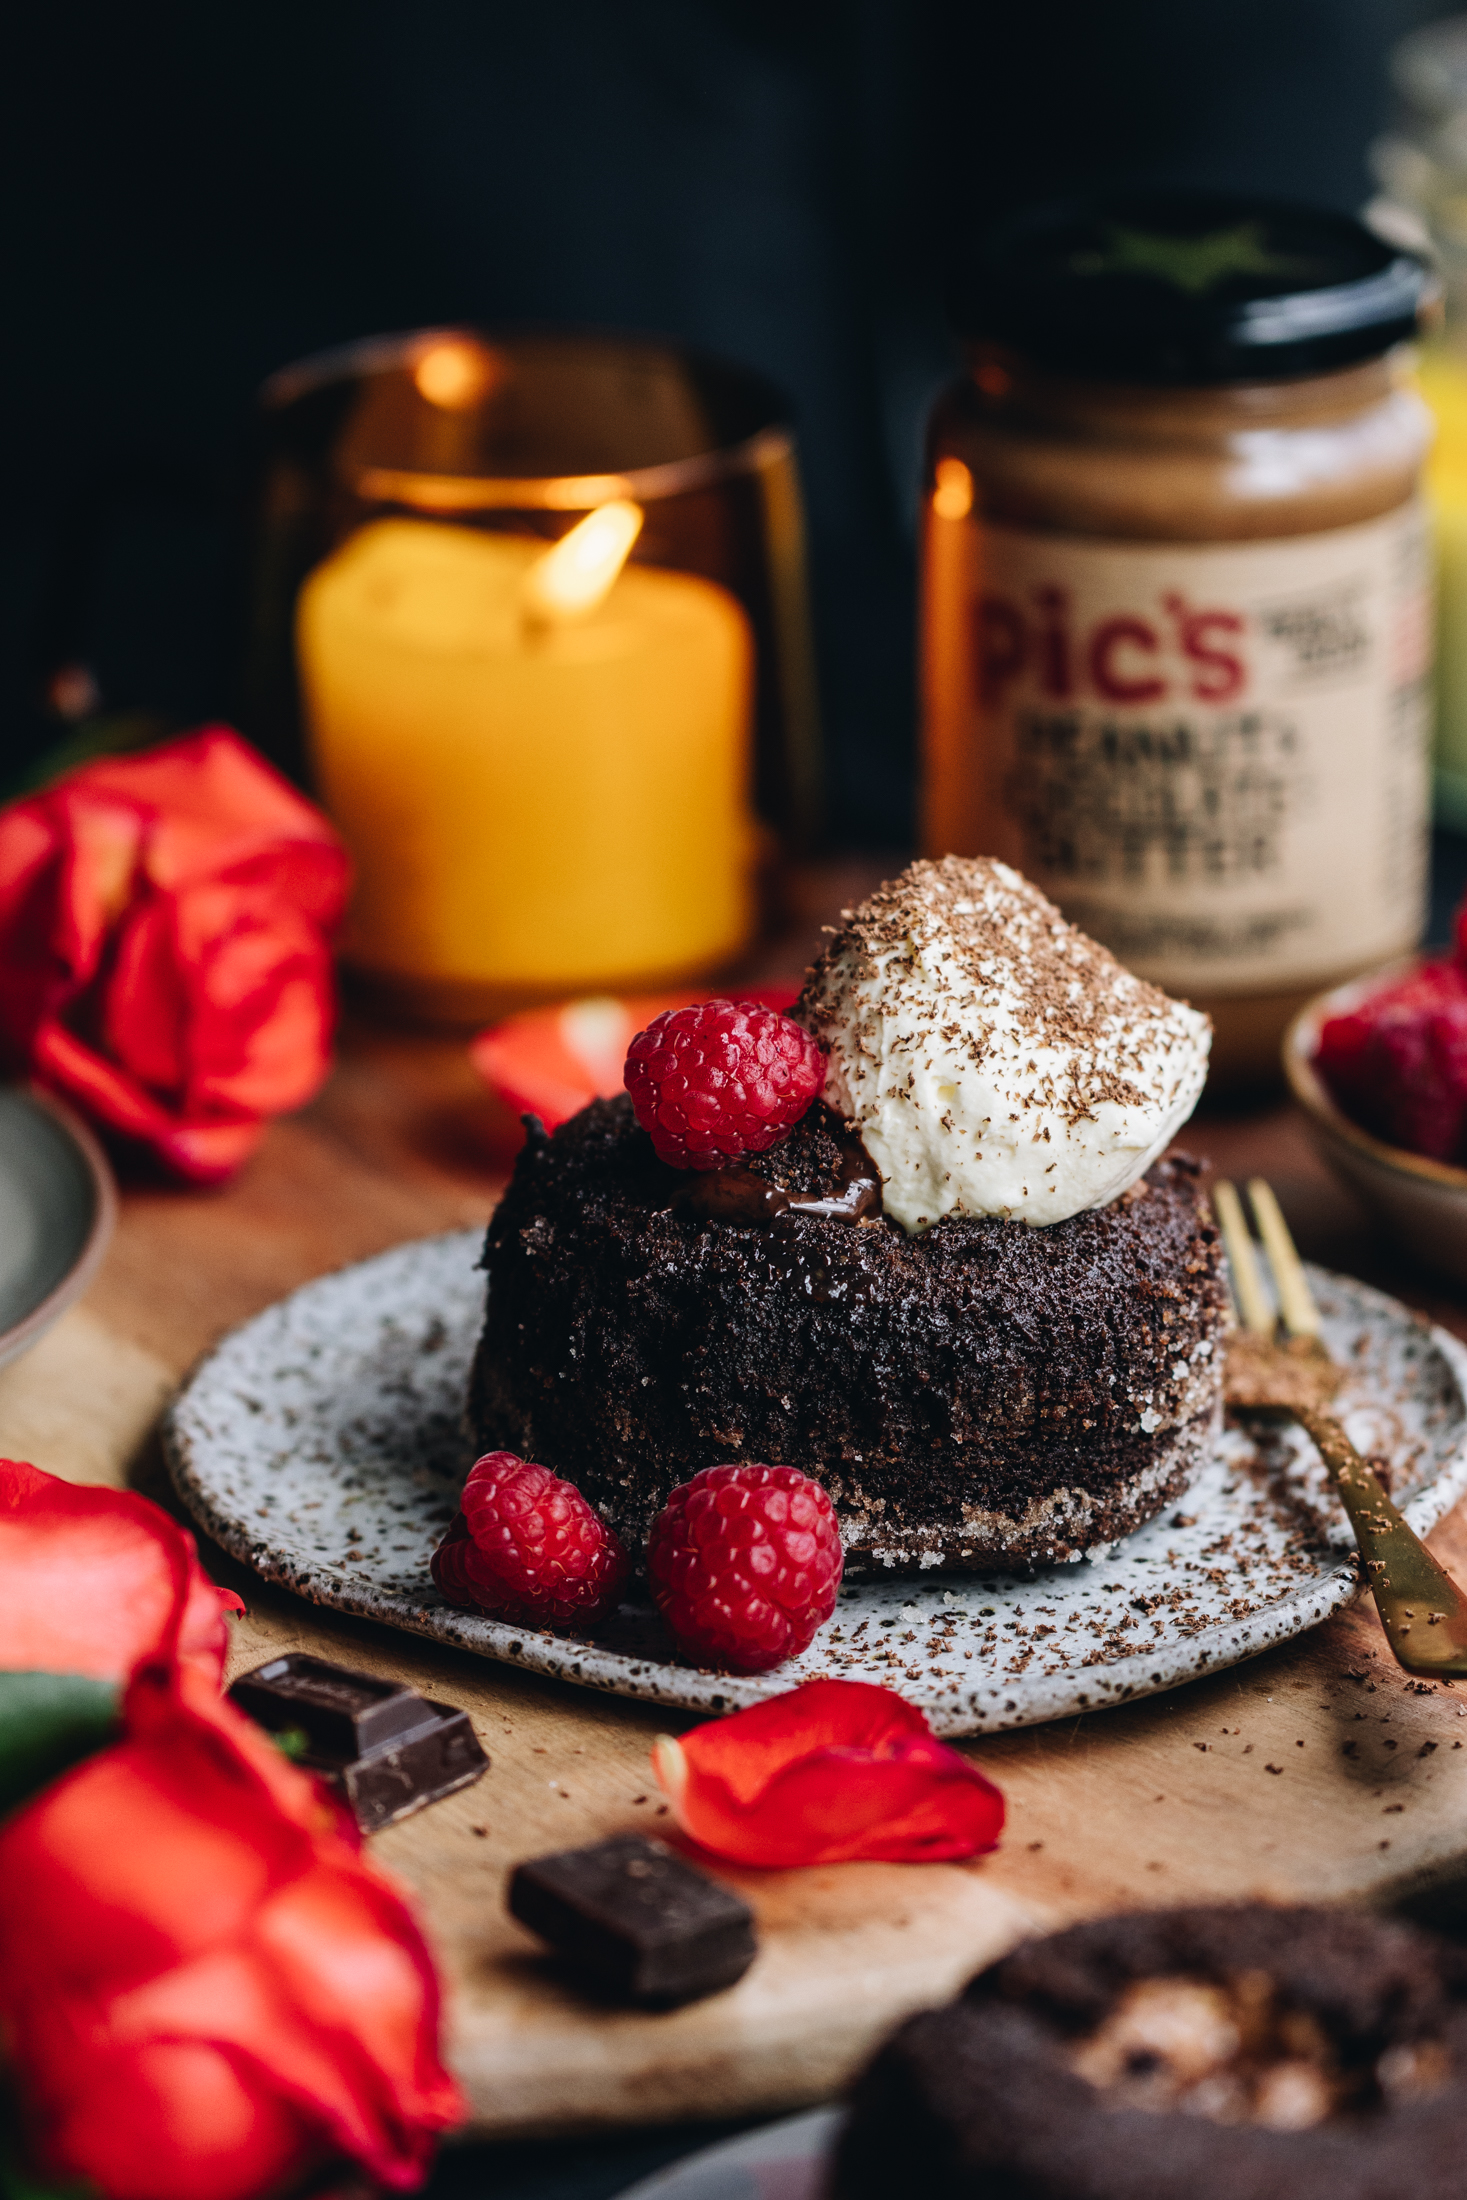
11. Serve the Cakes:
Remove them from the oven, run a knife around the edge and then flip each one on to small plates.
Top each keke (cake) with a good dollop of the kirīmi tāwhiuhwiu ( whipped cream), grate over the tiakarete (chocolate) and add some rahipere (raspberries) and serve.
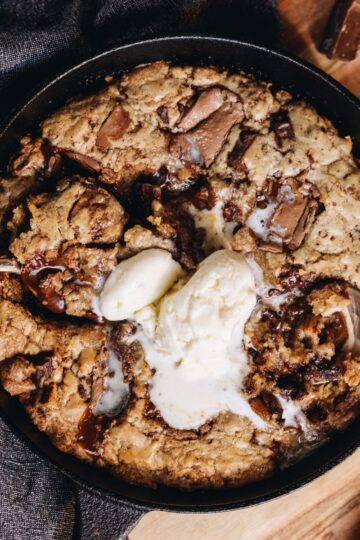
If you want a simpler option, serve it with a spoonful of aihikirīmi (ice cream) and dust it with kōkō (cocoa) or puehu huka (icing sugar).
Serve with a smile on your face because you just made that happen!
12. Store the Gooey Chocolate Lava Cakes:
These puddings are defiantly best made, baked and eaten on the same day.
If you do have any left over, store them in a sealed container and then gently warm them again to bring back the goo factor.
Enjoy this recipe, then try these
Dessert Recipes
A little dessert served among loved ones is a special time indeed.
DID YOU ENJOY THIS RECIPE?
It would be so awesome if you could please leave a review/comment by clicking the “leave a comment” section at the top of the page.
I love seeing you all make my creations, so send a whakaahua (photo) or kiriata (video) to my Instagram and show me what you made. Let me know if you have any pātai (questions) too, I would love to help.
Gooey Chocolate Lava Cakes - Keke Tiakarete
Equipment
- 4 x 1 Cup Capacity Heat-proof Ramekins
Ingredients
The Chocolate Pudding - Te Purini Tiakarete
- 150 g tiakarete parauri (dark chocolate, I use 50%)
- 130 g pata kua tapahia (chopped butter)
- 2 tablespoon kōkō (cocoa)
- ¼ teaspoon tote (salt)
- 4 tablespoon (60 g) pata pīnati tiakarete (chocolate peanut butter)
- 8 (40 g) mōtete tiakarete (pieces of chocolate). If you are omitting the peanut butter, use 12 pieces (80 g)
- 3 hēki iti (small eggs, size 6)
- ⅔ C (165 g) huka one (caster sugar)
- 2 teaspoon (10 ml) iho hūperei (vanilla essence)
- ⅓ C (50 g) puheu parāoa noa (plain flour)
The Decorations - Ngā Whakarākei (All Optional)
- 1 C (250 ml) kirīmi (cream)
- 20 g tiakarete parauri (dark chocolate, 50%)
- 12 rahipere (raspberries, fresh)
Instructions
Preheat the Oven:
- Preheat the oven to 160 °C, bake setting or 150 °C, fan bake setting.
Prepare the Ramekins:
- Grease 4 x 1 C capacity oven proof ramekins with melted butter.
- Sprinkle 1 tablespoon huka one (caster sugar) in to each mould and spread around so they are evenly coated. This helps the puddings rise well in the ramekins.
Melt the Chocolate:
- Add 3 - 4 cm of water to the bottom of a medium pot and bring to a gentle simmer. Choose a heat proof bowl that fits snug on top of the pot but doesn't touch the simmering water.
- Chop the tiakarete parauri (dark chocolate) in to pieces. Add the tiakarete (chocolate), pata (butter), kōkō (cocoa) and tote (salt) in to the bowl.
- Add it on top of the pot of simmering water and stir it until it melts completely. Leave it aside to cool slightly.
Prepare the Chocolate Filling:
- If you are not using the pata pīnati tiakarete (chocolate peanut butter) in the centre, skip this step. Prepare the 3 pieces of chocolate for each purini (dessert) instead.
- Put the 4 tablespoons of pata pīnati tiakarete (chocolate peanut butter) on to a small plate.
- Add two pieces of tiakarete parauri (dark chocolate) in to each one. Mould them in to rounds and then leave them aside.
Whip the Eggs and Sugar:
- Add the hēki (eggs), huka one (caster sugar) and iho hūperei (vanilla essence) in to a large bowl.
- Whip them on high speed for 5 - 7 minutes until the mixture is light in colour and thick in consistency. It should be able to hold a figure 8.
Add the Flour:
- Sift in the puehu parāoa noa (plain flour) and very gently fold it in until all the flour is incorporated. Keep a light hand here so the air stay in the mixture, creating a light purini (pudding).
Combine the Eggs and Chocolate:
- Add a quarter of the cooled ranunga tiakarete (chocolate mixture) in to the egg mixture. Āta whētuihia (gently fold it in).
- Add the next quarter and gently fold it in. Repeat this process until all of the chocolate mix is incorporated.
Layer the Gooey Chocolate Lava Cakes:
- Add a large tablespoon of the mixture in to the bottom of each of ramekin.
- Add one of the prepared pata pīnati (peanut butter) and tiakarete (chocolate) rounds to the centre of each ramekin. If you are just using chocolate, add three pieces in to the centre of each ramekin.
- Divide the rest of the chocolate batter between the ramekins to finish off the puddings.
Bake the Gooey Chocolate Lava Cakes:
- Place the purini (puddings) on to a tray and slide them in the oven.
- If you like an ultra gooey pudding bake for 20 minutes. If you like a slightly gooey pudding, bake for 25 minutes (this is my preference).If you like the pudding part set and just the centre melty, bake for 30 minutes.
Prepare the Cream:
- While the keke (cakes) are baking whip the kirīmi (cream) until soft peaks are reached. Refrigerate until needed.
Serve the Cakes:
- Remove them from the oven, run a knife around the edge and then flip each one on to small plates.
- Top each keke (cake) with a good dollop of the kirīmi tāwhiuhwiu ( whipped cream), grate over the tiakarete (chocolate) and add some rahipere (raspberries) and serve.
- If you want a simpler option, serve it with a spoonful of aihikirīmi (ice cream) and dust it with kōkō (cocoa) or puehu huka (icing sugar).
- Serve with a smile on your face because you just made that happen!
Store the Gooey Chocolate Lava Cakes:
- These puddings are defiantly best made, baked and eaten on the same day.
- If you do have any left over, store them in a sealed container and then gently warm them again to bring back the goo factor.

Kiara Macpherson
So perfect
Naomi Toilalo WhānauKai
Tēnā koe Kiara - thank you!